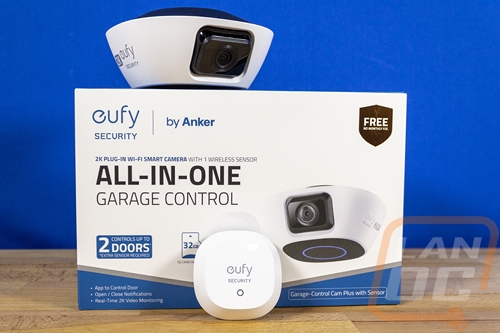
Photos and Features
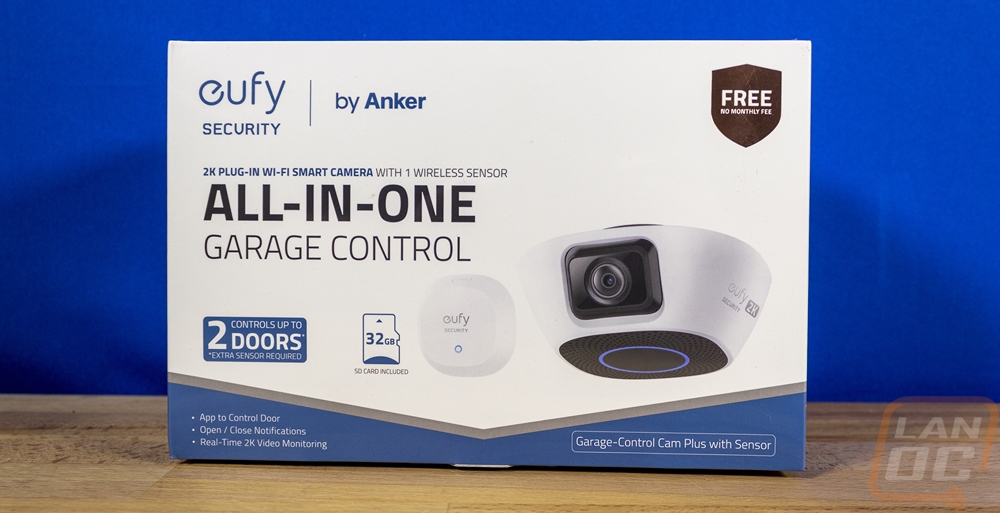
The packaging for the eufy Security Garage-Control Cam Plus shares the same styling as past eufy Security products like the Video Doorbell Dual that I took a look at list last July. By that I mean it has the same white background that runs down to the bottom with a V shape along with the blue and silver along the bottom. The front of the box has a picture of the camera as well as the sensor and they also have a line drawing of the 32GB SD card that is included as well. They then have the eufy Security logo up in the top left along with letting you know that is an Anker sub-brand. The box does a better job of telling you exactly what this is than the model name does by having “All-In-One Garage Control” in the biggest font than the Garage-Control Cam Plus with sensor down in the corner. Really I think the model name should be all in one garage control. Above that, they tell you that this has a 2K plug-in wifi smart camera and it comes with one wireless sensor. With this being the Plus model they also have a note letting you know this controls two doors but you will need an additional sensor and they tell you that you can control your door, get open and close notifications, and have real-time 2K video monitoring. They also have made the badge in the top right corner letting you know this doesn’t have monthly fees even larger which is a great idea.
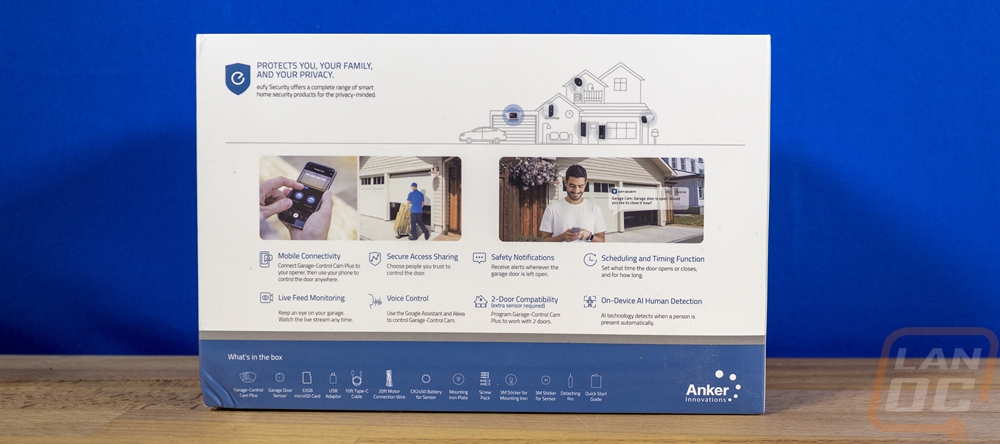
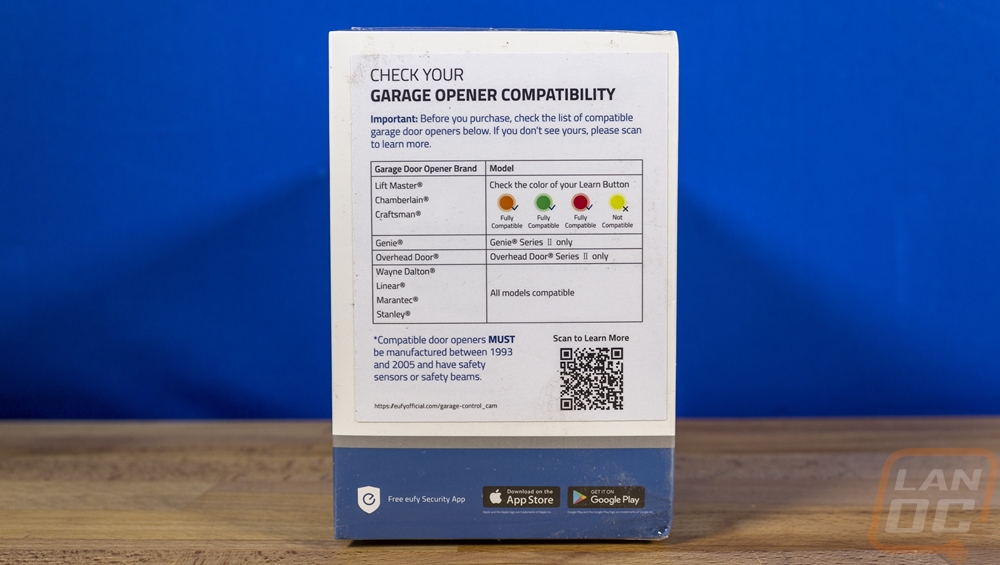
One side of the box has a sticker that lets you know what garage doors are compatible including a QR code to scan to learn more. The other end lets you know that your privacy is something that they value. The back of the box shows off some of the various options in the eufy security lineup up at the top. The middle has a list of key features including some software features like scheduling and AI human detection. Then at the bottom, you get a list of everything in the box and it is a surprisingly long list

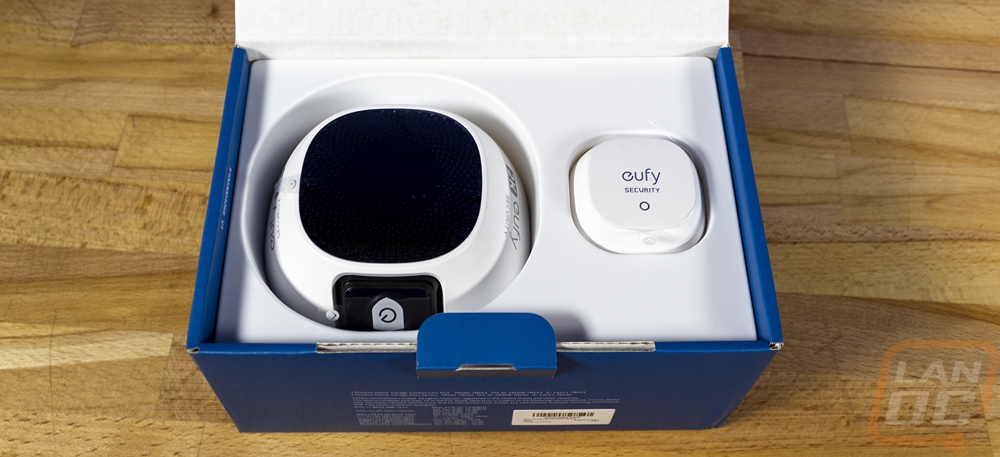
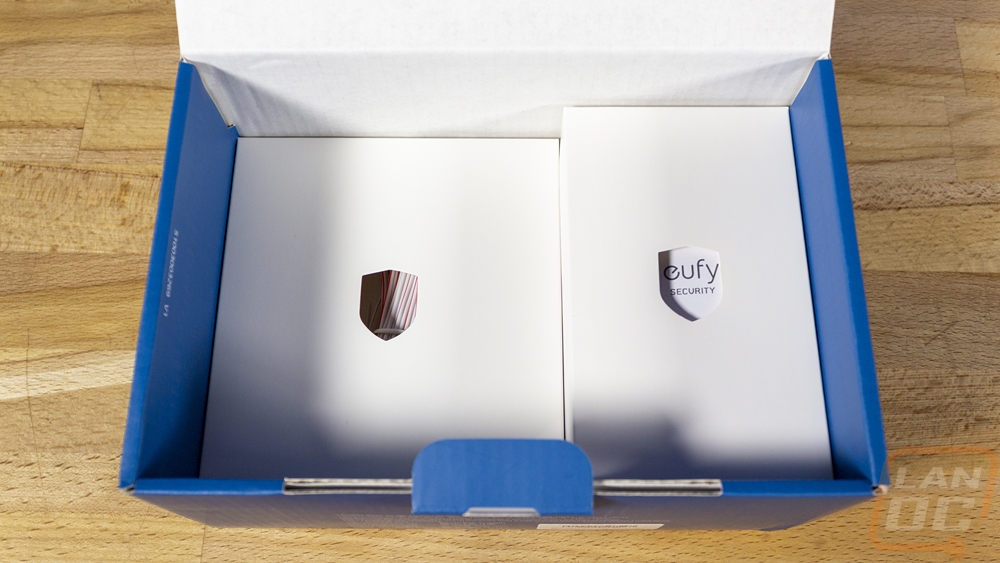
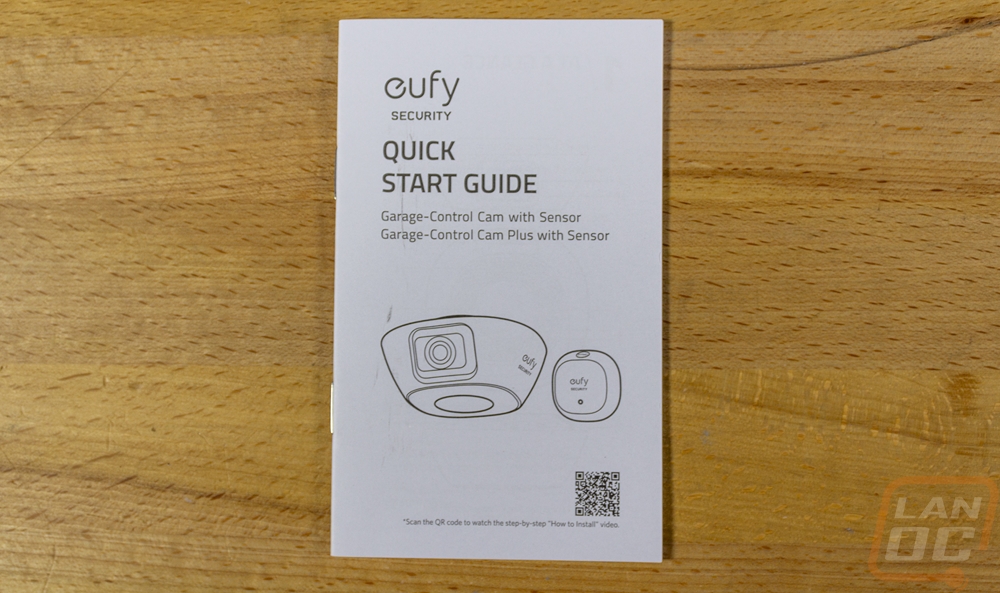
When you open the box up there is a plastic tray on top that is formed around the garage control itself as well as the sensor. Both of those also have plastic stickers on them to prevent any scratching as well including over the camera and on the top of each device. Below the tray, you have two boxes with all of the accessories needed for installation with both having a small shield-shaped hole on top to make it easier to pull them out. For documentation, the Garage Control Plus comes with just one small quick start guide. A majority of the installation instructions are built into the app to guide you one step at a time depending on your setup.
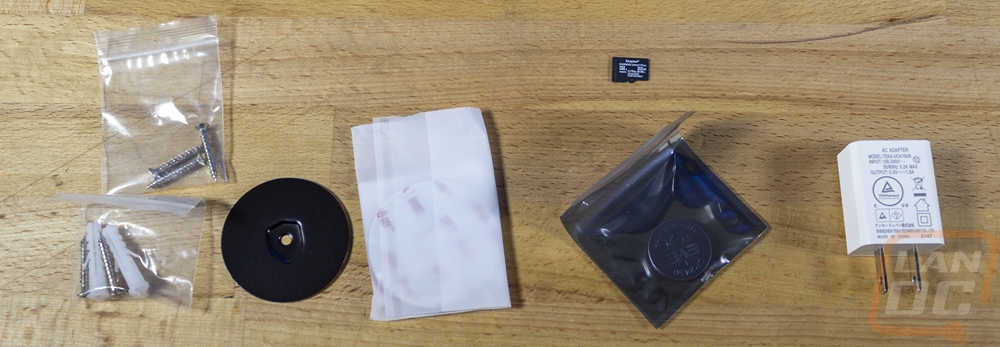
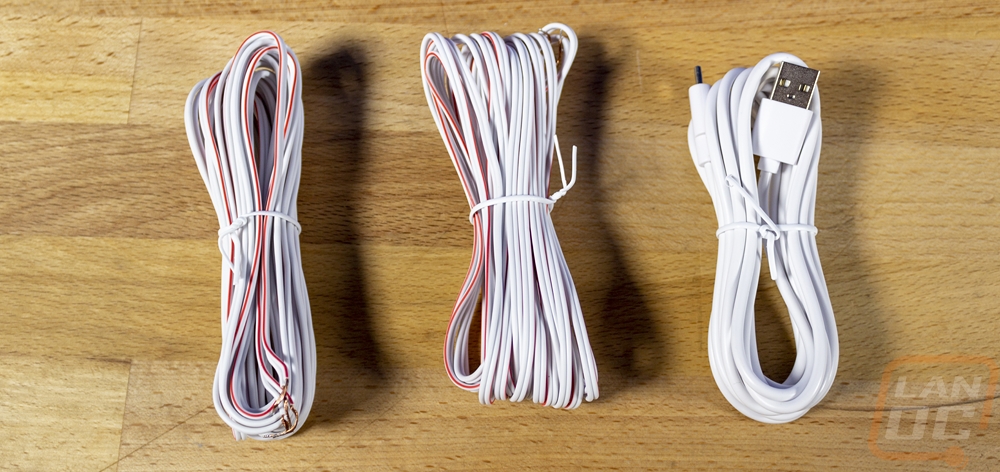
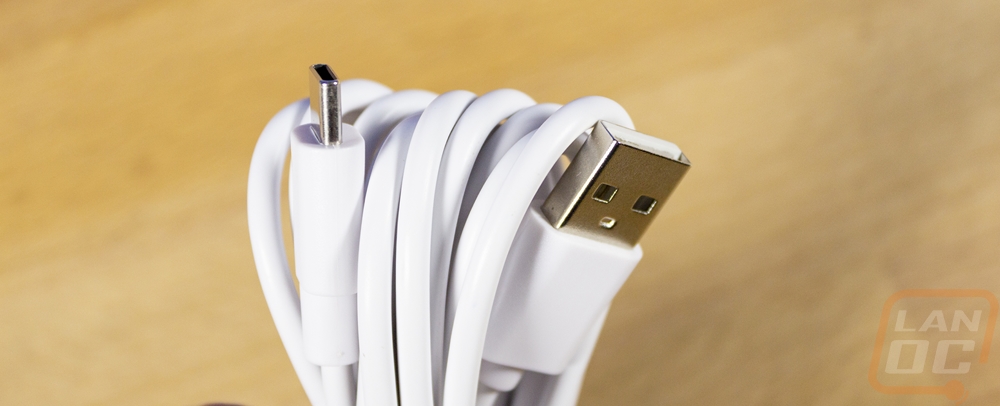
As I said, the Garage Control Plus comes with a LOT of accessories. The most surprising of which is that this kit includes a 32GB microSD card. I should point out that the non-plus model doesn’t come with a micro card for storage and for that model, you will need to provide your own microSD card. This one is a Kingston Canvas Select Plus. You get three cable bundles. One is a USB Type-C to Type-A cable which is 10 feet long and then there are two matching 10-meter (32-foot long) two-wire motor connection wires. There are two screw packs, one with three screws and the second with two screws and two drywall anchors. There is a metal mounting plate that has the eufy shield logo in its shape. A pack of two 3M double-sided tape cut to fit the sensor and the camera mount. A static protective bag with a CP2450 battery inside and an AC to USB Type-A power adapter.

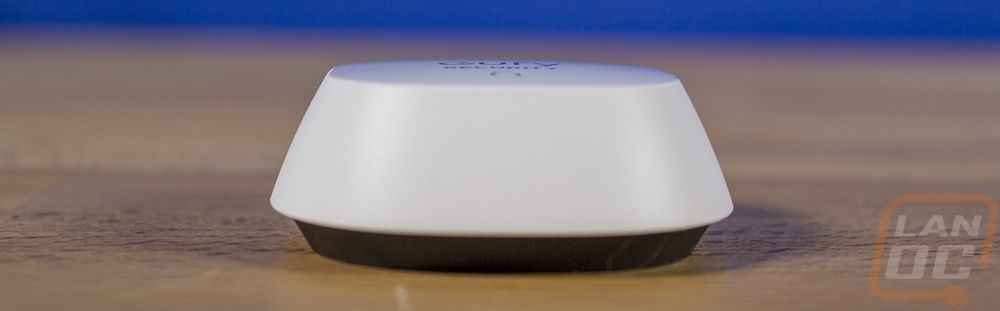
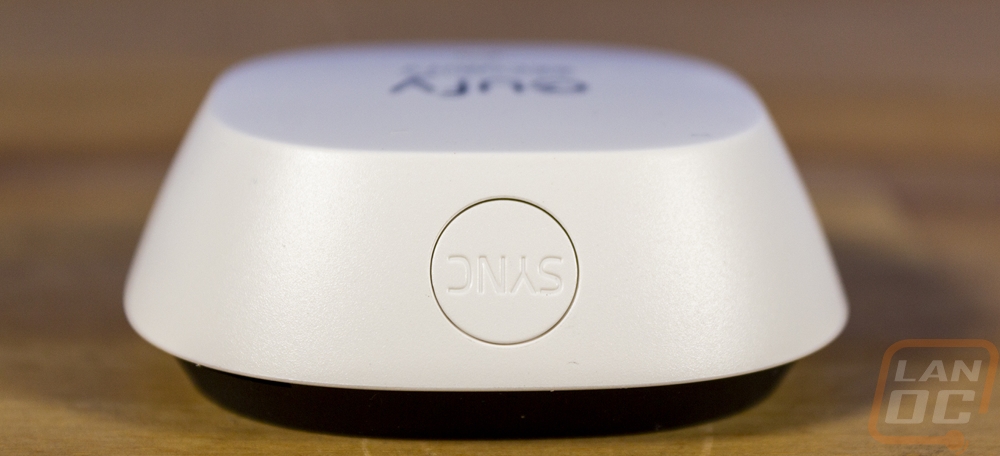
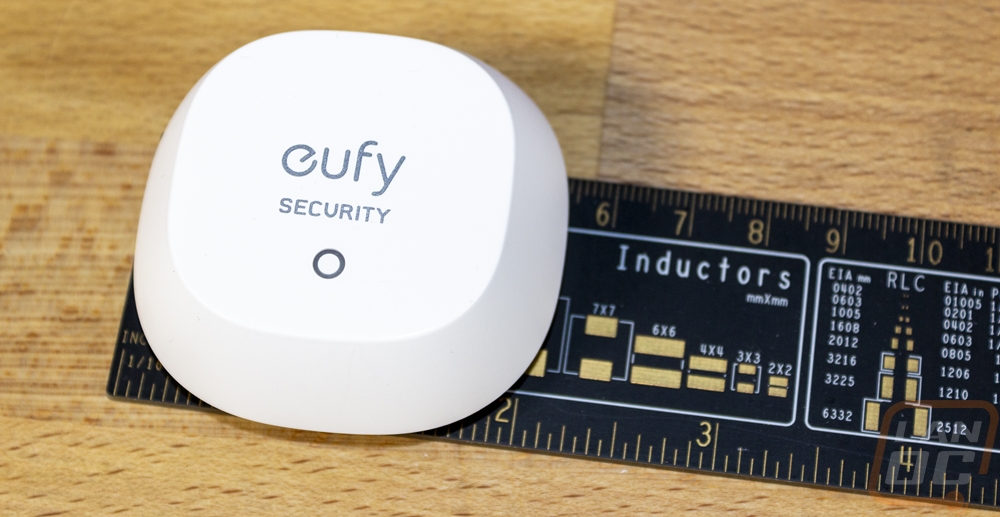
I’ve had a My Q based garage controller that I picked up a few years ago so the sensor that comes with the Garage Control Plus wasn’t a surprise at all. Its purpose is to tell the system when your garage is open or closed by being mounted to the door and knowing when it is tilted. With a majority of garage doors being white I was happy that this one is white as well. Our My Q model has a black sensor that stands out on the door. This has the eufy Security logo on top along with a ring-shaped status LED. It is smaller than the My Q sensor but similar in its mounting design with the back panel that pops off and can be screwed to the door or double-sided taped to the door. It also has a sync button up on the top edge for syncing it with the system.

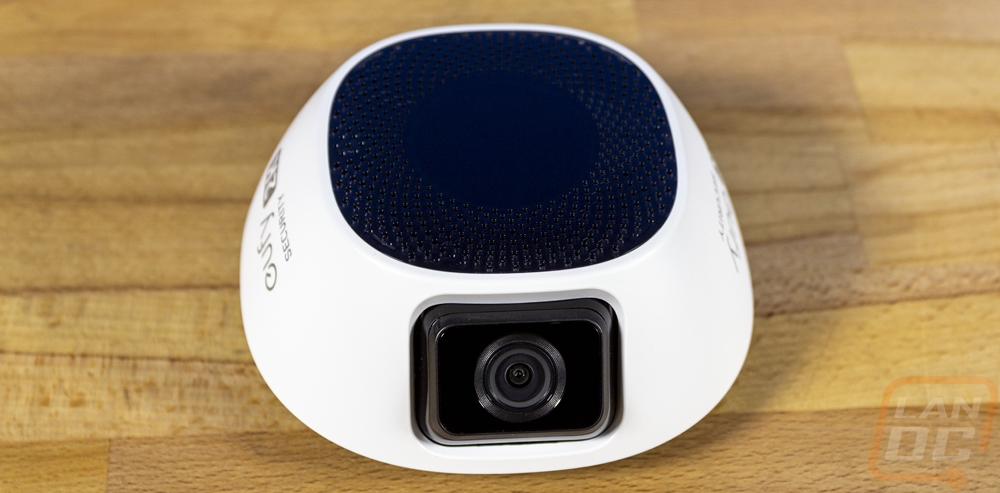
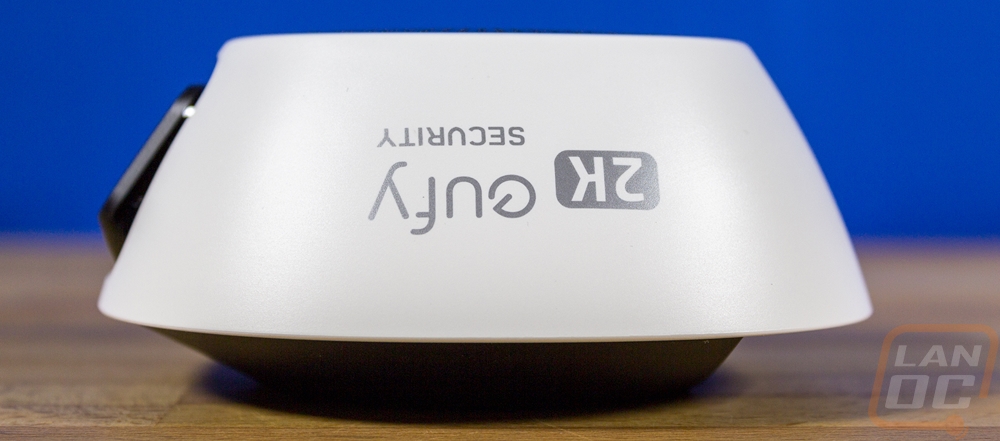
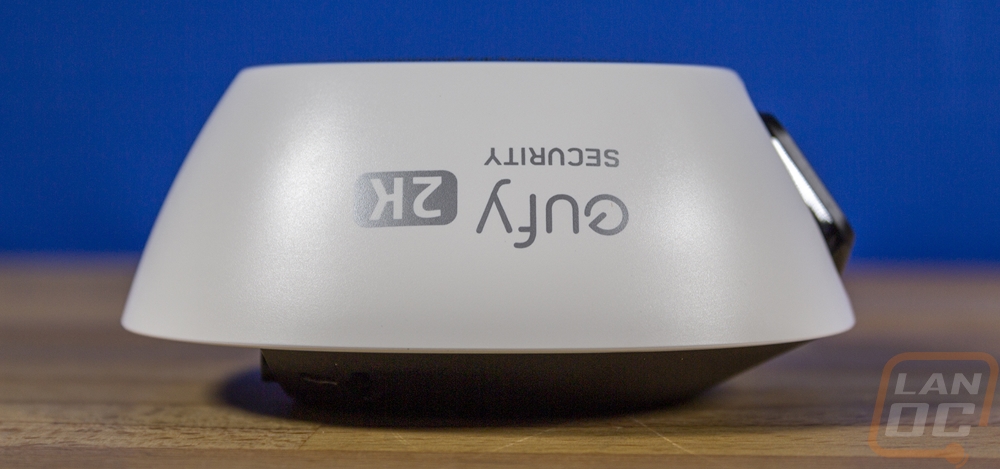
The side view of the Garage Control Cam has a shape that reminds me a lot of the top of a star wars droid like the BB-9E. It has a slight curve to the angled sides with a flat top. Two of the sides just have the eufy Security branding and also letting you know it is one of their 2K cameras. The back doesn’t have anything on it. Then the front is the only side with anything going on. This is where the camera is mounted which as the branding on the side indicated is a 2k or 1440p resolution camera with built-in infrared in the black housing for night vision.
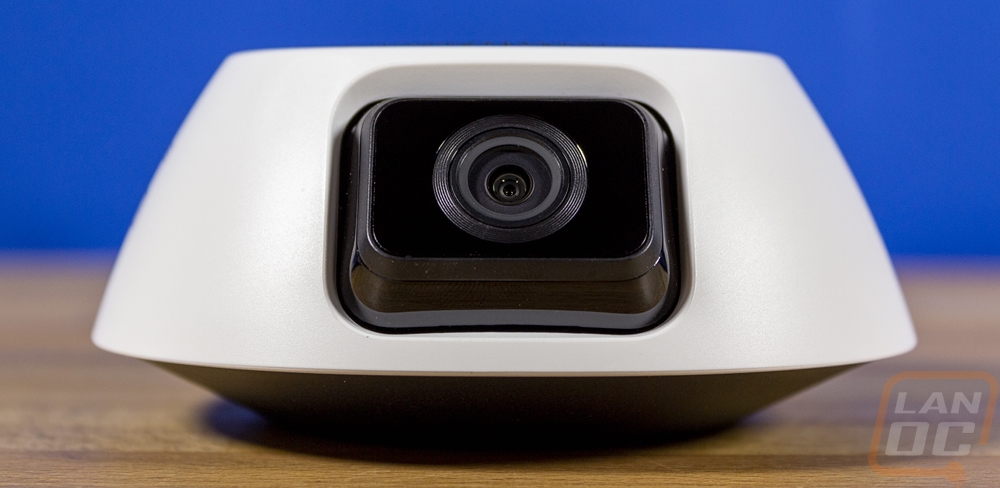
Here is a look at the adjustability of the camera. It can be tilted maybe 22 degrees and from the looks of it from 22.5 degrees to 45 degrees.
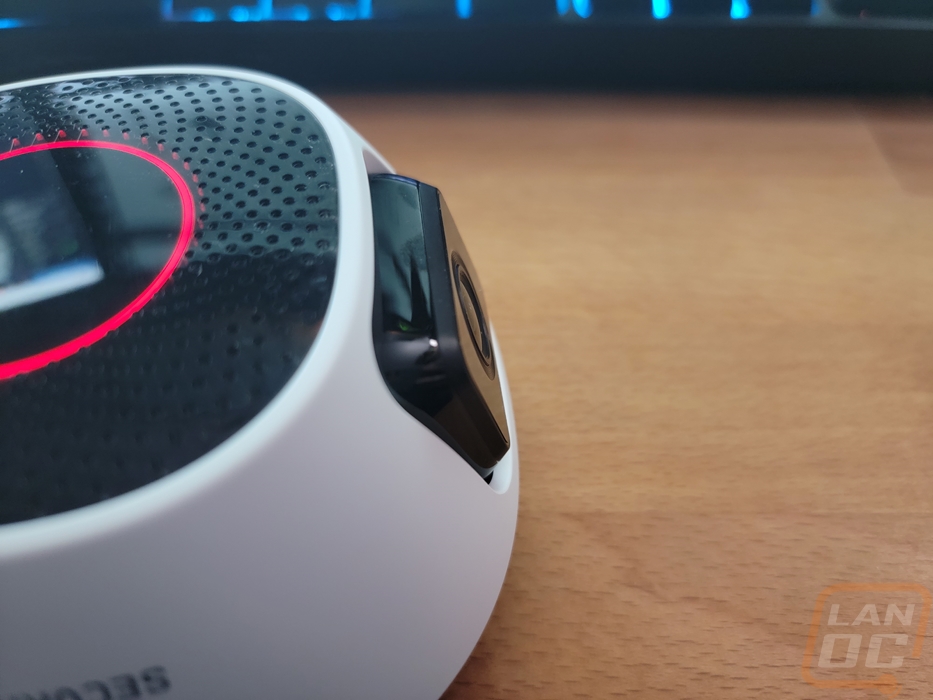
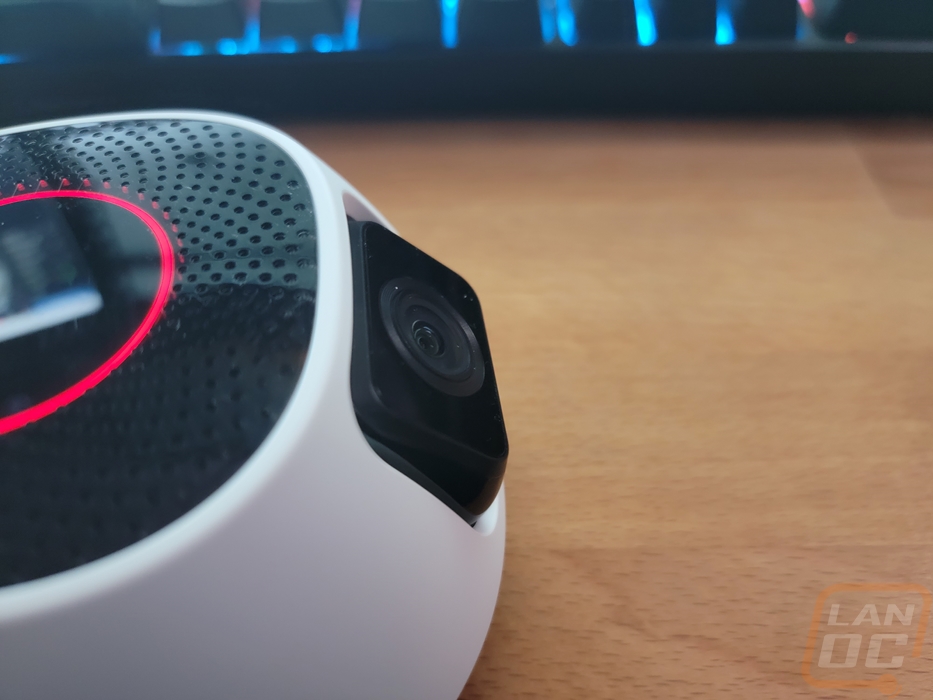
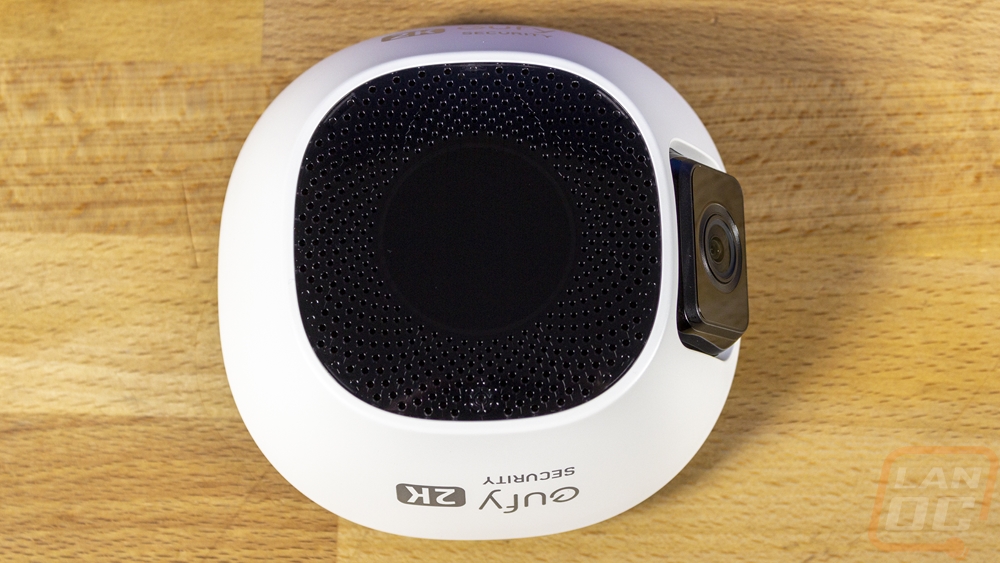
The bottom of the garage control cam has a gloss black finish and a perforated finish all around the outside with a solid circle in the middle. That circle has a ring LED status indicator behind it and the perforated area has a built-in speaker and microphone.
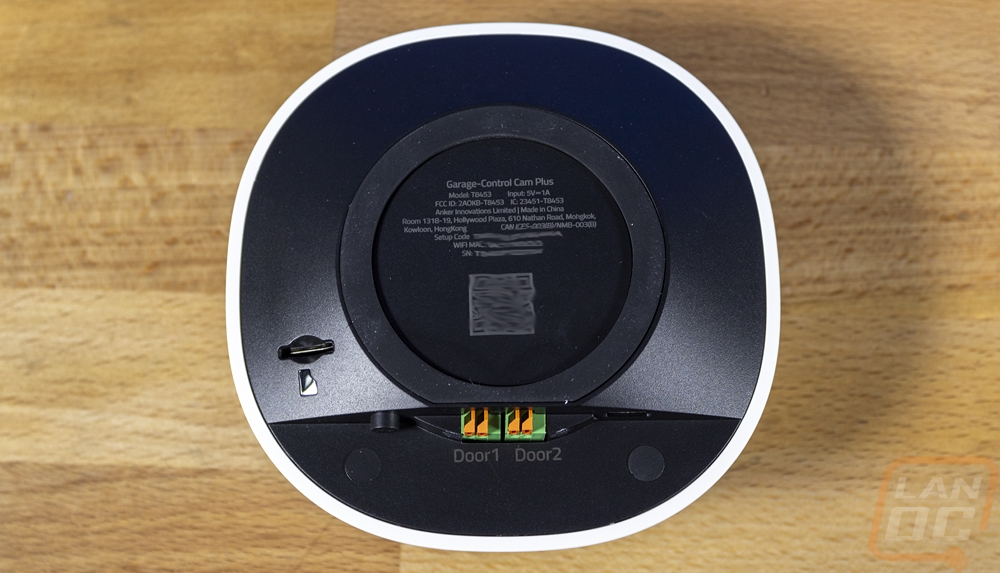
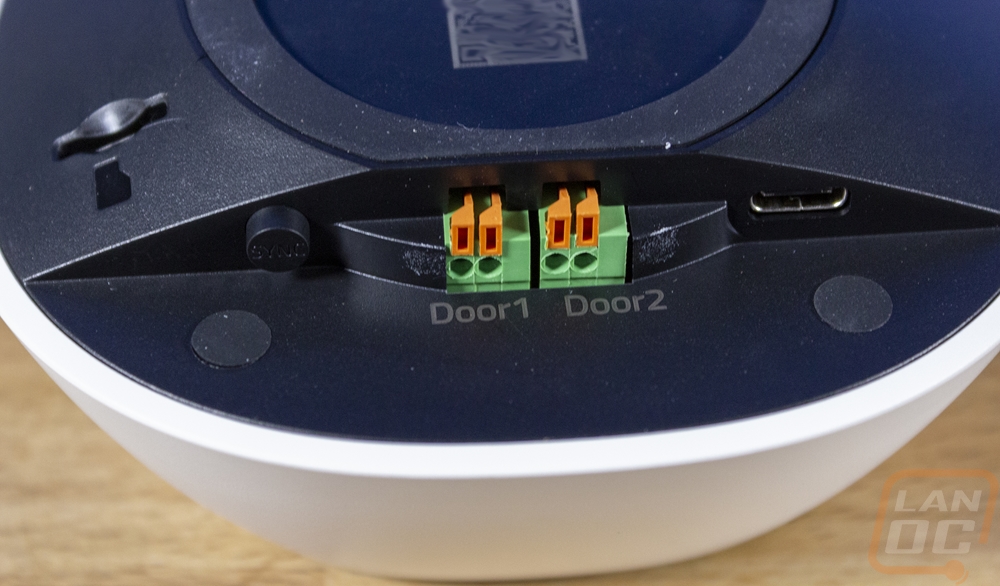
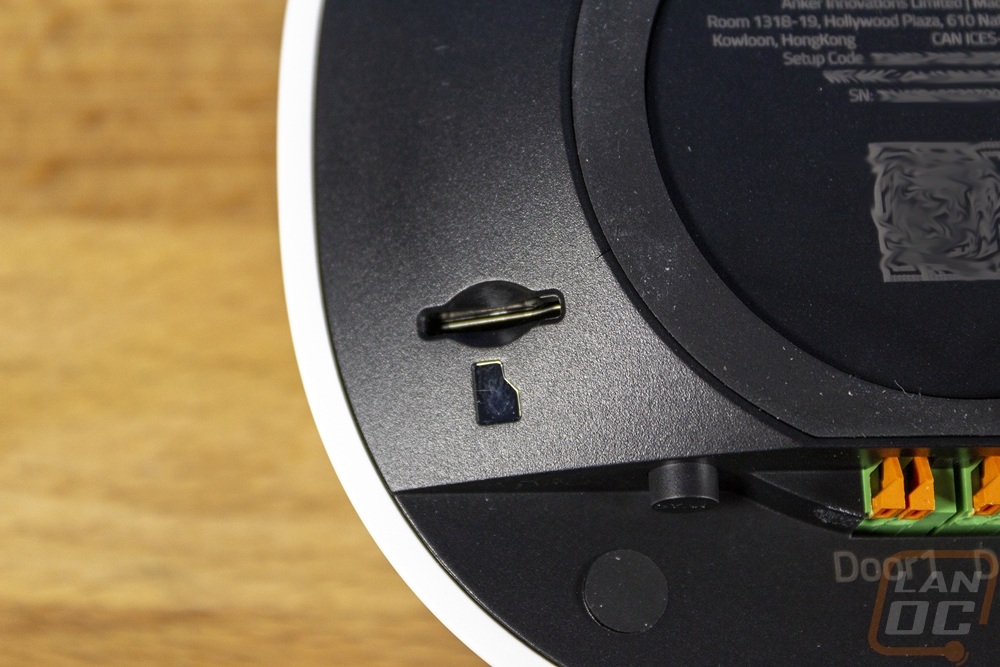
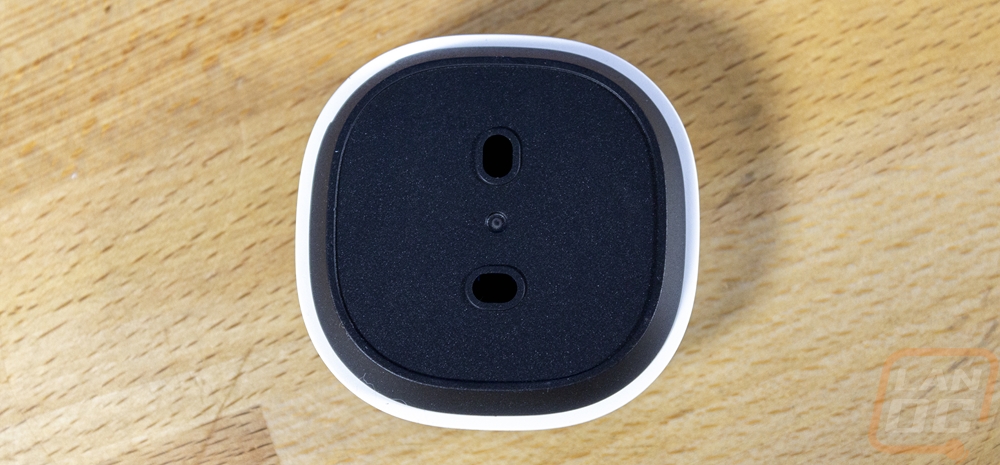
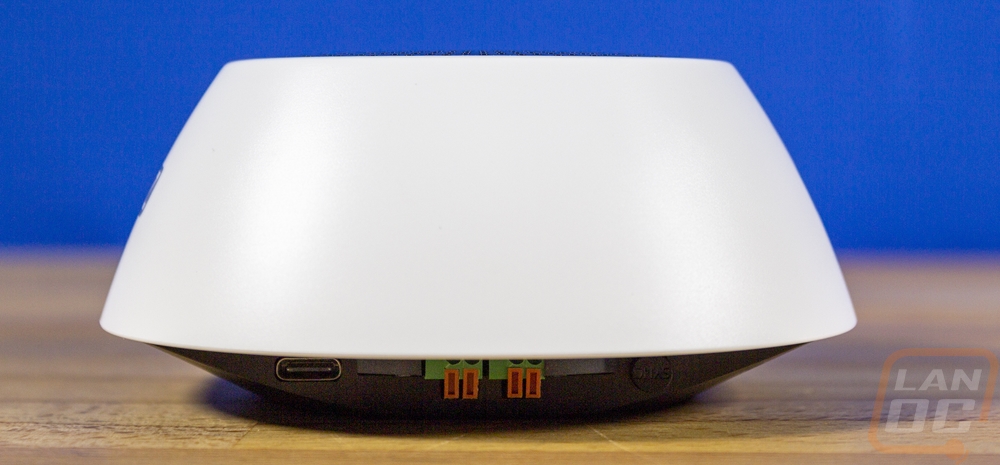
While this side looks like it would be the bottom, it is the top of the garage control cam because when installed you mount it upside down with this up against the ceiling. There is a lot going on here. In the center, they have the model and FCC information printed as well as a QR code for quickly adding the camera to the eufy security app. Around that center, it has a rubber ring and in the middle behind the print, it has a strong magnet. The design doesn’t have any traditional mounting options like a screw keyhole, this design works with the included steel mounting plate and just sticks to it with the magnet. The rubber ring is then there to help keep it from spinning around. Then the recessed area has the connections for the two doors. The orange bits are spring-loaded and lift up for the cord to slide in without any tools. Also in this area on the left is a sync button and then on the right is the USB Type-C power connection. I should note that the garage control cam plus that we have here supports two doors but the non-plus model only has the one door connection. I’m really surprised that they went out of the way to make two different models, if both had dual connections it could leave open the option for users to add a second door later but you HAVE to get the plus model to have that flexibility.