Page 3 of 5
Setup
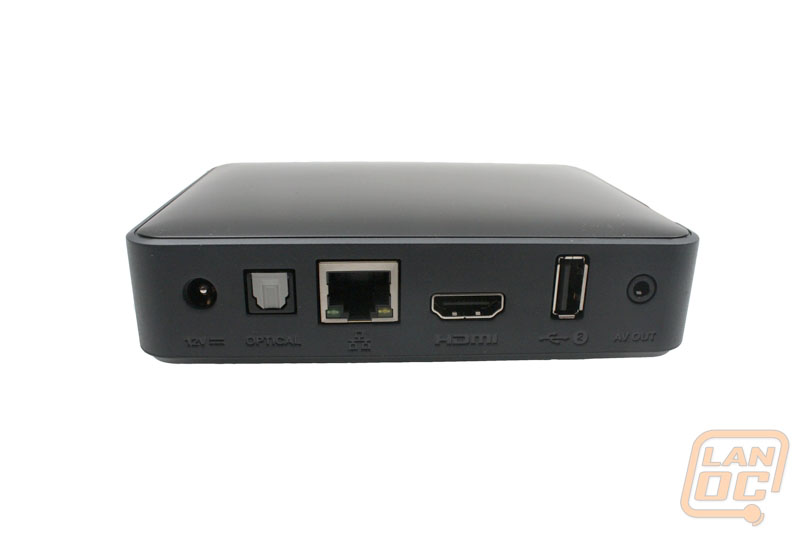
The setup on this device could not be any more simple. Once unpacked, I was quickly able to connect the power adapter to an available AC outlet, and then I connected an HDMI cable from my HDTV to the back of the unit.
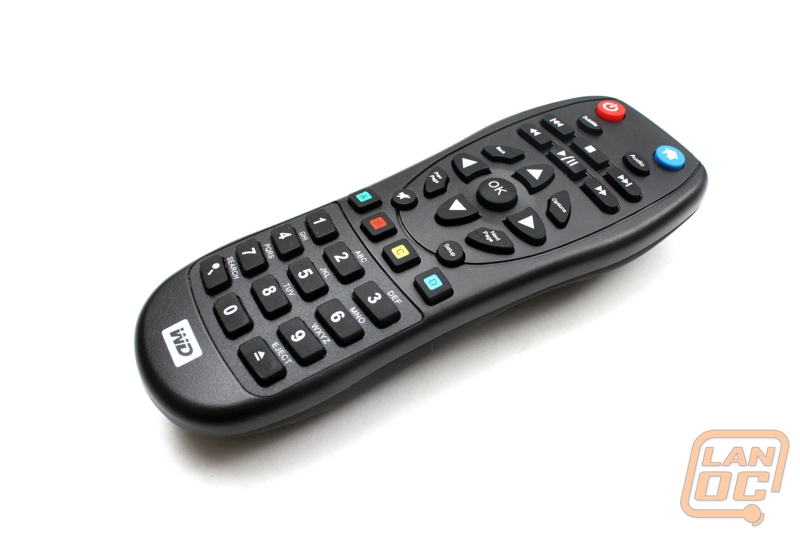
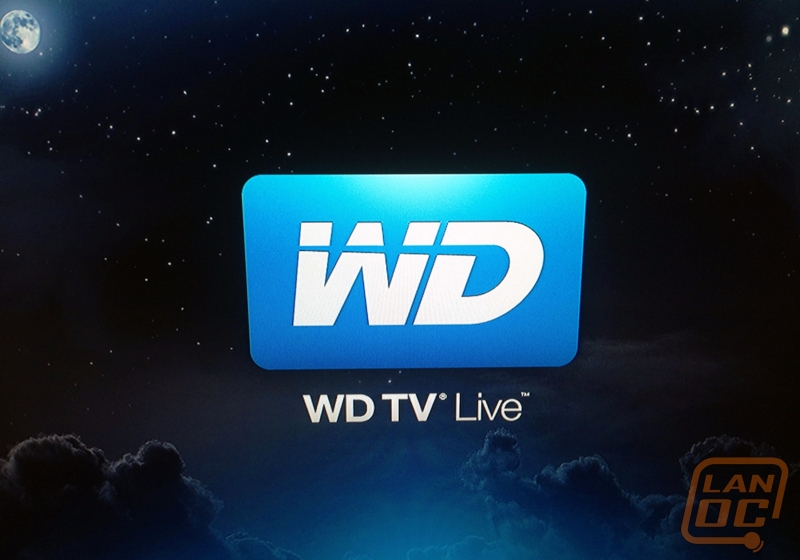
After installing a couple included AA batteries into the remote, I was ready to power up the device and proceed with the setup. I pressed the power button on the remote then I was greeted with a blue loading screen with the WD Logo.
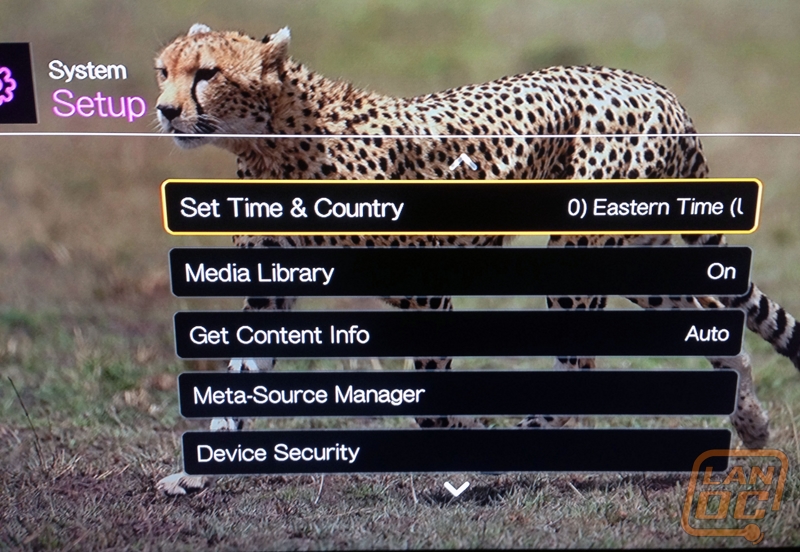
Next up are a few setup screens to get you started. You will need to set your language, time and date, and network setup.