With access to all of our test hardware, you might think that I am running the latest and greatest hardware. But that is never the case. Long-time readers may have seen updates on my main PC as it has evolved over the years, starting with our Crush build 10 years ago and its replacement, the Crushed build, which last saw an update in 2021. That setup is a little long in the tooth, especially after upgrading my main display to a large 4K OLED. I’ve been putting off a replacement for a long time now, and of course, it couldn’t be a worse time to do it. But it can’t wait any longer, so let’s dive into our latest build.
Project Name: Project Momentum - Part 1
Written by: Wes Compton
Build Sponsors/Supporters: Fractal Design, AMD, Asus, G Skill, Be Quiet, Silverstone, and Patriot
Amazon Affiliate Links:
Fractal Design North XL Momentum Black
G.Skill T5 Neo Series 128GB 6400MT/s
Links to the rest of the project: Part 1 – Part 2 – Part 3
If you haven’t seen our previous project builds. Before just diving into the new components, there are typically a list of reasons for a new build and that is definitely the case here. For starters, how I use my PC has changed somewhat. I’ve been doing more video editing, which has slightly different demands compared to the writing and photo editing that I do for writing reviews. So good performance with DaVinci Resolve is important, maintaining good performance with Photoshop and improving the speed of saving PNG files is also a goal as well. Beyond that, I find myself doing a lot of multitasking, watching something on Plex or YouTube while working or gaming. Speaking of gaming, this is one of the areas where my current PC is feeling the most aged. It’s not that it is out of date, the RTX 3080 is still a solid card, but when I built that PC I was gaming at 1440p. I have moved to a large 4k OLED for my main display, and the higher resolution combined with the age has seen some slowdowns. I would also like to be able to take advantage of newer technologies like DLSS 4 and the recently introduced DLSS 5.
Beyond all of those goals, like with past builds, issues have come up that need to be addressed as well. With my previous build, early on the hard drive in the bottom died and getting down into the bottom of the Case Labs case is a pain, so I have ignored it. That limited the amount of storage space I had for games, which with some games taking up a LOT of space has meant a lot of juggling with which games I have had installed. Once again, I have had network issues. This has been an issue that has popped up in the last few builds. The wired NIC on the motherboard died, I’ve changed my home network around trying to see if something was causing it, and this time around I have a few new ideas to hopefully prevent this from happening again. The other issue has been noise, the unique form factor of our Case Labs Bullet case has limited the amount of cooling available, both with AIO water cooling size and overall cooling. This, combined with my goal of keeping my PC quiet has been a challenge and especially recently I’ve been losing that battle. That unique case size is also why I haven’t done any incremental upgrades for a while now. Video cards are a lot larger now, CPUs put out more heat as well, and none of that would fit in this case. Not to mention my desk setup was built around that case size. So I’ve finally made room for a larger modern case. I did seriously consider going with a nice SFF build, but I didn’t want to fight that balance of heat and noise this time around. Not to mention having to take the entire PC apart to replace a dead SSD or hard drive (which is an issue I have had on the last few PCs).
Motherboard/CPU/RAM
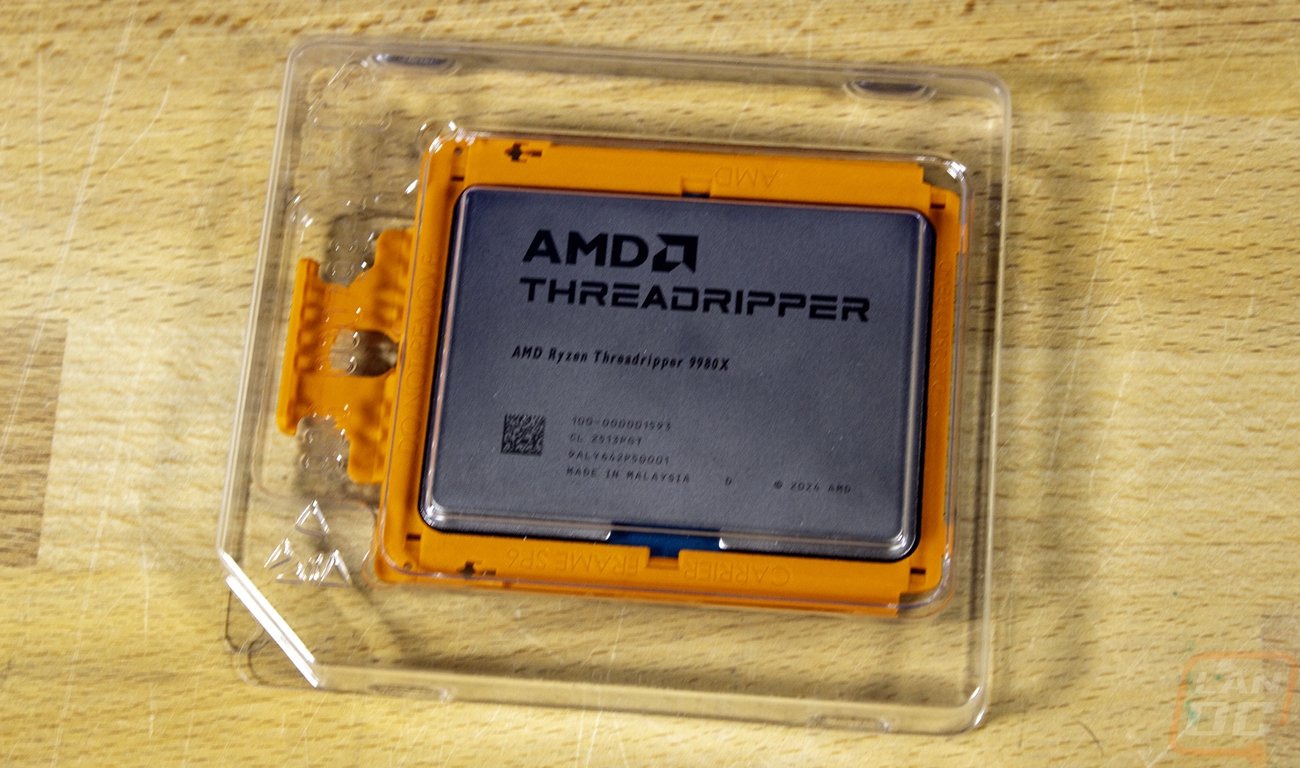
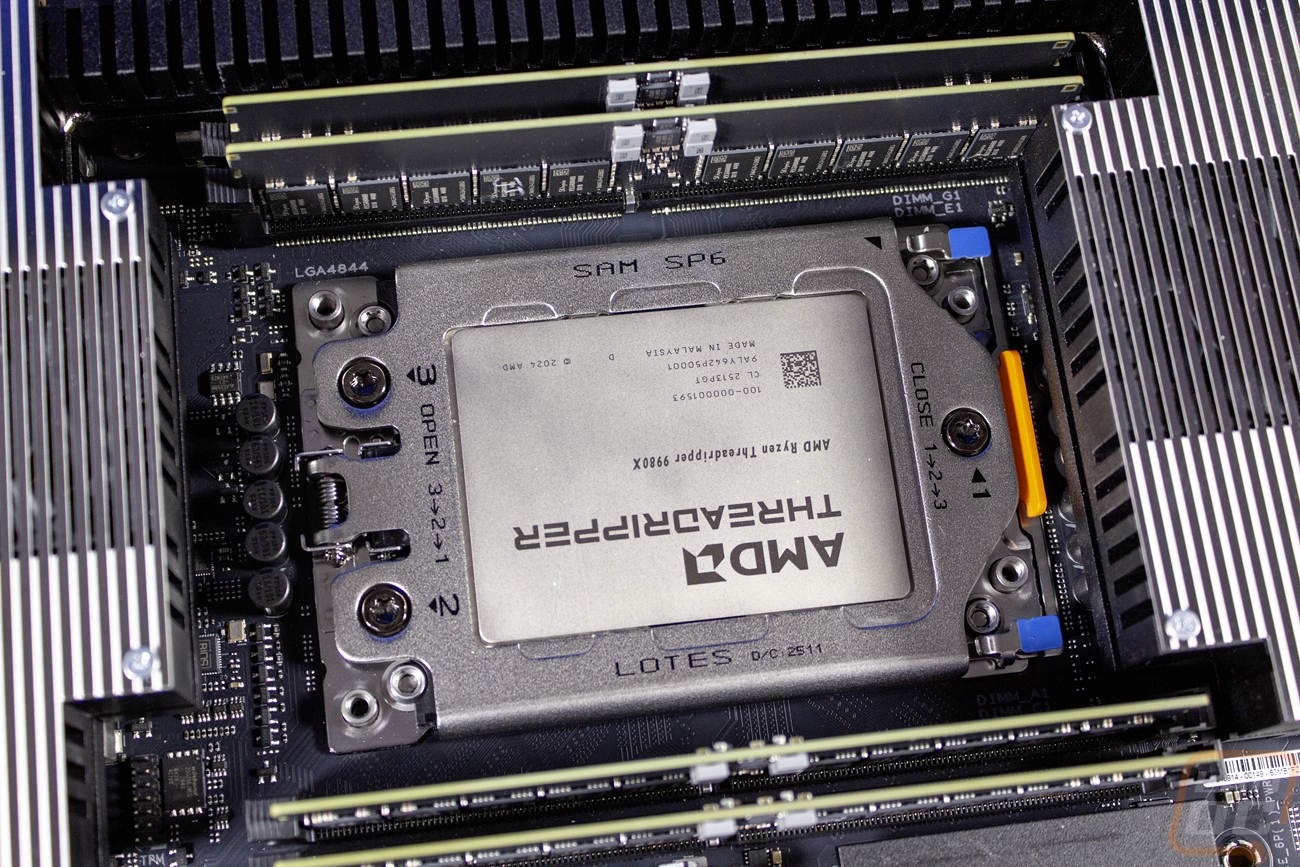
With how I plan on using this PC, a Ryzen 9 9950X3D might be the perfect blend of gaming performance and performance when doing other tasks. Even the new Ryzen 7 9850X3D would be a good fit to help keep costs down slightly. But last July I did test out AMD's latest Threadripper CPUs, the 9980X and 9970X. The 9980X would be out of my budget in any other situation, but with it already on hand, why not take advantage of that situation and put it to good use? So with that in mind, for this build I will be running the 9980X along with the Asus Pro WS TRX50-SAGE WIFI motherboard that AMD sent with it for testing. I covered it in our full review of the Threadripper 9980X, but with 64 cores and 128 threads, it is a complete monster. It has a base clock speed of 3.2 GHz, but does boost up to 5.4 GHz in some situations. That is paired up with a 64MB L2 Cache and a 256 MB L3 cache.
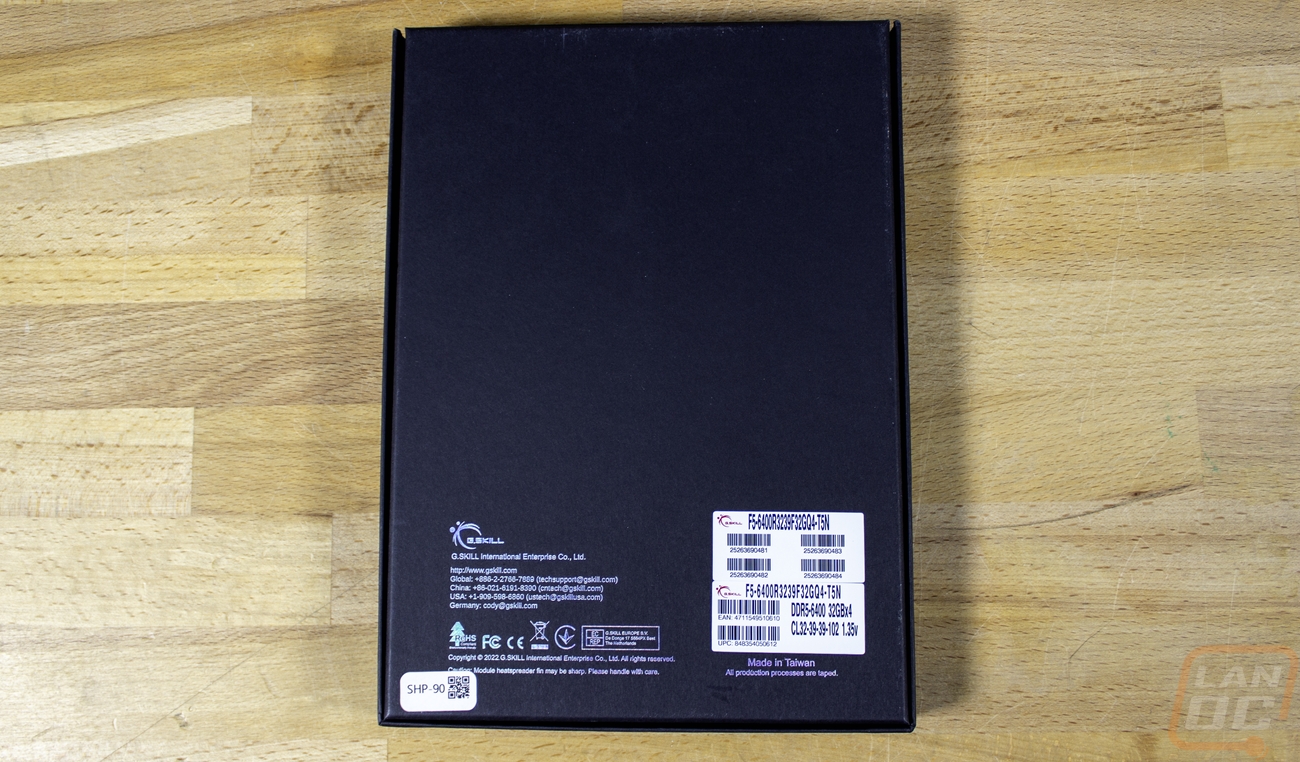
I’m pairing the Threadripper 9980X up with the same G.Skill memory kit that was included with the Threadripper review kit from AMD. The G.Skill F5-6400R3239F32GQ4-T5N kit is clocked at 6400MHz and is a quad-channel 32 GBx4 kit giving the system 128GB of memory, which with current memory availability and prices, I would be crazy not to put to use. They don’t have a fancy heatspreader on them, but they do have on-die ECC which is supported with the Threadripper CPUs and support for AMD's EXPO profiles as well.
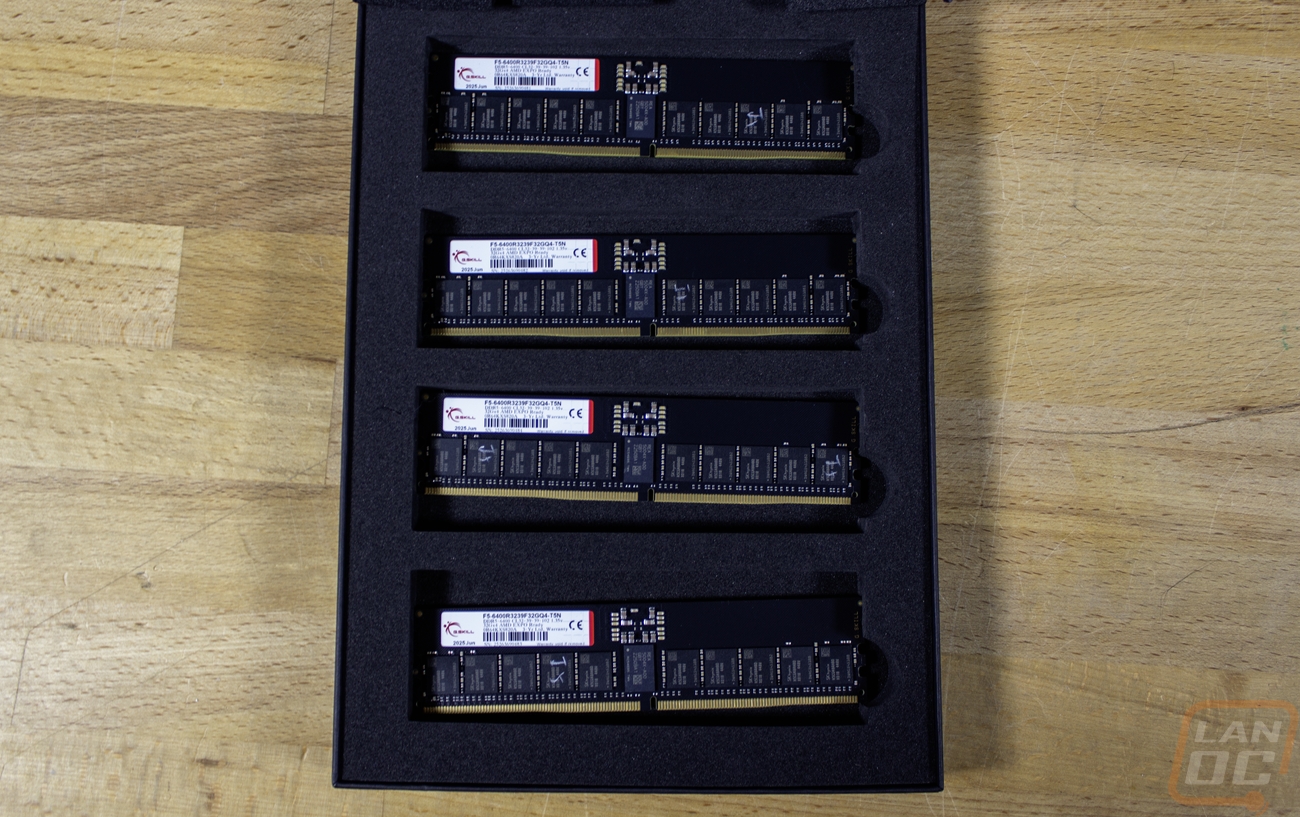
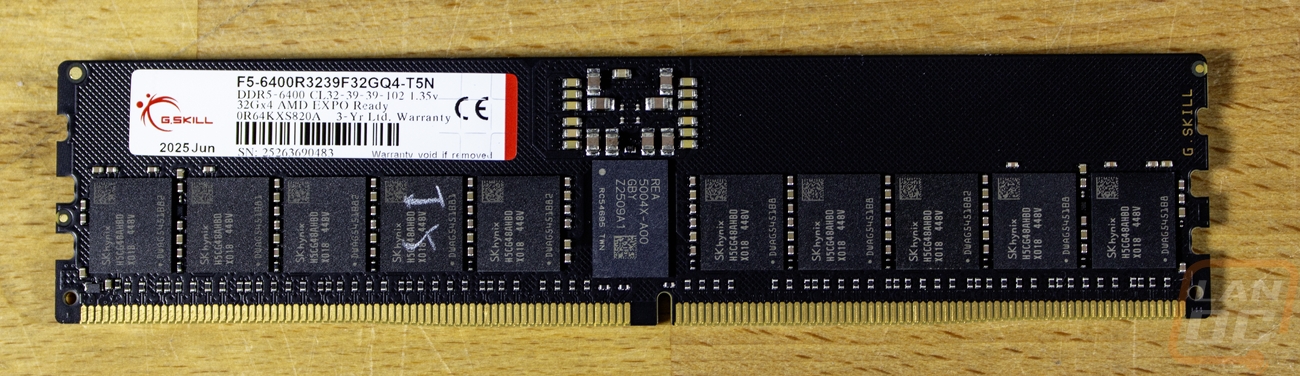
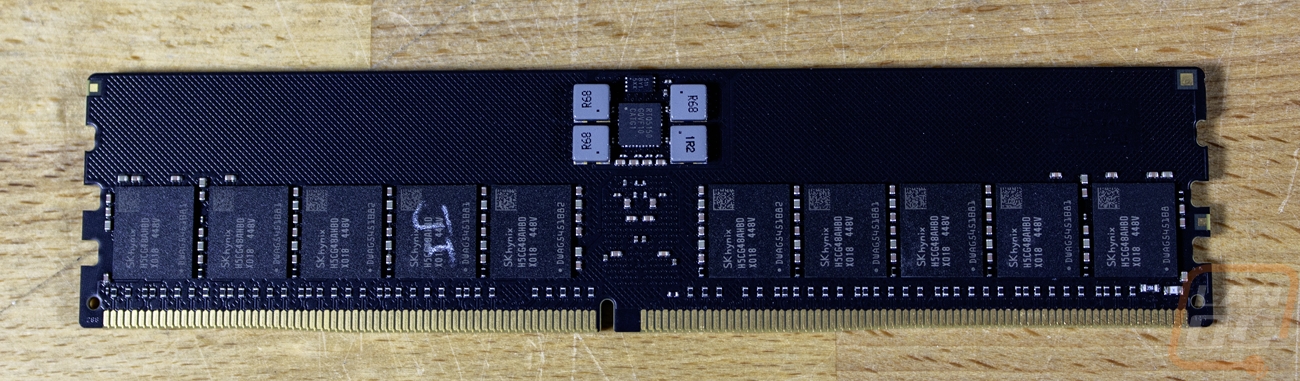
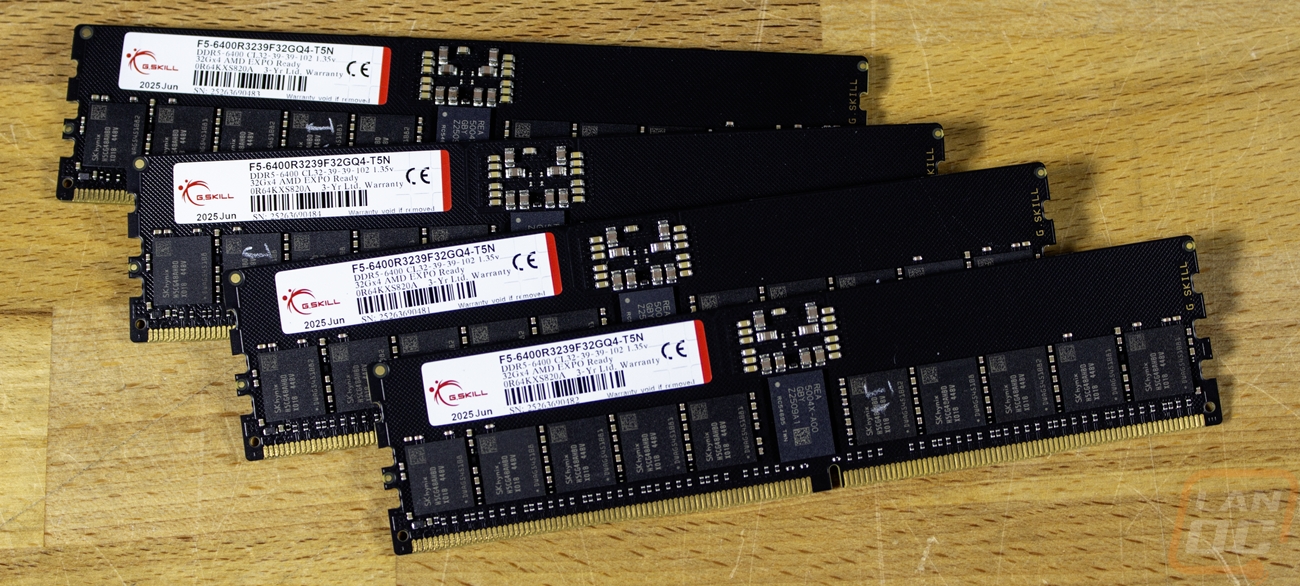
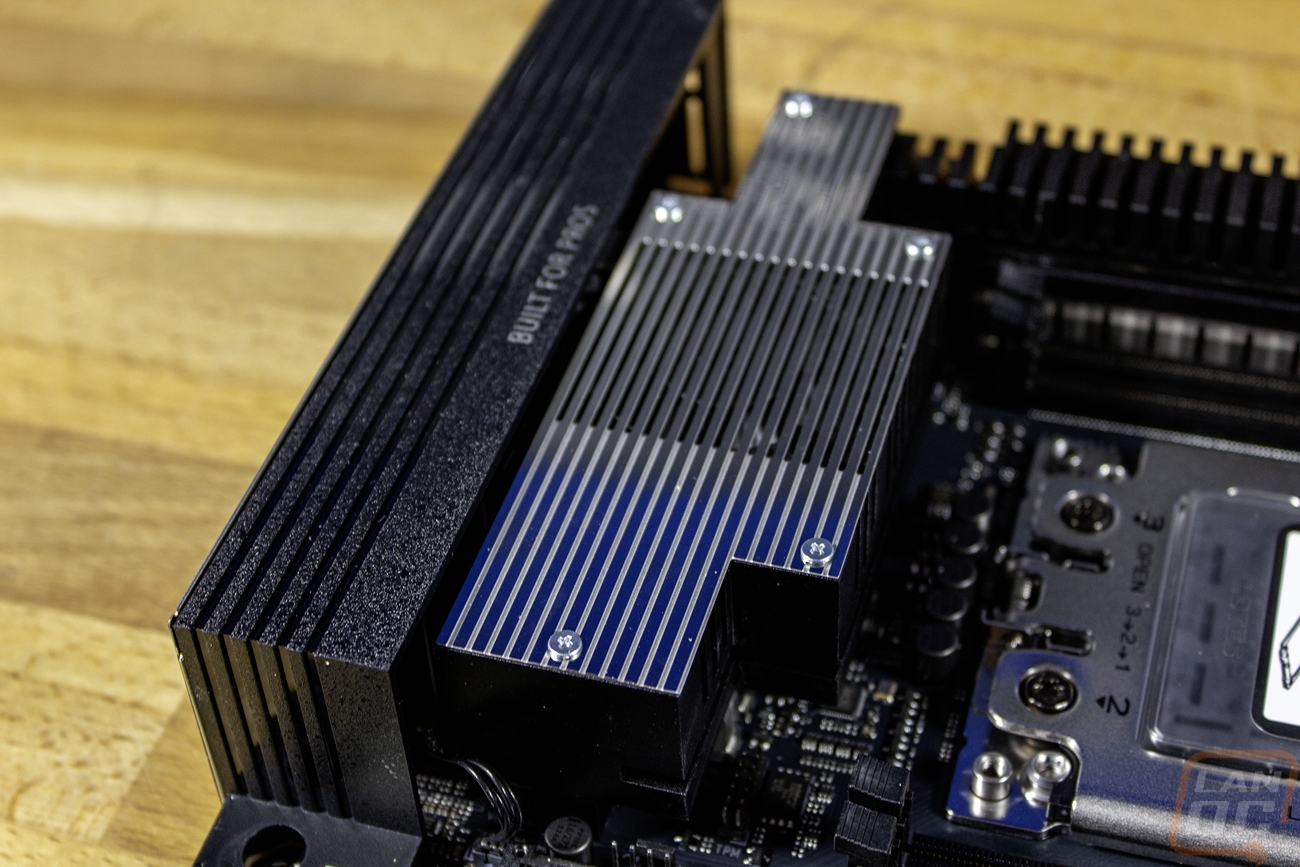
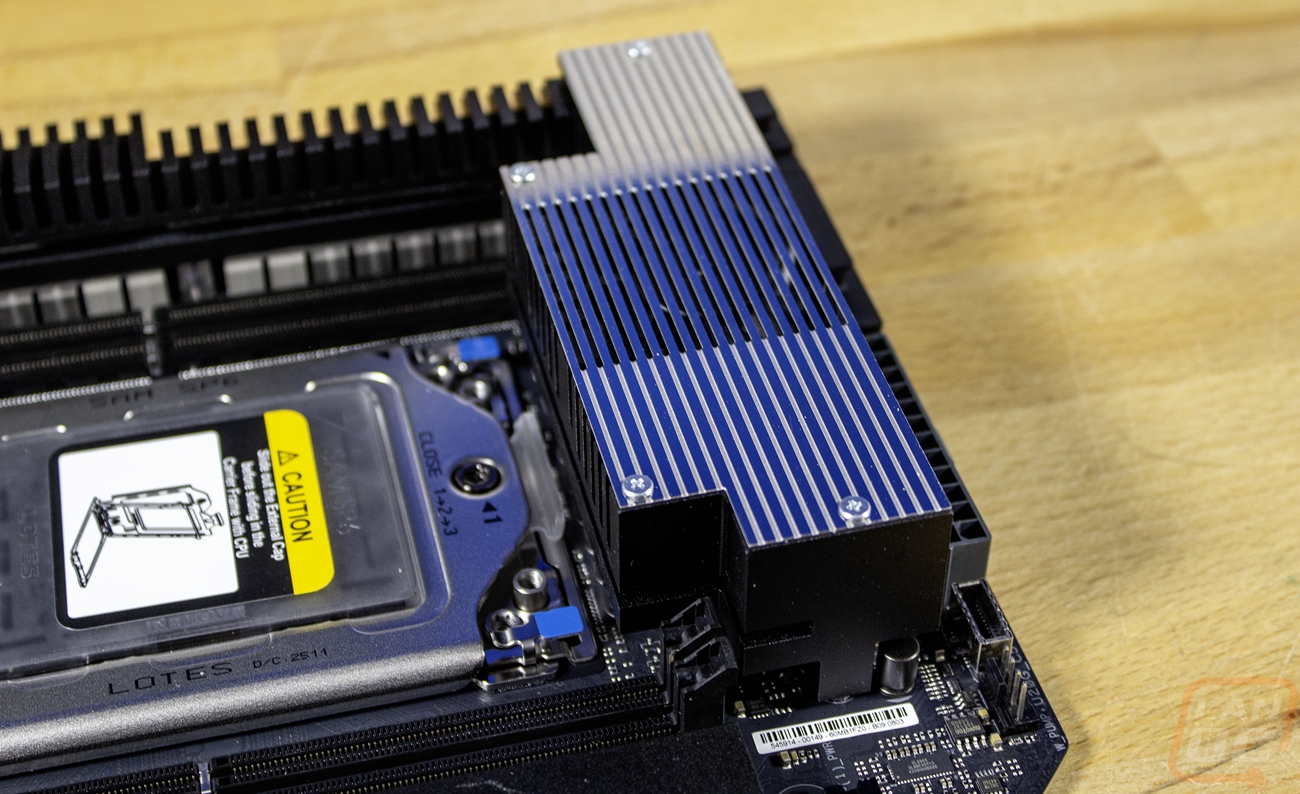
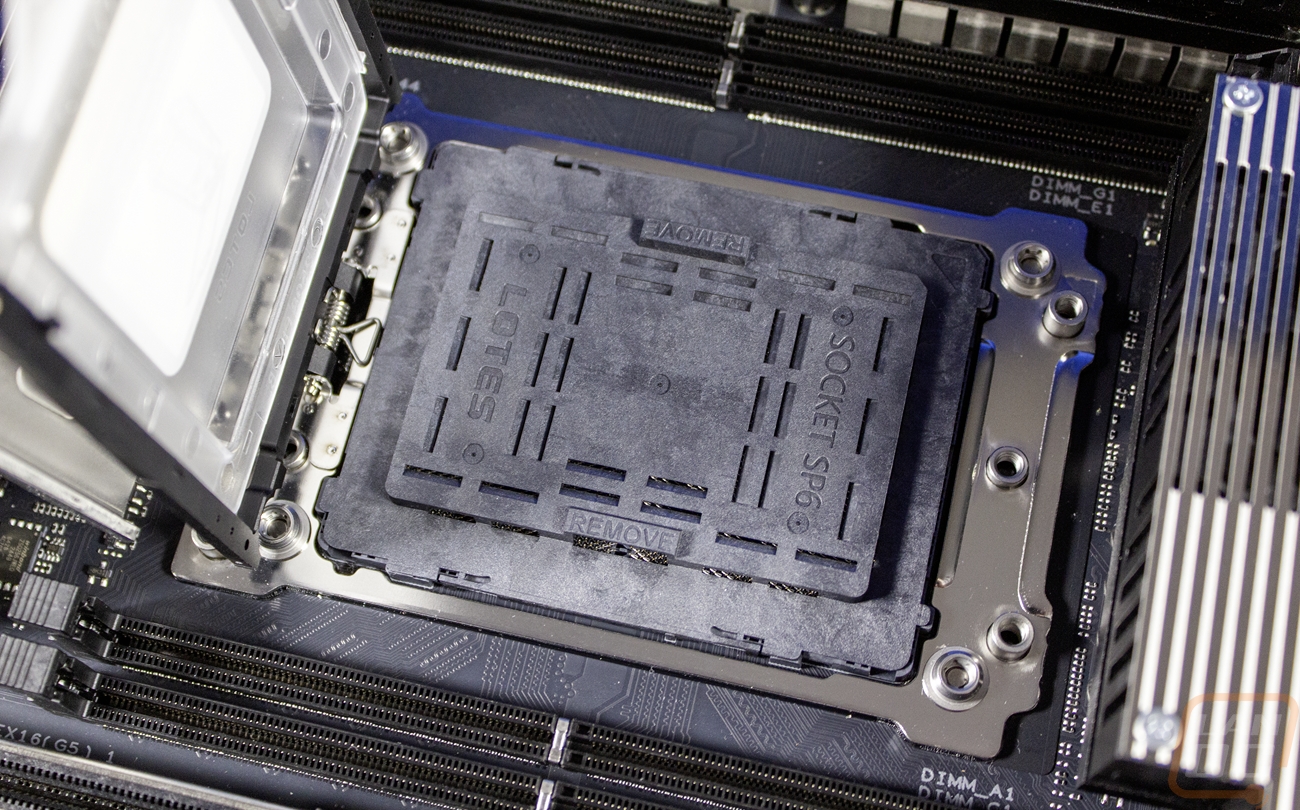
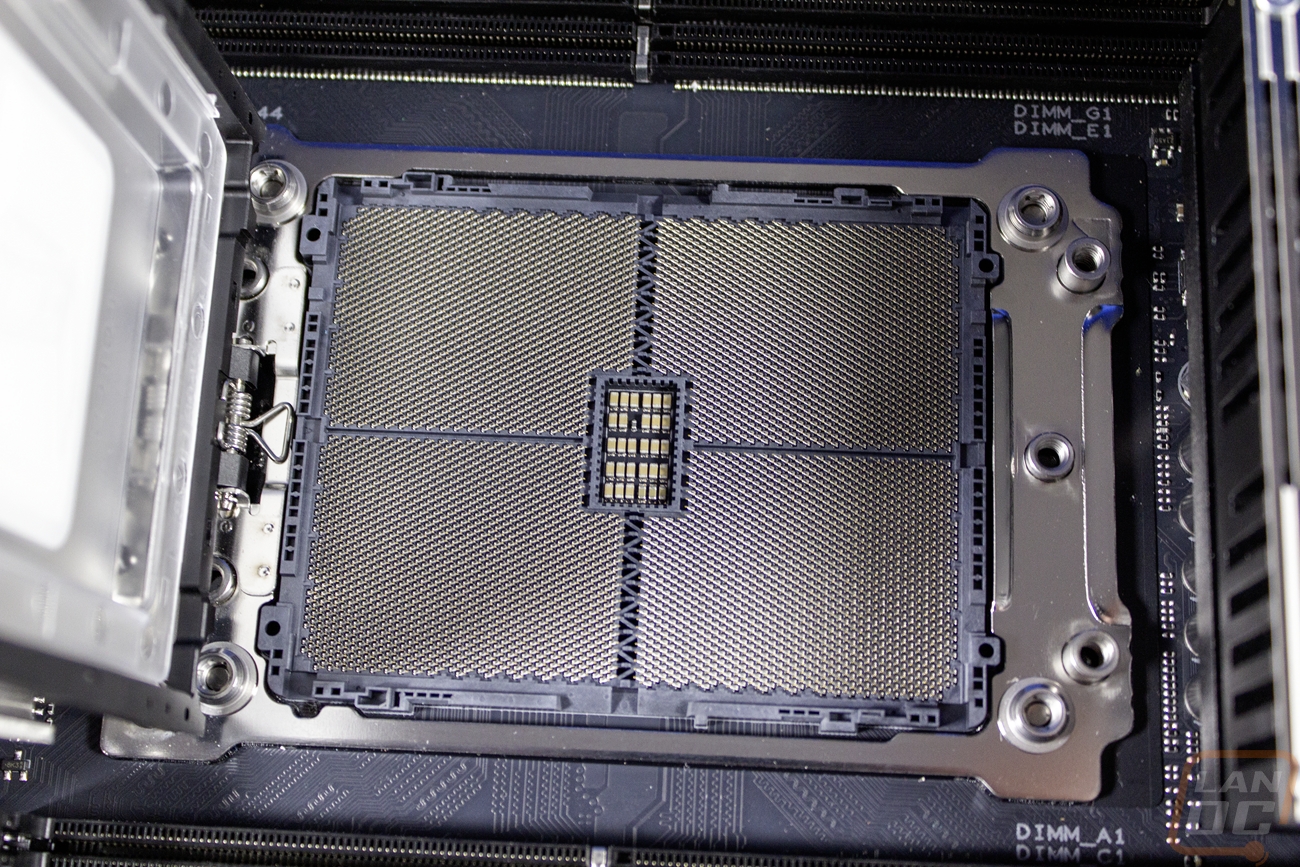
Connecting the AMD Threadripper 9980X and the G.Skill memory together is the Asus Pro WS TRX50-SAGE WIFI. Going with this board played a big role in the case selection as well because it is actually a CEB form factor. CEB or SSI-CEB was designed for use with dual CPU motherboards, and this one has just one. It is still a large motherboard at 12 inches tall and 11 inches wide. Thankfully, CEB uses standard ATX standoffs. With that, it can work with a lot of boards that support E-ATX. The board has 4 DDR5 DIMM slots and of course the sTRX5 socket for Threadripper. Those are up in the top half of the board, and then all around the CPU socket they have large heatsinks with a cast aluminum heatsink along the top covering up some of the 36 power stages. On both sides, there are aluminum heatsinks that handle the rest of the VRMs. Those two side heatsinks do have fans built into the middle for active cooling for both. They also link into the top heatsink with a heatpipe wrapped around to all three.
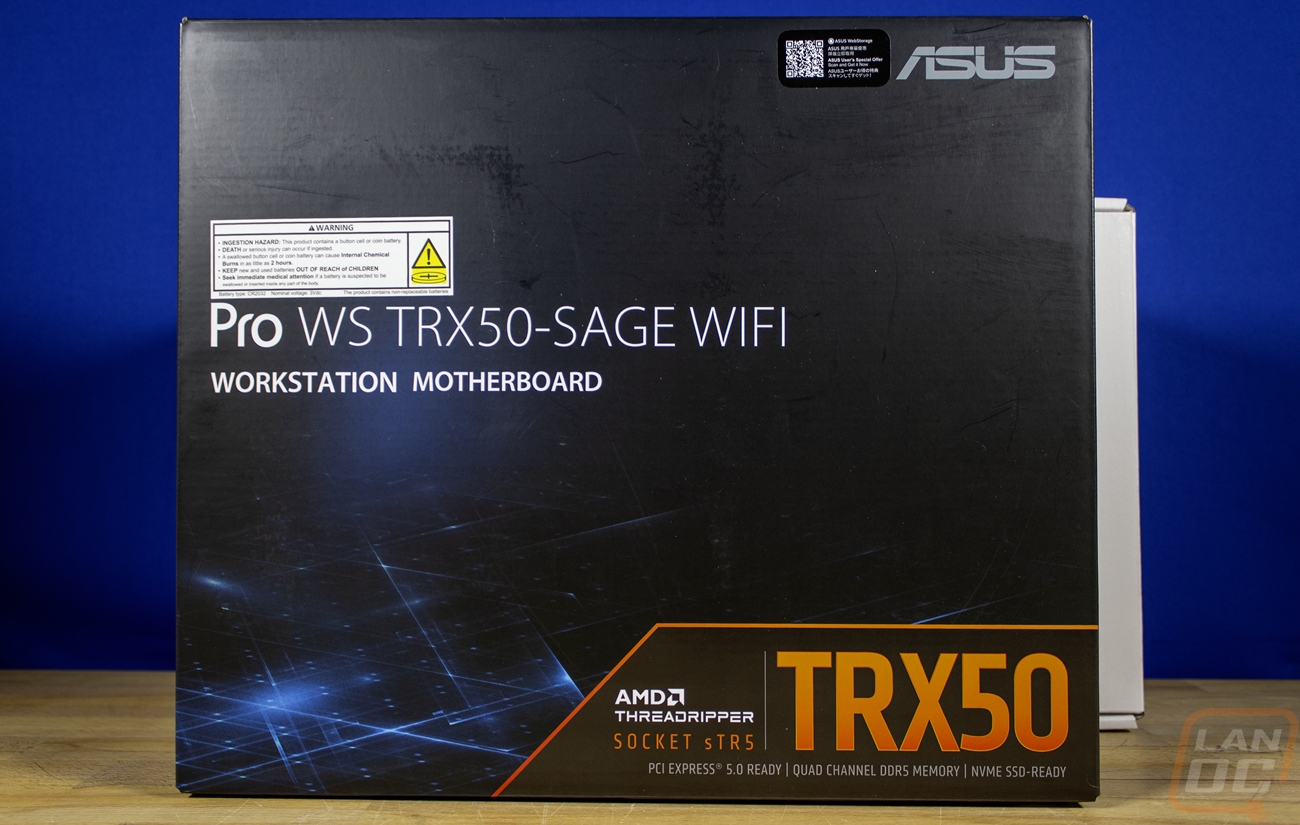
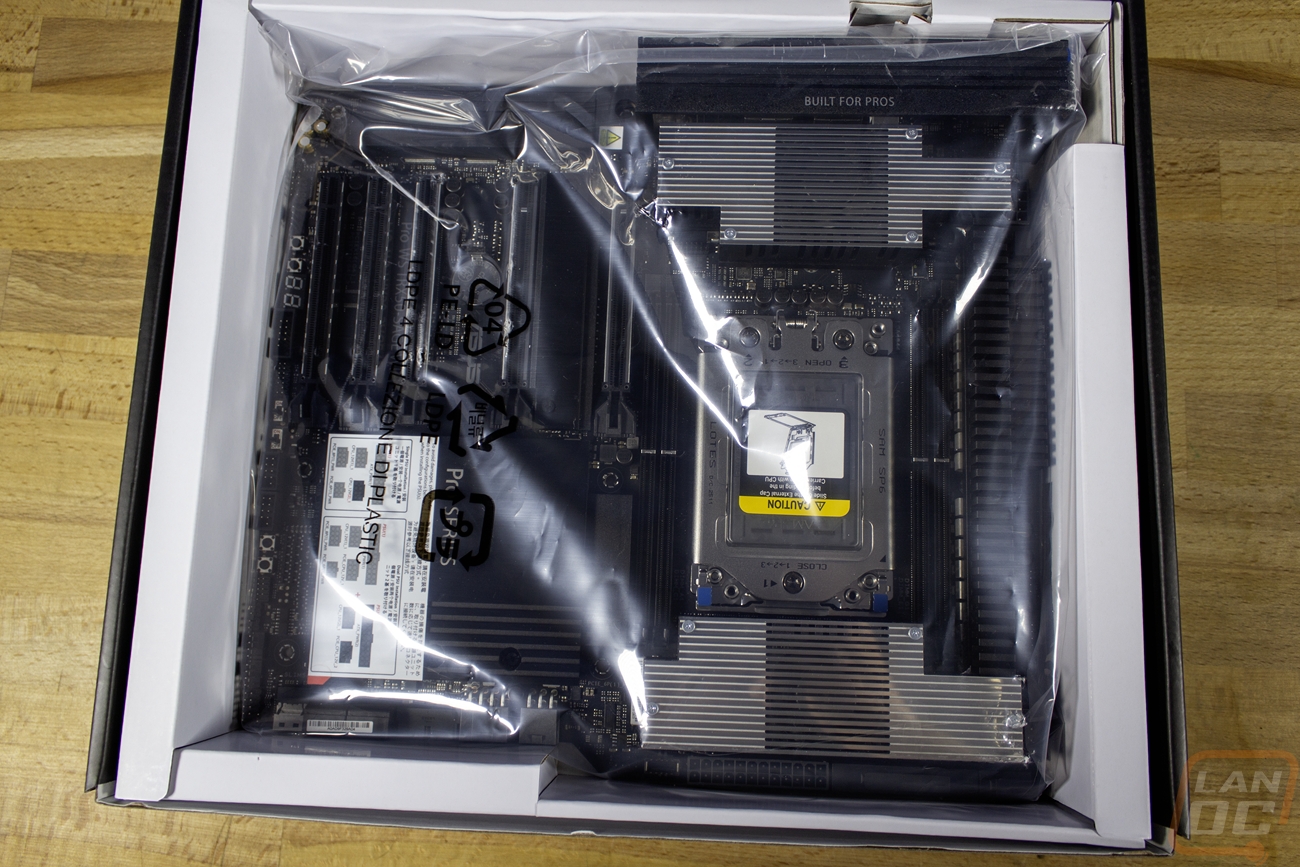
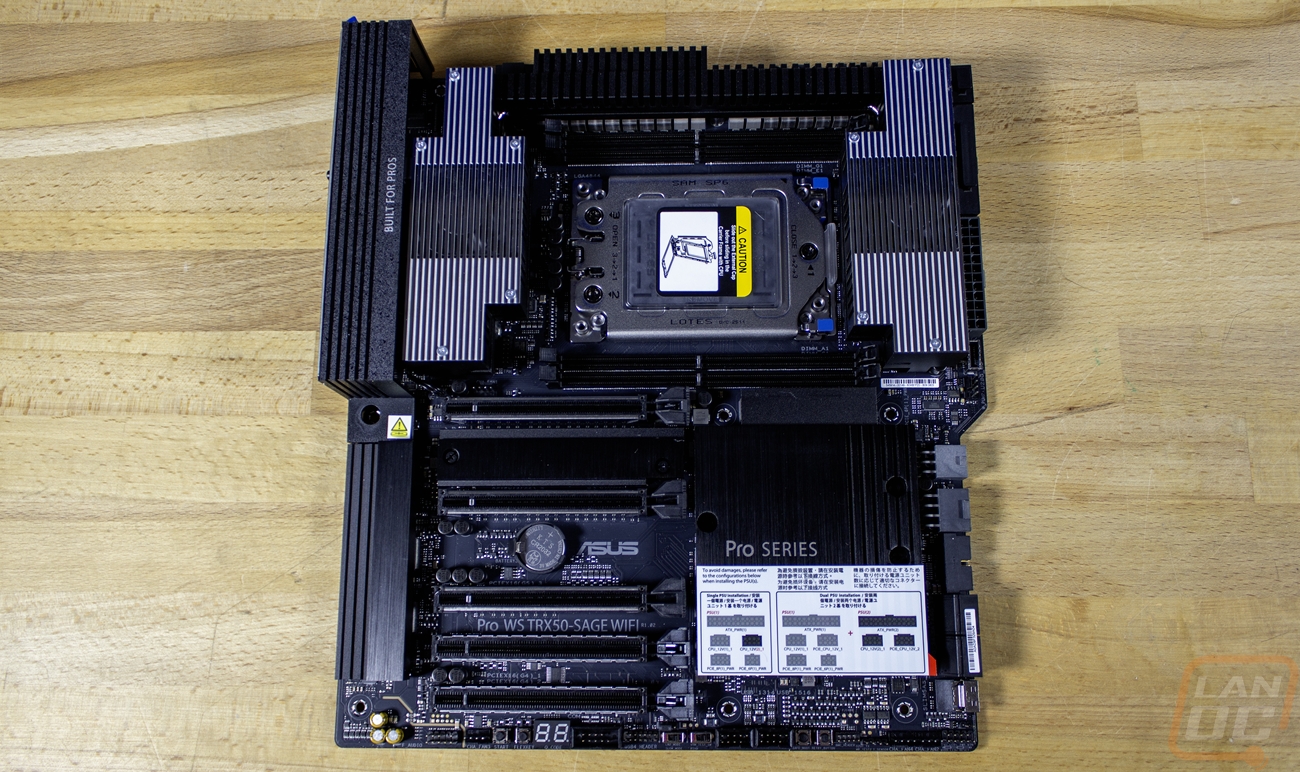


For features, the Asus Pro WS TRX50-SAGE WIFI has two PCIe 5.0 x16 slots, one PCIe 5.0 x16 slot that runs at x8 speeds, one PCIe 4.0 x16 slot, and one PCIe 4.0 x16 length slot running at x4 speeds. That is more than enough to handle the capture card that I always have in my PC as well as a video card while leaving room for expansion if needed. For storage the board actually has less M.2 capacity than you might expect with three in total. Two PCIe 5.0 x4 slots that run through the processor and then one more that runs through the TRX50 chipset, which runs at PCIe 4.0 x4 speeds. There are four SATA 6Gb/s ports and one SlimSAS port that supports a PCIe 4.0 x4 NVMe device as well. That should be enough to handle my storage needs though I wouldn’t have been upset to have one more M.2 slot there. For networking it has 2x2 Wifi 7 for wireless and then two wired NICs. One is the Intel I226-LM 2.5Gb and the other is the Marvell AQtion 10Gb. I run a 10Gb network so that is great to see and the 2.5Gb NIC is a nice fallback. I would have preferred to see the wireless be 320MHz, but I’m really hoping we get the wired network issues worked out (more on that in a future article) so that I don’t even need to use the wireless.
Another important feature for me is having a lot of USB connections and the Asus Pro WS TRX50-SAGE WIFI has a total of 9 ports on the back with one 20Gbps Type-C connection, six 10Gbps Type-A connections, and two USB 2.0 Type-A ports. Then for the front (depending on our case) it can support up to 7 with one 20Gbps Type-C with up to 27 watts of charging power, two 5Gbps Type-A ports, and then two USB 2.0 ports.
While we don’t have our storage yet I did go ahead and prep the motherboard by installing the 9980X Threadripper CPU and the G.Skill memory as well.



Case
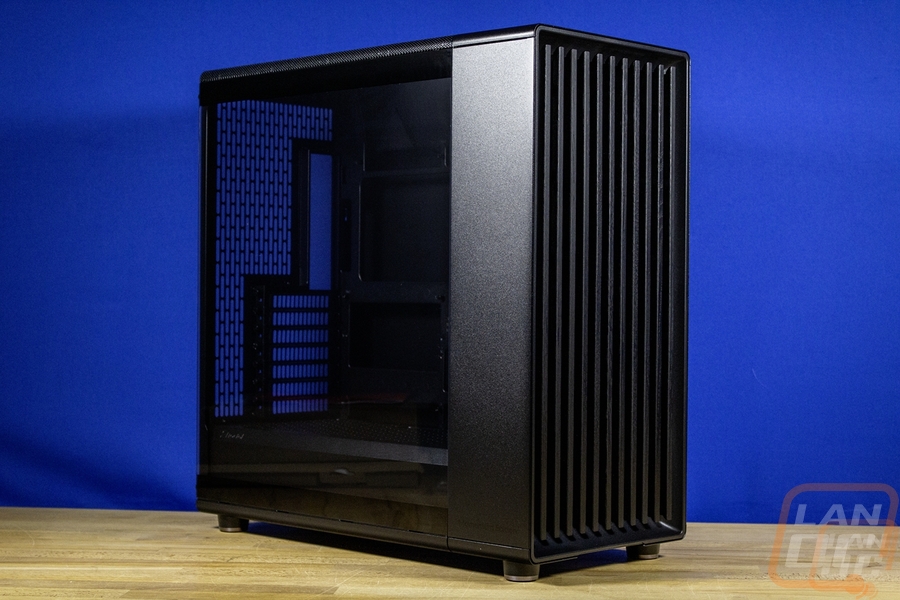
Once I decided that I would utilize the Threadripper setup we had in the office. That made a big impact on what case I would go with. My previous Case Labs Bullet case is a square design and with that it stays on an 18-inch square wire rack. I would have to get rid of the printer that was also on the rack to make room for a traditional case which I knew I would have to go with to have a case that would be easier to work in, large enough to fit a large cooler to handle the 9980X, and to fit a larger modern video card none of which my Case Labs case would do. Another issue that I am going to have to deal with eventually is that the 18 x 18 inch rack isn’t deep enough for a lot of large cases. The case I went with is included in that. I’m going to have to address that when I get to that. But with the large SSI-CEB motherboard my options were a little more limited than normal. A lot of the cases that support E-ATX will work, but there is no way to know for sure without diving into the measurements. I ended up reaching out to Fractal and their new Momentum Edition of the North XL would fit the motherboard, cooling, and everything else (except maybe fitting where I want to put it, but we will see). On top of that the all blacked out look of the Momentum Edition perfectly fits what I wanted to do this time around. I’ve had crazy flashy builds, I’ve had compact SFF builds, PCs with screens inside and lighting everywhere. This PC is right out in the middle of my office and I just wanted it to be completely blacked out. The North XL Momentum Edition has the same design as the original North and North XL but drops the silver option and the wood colored grill for black on black on black. It has a large tempered glass side panel but that has a light tint to it as well. Perfect to tucked the Asus Pro WS TRX50-SAGE WIFI inside which is black with a few touches of aluminum.
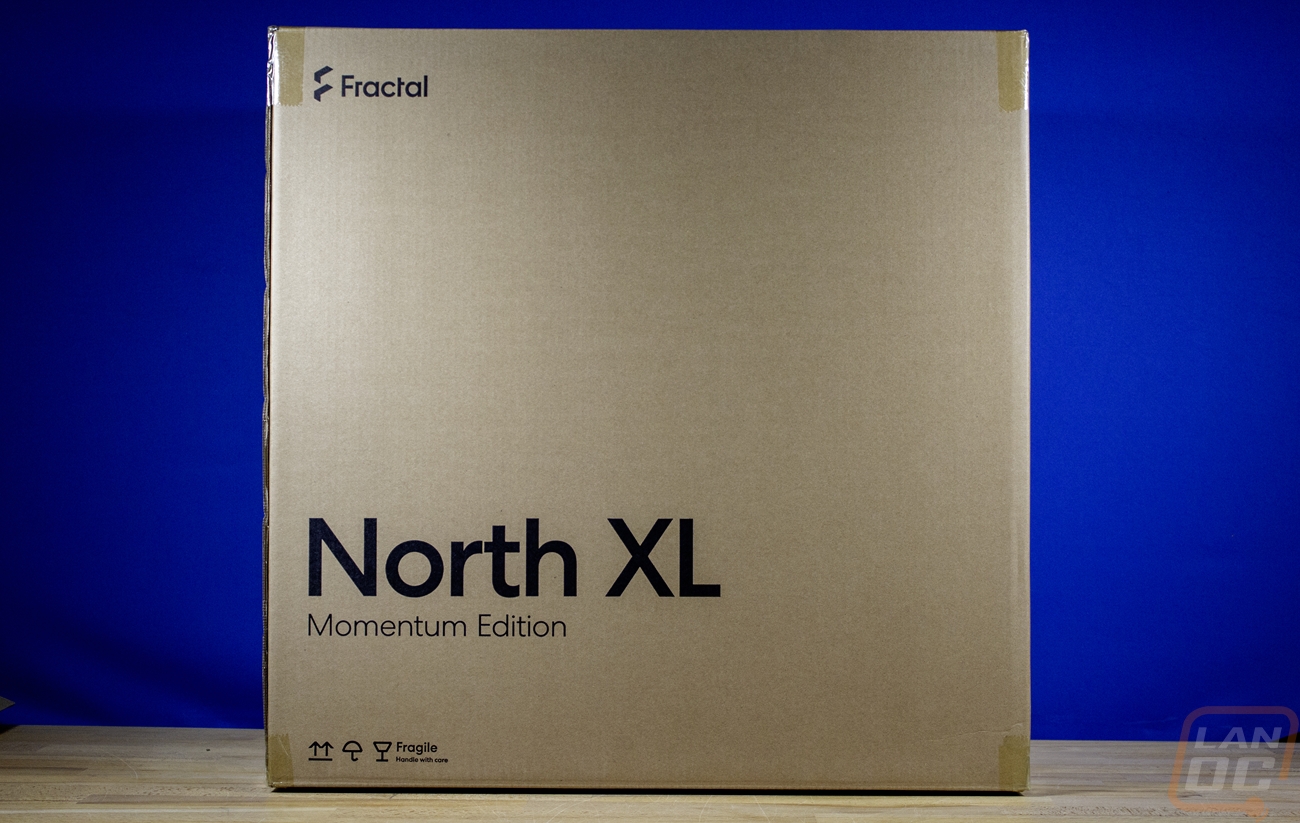
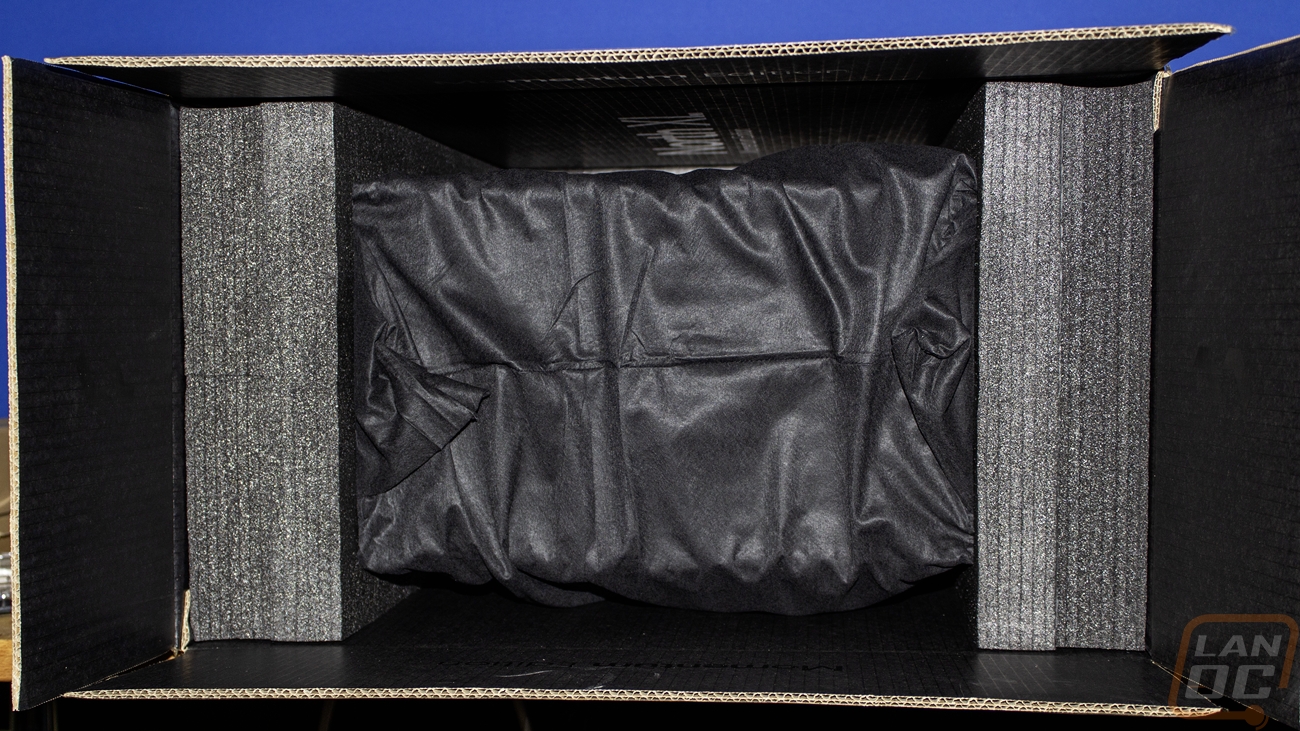
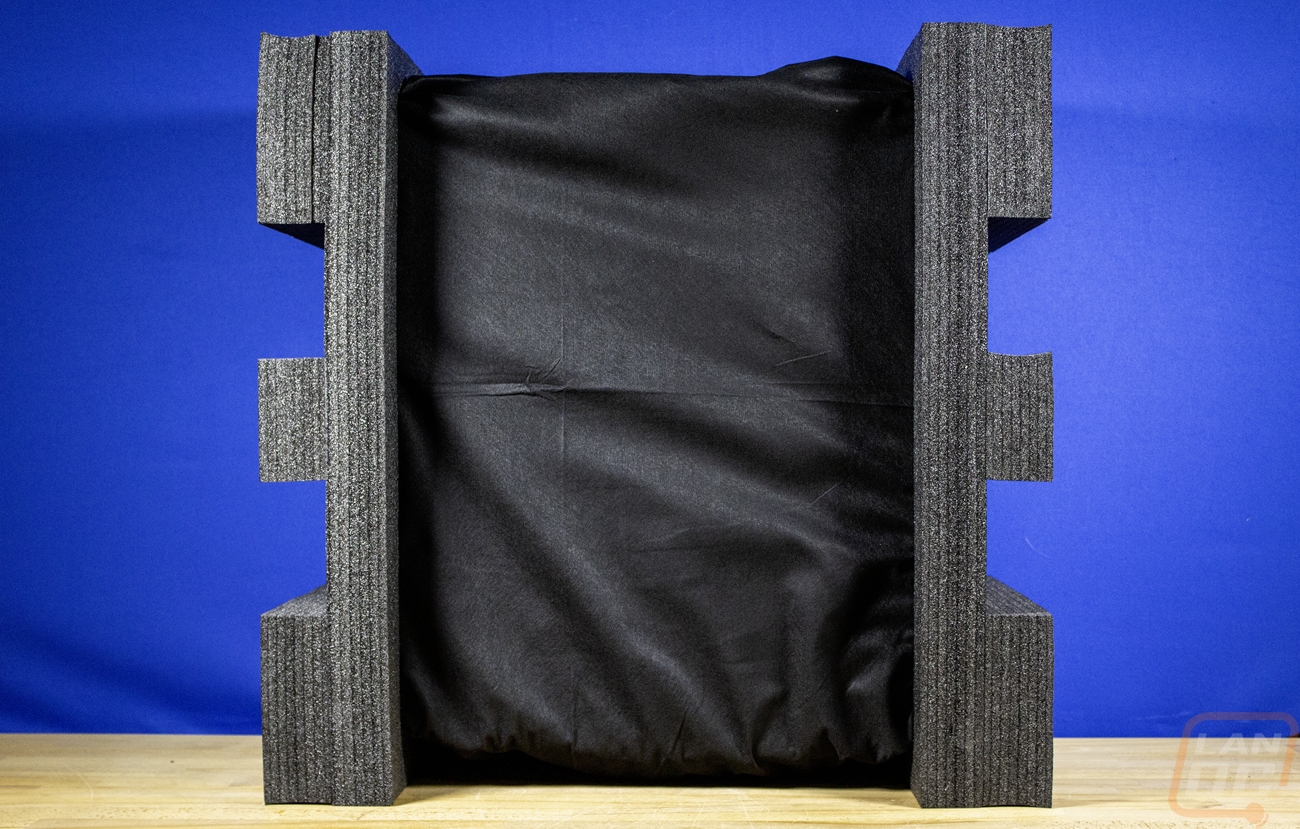

The North XL Momentum Edition comes in at 503mm x 240mm x 509mm or 19.8 inches deep, 9.4 inches wide, and 20 inches tall. That depth is going to be an issue for future me for sure but Fractal confirmed that it would fit the SSI-CEB motherboard even though it isn’t officially listed in the specifications and the North XL Momentum Edition supports up to 413mm for video card length if you are just running the front fans and 380mm if you have a front radiator installed. A radiator can also be run up on the top with the front supporting a 420 or 360 mm and the top supporting 280 or 360 mm. You can also slip in a rear 120 mm radiator as well if you need even more. For the power supply, it is hidden down in the bottom compartment and can be 175 mm long if you run both hard drive trays and 290 mm if you run just one.
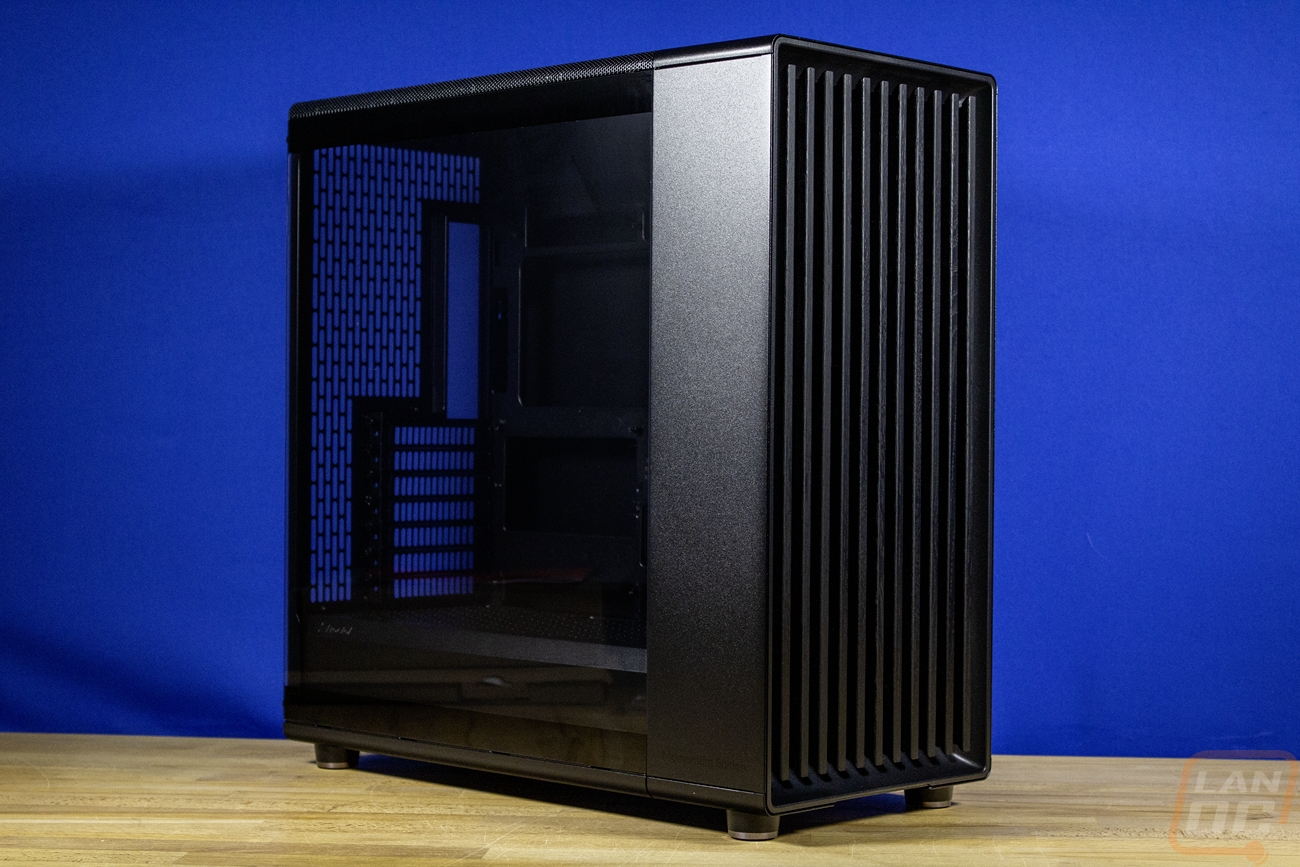
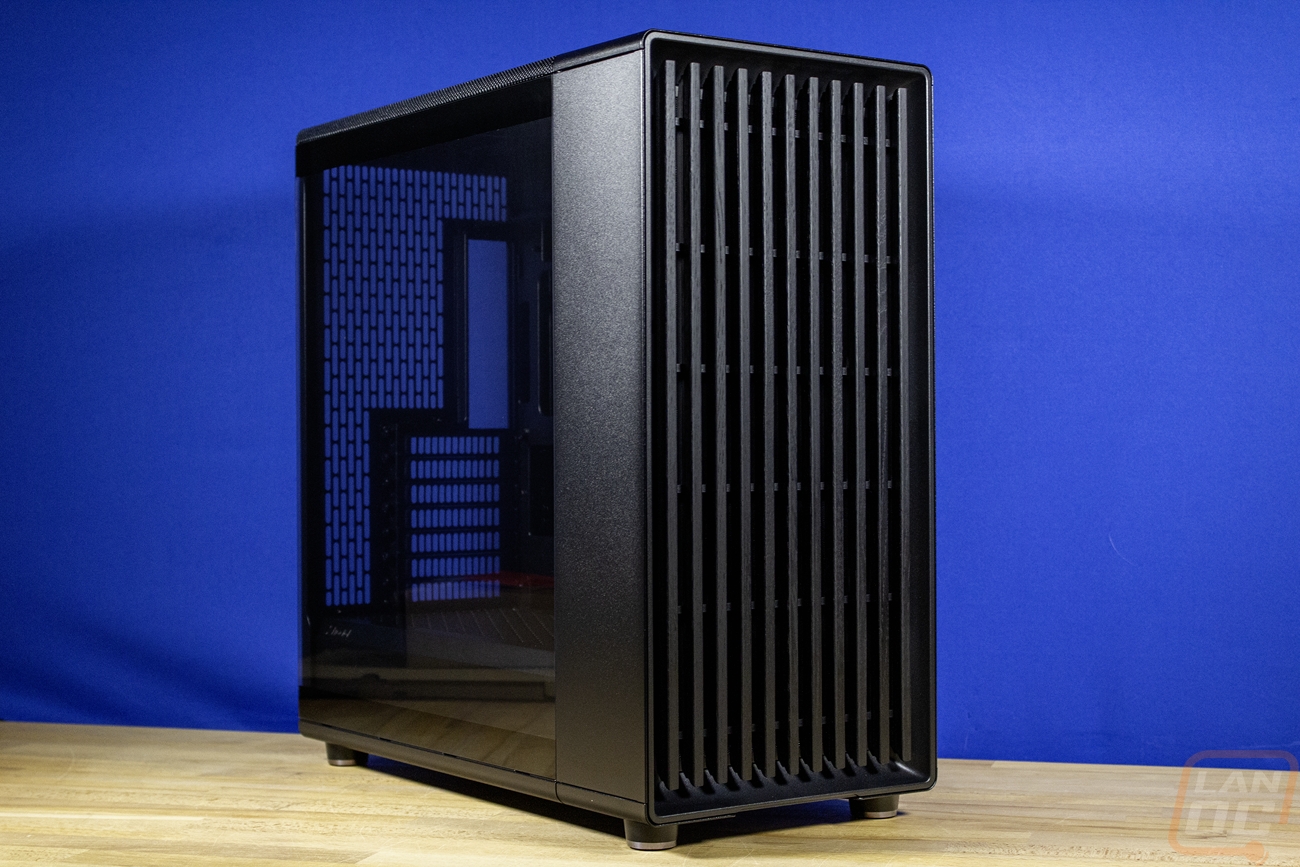
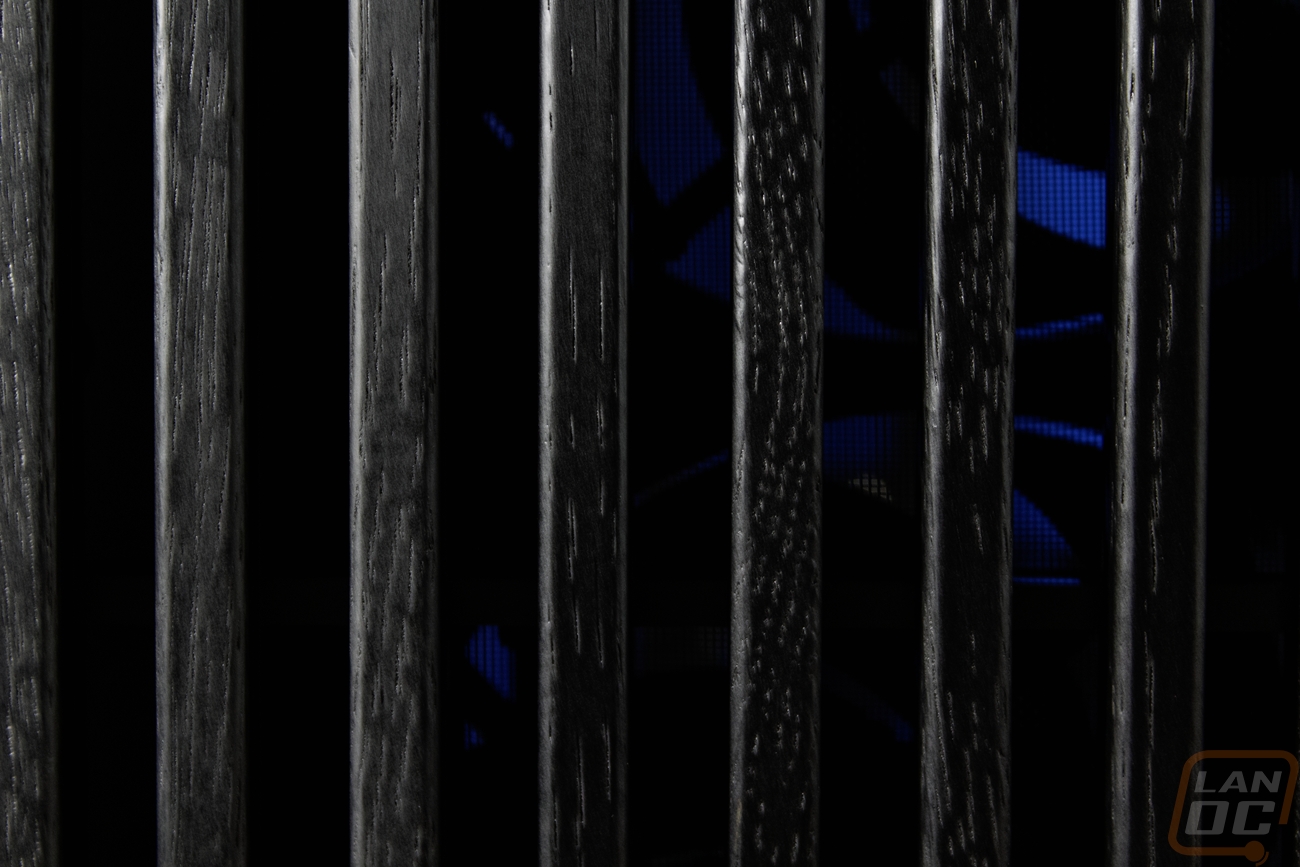
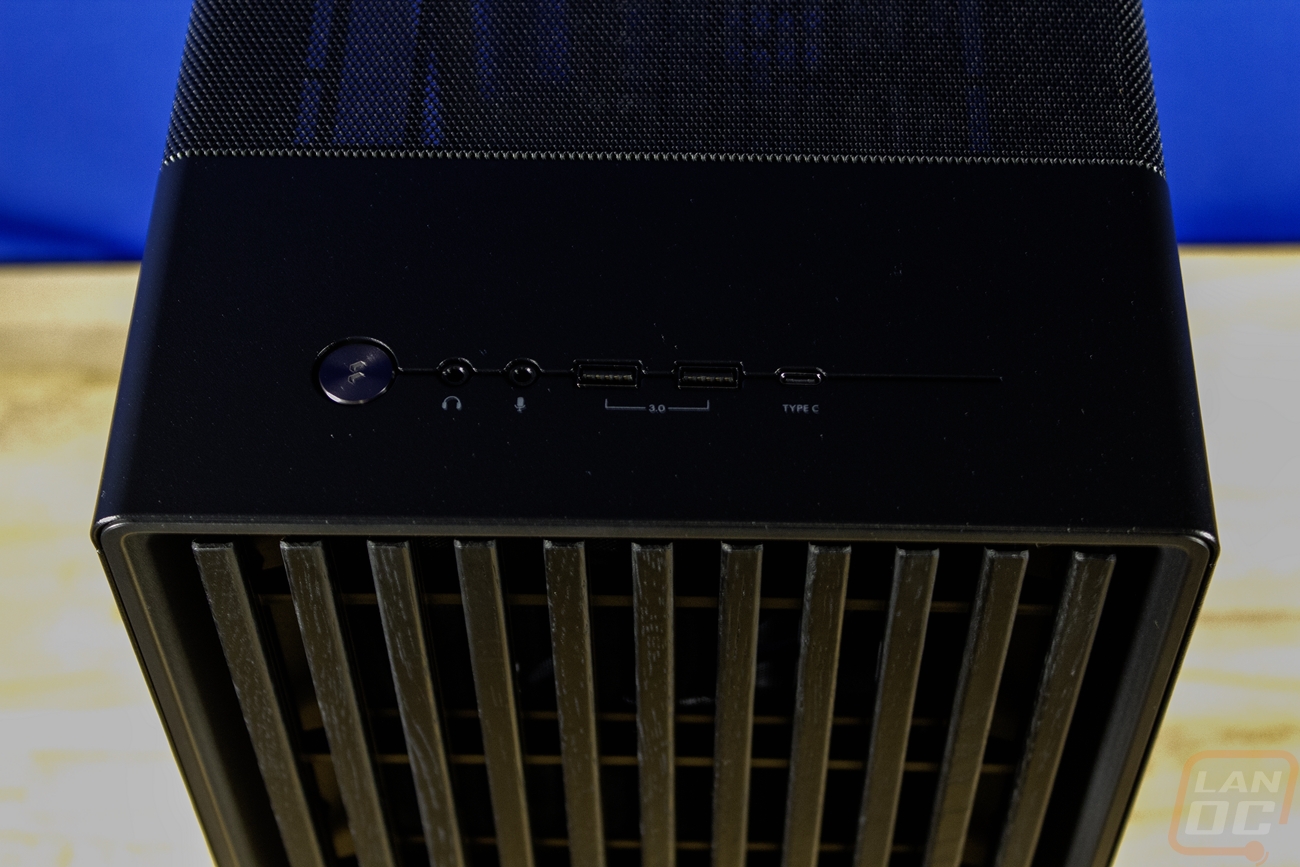
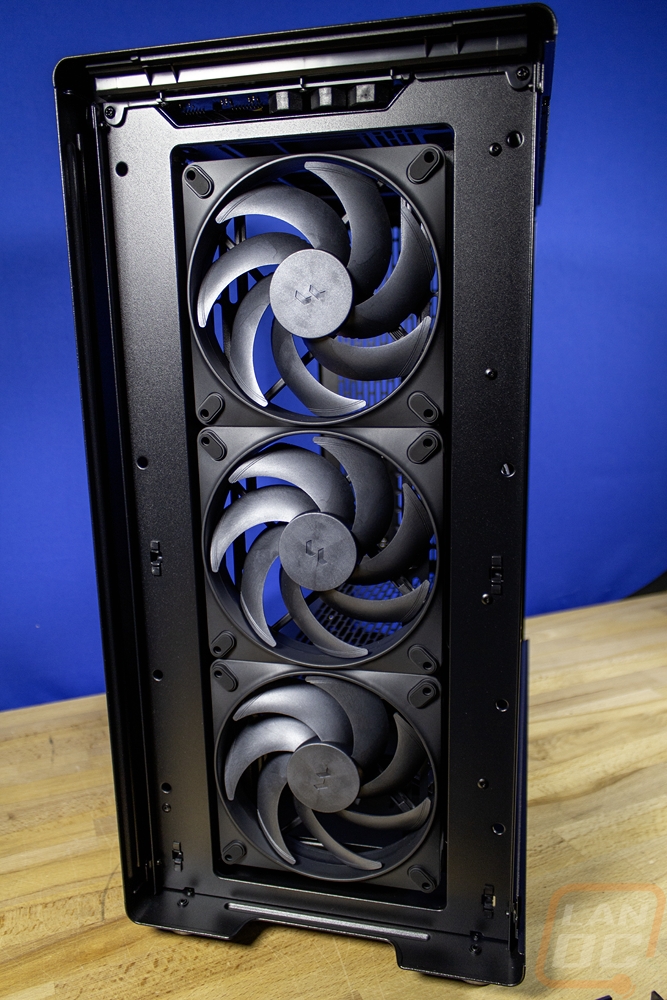
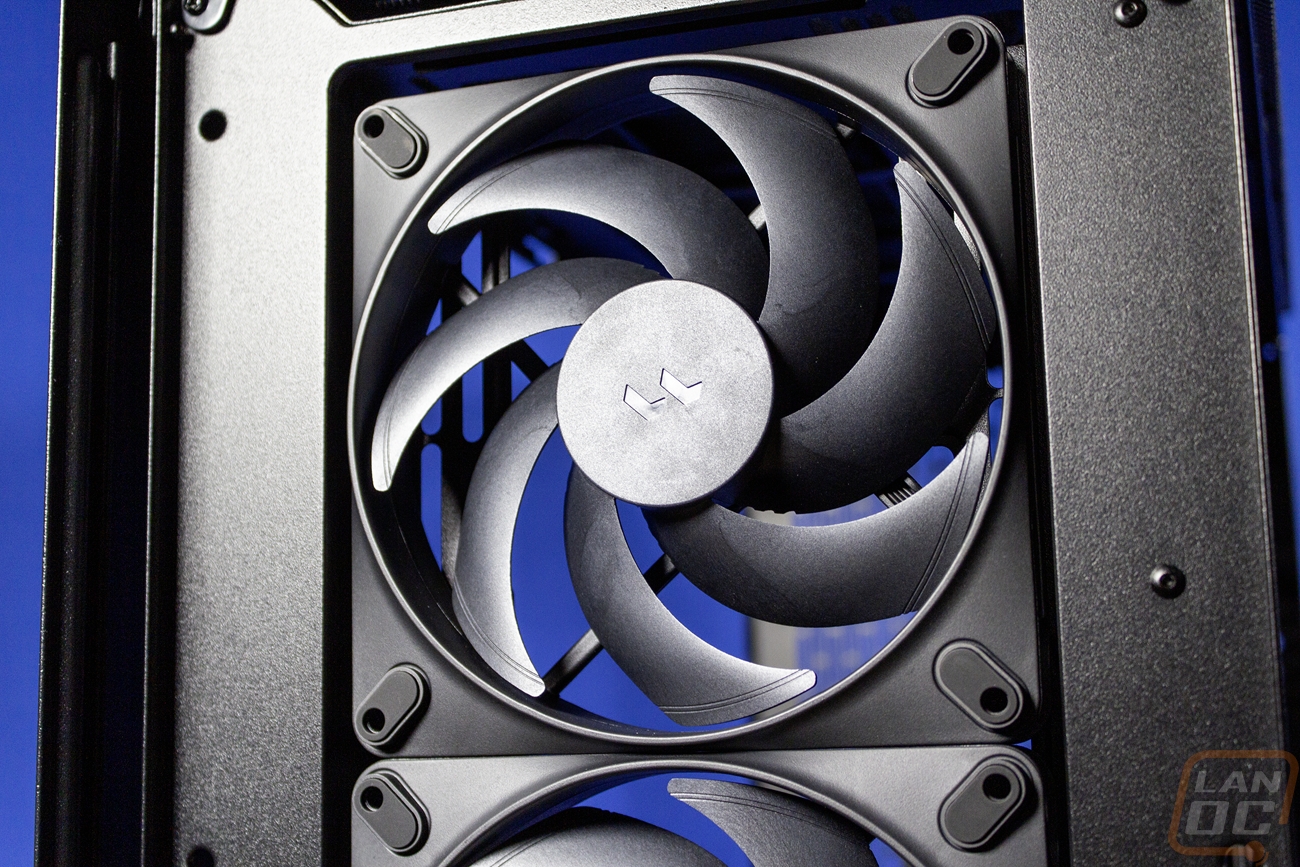
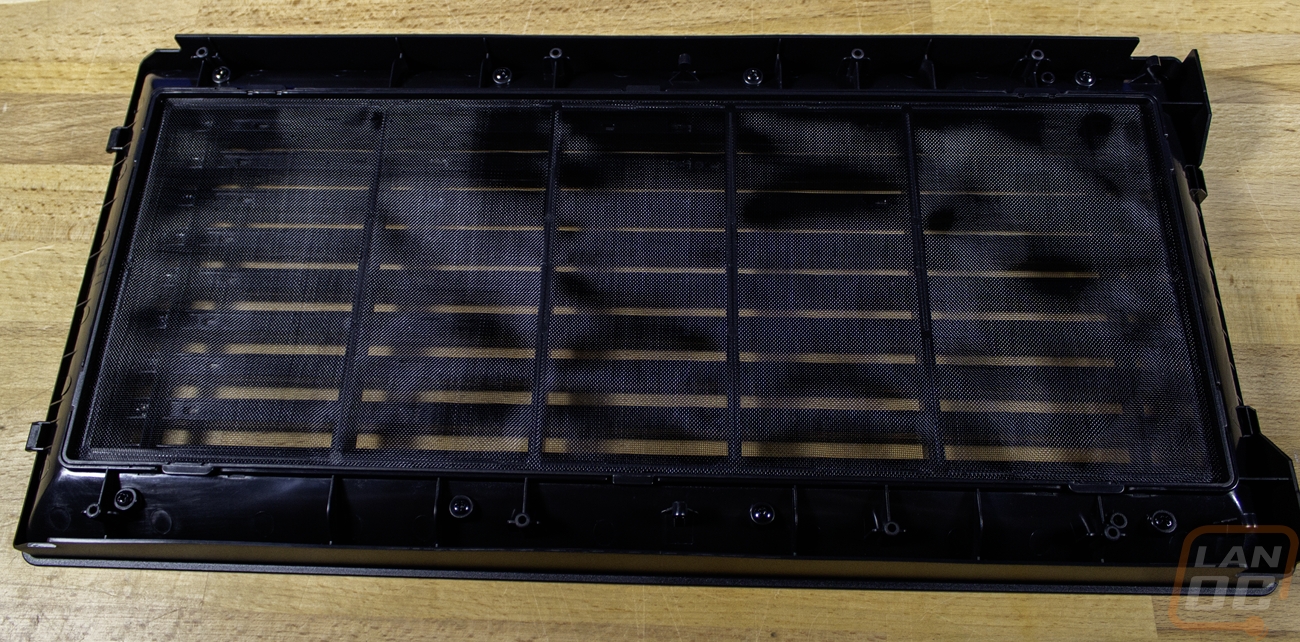
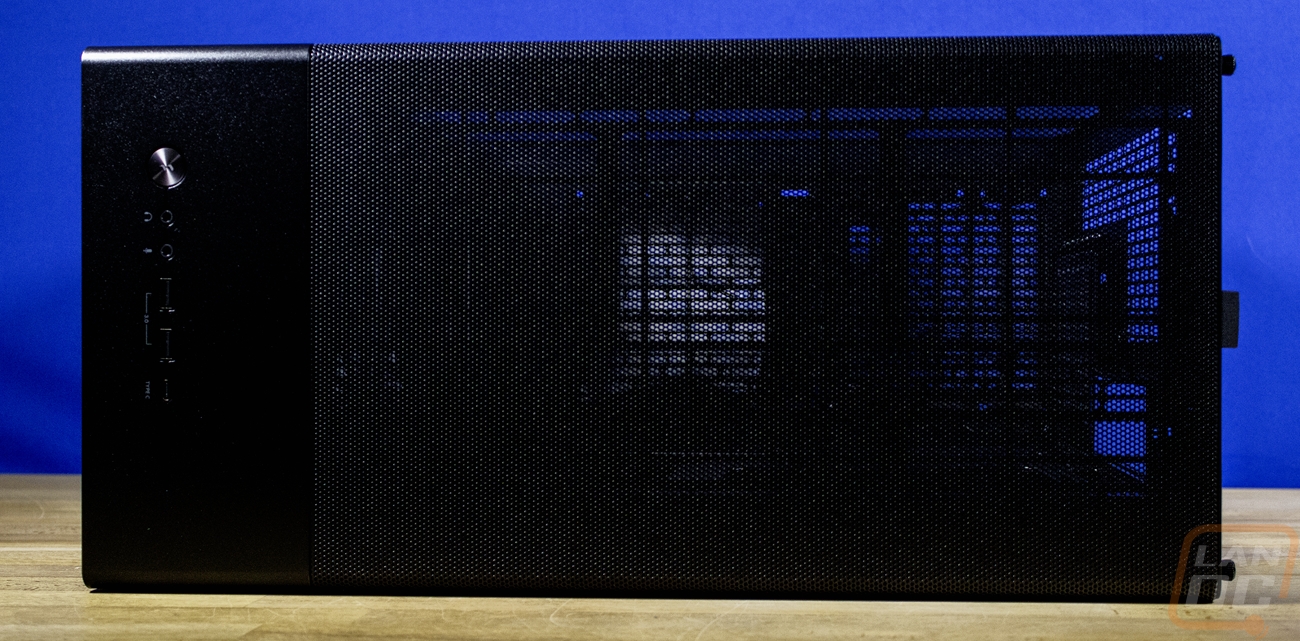
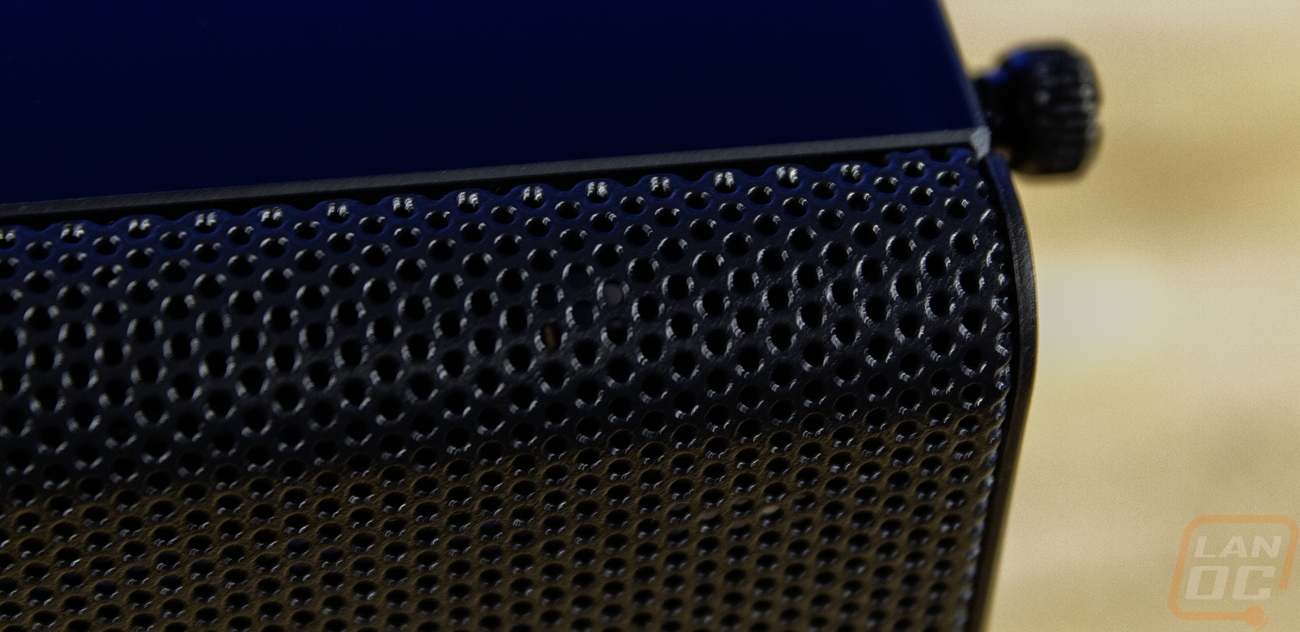
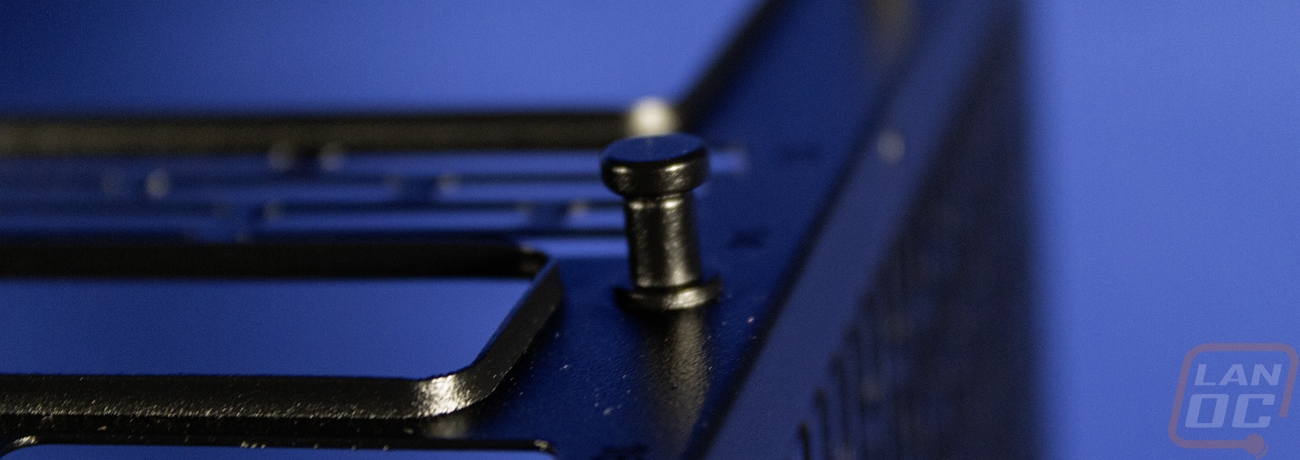
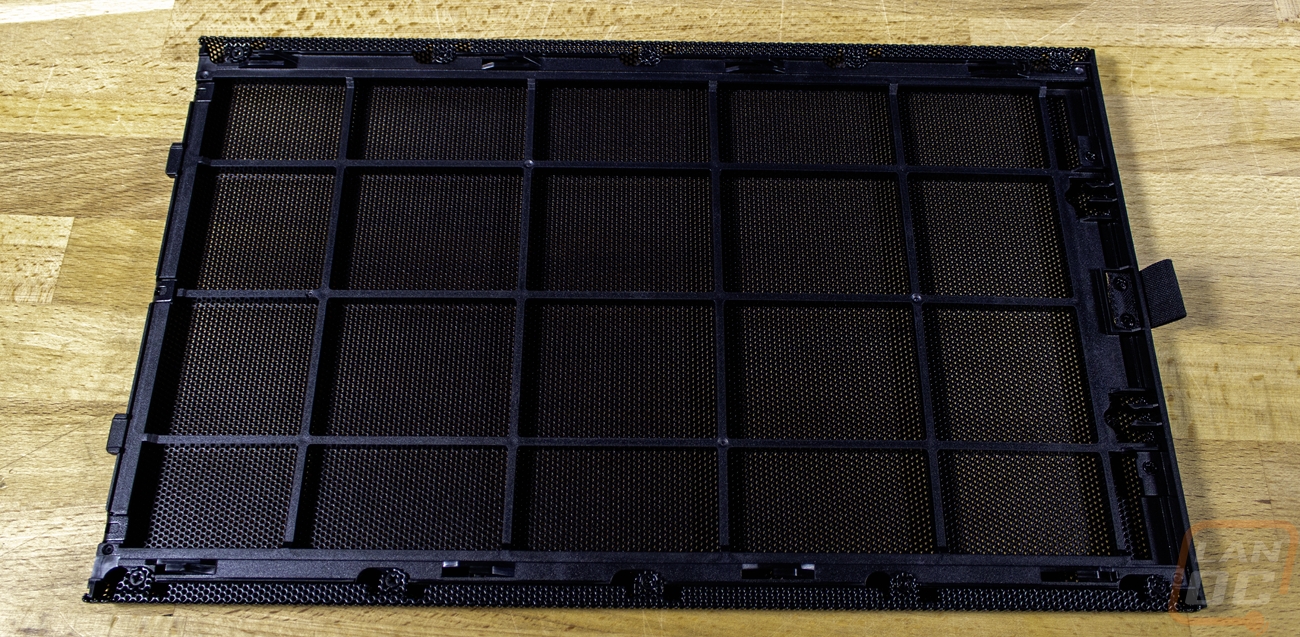
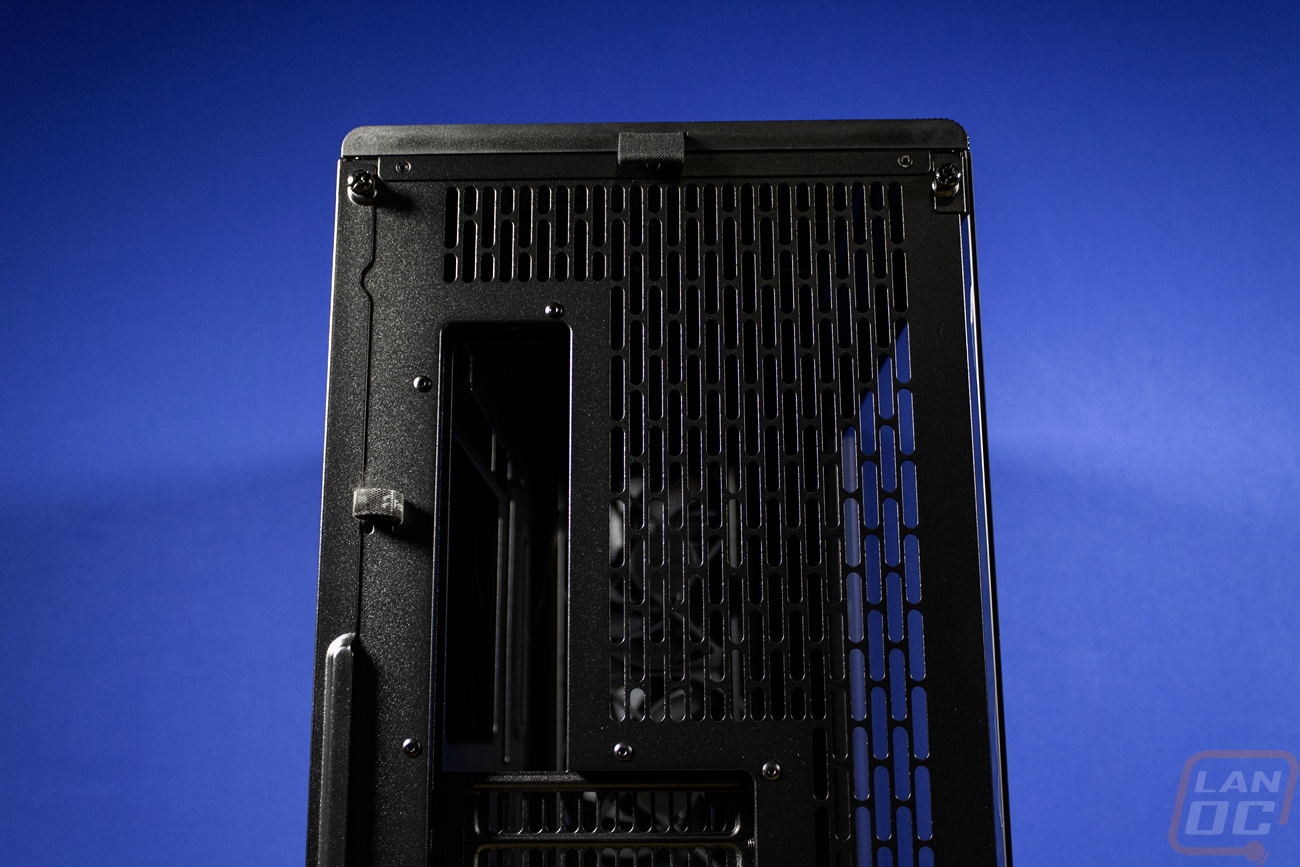
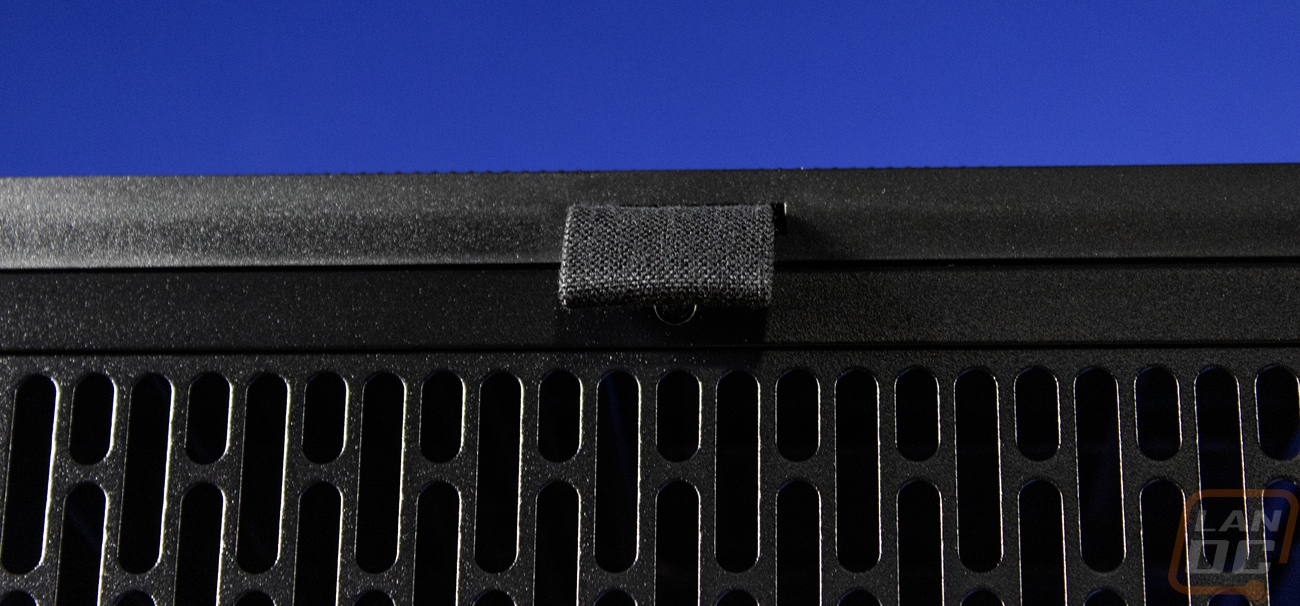
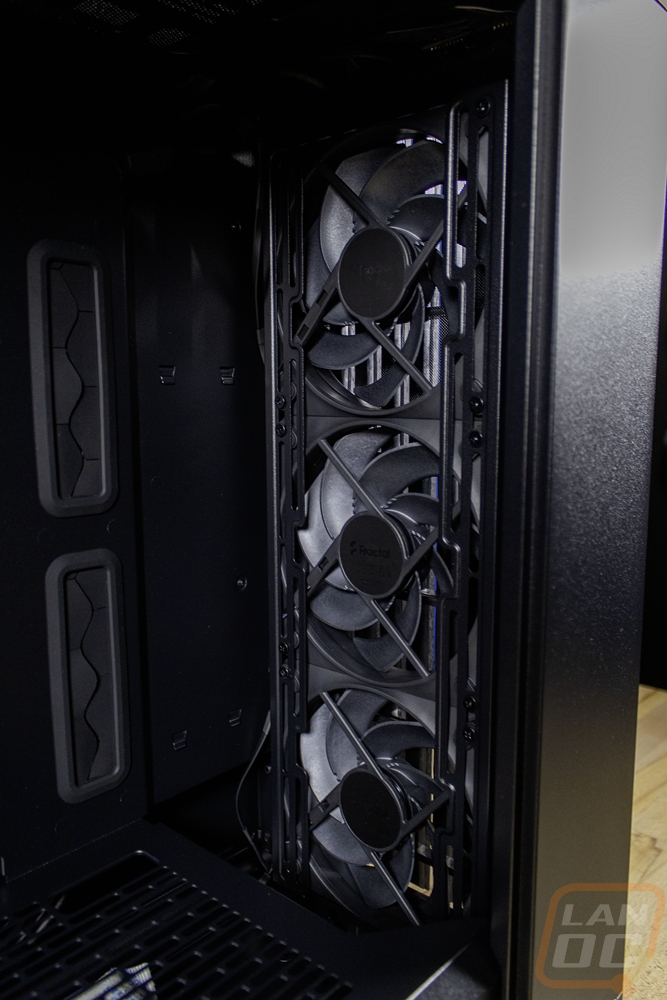
The exterior of the North XL Momentum Edition is nearly the same as the original North and North XL cases shape-wise but visually there is one big change. The wood pillars that run up the front of the case, which are wood colored on the original design are blacked out in the North XL Momentum Edition. The wood grain design is still there and in black I even thought it was plastic until I got a closer look at the back of the front grill where I could see it was actually wood. Behind that grill you can see a dust filter and behind it, the case has three of the Fractal Aspect 140mm PWM fans mounted on the inside pulling air in. That front grill does pull off without any tools and you can then remove the dust filter to clean it from there, also toolless. Up top just above the grill is the front I/O. You get a nice metal power button with the Fractal logo etched into it and headphone and microphone jacks. There are two USB 3.0 Type-A USB connections then a single Type-C connection as well. The I/O sits in the one solid area on the top of the case, the rest of the top is a black mesh for airflow that wraps just around the top, giving the top a nice rounded corner from the front to back. That top panel does pull off using the pull tab on the back if you have both side panels off, making it possible to clean out. That also gives access to the fan or radiator mounting on the top of the case for three 120mm fans, two 140mm fans or two 180mm fans. It is held in place with two small standoffs that is slides into.
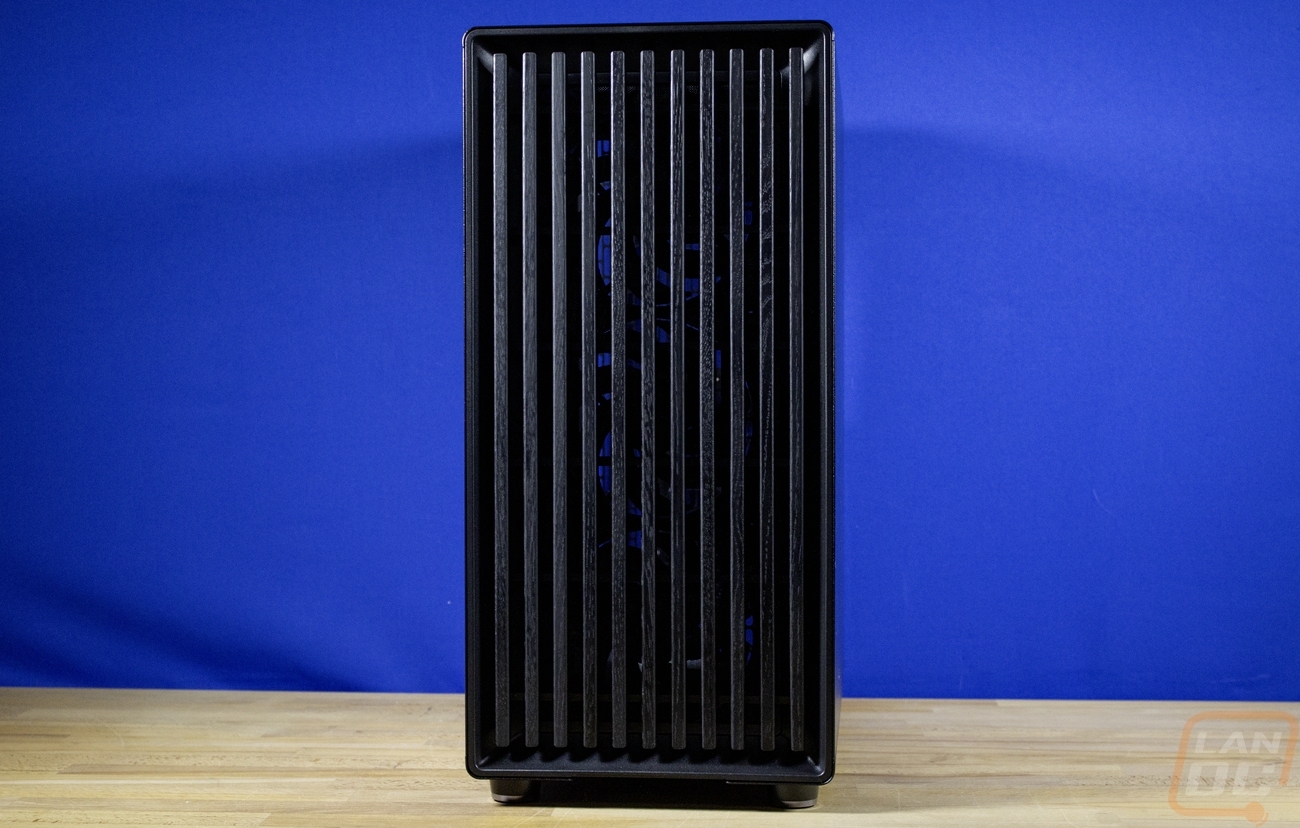
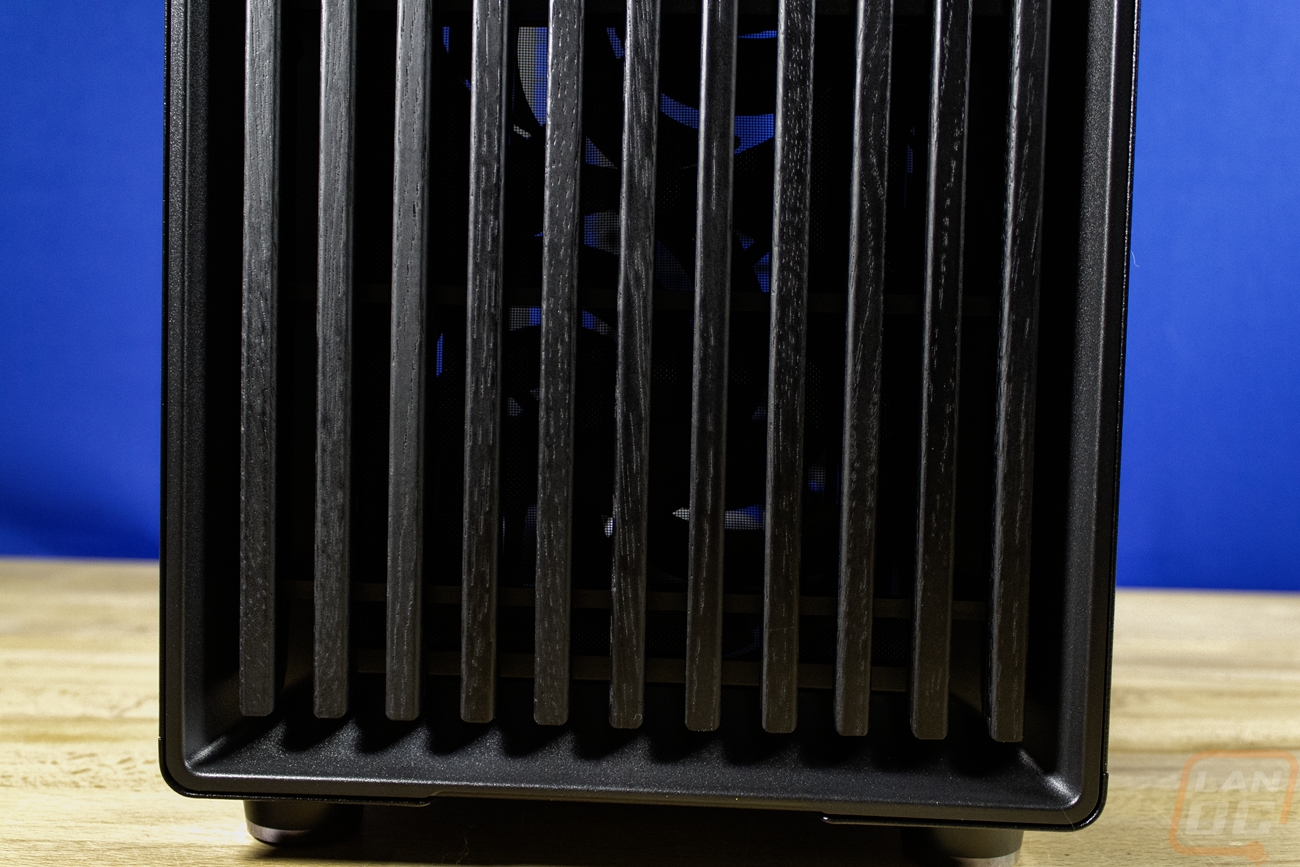


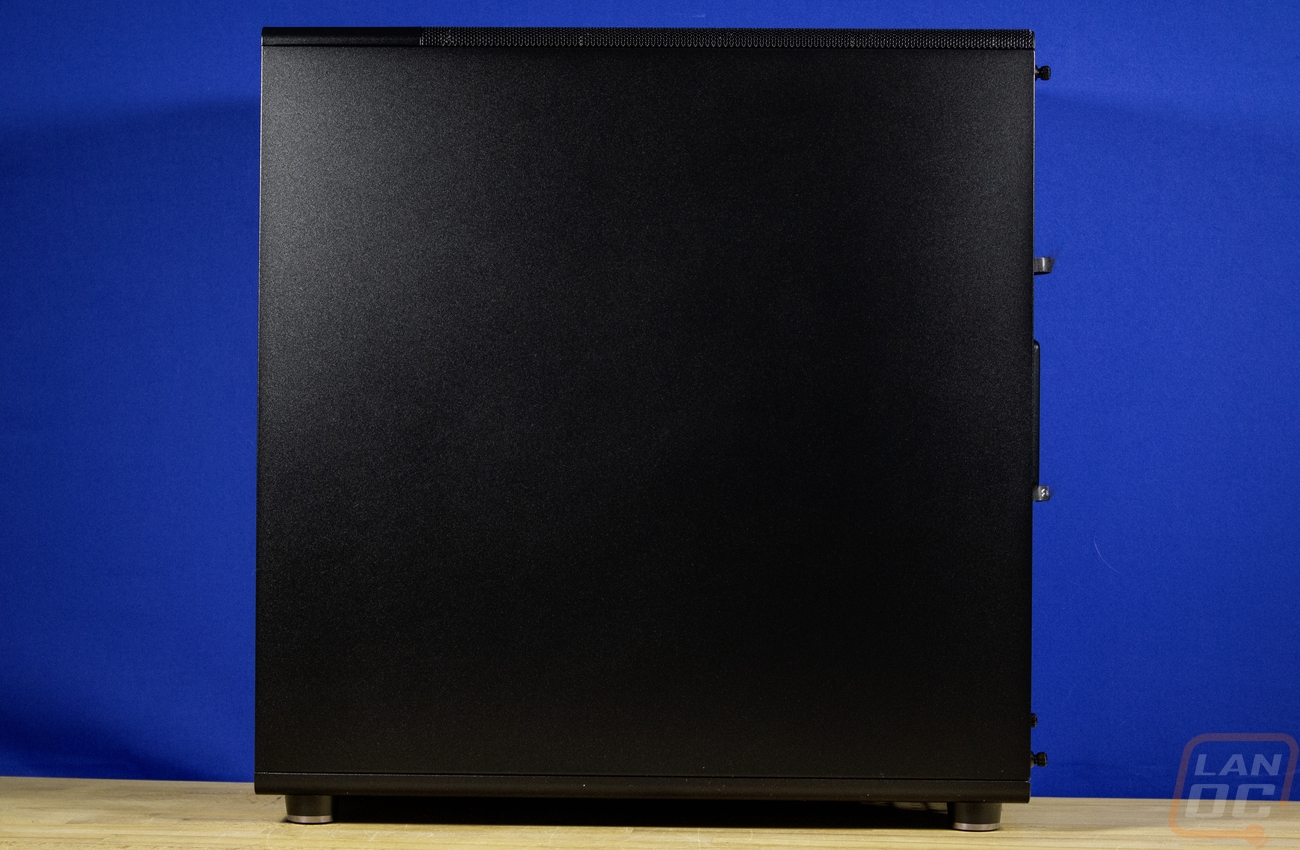
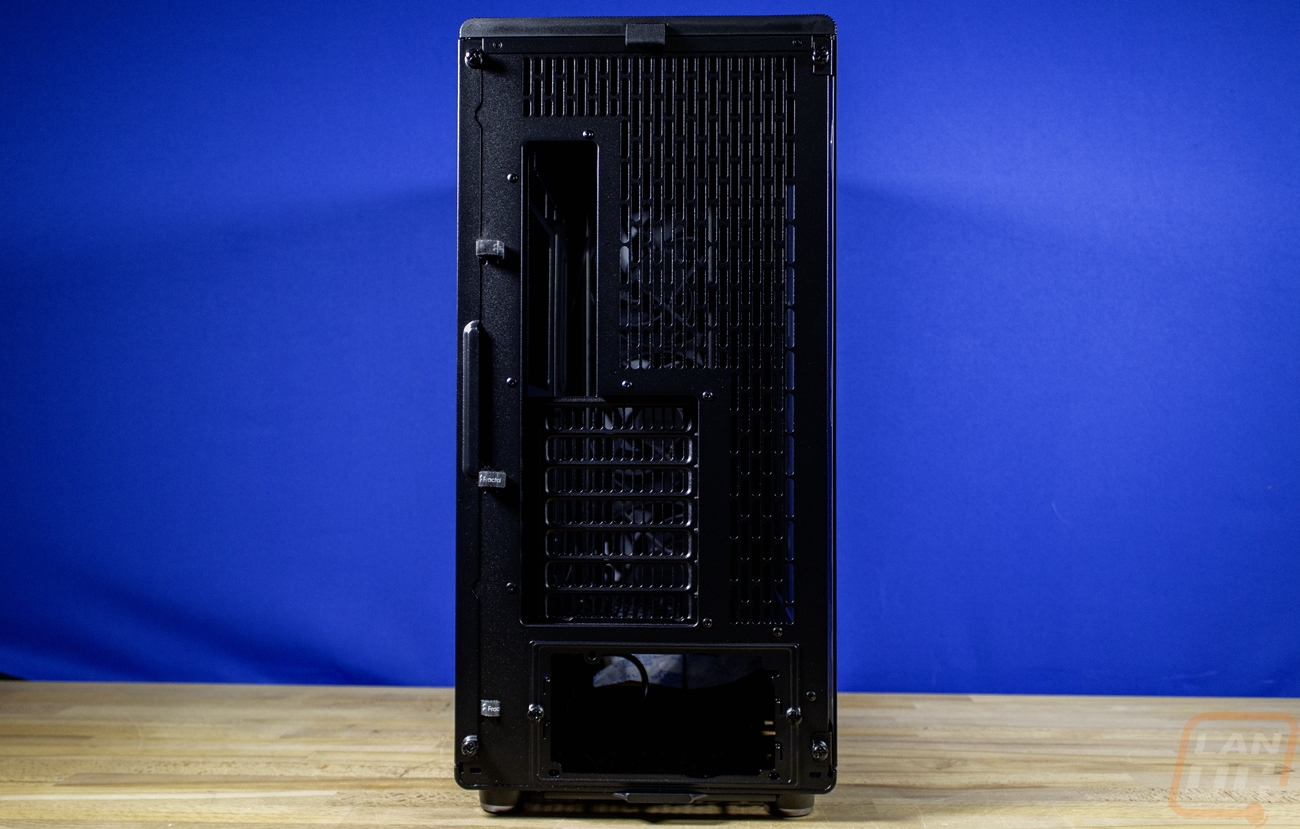
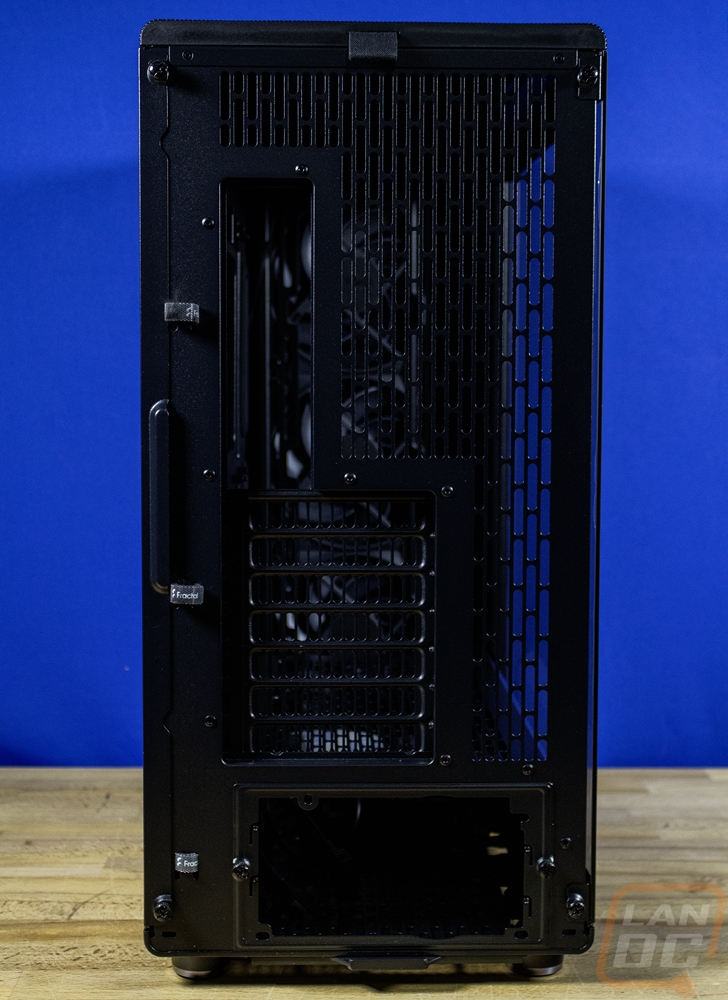
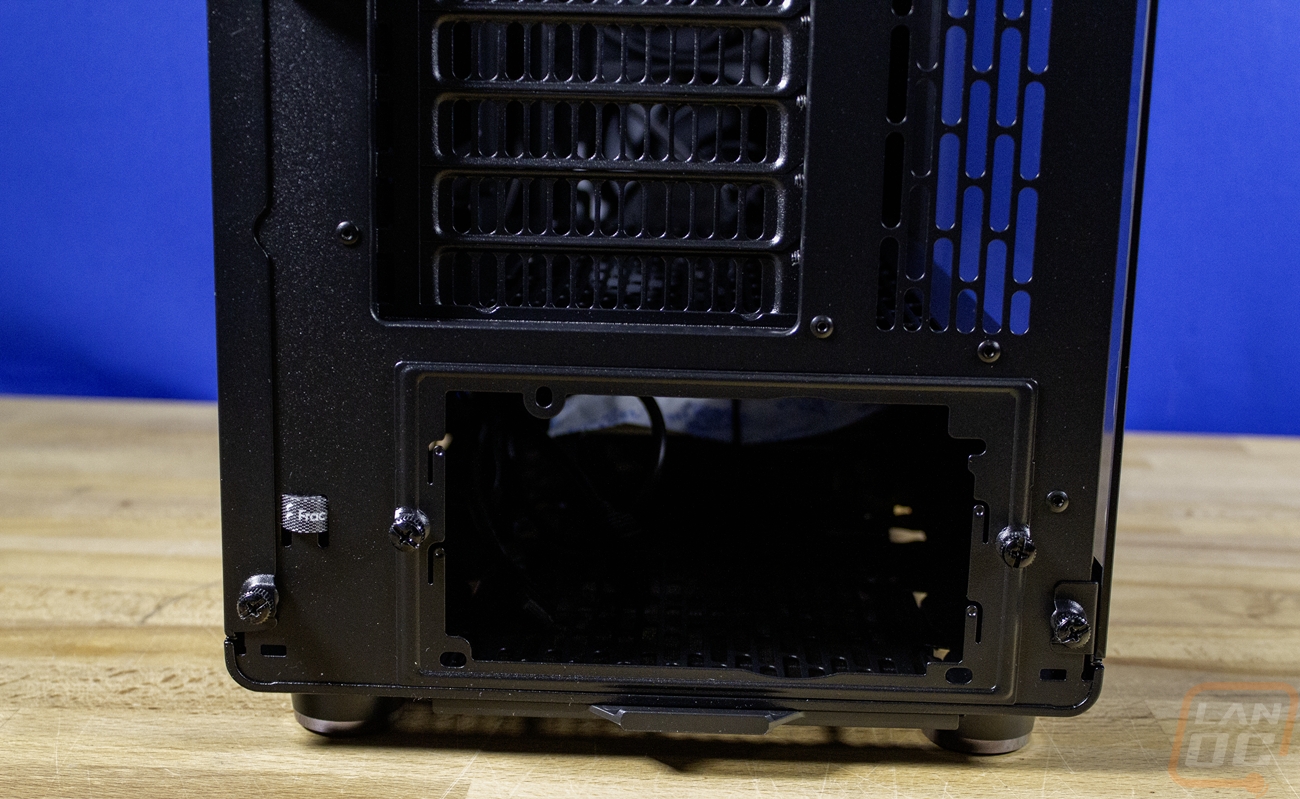
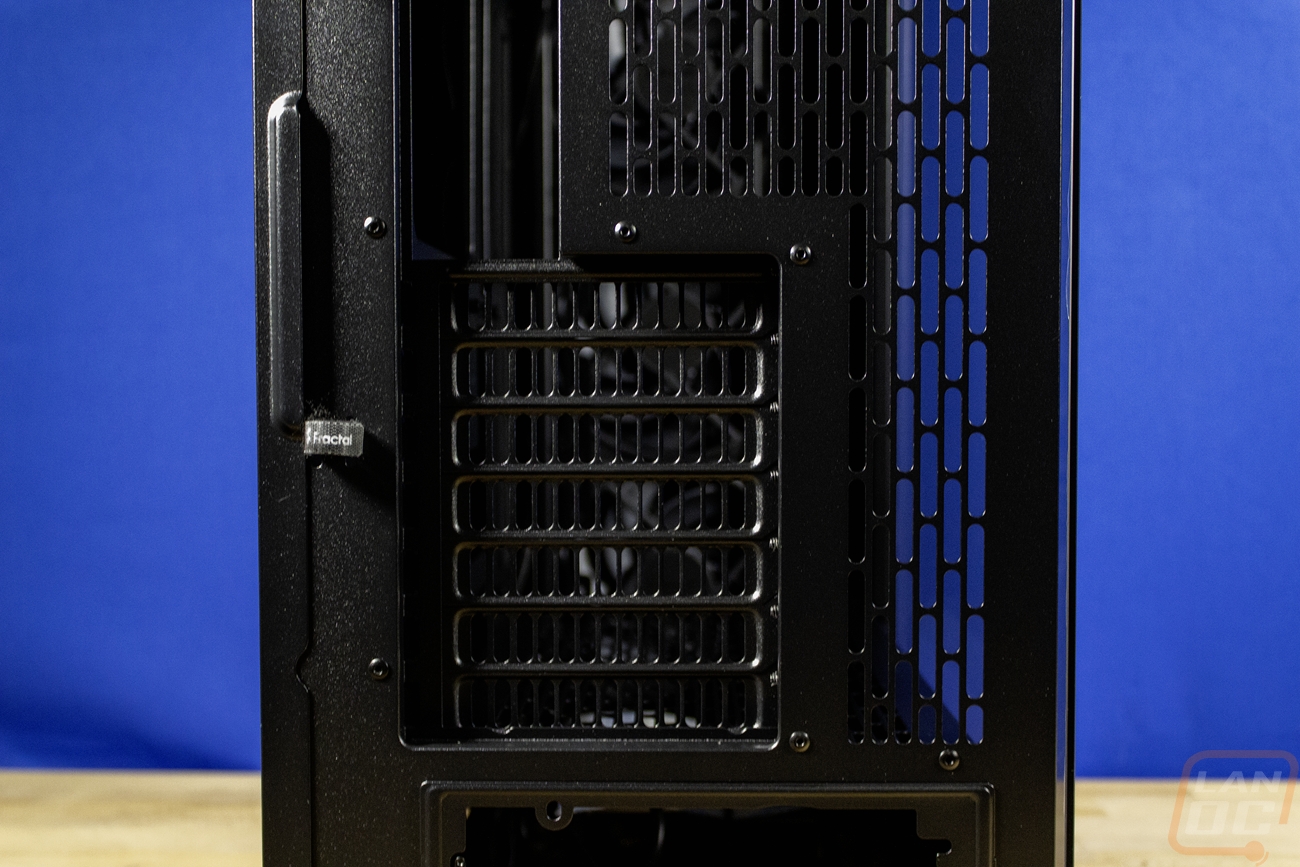
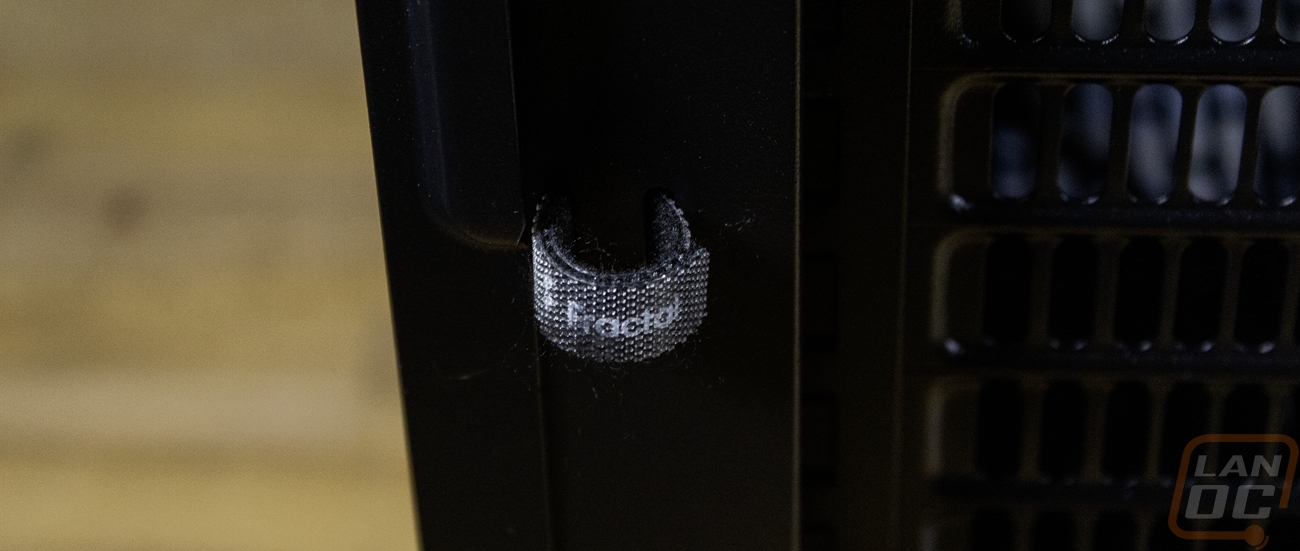
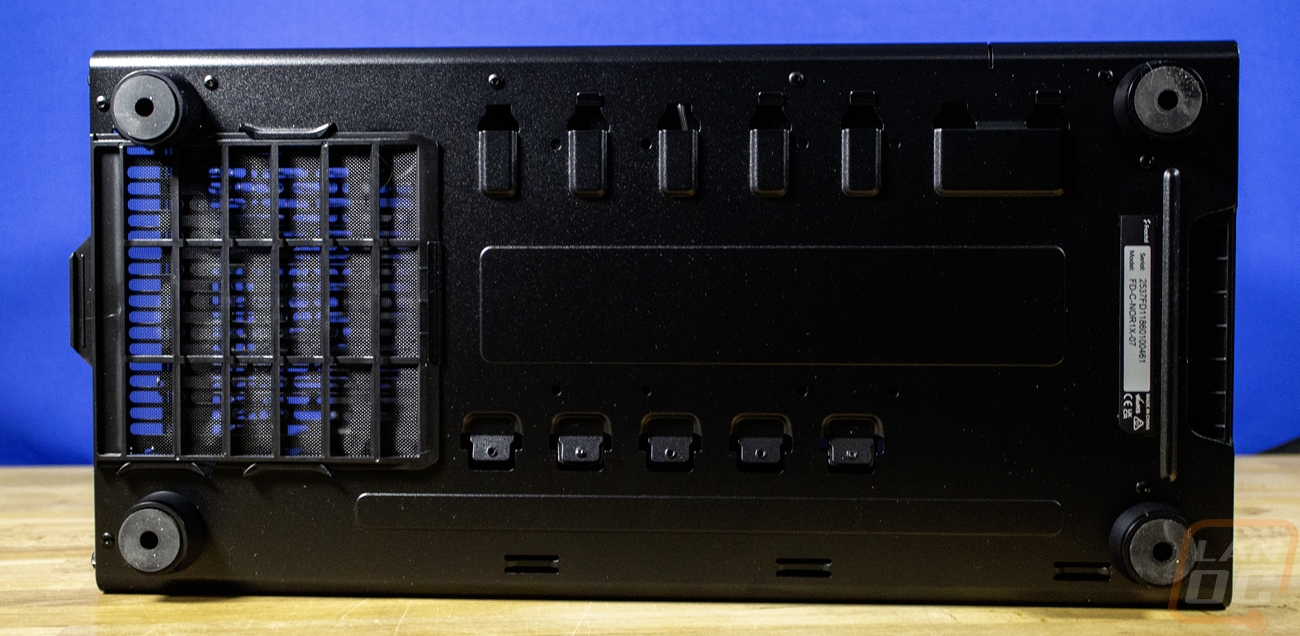
Now the regular North XL is available with a mesh side panel or a tempered glass window. For the North XL Momentum Edition they don’t have the mesh version, just a tempered glass side panel with a slightly tinted glass to match the blacked-out finish. On top of that, the silver option is dropped for a fully black finish that matches the black wood on the front. The left side has the tempered glass but there is still a black plastic section near the front which in the right light, you can see that it says Momentum Edition down at the bottom. The right side of the case has a standard metal side panel that helps hide all of your wiring behind the motherboard tray. Both sides have thumbscrews integrated into them so you don’t have to worry about losing those when you take the side panels off. Then at the back most of the back is vented including each of the 7 PCI slots and all of the space on the back next to the rear I/O as well. The back is all blacked out as well and then the PSU mount is down at the bottom and is removable with two thumbscrews. Also on the back Fractal has preinstalled three Fractal branded Velcro straps to use with wire management for the cables going to the rear I/O which is a nice touch. On the bottom the North XL Momentum Edition has a dust filter at the back for the PSU fan which will pull air from the bottom of the case. This can be pulled out from the back and is the filter that is most likely to get the most dust in a lot of situations. The bottom has a small sticker with the model number and the case's serial number. Then it has four wide feet, one in each of the corners, with rubber on the bottom to help keep the case planted.
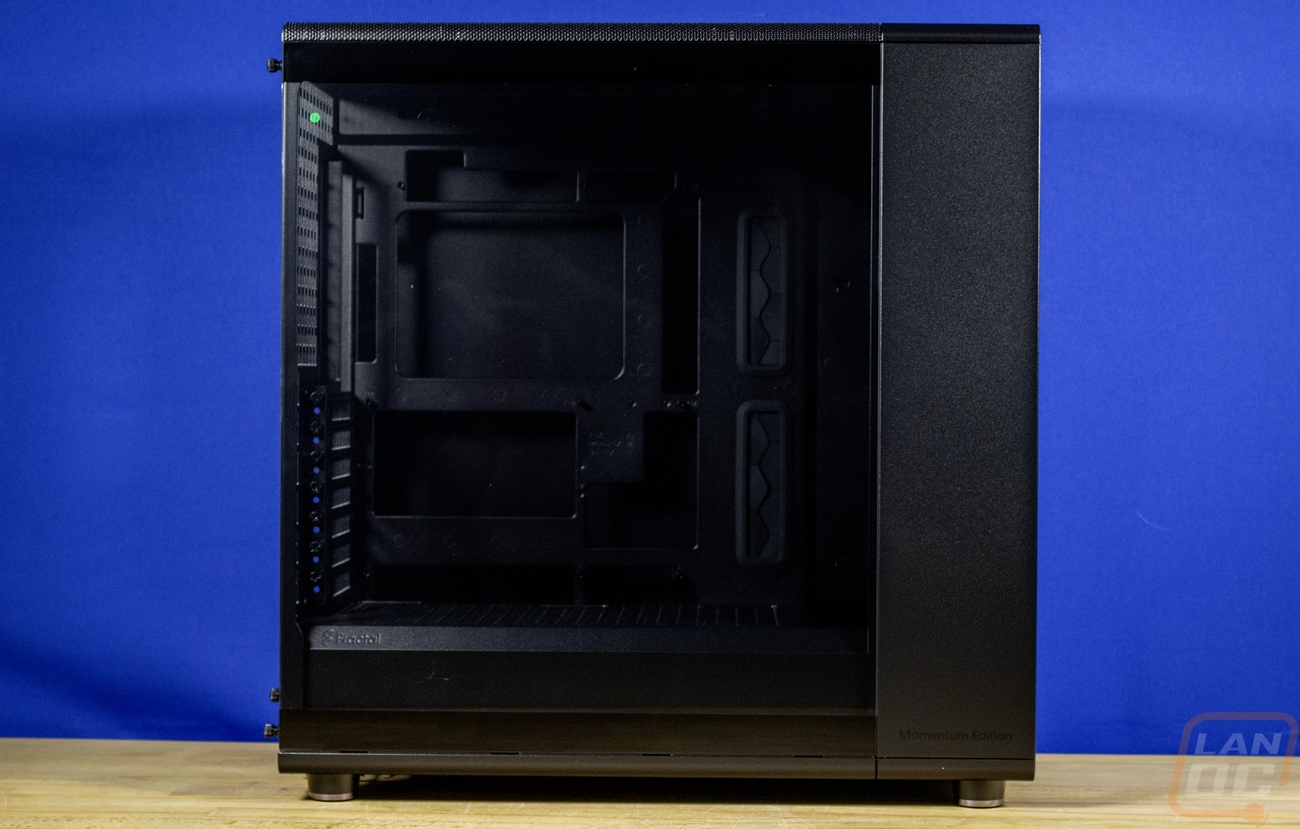

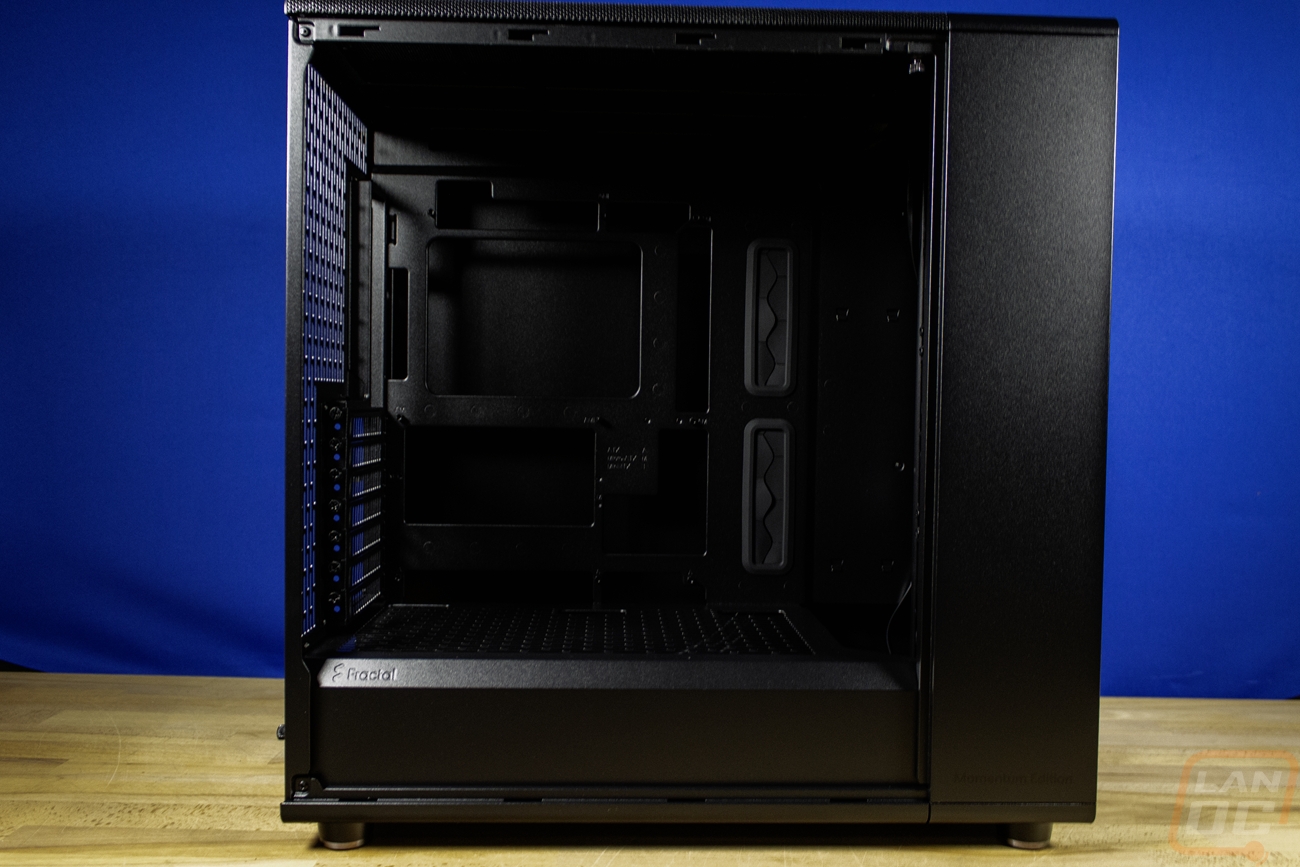
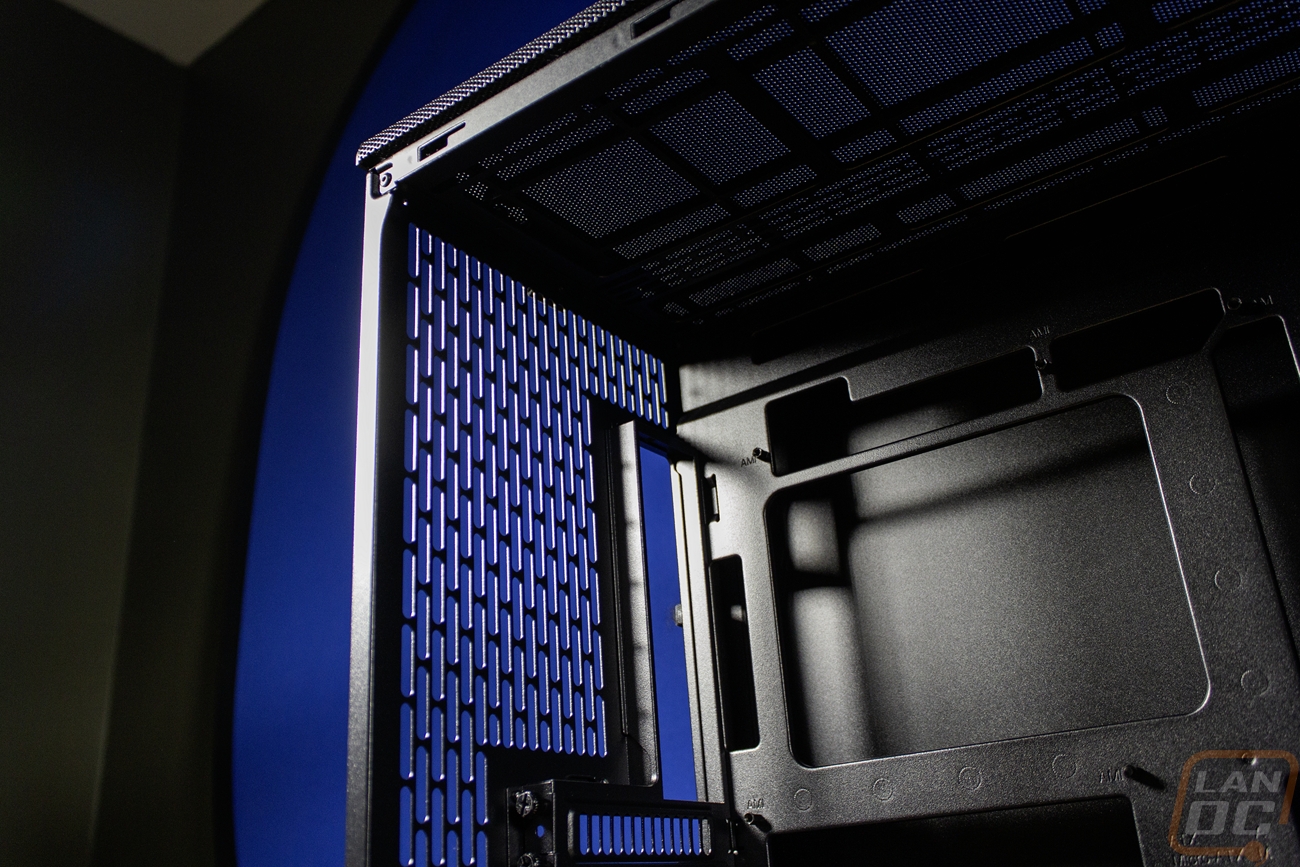
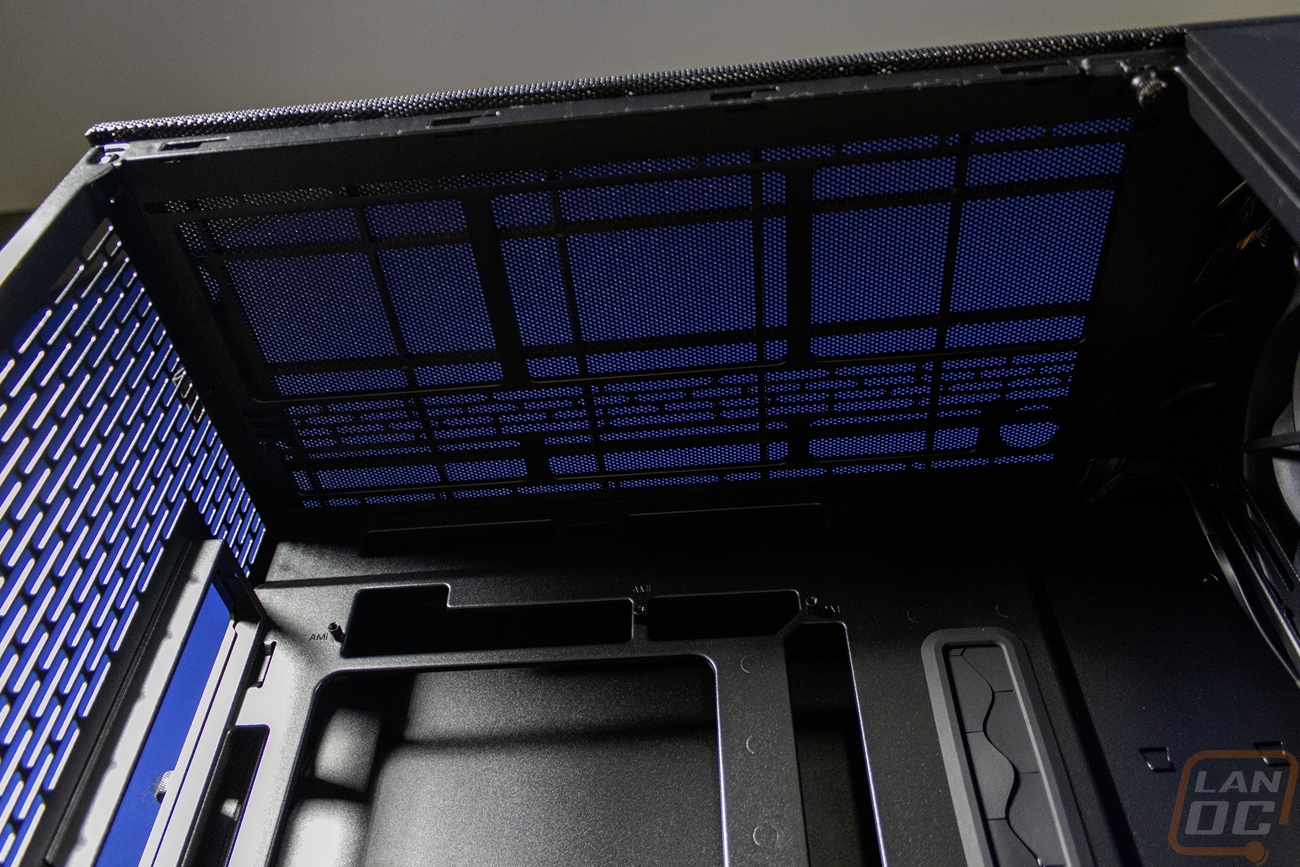
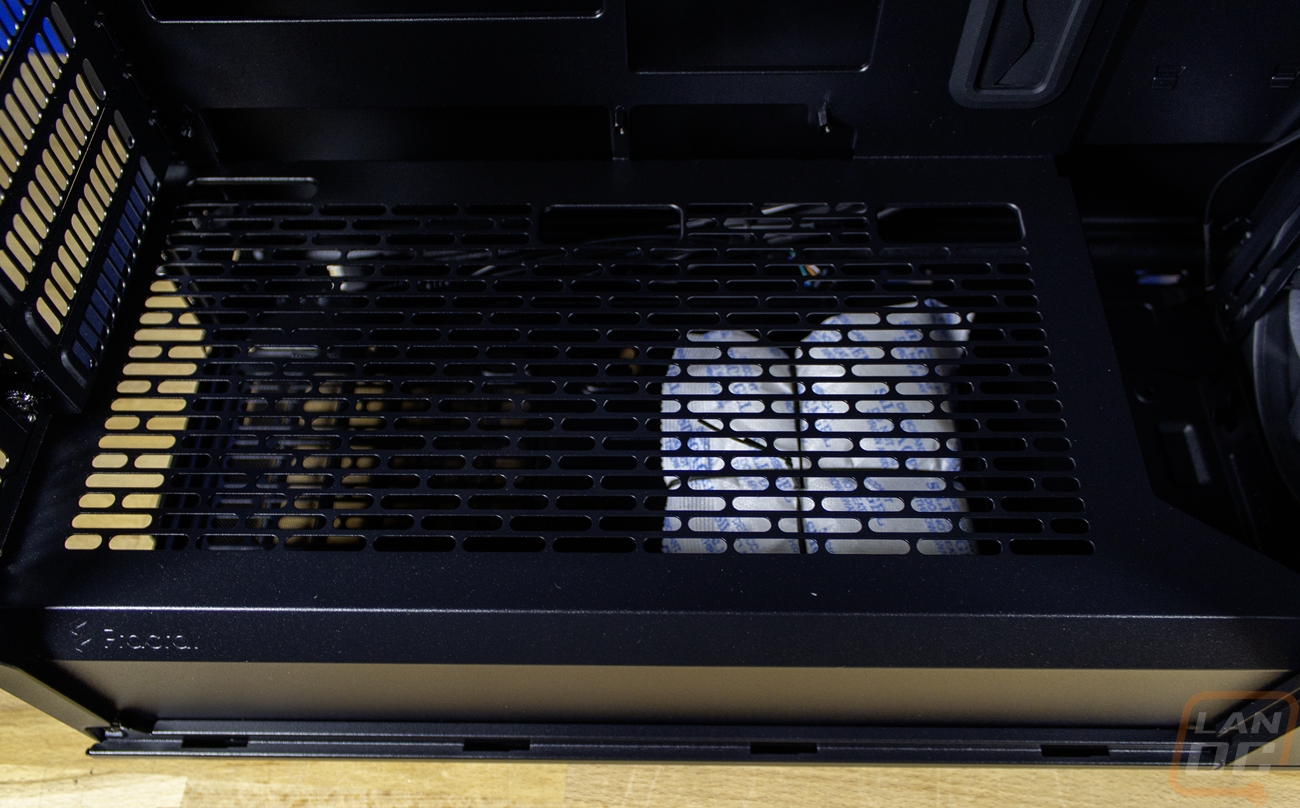
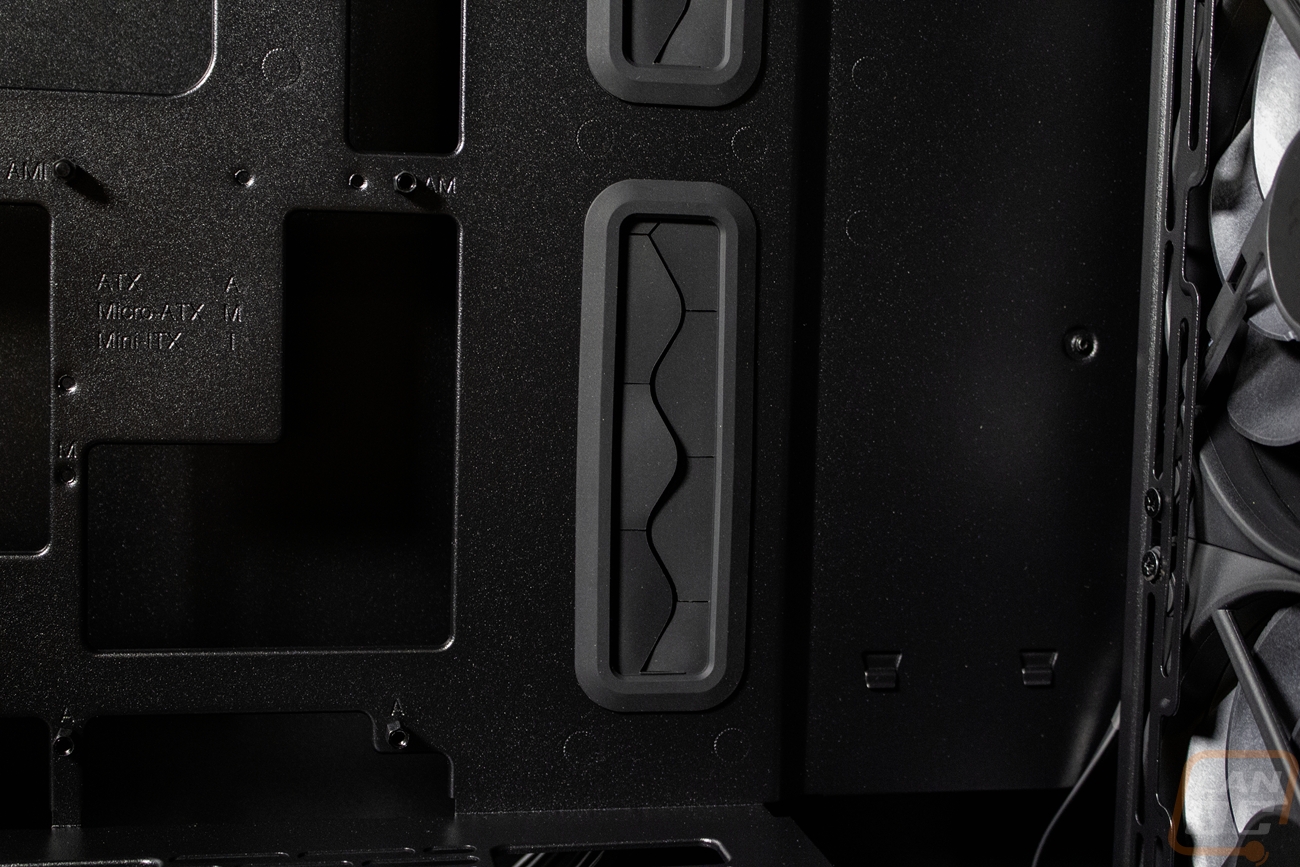
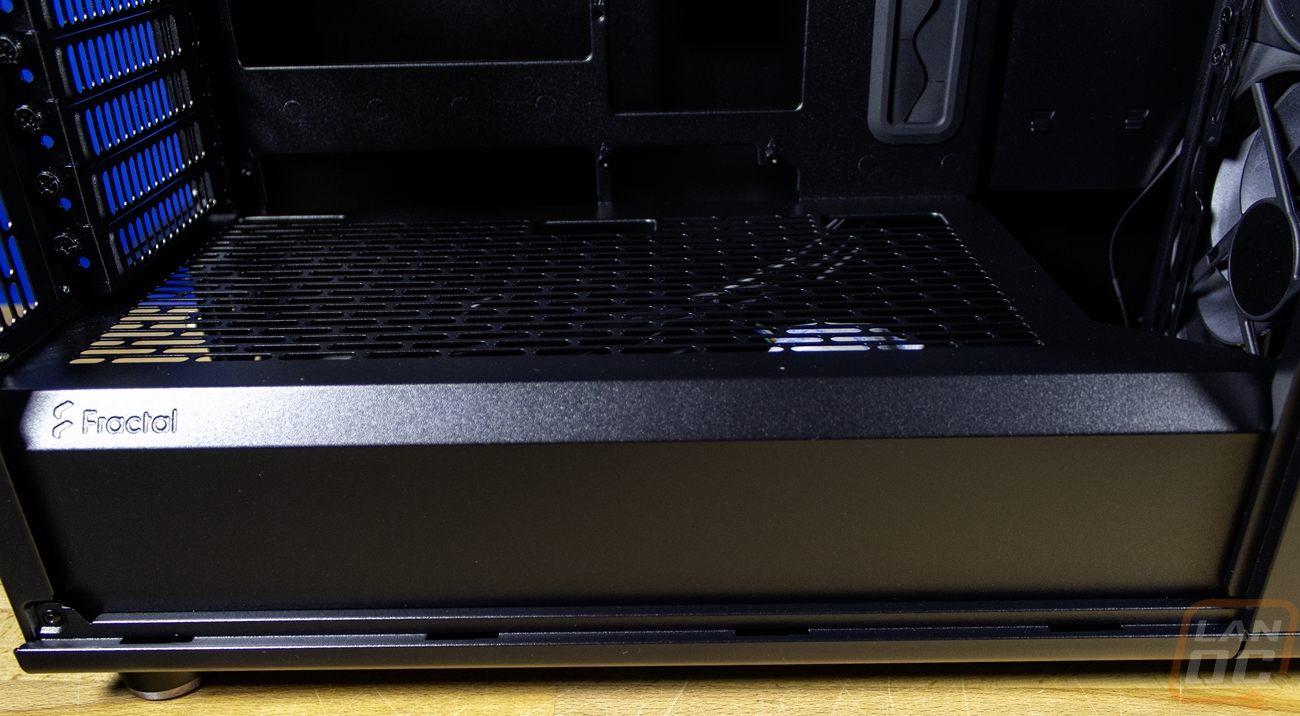
With the tempered glass side panel off you can see the all-black interior that ties the whole blacked-out theme together. The North XL design leaves the thick metal section at the front of the case attached with the side panel off. This hides your fans and radiator if you decide to mount that to the front. Then at the bottom they have a steel enclosure around the entire bottom of the case as well that covers up the PSU area as well as where you would install any hard drives. That bottom section does have vents cut all across the top for ventilation however. The motherboard side is relatively standard layout-wise. Fractal has the motherboard tray but you will notice that there are a LOT of large holes cut in it. You have the standard rear of the CPU access hole along with a hole to slip a few wires in at the top. But there is also a larger hole below that that gives access to the back side of the PCI slot area, a few boards have had extra M.2 slots on the back there. On the right there are hidden wire slots that go top to bottom almost and next to those you have two exposed wire holes with grommets in them. We saw that the rear of the case has ventilation all over it from the outside. You can mount a 120 mm or 140 mm fan or radiator on the back if you need it. On top of that, the entire top of the case has ventilation with a support bracket over the top that allows you to mount a 280 or 360 mm radiator up top. Fractal has left a lot of room between the top of your motherboard and the top of your case to make sure you won’t have any clearance issues there as well. If you are only mounting fans the top also supports two 180 mm fans if you have them. Then at the front the case comes with three 140 mm Fractal Aspect PWM fans preinstalled. The front can install a 420 mm or 360 mm radiator. Now for GPU clearance it will depend on whether you are running a radiator in the front or not. Without one you have 413mm in clearance and with a 33 mm thick radiator that drops down to 380 mm in GPU length.
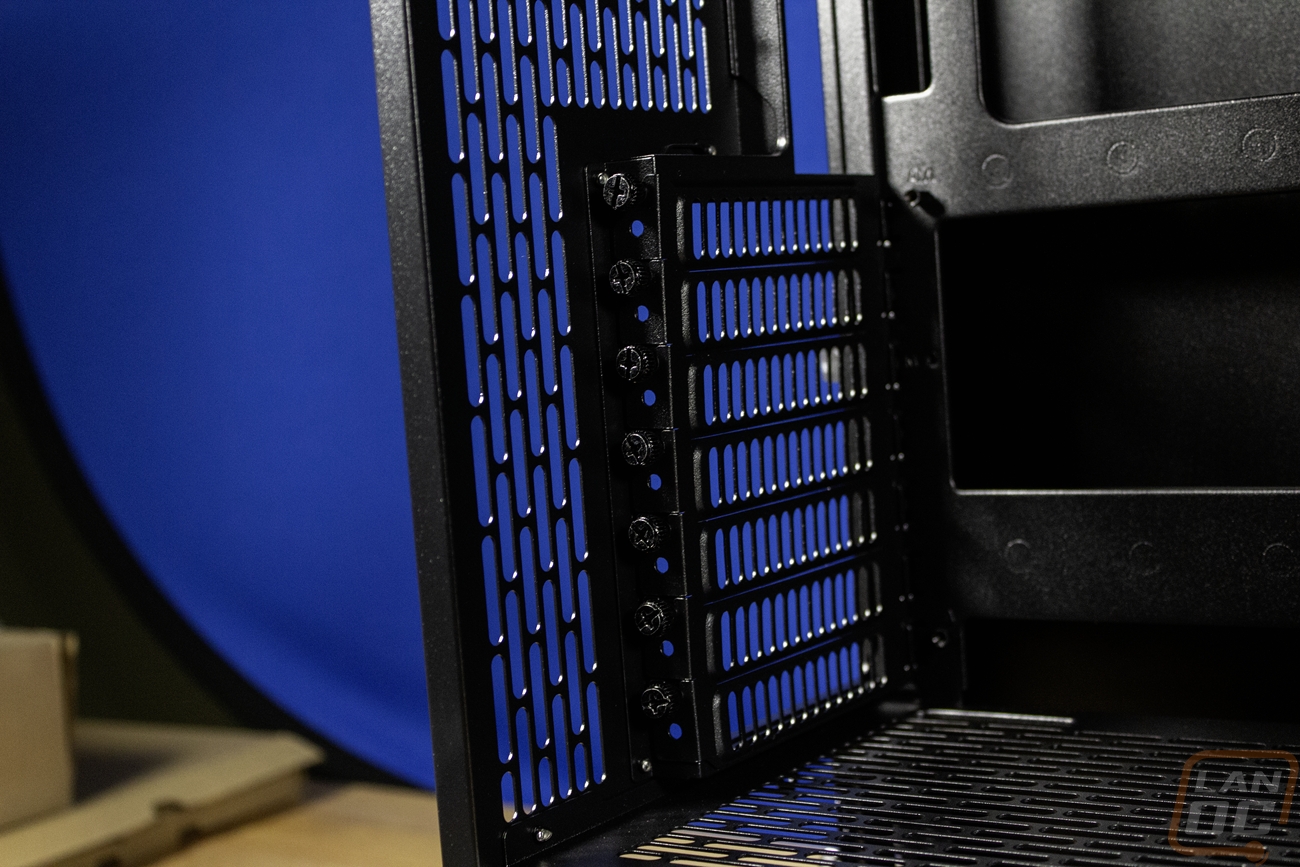
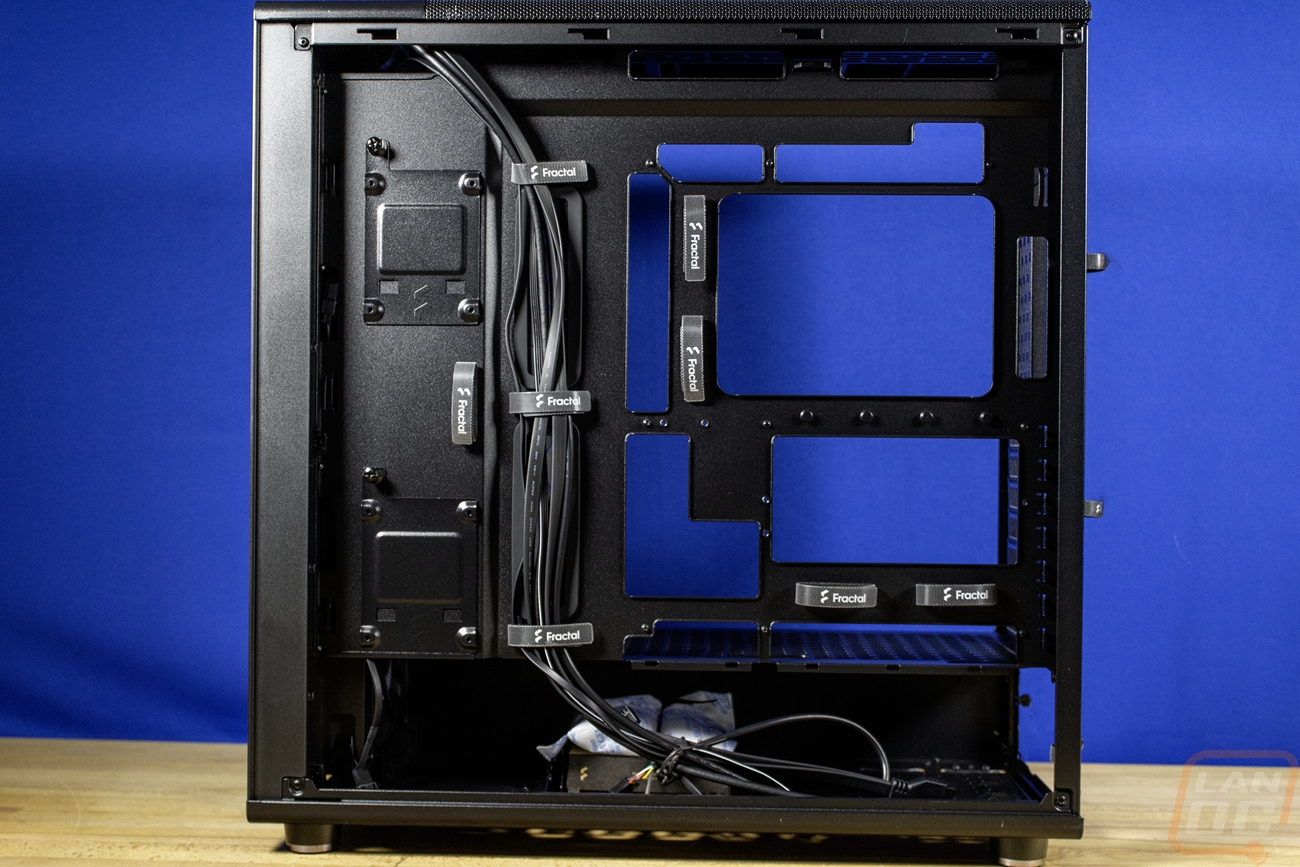
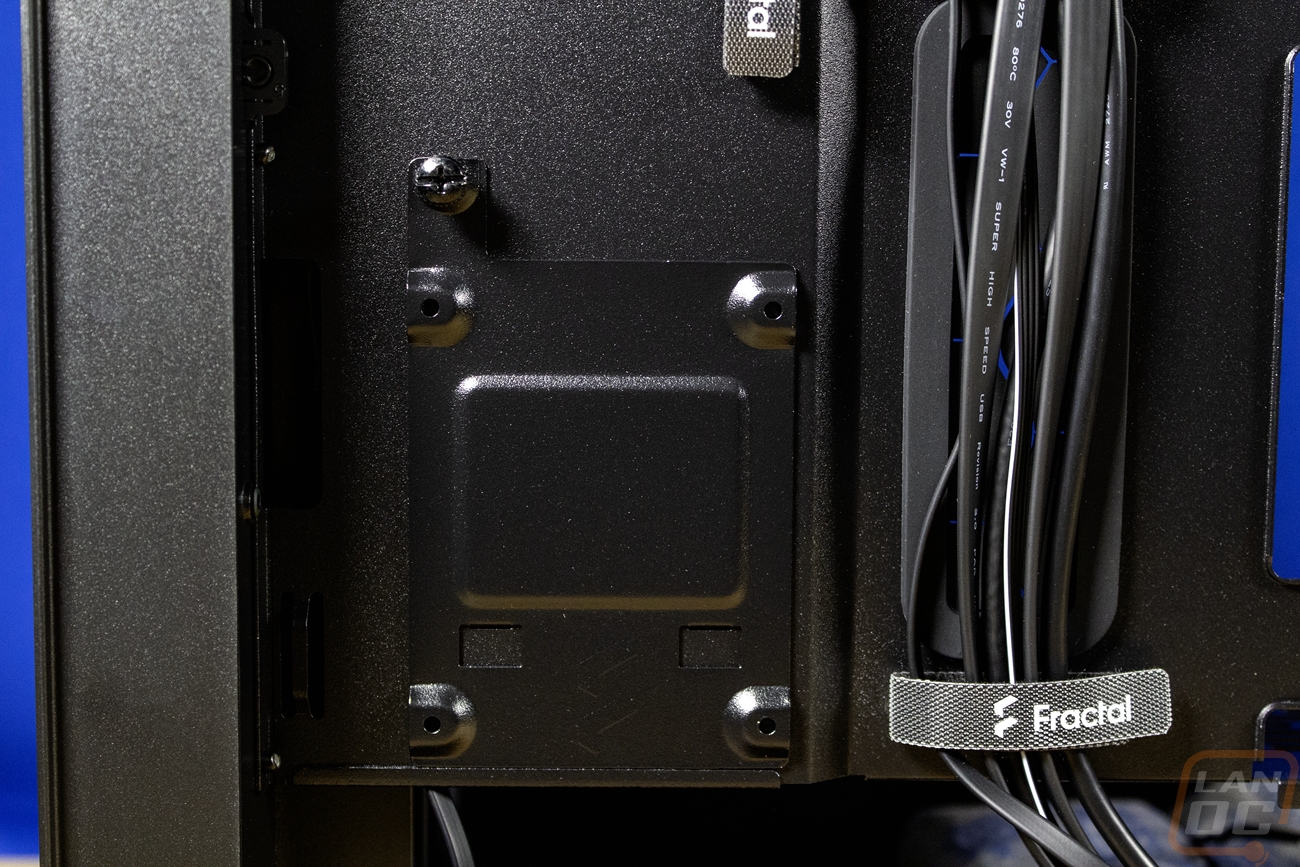
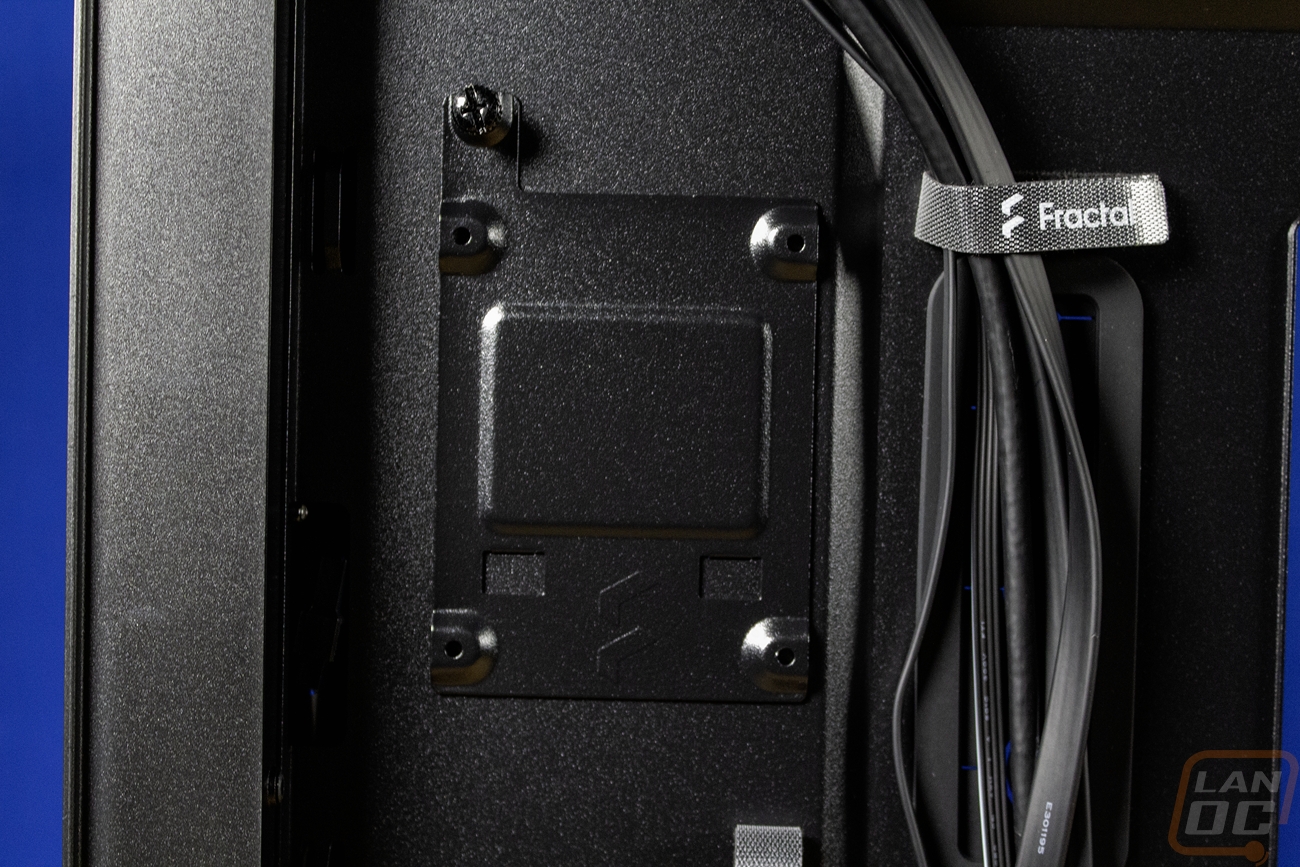
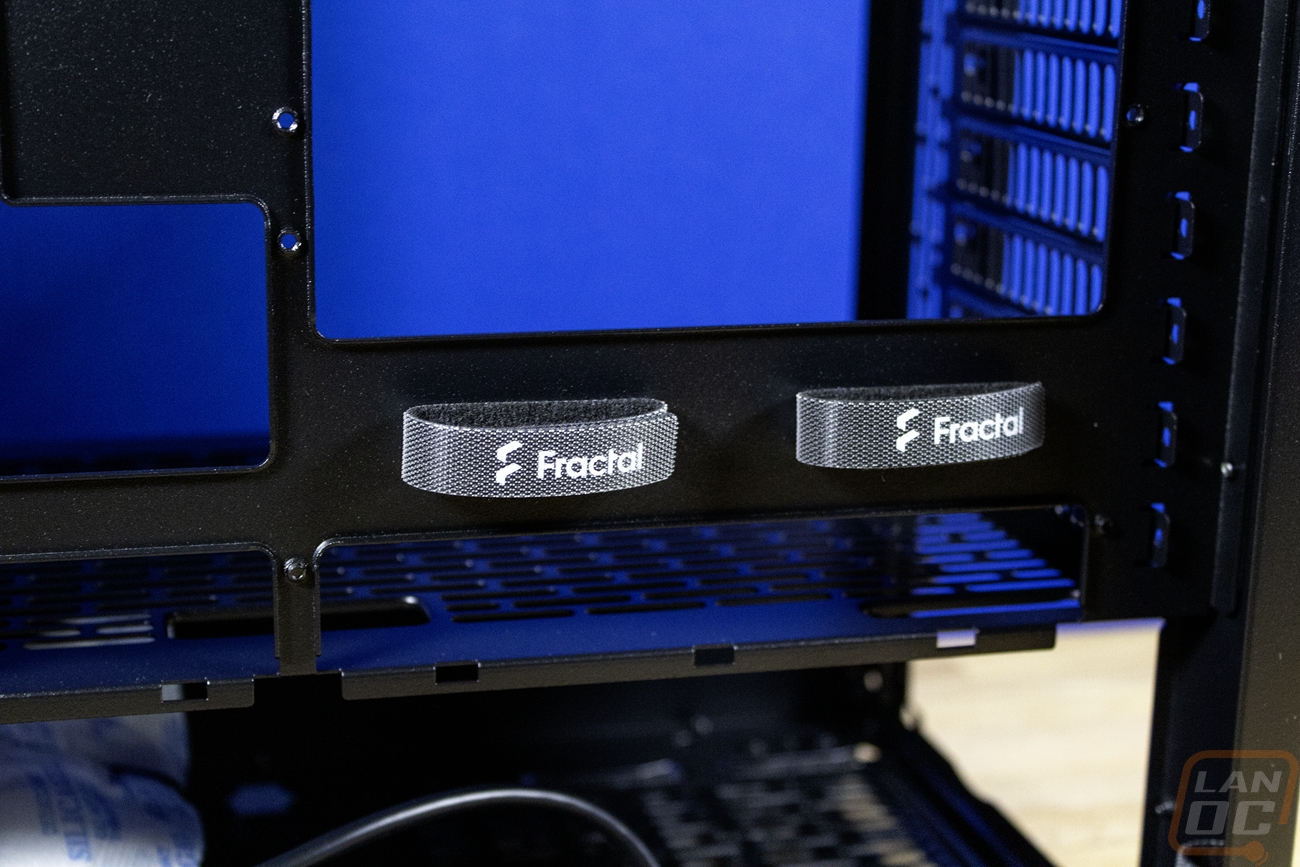
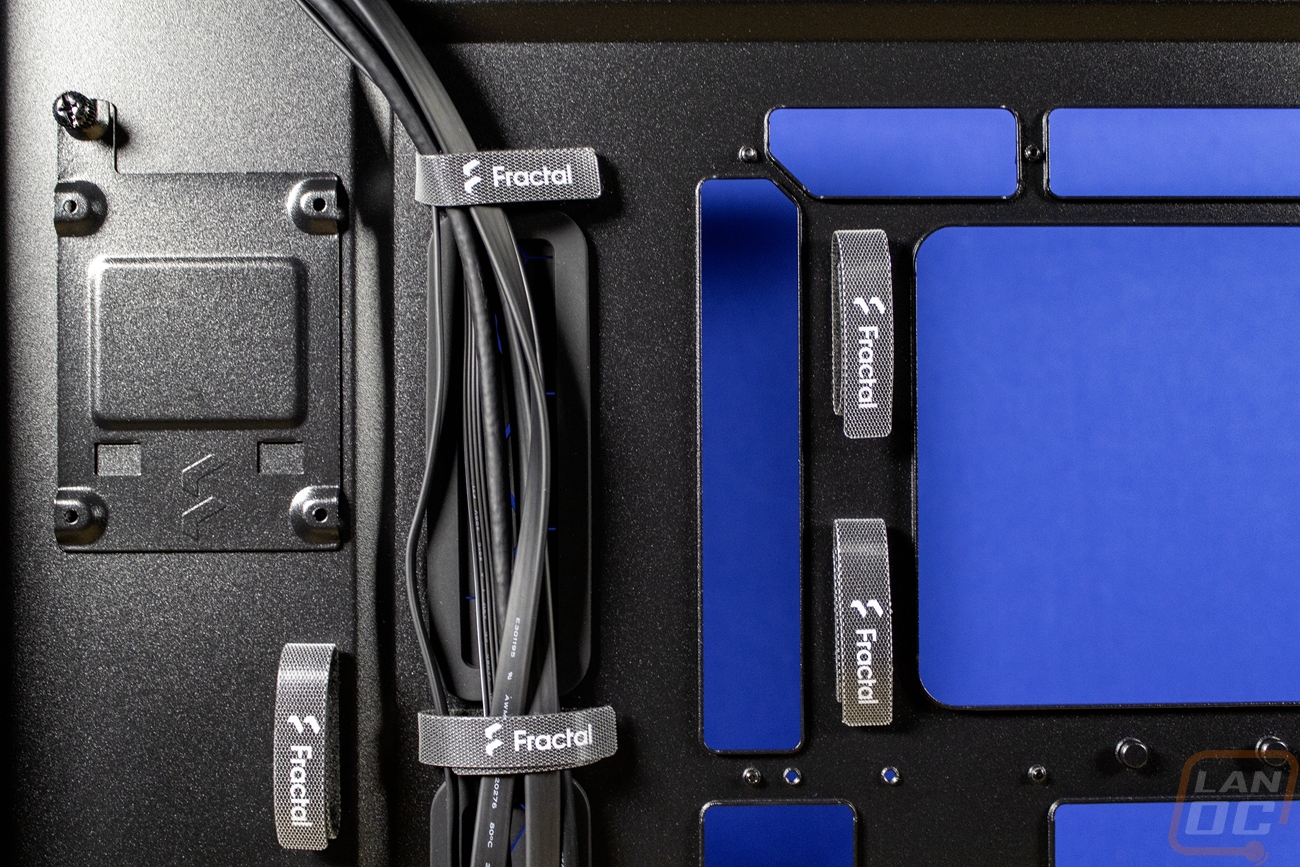
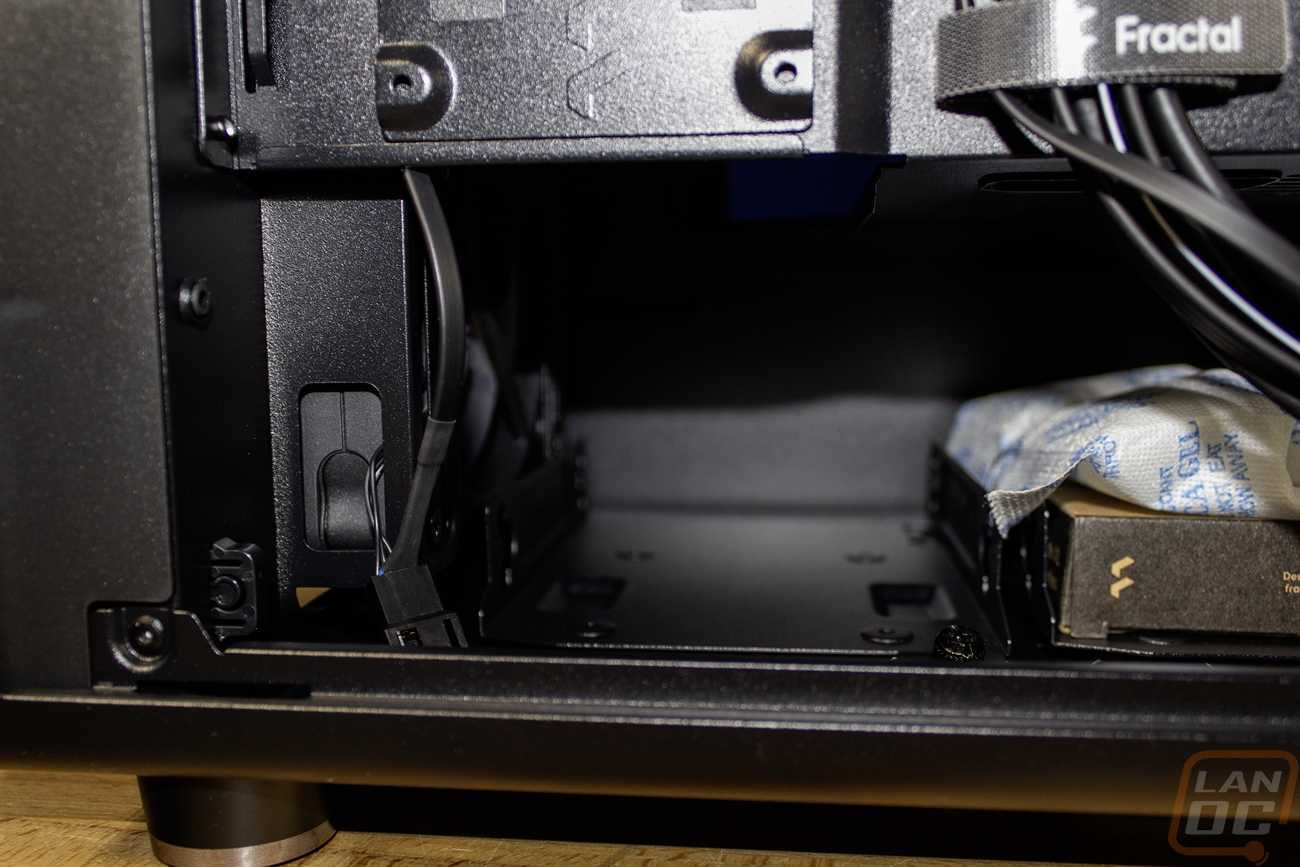
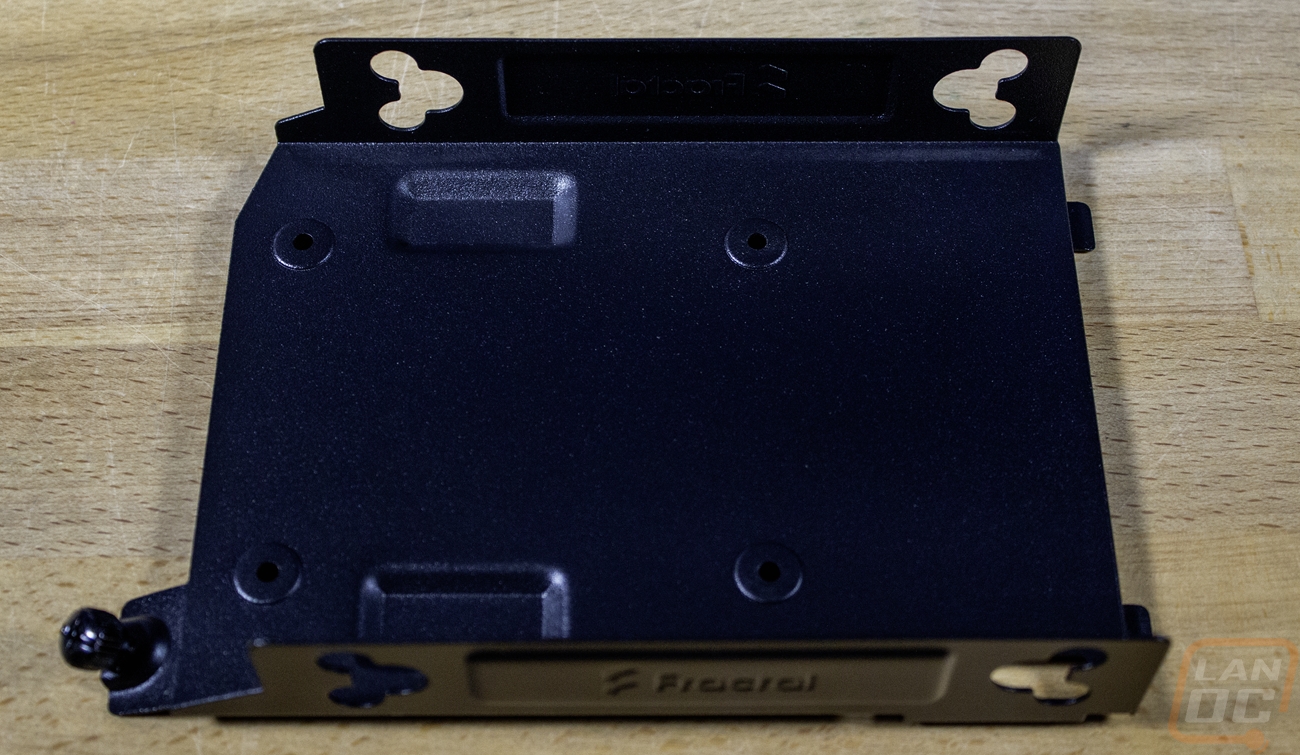
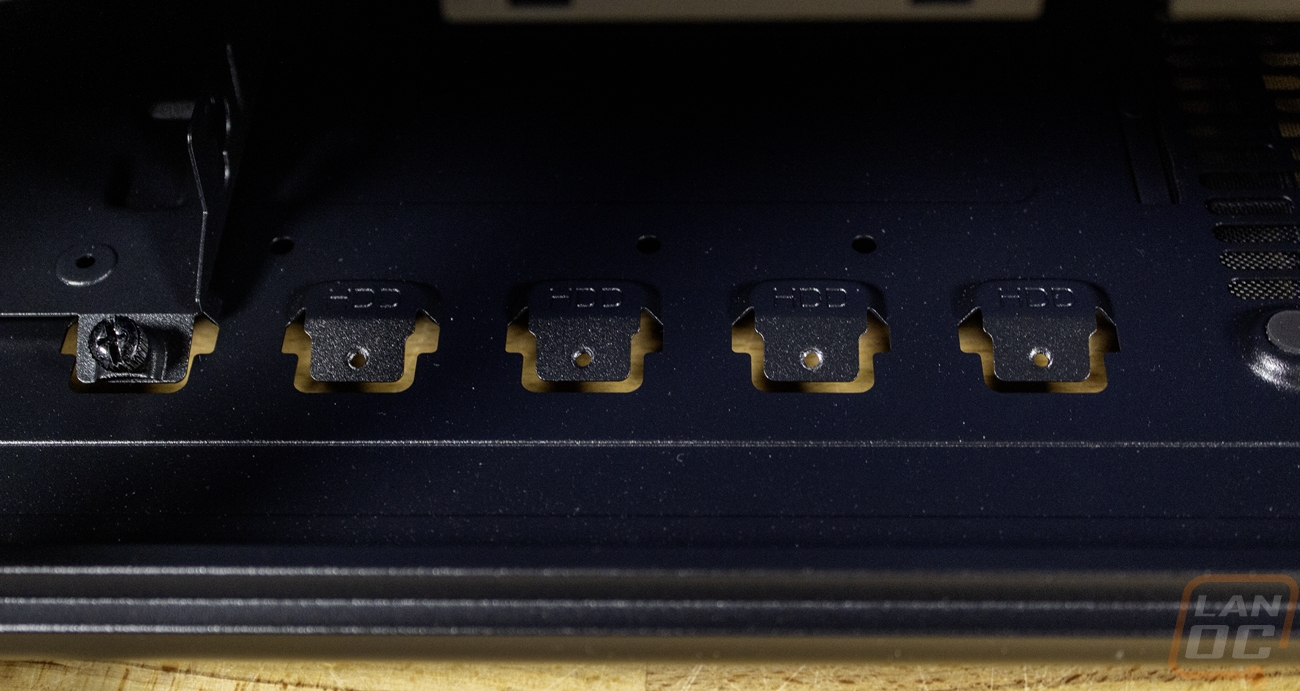
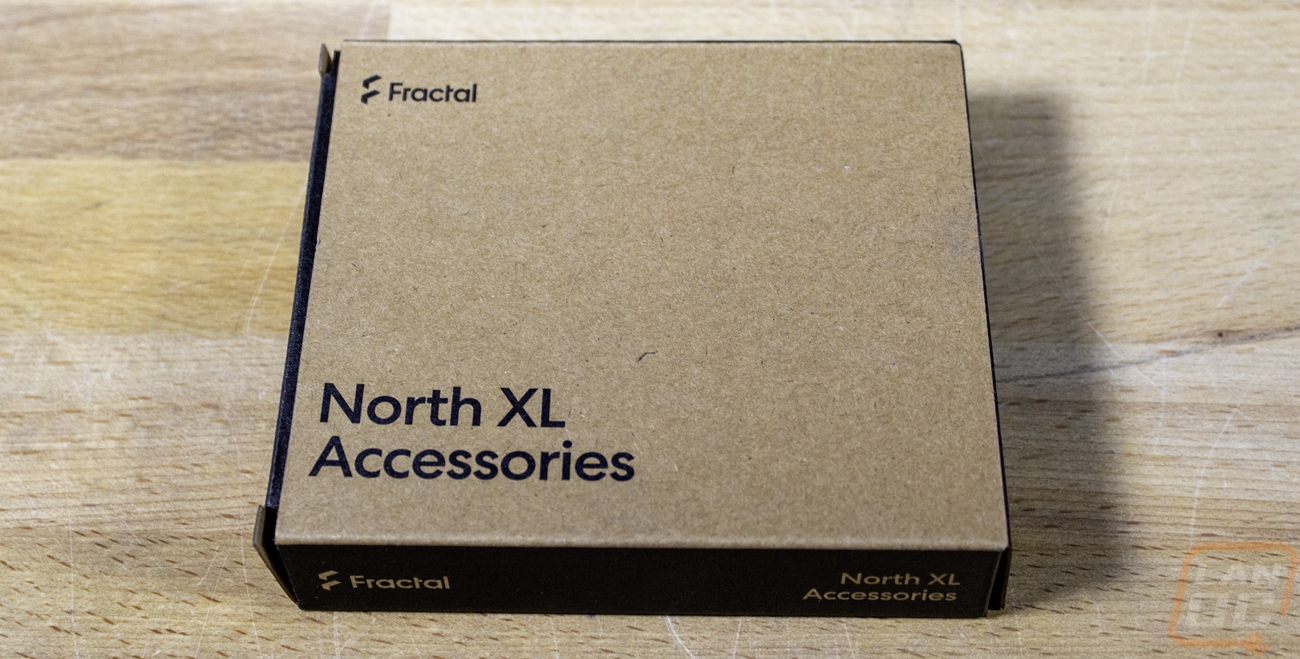
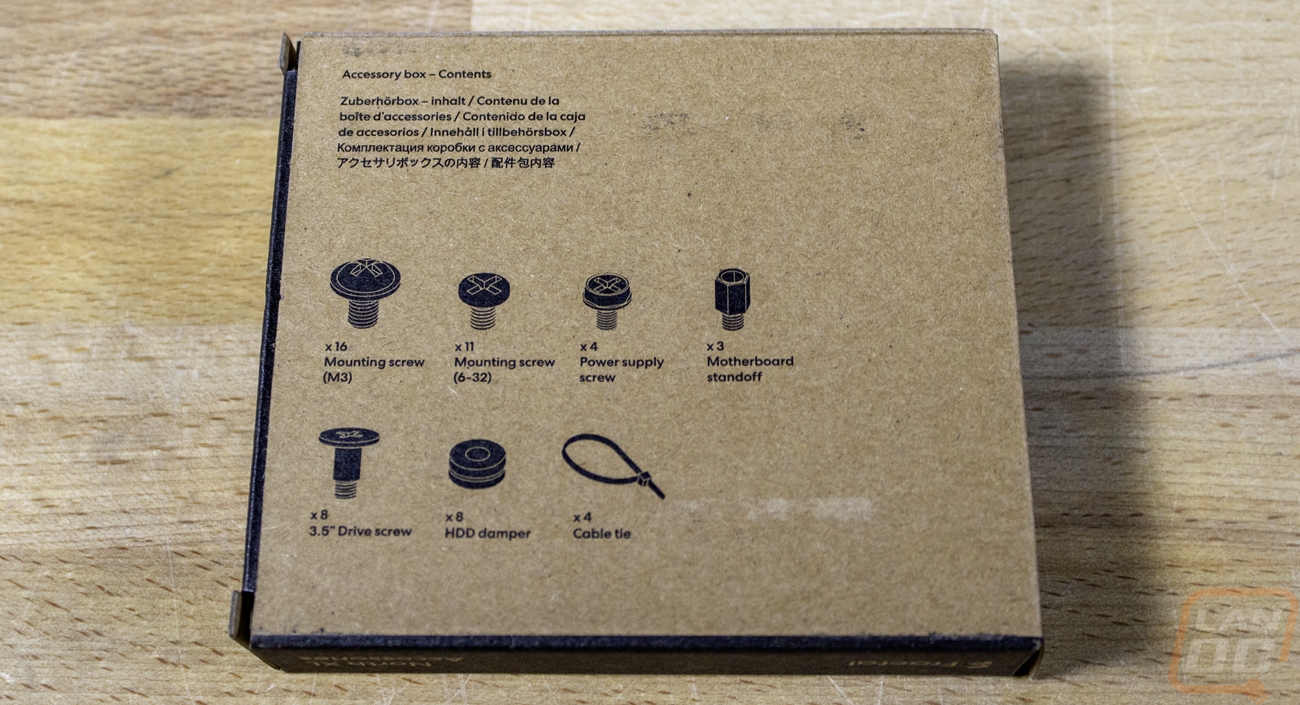
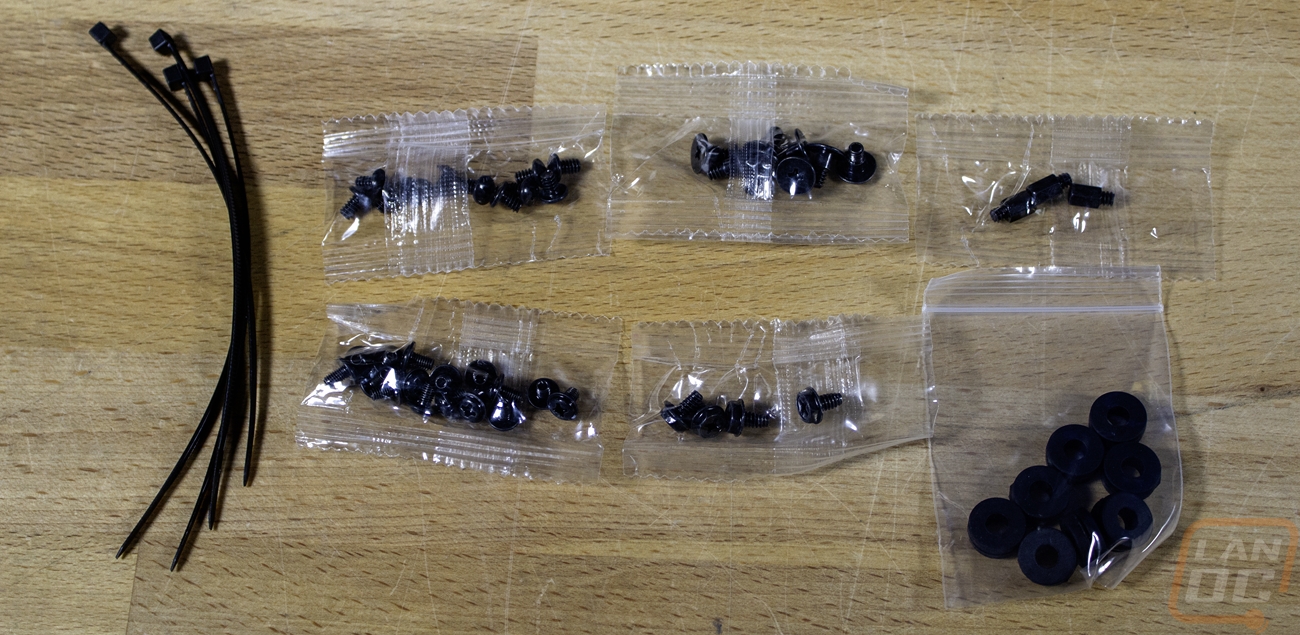
Behind the motherboard tray and all of the bottom PSU compartment are all accessible with the right side panel off on the North XL Momentum Edition. The back side allows 33 mm of space for wiring and Fractal has loaded the case up with more of those Fractal-branded Velcro straps all over the place. The case’s wiring comes pre-installed in a few of them, but there are other straps for the rest of the wiring as well. There are two removable 2.5-inch SSD trays on the left; these can be removed with just one thumb screw. Then down in that bottom section, there are two 3.5-inch hard drive trays, also secured with just one thumbscrew. Those have multiple mounting locations, you can move them forward or back, depending on whether you are running a long front radiator or a long PSU or both. Those trays will also support an SSD as well if you need more than just the two. The case’s accessories all come down here, mounted in one of the hard drive trays. You get a nice box with a picture of everything you will find inside, which includes a few more motherboard standoffs, mounting screws of all types, four zip ties, and a set of 8 hard drive screws and matching rubber dampers. Each other than the zip ties comes in a plastic bag with just the rubber dampers coming in a reusable bag.
I will dive into the North XL Momentum Edition a little more in a future article when we install everything into the case. Next time you see us, I will be diving into what I am changing network-wise to hopefully avoid any more NICs failing, as well as the power supply to power everything, and the video card as well.