Rack Rails/Installation
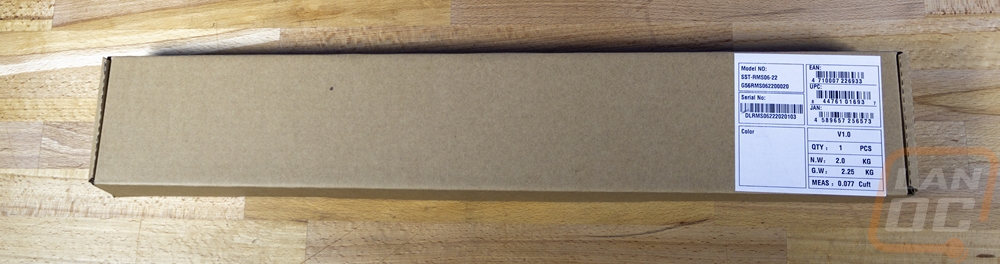
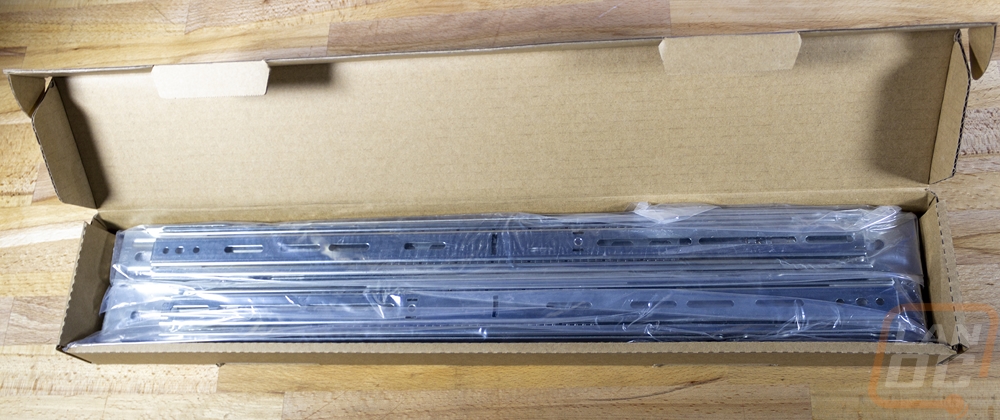
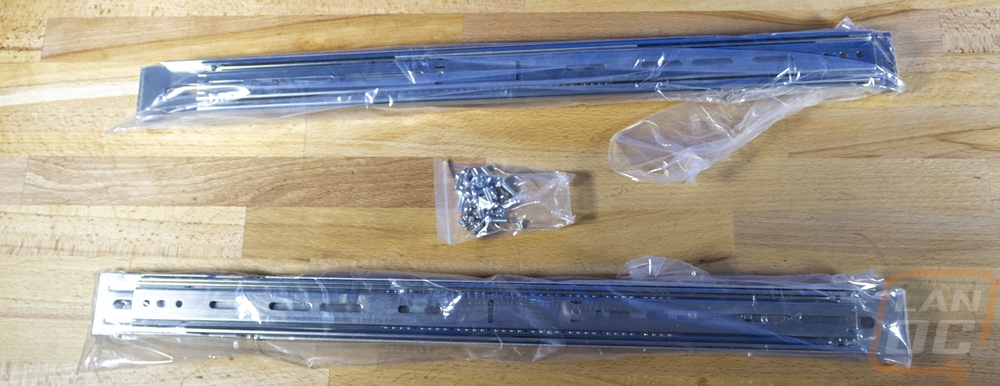
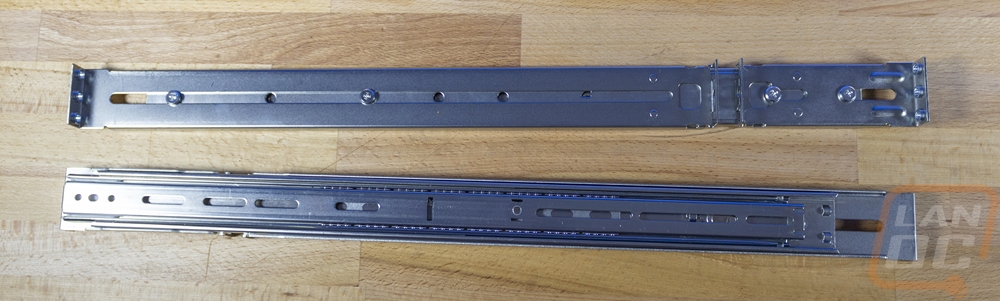
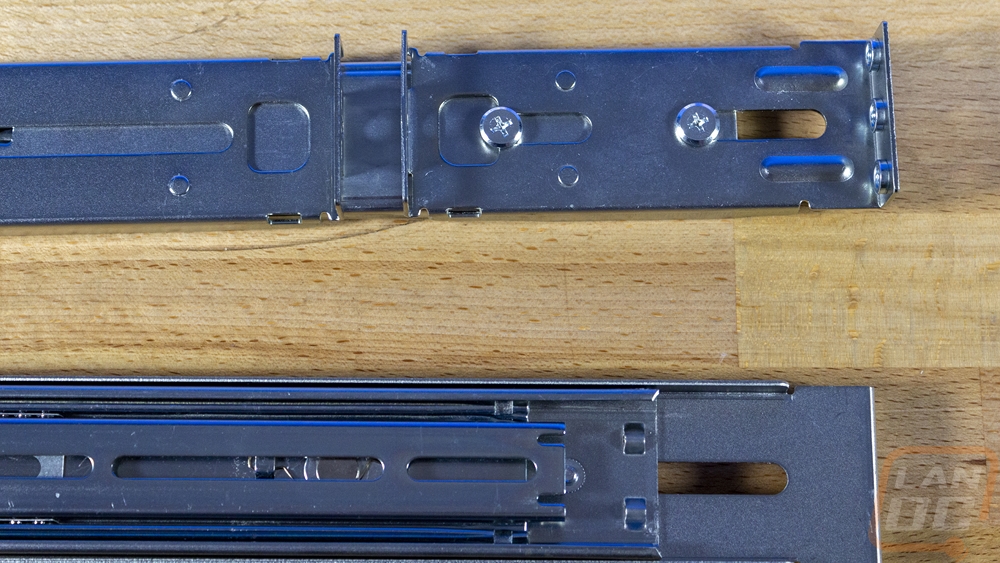
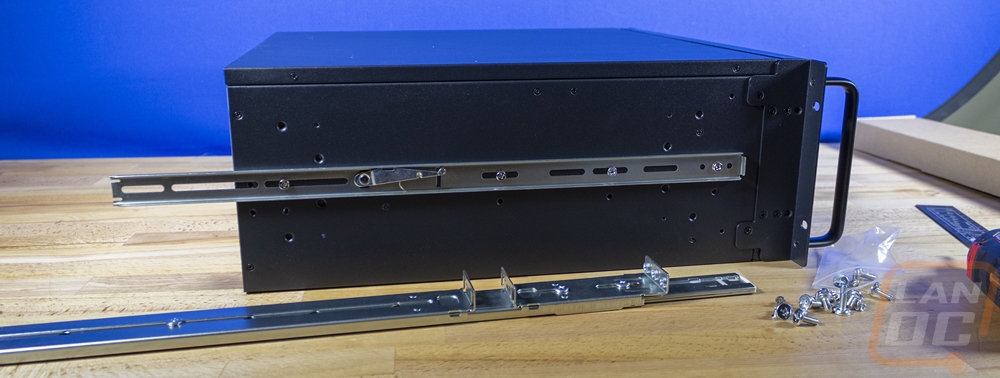
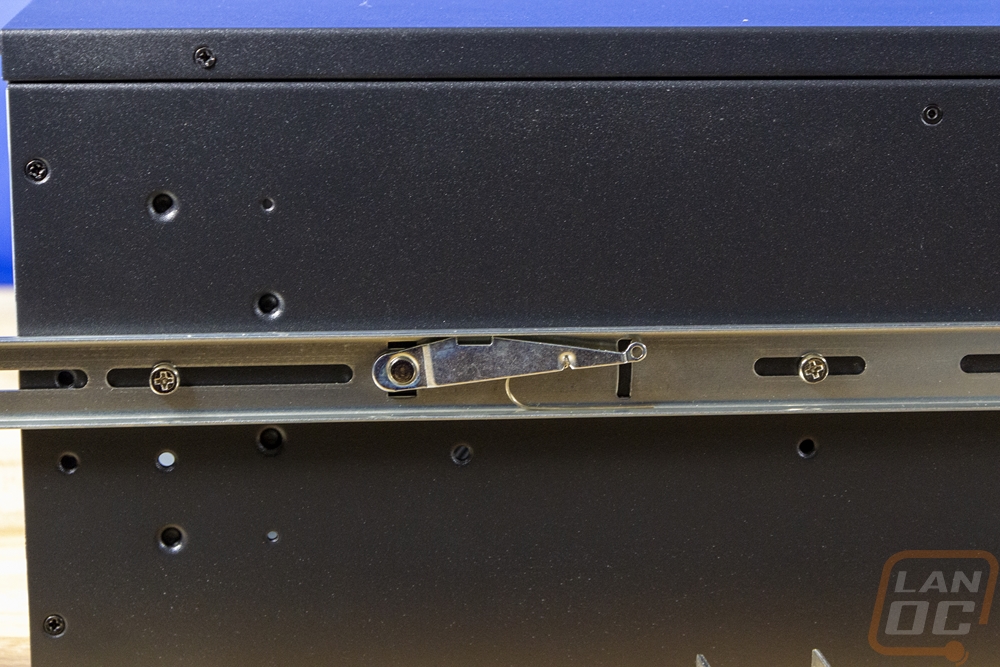
Like with our last build I did need rails to pair up with the RM42-502 so I could get it installed in our case and Silverstone has a recommended set that goes with the RM42-502. They are on the recommended accessories list on their website or you can find them under the model number RMS06-22. I was especially happy to see that this rail setup is designed for the newer square rack mount or the round hole rack style by having brackets than can flip around and support either style. They have a maximum load rating of 99.2 pounds and support a few of Silverstone’s 4U rack-mountable cases. They come with each rail wrapped up in plastic and in one box along with a bag full of screws which give you the mounting screws for the rail to the case itself as well as a few varieties of screws for mounting to your rack as well. They have bearings as well as a clip built in to take the rail apart.
I did go ahead and get the rails installed in our case right away. As I mentioned earlier the RM42-502 does have two sets of mounting holes for rails you just need to make sure you have both rails in the same set. The bottom row puts the case in a positive U position and should keep the holes on the front brackets lined up but as you can see I went with the top mounts which was a mistake.
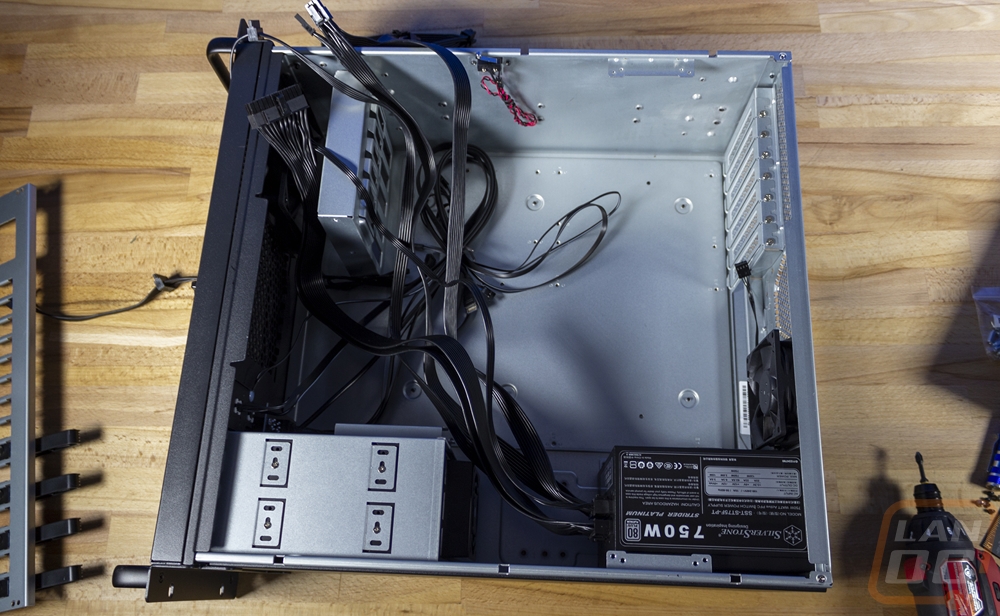
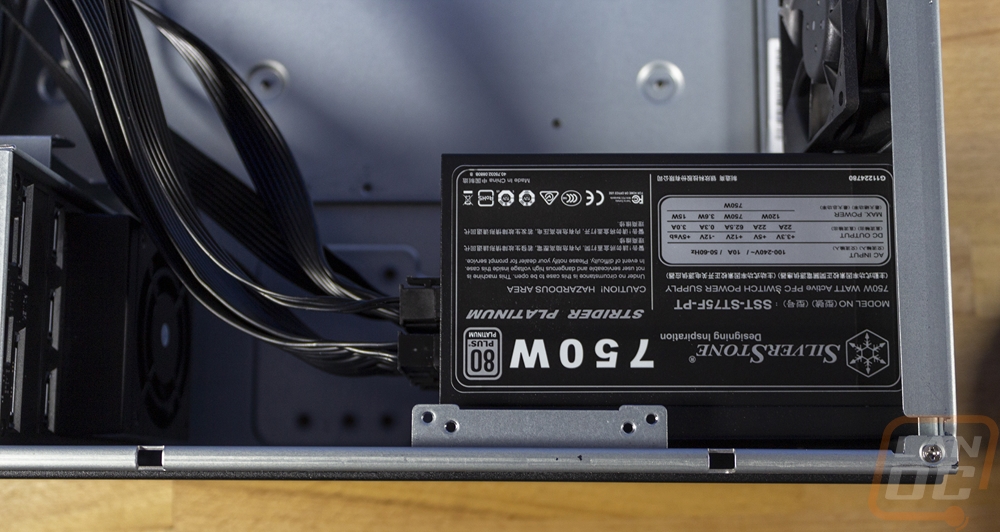
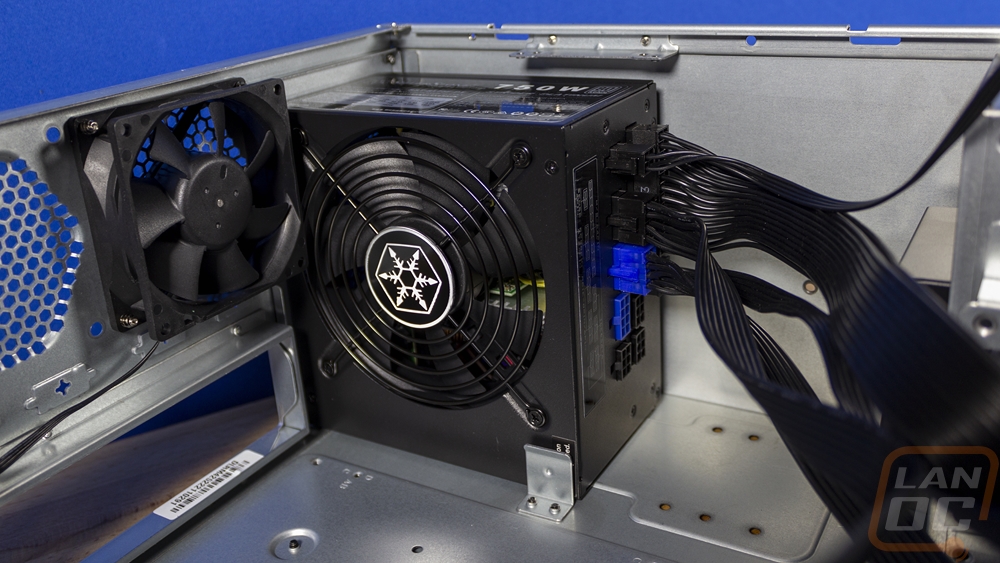
While getting the rails installed I did go ahead and prep the other Silverstone components of our build. For the Silverstone ST75F-PT that meant making sure I had all of the modular cables that I would need and plugging those in and then installing it into the RM42-502. One thing to keep in mind when doing this is that the power supply fan does need to be facing the inside of the case. Being a rack-mounted case there isn’t ventilation on the top, bottom, or sides so you have to pull air in from inside and then exhaust it out of the back. Thankfully the PSU bracket comes preinstalled so that was easy and getting the PSU installed was just using the four screws included with the power supply and then getting all of our wires inside of the case.
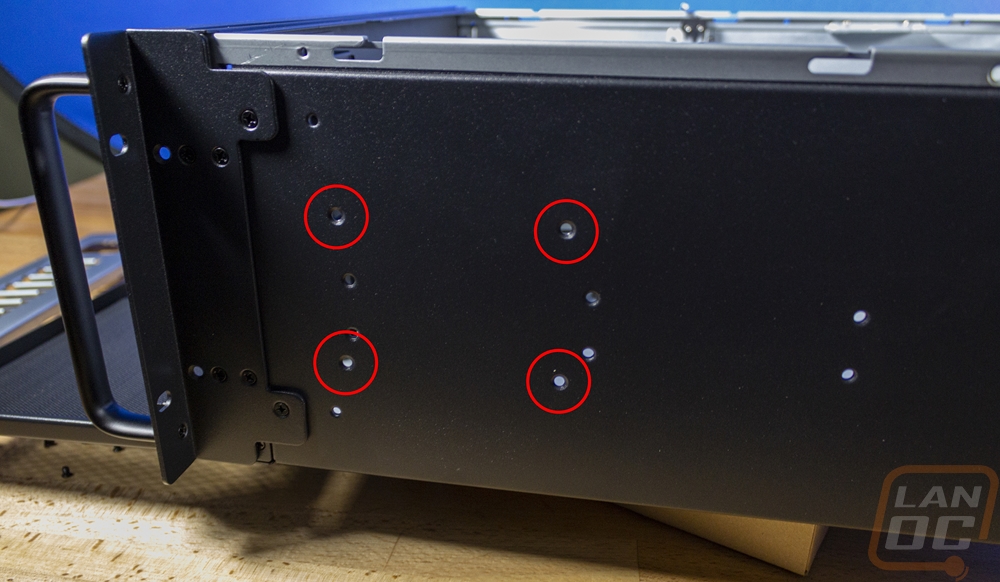
Next up was the Silverstone FS303 3-bay hot-swap that I’m adding into the case. This installs in the 5.25-inch bays and to be able to install it into that cage we do need to remove it. I’ve circled the screw holes in the picture below that you need to remove. Once you remove those four screws from the side of the case the drive cage will slide out and come out.
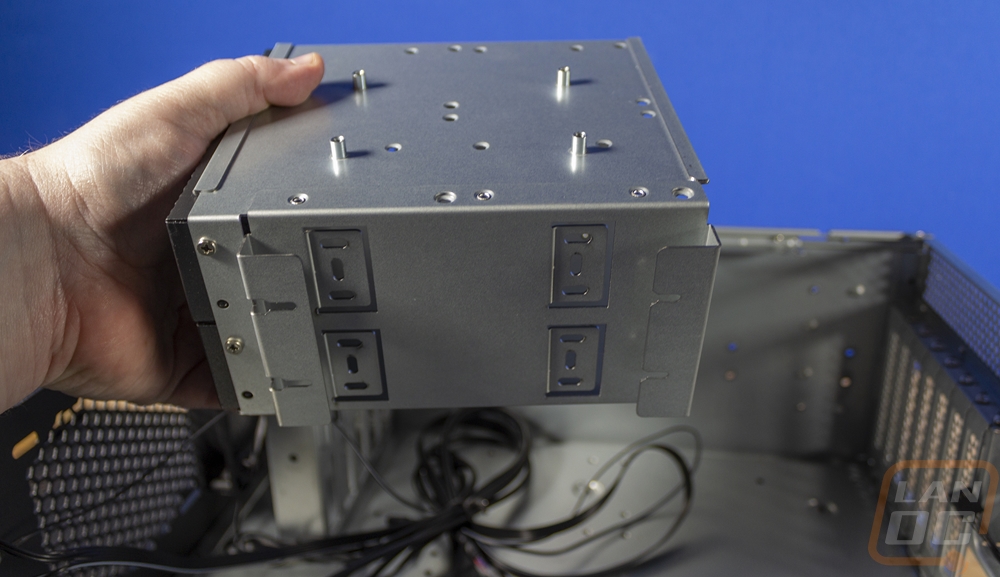
Once the cage is out you can remove the mesh drive bay covers. They are installed with two screws on each side for each cover and you can’t get at the bottom screws without removing the cage. I was surprised when I took a closer look that these do have thin foam filters in them as well which is nice.

The FS303 then slides into the cage where you can line up the mounting holes and mount it to the cage. This would be a good time to also install a 2.5-inch drive with the cage out if you are using one but our build doesn’t. You do want to reinstall the cage and line up the FS303 before putting the screws in to get it lined up perfectly but once it is installed you can reinstall the four cage screws on the side of the case and it is all together. We just need to hook up the two SATA power plugs and the three SATA cables which I will do later when I install the other components.

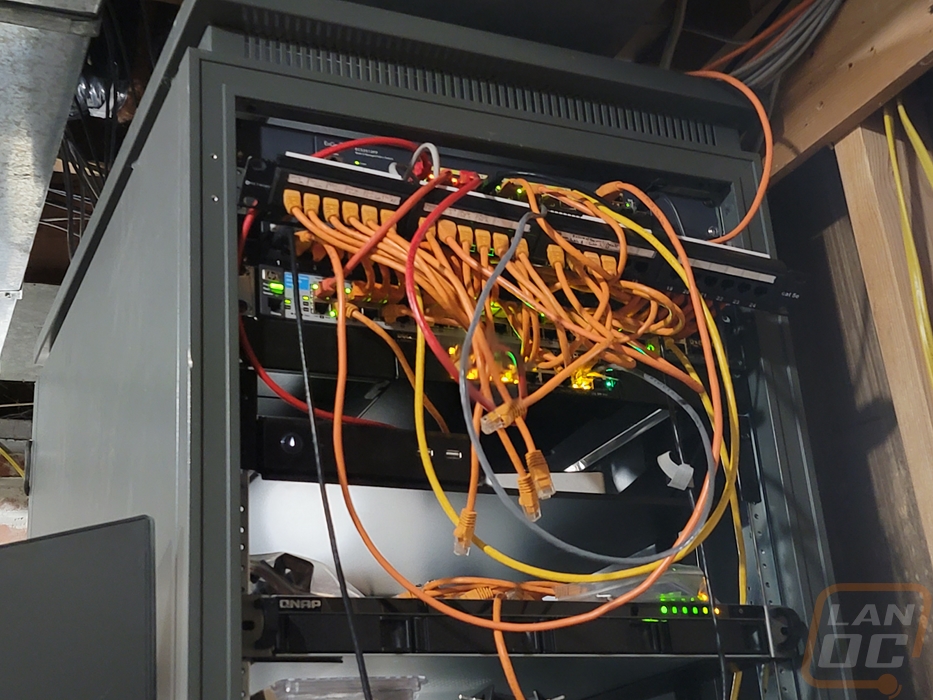
After I had those things installed those components I did take the entire build down into our basement where our rack is installed. I learned a big lesson on our TrueNAS build where fighting with getting the rails installed was significantly harder once I had the entire system together so I wanted to get the rails installed in our rack now before getting the rest of the heavy components installed. I really should have done this even before putting the PSU and the hot swap in, but it is better than nothing. Before I could do this I did have to do some cleaning up. Our rack when I bought it came with a random old server installed in it and over the years I had also filled the rest of the rack up. This included multiple NAS and our current security camera server which are all sitting on a slide-out shelf and things like one of our LAN servers and an Intel NUC that in the past has been used as a tiny server and for our LAN events but hasn’t been in use. The wiring on the rack has been ignored for a while as well with patch cables being swapped out multiple times and one patch panel hanging out after I replaced a bad cable and had issues (so I thought) with my punch-down not working. I cleaned the old NAS out of the rack as well as the old server but saved the patch panel issues for another time where I could spend more time cleaning it up but here is a look at that mess currently.
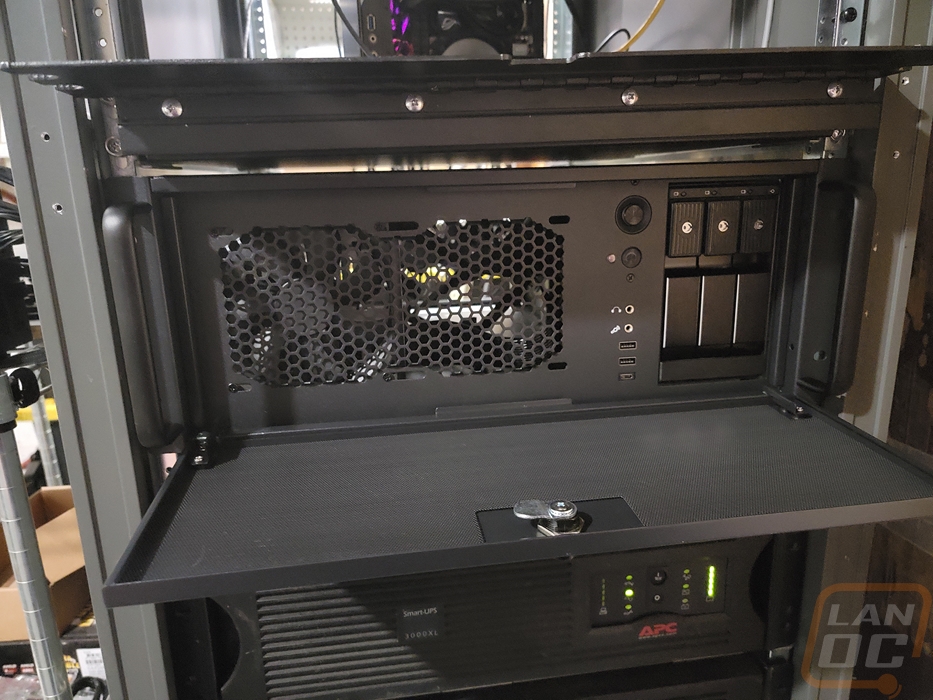
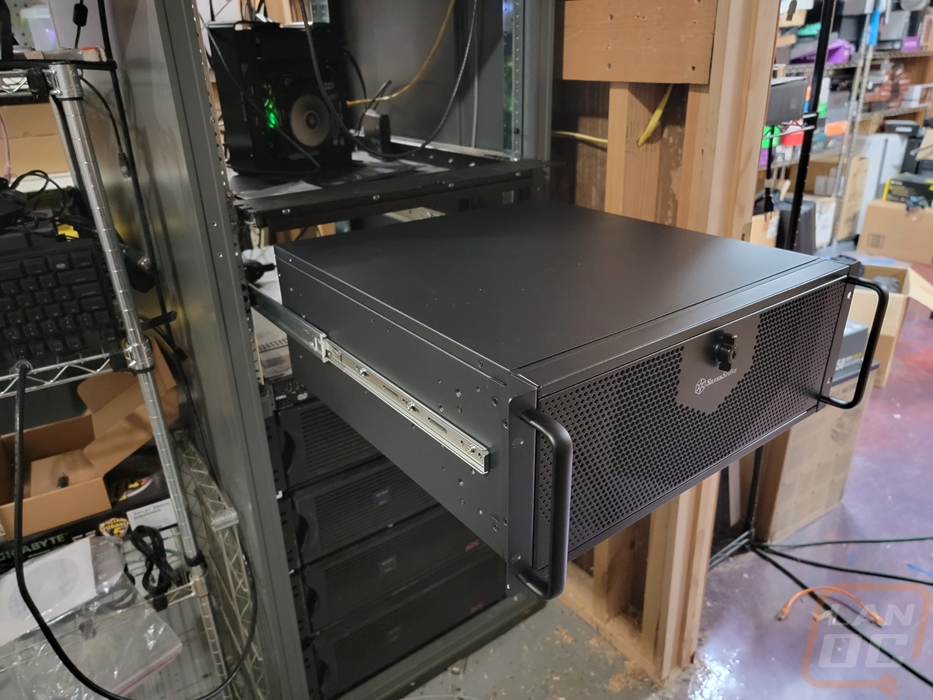
With some room made I decided that I wanted to put the case down below the slide-out shelf so I set the case up in that spot but without the outer rails attached so I could mark where our rails need to install. From there I just needed to install three screws at each end of the rails which expand out to adjust for your rack depth.
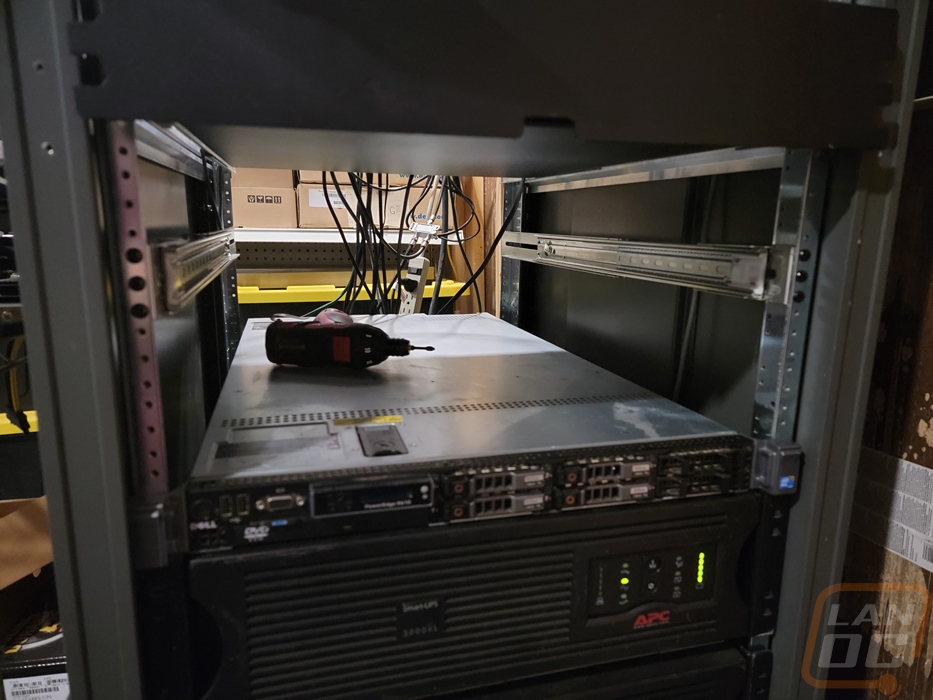
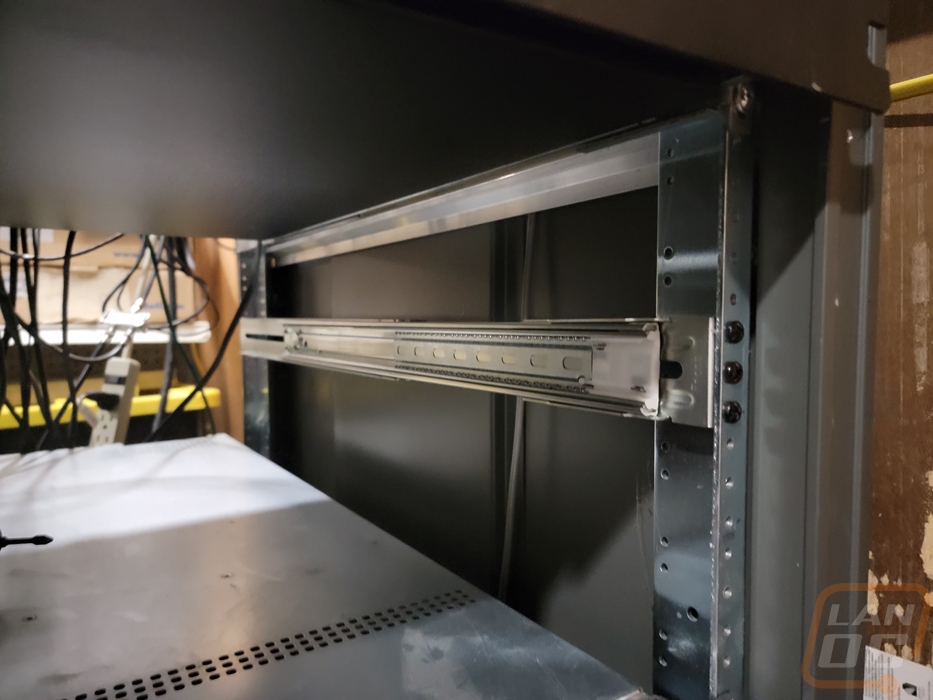
The two rails went in quickly and once installed the RM42-502 slid in and latched. I can now remove it to finish the rest of the build or if I want because of the rains I can finish installing everything into the case right here on the rack. Because I mounted our rails in the wrong spot on the side of the case the front holes didn’t line up with our rack but the case stays in place perfectly so I’m not too worried about it.