Installation
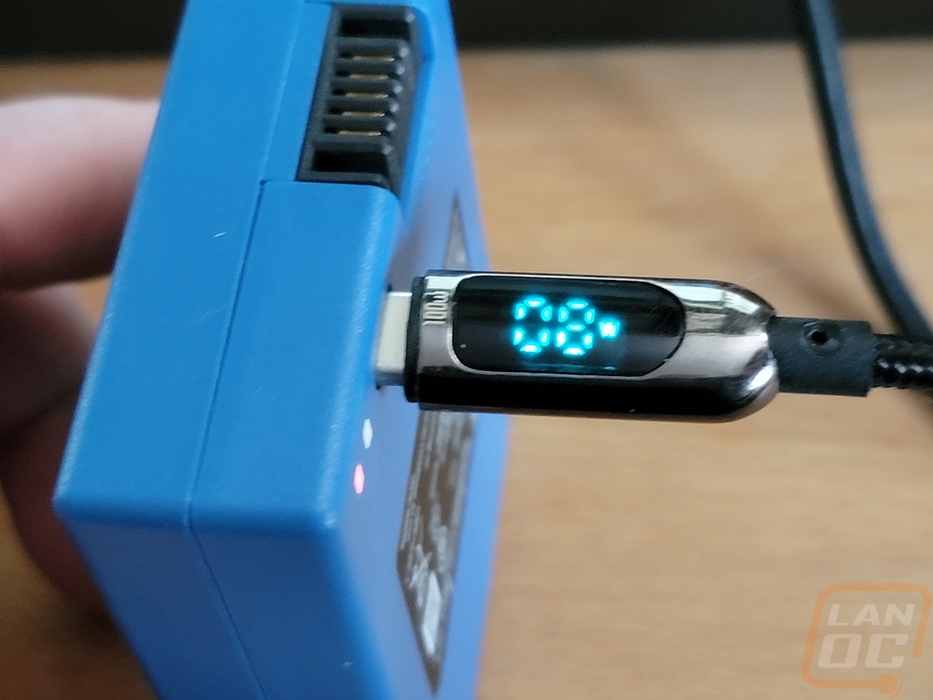
To get ready for installing the Video Smart Lock there were a few things that needed to be done ahead of time. The first of which was charging the removable battery which has a type-C connection built into it for an easy charge. I charged at 8 watts the entire time which from empty should take around an hour and a half for the 10,000 mAh capacity battery.
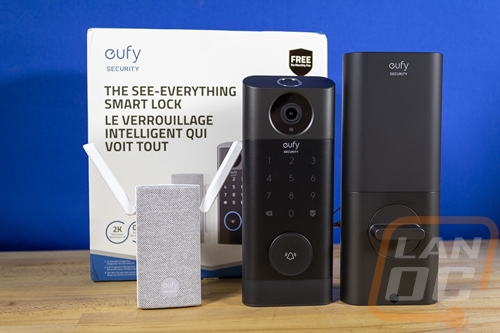
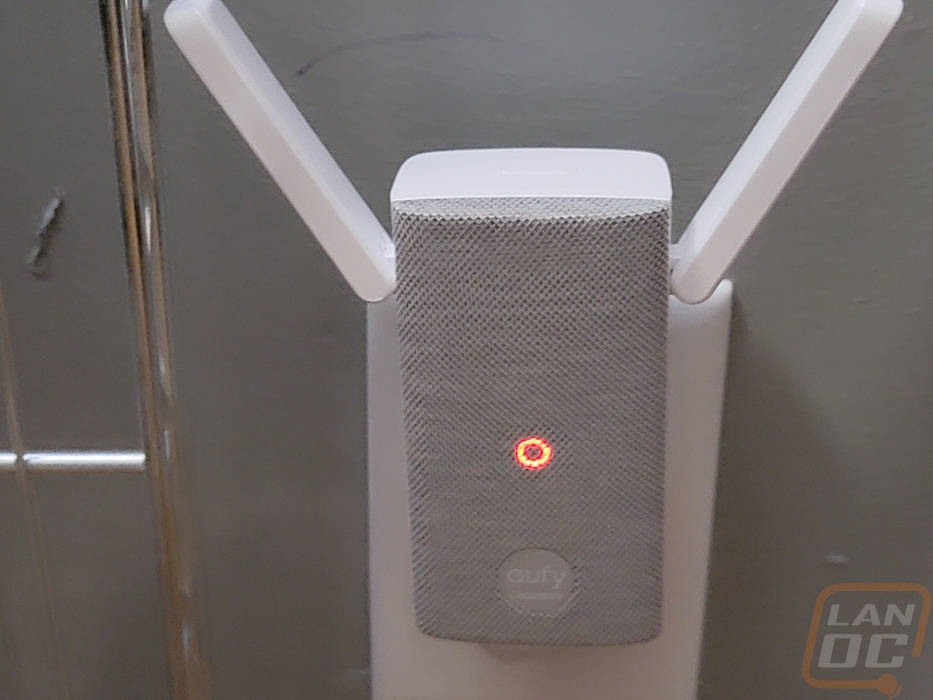
You also want to get the chime/bridge plugged in. As for the placement of it, you don’t want to be on the opposite side of the house but putting it somewhere central so you can hear it anywhere making sure it is in range of your wifi as well. I will talk more about the app in the next section but you do have to add this in to the eufy Security app as its own device before you add the Video Smart Lock so you should scan it in and then plug it in and get that set up ahead of time. Also, be sure to install your own micro SD card and format it, you can set the device up without it but you won’t be able to record any footage until you do.
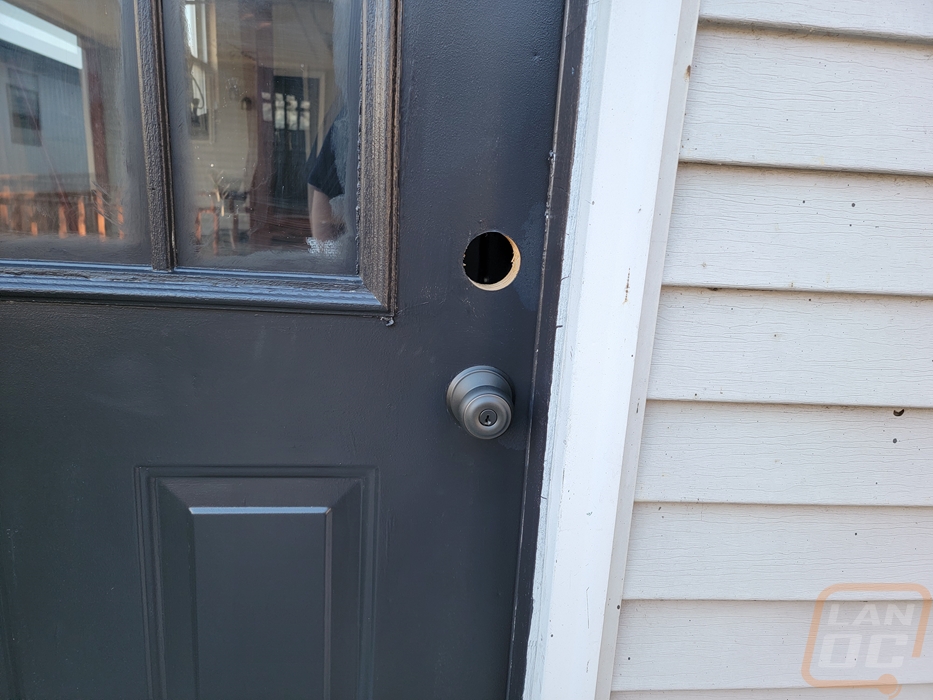
My specific situation is a little unique, most people would be looking to use the Video Smart Lock at the front of their house but we do already have the Video Doorbell Dual and more importantly, our front door has a European-style multi-point lock that wouldn’t work with this setup. I had to decide if I wanted to use it on our back door or our garage. In the future, I will have some sort of smart lock on both, but putting this on the garage made the most sense giving us quick and keyless access when going to the car. This works well with having a push-button start on the car as well meaning we don’t have to worry about keys as long as we have them on us. I also didn’t have a deadbolt on any of our back doors including the garage so leading up to this I did upgrade our door handles and drilled and installed deadbolts in the other locks as well as finally painting the doors as well. Who knew one review would end up causing all of the extra work around the house?
If you have ever installed a deadbolt before getting the latch for the Video Smart Lock isn’t going to be any different. Once the holes are drilled and you have the edge of the door recessed correctly you just slide it in and put the screws in.
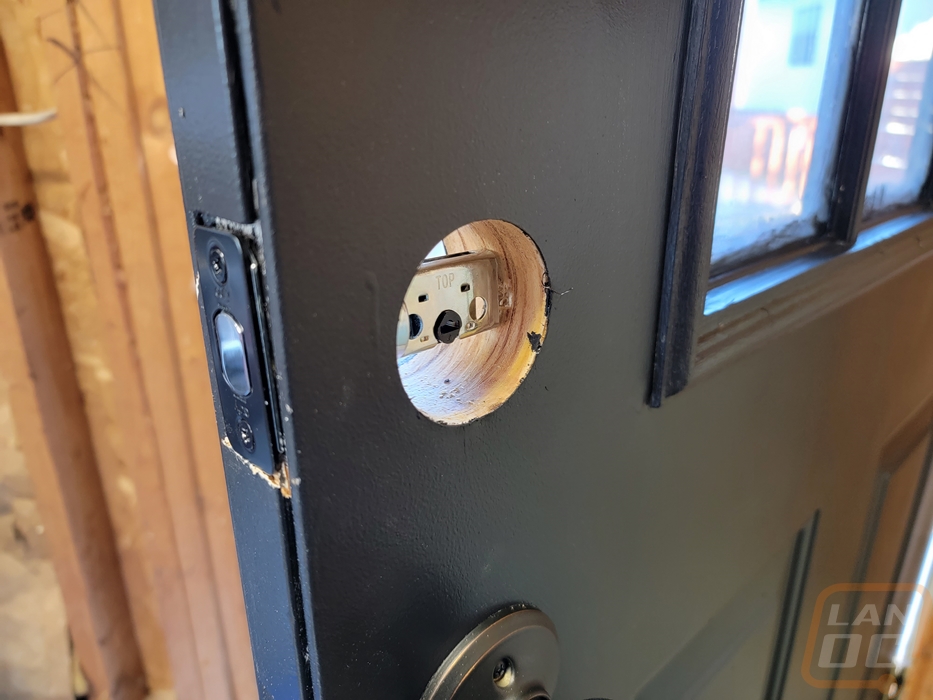
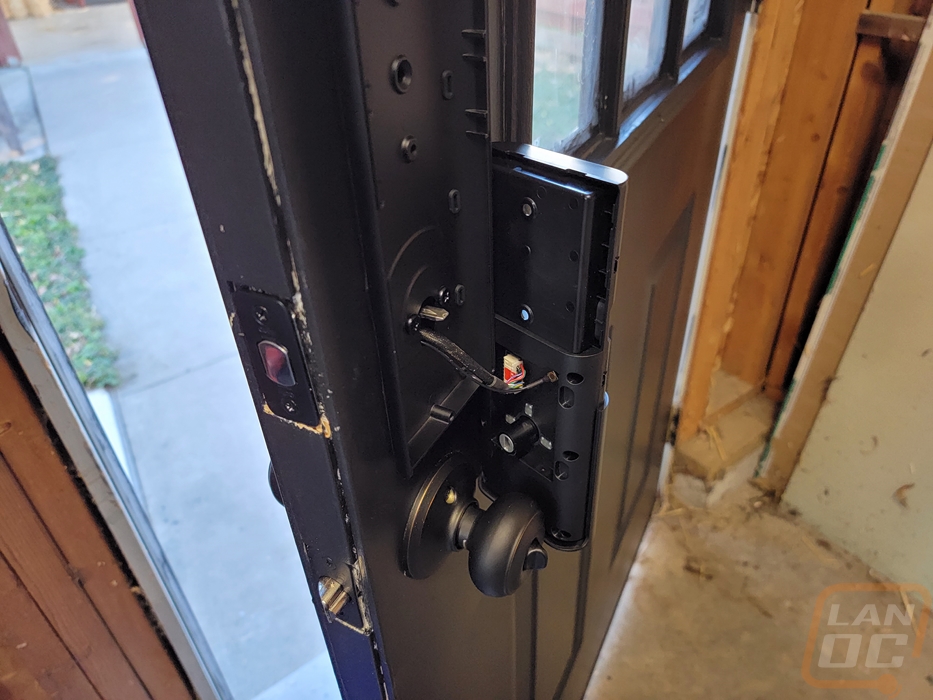
Next up I installed the front half of the Video Smart Lock which just slides into the hole and you want to make sure the pin slides into the matching hole in the latch we already installed. The reason for the rubber backing that we saw earlier on the back of this half is because the lock doesn’t have any additional mounting screws from this side. Everything is installed on the back side so it helps give this more grip to keep it locked in place.
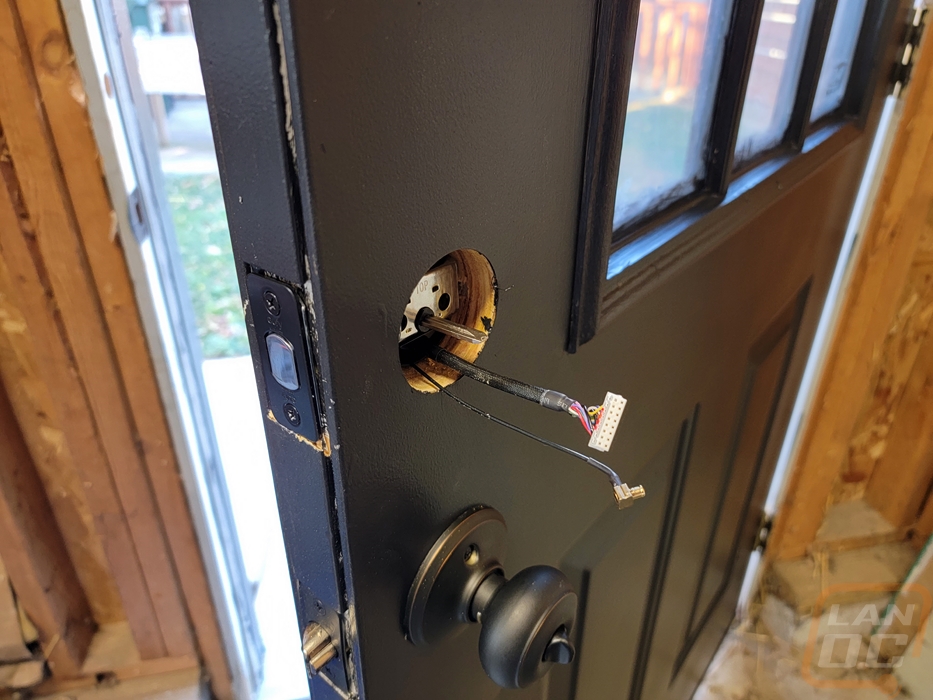

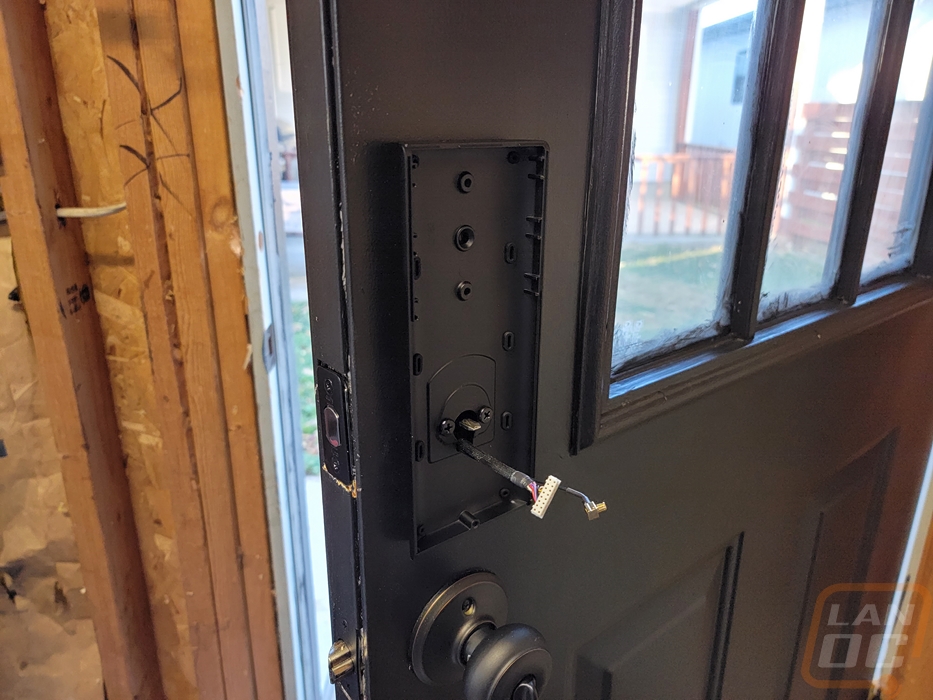
The back half of the lock splits into three parts. You have the battery cover, the main portion, and then this base. This is the mounting plate and when you start lining it up you want to be careful to not pinch the antenna and data cable. From there you install the two long screws that go through into the front half and when you tighten this up be sure everything is lined up on both sides. There is an optional third screw up top in the middle that you can install to give more stability if needed but with both sides having rubber everything locked in place well with the main screws for me.
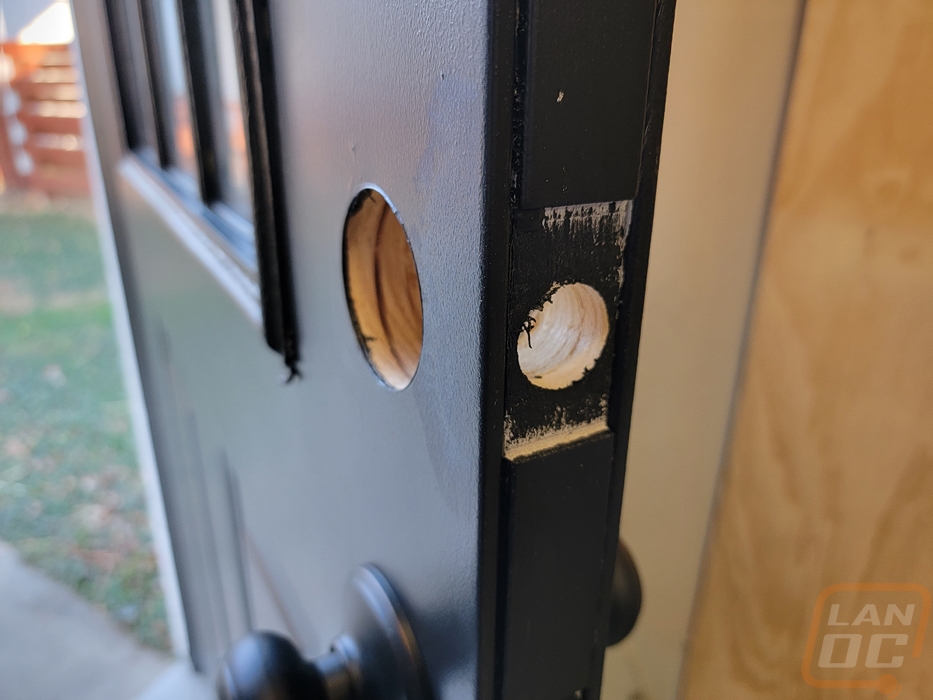
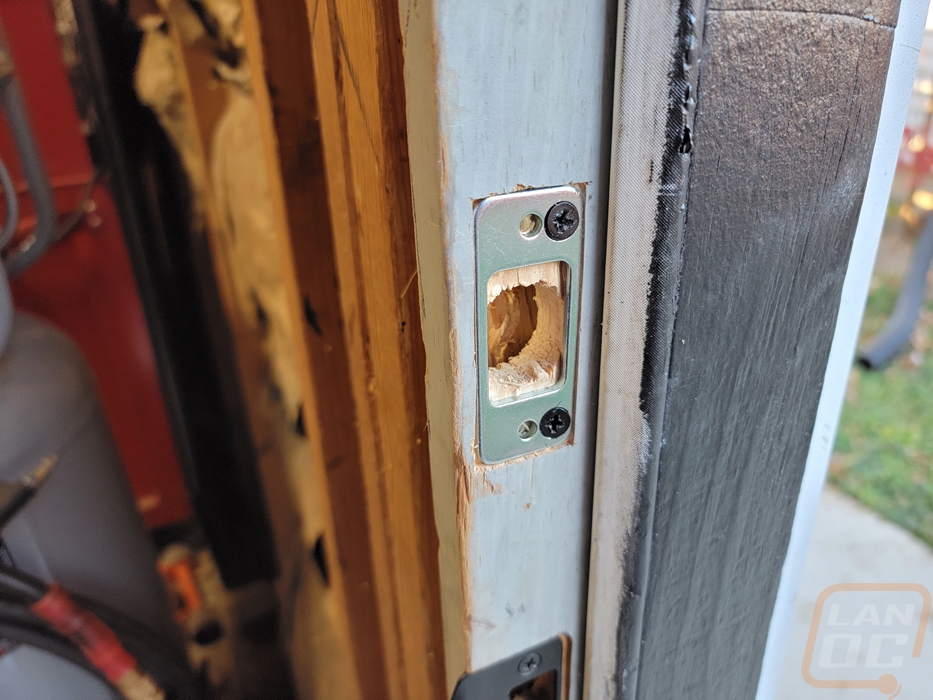
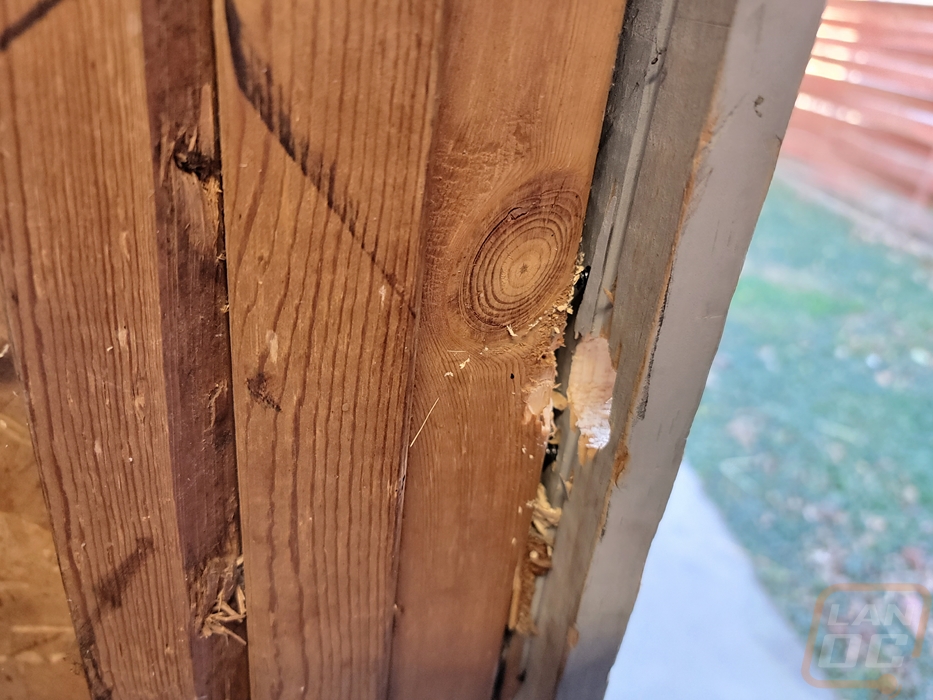
Before going too much further you should also get the strike plate installed. Eufy includes two sets of screws for this, one standard length and one set of long screws which are great for getting into the framing for more strength. If you are installing this in a door that didn’t previously have a deadbolt I found that lining up the lock with the latch out and the door almost closed helped me get the location correct. You will need to chisel out to recess the strike plate as well. With this being in my garage which doesn’t have drywall, it also gave us a good look at behind the frame as well and you can see how the longer screws go right into it.
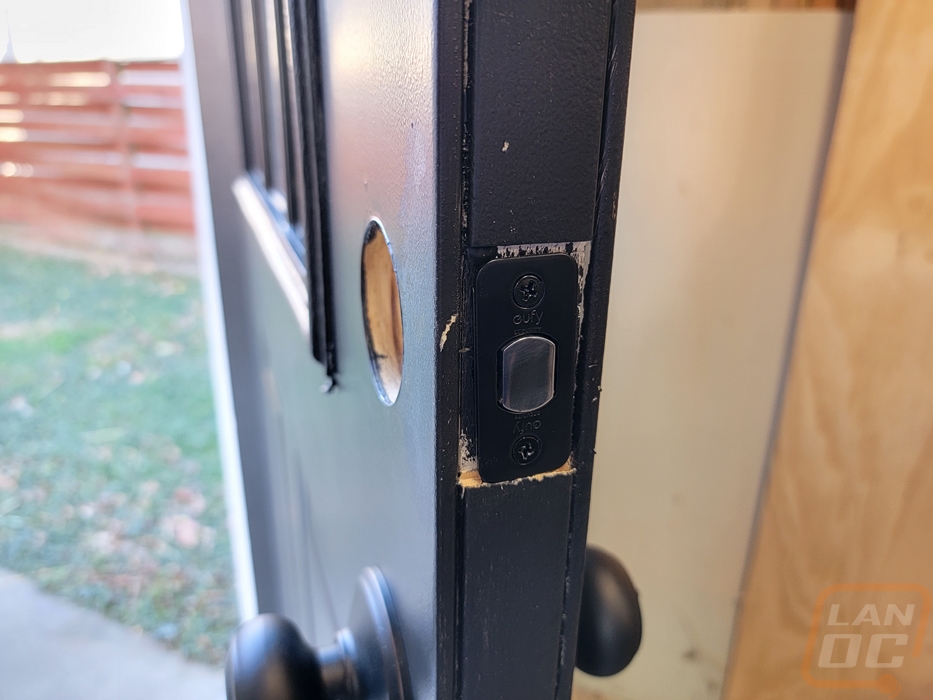
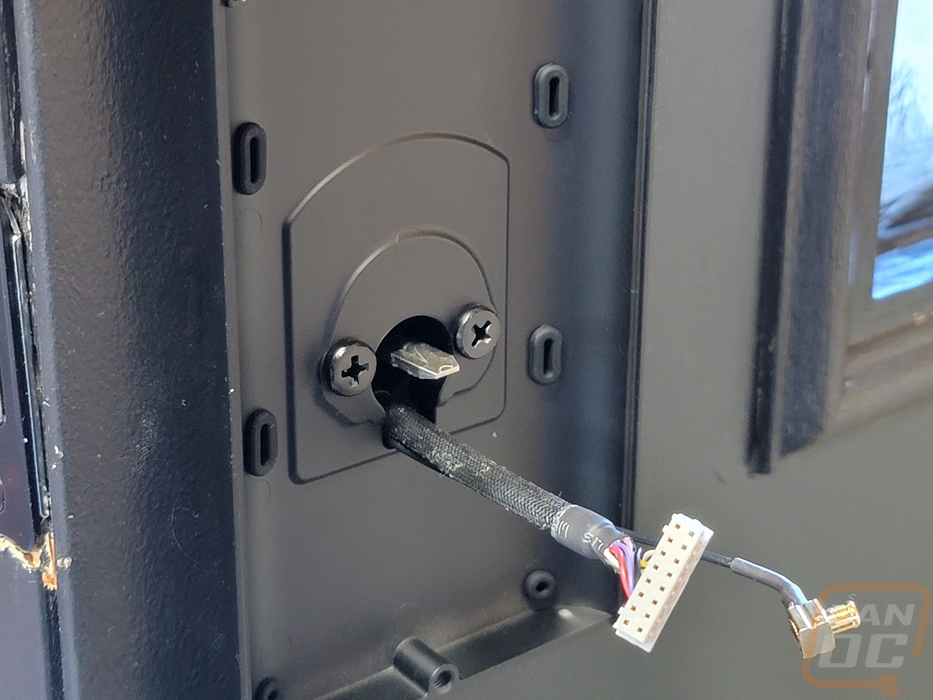
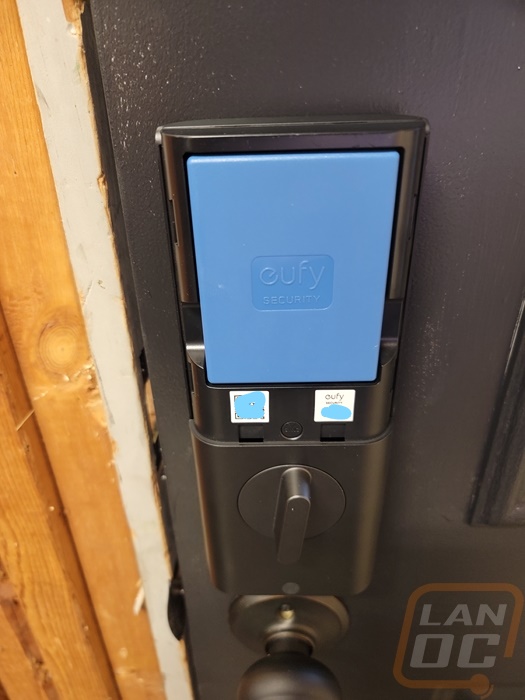
Once you have the main mounting plate installed you need to connect the wires and the antenna to the main assembly and then install that into the mounting plate. There are three mounting screws, two in the battery tray and one down at the bottom. That bottom hole also comes with a rubber insert for after as well as you can see in the picture below. Once you have that done the batter slides in and you can reinstall the batter cover. Before you do that however you should use the QR code below the battery and the sync button to get the Video Smart Lock linked to your eufy Security app account so you don’t have to remove it later. The battery is tight but comes out but the cover can be a pain to remove, using something to wedge in and slide it open was easiest for me.
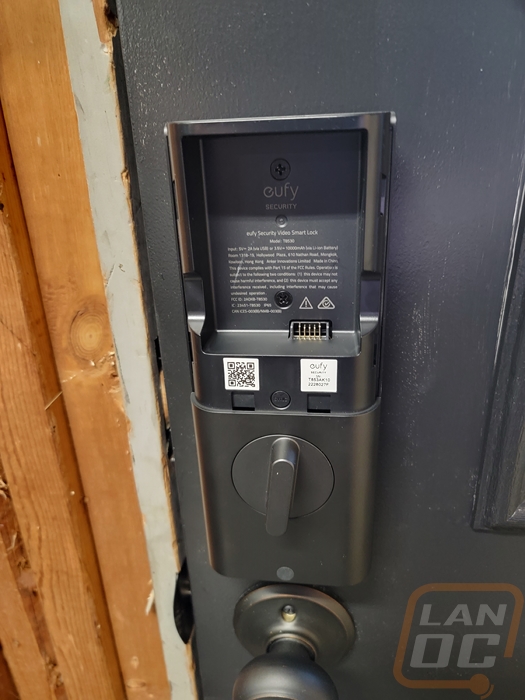
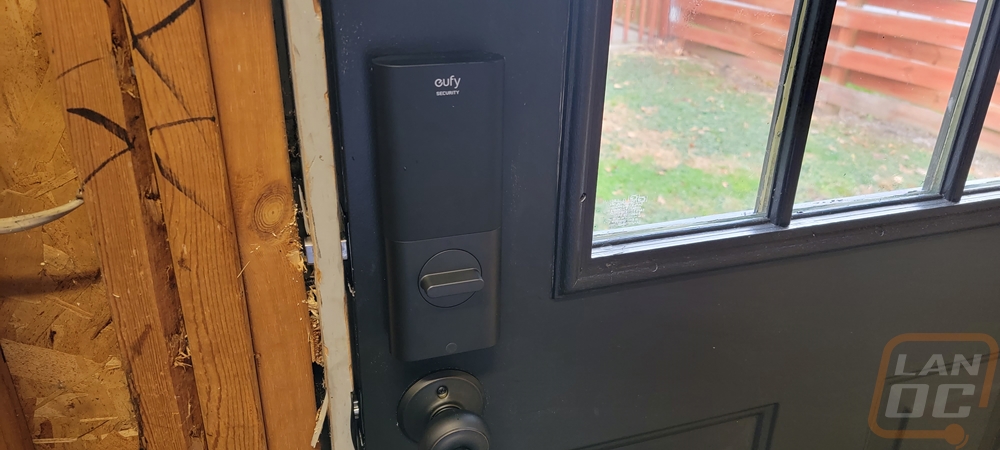
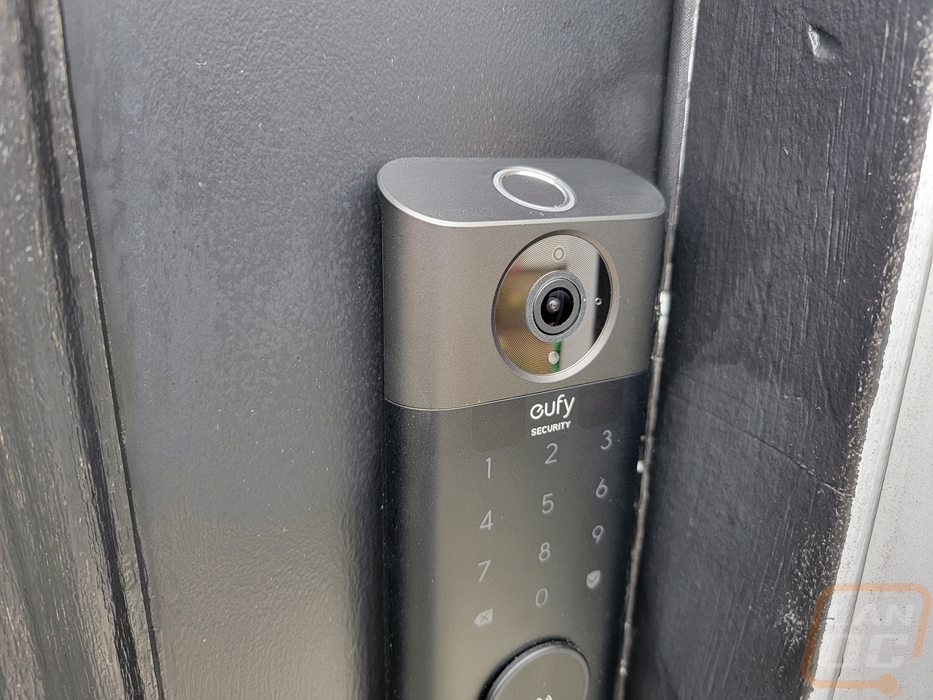
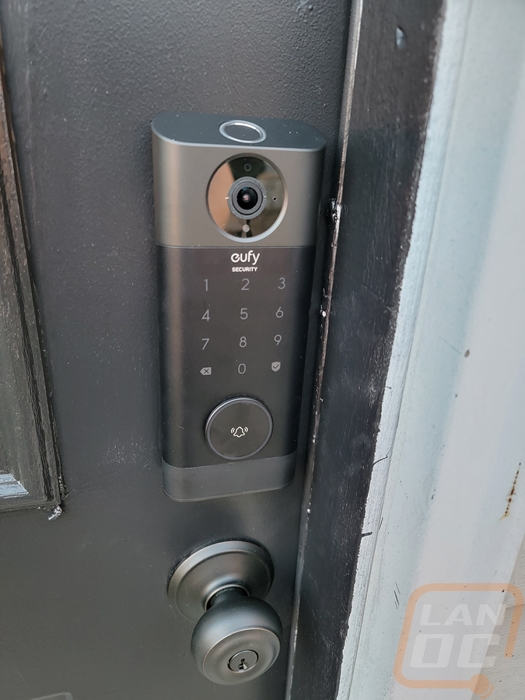
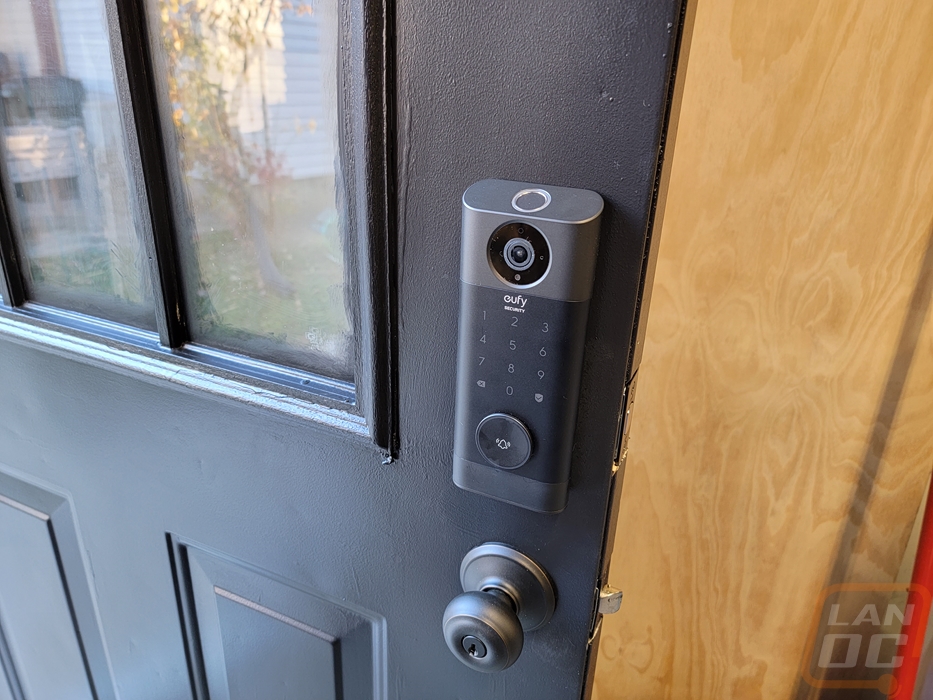
Here is a look at the Video Smart Lock when installed. It is large and at a standard deadbolt depth it runs up close to the door frame but has more than enough room to not hit it. Our back door is a 32-inch door with a similar window and the space between the frame and the window here is a lot smaller which may be tight but will fit as well if you are curious as this is a standard exterior door style.