Assembly, Photos, and Features
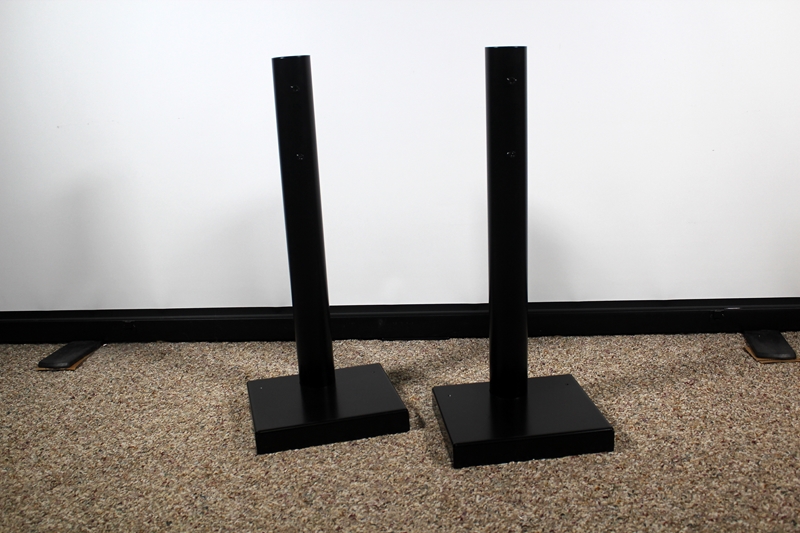
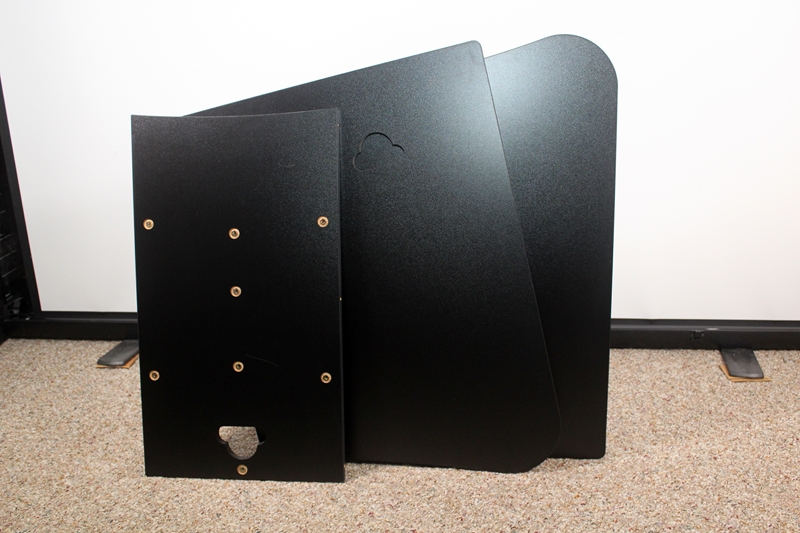
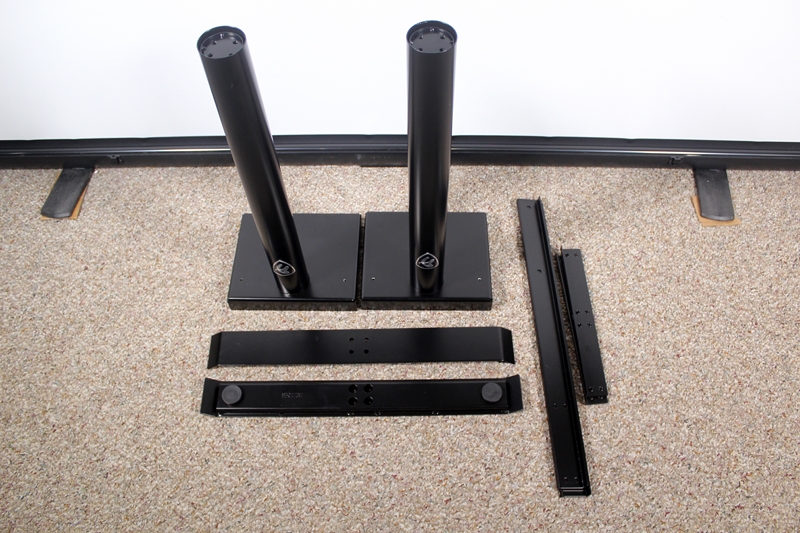
Before I could take pictures of the desk, I did have to get everything put together. So I turned on some music and set out to put everything together. I started off by pulling all of the components out of the box and making sure I had everything. There are three table top panels, two legs, two feet, and then six other frame pieces.
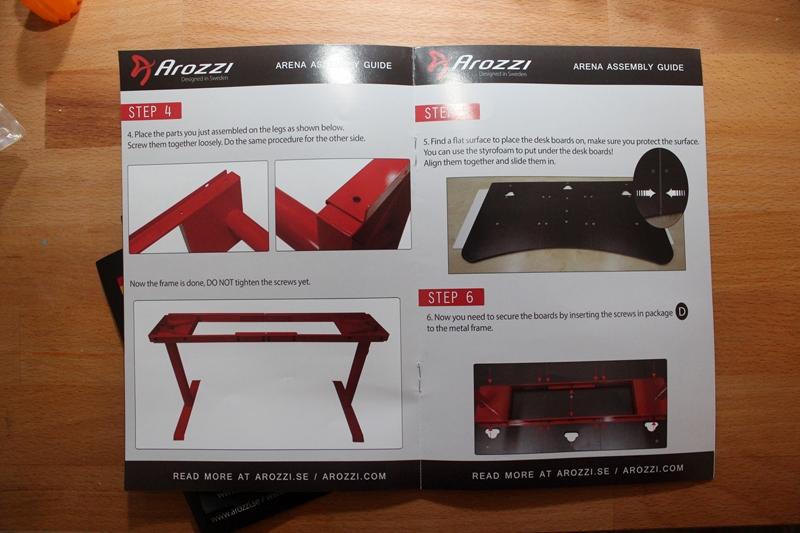
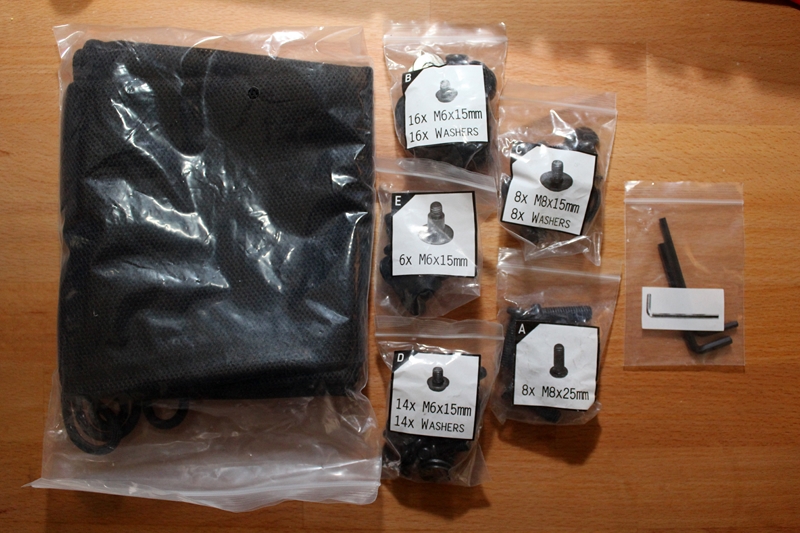
I did the same with the bag with all of the bolts, tools, and the wire management net. Each set of screws is labeled with what is inside and a letter. Then I gave the instructions a read before starting to get a feel for what needed to be done. The instructions are all printed in color with real photos, not drawings and most of the time they include the letter for the bag of bolts you will need. There are a few sections that don’t include that, but the bolts are used in alphabetical order, so once you use A you will use B next, and so on.
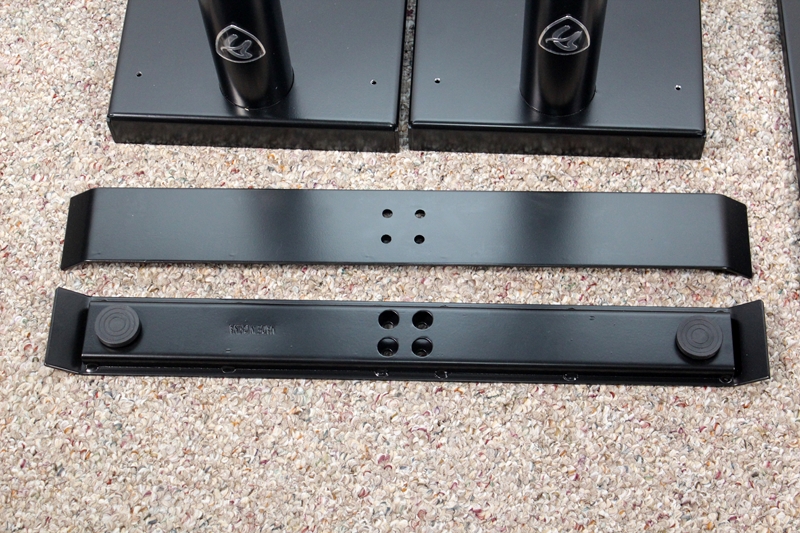
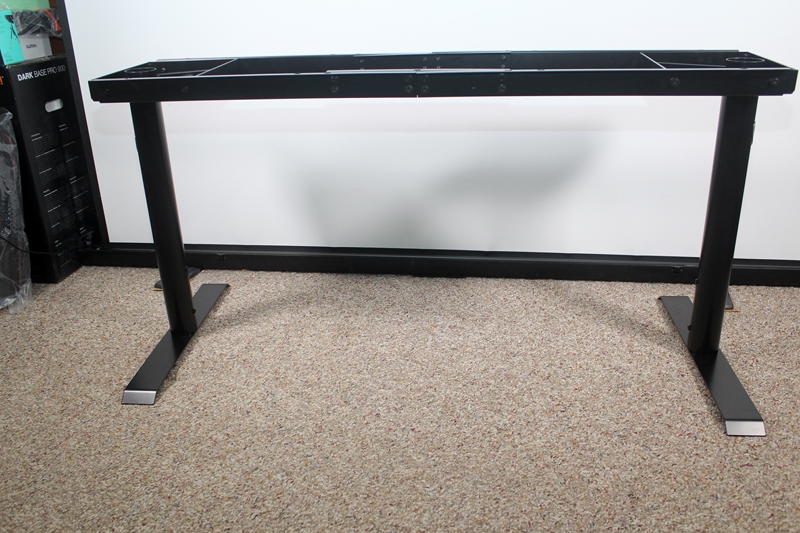
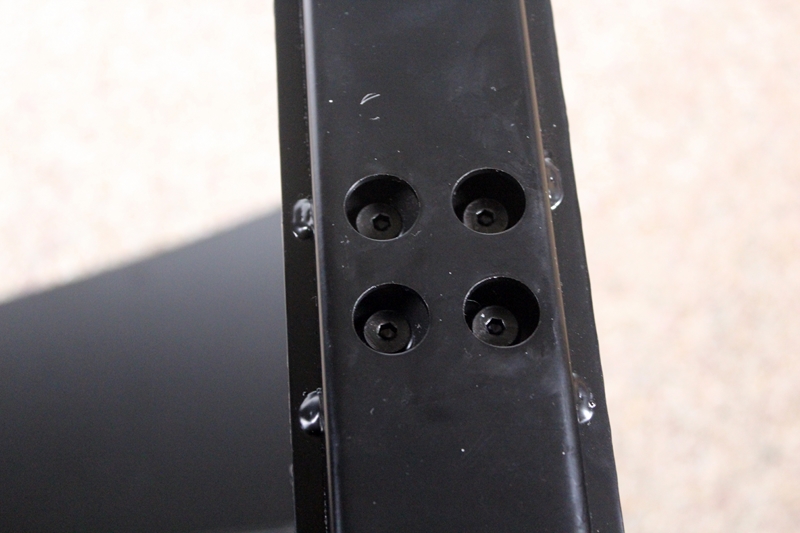
You start off building the frame. You want to install the feet to each of the legs using four bolts each and then you have to connect each of the leg assemblies together. To do that you have to put together the frame rails. There were a couple of tricks here. For starters, when installing the feet, make sure the leg you are attaching to is sticking out of the rest of the leg. Because of the adjustable height on the legs I originally attached the feet then realized they were loose again. I found out as I was tightening the feet up it was pulling the leg out to where it needed to be, but scraping the lockscrew down the side of the leg. The second thing to keep an eye on is the orientation of the frame rails when you put them together, they include a photo but I did mess it up on one rail and had to pull it back apart. Getting the frame all together took a little over a half hour and it would have been even quicker had I not been too lazy to go get a proper T-framed Allen wrench from the garage. Once together everything is starting to look like a table.
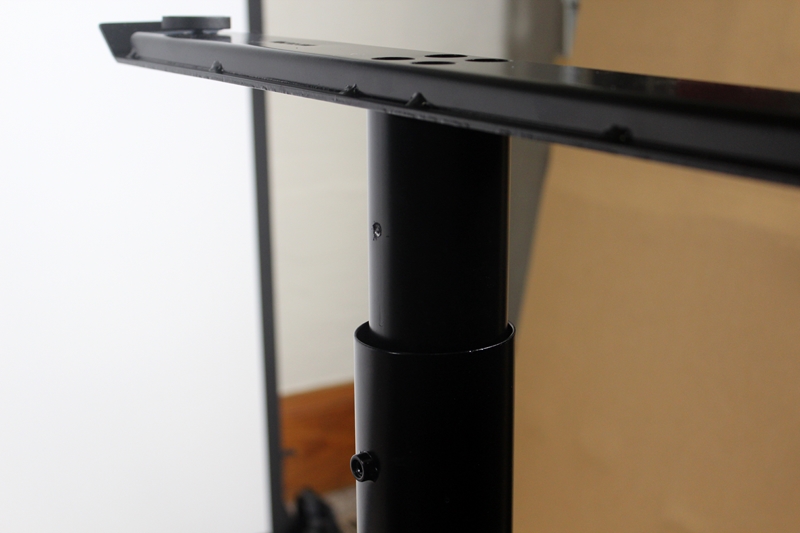
Here is a picture of what I mean with the adjustment portion of the legs. You can also see where I scraped the finish when tightening it down.
The next step is easier with two people. You put lay the three wood panels on the floor, locking them into place with the metal pegs. Then you flip the base assembly over and lay it on top of the wood carefully. Once done you can start to attach the table top to the frame. Once attached you then go back through all of your bolts and tighten everything up.
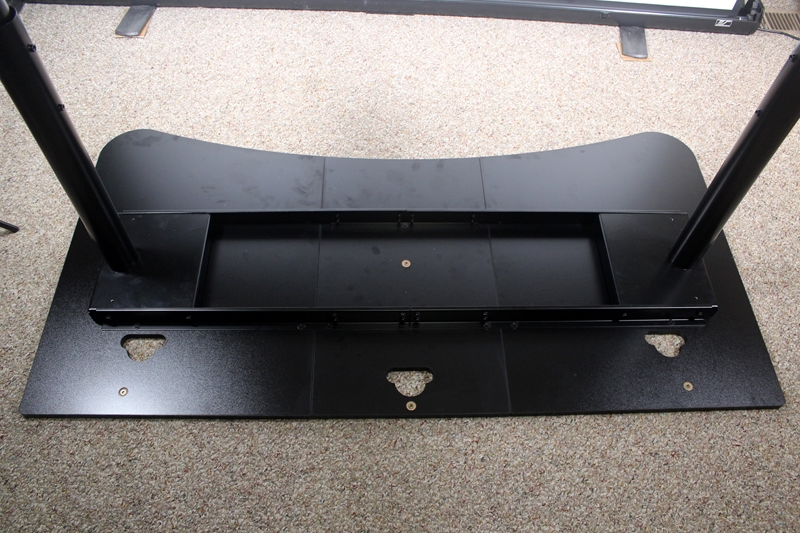
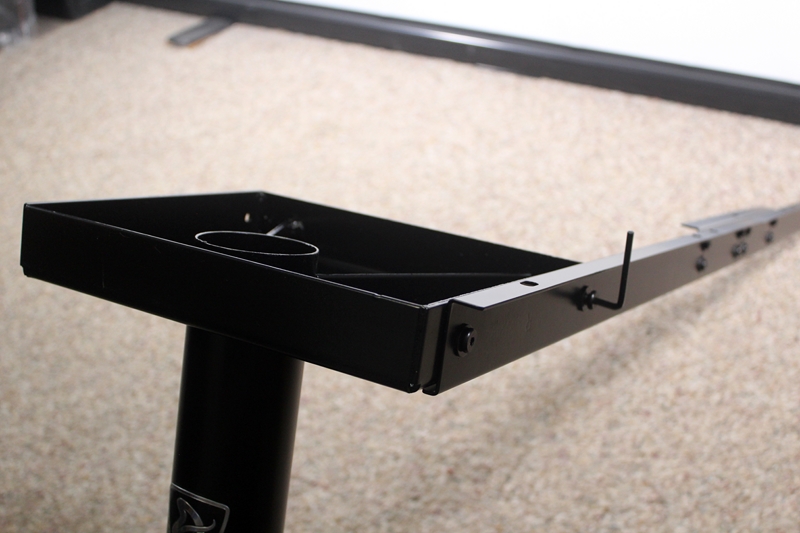
Next, you install the wire management net. It comes with a set of screw on mounting points that all hand screw on. Then from there you just stretch the loops over the pegs and its all installed.
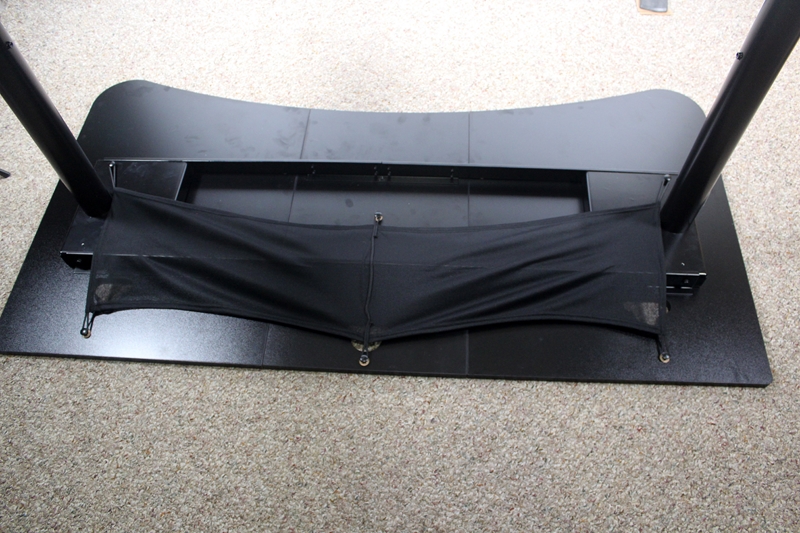
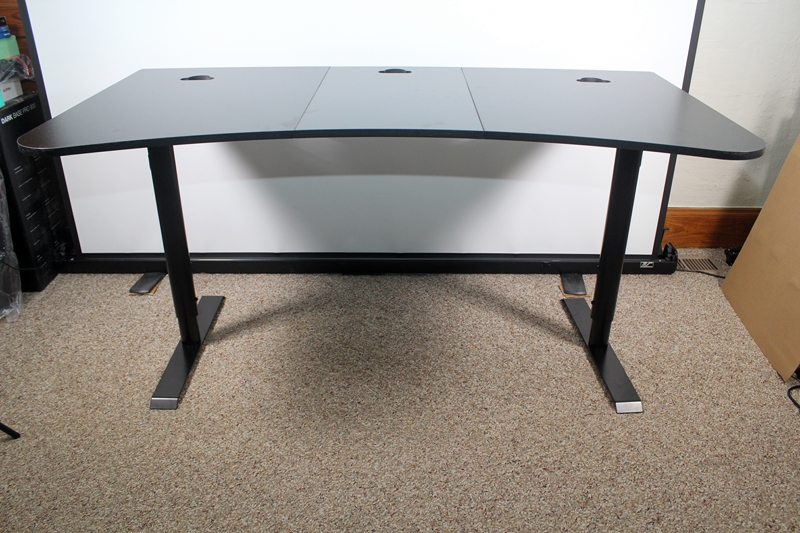
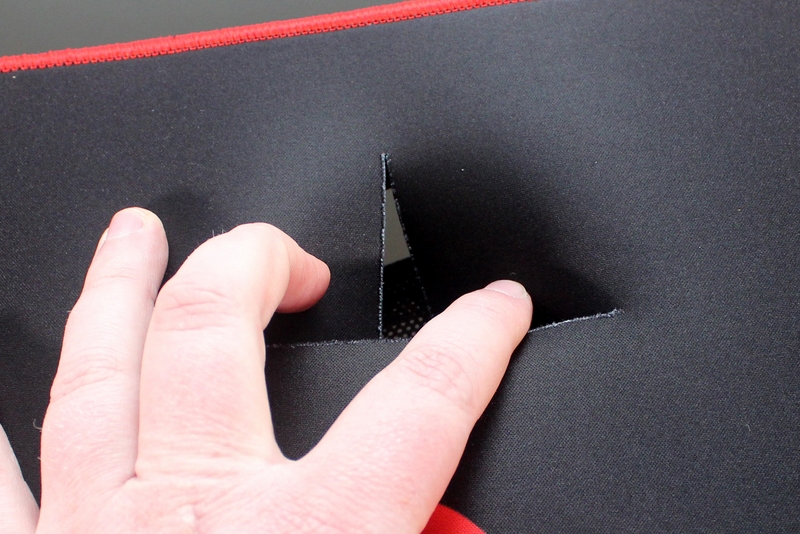
With the table flipped back up, we can finally start to see the desk taking shape. The top has three holes cut out on top for wire management that will be hidden by the mousepad that goes over everything. We can see that the holes are over top of the net we just installed.
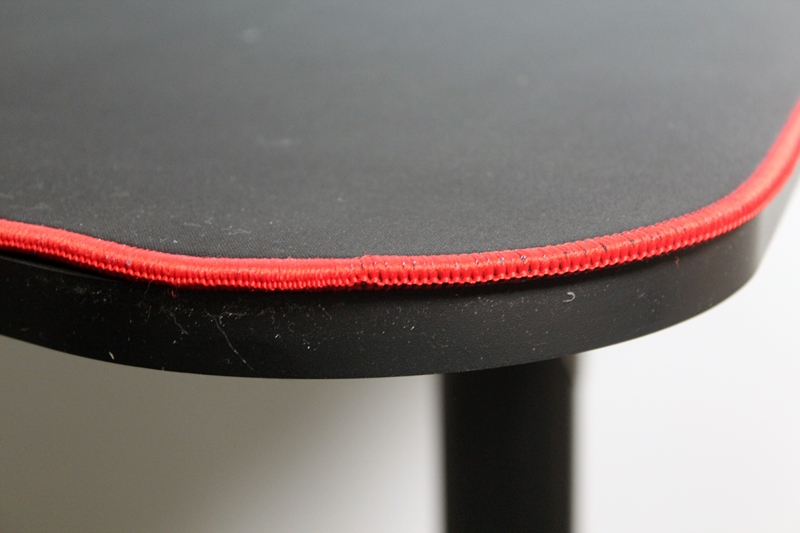
So the last thing to do to finish up the Arena desk assembly is to pull out that huge tube that came in the box and pull the mouse surface top out. I unrolled it across the desk using the three holes in the desk to line things up a little bit. I did notice when I first installed the top that it didn’t fit the desk perfectly. On one end it lined up but then it hung over about an inch on the other. It also didn’t lay flat down on the one end and there were a few ripples over the rest of the mat. I let the desk sit out for a day before messing with it and I did see the mat finally lay down and shrink slightly.

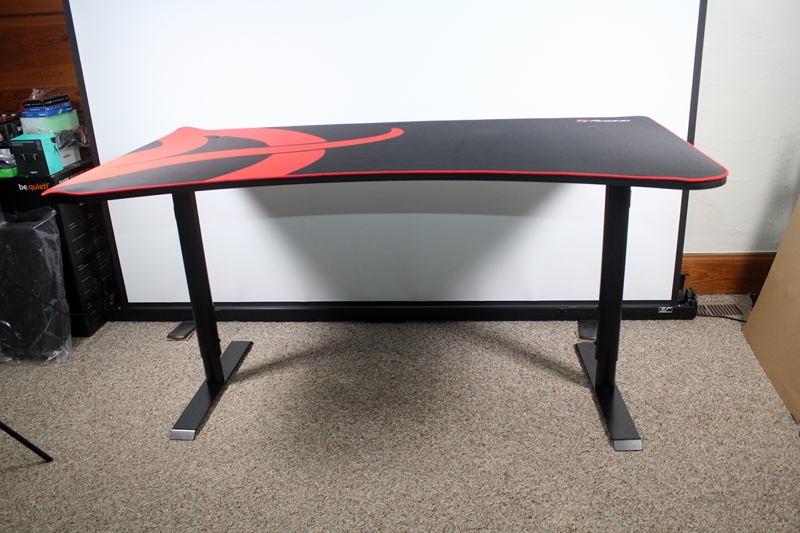
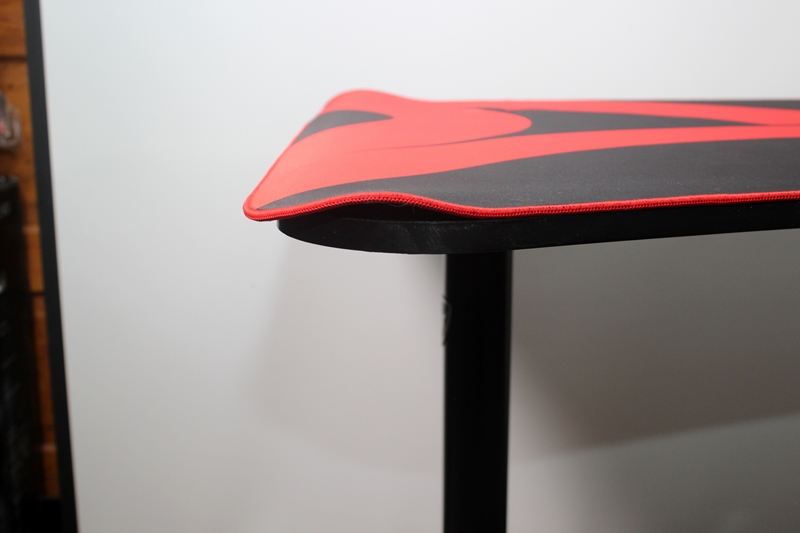
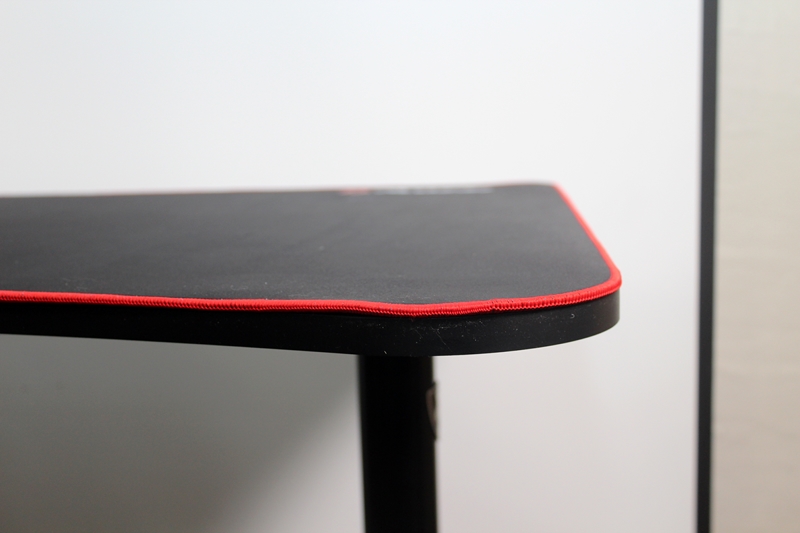
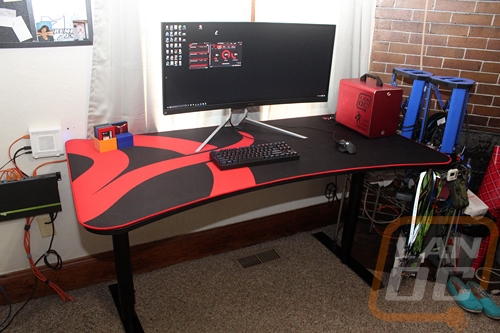
The installed top surface is black but has a huge version of the Arozzi logo across the left side of the mat. In addition, they have their logo up in the top right. Then around the outside edge, the entire mat has been embroidered to help it hold up over time. Soft mouse pads will fray at the edge and this prevents that. As someone who prefers a cleaner design, I’m not a fan at all of the huge logo. It's something you see on a lot of mouse pads as well, so this isn’t a huge surprise, but I would prefer just a black top surface with maybe the logo If the HAVE to have it up top. I see this a lot with gaming-focused products, they feel like big flashy logos is the gaming style, but really I think most gamers put up with it for the gaming-focused features that those products have. You can avoid the huge logo by getting a few of Arozzi’s other Arena desk colors, but there isn’t a black leged and simple top option.
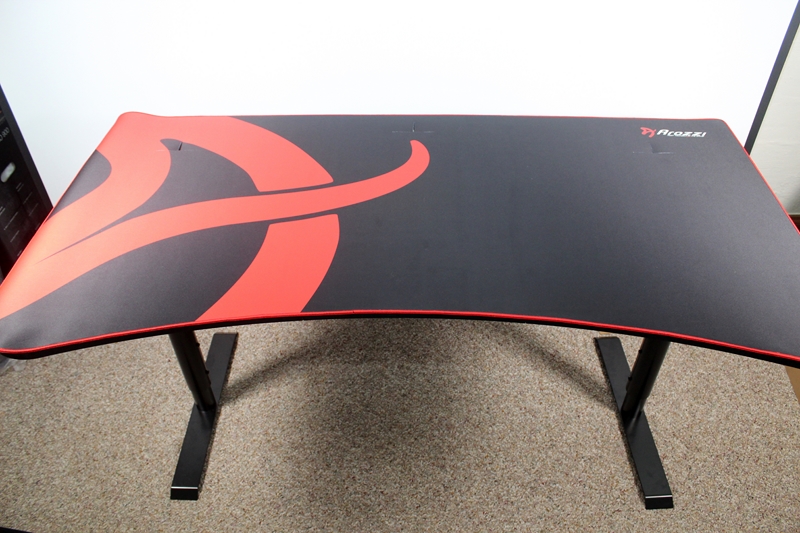
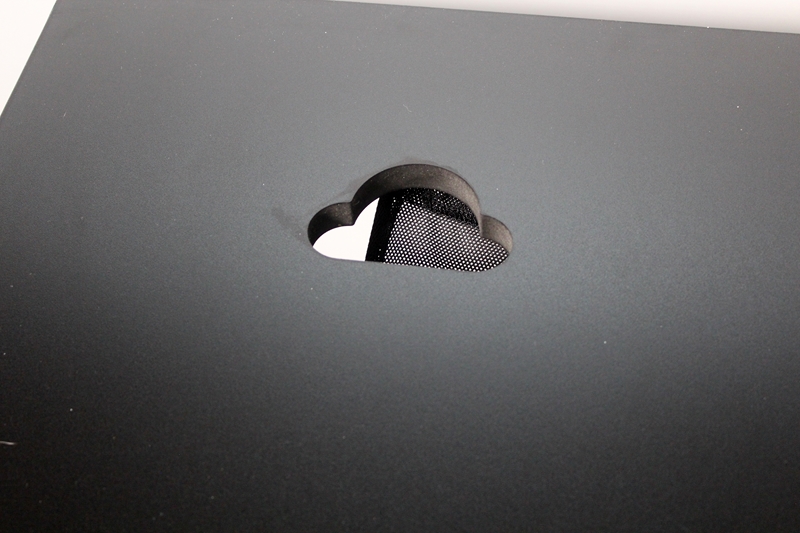
One of the best features of the desk though are the three wire management holes. They are large but the mouse surface top does a great job of hiding them. You see some desks with holes, but normally they will just have one for the monitor in the middle. Arozzi put three so you can have your PC on your desk and hide all of the cables coming out of it. I can’t wait to test it out and see how well it all works.

The tabletop is made of MDF and is a little under an inch thick. While I’m not a big fan of MDF at all, Arozzi did at least go a little thicker than the cheap desks that you find at the department store. The strong steel frame that the MDF top is mounted to should also help as well. My experience with MDF desks is that they tend to want to fall apart after moving them around, but the steel frame should prevent that from being an issue in this case.