Inside
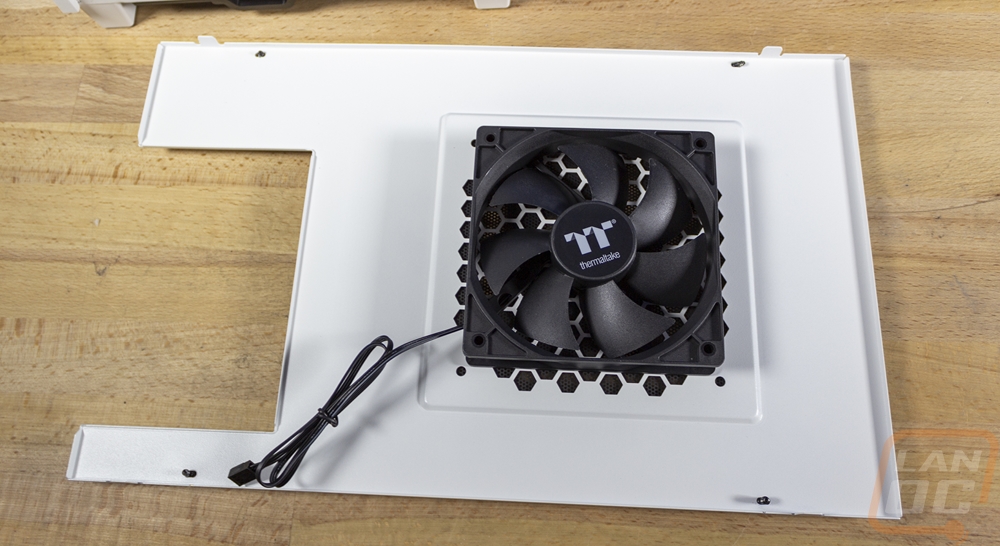
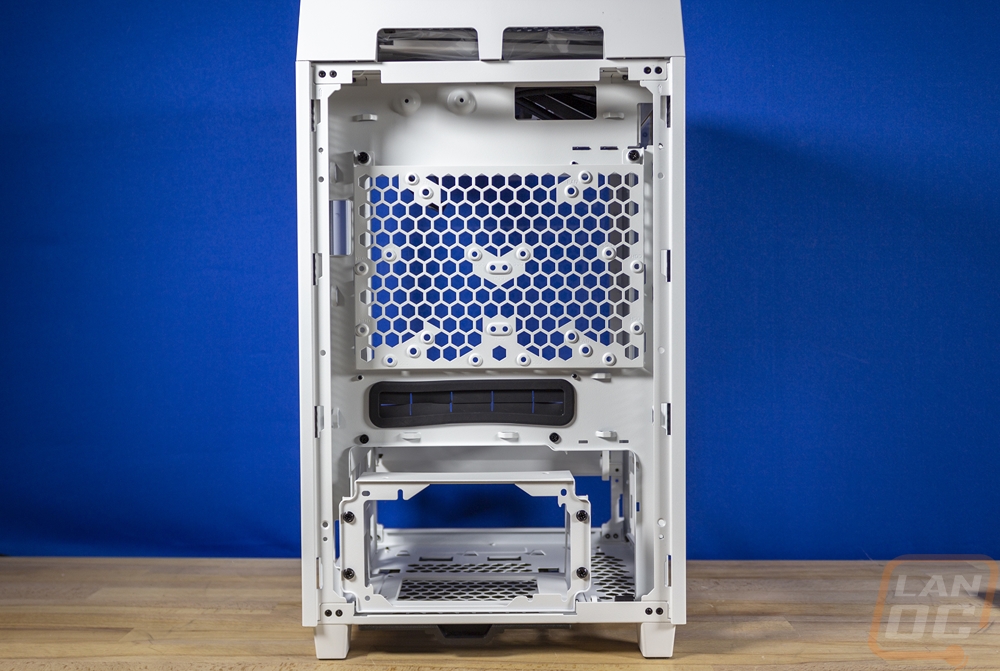
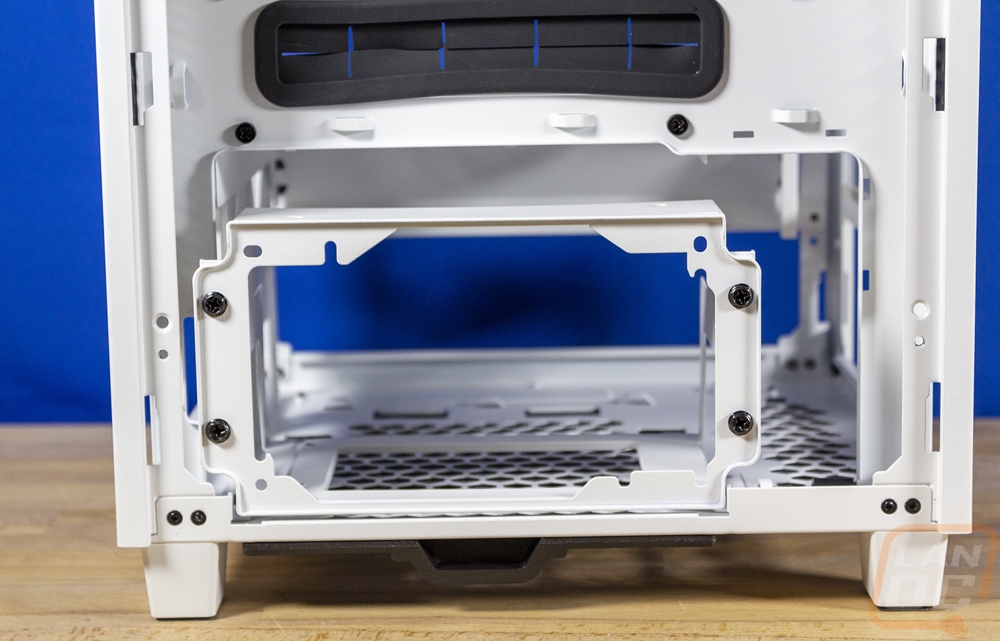
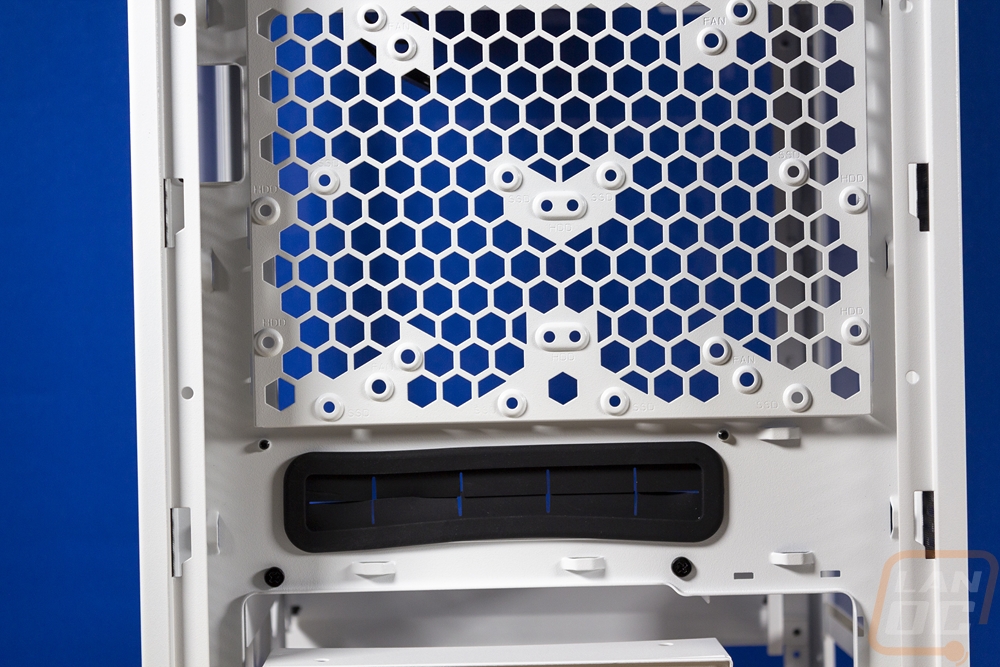
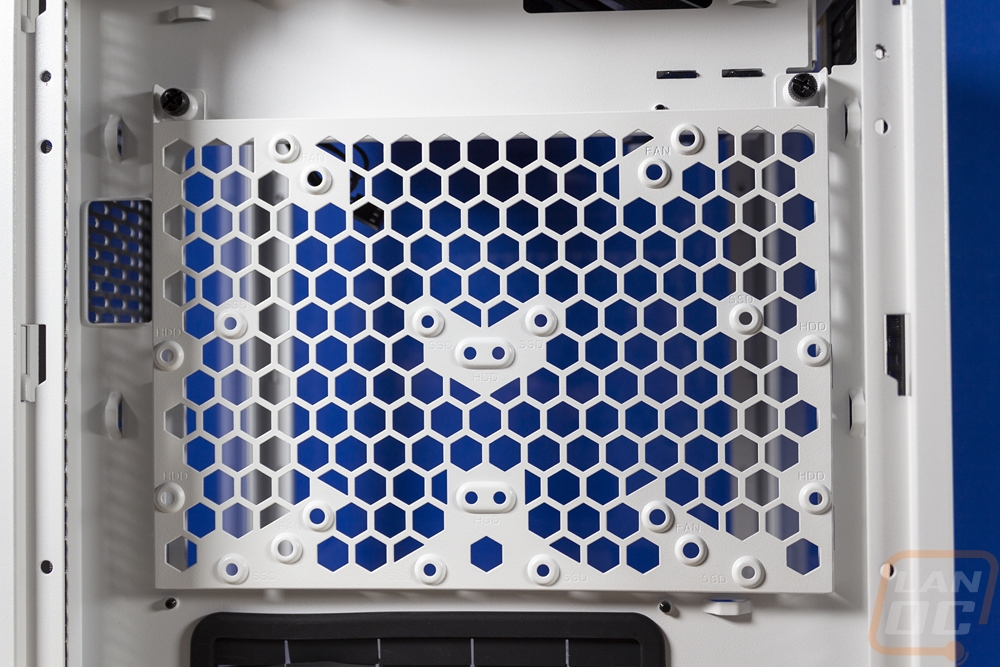
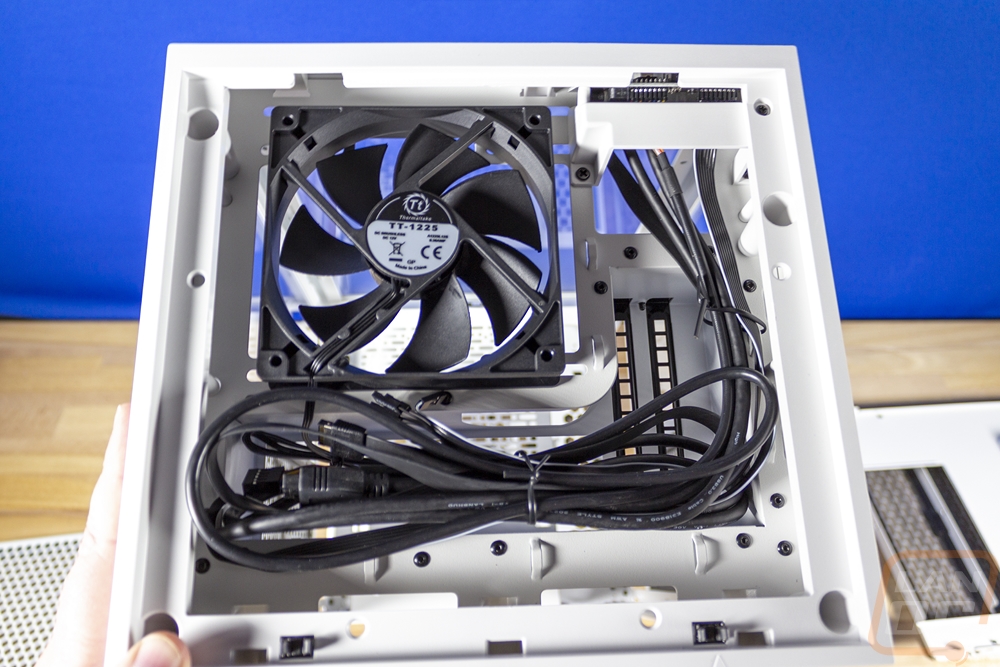
So the funny thing about the Tower 100, is the case design gives you a full view of the interior all of the time. But getting inside of the case still takes a little while. You have to start off by pulling that rear panel off with the four thumbscrews. That comes off along with the fan that is preinstalled to it. This gets you full access to behind the scenes. The power supply mount is down at the bottom and its mounting panel is removable. Above that is a large black grommet for feeding wires into the front of the case. Then above that is more of the hexagon mesh. This is the mounting panel for two 3.5-inch hard drives as long as you aren’t running a rear fan or you can do two 2.5 inch SSD or hard drives. The panel is also laid out for mounting a 120mm or 140 mm fan to it. This panel covers up the rear access to your motherboard. So if you will need to install a backplate this is another layer of the case you need to pull apart to work in it.
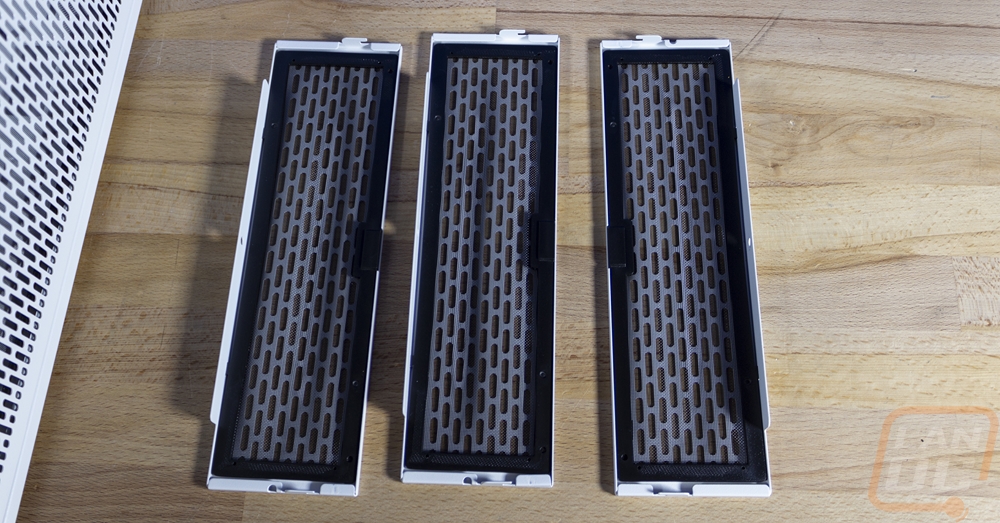
The three bottom thumbscrews on the Tower 100 will let you pull these three panels off. My initial reaction was that this was a little weird. I don’t see needing to get into the PSU section of the case a lot after you build in it. But I realized that this wasn’t for access to that compartment. It is to give you easy access to the filters on these panels which makes a lot more sense.
Then next up in order to gain access to the rest of the case you need to remove the top of the case. You pop out the top grill/filter like I mentioned earlier. But beyond that, you need to remove the entire plastic top. My initial thought was this would be easy, in most cases a panel like this is snapped into place and the two holes at the back of this panel made me think that was the case for sure. Turns out those are for running wires to the rear I/O which is up top and the plastic top panel is screwed down. They have five screws holding it in place. Once you get those out, the top pulls off. This is also where they have the accessories and hardware for the case hidden.


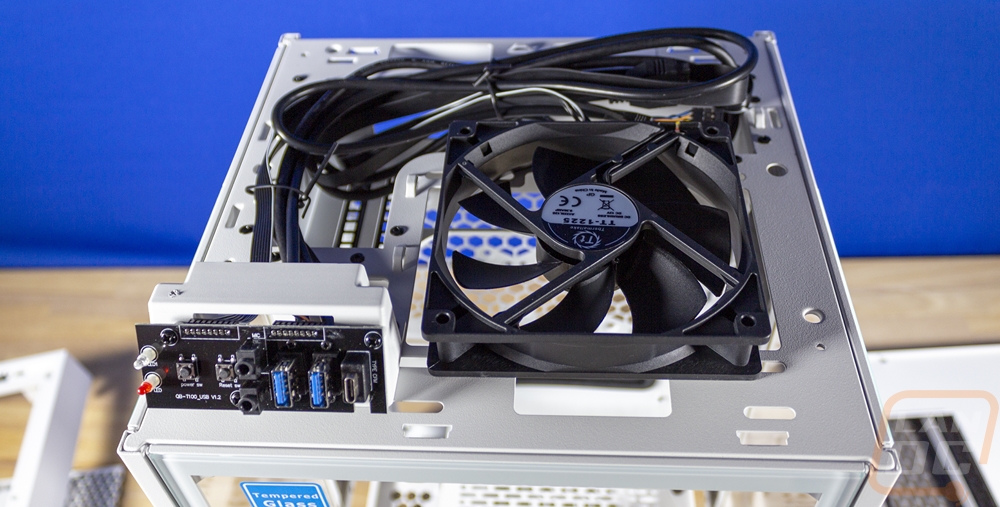
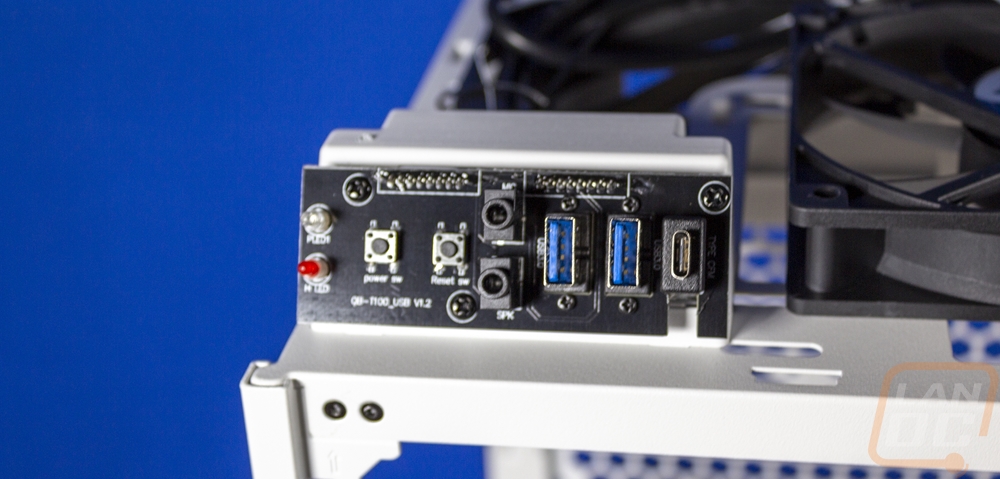
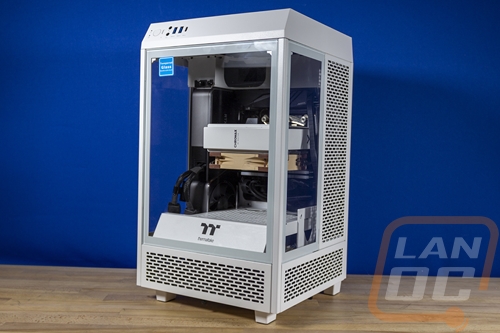
With the top removed, NOW you can finally remove all of the side and front panels. They are all just hooked on but then with the top panel locking everything in place. So each panel just lifts off. Once those are off you have access to the entire interior of the Tower 100. The layout of the case has the motherboard installed on the back wall with the rear I/O facing up. That is why the main grommeted spot to feed the wiring through is down below the motherboard. The rear I/O area is recessed down below the top of the frame. You can see up at the top the I/O hole and the two slots for the video card which also mounts with the connections up at the top.
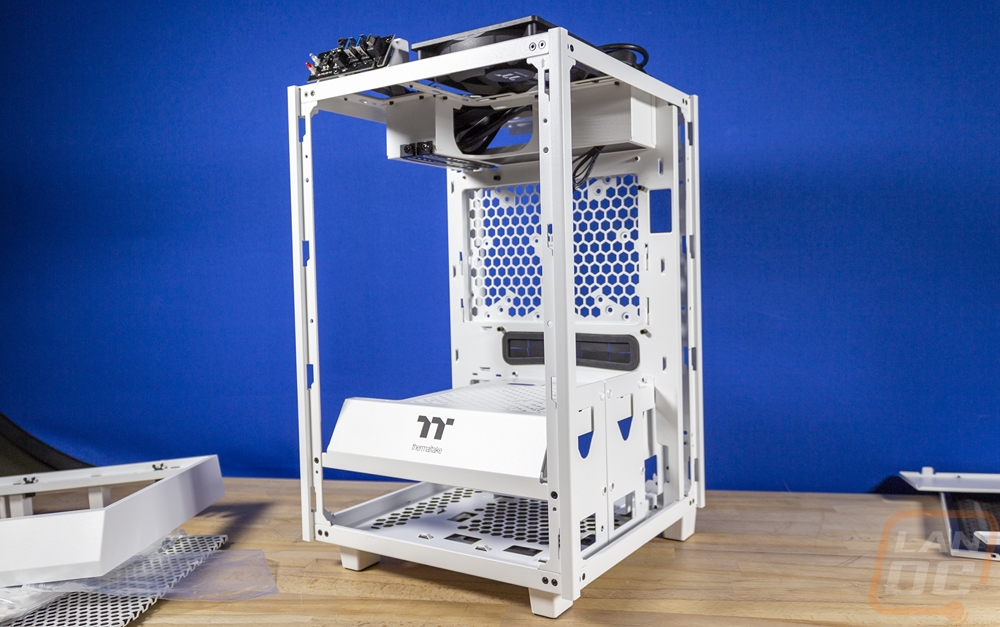
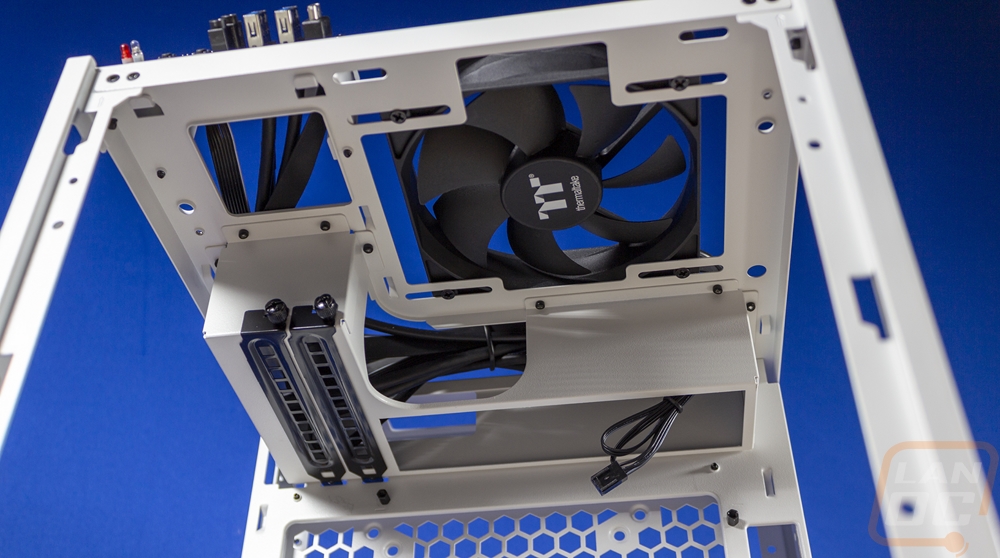
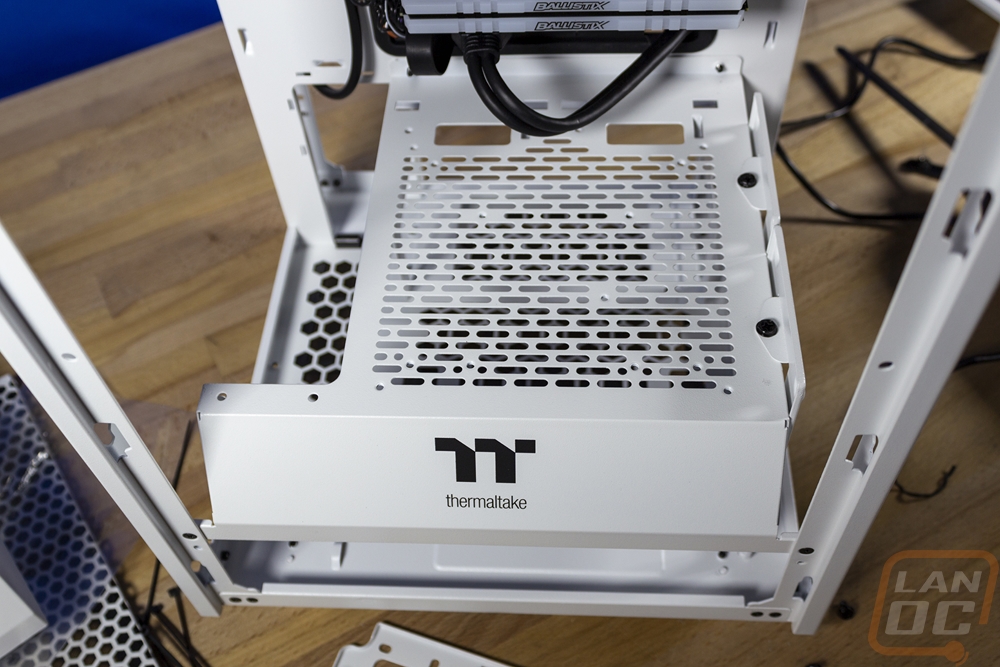
The bottom portion of the case houses the power supply and they have that divided up with a metal panel between the two with the slotted vents in it. This panel has a 45-degree angle on the front just like the top of the Tower 100 where the front I/O is at and this is where they put the Thermaltake logo, for modders I could see this being used to put the name of your build. The divider panel doesn’t go the full width though, on the left they have left room for the video card to go down to the bottom of the case. This is how they get the 330 mm clearance for a video card and while there are only two slots at the top width wise there is room for a card up to 3 slots from the looks of things. For cooling, the Tower 100 can fit water cooling but just with a single 120 mm radiator up on top without diving into mods. People have fit more, namely at the rear but you will need to cut open the back panel. If you go with air cooling they have a total height clearance of 190mm and then down in the bottom of the case for the power supply it supports an ATX power supply up to 180 mm in length.

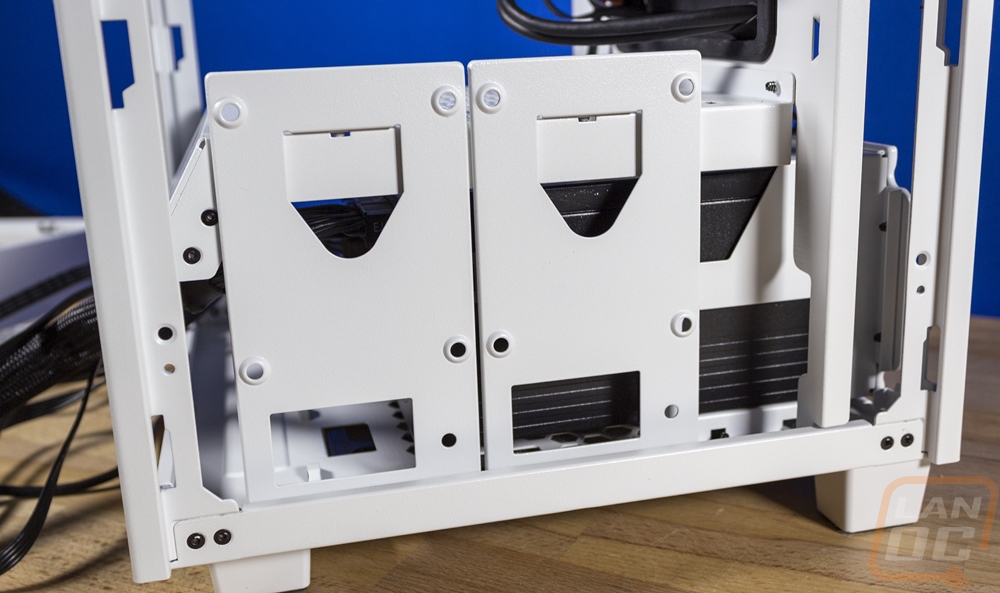
The side of the power supply section at the bottom does have two removable panels on the right side of the case. These support two more 2.5 inch SSD or hard drives in addition to the two mounts in the rear of the case. These would also be partially visible from the side window as well.