Outside
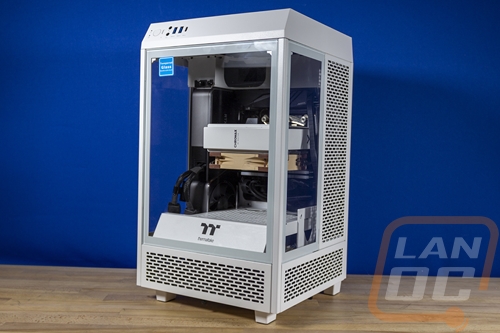
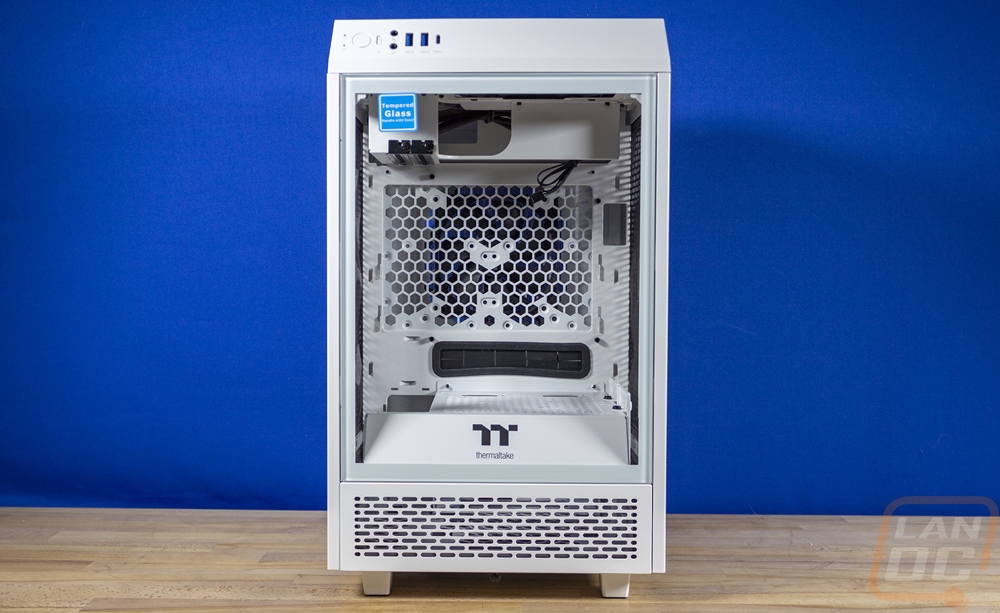
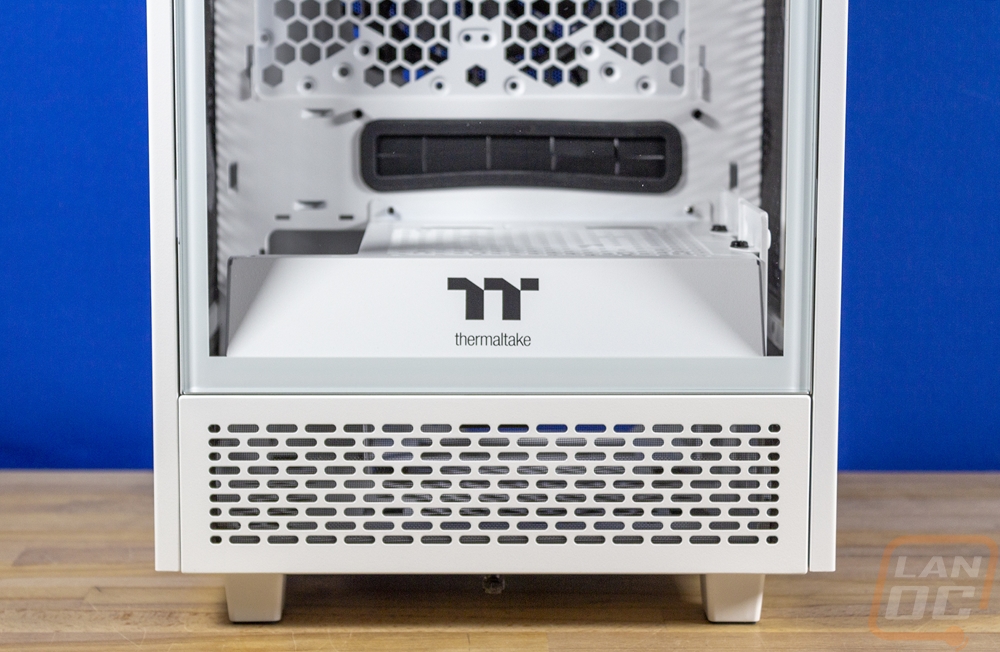
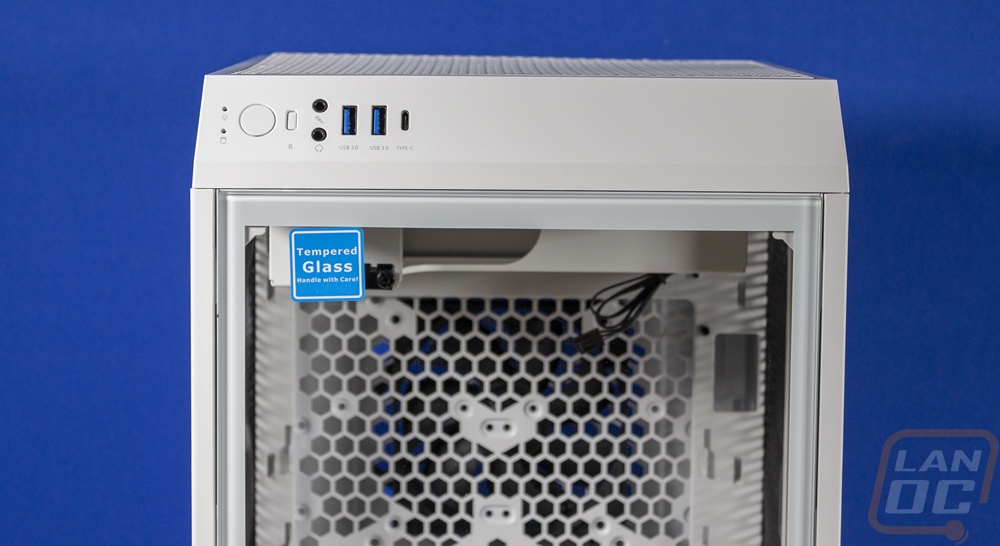
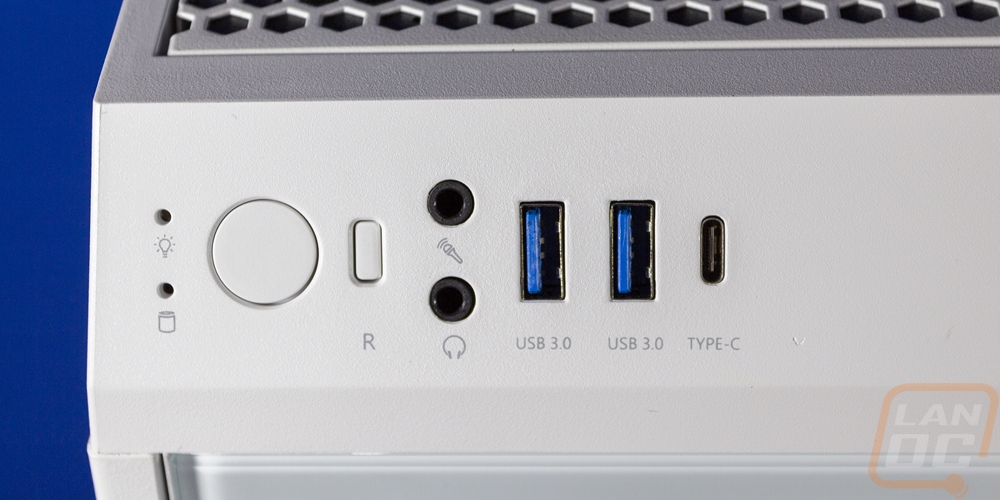
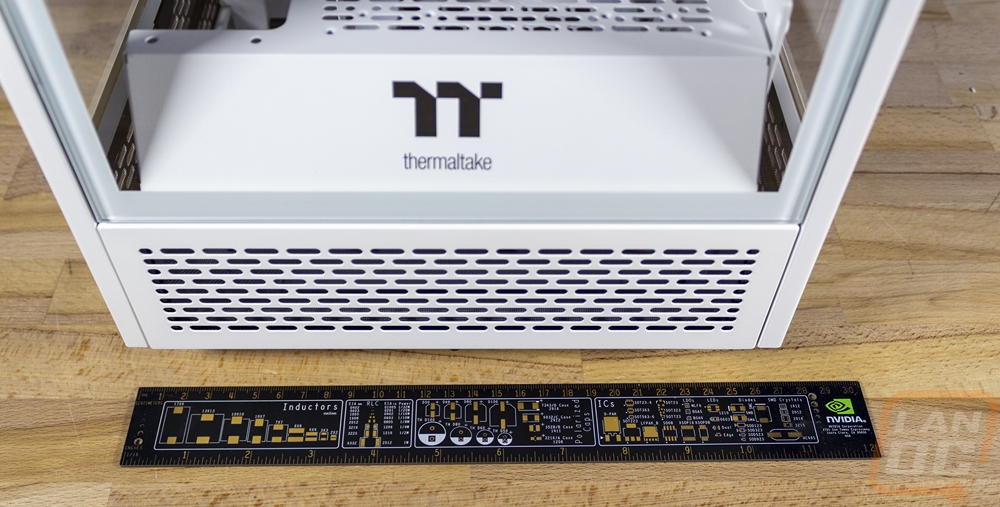
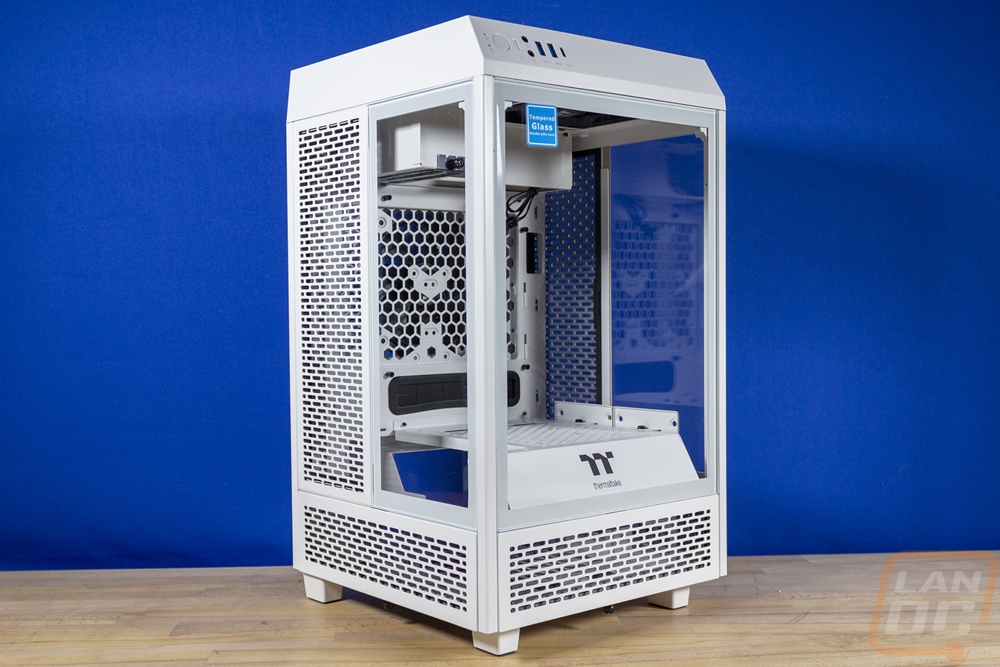
While the Thermaltake Tower 100 is an ITX case, it doesn’t stick with any of the traditional layouts of an ITX case. The tower in the Tower 100’s name is taken quite literally here. The case comes in at 10 and a half inches square for the depth and the width or 266 mm x 266 mm for anyone who prefers that. But then it towers up to 18.2 inches tall (462.8 mm). Just like its big brother the Tower 100 has a fish bowl-like configuration with three of the sides completely visible with glass windows and to work with that the motherboard is flipped around with the I/O facing up. This puts the GPU in full view of the left side of the case without the need for a riser cable. The front of the case has ventilation down at the bottom, the full width tempered glass front panel, then at the top it angles with the front I/O on that angle. The front panel has two status LEDs on the left then a large color-matched power button and a slightly recessed reset button next to that. It has both microphone and headphone ports for audio then two standard USB 3.0 ports. Down at the end then they have one Type-C connection which uses the new Gen-2 connection inside to get the faster speeds up front. This layout looks clean but I do think that the front I/O might be more useful down at the bottom of the case. This angled-up configuration would work best if you had your case down at or near the floor but the case itself with the small footprint and all of the glass lends itself to being up on your desk.
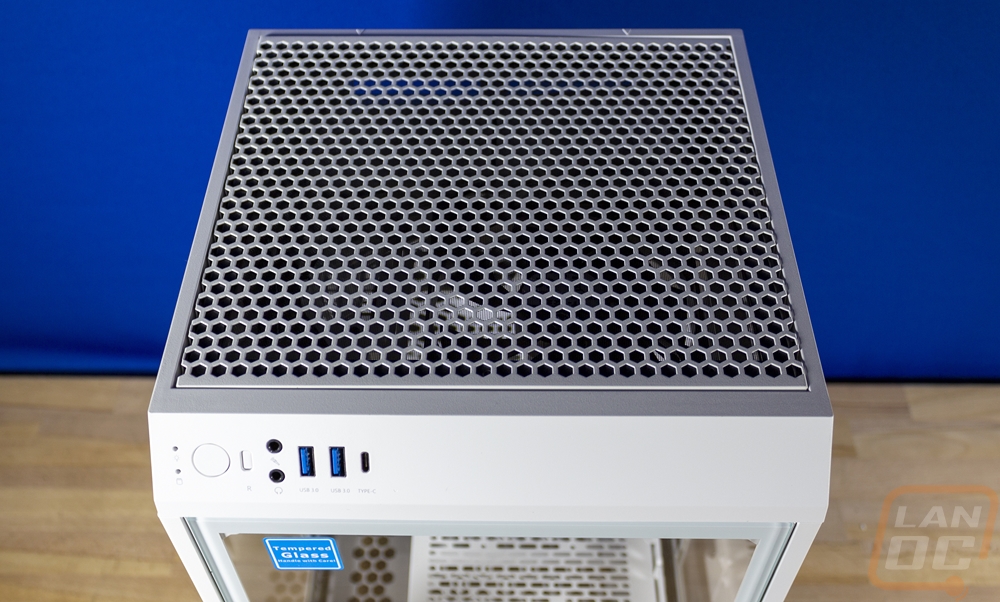
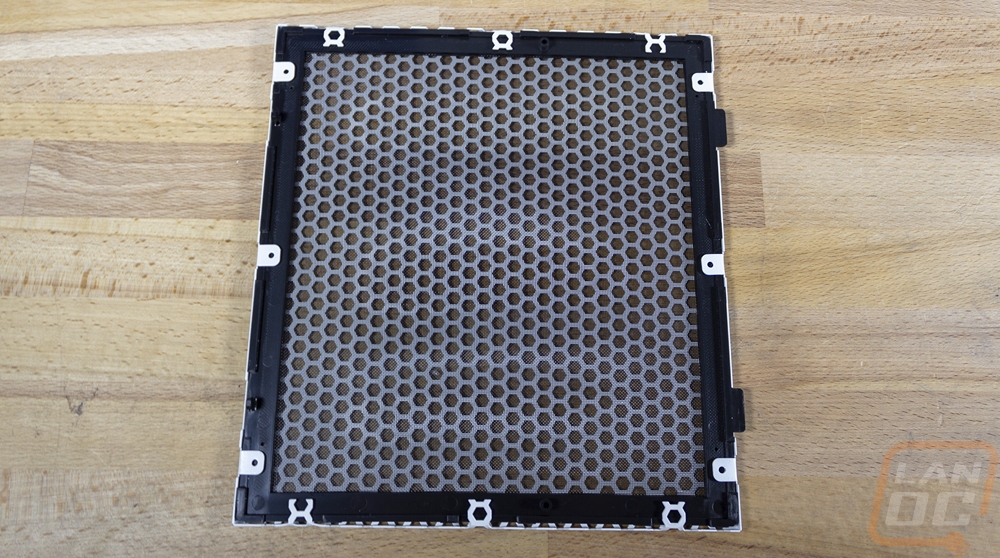
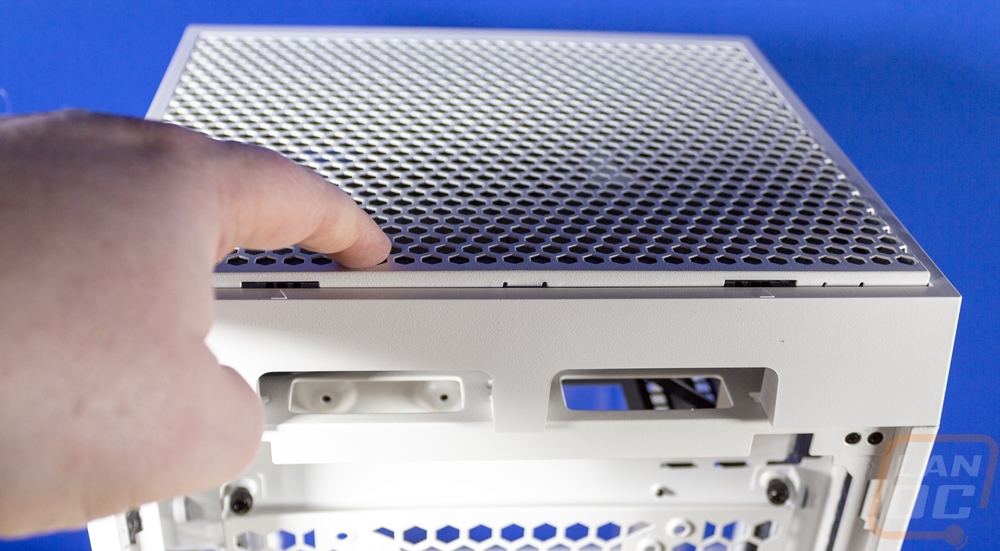
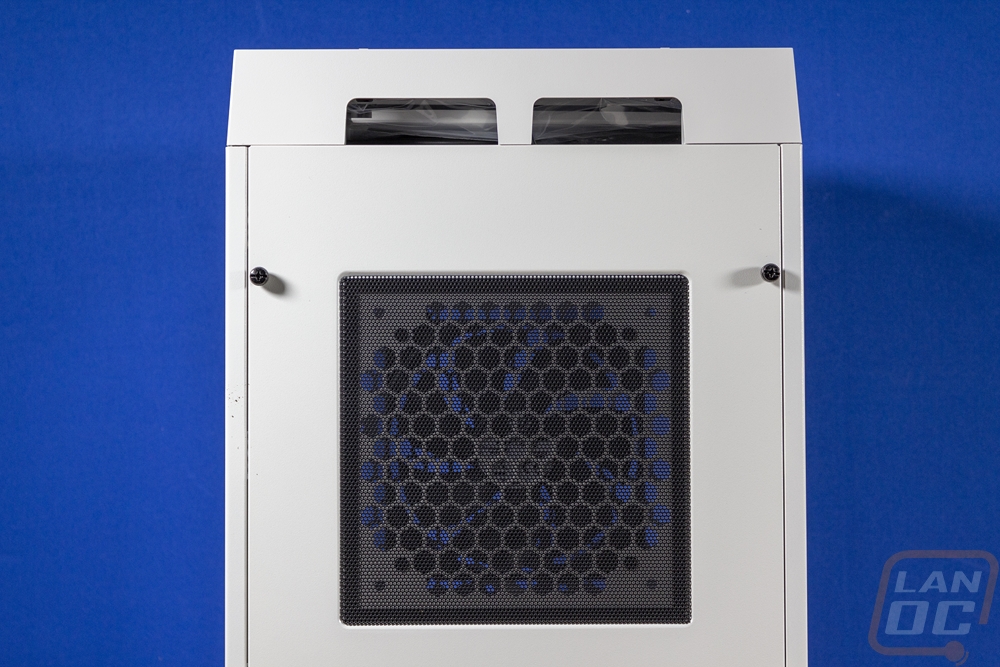
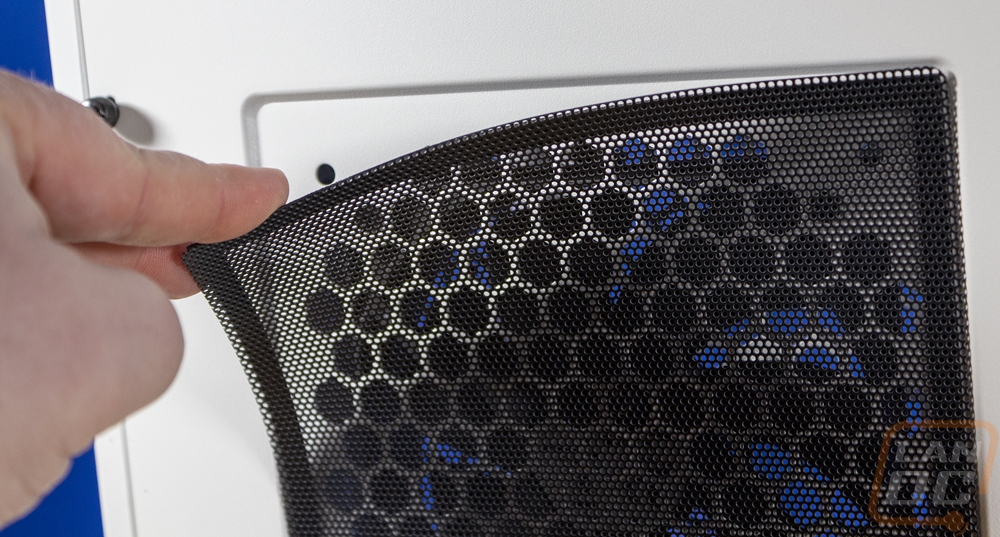
The angled front panel location wraps up to the top of the case which is covered in hexagon-shaped holes. It’s interesting that they have hexagon-shaped vents here but around on the side panels they are all wide oval-like slots. So the top section uses plastic for the main housing but the vent panel is metal and it can be removed. You push down on the front and the latches on the front pop up and it pulls out. The panel does have a filter on it and while this is configured as an exhaust, its nice that the top of the case which will collect dust on its own is easy to clean.
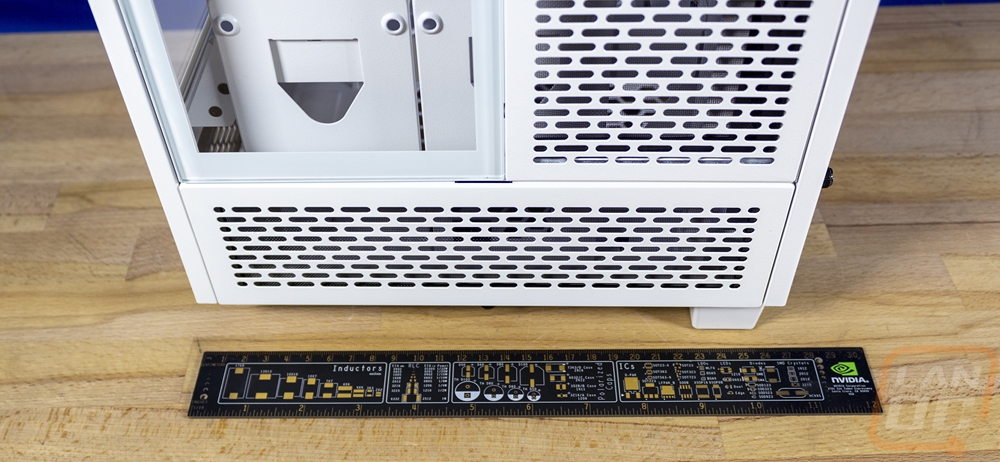
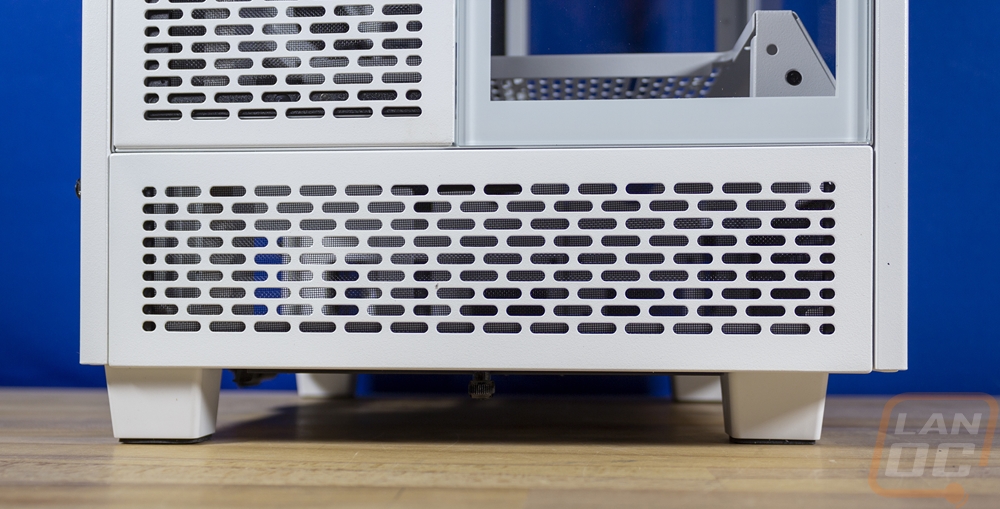
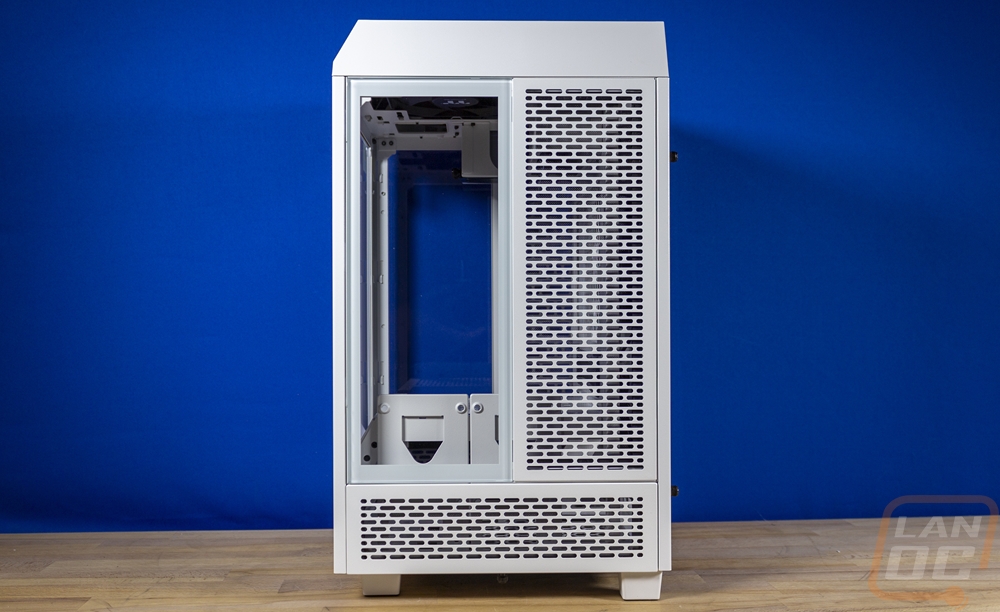
The left and right sides of the Tower 100 have the exact same configuration. They have the same slotted vent panel at the bottom just like the front of the case had. Then above that, they have a panel which is half tempered glass and half slotted. It’s a small touch but I like that for the snow edition the outside of the glass has been painted white, it isn’t unusual for tempered glass panels to have black around them painted on the inside to hide how they are attached but the white here keeps the bright white theme.

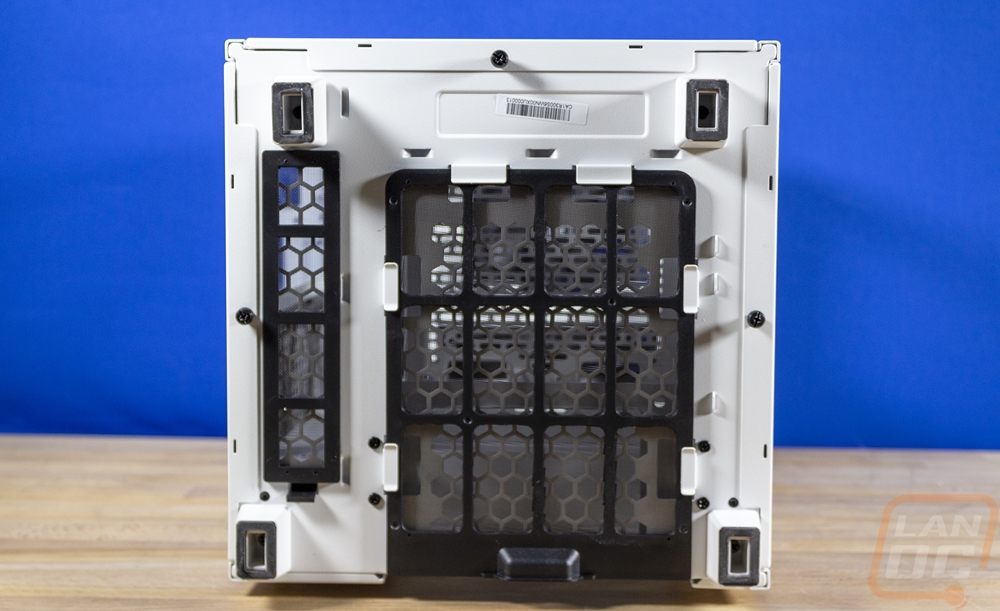
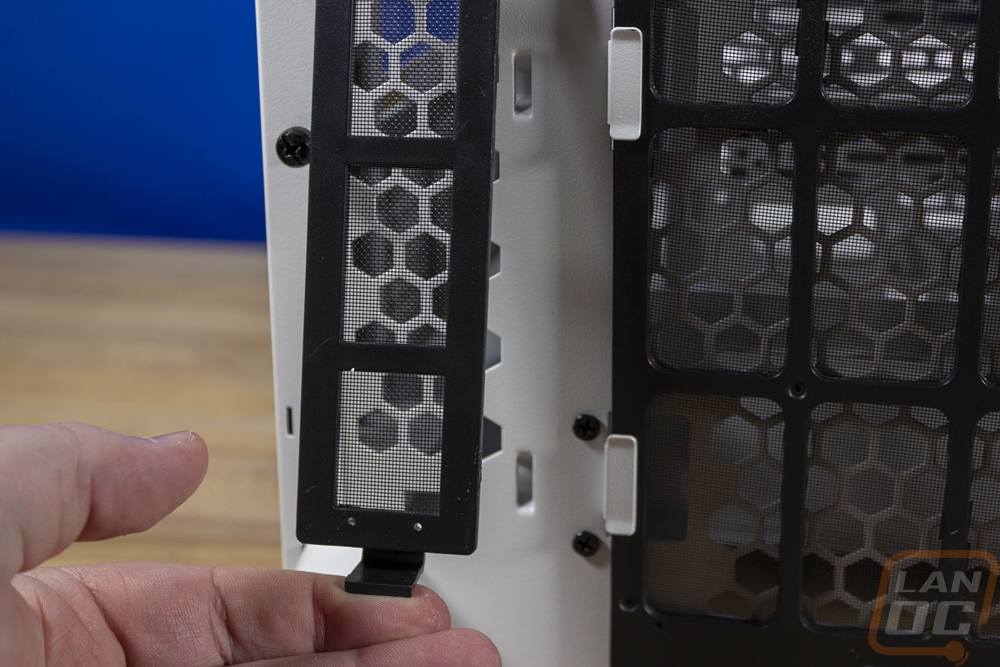
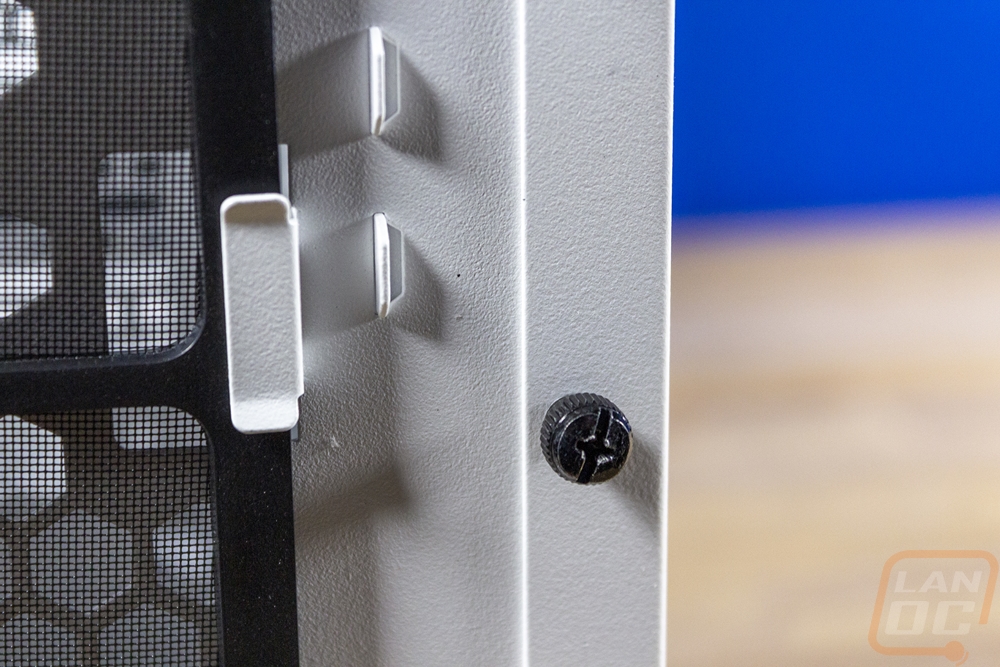
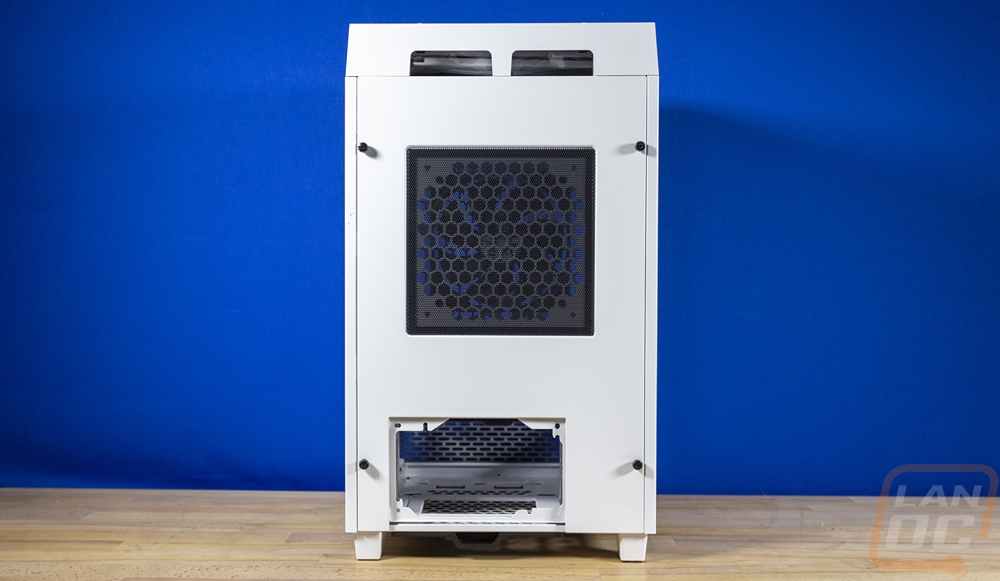
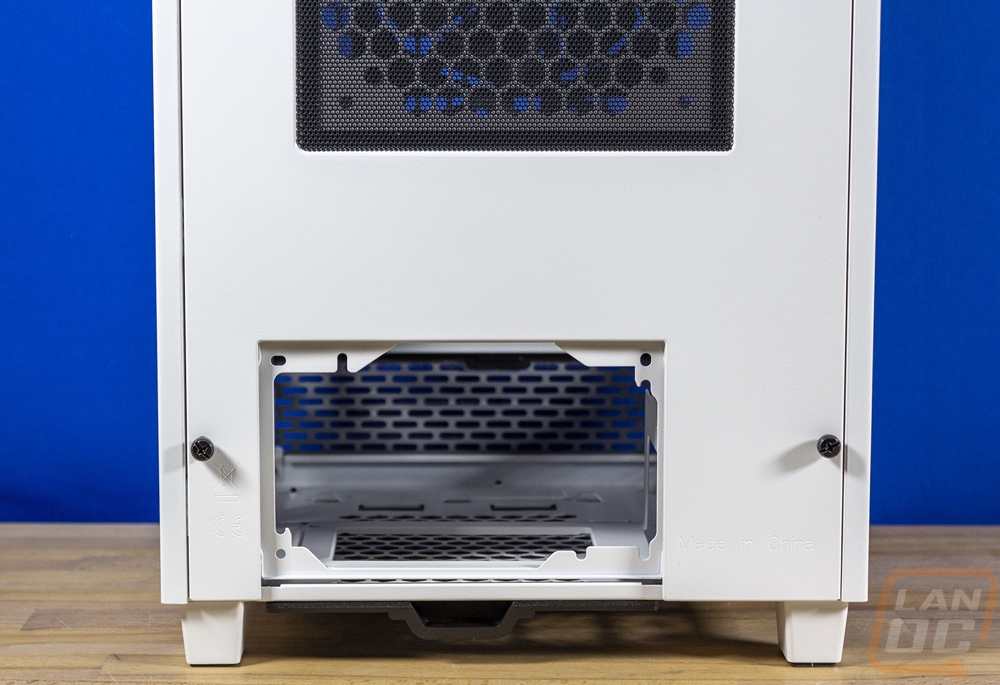
Around on the back, the back panel is all steel just like the front and sides. They have four thumbscrews holding this panel on and these are the only fasteners visible on the entire outside of the case (there are a few on the bottom as well but they aren’t visible when looking at the case). Down at the bottom, the hole for the power supply sticks out. Then at the midpoint, there is a large fan square with those hexagon-shaped vent holes. This one has a magnetic filter over top of it and the filter is black. The thumbscrews and the filter are the only things that aren’t white on the Tower 100 Snow, thankfully they are around on the back at least. The back also has access to a bottom-mounted filter than can pull out, this is the filter for the intake fan for the power supply.
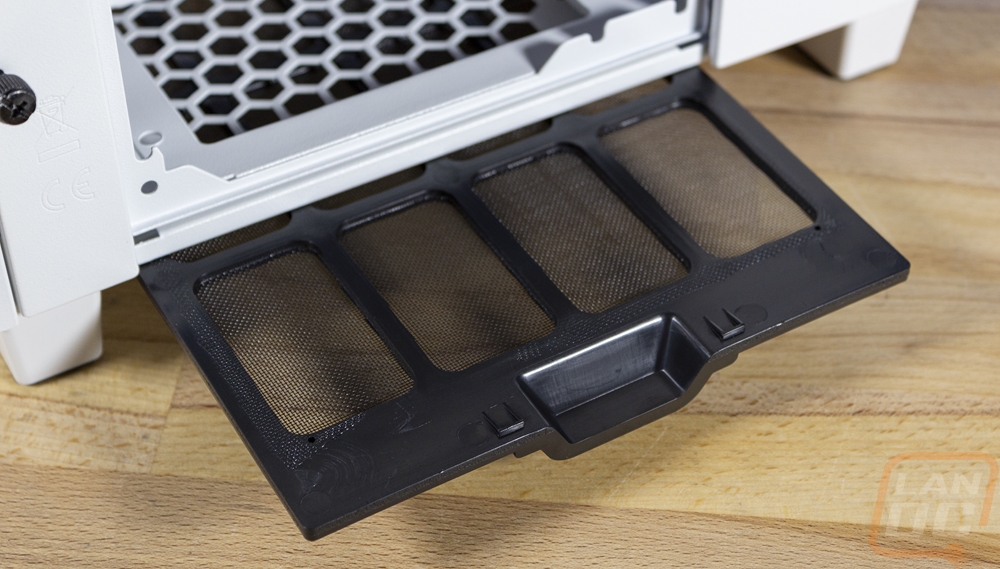
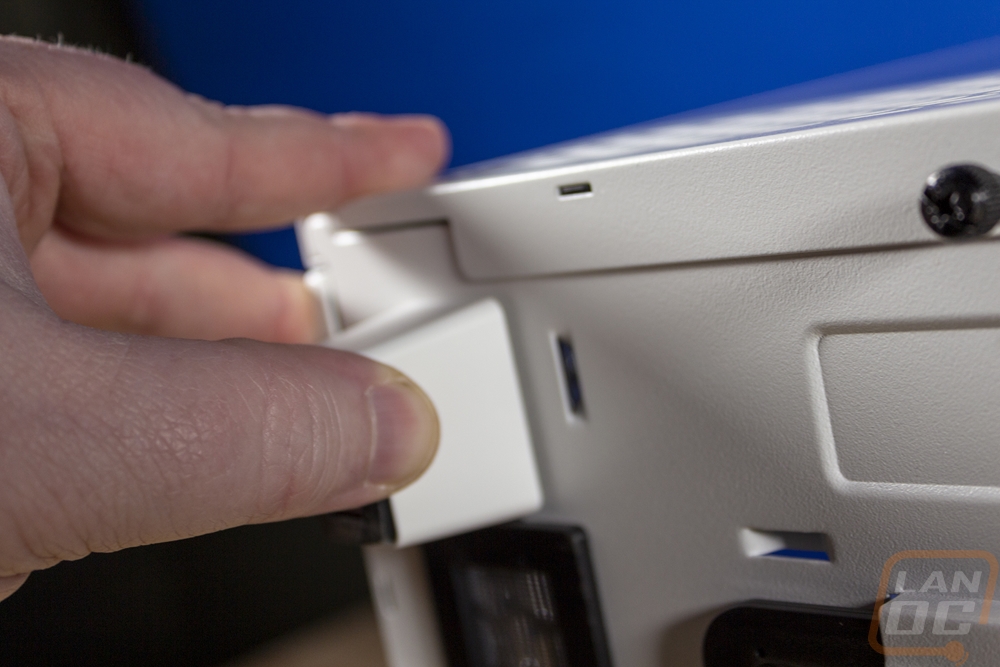
The bottom view of the Tower 100 shows the slide-out filter for the power supply. But there is also a smaller snap-in filter next to it. The bottom of the Tower 100 has four white feet on the corners with rubber on the bottom of each foot. I was surprised to find that one of our feet was loose, the screw was cross-threaded and didn’t get tightened down. It was an easy fix, but something to keep an eye on. The feet have a full inch standoff which helps keep that PSU intake from being smothered and because of the single screw attachment design you could swap these out with a different foot design if you wanted to give your Tower 100 new shoes. This bottom view also shows how the bottom sections of the side panels are attached. The front and sides all have thumbscrews here that let you remove those panels without taking the rest of the side panels off.