The number of cool cases that come out each year far exceeds the number of cases that I have time to check out. Last year Thermaltake introduced the Tower 100 which was a new Mini ITX version of their long-standing Tower series. When the original Tower series came out I really wanted to check it out but didn’t have time, so when the ITX version came out I couldn’t pass up on it. Sadly I’ve had the Tower 100 sitting around for far too long withing having a chance to get into it but no longer. I have to see what Thermaltake did with the uniquely designed case, so let's dive in and check it out.
Product Name: Thermaltake Tower 100 Snow Edition
Review Sample Provided by: Thermaltake
Written by: Wes Compton
Amazon Affiliate Link: HERE
|
Specifications |
|
|
Color Options |
Black Racing Green Turquoise White |
|
Case Type |
Mini Tower |
|
Dimension (h x w x d) |
462.8 x 266 x 266 mm |
|
Net Weight |
6.1 kg / 13.45 lbs. |
|
Side Panel |
Tempered Glass x 3 (4mm thickness) |
|
Material |
SPCC |
|
Cooling System |
Top(exhaust): |
|
Drive Bays |
Accessible - 2 x 2.5“(with side bracket) |
|
Expansion Slots |
2 |
|
Motherboards |
6.7” x 6.7” (Mini ITX) |
|
I/O Port |
USB 3.2 (Gen 2) Type-C x 1, USB 3.0 x 2, HD Audio x 2 |
|
PSU |
Standard PS2 PSU (optional) |
|
Fan Support |
Top: |
|
Radiator Support |
Top: 1 x 120mm |
|
Clearance |
CPU cooler height limitation: 190mm |
Packaging
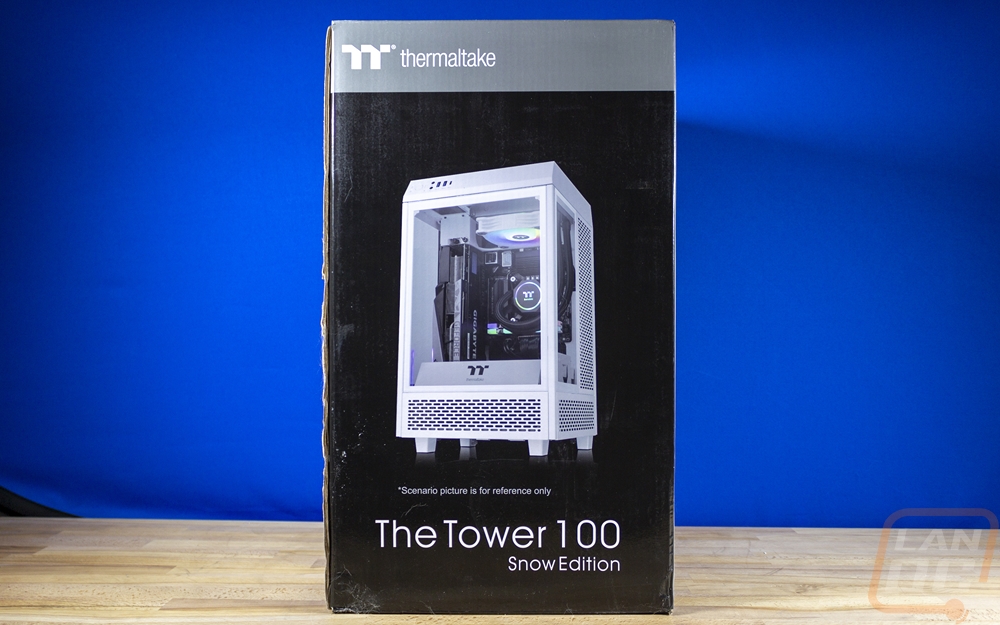
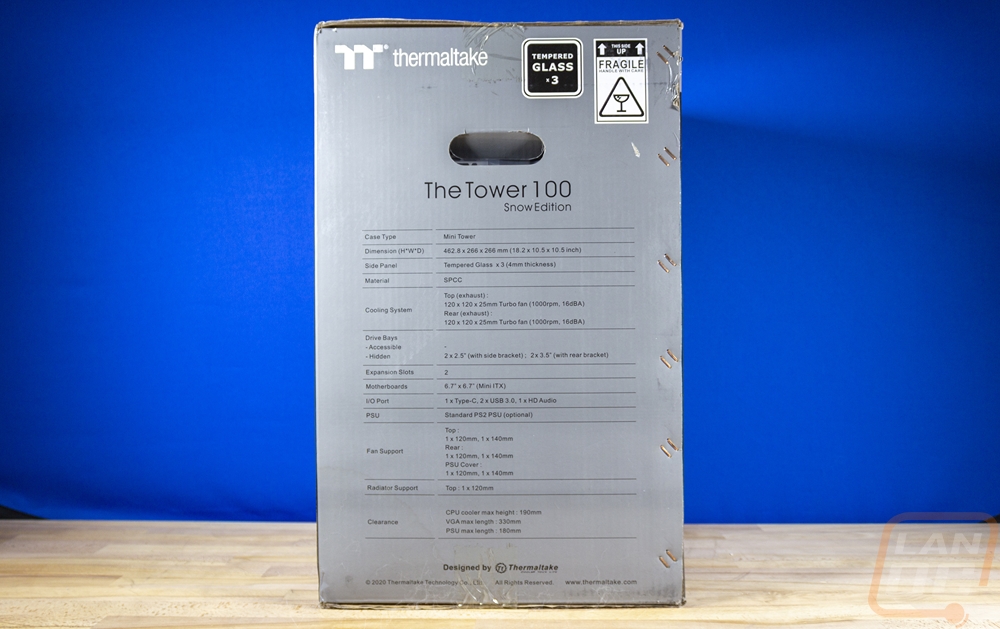
Like the name of the case might indicate, it is a tower design so even the shape of the box follows that same idea with it being square as far as the width and depth then it is a tall box. The front of the box has a black background with grey up on top where they have the Thermaltake logo. Then down at the bottom, they have the model name. Taking up most of the front is a picture of the case. The Tower 100 is available in the standard black and in white which they call the snow edition and is what we have here. They later introduced a few unique color options as well with a Metallic Gold, Racing Green, and Turquoise. The box does also have the specifications listed on the side which is nice when you are shopping in a retail store to make sure your components will fit.
 =
=
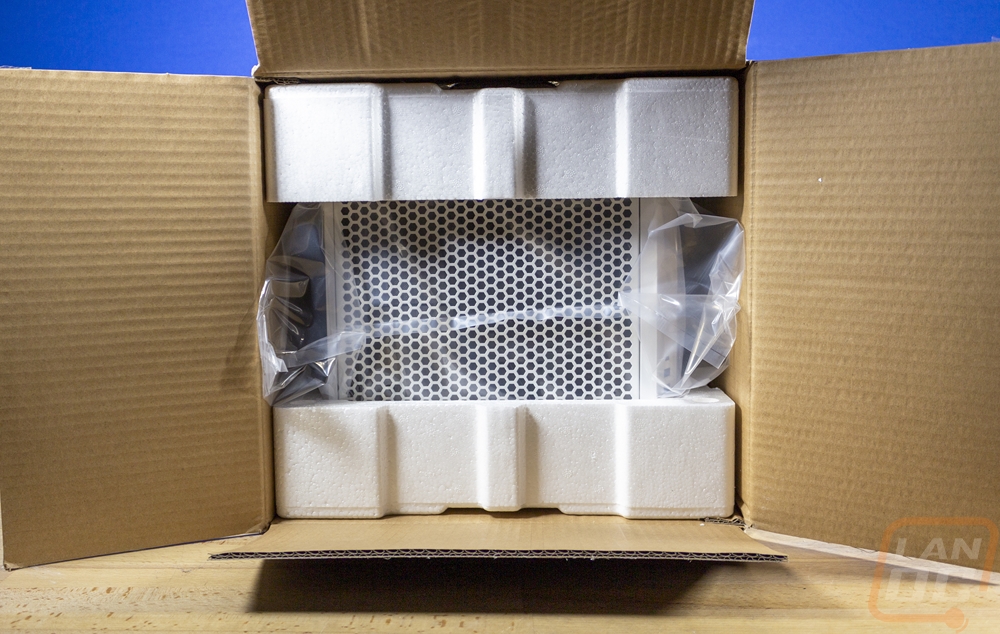
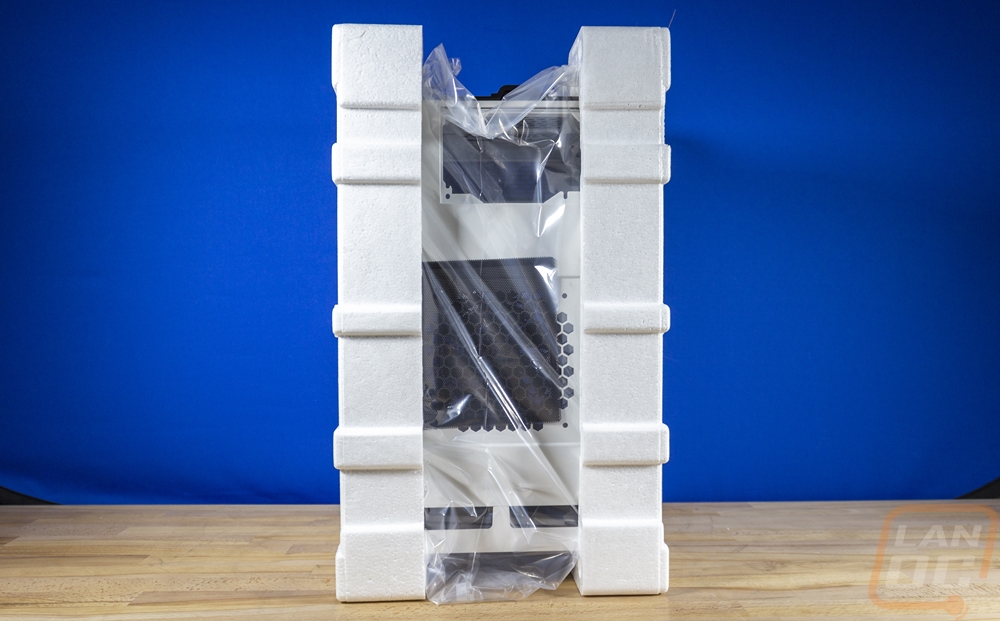
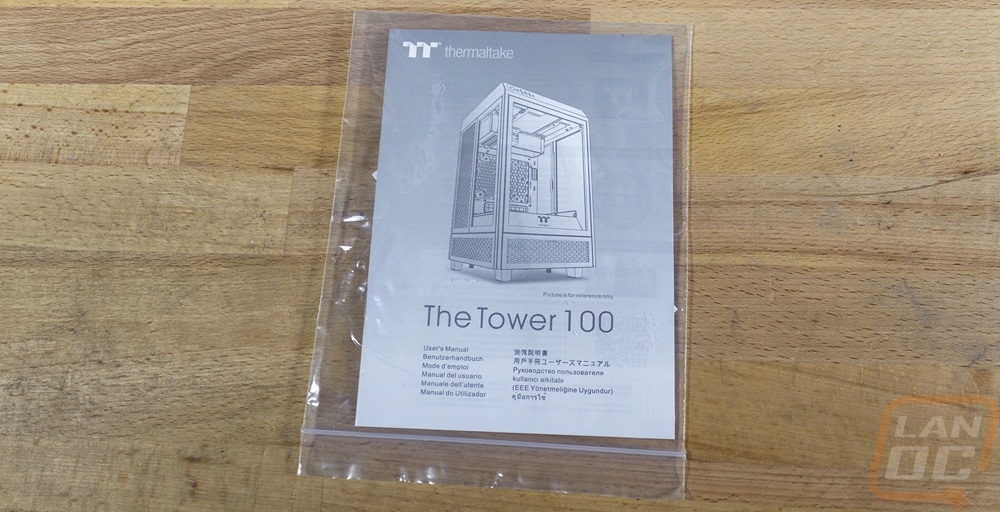
Inside the box, the Tower 100 is wrapped up in a plastic bag, and then they have foam on both sides of the case to keep it tight in the box and to give a buffer space to prevent damage in shipping. The manual along with a small booklet on the warranty is also tossed in the box along with the case wrapped up in its own bag.
Outside
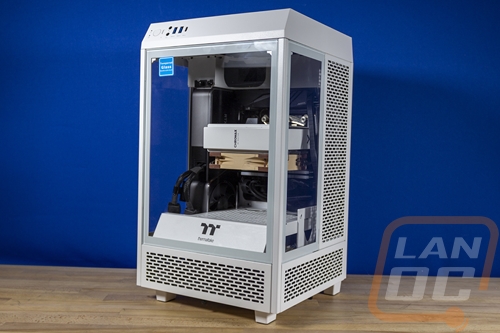
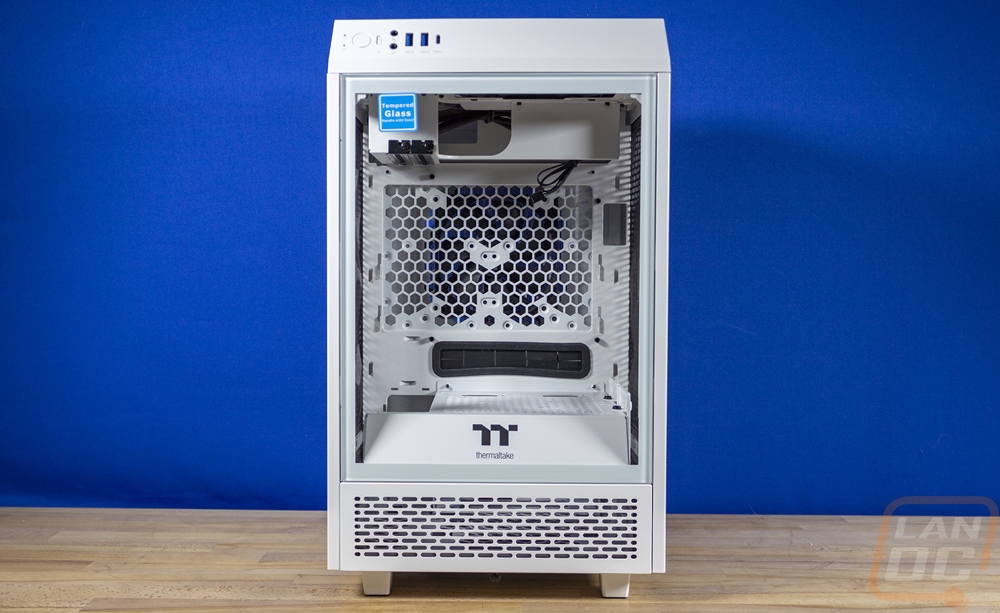
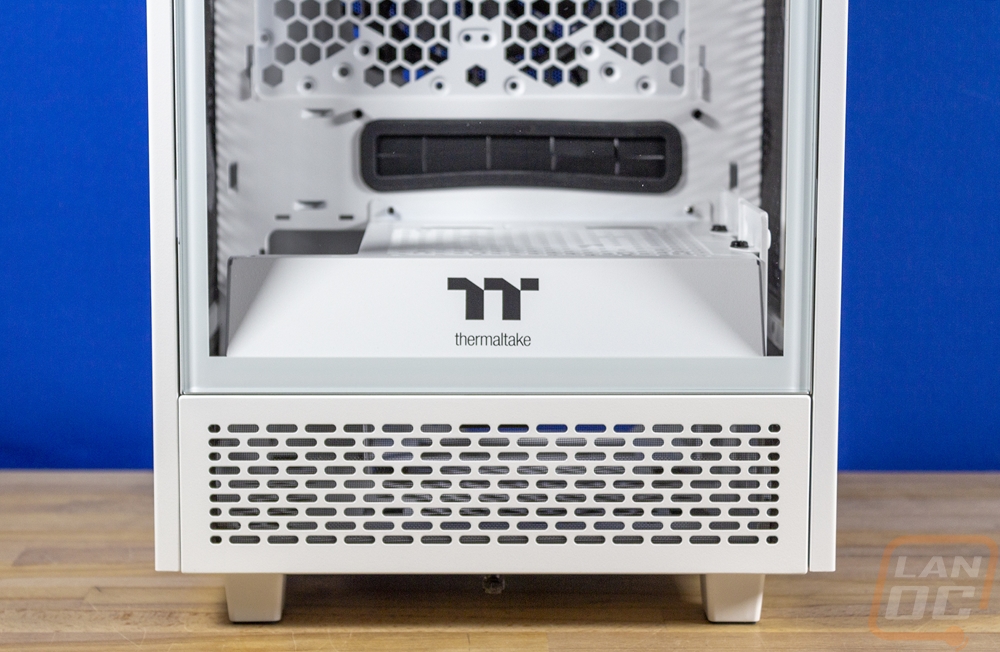
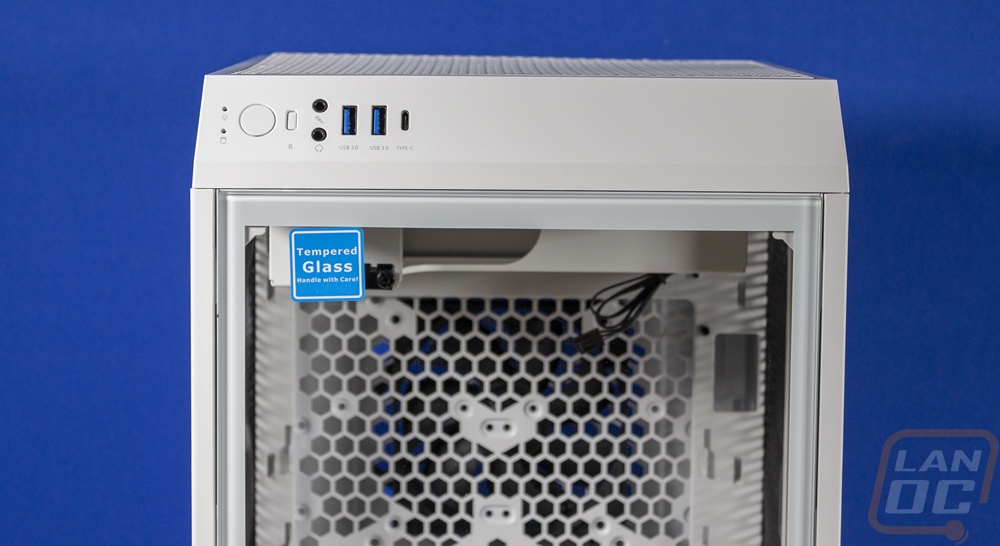
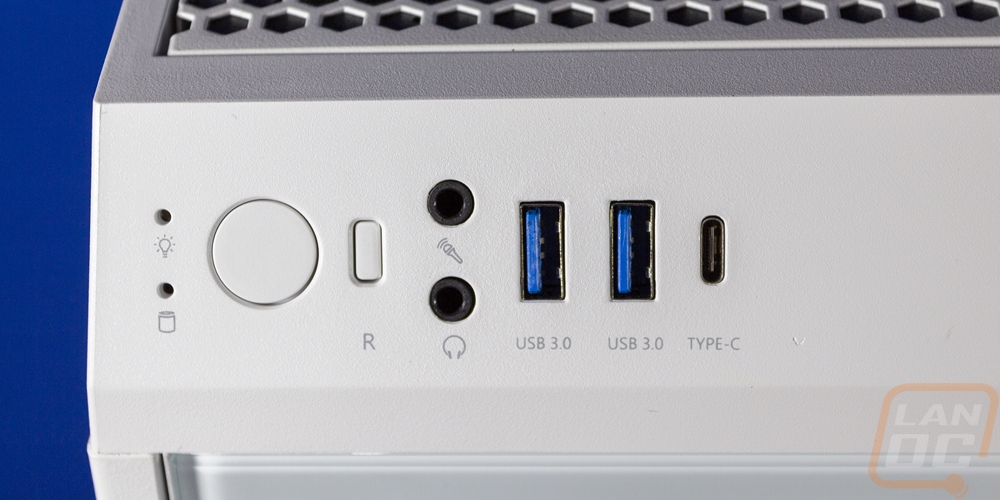
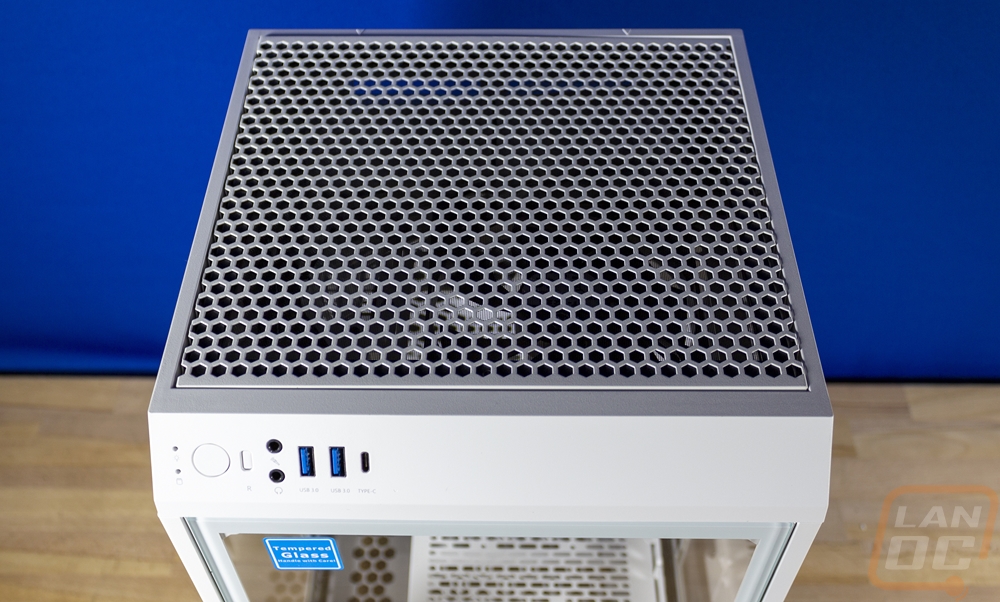
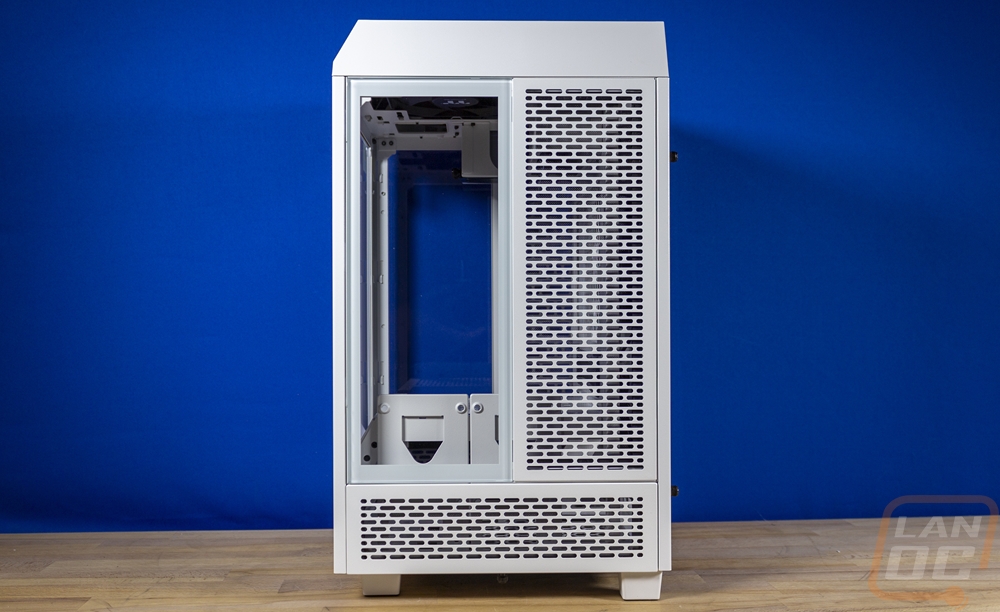
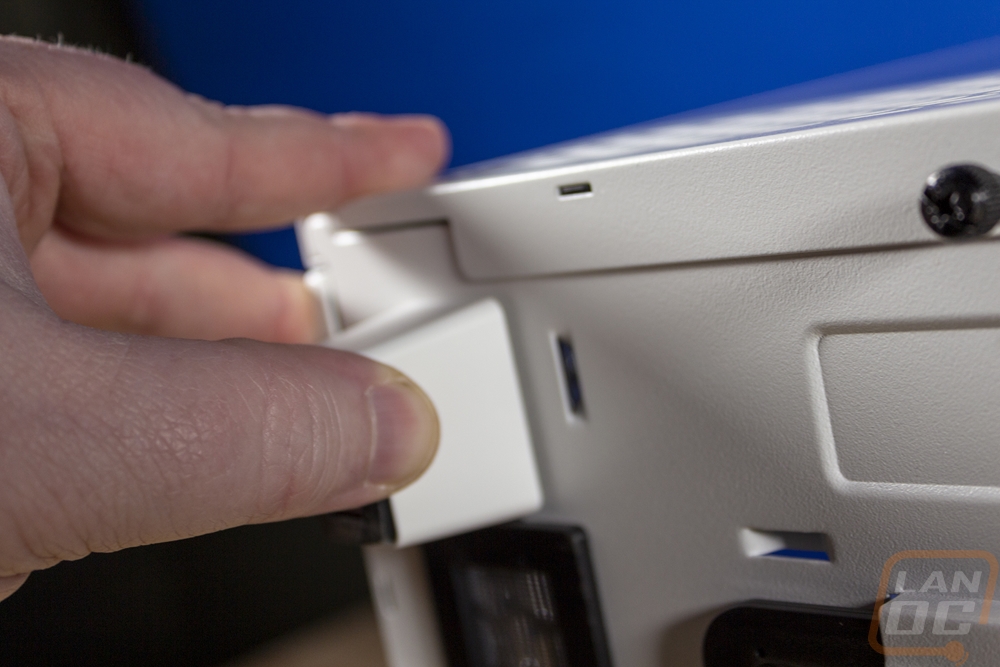
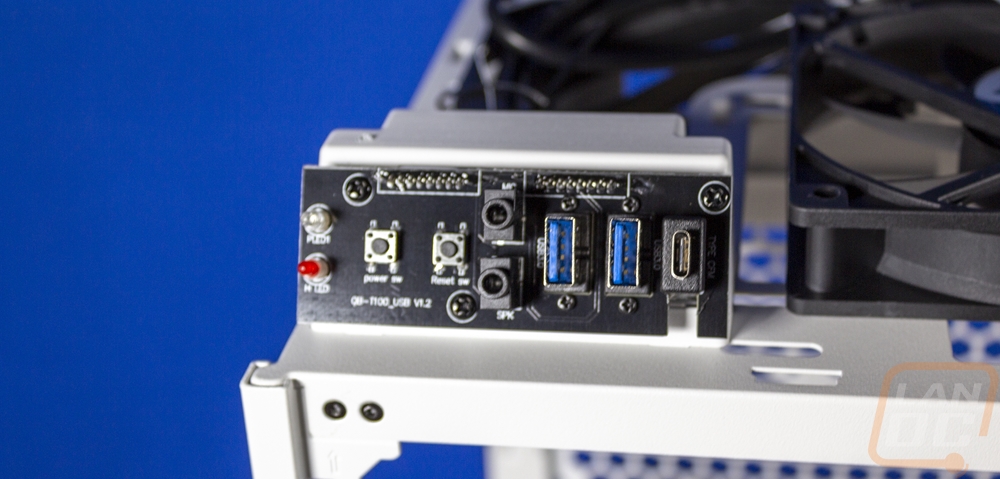
While the Thermaltake Tower 100 is an ITX case, it doesn’t stick with any of the traditional layouts of an ITX case. The tower in the Tower 100’s name is taken quite literally here. The case comes in at 10 and a half inches square for the depth and the width or 266 mm x 266 mm for anyone who prefers that. But then it towers up to 18.2 inches tall (462.8 mm). Just like its big brother the Tower 100 has a fish bowl-like configuration with three of the sides completely visible with glass windows and to work with that the motherboard is flipped around with the I/O facing up. This puts the GPU in full view of the left side of the case without the need for a riser cable. The front of the case has ventilation down at the bottom, the full width tempered glass front panel, then at the top it angles with the front I/O on that angle. The front panel has two status LEDs on the left then a large color-matched power button and a slightly recessed reset button next to that. It has both microphone and headphone ports for audio then two standard USB 3.0 ports. Down at the end then they have one Type-C connection which uses the new Gen-2 connection inside to get the faster speeds up front. This layout looks clean but I do think that the front I/O might be more useful down at the bottom of the case. This angled-up configuration would work best if you had your case down at or near the floor but the case itself with the small footprint and all of the glass lends itself to being up on your desk.
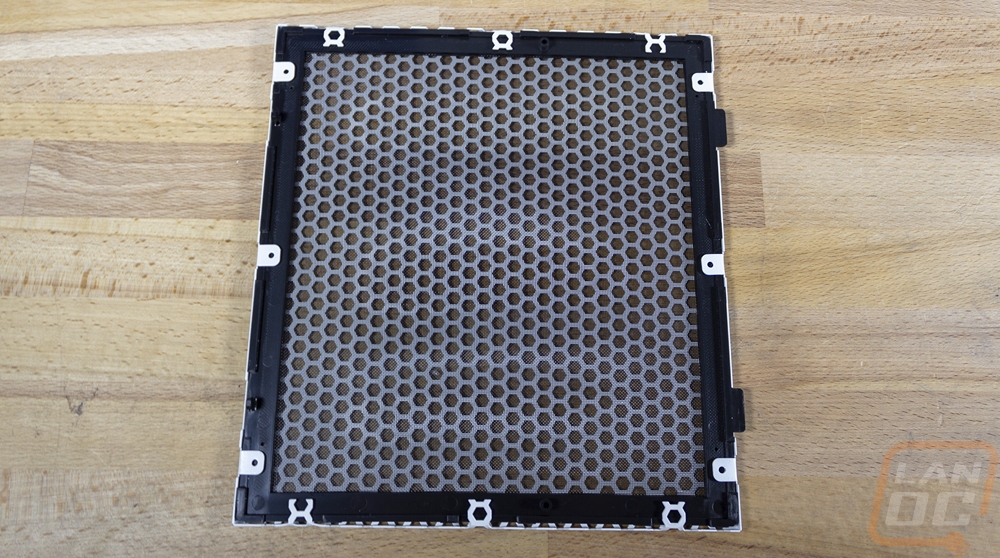
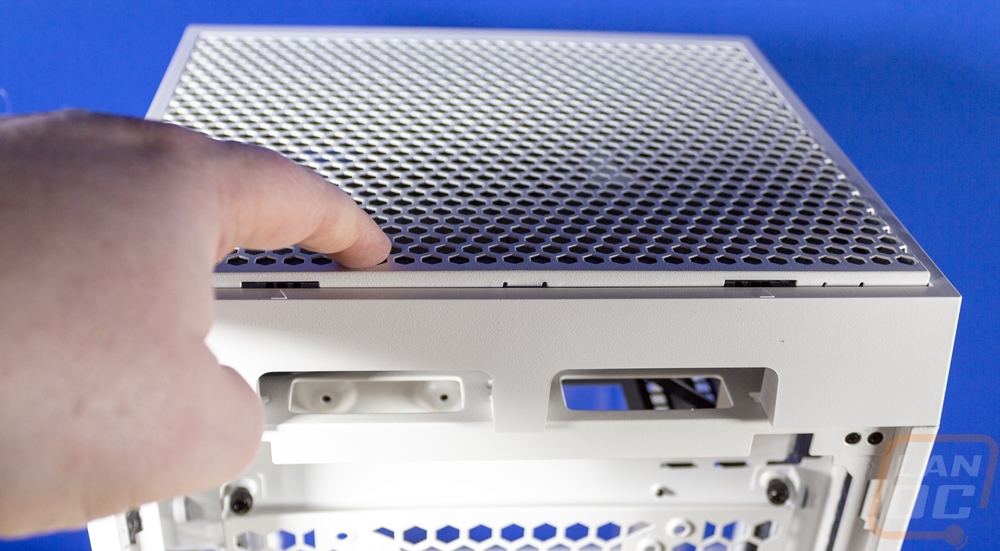
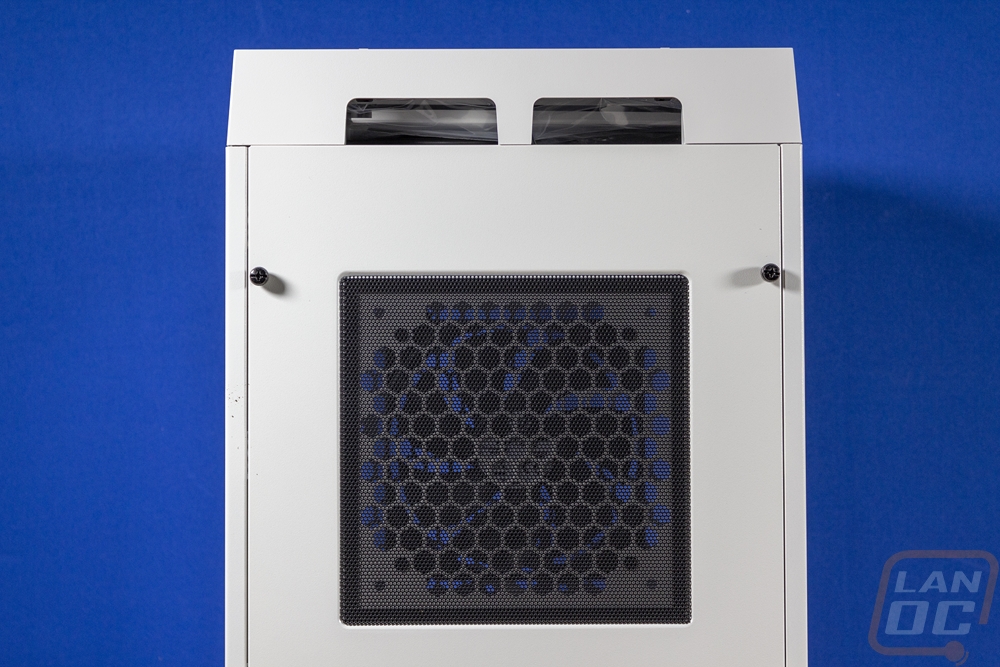
The angled front panel location wraps up to the top of the case which is covered in hexagon-shaped holes. It’s interesting that they have hexagon-shaped vents here but around on the side panels they are all wide oval-like slots. So the top section uses plastic for the main housing but the vent panel is metal and it can be removed. You push down on the front and the latches on the front pop up and it pulls out. The panel does have a filter on it and while this is configured as an exhaust, its nice that the top of the case which will collect dust on its own is easy to clean.
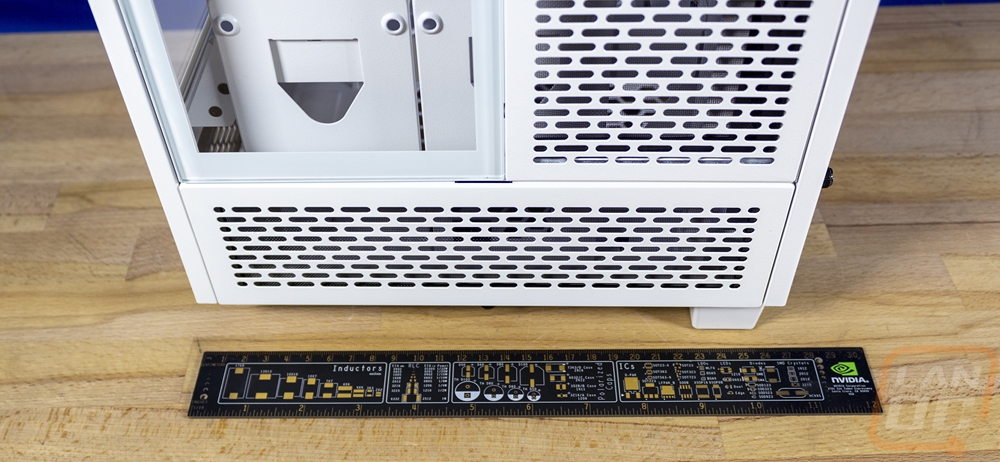
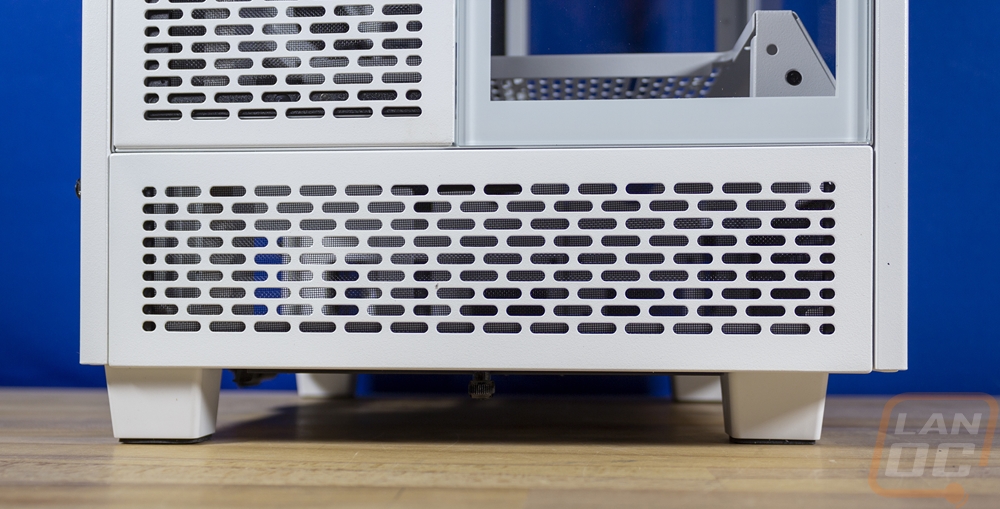
The left and right sides of the Tower 100 have the exact same configuration. They have the same slotted vent panel at the bottom just like the front of the case had. Then above that, they have a panel which is half tempered glass and half slotted. It’s a small touch but I like that for the snow edition the outside of the glass has been painted white, it isn’t unusual for tempered glass panels to have black around them painted on the inside to hide how they are attached but the white here keeps the bright white theme.

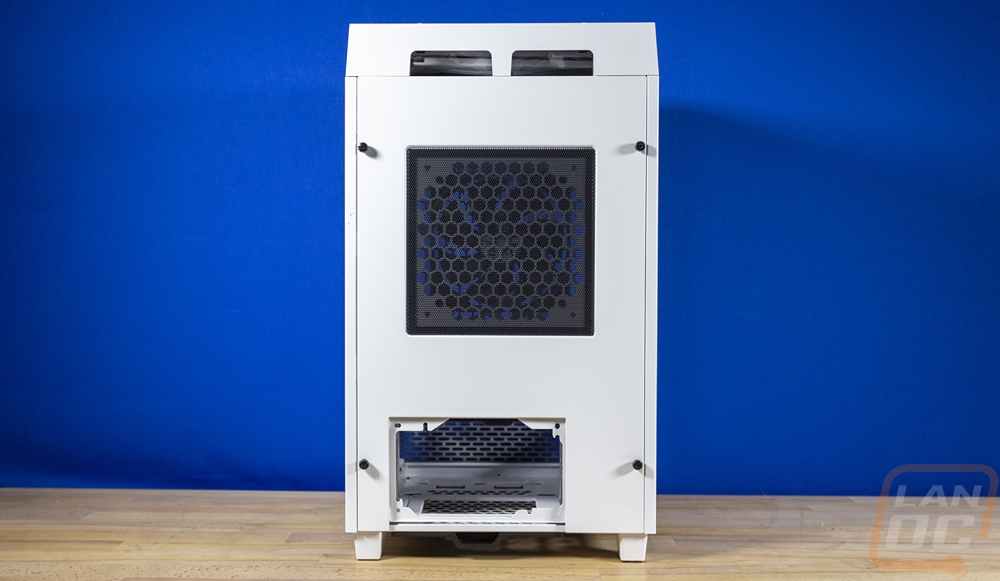
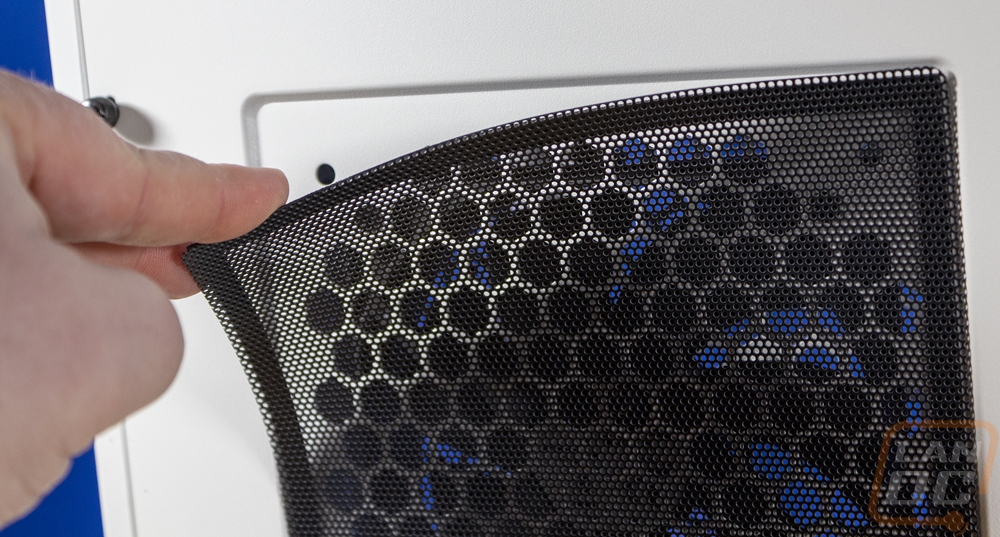
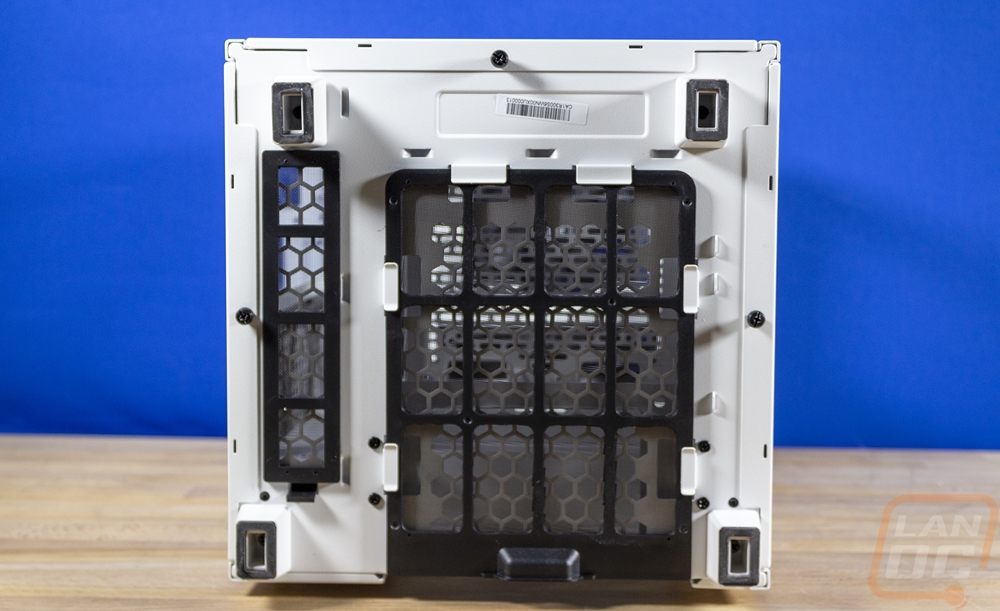
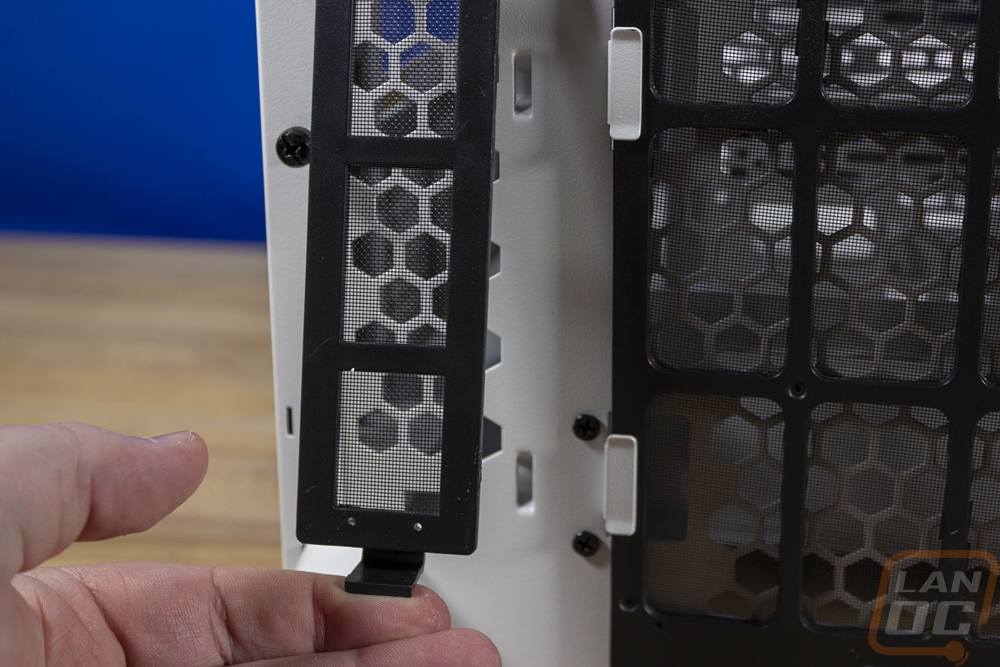
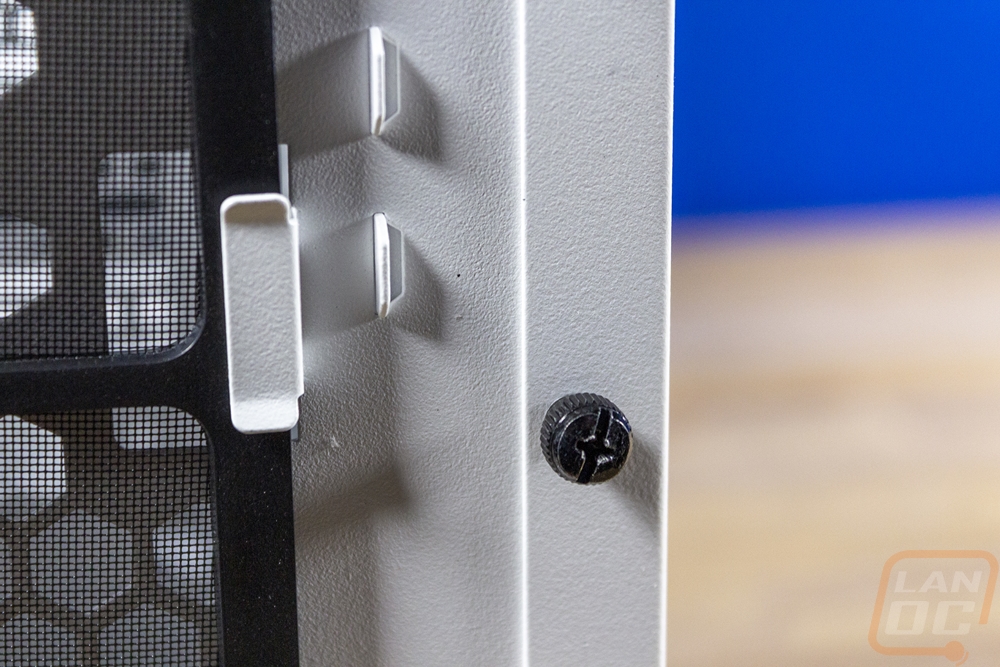
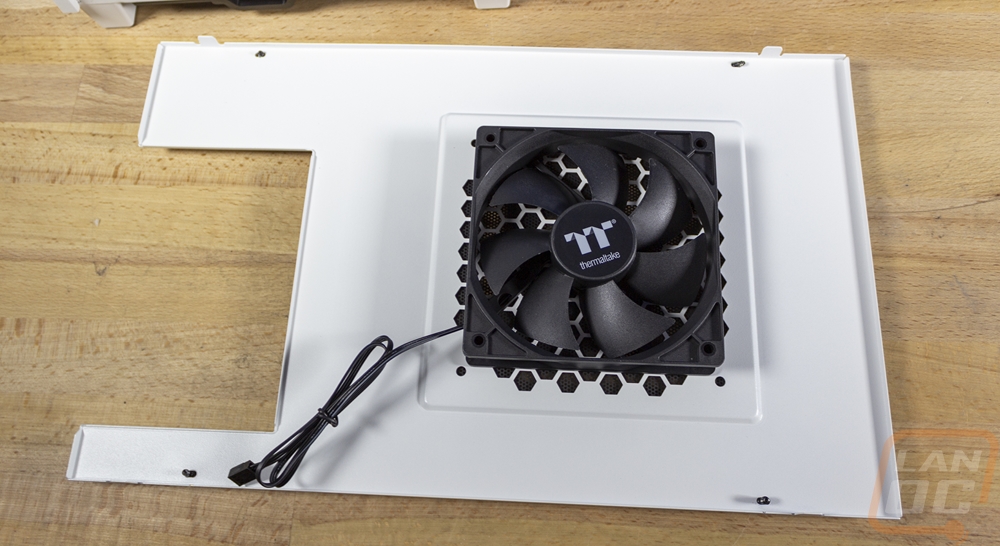
Around on the back, the back panel is all steel just like the front and sides. They have four thumbscrews holding this panel on and these are the only fasteners visible on the entire outside of the case (there are a few on the bottom as well but they aren’t visible when looking at the case). Down at the bottom, the hole for the power supply sticks out. Then at the midpoint, there is a large fan square with those hexagon-shaped vent holes. This one has a magnetic filter over top of it and the filter is black. The thumbscrews and the filter are the only things that aren’t white on the Tower 100 Snow, thankfully they are around on the back at least. The back also has access to a bottom-mounted filter than can pull out, this is the filter for the intake fan for the power supply.
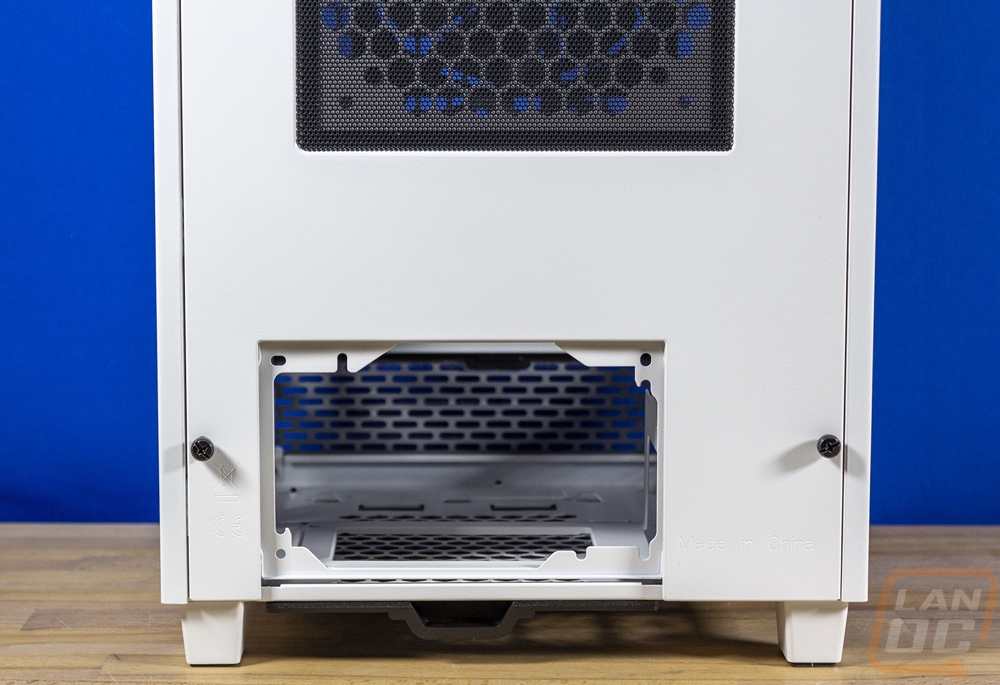
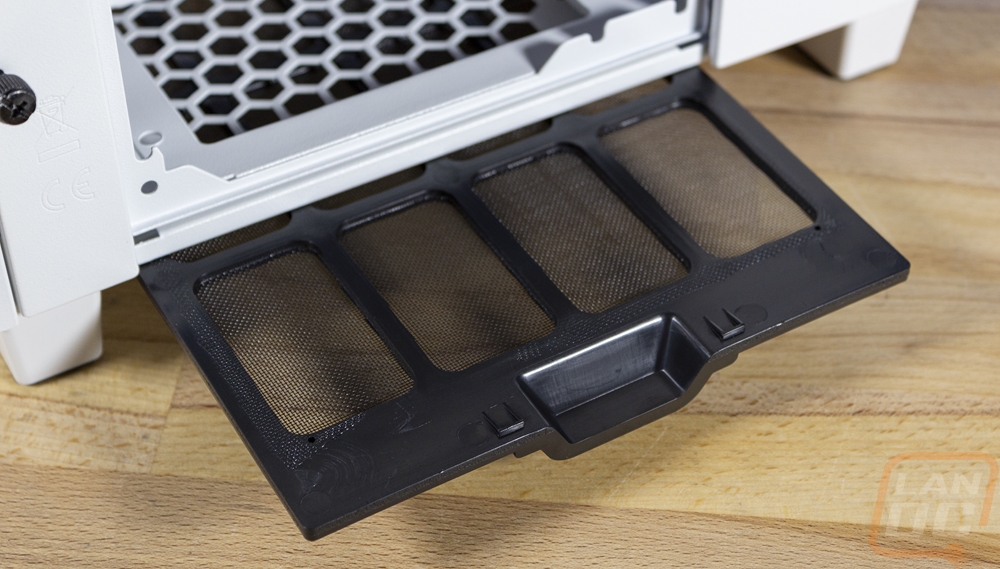
The bottom view of the Tower 100 shows the slide-out filter for the power supply. But there is also a smaller snap-in filter next to it. The bottom of the Tower 100 has four white feet on the corners with rubber on the bottom of each foot. I was surprised to find that one of our feet was loose, the screw was cross-threaded and didn’t get tightened down. It was an easy fix, but something to keep an eye on. The feet have a full inch standoff which helps keep that PSU intake from being smothered and because of the single screw attachment design you could swap these out with a different foot design if you wanted to give your Tower 100 new shoes. This bottom view also shows how the bottom sections of the side panels are attached. The front and sides all have thumbscrews here that let you remove those panels without taking the rest of the side panels off.
Inside
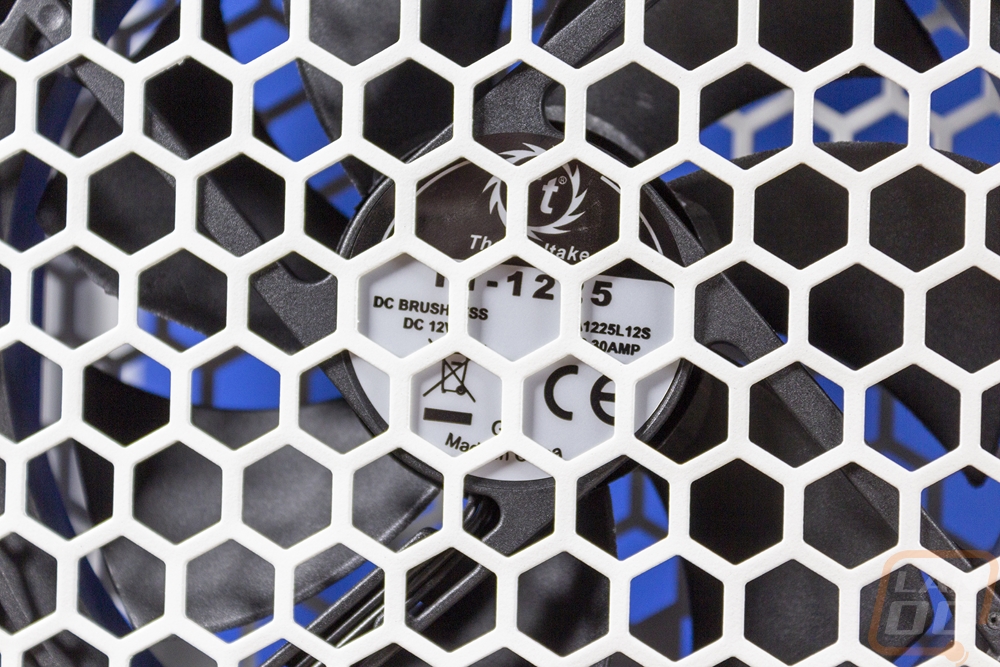
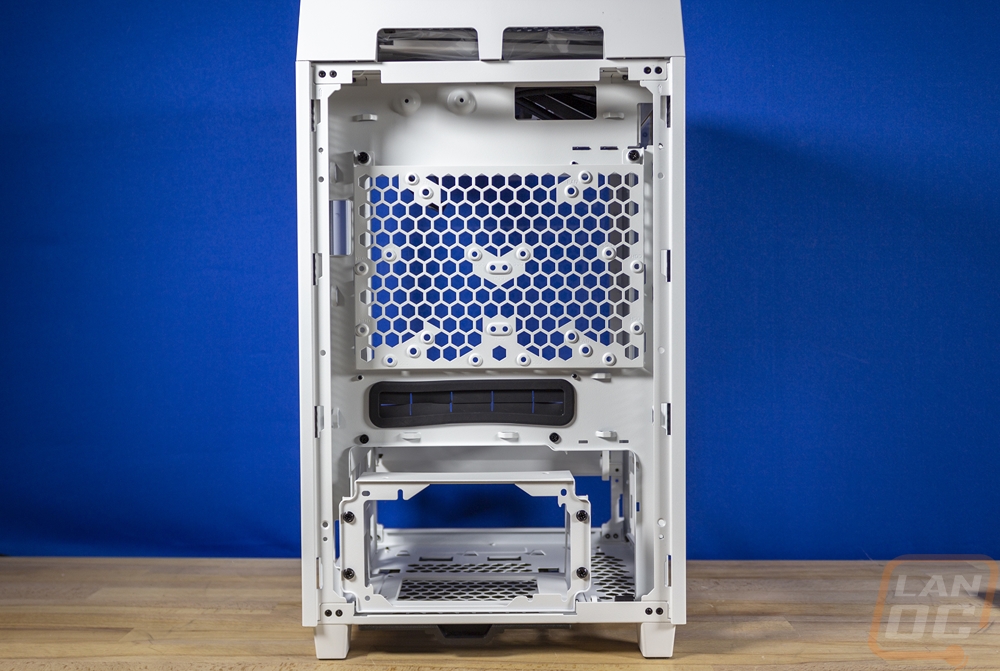
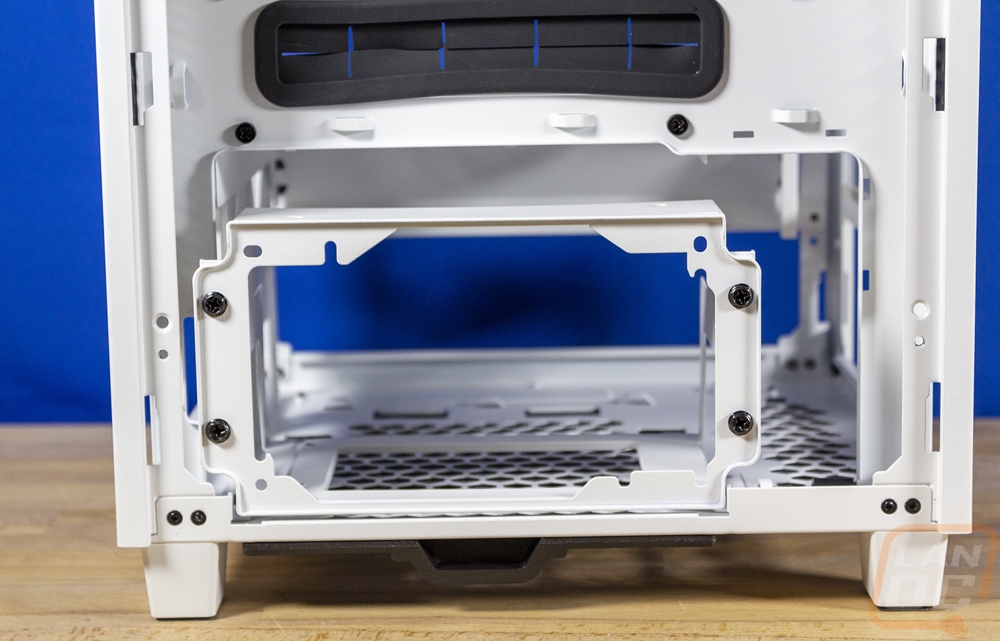
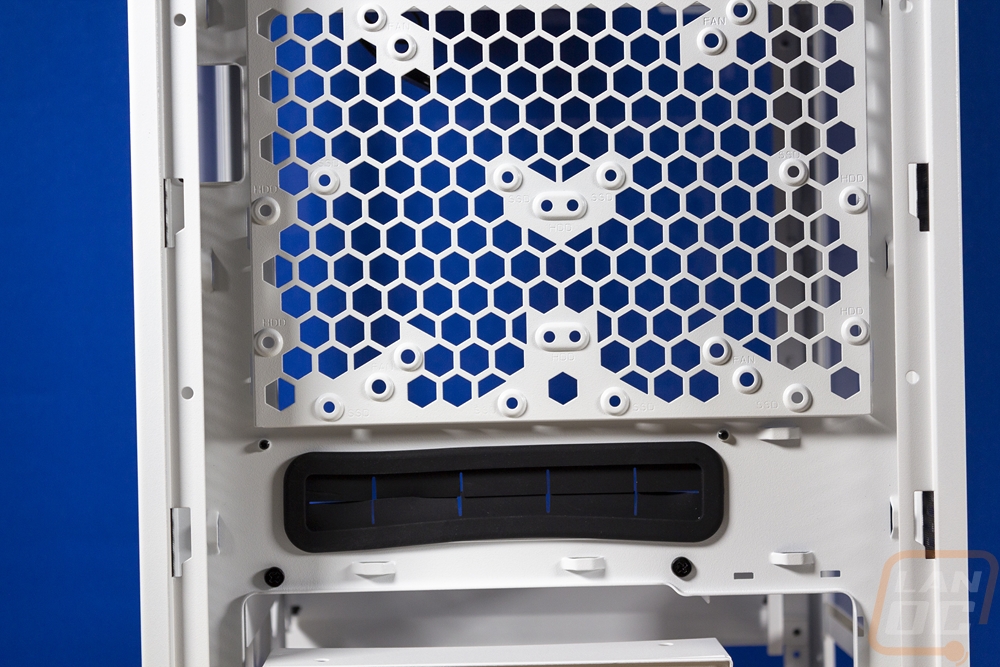
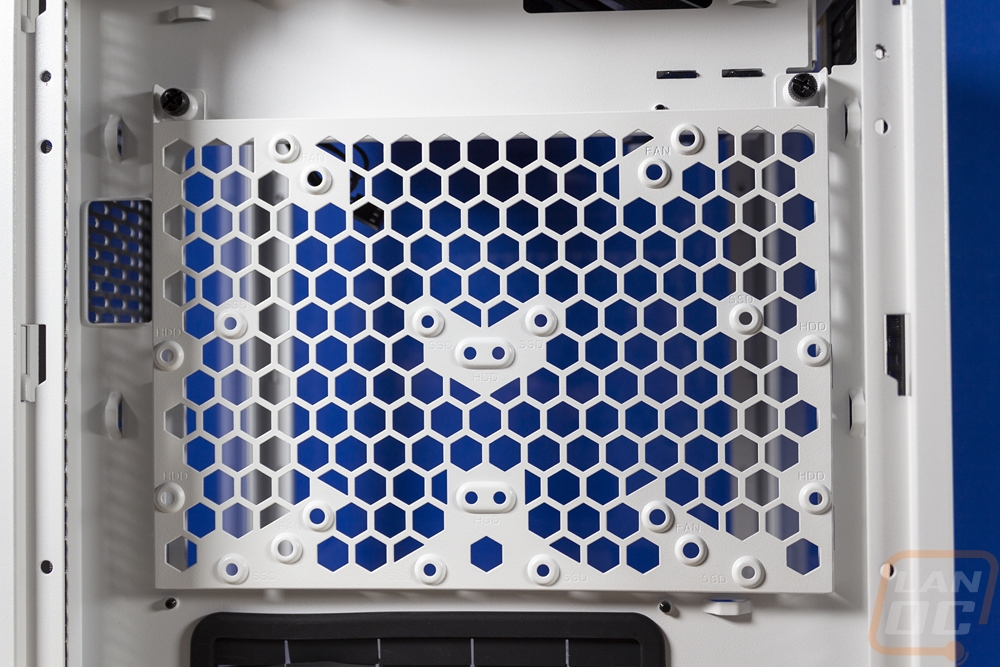
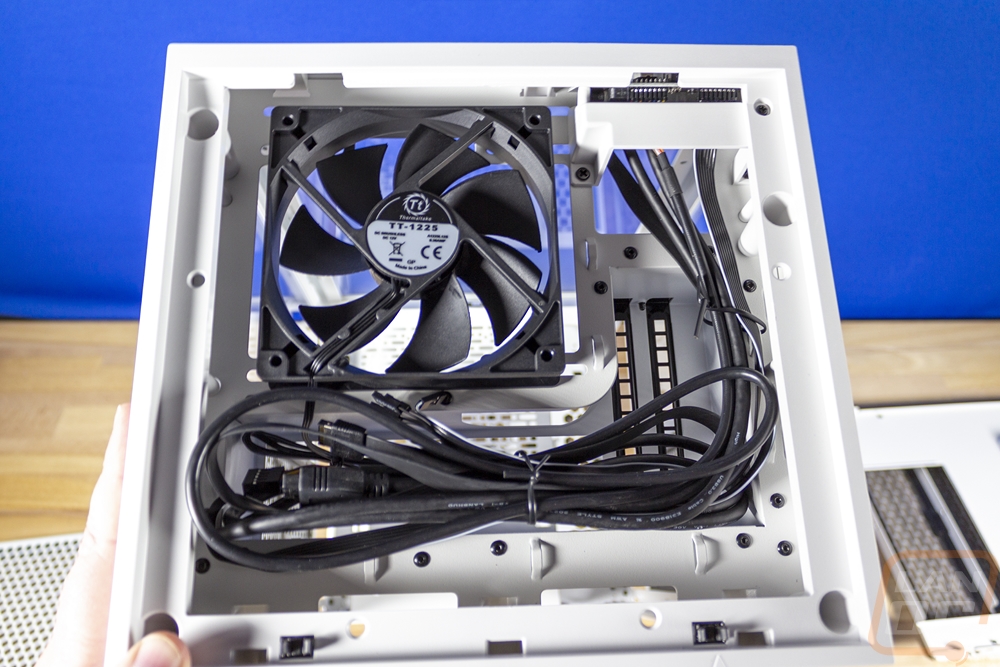
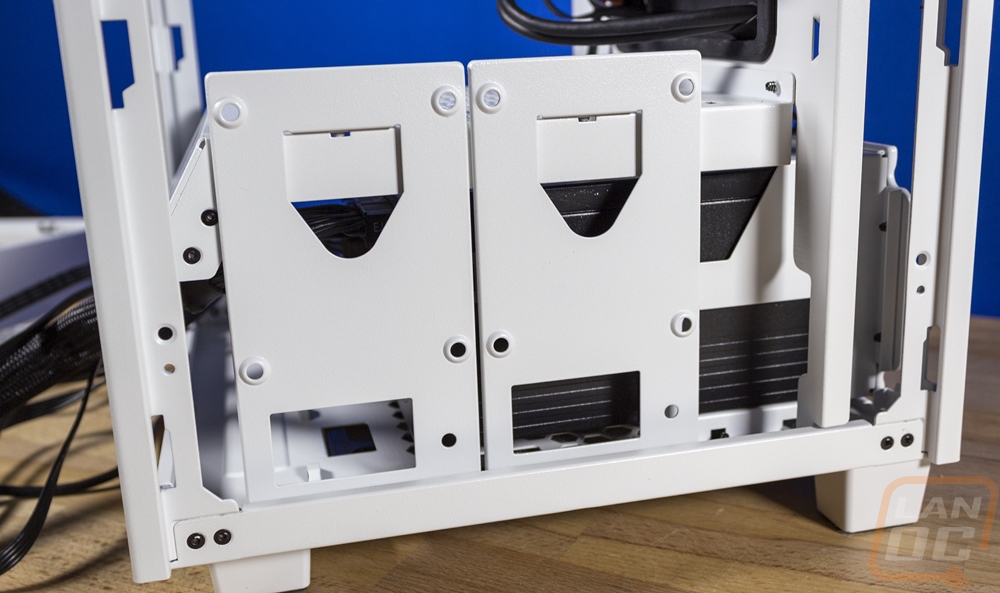
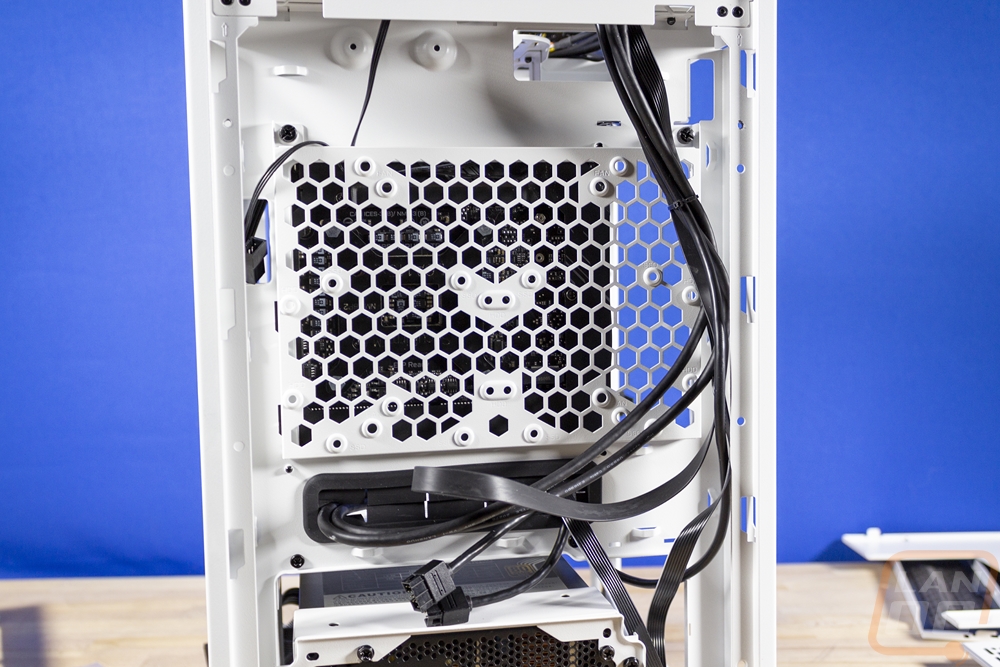
So the funny thing about the Tower 100, is the case design gives you a full view of the interior all of the time. But getting inside of the case still takes a little while. You have to start off by pulling that rear panel off with the four thumbscrews. That comes off along with the fan that is preinstalled to it. This gets you full access to behind the scenes. The power supply mount is down at the bottom and its mounting panel is removable. Above that is a large black grommet for feeding wires into the front of the case. Then above that is more of the hexagon mesh. This is the mounting panel for two 3.5-inch hard drives as long as you aren’t running a rear fan or you can do two 2.5 inch SSD or hard drives. The panel is also laid out for mounting a 120mm or 140 mm fan to it. This panel covers up the rear access to your motherboard. So if you will need to install a backplate this is another layer of the case you need to pull apart to work in it.
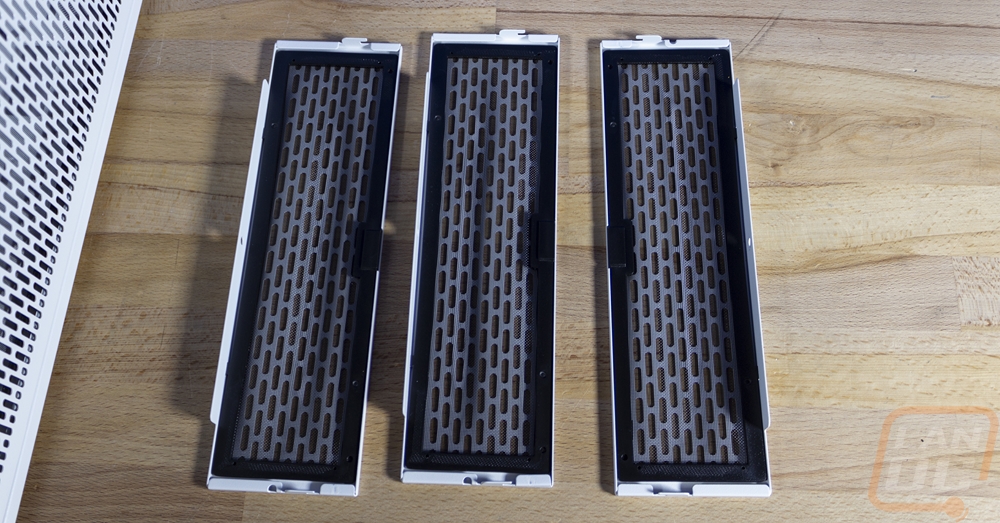
The three bottom thumbscrews on the Tower 100 will let you pull these three panels off. My initial reaction was that this was a little weird. I don’t see needing to get into the PSU section of the case a lot after you build in it. But I realized that this wasn’t for access to that compartment. It is to give you easy access to the filters on these panels which makes a lot more sense.
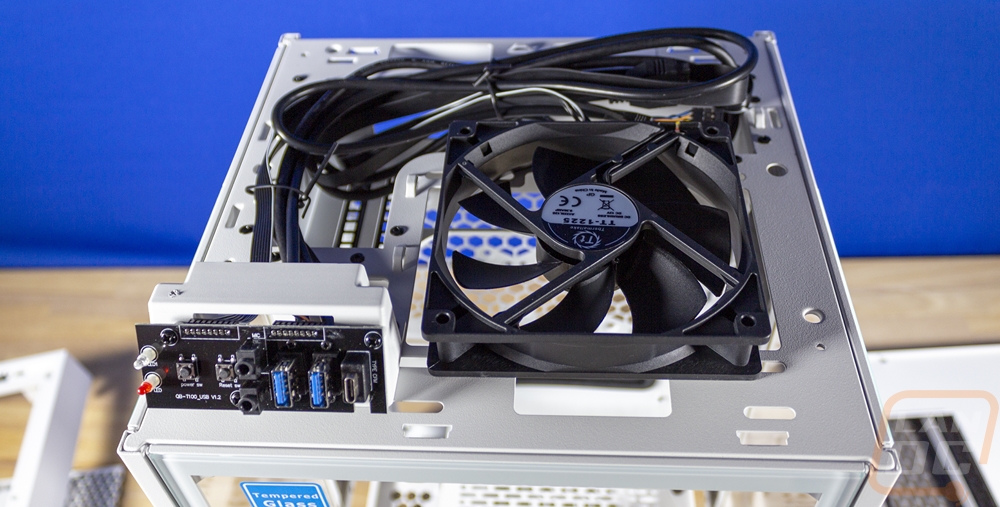
Then next up in order to gain access to the rest of the case you need to remove the top of the case. You pop out the top grill/filter like I mentioned earlier. But beyond that, you need to remove the entire plastic top. My initial thought was this would be easy, in most cases a panel like this is snapped into place and the two holes at the back of this panel made me think that was the case for sure. Turns out those are for running wires to the rear I/O which is up top and the plastic top panel is screwed down. They have five screws holding it in place. Once you get those out, the top pulls off. This is also where they have the accessories and hardware for the case hidden.


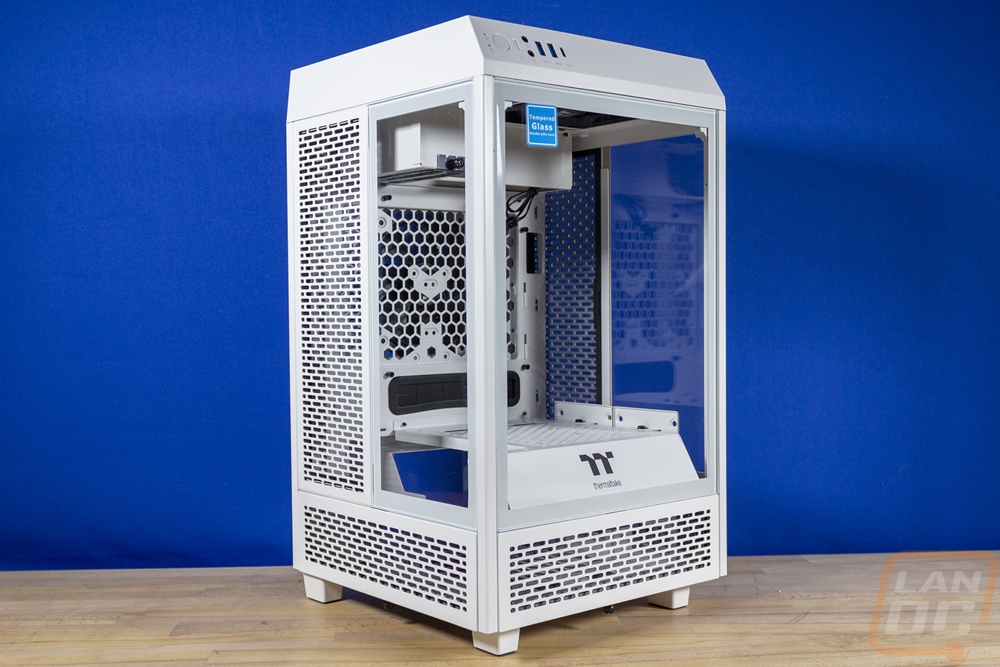
With the top removed, NOW you can finally remove all of the side and front panels. They are all just hooked on but then with the top panel locking everything in place. So each panel just lifts off. Once those are off you have access to the entire interior of the Tower 100. The layout of the case has the motherboard installed on the back wall with the rear I/O facing up. That is why the main grommeted spot to feed the wiring through is down below the motherboard. The rear I/O area is recessed down below the top of the frame. You can see up at the top the I/O hole and the two slots for the video card which also mounts with the connections up at the top.
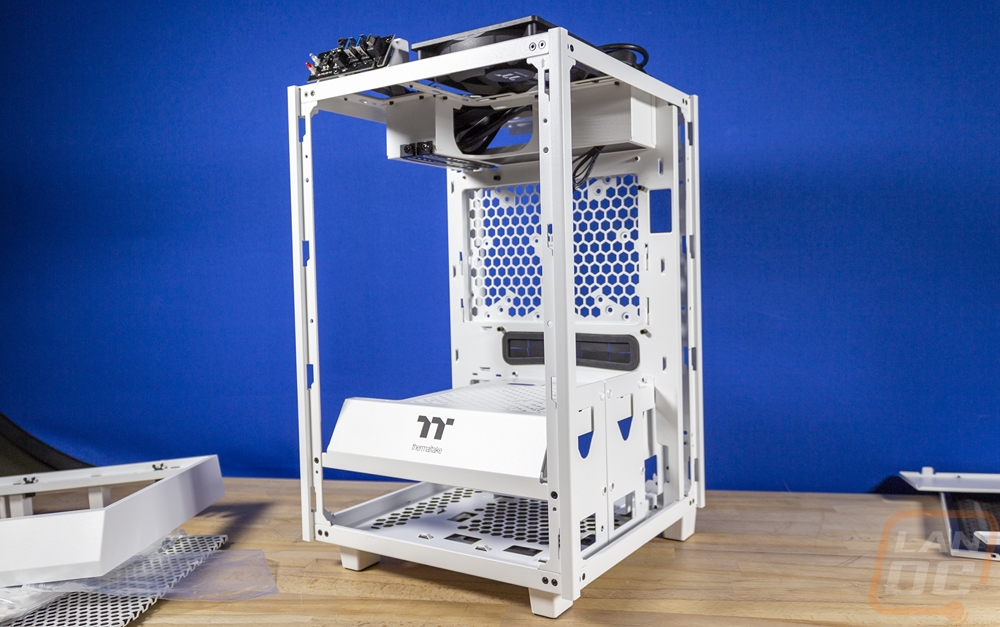
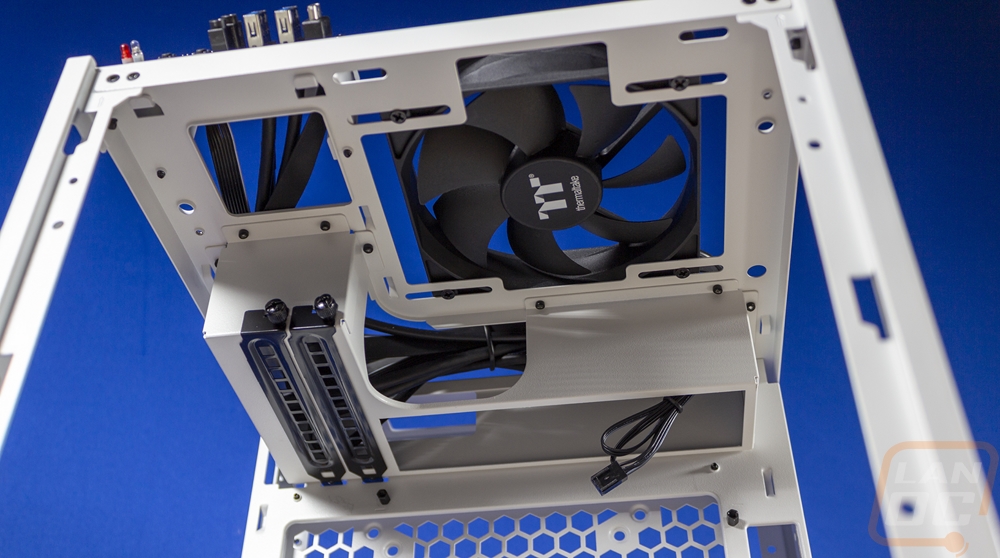
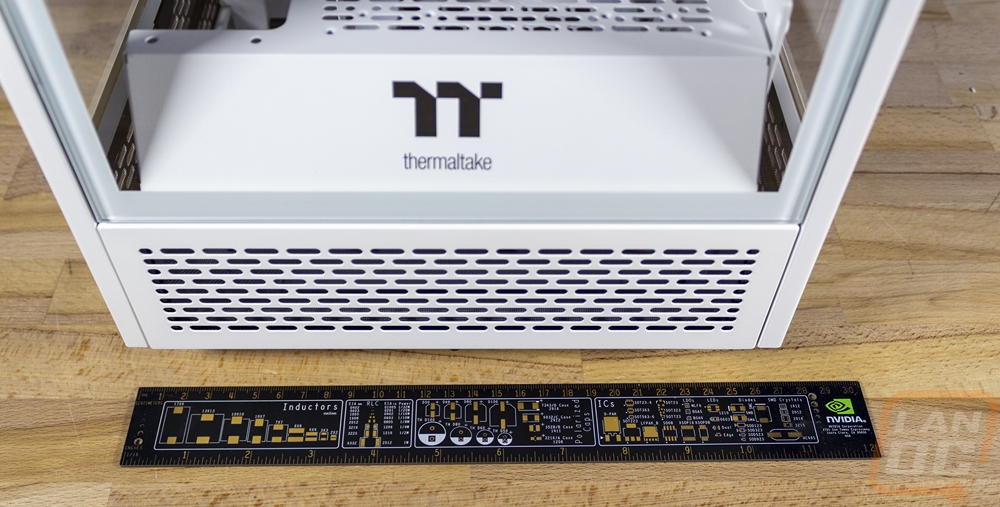
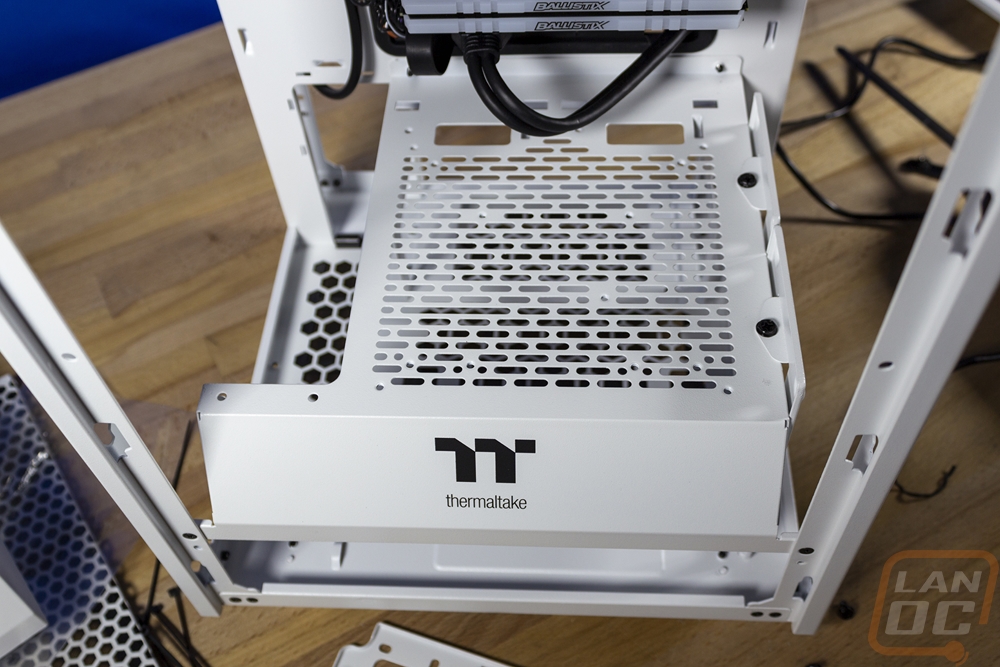
The bottom portion of the case houses the power supply and they have that divided up with a metal panel between the two with the slotted vents in it. This panel has a 45-degree angle on the front just like the top of the Tower 100 where the front I/O is at and this is where they put the Thermaltake logo, for modders I could see this being used to put the name of your build. The divider panel doesn’t go the full width though, on the left they have left room for the video card to go down to the bottom of the case. This is how they get the 330 mm clearance for a video card and while there are only two slots at the top width wise there is room for a card up to 3 slots from the looks of things. For cooling, the Tower 100 can fit water cooling but just with a single 120 mm radiator up on top without diving into mods. People have fit more, namely at the rear but you will need to cut open the back panel. If you go with air cooling they have a total height clearance of 190mm and then down in the bottom of the case for the power supply it supports an ATX power supply up to 180 mm in length.

The side of the power supply section at the bottom does have two removable panels on the right side of the case. These support two more 2.5 inch SSD or hard drives in addition to the two mounts in the rear of the case. These would also be partially visible from the side window as well.
Installation and Performance
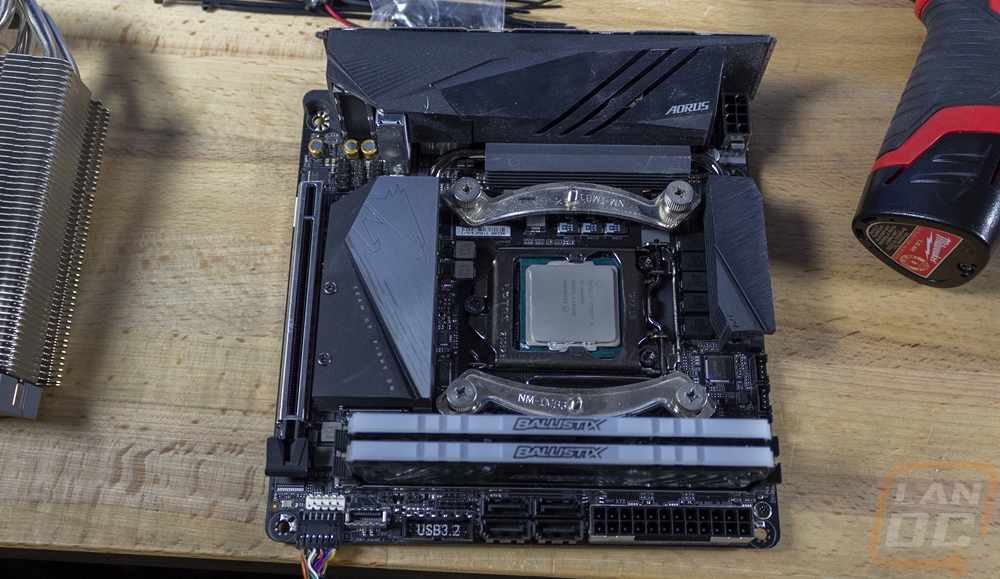
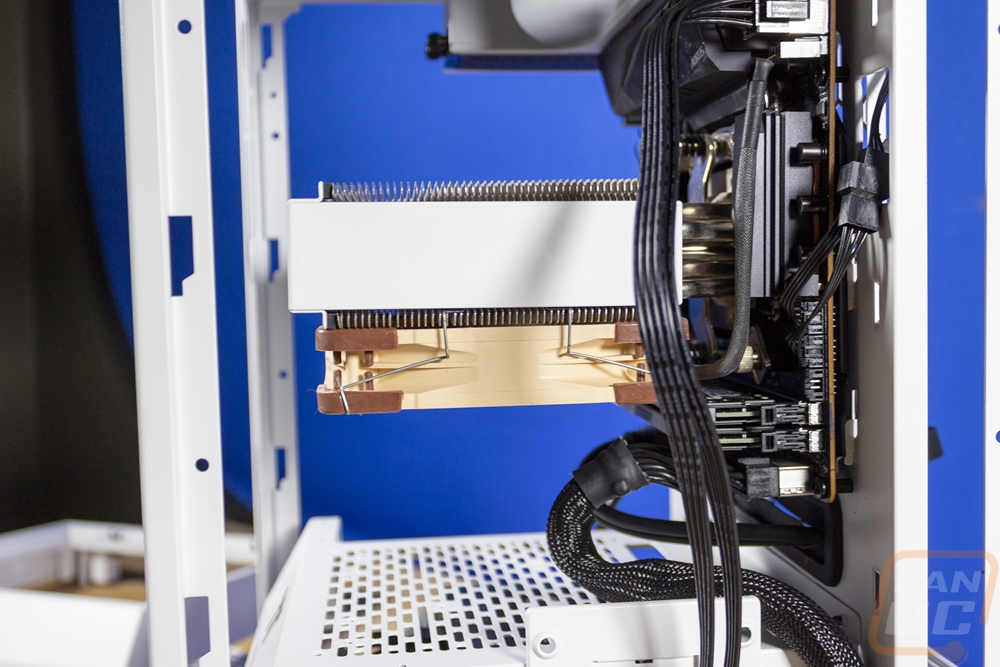
To get going on testing in the Tower 100 we do need to get a system inside of it. For this, I went with the same Gigabyte Aorus Z490I Ultra combined with the Intel i5-10600K which I also used when testing the Revolt 3. This also has a Ballistix (RIP) memory kit and Sabrent SSD. For the PSU I used a V700 and the Nvidia RTX 3070 Founders Edition for the GPU. Overall a mid-range system. For the motherboard, I always preinstall the CPU, SSD, and memory into the motherboard with it all out of the case. This is especially important in an ITX build even though the Tower 100 does give you access from multiple sides. The Tower 100 does have access to the back of your motherboard but you need to remove that hard drive mount to do that, I saved some trouble there by preinstalling our heatsink bracket as well which for that I am using a Noctua NH-U12S. The big debate for me was if I wanted the cooler blowing up or to the side and I decided to go with it up which may look a little weird but is blowing up towards that exhaust fan on the top of the case and not pushing more heat towards the GPU. A wider heatsink may not have that option, however, but the 120mm Noctua does.
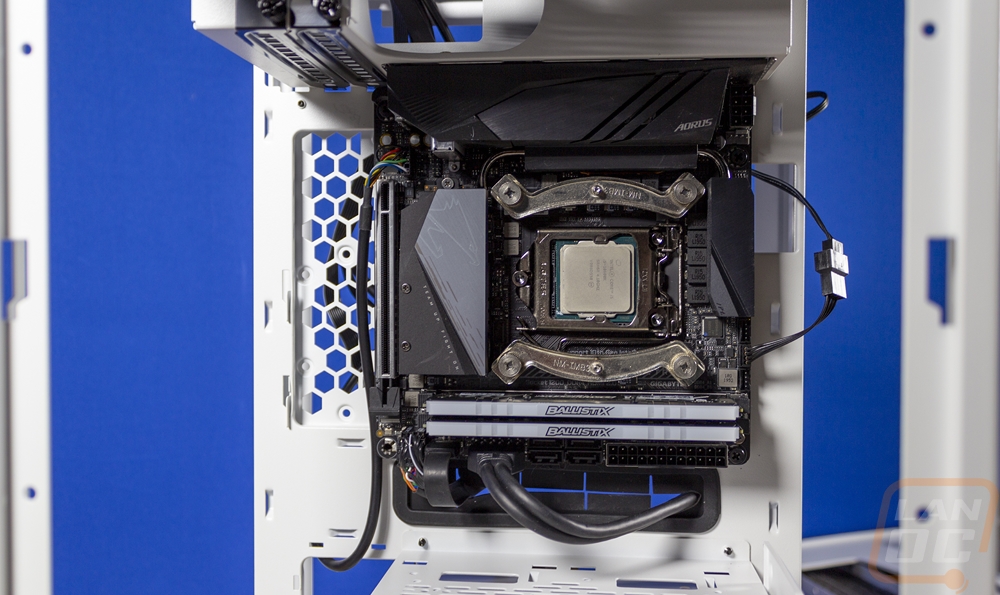
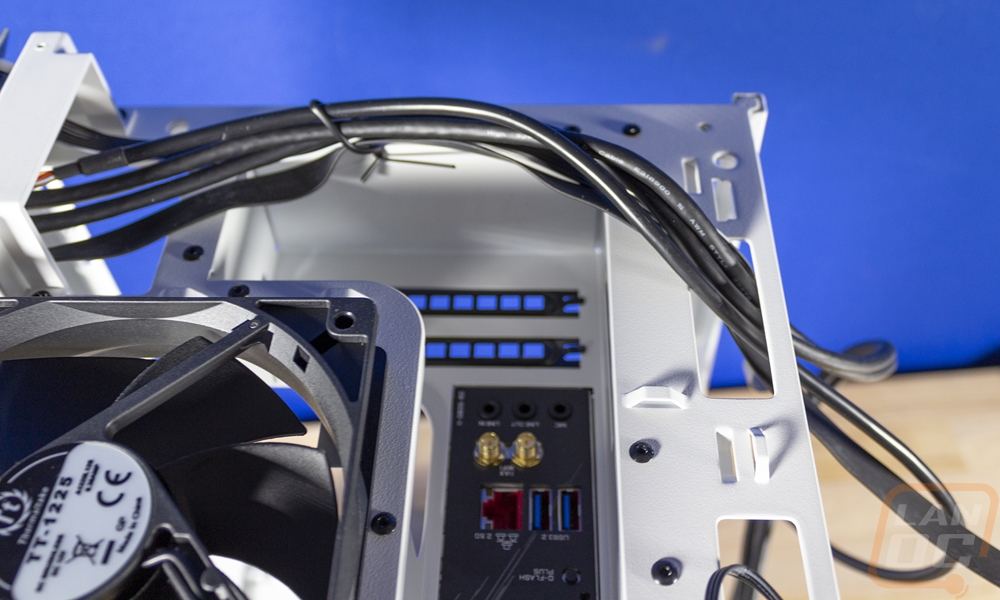
With the motherboard installed I then went ahead with getting all of the wiring from the case itself situated. Cleaning up the wiring up top was important because it comes in as kind of a mess and I know in the future that will get in the way of plugging things into the rear I/O and the video card. I used the wire tie temporarily but did replace that with a zip tie once I had things the way I wanted. Same with on the back, I used the hard drive tray to tie those wires down. If you end up installing two hard drives there though that is going to be really tight to fit the wires in that area. Most of the wires just needed to go to that grommet under the motherboard but keep in mind that not all ITX motherboards support a lot of fans. The Aorus Z490I does but with adapter cables and I needed to get two of those out because the Tower 100 has one top fan and the rear panel fan plus the fan for the CPU heatsink as well.
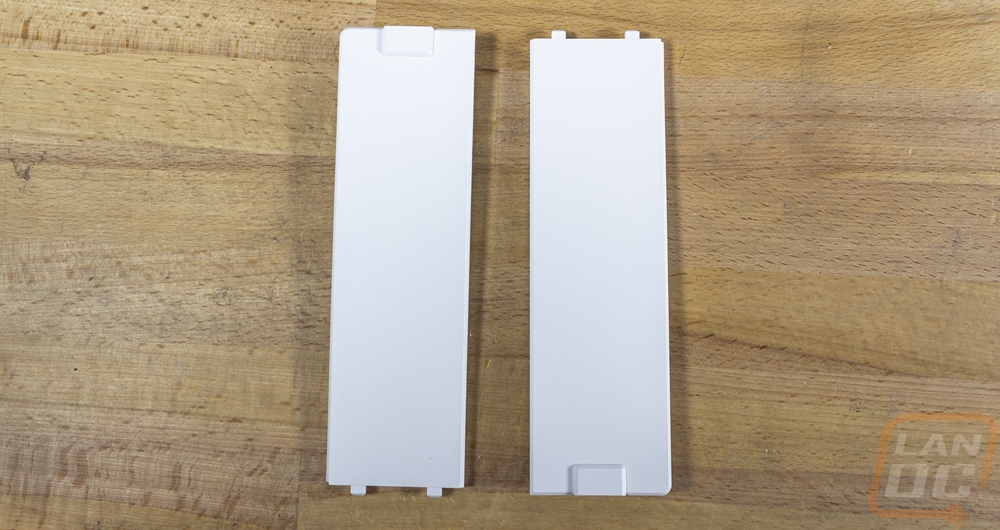
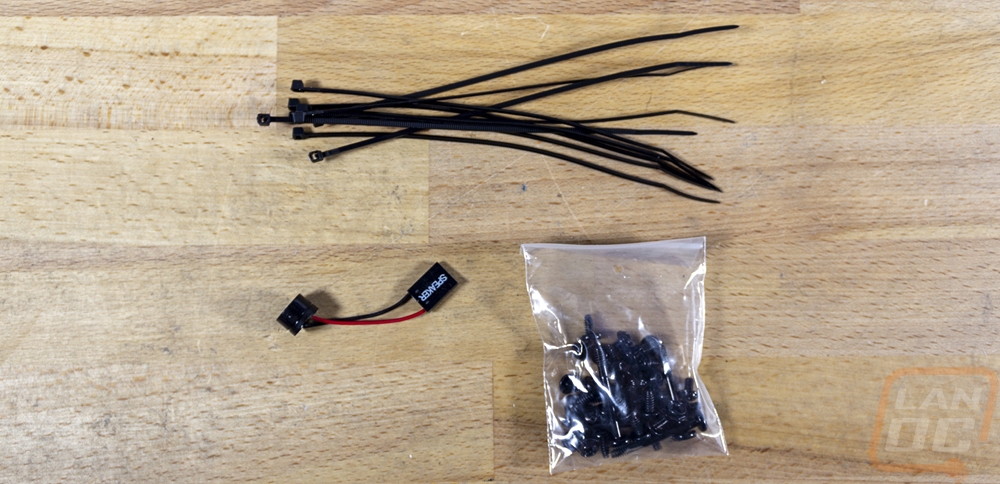
Speaking of wire ties, this is what comes with the Tower 100 for accessories. You get a small baggie of black screws. I wish they would have split the screw types into their own bags with labels. I had trouble figuring out which screw was for the motherboard initially because the correct screw didn’t fit in the first standoff I tried it in. Once I ran the screw down it cleaned up, but it did cause some confusion. You get a small bundle of zip ties and a speaker if you like to run that. Then there are two plastic panels that you can use to block off those open areas that run down into the PSU area if you are running a shorter GPU.
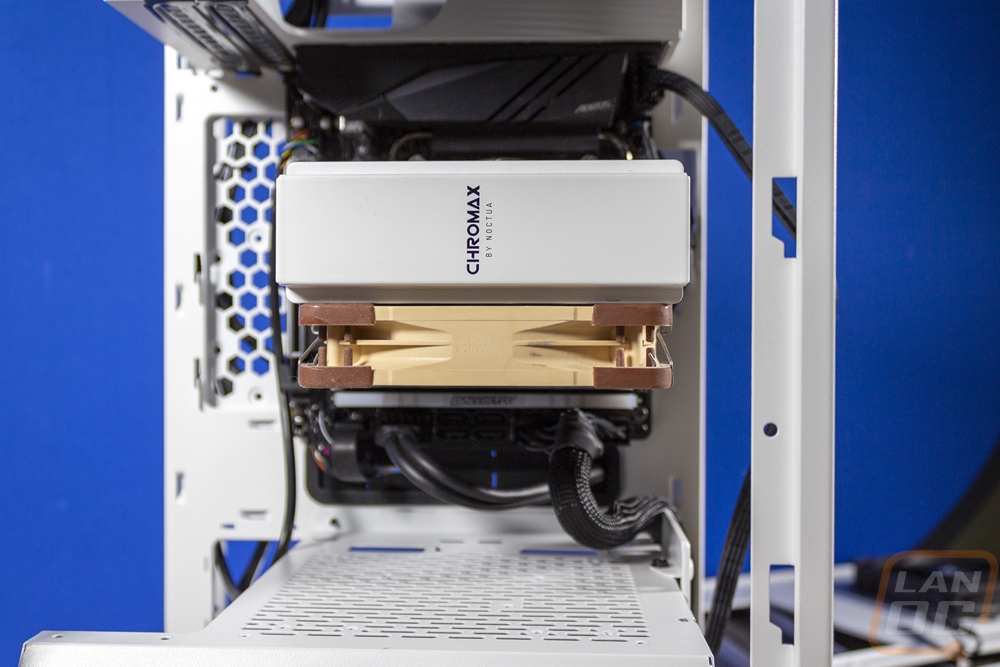
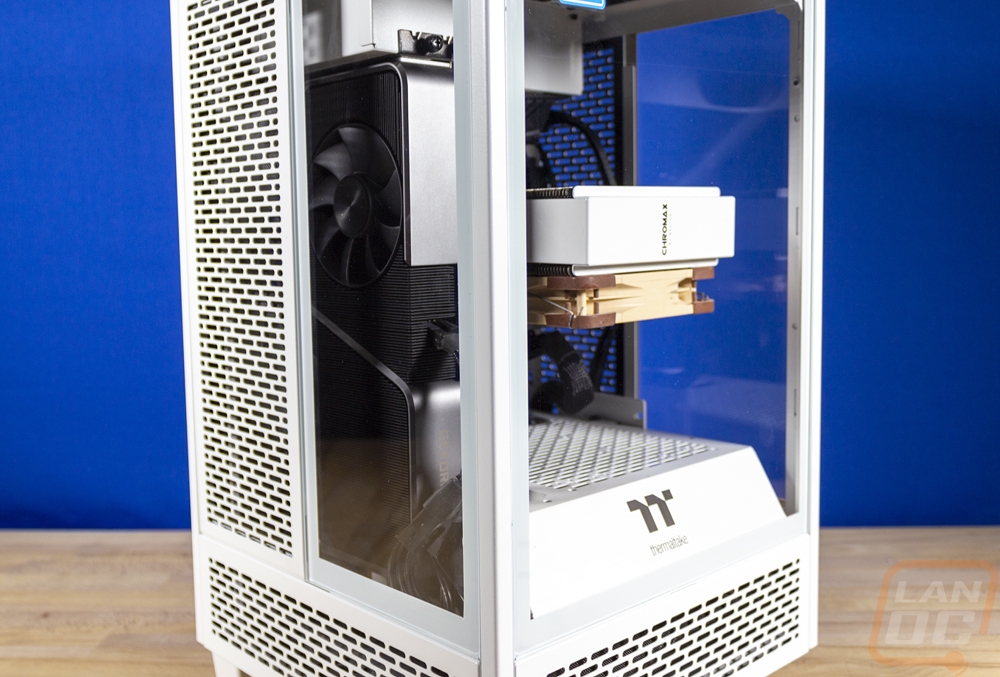
Here is a look at our Noctua cooler after being installed. To match with the white case I included the Chromax cover which looks great. A black fan or white fan would be a good addition, however. You can see there is more room on the sides and for height with the 120mm cooler.
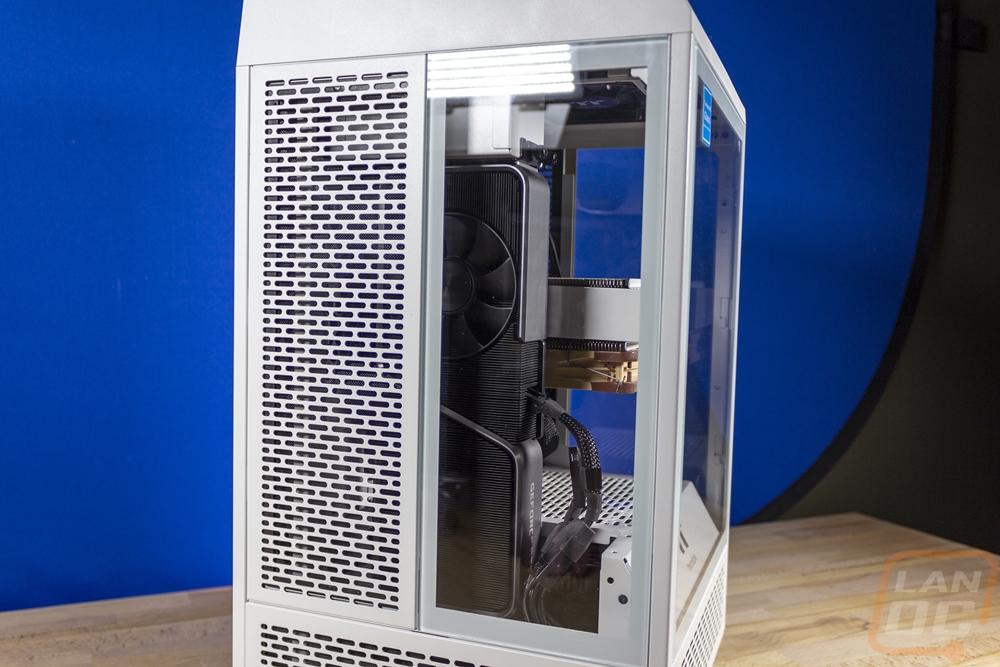
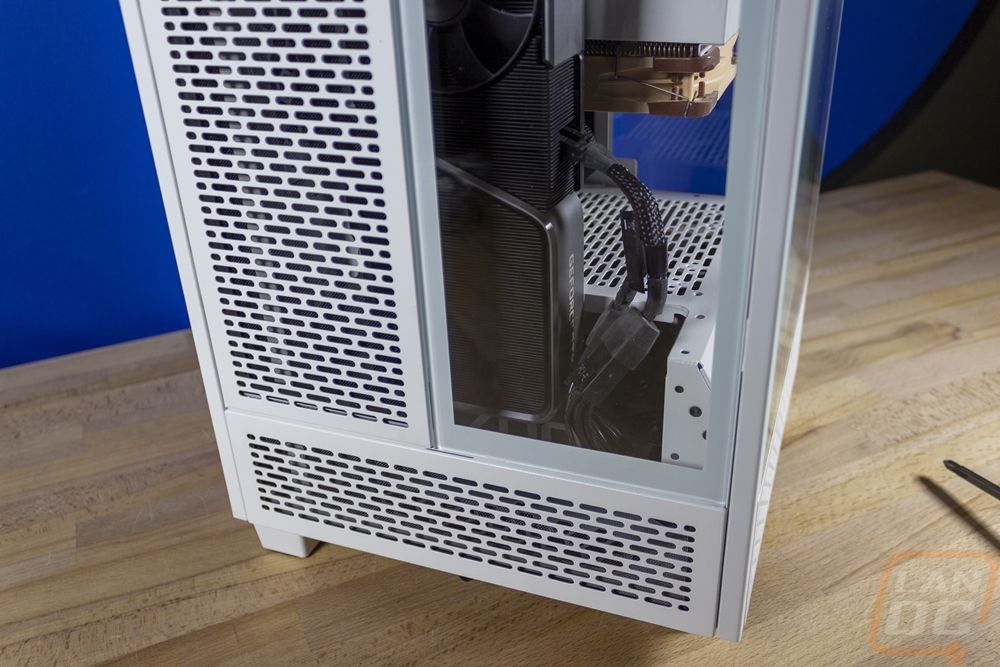
So the Nvidia RTX 3070 Ti is long enough to get down past that divider panel but you can also see that the card isn’t reaching past the bottom of the glass side panel so there is still a lot more length still available. The Founders Edition card isn’t a nice white card to match the snow edition, but it does still look good in the case. You can also see that the vented side panel behind that glass side panel does give the GPU fresh air, especially if you end up running a card thicker than the Founders Edition which has that backside fan as well.


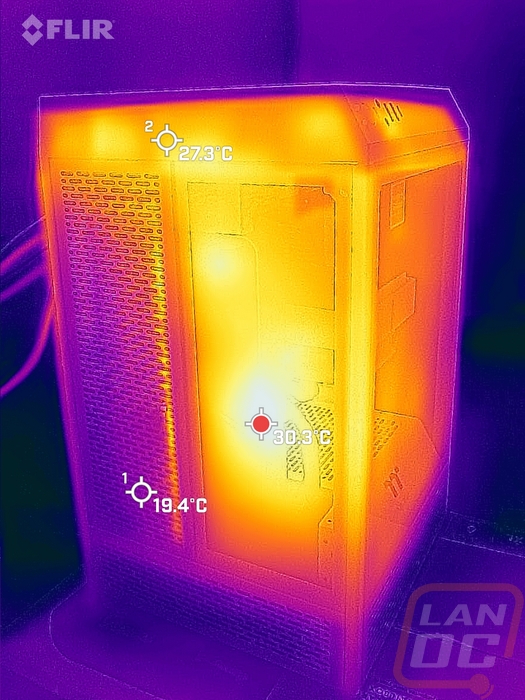
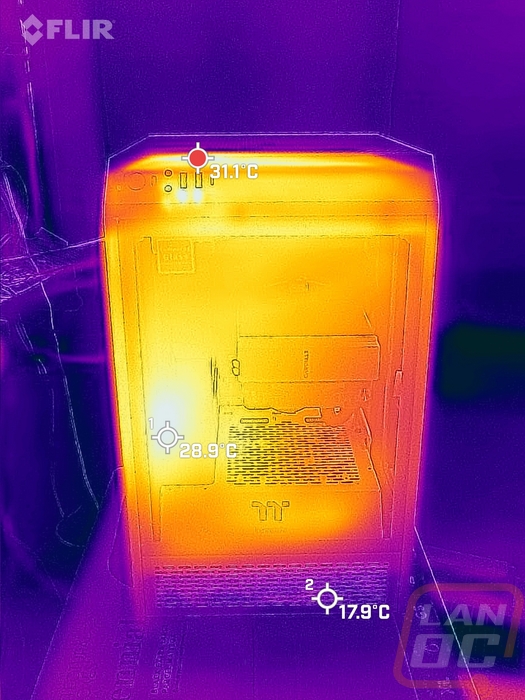
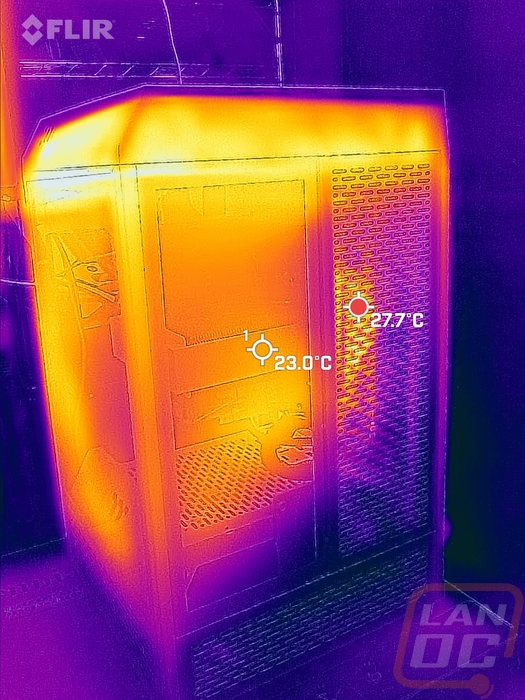
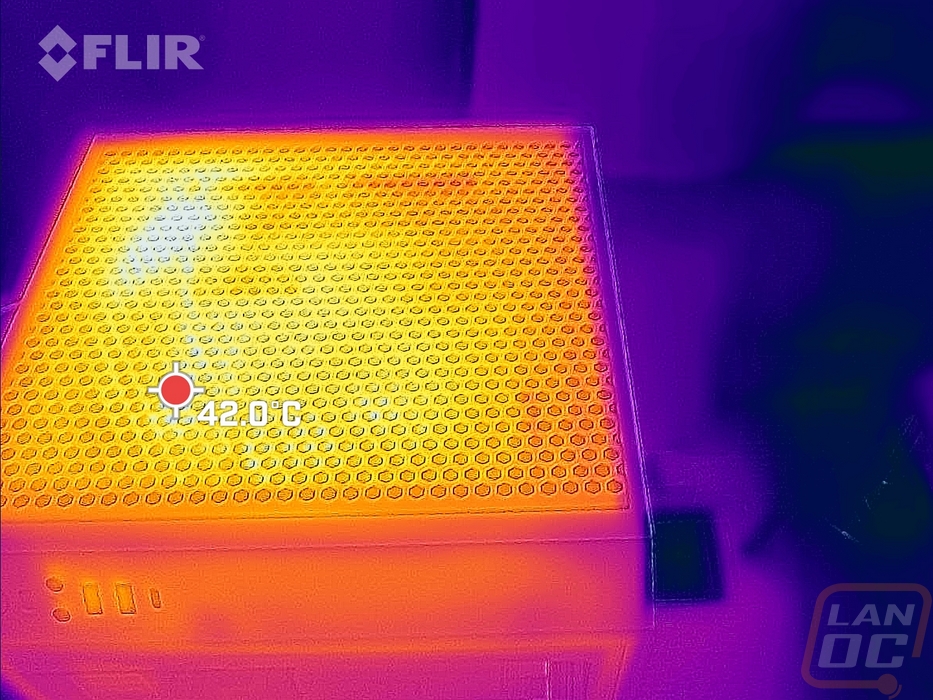
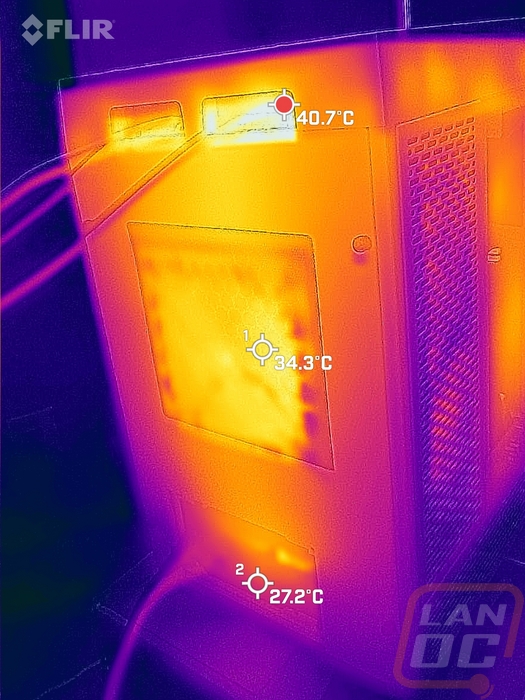
Once I had everything up and running I was curious what putting the 10600K and the 3070 Ti under a full workload at the same time would do for heat. I used AIDA64 for both and use the FPU workload for the CPU and then the normal GPU stress test as well. I left both running for a half-hour and then took a look using the Flir. The glass panels which don’t vent held more heat on them than the metal ventilated panels. The GPU side of things has the most heat but both leveled off in temperatures to the same temp in AIDA64 after a while. The top of the case is by far the warmest which is by design with heat rising and our cooler and the top fan both funneling the heat up that direction. A fan down in the bottom of the case rather than the one on the back panel would keep that more consistent and help tunnel that from the bottom up then out. The two fans that Thermaltake included weren’t as quiet as the Noctua on our cooler and if noise was a big concern I might upgrade those in the future. Beyond that, the Tower 100 performed well. Its form factor isn’t as small and compact as an SFF case and with that, I don’t think it is an ideal case for taking to LANs, but its smaller footprint is a big improvement over fitting a huge case on your desk.
Overall and Final Verdict
I know I’ve said it a few times now, but the Tower 100 is an interesting case. Thermaltake didn’t stick with the same design that most other ITX cases have. It takes the original Tower 900’s design and shrinks it down into a more compact form factor. That means you still get this very open looking case with tempered glass windows on three of the four sides so you can see everything inside but with a smaller footprint that is a lot easier to fit on your desk. That isn’t to say that the Tower 100 is a small case, once you figure in its height it is big for an ITX case but it isn’t going to be in the way on your desk like a full-size case would. Thermaltake kept most of the design in steel and glass with only things like the angled top section being plastic. That gives the Tower 100 a much more durable construction but it also makes it heavier and not a case that I would be taking from event to event.
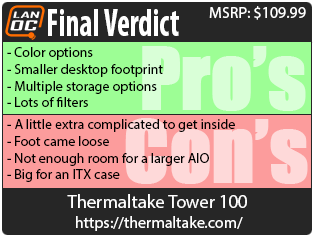
Our model is the Snow Edition which has that bright white finish but the Tower 100 is available in a traditional black and then multiple other color options which I love. There isn’t a lot of room to express yourself with crazy lighting or a big custom loop, but just picking a color that you like is enough to make the Tower 100 feel a little customized. The case design has a surprising amount of storage options with the two 3.5 inch drive mounts in the back and the two additional SSD mounts on the side which is a lot for an ITX case. Thermaltake also really decked the case out in cleanable filters to keep the dust out of the highly visible inside of the case.
The Tower 100 does have its downsides though. For starters, it is a lot more complicated to get inside to work on than it feels like it should be. Especially with cases these days sometimes being completely toolless, the Tower 100 needs five screws and 7 thumbscrews removed to get the panels off, and even then you may need to remove the back hard drive mount and or side drive mounts to get at areas. The relatively large case for an ITX case also doesn’t have enough room to fit a 240 mm AIO which is the standard these days, you can fit a 120 mm AIO but at that point, a larger air cooler is the better option. It was a small issue, but one of our case feet did come loose with the screw cross-threaded and I had issues with one of the motherboard standoff threads being a little tough as well. Then last up, with this being up on the desk type of case, I did feel like the front I/O might be better off down on the front or side of the case.
Even with its flaws, the Tower 100 is a nice case. You just have to work a little harder to get things built inside of it. But once done the unique design is going to continue to be eye-catching, especially if you go with one of the special color options. The price for the case went down slightly while I was writing this as well, it is now listed at $109.99 on the Thermaltake website, Newegg, and Amazon. Considering the mostly steel and tempered glass design that isn’t too bad. Using an ATX power supply will help keep costs down and with air cooling being the better option for cooling that also means you don’t need to throw down for an expensive AIO cooler so building a system in the Tower 100 shouldn’t be too bad.
Live Pricing: HERE
