Photos and Features
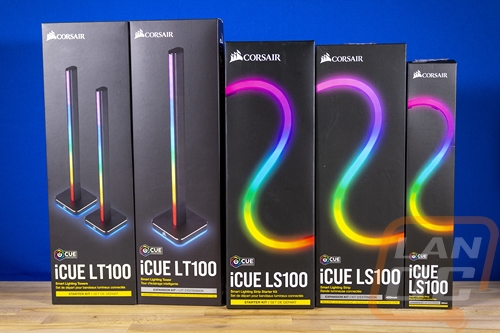
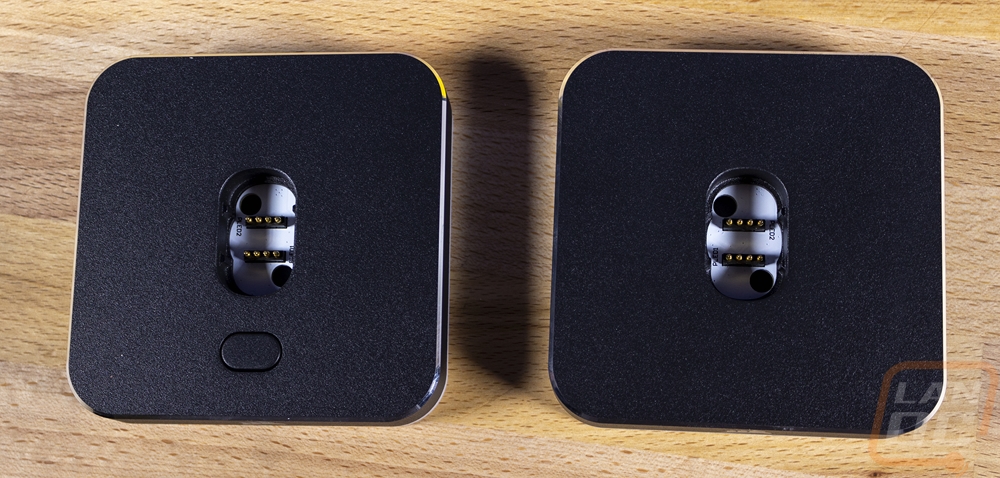
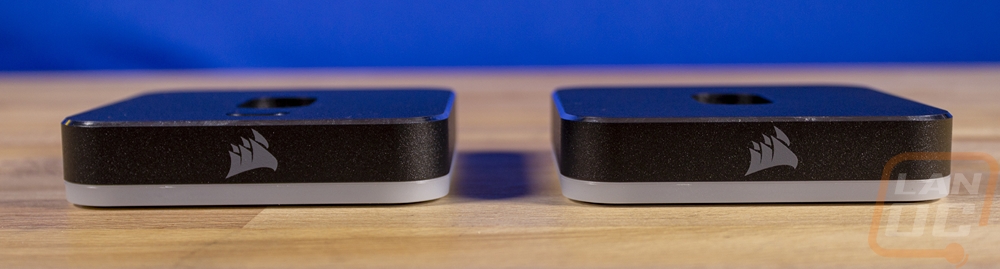
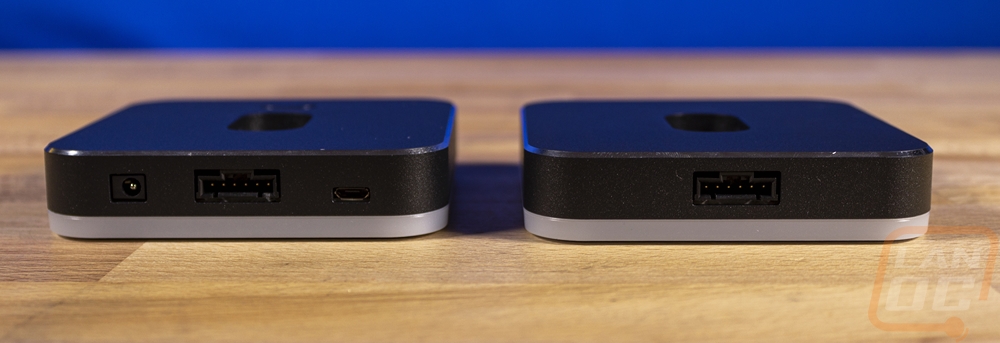
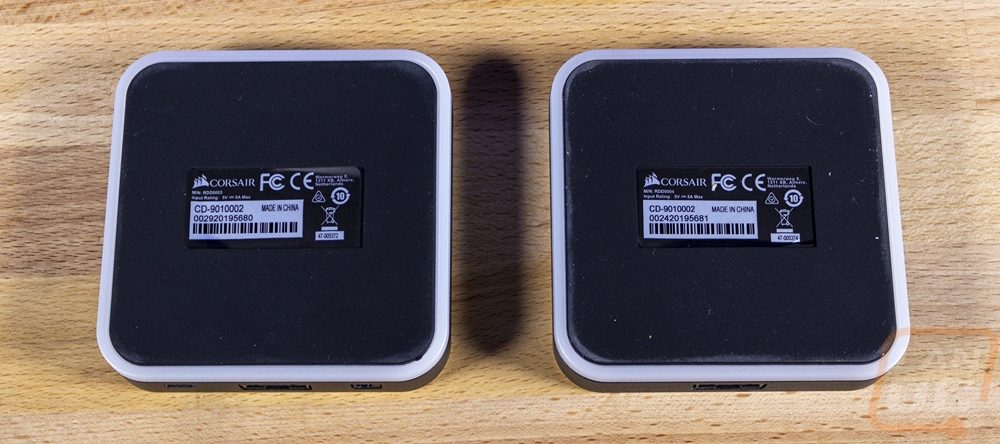
So the LT100 Starter kit comes with two light towers and the Expansion kit gets you a third tower. The towers consist of just two main parts, the base, and the light tower. They are square with rounded corners and are 95mm wide. The starter kit comes with two different types of base, one is the main base and then you have the secondary base. The expansion kits base is just like the secondary base. The main base has a button on top and on the back edge in addition to the 6 pin connection that all of the bases have, the main base has a DC power plug and a micro USB port as well for power and data. All of the bases have lighting in them as well with the white defused area at the bottom having addressable LEDs behind it. The bases also have a large rubber foot on the bottom which covers the entire bottom except for the sticker in the middle. The sticker has the normal FCC and CE logos as well as model numbers and serial numbers as well. It is interesting that the two that come together in the starter kit do have their own serial numbers, but they are in order. The top half then of course is black plastic and Corsair did slip their sail logo on the front of both.
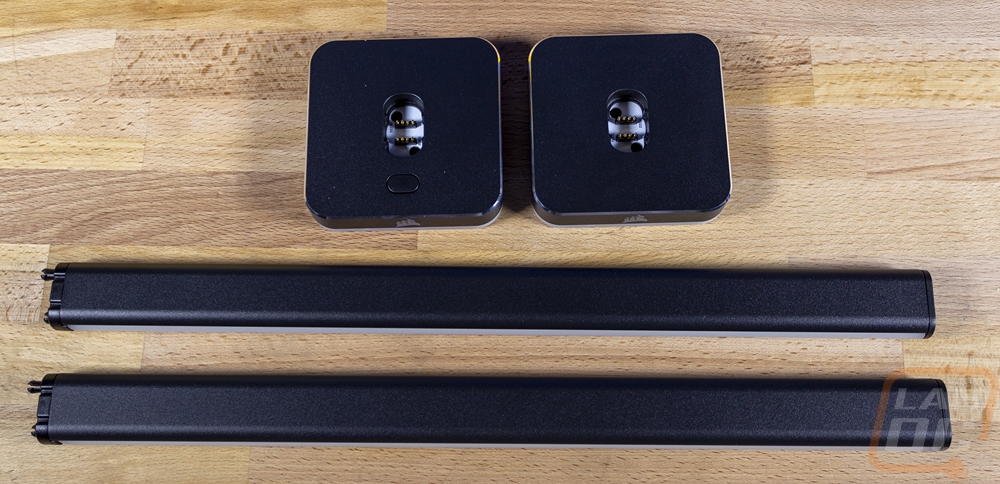
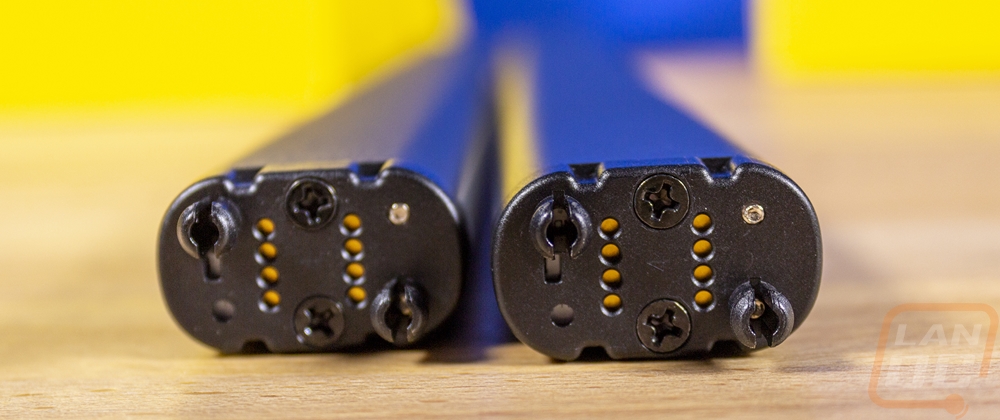
The other half of the LT100 LED towers are of course the LED towers themselves. These are black plastic powers that are in an oval shape. Three of the sides are black but the front-facing side has a white rubber defused strip in it which has all of the addressable LED lighting behind it. The towers are 422mm tall once installed into the bases. Which speaking of you can see in the bottom they use an 8 pin design along with two large plastic clips that lock the tower into the base. These can also be flipped around to face in or out depending on how you plan on using the lighting as well.
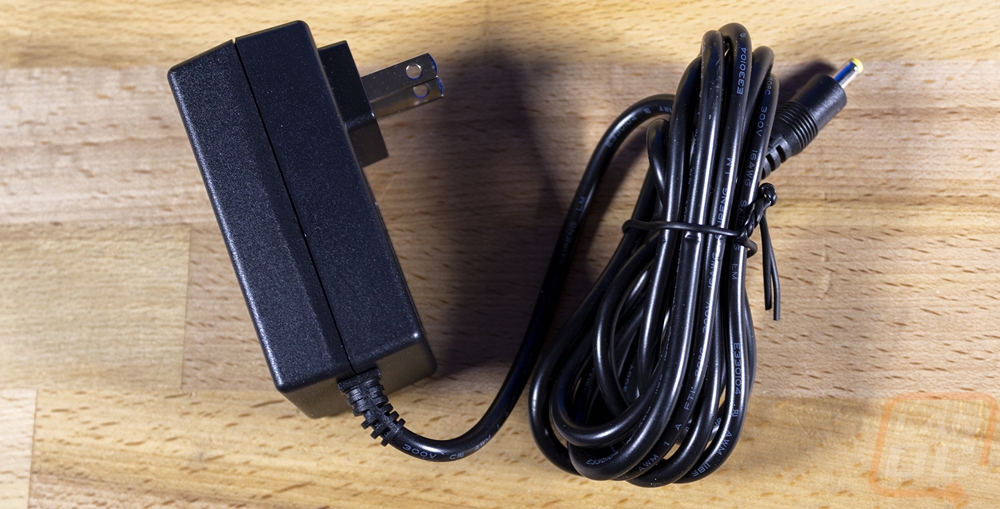
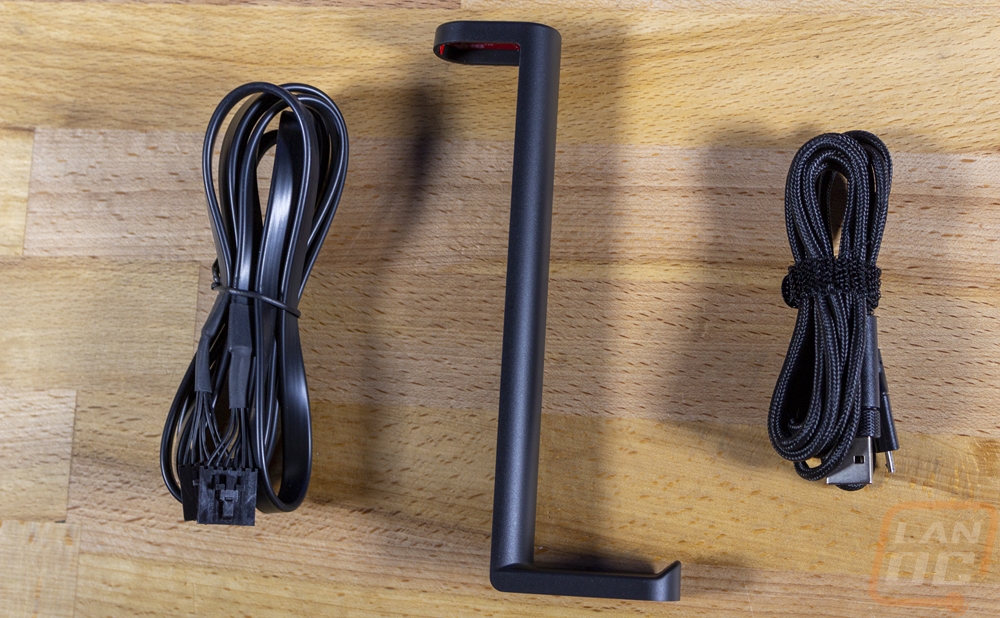
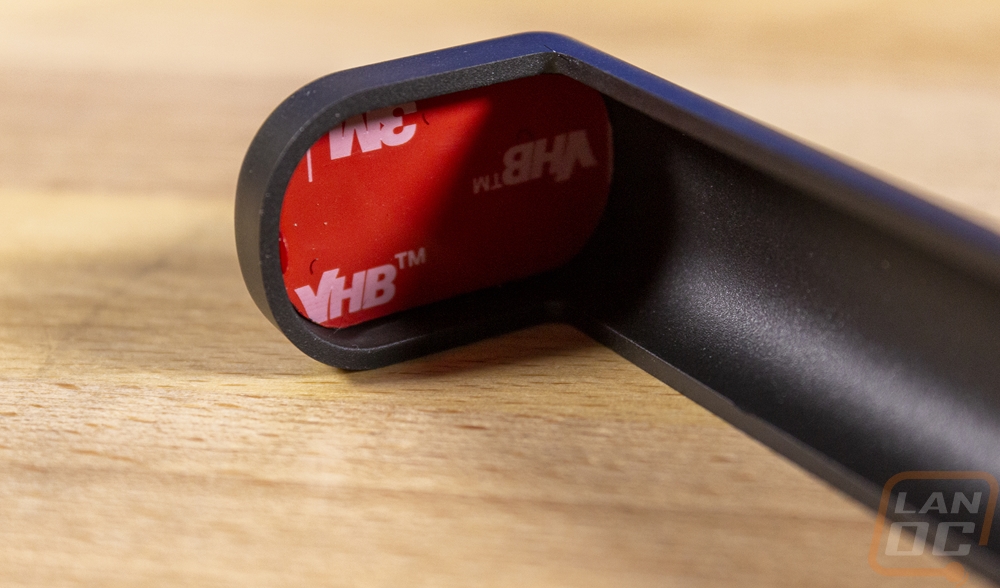
The for accessories, below is what the Starter kit comes with. You get a sleeved USB cable which has the standard rounded Corsair USB plug with the knurled grip. It is surprisingly long and does come with a Velcro tie on it if you don’t need all of the cord. Then for the connection between the main base and the second tower, they include the 6 pin cable which is also long but this one isn’t sleeved. For power, the LT100 has a large power wart. It puts out 5 volts which isn’t a surprise and does up to 5 amps. They also include a small plastic hanger that sits on top of one of the towers that you can hang your headphones from. It also has double-sided sticky tape inside to keep it attached long term.
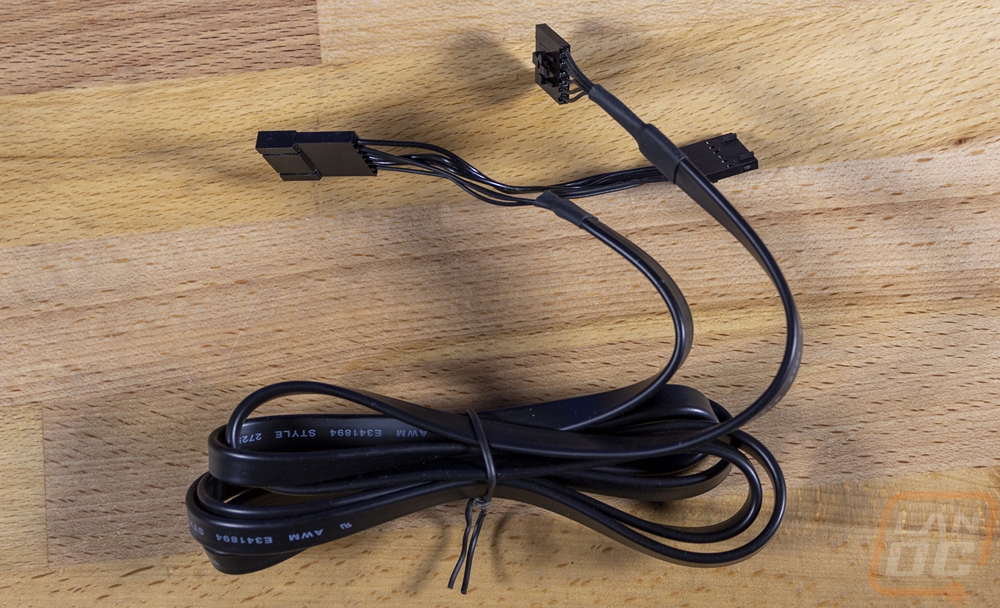
The LT100 expansion kit comes with a base and a tower just like the secondary base in the starter kit. No surprises there. Where it does differ though is with the cable they include to hook into everything. The 6 pin cable is different than what came with the starter kit, it has three ends and lets you tie the expansion LT100 tower in between the main base and the other tower.
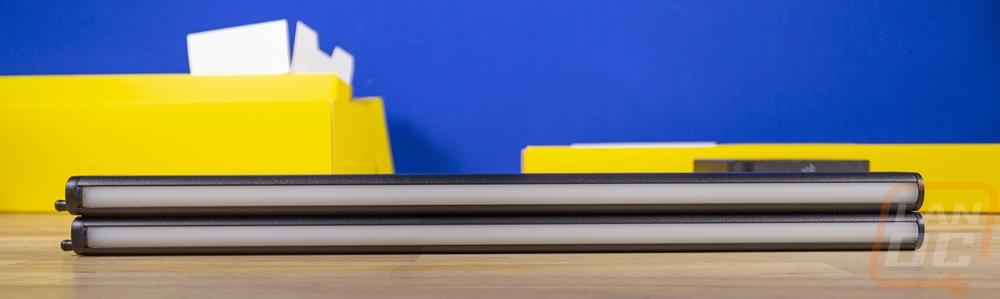
Here are two of the towers after being put together. I have one with the lighting facing the front and the other facing the back just to show that both options are possible.

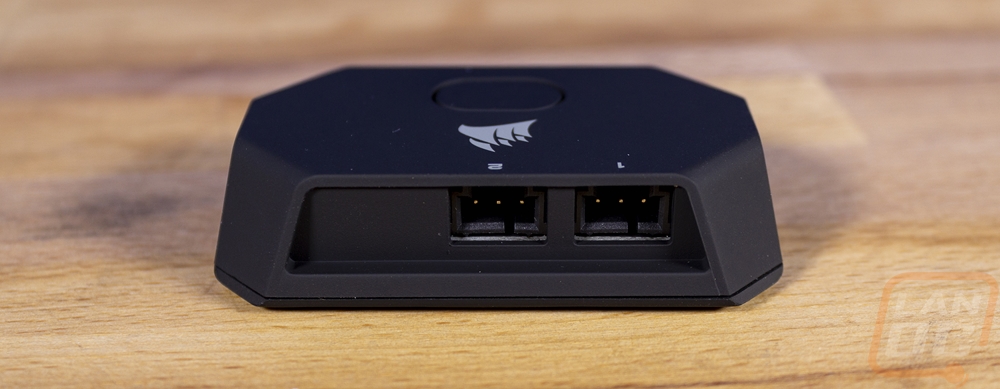
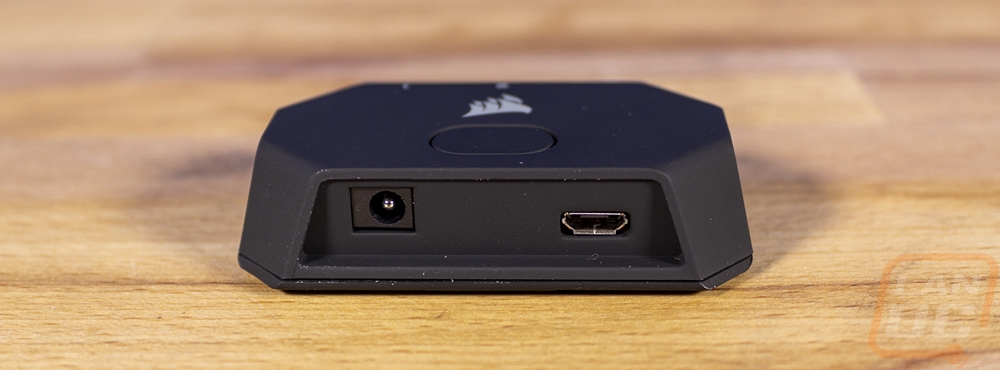
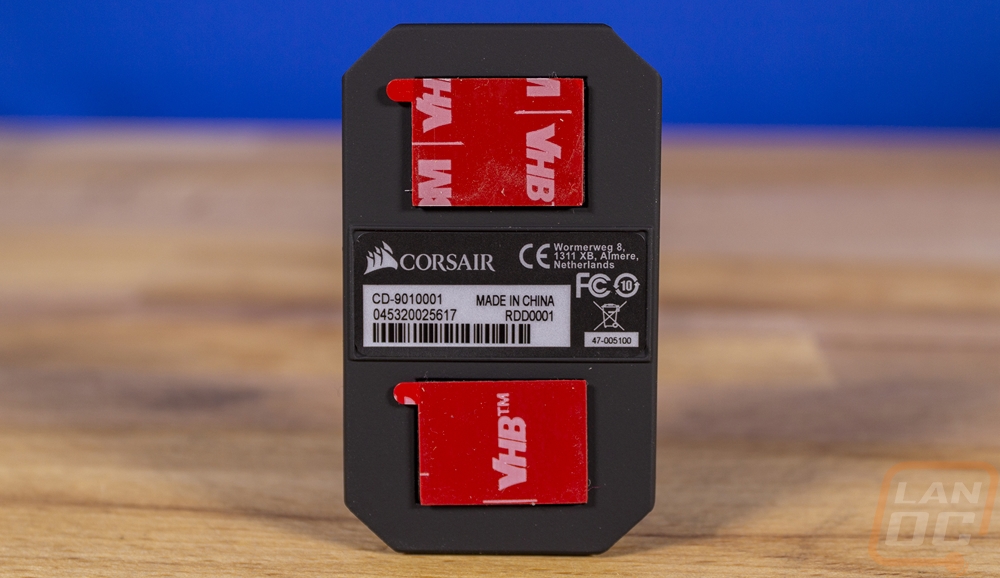
Now the LS100 lighting which is designed to mount on the back of your monitor is a little closer to a traditional LED lighting kit, at least when you compare it with the LT100 towers which are unique. With that, the main controller for the LS100’s is a lot more like what you would find inside of a case. It is small and on the bottom edge, you have a DC power plug and a Micro USB plug just like the LT100. There is a button up on top along with the Corsair Sail logo. Then on the top edge, it has two plugs for two different channels of lights. The plugs are 3 pin, just like addressable LED lighting inside of a PC. In fact, this is the same as the Corsair Node Pro which controls four sets of addressable lights has two-channel connections with three-pin connections and has power and USB on the bottom. The bottom of the controller has two double-sided sticky tape pads to attach it and a sticker in the middle with the certification logos and a serial number and part number.
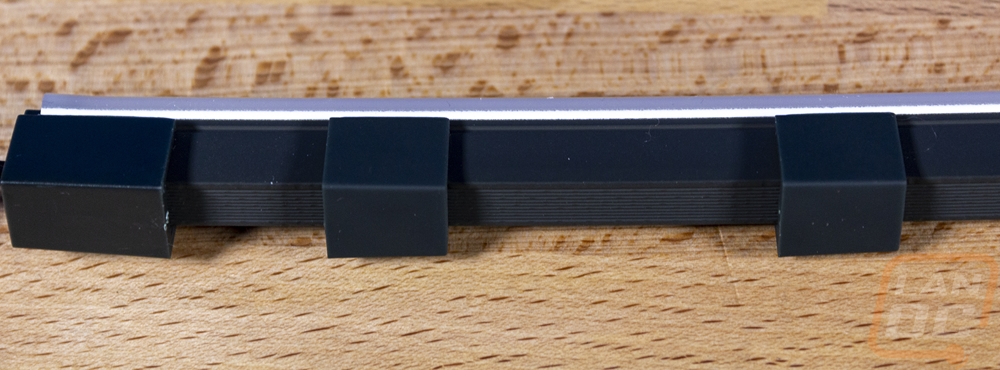
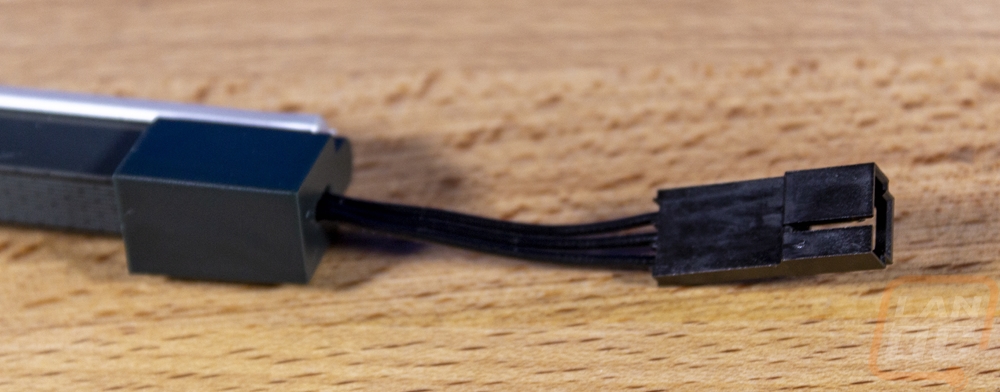
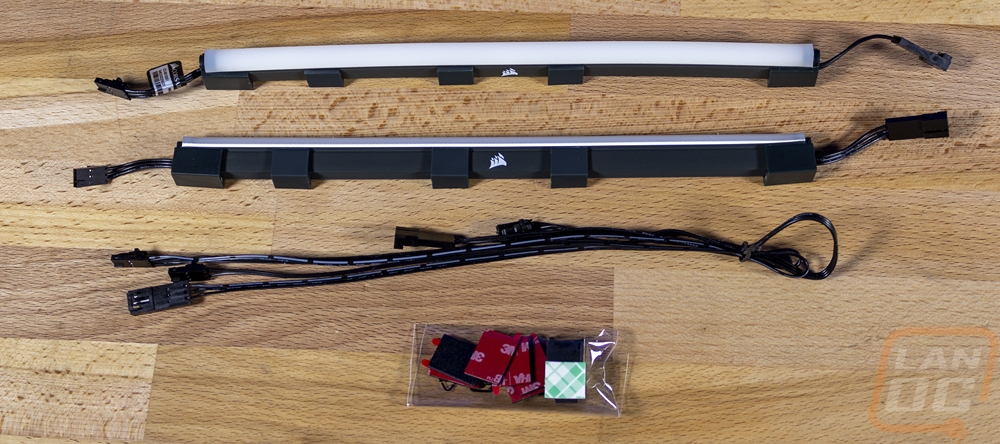
The LED strips that come with the LS100 are a little different than your in PC strips. These are significantly thicker and have that thick rubber diffuser on the lighting edge just like the TL100 towers have. Then running down the strip there are movable rubber clips with magnets in them to attach the lighting to your monitor. Most monitors are plastic, so to help with that you also get a small bag of metal tabs with double-sided sticky tape on them. This makes the lighting removable, even after you have added the mounting pads. All of the LED strips have connections on both ends. They are the 3 pin, just like on the controller and they pass through to the next strip. Corsair also includes extender cables that can be used between strips on large monitors/TVs or can be used to extend the length that goes to the controller. As for the light strips, you get four. Two are a shorter 250mm length which have 15 addressable LEDs in each LED strip and then two 450mm strips with 27 addressable LEDs in each. The idea of course is to have the wider at the top and bottom of a monitor and the shorter on the sides.

Here are the two LS100 expansion kits. They are extremely simple. You can get the 450mm or 250mm length LED strips. Both then come with two long extension cables and their own set of the metal mounting pads with tape on the back. You need both kits to have a full set to add an additional monitor. I couldn’t find any information on the Corsair website about limitations, but the iCUE software does limit each of the two channels to 8 strips in total. But I am unsure if both can be maxed out like that at the same time with the 5 amp power wart that the Starter Kit comes with. I know a WS2812B kit can use up to 2.9 amps for 60 LEDs which makes me think that 16 of the longer 24 LED strips wouldn’t be possible. But there would be a little bit of headroom over the standard two short and two long which get you 84 LEDs in total.
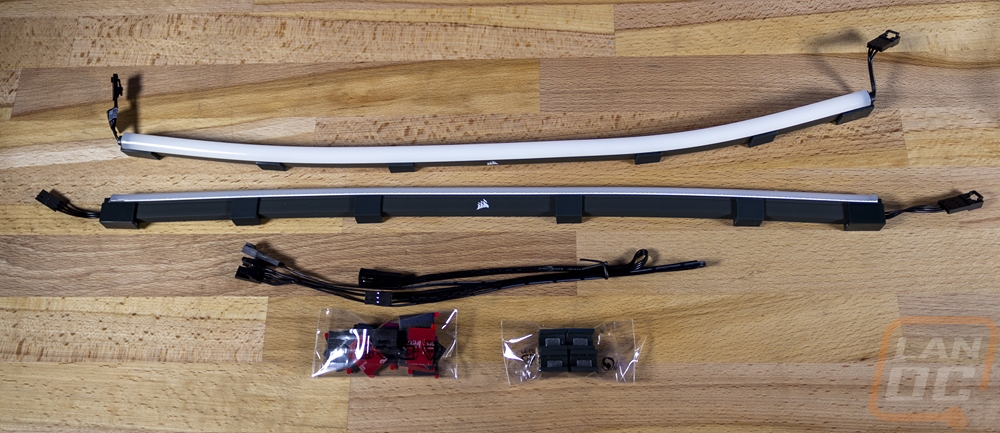
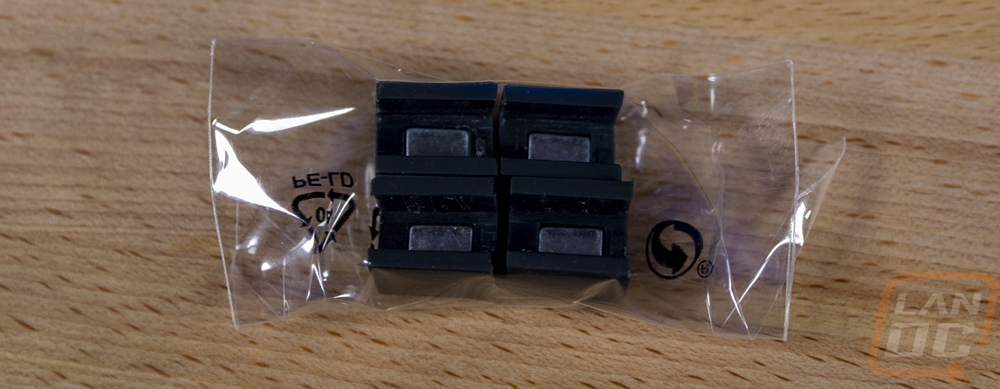
Here is a look at four extra mounts that are included with the longer expansion kit. You can see the magnets built-in down at the bottom.