Software
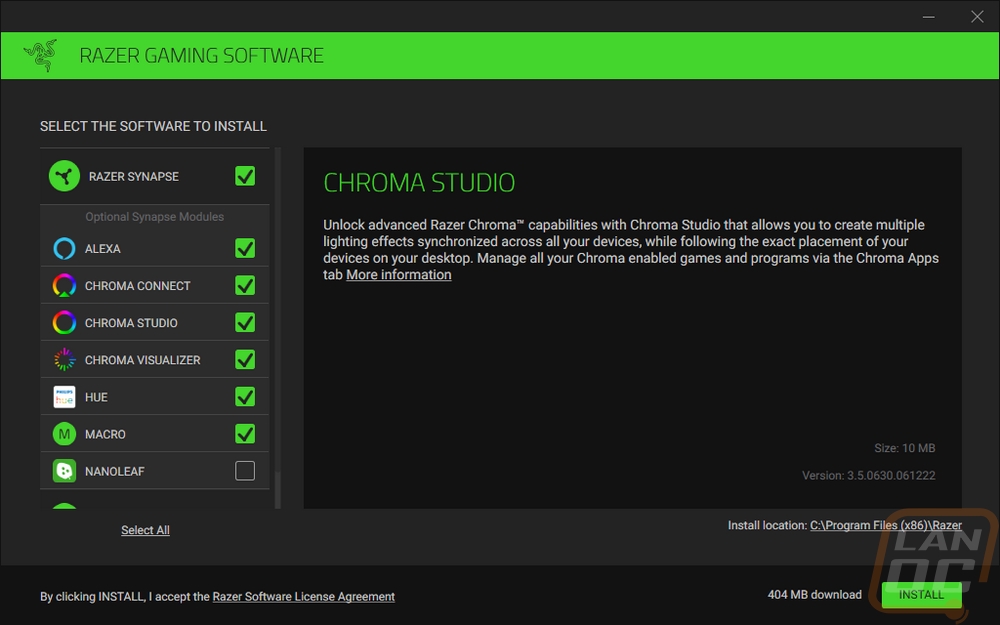
It’s been a few years now from the last time I’ve taken a look at Razers Synapse software. I’ve always liked a lot of what they have been doing, but like many things like requiring me to log in and needing a restart after installing were always a huge pain. So unlike with a lot of my other software run throughs, today I am starting at the installation because it was obvious right away that Razer has made changes just by the screen that popped up when I started asking me to select the optional modules to install. They have extra modules for things like Hue lighting, Nanoleaf wall mounted LED accents, and Amazon Alexa. I was able to deselect a few options that I don’t have any need for which is great. But I can see why even without a few things selected the install size was 404 MB which is HUGE for software for a peripheral.
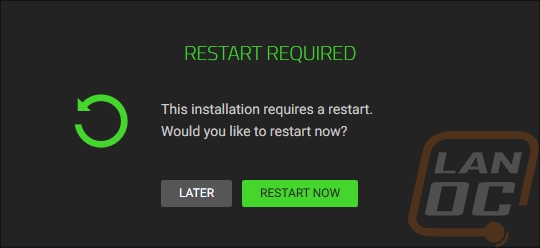
Once installed I was bummed to see a restart required screen pop up, so many programs don’t require a restart and frankly, I only restart my PC around once a month. Closing things means closing windows that I kept open as a reminder of something, then going through updates and making sure to get things opened back up after. Thankfully the software worked just fine without the restart even with the warning.
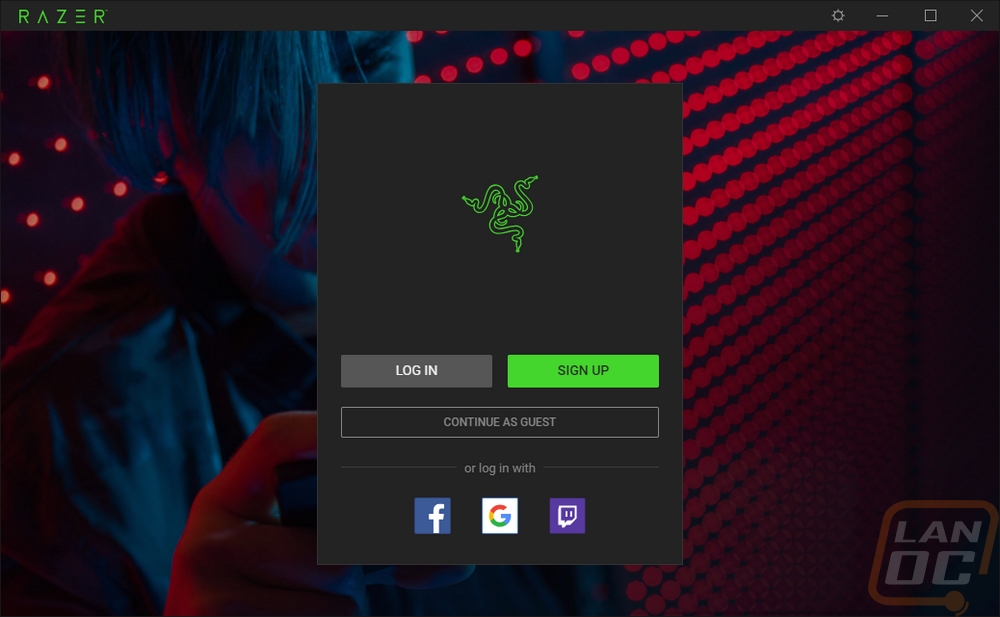
Another big change was the continue as guest option. You can also log in using a few popular services like twitch, google, and facebook. But now they have made it easy to see that you don’t have to sign in if you don’t want to. When you select this, they do warn you that you lose cloud saves and similar functionality. But for me, I prefer this. Having a Razer laptop, when I change things on another Razer keyboard somewhere else I don’t like coming back and my laptop having a new color setup. Windows does this as well, which is a whole other level of frustration when it comes to backgrounds. Unless you want the same on anything you log into. But a big improvement here.
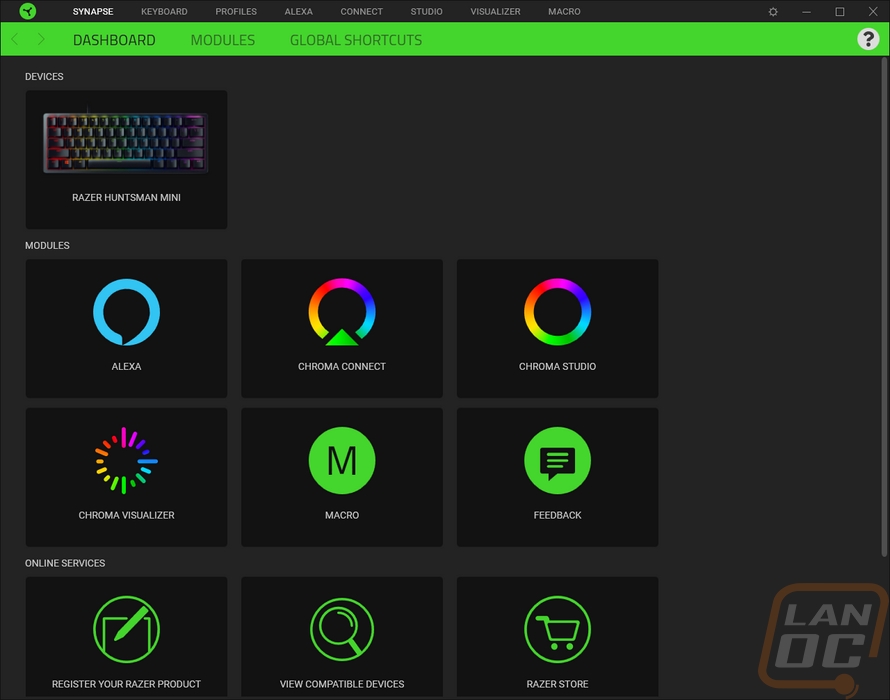
So your actual landing page lists off all of the Razer devices you have installed with pictures. Then below that, you have all of the modules installed as well. This lets you dive into whatever you need all on one page. Then up top, a few modules are included in the top menu as well.
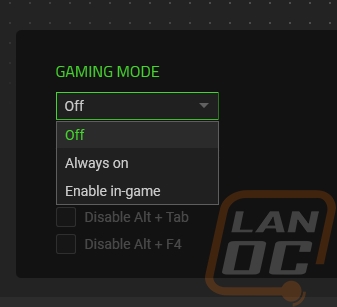
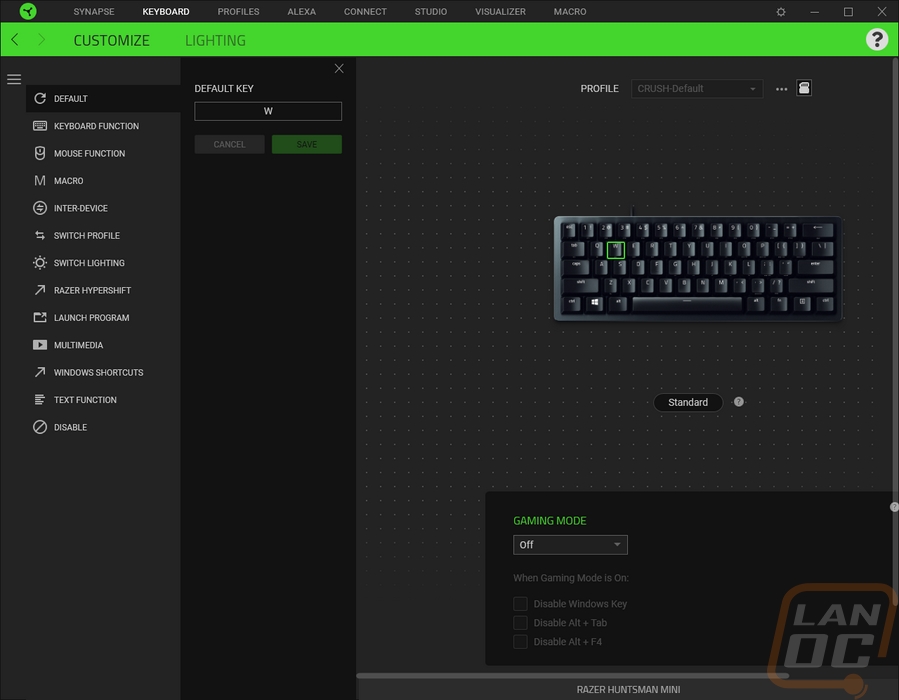
The Huntsman Mini page is surprisingly simple after coming from that packed home page. You have a small picture of the keyboard. Then down at the bottom, you can turn on the gaming mode including selecting which keys are disabled or you can even set gaming mode to only be on when in a game. You also have a link to the Microsoft keyboard properties page over on the right. Up top, you can pick between your profiles if you are logged in. You also can select between standard and hypsershift modes which are the regular keys and the function layer only with a more “gamer” name.

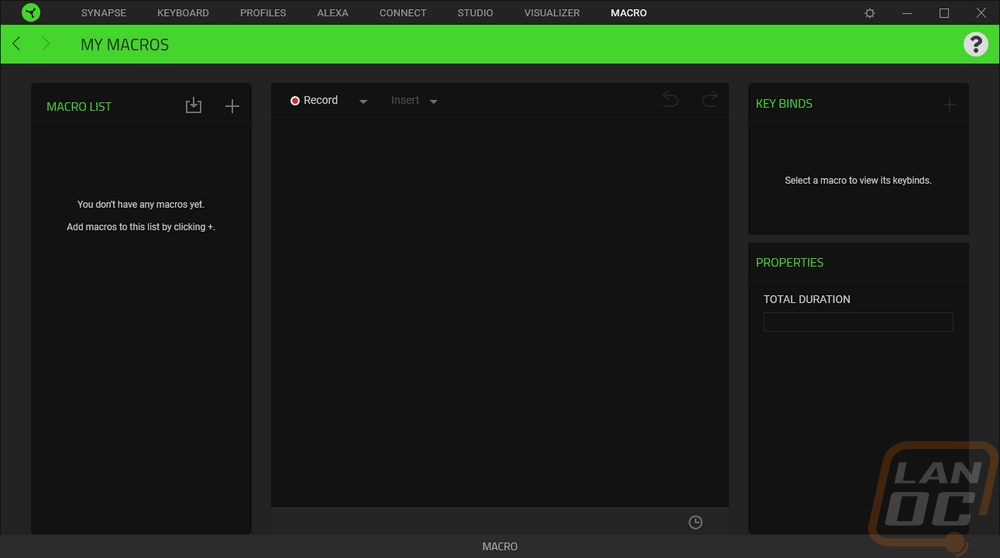
When you click on any of the keys of the keyboard you highlight that key and you can go in and change all of its functionality. This might seem weird with the main keys but when it comes to the function layer there are a lot of unused keys. This means all of those can be programs with different functions from opening programs, macros, changing lighting, opening media files, and more. As for macros you can use the macro tab up top to record completely new macros and change already recorded macros.
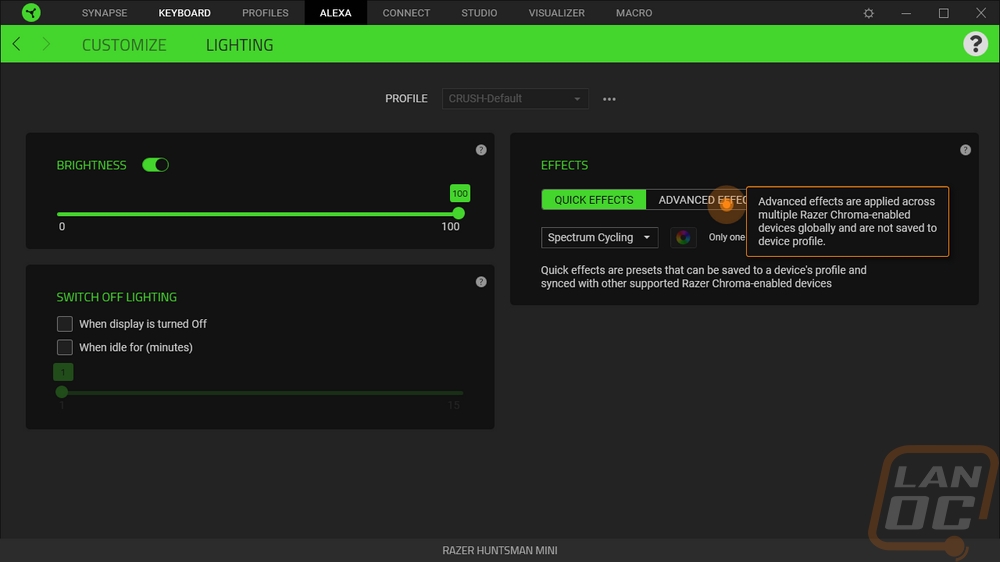
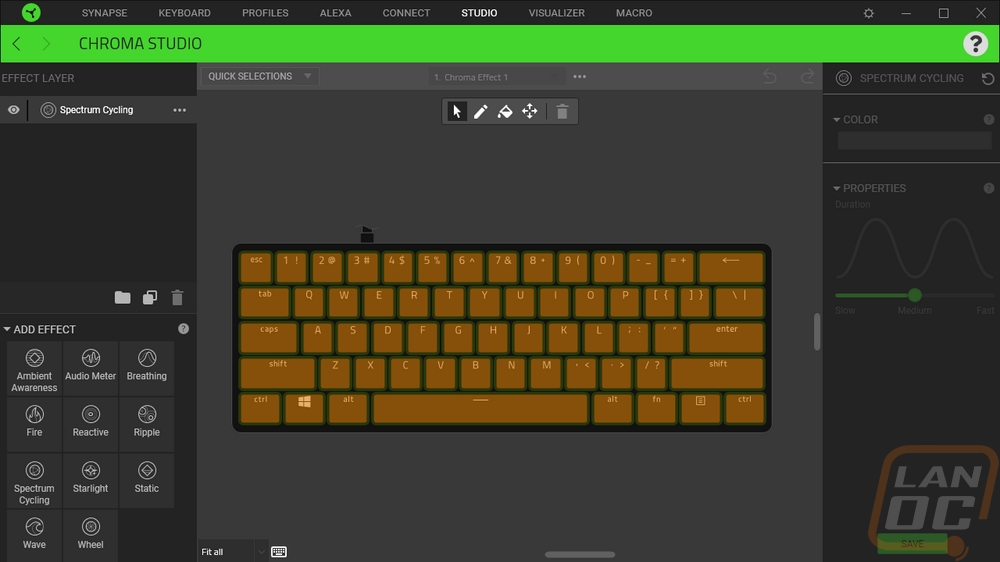
Now the lighting page starts off with the brightness adjustment which lets you turn the lighting off of select anything from 1-100. You have options to turn the keyboard lighting off when your PC is idle or the monitor turns off which is nice. Then over on the right are the lighting effects. There is a quick effects option which has a drop-down list of common effects. Then you can go to advanced which just prompts you to open up chroma studio. This isn’t as simple as some keyboards but once you get in the studio there is more functionality than most also have as well. The studio gives you the keyboard, then on the left, you can select different effects. Each can be programmed in more detail and they can all be set to different keys by clicking or highlighting them.