If you have been a LanOC reader for a long time there is a good chance you have seen a few tiny keyboards being covered. This is because I have been a big fan of the 60% keyboard for years now and I use them in both my wife and my own LAN bag as well as with my test bench as a way to save space on my already crowded desk. Sadly though the 60% keyboard options have been limited to enthusiast-focused options which are sometimes expensive or hard to find. Cooler Master did finally jump into the 60% market with their SK621 but with its low profile switches and keycaps, it wasn’t what I prefer. So I was extremely happy to see another huge name in the peripherals market announce a 60% board. Razer introduced their Huntsman Mini which has a layout similar to the Pok3r that I prefer. I’ve been using the Huntsman Mini and today I’m going to take a closer look at the board and talk about my experience with it so far. Let’s go dive in!
Product Name: Razer Huntsman Mini
Review Sample Provided by: Razer
Written by: Wes Compton
Amazon Affiliate Link: HERE
|
Specifications |
|
|
Switches Available |
Razer Linear Optical Switch Razer Clicky Optical Switch |
|
Colors Available |
Black and Mercury |
|
Key feel |
Light and Instant |
|
Size |
60% |
|
Lighting |
Razer Chroma™ customizable backlighting with 16.8 million color options |
|
Wrist rest |
None |
|
Onboard memory |
Hybrid onboard storage – up to 5 profiles |
|
Media keys |
None |
|
Passthrough |
None |
|
Connectivity |
Detachable Type-C |
|
Keycaps |
Razer Doubleshot PBT Keycaps |
|
Others |
100 million keystroke lifespan Standard Bottom Row Layout Aluminum construction 60% Compact form factor Detachable USB-C Braided Fiber Cable Hybrid onboard storage – up to 5 keybinding profiles Onboard lighting presets Razer Synapse 3 enabled Fully programmable keys with on-the-fly macro recording N-key roll-over with built-in anti-ghosting Gaming mode option 1000 Hz Ultrapolling |
|
Warranty |
2 Years |
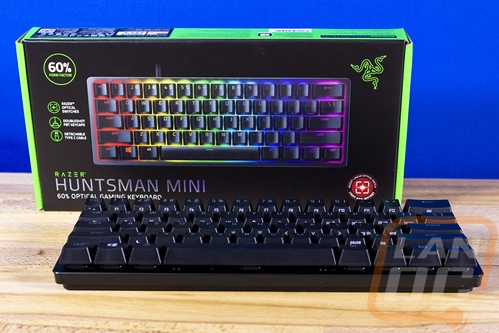
Packaging
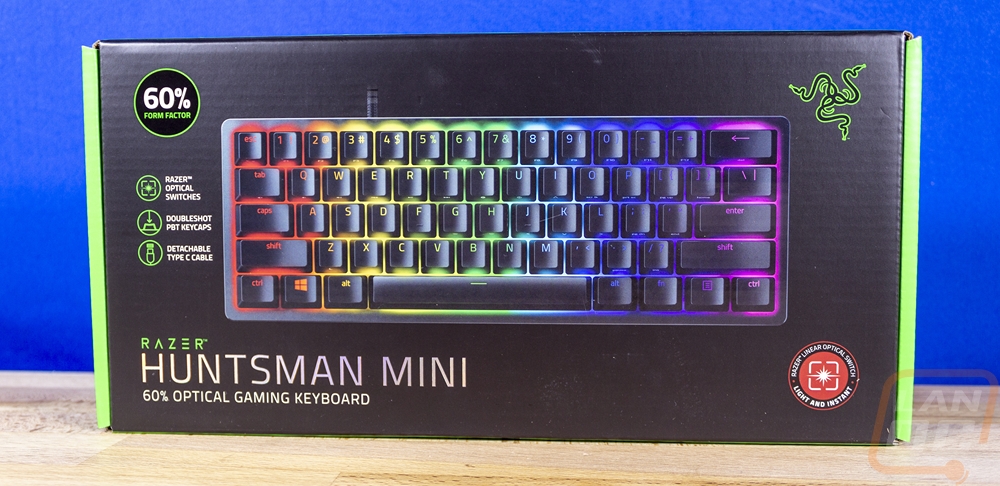
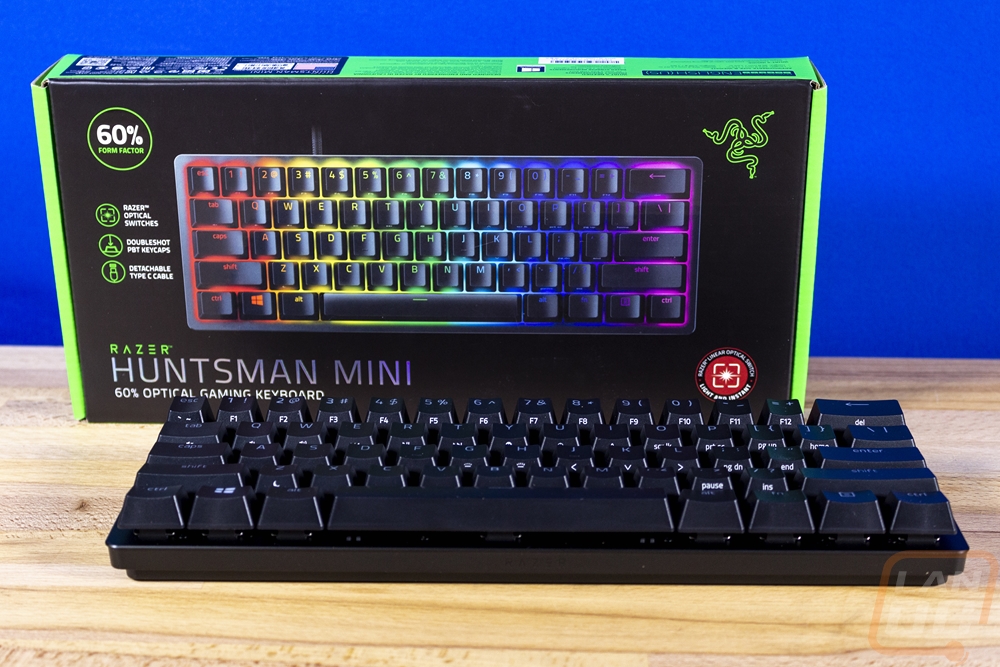
Razer has the Huntsman Mini in a box appropriately sized for the 60% keyboard which at retail also helps show just how small the keyboard is. On the front, they have the typical Razer green accents on the sides with a black background. Then the keyboard with its lighting all lit up takes up a majority of the rest of the front. The model name is the largest font making it easy to spot with Razer's name above that as well as their logo in the top right corner. They do touch on the optical switches, PBT keycaps, and the detachable Type-C cable with small notes next to the picture as well as the size with it noted under the model name and a sticker as well. Around back they have another picture of the keyboard but from a different angle which also has a line drawing overlayed in the center where they highlight the PBT keycaps. The optical switches and cable are talked about again, this time with photos and they also list out the onboard lighting effects available.
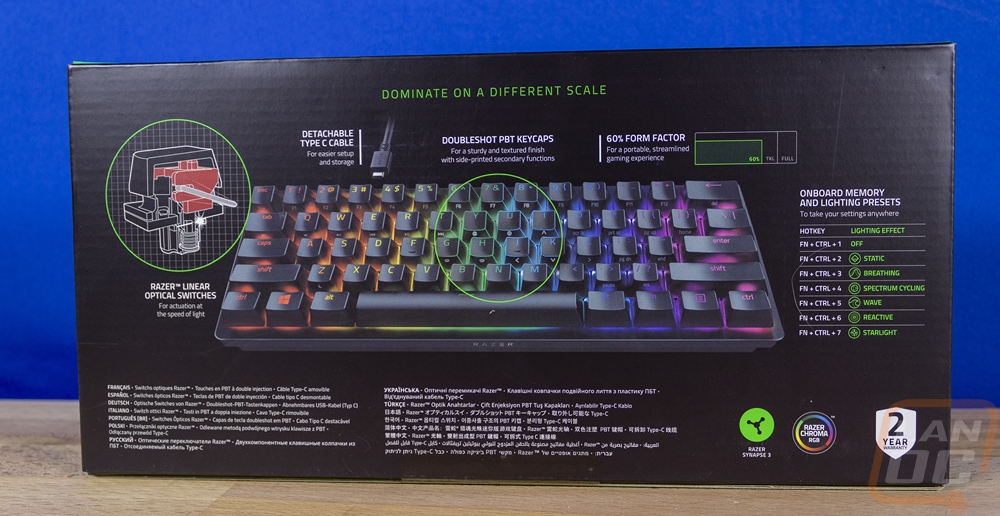
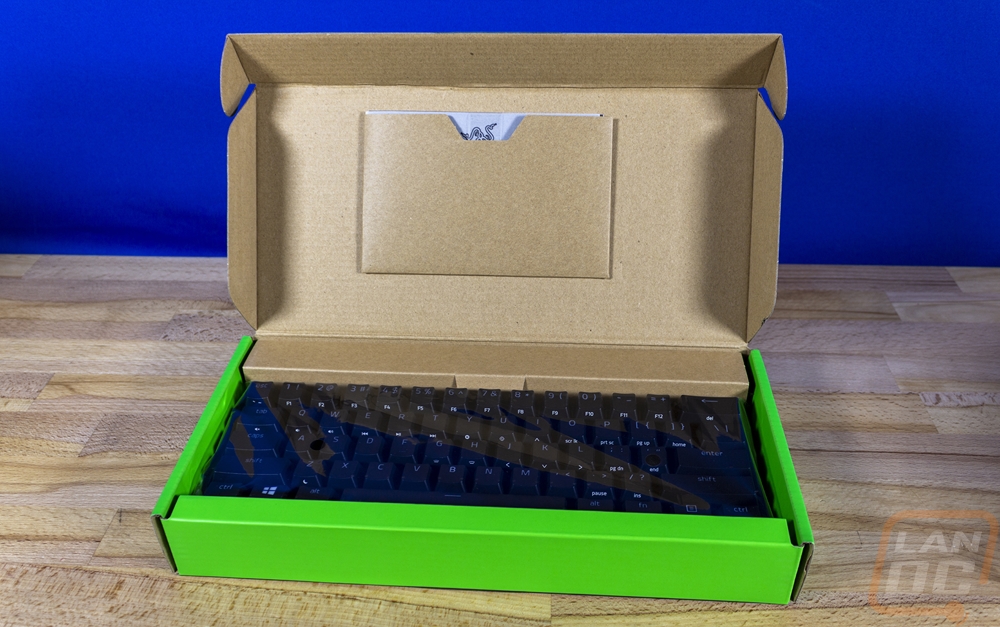
What was a big change for me was when I opened the box up. Normally Razer has the full interior blacked out and they feature everything inside. But the brown cardboard reminds me that Razer has put a big focus on sustainability which cutting back to have more easily recycled cardboard and less packaging helps. There is a pouch with the documentation on the lid then the keyboard comes wrapped in a clear plastic and the cable comes up under the pull out cardboard at the back of the box. The cable also comes bagged up as well.
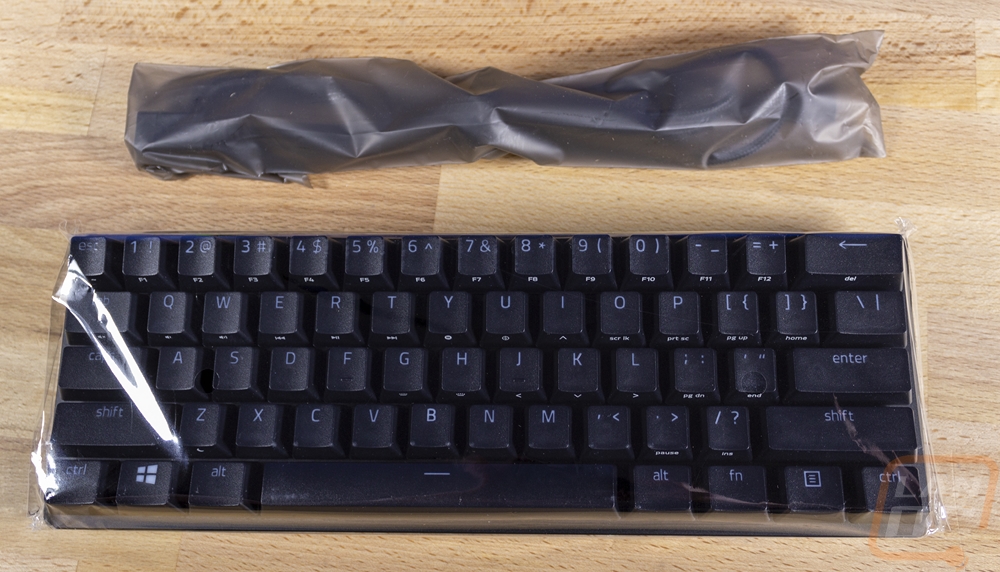
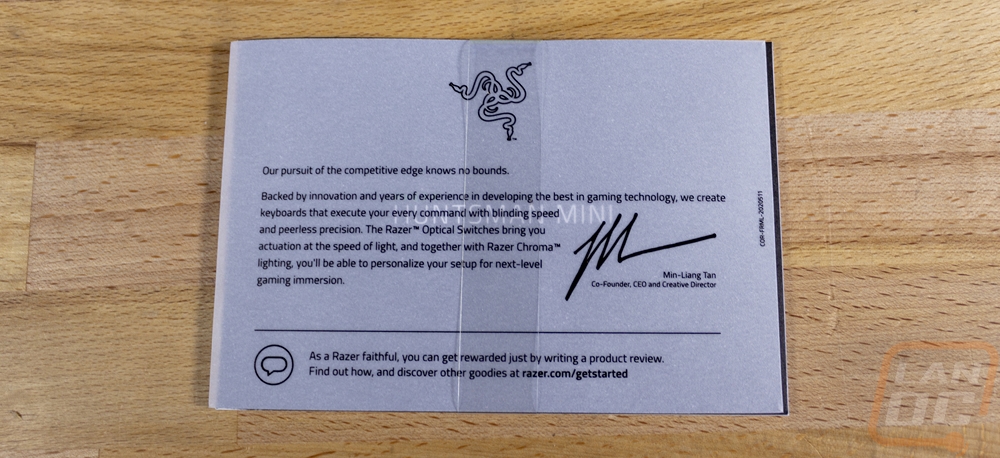
For the documentation, there is a translucent paper with a note from the Razer CEO and then you have a small user guide which touches on installation and software.
Photos and Features
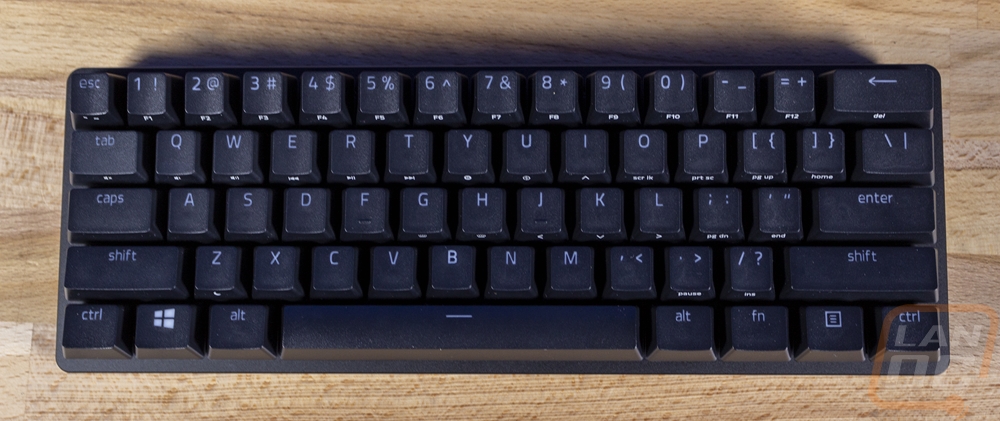
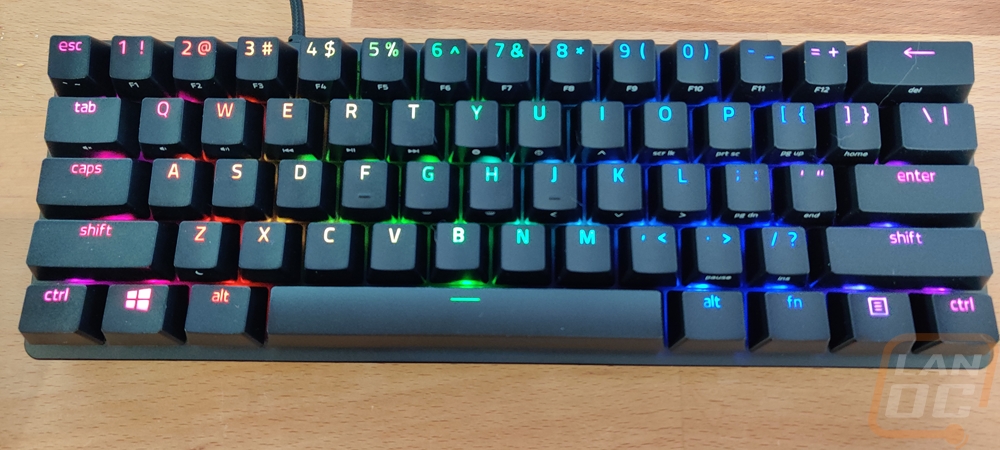
So if the packaging pictures of the Huntsman Mini weren’t an indication. It is a very small keyboard, coming in at 11 and a half inches wide, four inches tall, and an inch and a half thick at its tallest section. Now if you have ever seen, had, or used a 60% keyboard none of this will be a surprise at all. But I still suspect that given Razers reach which is well beyond even the gaming community, let alone the smaller nitch enthusiast keyboard community that a 60% keyboard is more comment, that a LOT of people will be surprised with its size. Basically what a 60% keyboard is just another step beyond a TKL or tenkeyless keyboard which drops the number pad from a normal full-sized keyboard. For the 60% though they go beyond that and they take out the F key row at the top and the direction pad and keys above it giving you a total of 62 keys. Razer also kept things small by keeping the bezel around the keyboard small as well with it coming in around 1/8 of an inch thick. Now I will explain here in a minute how things work without those keys. The ultimate goal however is a smaller footprint, especially on the right side of your keyboard where a majority of people use their mouse. The keyboard being smaller means low DPI players have more room. It also gives fans of simple clean desks a minimalist look, people at LAN events, or with small desks gain room they wouldn’t normally have, and if you are like me they are perfect if you have more than one PC at your desk for a second keyboard. The Huntsman Mini that I am testing is black, but it does come in Razers mercury color as well which is a white and silver combination.
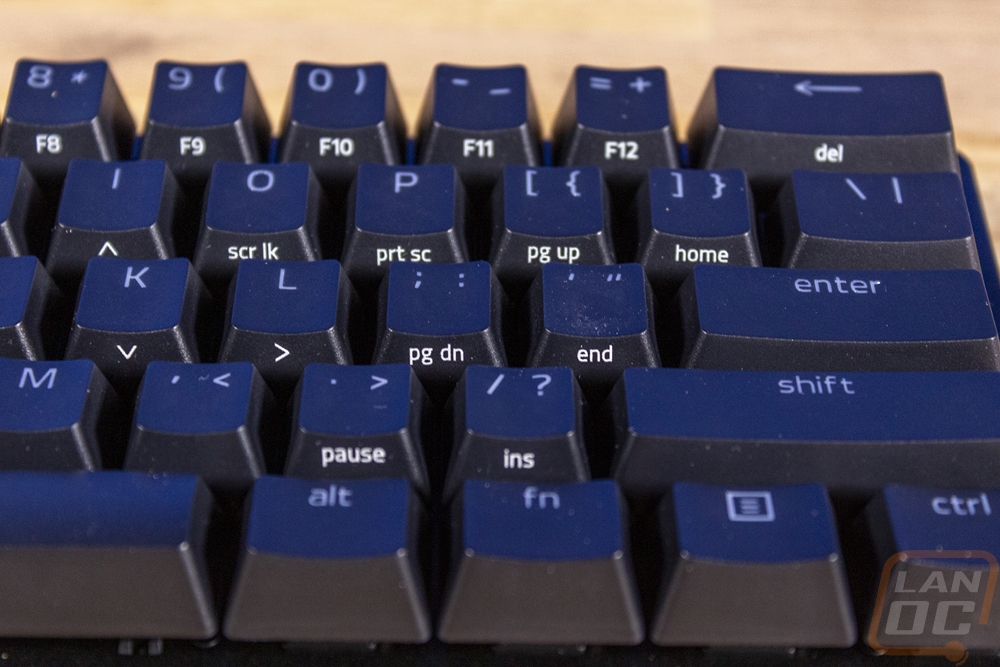
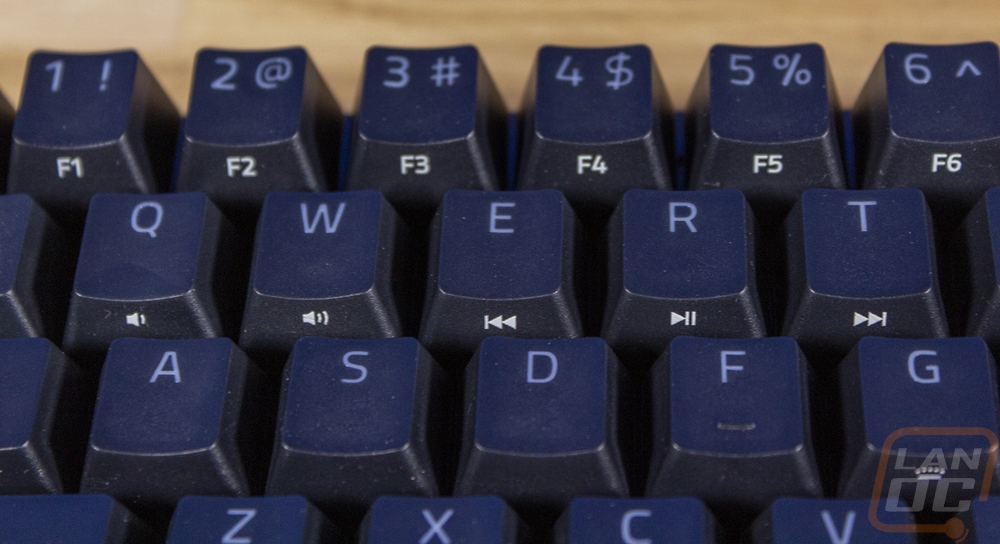
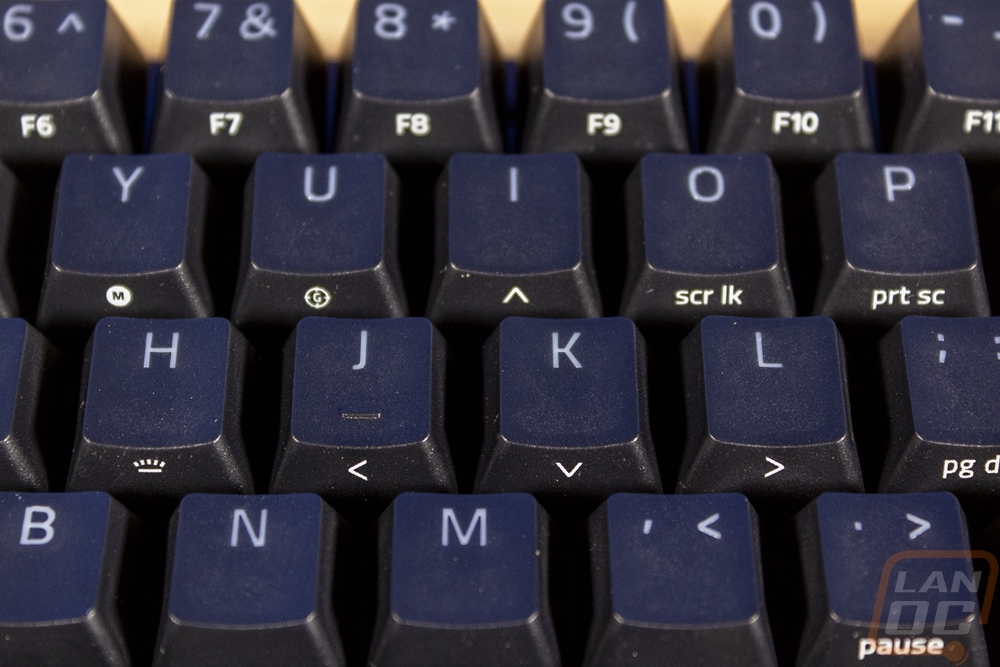
So how do you drop the entire F key row, the direction pad, and even things like the delete button and print screen? Surely you need those right? Well for a lot of people they rarely get used. If you use any of those ALL the time then this isn’t going to be for you. A big example of that is the direction pad, if you use it for games you like this may be a no go. The same goes for the number pad, if you need it for inputting a full-size keyboard is still the best option for you. This is why I still use a full-sized keyboard as my work computer, inputting test results into graphs sucks with the top number row. So how do you still get things done without those keys? The short answer is you don’t. The Huntsman Mini still actually has all of those functions, you just have to access them through a function layer. This is just like when you hold shift to get capital letters, we don’t have keyboards with two sets of letters just for that. You hold the Fn key which is in the bottom row two to the right of the space bar and then press the key you need. Razer is nice enough to light up the function keys and dim the others when you press it to help and then each key has a function legend that is printed on the under edge of the keycap. You can see the F keys are all of the number keys which is easy to remember. Delete is Fn and backspace, and even the direction pad is there with IJKL and the function button. They also slipped in normal extras like media controls over in the QWERT area including volume as well. Once you get used to everything it isn’t nearly as complicated as you might imagine. It also helps that most of these are the same on past 60% keyboards like the Vortex Keyboard Pok3r which I reviewed 4 years ago.
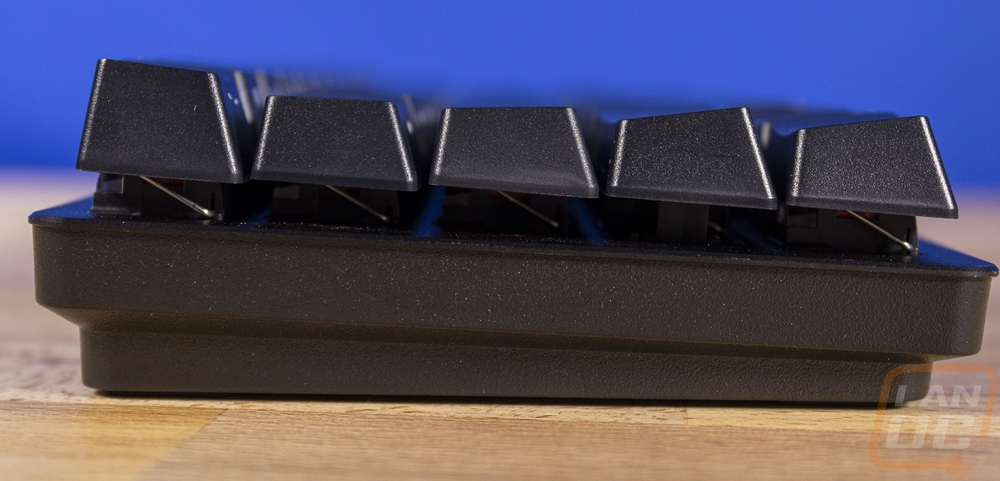
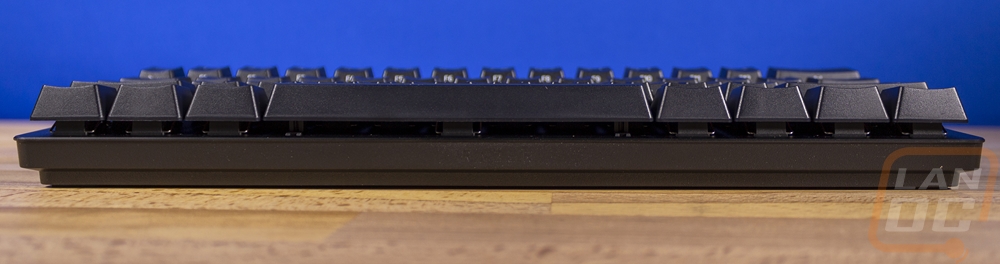
As for the overall profile of the Huntsman Mini, I was really happy to see that they went with a traditional layout. Meaning full-sized switches and keycaps that are profiled depending on the row to angle up near the bottom and down at the top. When Cooler Master brought out their 60% I was excited for it, but the flat keys and low profile just weren’t for me, though it is very portable. Razer going this direction is good, adding 60% into a mainstream lineup rocks the boat as it is. There is no need to change too much else with the norm. The side profile also shows that the case bezel doesn’t come up over the side of the keycaps leaving the side view open and it open for easier cleaning as well.
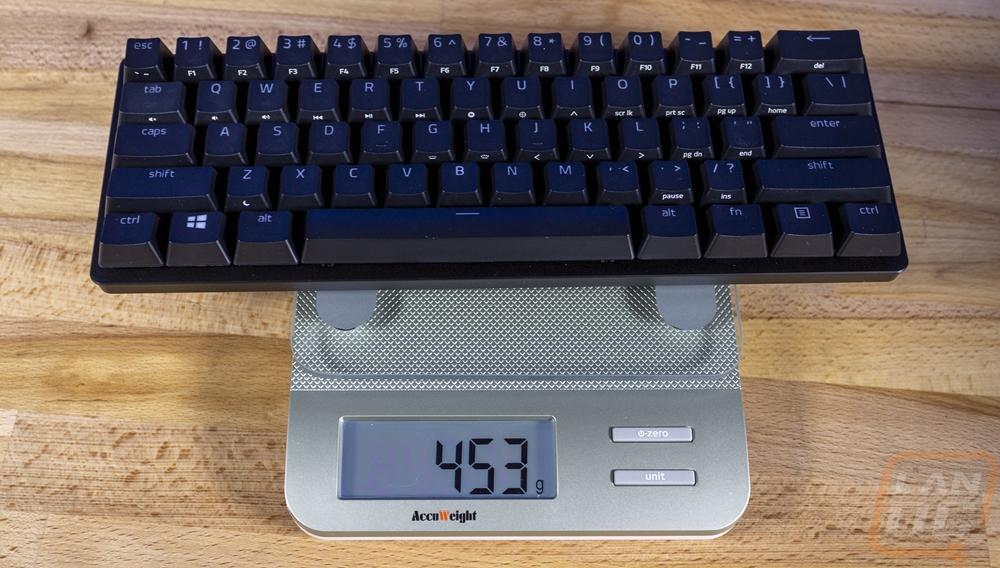
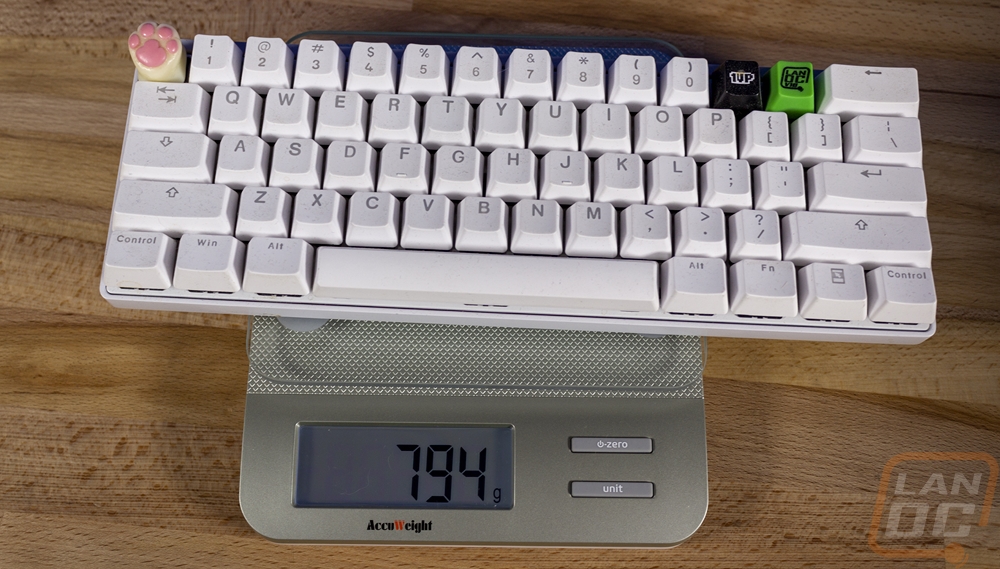
Now the Huntsman Mini has a plastic case as well as a plastic backplate which from a durability and stability standpoint I’m not a huge fan of. Our Pok3r for example has a proper metal case and backplate and you can see the huge difference in weight below. The pok3r feels much higher quality because of its extra strength and weight and it feels like it is less likely to move around. On the other hand, the lightweight of the Huntsman Mini also means it won’t add as much weight to your LAN bag or your backpack if you take it with you to places. Changing the weight from grams to pounds may help us Americans to understand the difference. The Pok3r comes in at 794 grams or 1.75 lbs where the Huntsman Mini is 453 grams or .998 (basically 1) lb. For reference, the LG Gram laptop comes in at 2.2 lbs total.
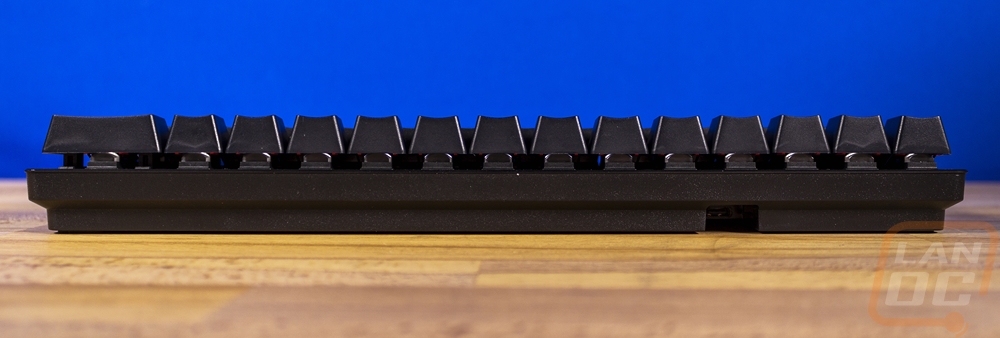
So looking at the top and bottom edges don’t give to much information about the keyboard. The plastic case is visible and you can see that it does get smaller down below the keys. There is also no Razer branding slipped in. There is just one gap along the back edge which is for the detachable cord. The top is thicker to give a default angle to the keyboard.
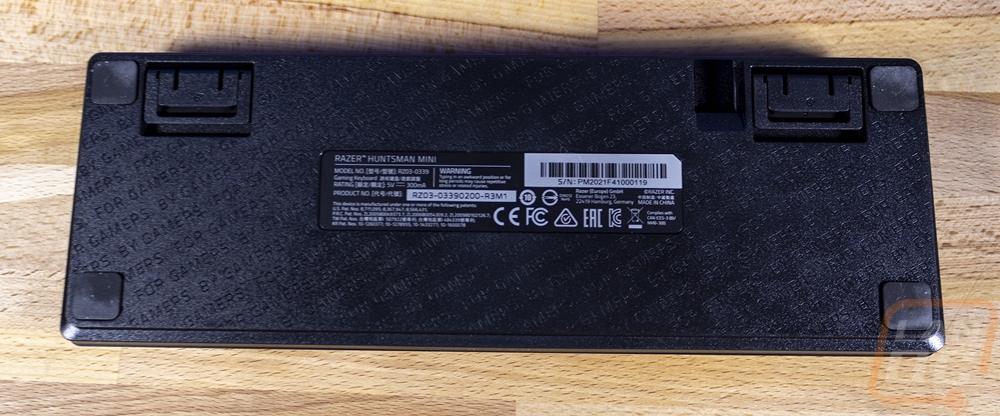
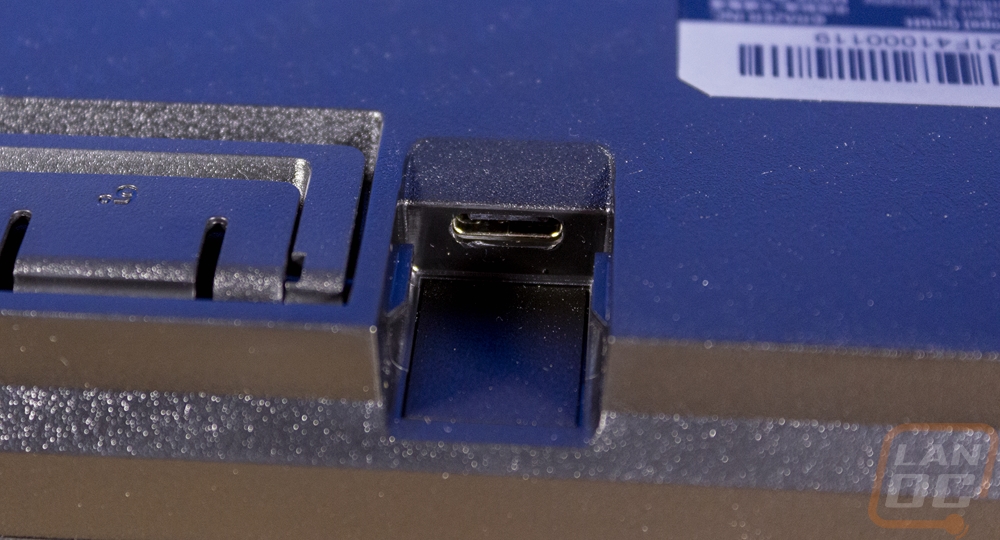
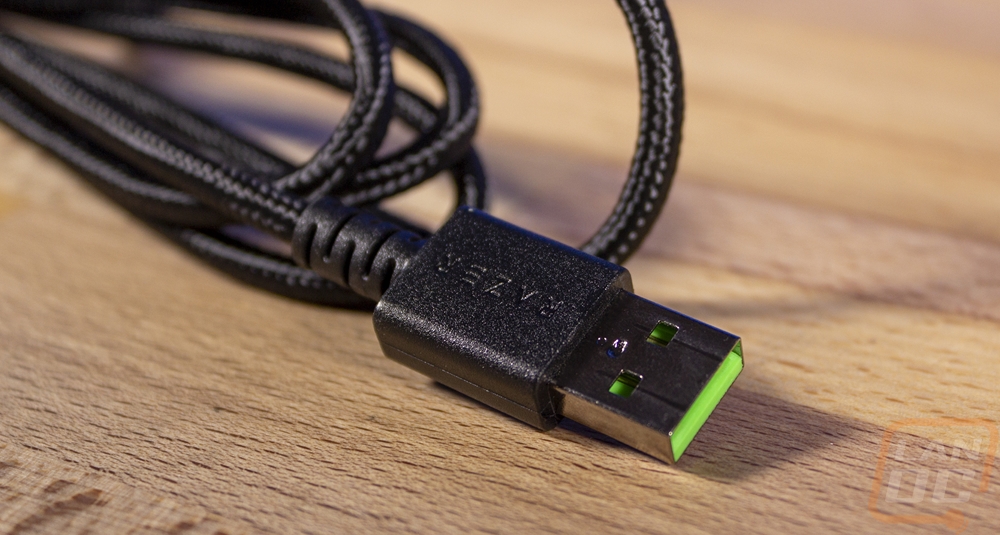
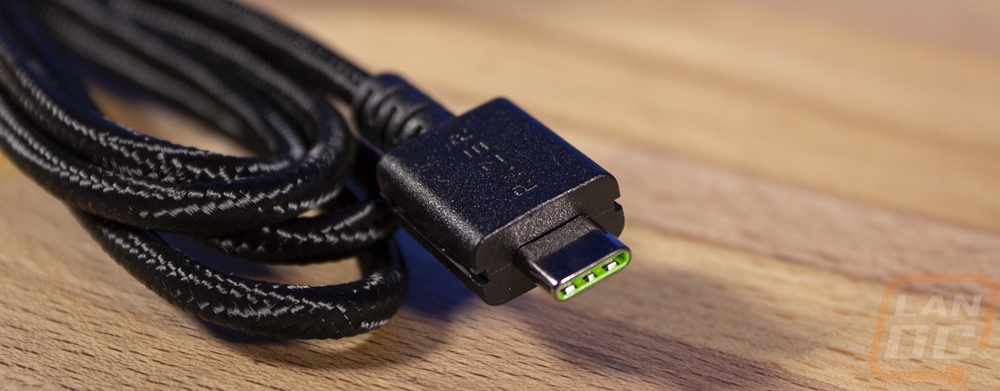
On the bottom, the entire bottom is plastic and has “For Gamers by Gamers” which has been Razers moto forever debossed into it. The center has a sticker which of course has all of the required certification logos and your model and serial number information. They also include the model name and fine print like warnings. Each corner has a half-inch square rubber foot for traction to keep it from moving around. Then on the back edge, there are two flip-out feet which look like smiley faces. They are double flip out to give you two different height options and they both have a thin rubber foot on each. At the back edge, there is also a hole where you plug in the detachable cord. Razer went with a USB Type-C connection which I love simply so you don’t have to worry about which way you plug it in. The opening is spaced perfectly for the unique shape they went with for the cord which would normally worry me that they were trying to make a proprietary cable. But it is wide enough that if you want a standard sized Type-C cable would work. Meaning you can replace this on the cheap if you damage it or you can resleeve it for a custom look. The proprietary connection is there for the plug to be tight and to not damage the type-c if it gets pulled on which you can see the tabs that help hold it sticking out.
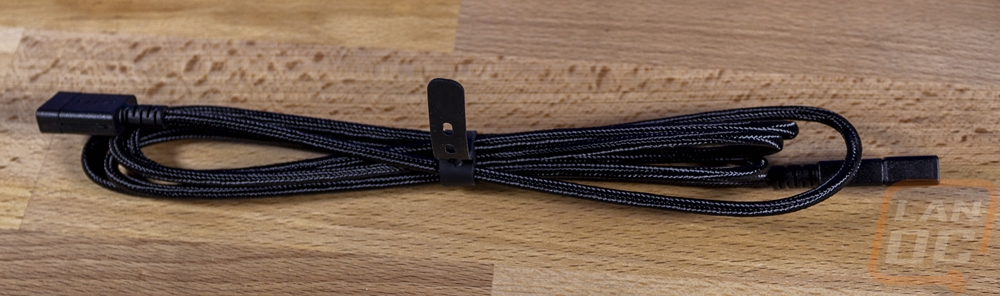
Speaking of the cord, it is interesting that it ships with both ends having caps on them. It has sleeving on the entire length of the cord as well as a silicon strap that comes attached that you can rewrap the cord up for transport or to hide extra length. The plug ends both have the Razer logo in them and they even went with green inside both plugs. I’ve seen custom colors on the Type-A connection but never on the Type-C. I like the label and color because it can help you figure out which cable is your keyboard when behind your PC.
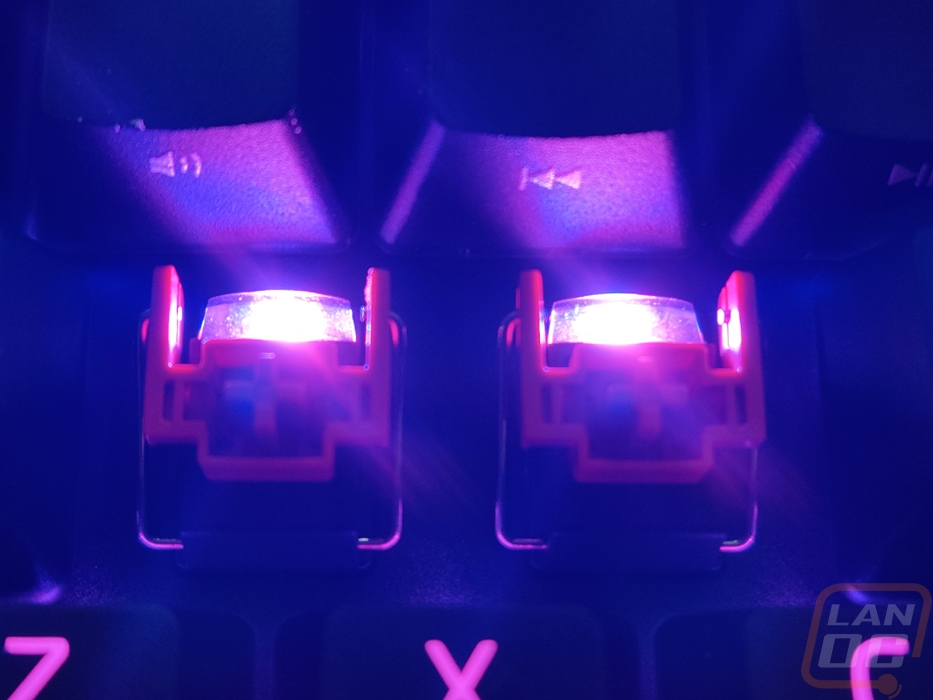
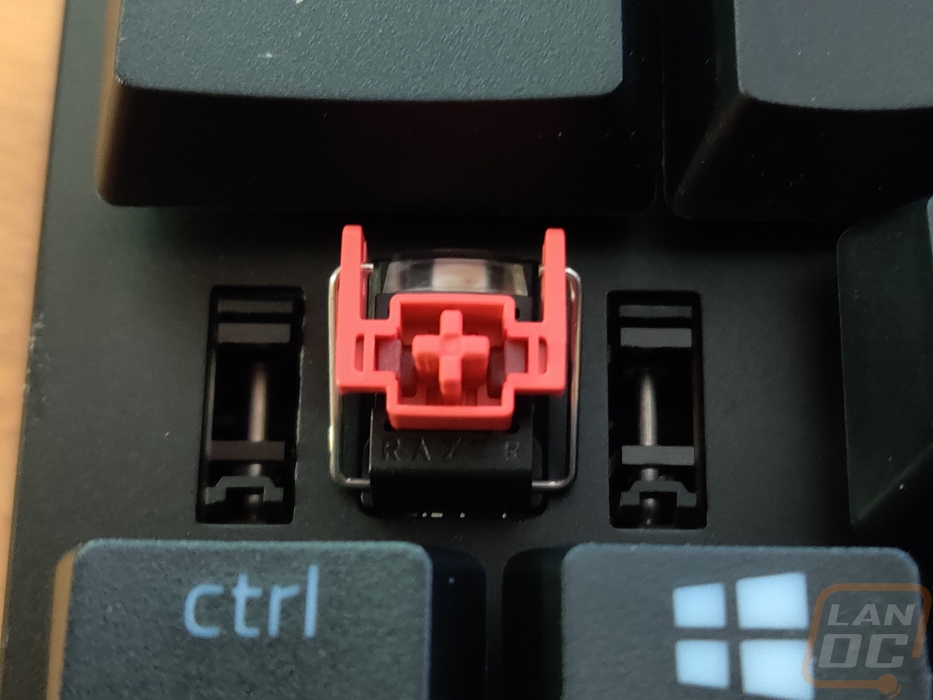
Now for the switches, I) haven’t taken a look at a Razer keyboard for a while. These are their Razer branded linear optical switches. I’ve had a few optical keyboards in the office so no big surprises there. But there are a few things going on here that I like, they aren’t all Razer exclusive but they do tell me what they have been focusing on. For starters, they all have stabilizers built in which help with wobbling that a lot of optical switches get. The same goes with the overall switch design which has a boxed top which then helps with twisting. They of course have their Razer branding down at the bottom, then up top is the light diffuser for the RGB light that comes on the PCB. They also have a clicky version as well. I’ve heard and these look like the Light Strike MJ3 switch. If you look closely though on the left and right side of the mounting cross are rubber pads to help dampen things. One of the big features of this design is that the switch does still use that cross for keycap mounting so Cherry MX support is there. Combined with a traditional layout means this is a Razer keyboard that can take a standard keycap set.

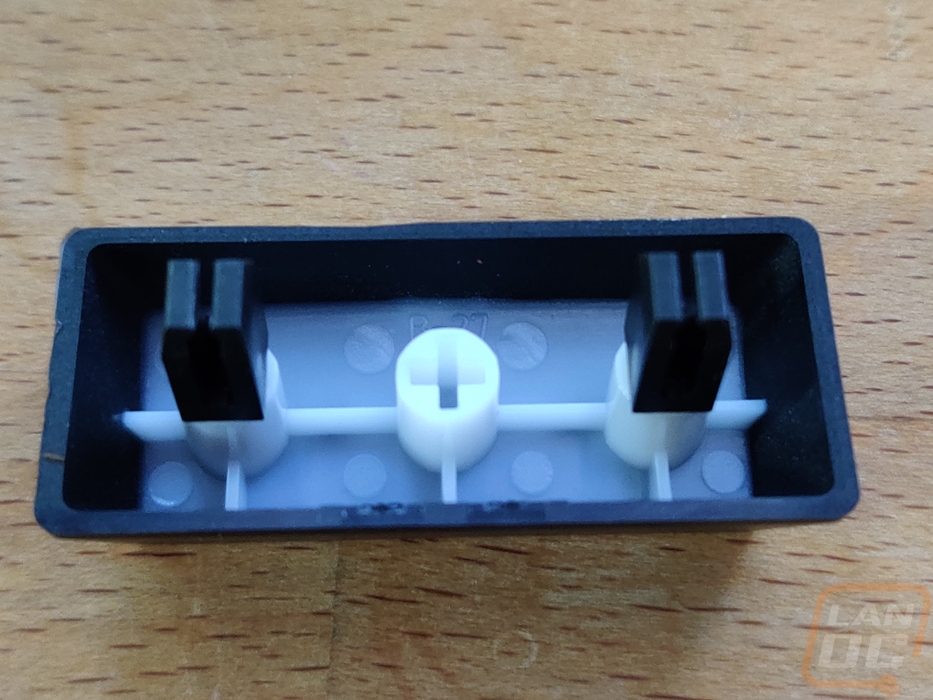
For stabilizers, the stabilizers are inside of the keyboard, up under the backplate which is similar to a Cherry stabilizer. But unlike a cherry, the stabilized keys do still use plastic clips. Only this design is simpler and you never have to fight with rehooking the stabilizer bar. They plug into the PBT keycaps, that’s right RAZER is using PBT plastic which holds up to overall wear significantly better than the ABS keycaps that are normally used. On top of that, these are doubleshot meaning both the black and translucent layers are molded in together. Normally cheap OEM ABS caps are painted and then the legend is etched off. That is why when they wear the whole key starts to glow. With this, not only will it wear less but when it does it will never wear through. The keycaps are also thicker as well. Not the thickest I’ve ever seen, but thick enough. This makes a big difference in typing feel and sound, which I will test in the performance section later.
Software
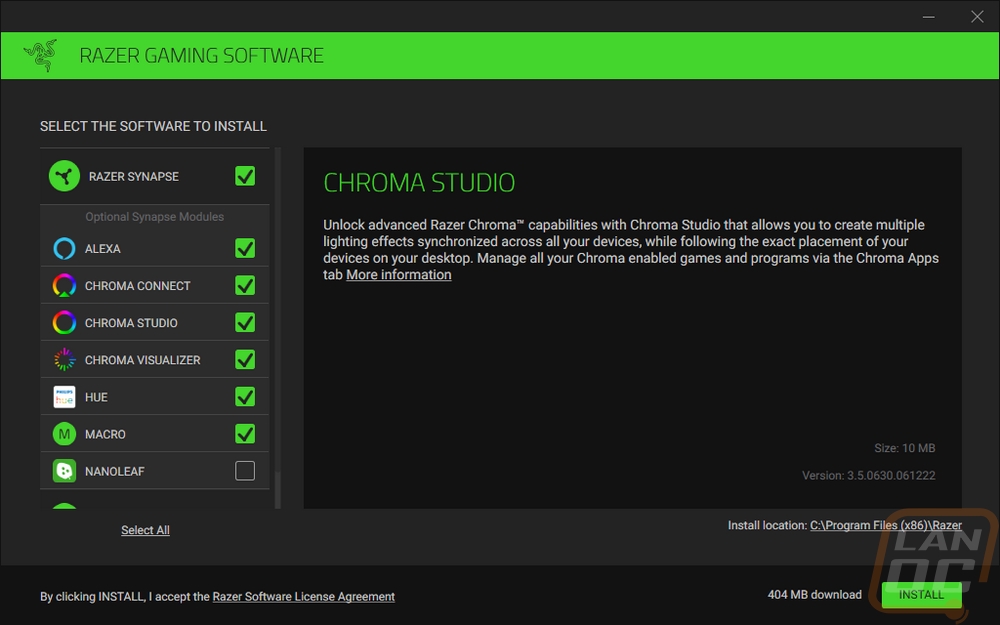
It’s been a few years now from the last time I’ve taken a look at Razers Synapse software. I’ve always liked a lot of what they have been doing, but like many things like requiring me to log in and needing a restart after installing were always a huge pain. So unlike with a lot of my other software run throughs, today I am starting at the installation because it was obvious right away that Razer has made changes just by the screen that popped up when I started asking me to select the optional modules to install. They have extra modules for things like Hue lighting, Nanoleaf wall mounted LED accents, and Amazon Alexa. I was able to deselect a few options that I don’t have any need for which is great. But I can see why even without a few things selected the install size was 404 MB which is HUGE for software for a peripheral.
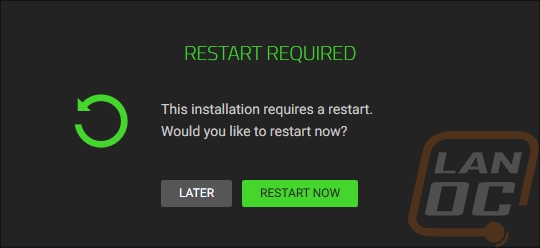
Once installed I was bummed to see a restart required screen pop up, so many programs don’t require a restart and frankly, I only restart my PC around once a month. Closing things means closing windows that I kept open as a reminder of something, then going through updates and making sure to get things opened back up after. Thankfully the software worked just fine without the restart even with the warning.
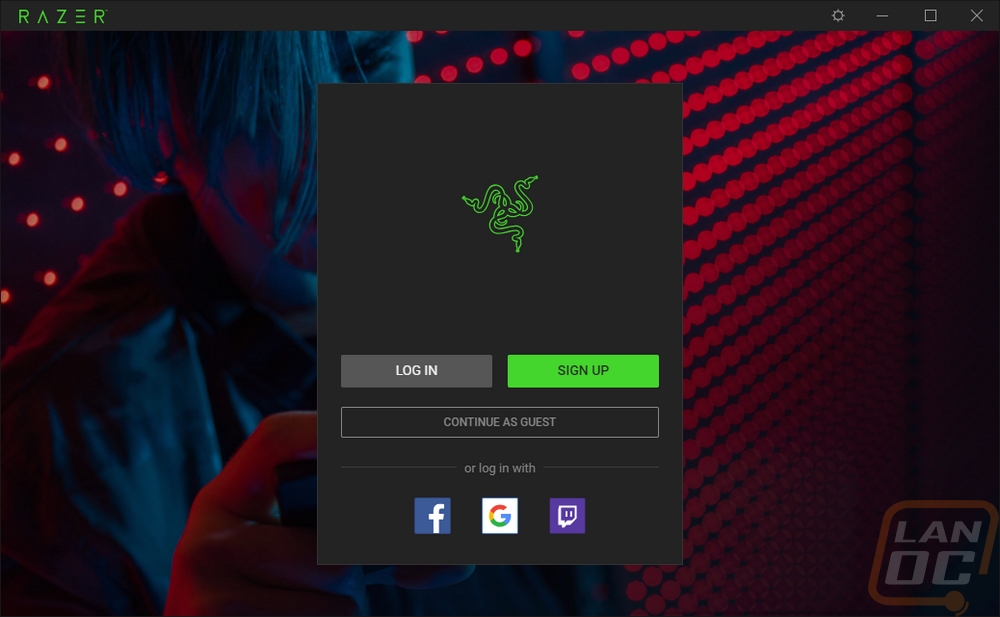
Another big change was the continue as guest option. You can also log in using a few popular services like twitch, google, and facebook. But now they have made it easy to see that you don’t have to sign in if you don’t want to. When you select this, they do warn you that you lose cloud saves and similar functionality. But for me, I prefer this. Having a Razer laptop, when I change things on another Razer keyboard somewhere else I don’t like coming back and my laptop having a new color setup. Windows does this as well, which is a whole other level of frustration when it comes to backgrounds. Unless you want the same on anything you log into. But a big improvement here.
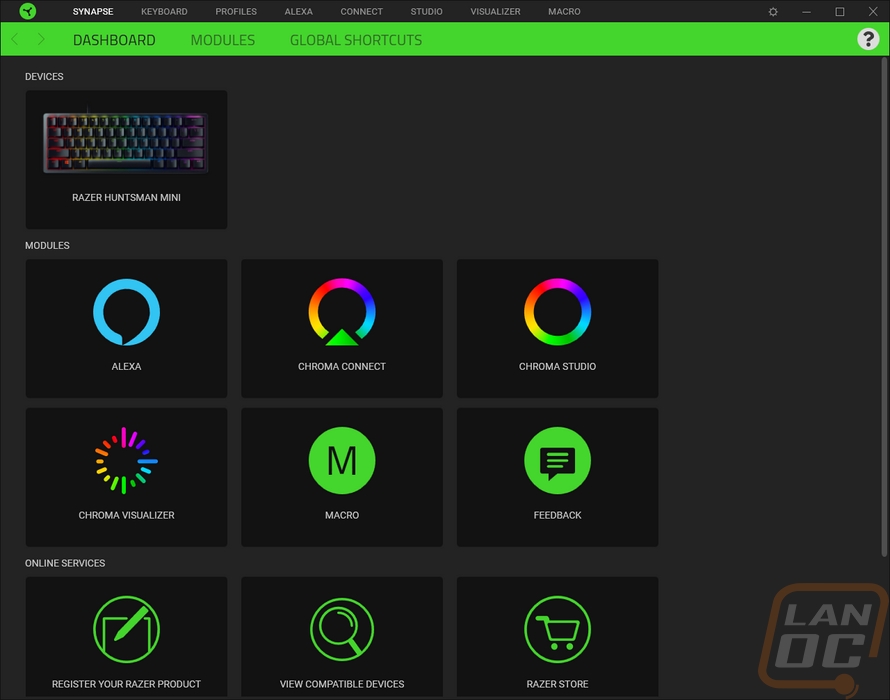
So your actual landing page lists off all of the Razer devices you have installed with pictures. Then below that, you have all of the modules installed as well. This lets you dive into whatever you need all on one page. Then up top, a few modules are included in the top menu as well.
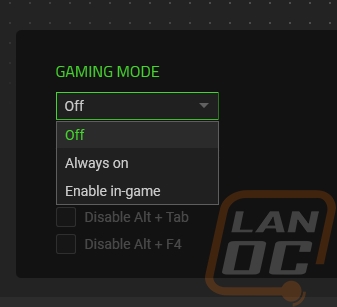
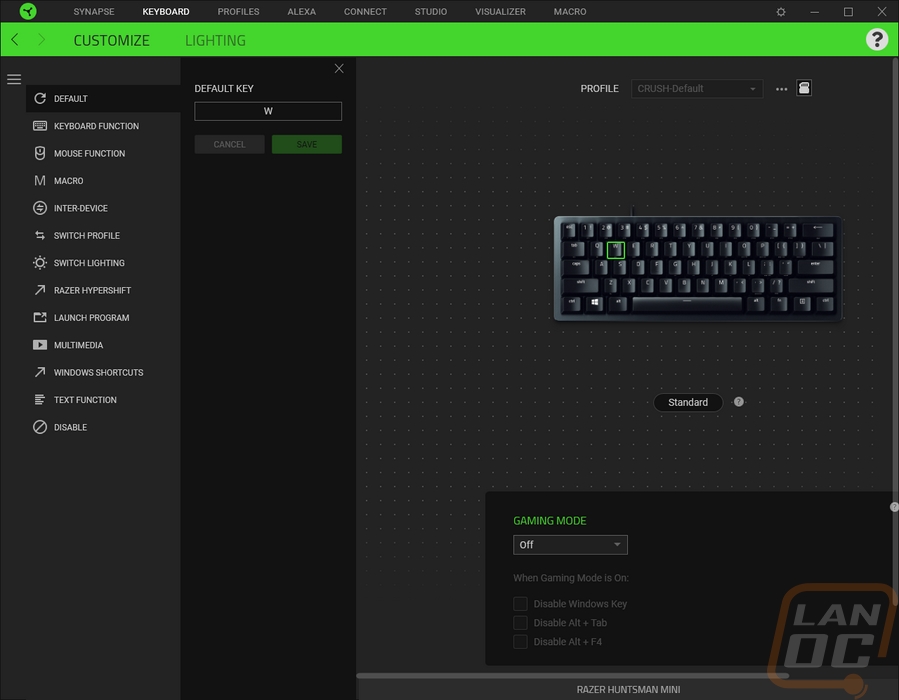
The Huntsman Mini page is surprisingly simple after coming from that packed home page. You have a small picture of the keyboard. Then down at the bottom, you can turn on the gaming mode including selecting which keys are disabled or you can even set gaming mode to only be on when in a game. You also have a link to the Microsoft keyboard properties page over on the right. Up top, you can pick between your profiles if you are logged in. You also can select between standard and hypsershift modes which are the regular keys and the function layer only with a more “gamer” name.

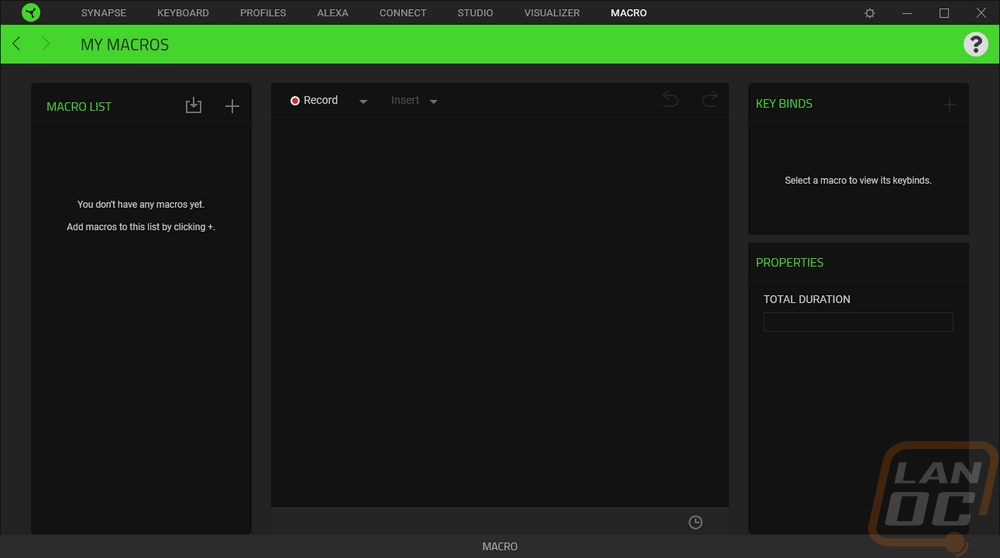
When you click on any of the keys of the keyboard you highlight that key and you can go in and change all of its functionality. This might seem weird with the main keys but when it comes to the function layer there are a lot of unused keys. This means all of those can be programs with different functions from opening programs, macros, changing lighting, opening media files, and more. As for macros you can use the macro tab up top to record completely new macros and change already recorded macros.
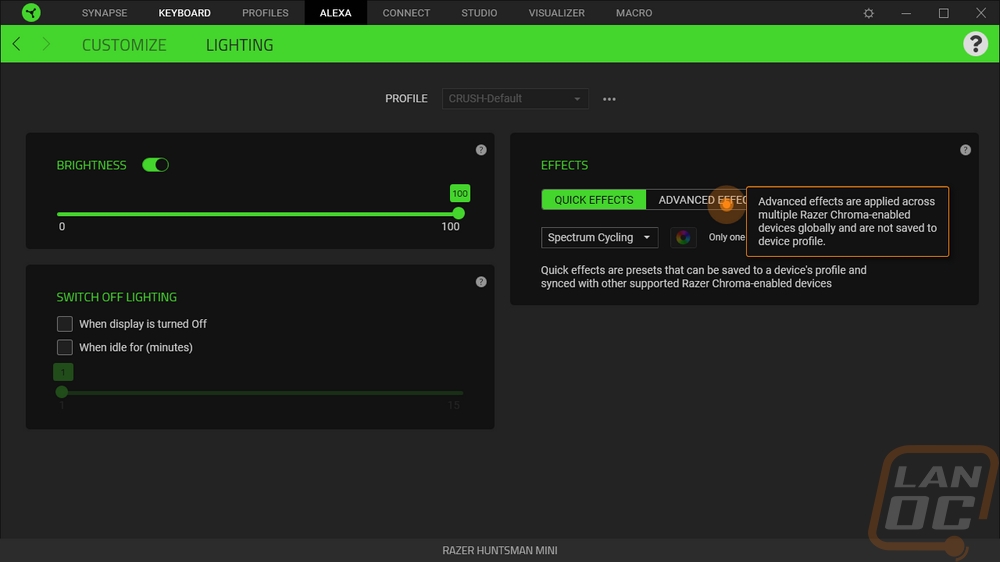
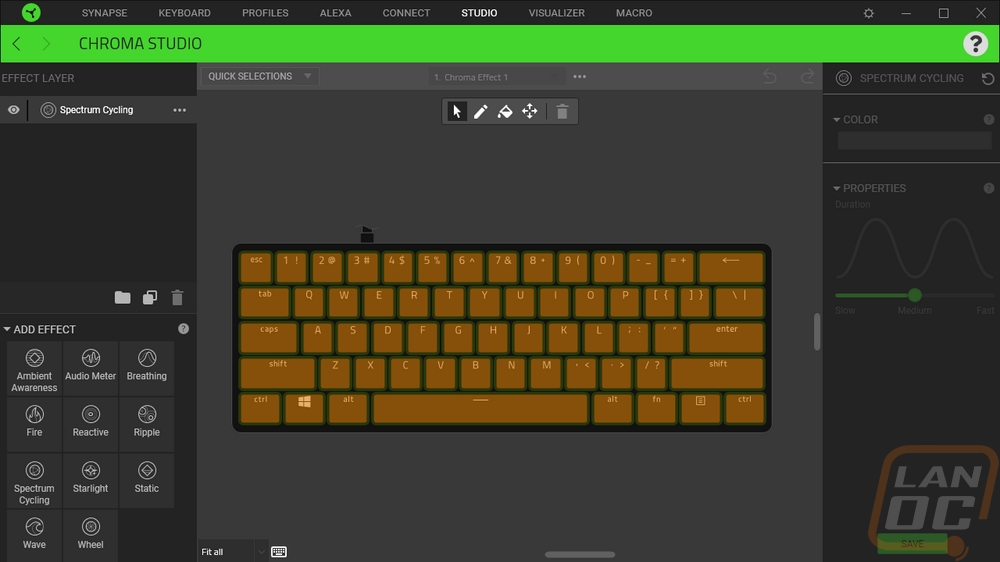
Now the lighting page starts off with the brightness adjustment which lets you turn the lighting off of select anything from 1-100. You have options to turn the keyboard lighting off when your PC is idle or the monitor turns off which is nice. Then over on the right are the lighting effects. There is a quick effects option which has a drop-down list of common effects. Then you can go to advanced which just prompts you to open up chroma studio. This isn’t as simple as some keyboards but once you get in the studio there is more functionality than most also have as well. The studio gives you the keyboard, then on the left, you can select different effects. Each can be programmed in more detail and they can all be set to different keys by clicking or highlighting them.

Performance
For performance testing, I have been using the Huntsman Mini as my main keyboard. Which means I have been using it for gaming, day to day web browsing, and of course, writing reviews including this one right now and others. Now as I already mentioned my preferred keyboard for writing is a full-sized keyboard, simply because I need the number pad. But I often use a 60% board for gaming at LANs and on our test bench. There are some limitations, and the one example that I can mention right now is Microsoft Flight Sim 2020 which uses every key two-fold. Making 60% difficult. But for my normal league of Legends play switching to the Huntsman Mini didn’t take even a second thought. In fact, due to Razer now using a standard bottom row and the traditional keycap design the switch was seamless.
Now the Razer Optical switches had my curiosity. My initial complaint about the older MX like Razer mechanical switches was that they had a little to much play and wobble. This is also a big issue with optical switches as a whole. So seeing the stabilizers built into each switch and the box design was huge and it shows in the overall performance. I haven’t had any issues, even when hitting the switches off-center. The small pads built into the top of the switch were the keycaps attach is also noticeable when typing as well. Especially when combined with the thicker PBT keycaps which also help dampen sound. Even as someone who sometimes bottoms keys out hard, typing on the linear switches is shockingly quiet and soft. I would love to see a third switch design that is tactile but not loud like the clicky option to fit in between the two current options. But beyond that I really can’t complain at all, in fact, I like typing on the combination so much that I would be willing to give up the tactile feel that I prefer for this.
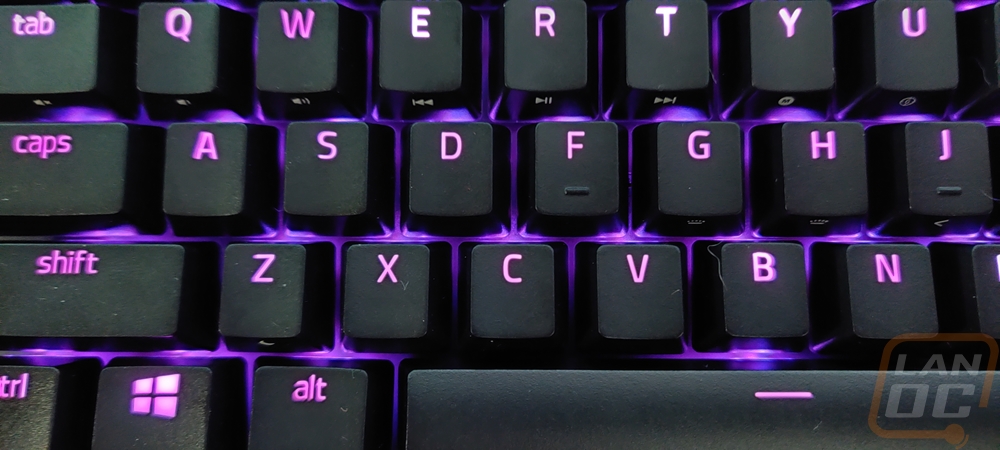
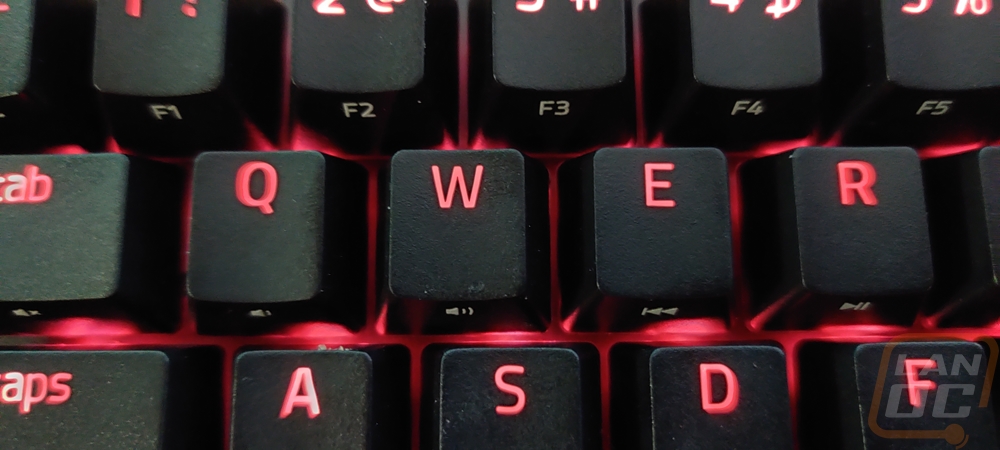
I didn’t talk about the legends too much in my features section. But I have to point out that the old “gamer” fonts are all gone and a font that looks more like Calibri is now used which is large and easy to read and just professional looking enough to be usable in an office. The double shot keycaps look great and it is a big relief to know that the PBT will limit wear and the wear that you do see will never wear off any finish or make the legends unreadable. This is huge for long term durability, especially when combined with the life of the optical switches. The only issue I had here was with a few of my legends looking almost bold with a thicker font for some reason. I think it is a defect or bad run in a few of the doubleshot keys. You can see with the B and the A in the picture below. Being thicker makes them also a lot brighter and it stands out a lot.
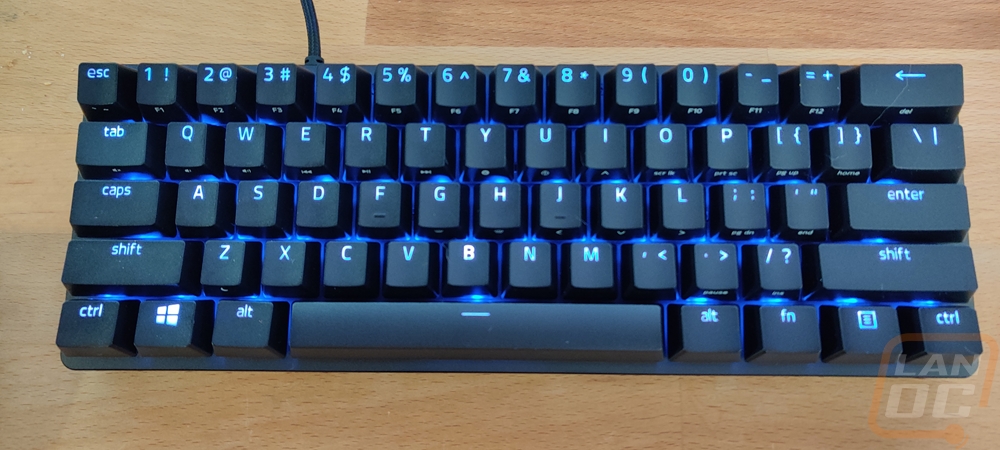
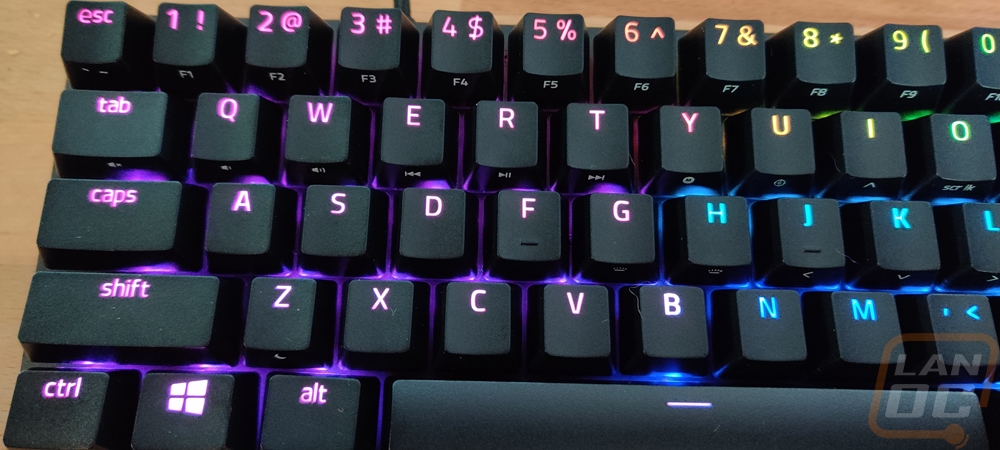
Speaking of the lighting. You can switch lighting effects without software which is another big change in a good direction by using FN+CTRL+1-7 to flip through 7 lighting effects but you can’t safe lighting profiles to the keyboard itself. Sadly though there is no built-in memory so custom effects or even basic things like custom colors require defaulting back to the software. Adding in controls like Cooler Master and Ducky have used in the past to program your lighting without software would be nice. Or at least adding memory so you can program things and close the software if you want without it all going back to a default layout. But the lighting does look good when you have things set up. I took a few example photos and beyond the issues with a few bold keys which were keycap issues, not lighting issues I like the lighting. With the lighting diffuser being at the top it also doesn’t have light leaking out of the bottom even without a traditional bezel.

Overall and Final Verdict
The Razer Huntsman Mini is noticeably different from other Razer keyboards I have taken a look at in the past. It’s almost as if one of the keyboard enthusiasts from r/mk or geekhack infiltrated Razer to spearhead this one. Doubleshot PBT keycaps which are also thicker than standard OEM keycaps are near the top of the list of what I wouldn’t expect from a Razer keyboard. But of course, the 60% form factor is the biggest surprise. This small of a keyboard is typically nitch, even in the enthusiast keyboard communities not everyone is a fan of the smaller size. But I personally have been a big fan because of their minimalistic design, small footprint, and portability. Which the last two are perfect for LANs or eSports where you rarely get the same space you have on your home desk when a lot of people still like to have a huge mouse pad.
The Huntsman Mini having thick doubleshot PBT keycaps adds significantly to the overall durability. I wish they had gone with a metal backplate to help with that as well. But I suspect that these will hold up significantly longer than the older Razer mechanical keyboards. Though only time will really tell for sure. The Razer optical switches are amazing to type on when paired up with the PBT keycaps. The linear version that I tested is extremely quiet, even when bottoming out key presses. The switches having built-in stabilizers and the square bodys also helps with leaning and twisting keeping the movement stable. They are also surprisingly smooth as well. MX Cherry support as well as a proper traditional key layout mean swapping to custom keycaps will be easy. Which goes well with the detachable Type-C cable that will be easily sleeved or replaced if you want the customization.
The Huntsman Mini wasn’t perfect. There are a few things I would change. They have memory to have easily swappable lighting effects but no memory available to save at least one custom effect meaning even a simple single color will require running their software all of the time. The software has improved a lot, you don’t even need to sign in anymore if you don’t want the cloud features, but I would still prefer to be able to set my preferred color and not have to run it all of the time. I did have a few of the PBT doubleshot keycaps with thicker legends that stand out, but those may be defective keycaps. I also put the lightweight of the Huntsman Mini as a potential con. On one note it means less weight if you are transporting it often. But I would still prefer a metal case and backplate and the extra strength that it offers as well as the extra weight helping keep the keyboard in place. But I can completely see others might feel the other way around and want a lighter weight.
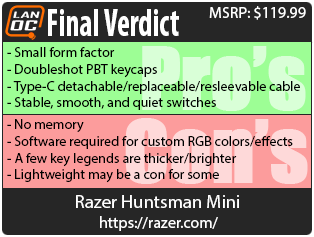
As for pricing, Razer has the Huntsman Mini listed with an MSRP of $119.99 which if you were to only compare with the few 60% keyboard options on Amazon looks very high. But the Anne Pro 2 comes in at $109 and a Vortex Poke3r RGB is $139 putting the Huntsman Mini right up in with the enthusiast-focused models. Especially when you also consider it has optical switches and the doubleshot PBT keycaps I think it is priced about right or even a value compared to the Pok3r. Right now it is my favorite 60% board and I’m digging the direction that Razer is going with their keyboards.

Live Pricing: HERE
