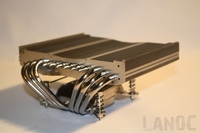
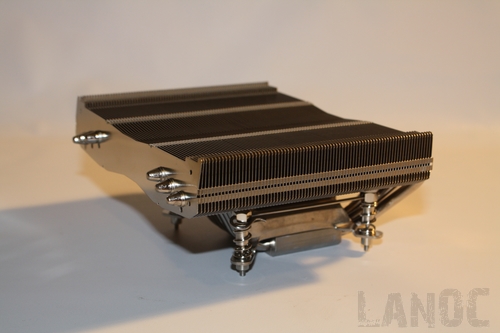
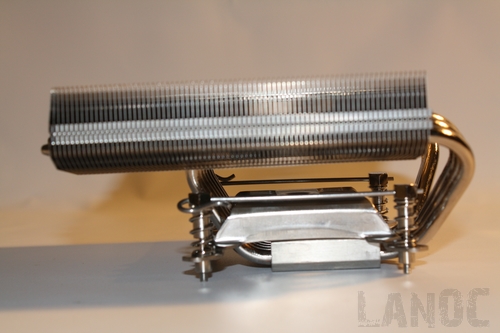
 Thermalright is the top dog in the heatsink world. Their TRUE heatsink is still outperforming most efforts from their competition long after it was released. When you are on top it's sometimes hard to figure out where to go next. Apparently they saw room for growth in the market for HTPC heatsinks. Because of that I'm here today ready to test their newest heatsink the AXP-140. Similar in looks to the Noctua NH-C12P that we tested recently, it's the perfect size for most HTPC's and cases that have side fans that interfere with large heatsinks.
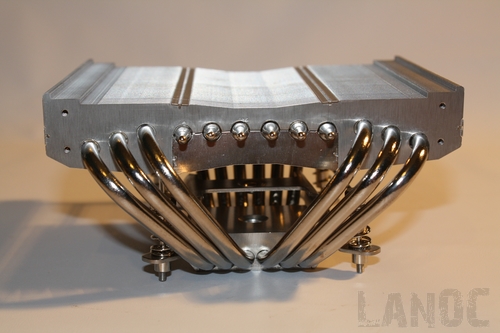
Product Name: Thermalright AXP-140
Review Sample Provided by: Thermalright
Review by: Wes
Pictures by: Wes
| Dimension: | L145 x W147 x H70.2 mm |
| Weight: | 550g (Heatsink only) |
| Heat pipes: | Six heat pipes with Nickel plated |
| Heat sink base : | copper |
| Recommended fan: | 120*120*25mm or 140*140*25mm fan |
| CPU Compatibility : | Support Intel Socket 775 motherboard / Socket 1366 (optional) |
| Case Compatibility : | For any case that has at least 110mm of height clearance, you can choose to install AXP-140. 80% of HTPC cases in current market are within the compatible range. Only under special circumstances where the case manufacturers incorporate ventilation system would hinders AXP-140 from being installed properly. |
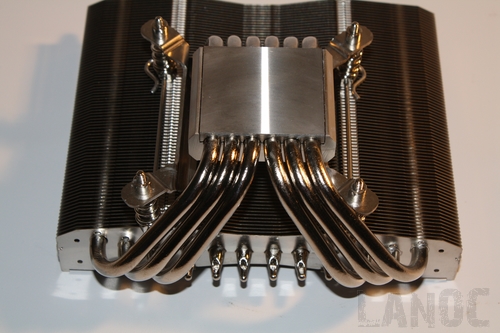
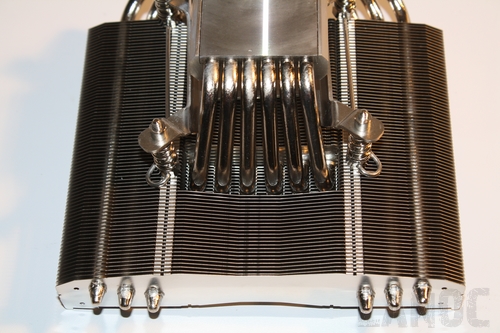
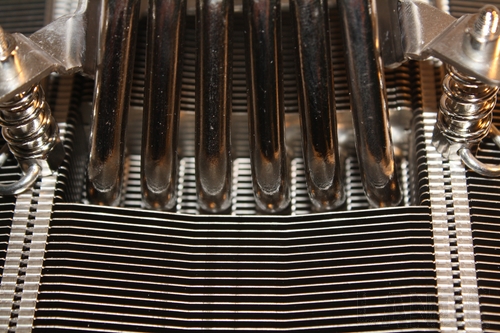
Packaging
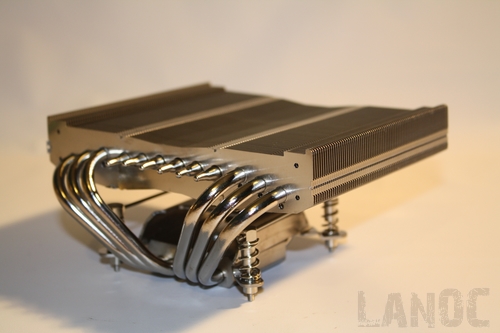
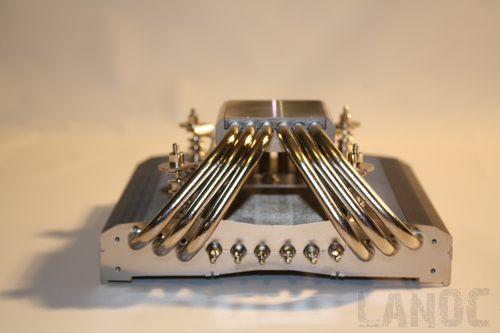
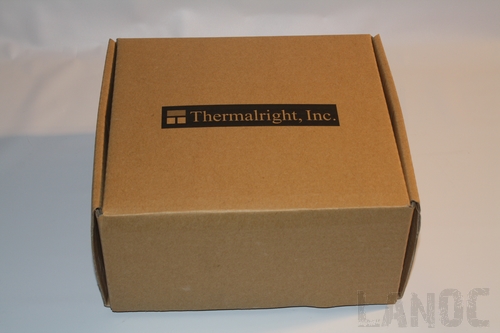
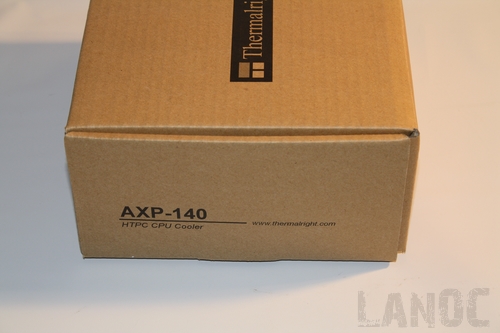
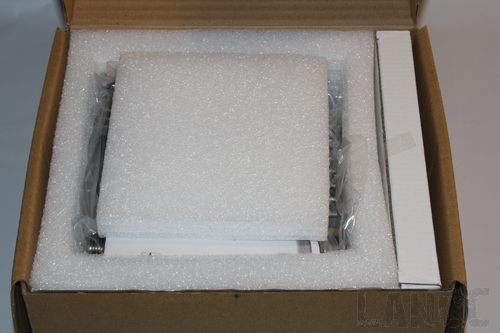
Thermaltake in the past, has always packed their products in very unassuming cardboard boxes. This to me has always shown that they let the numbers do the talking, and from our past testing this is true. Although I've seen pictures recently of redesigned and flashy packaging on some of thermalrights recent products, the AXP-140 is still sporting the unassuming cardboard boxing. Inside you will find the heatsink packed securely, you will also find a box with a small collection of miscellaneous parts including a tube of chill factor thermal paste, fan brackets, the backplate, and instructions.
Our Test Rig
Socket 775
Abit IN9 32X-MAX 680i motherboardIntel Q6600 Quad core CPU B3 stepping at stock clock speed4 gigs of A-Data G Series RamEVGA 8800GTS Video Card 640MBAntec Twelve Hundred CaseAntec Quadro 850 Watt Power SupplyLite-On DVD BurnerRunning Vista Ultimate and XPA Noctua NF-B9 Fan for pull testingTuniq TX-2 thermal paste is used on all of our heatsink tests for consistency*all of the case fans are run on high speed during testingSocket 1366
Cooler Master Sniper Case Intel 920 i7 CPU 6 gigs of Cruicial Ballistix RamCruicial Ballistix Ram Gigabyte x58 GA-EX58-UD3R motherboard 3 one TB hard drives one 750Gb HDIcyDock 3 hard drive hot swap A Noctua NF-B9 Fan for pull testingTwo Sapphire 4870 512mb Video Cards in Crossfire Two Samsung DVD burners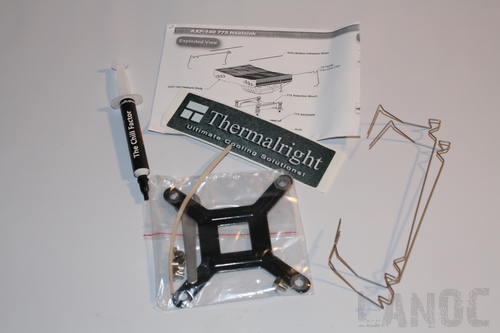
Installation
In the past Thermalright heatsinks have been fairly easy to install. I was a little dumbfounded when I pulled everything out and found a set of nuts. I have a strong hatred for heatsinks that require me to remove the motherboard to remove them. With everything bolting from the rear if you have to redo your thermal paste or get too something covered by the heatsink you will have to remove the motherboard. In order to avoid this issue in the future I finally broke down and cut out an access hole in our test rig. Its good thing I did, I was able to notice that even when tightened down the nuts where thicker than the standoffs on our case. If I didn't have the access hole this could have put a major bind on the motherboard. To add insult to injury, the bracket on the heatsink side moves around freely meaning you have to hold it down to push the bolts through to the other side. In order to hold both the front and back brackets and tighten down the nut I had to enlist the help of my wife. Apparently, you have to have at least three hands to do this installation, lol.
Our 1366 installation went in a similar fashion as the 775 socket install, the one exception would be the issue where I broke one of the hold down bolts. Tightening down the last bolt I couldn't figure out why it didn't look seated like the other three, after loosening them all up and trying again I tightened it down. While doing that the bolt snapped. After an email to Thermalright they sent out a new bracket kit right away and got me going again in no time! With the new parts I was finally able to get the heatsink mounted properly to get everything tested properly.
Performance
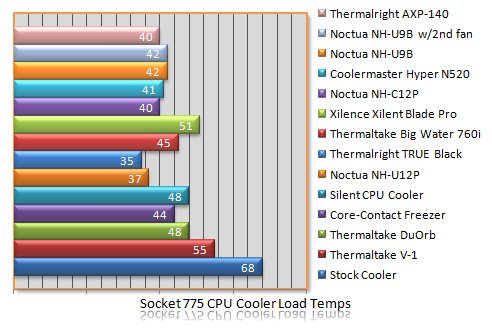
In order to fully test the AXP-140 I decided to test it both on our 775 test rig and on a 1366 rig. This was so we can compare the performance to the long list of heatsinks we have tested in the past, while also seeing how well it performs with the added heat of the i7. Our standard test consists of letting the pc idle with nothing but RealTemp 2.5 running and recording the lowest average temperature reached. For our load testing, we ran prime95 for an hour on all four CPU cores. The highest average temperature reached is our result. While doing all of our testing no matter the time of the year we make sure the ambient temperature is at 70 degrees. Our CPU clock is set to stock settings and all of the fans on our Antec Twelve Hundred are turned on the max setting. Because of the case, some of our results may be lower than tests run in cases with less airflow.


Overall
When it was all said and done, I was very frustrated and disappointed with the mounting system used on the AXP-140, No matter how great the heatsink performed, the installation left a sour taste, I hope anyone who runs this heatsink doesn't plan on messing with it after it is installed. The performance numbers were a dead match with what we saw from the Noctua NH-C12P in the past. This is the first heatsink from ThermalRight that I wouldn't who heartedly recommend that everyone pick up. Of course if you can get over the mounting system this is still a great heatsink, maybe ThermalRight will consider redesigning the mounting system in the future.


