Software
So Crucial has their own software available for controlling the lighting and they are also work with all of the motherboard manufactures to also be integrated into those lighting controls as well. I personally like using the motherboard's software because it ties most things together and allows you to have your lighting effects synced together. But in this case, I wanted to check out the software that Crucial has to offer. First I should point out that the first time I tried to get this software up and running on our older X99 test bench it wouldn’t run. But I switched to a newer platform and everything worked.
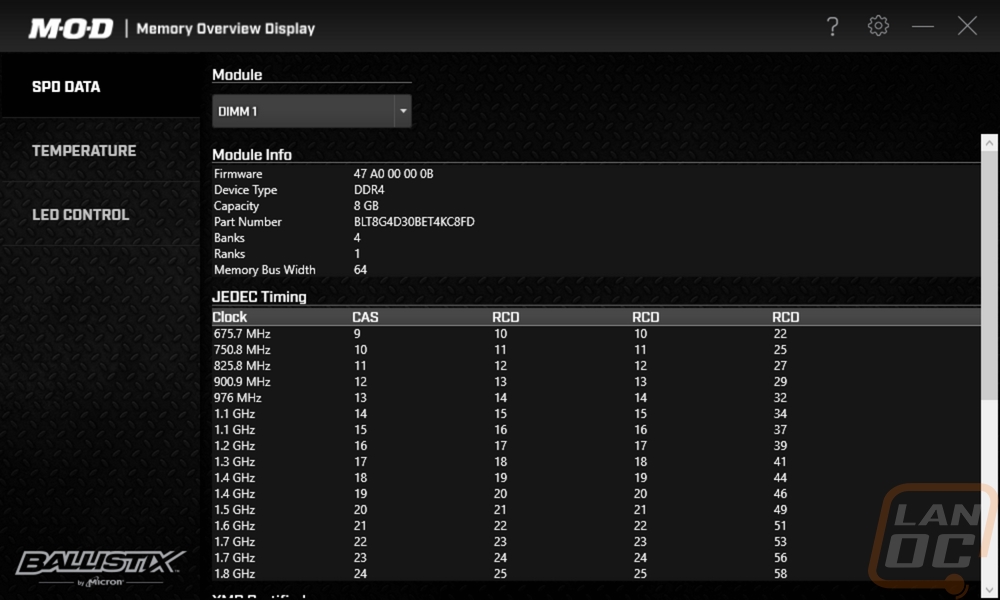
So when you first get into the software you have three tabs on the left. The first one is labeled SPD Data and this is a simple one. This just lets you take a look at the module information and JEDEC Timing for each installed DIMM.
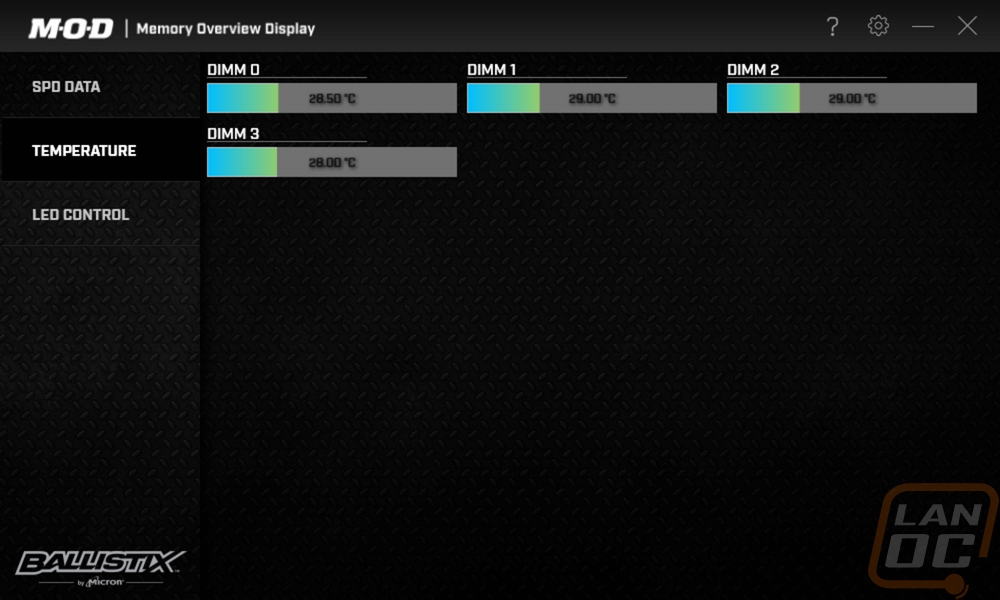
The second tab actually surprised me. While I’m used to nearly everything anymore having temperature readouts. I was happy to see that each stick has a temperature sensor that you can read here. This will come in handle when you start to push the limits or if you are worried that adding a tall printed or carved part on top might block airflow to some of the middle DIMMS.
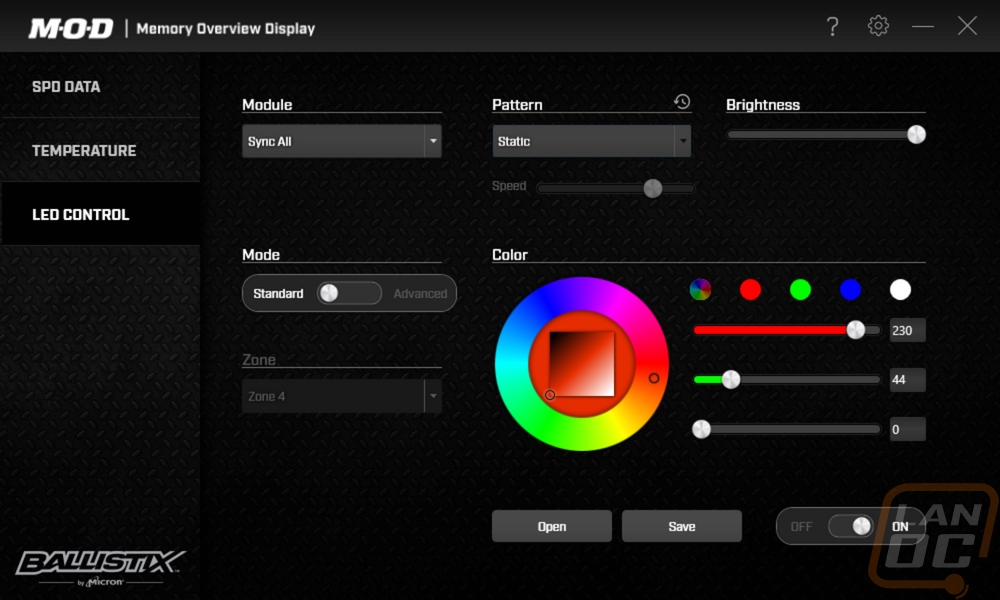
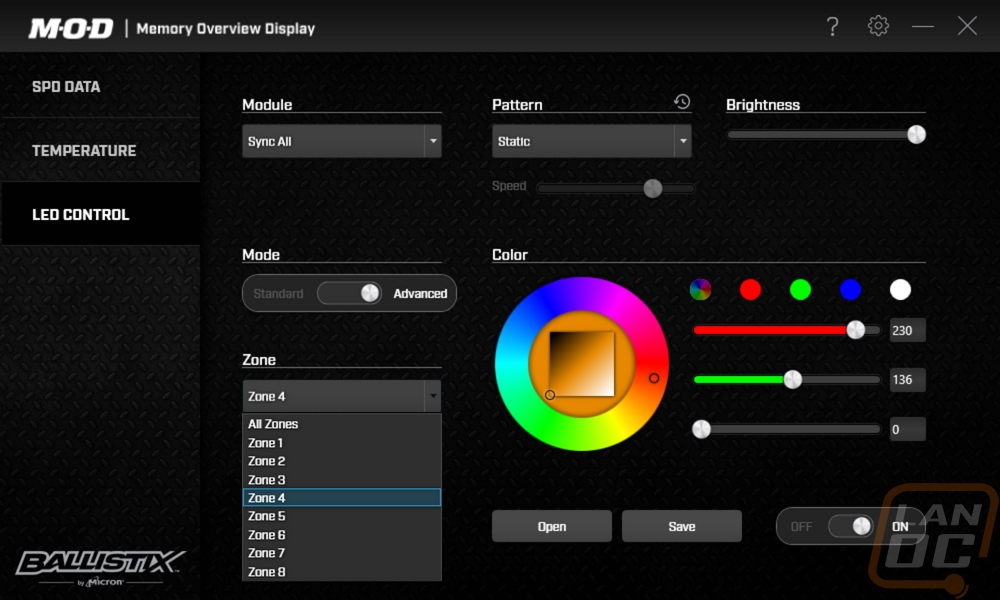
 But really the only thing that I was interested in with the software was the last tab, the LED Control tab. This is where you can adjust or turn off the lighting. Now right away you will see the color wheel and the RGB color sliders. But before diving in you do need to select the memory stick you want to adjust. I had all four installed so under the module option you could select sync all to do all four at once or you could pick from the four DIMMs. From there you have two modes, the standard mode, and the advanced mode. What sets these apart is if you want to customize the lighting on that stick altogether or if you wanted to adjust the lighting by zone. Each stick has LEDs all the way across it, the zones split that up to do more complex lighting.
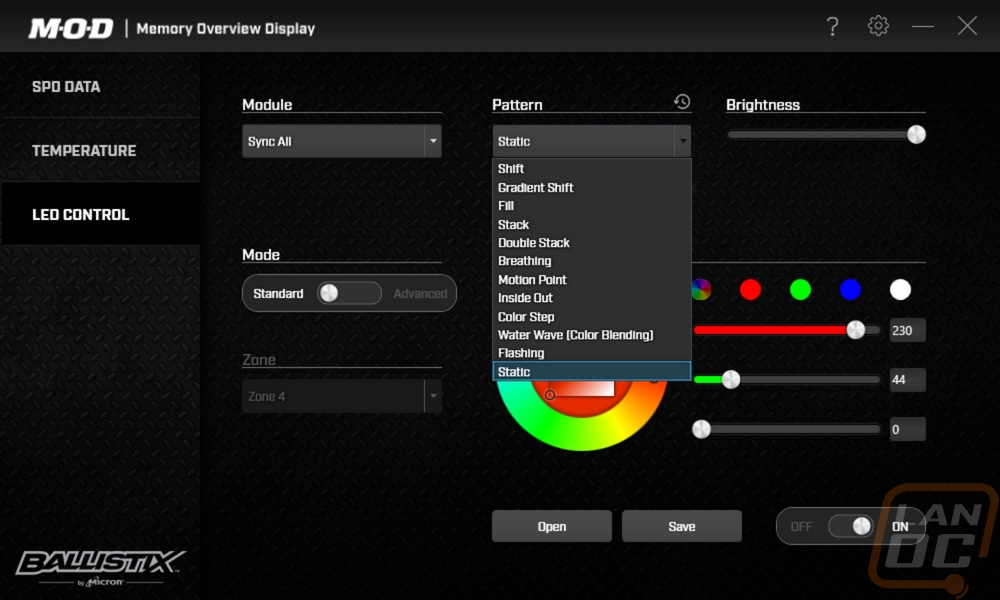
From there you can pick from a whole list of patterns. Most are basic flashing or breathing effects or waves where the lighting turns on and off the inside out or the other way around. They also have effects like color step that will slowly flip through colors, gradient shift is similar but smoother. What I found was missing was more complex effects like the wave that you find on every RGB keyboard.
The brightness adjustment is nice, you can tone the lighting down as much as you want. Especially if you don’t want your whole case to be glowing, just to have a few lights when you look in. Overall I found the lighting to be about what you would expect as far as color matching goes. No one can seem to get orange to match the orange you click on, you have to get into the reds to find that. The wheel lets you set the lighting to just about any color.
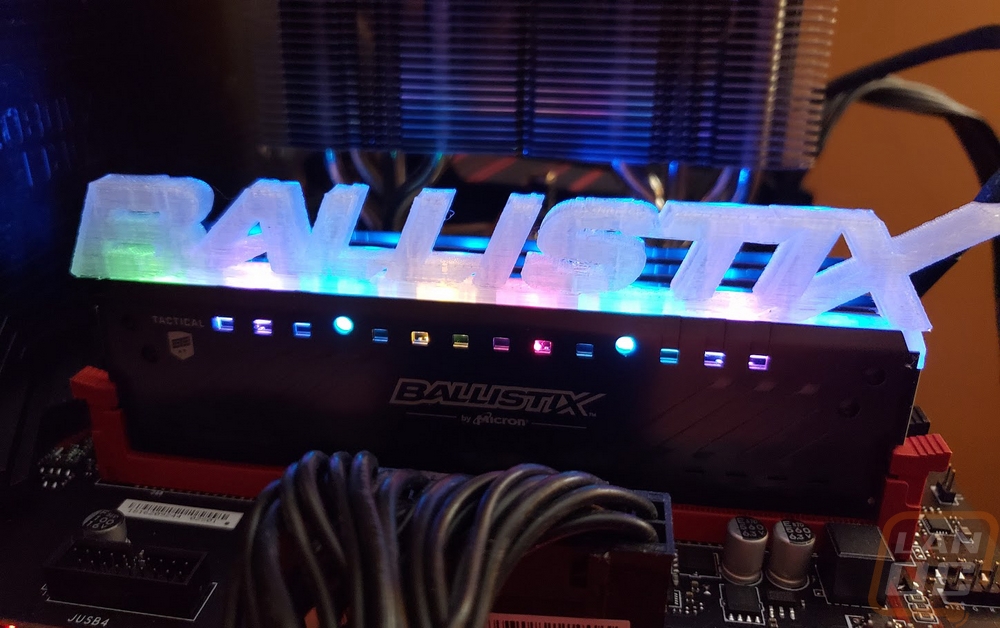
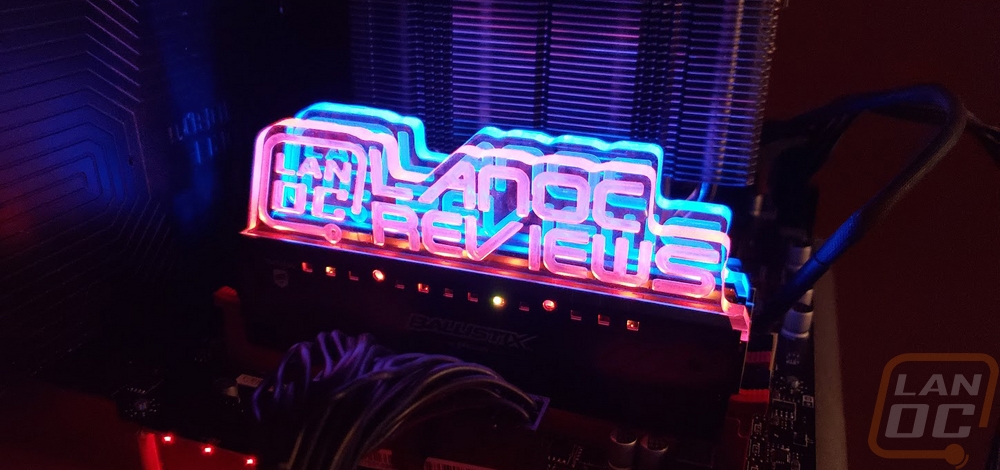
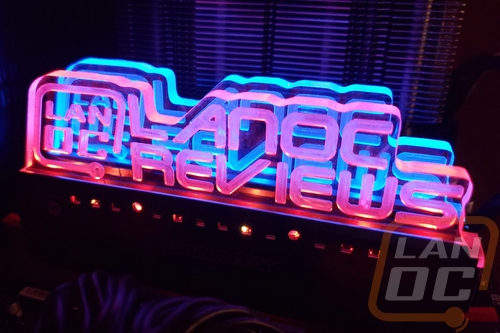
I toyed around for a while with using alternating colors, this worked really well doing it between sticks or using the color zones in advanced mode. This could especially work well with custom printed lightbars where you could, for example, set the LanOC part on the left of our logo in orange and the part on the right in a different color altogether.