Just about every company now has memory with RGB lighting but Crucial with their Ballistix lineup was a little late to the party. I had been keeping an eye on them because the Ballistix brand made its name years ago by having their Tactical Tracer memory with LEDs built into them that would seek depending on how fast the memory was being used. This was long before RGB so I was curious what they would do to stand out in the already crowded RGB memory market. Well, they came out with a design that allows you to take the light bar off the top and customize it. Thermaltake and Asus have also jumped into this type of customization with 3D printing. Well, this was up my alley specifically because I love customizing my builds and I have a room full of 3D printers as well as a Carvey CNC. So rather than a normal ram review, today I’m going to check out the new Ballistix Tactical Tracer RGB memory and then play around with the customization.
Article Name: Customizing Ballistix memory with 3D printing or CNC
Product Name: Crucial Ballistix Tactical Tracer RGB
Review Sample Provided by: Crucial
Carvey Provided by: Inventables
Written by: Wes Compton
Pictures by: Wes Compton
Amazon Affiliate Link: HERE
*Note*
This isn’t a performance review, I’m checking out the Tracer RGB memory and taking a look at the potential customization. That said I did run into an issue in my testing of the lighting that should be noted. The memory worked great in our Z390 system. I did have issues with getting the software to work with our X99 system but the issue I had was a weird coil whine. This only happened when I had lighting effects running, solid lights was fine and it was more pronounced with green than the other colors. I spoke to Crucial about the issue and they did let me know that early samples had the issue but they have updated the LED circuitry as well as changed to an improved filter inductor. Here was their statement.
“We discovered that early Ballistix Tactical Tracer RGB modules did produce a high-pitched noise from the inductors used in driving the LEDs, we’ve since taken steps to remove these modules from inventory and replaced them with an improved filtered inductor, along with a change on the LED circuit to significantly reduce the noise. Please be assured that the noise doesn’t hinder performance in any way, and we’d be happy to swap out those modules for an updated kit if you’d prefer. Especially if you’re shooting video, where the noise might be a distraction.”
While it looks like they have it all handled, on the off chance that any are still in the wild I wanted to make sure to post this so people know to reach out to Crucial. Plus even though this wasn’t a performance review I couldn’t ignore the issue.
Crucial Ballistix Tactical Tracer RGB
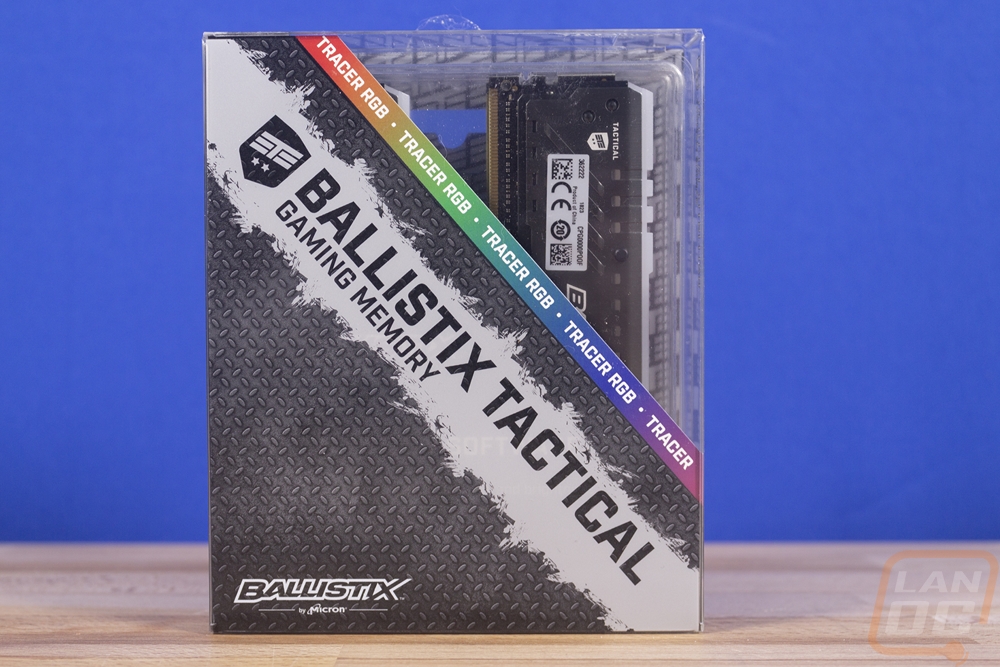
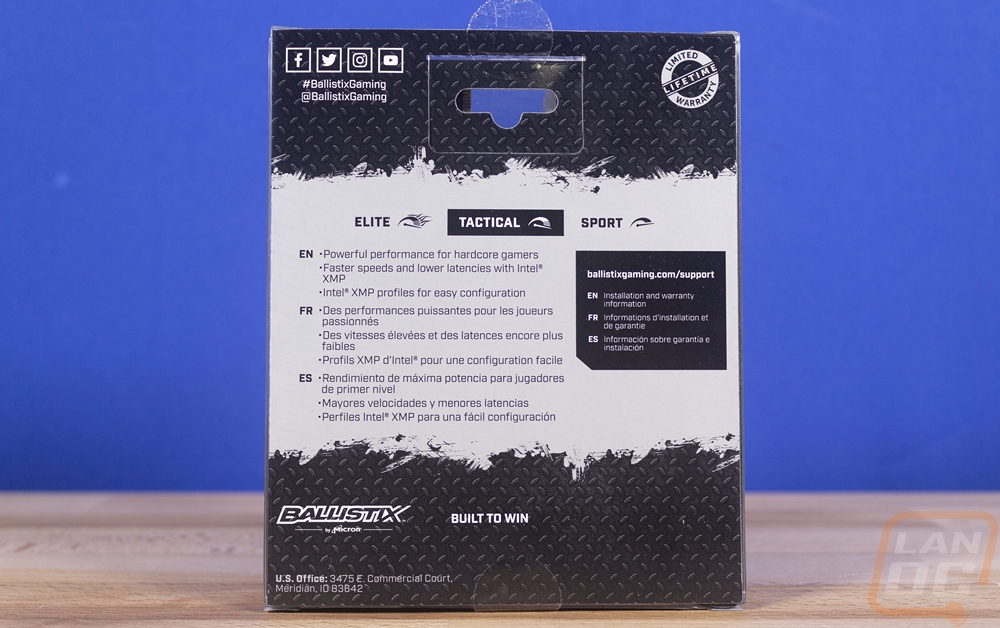
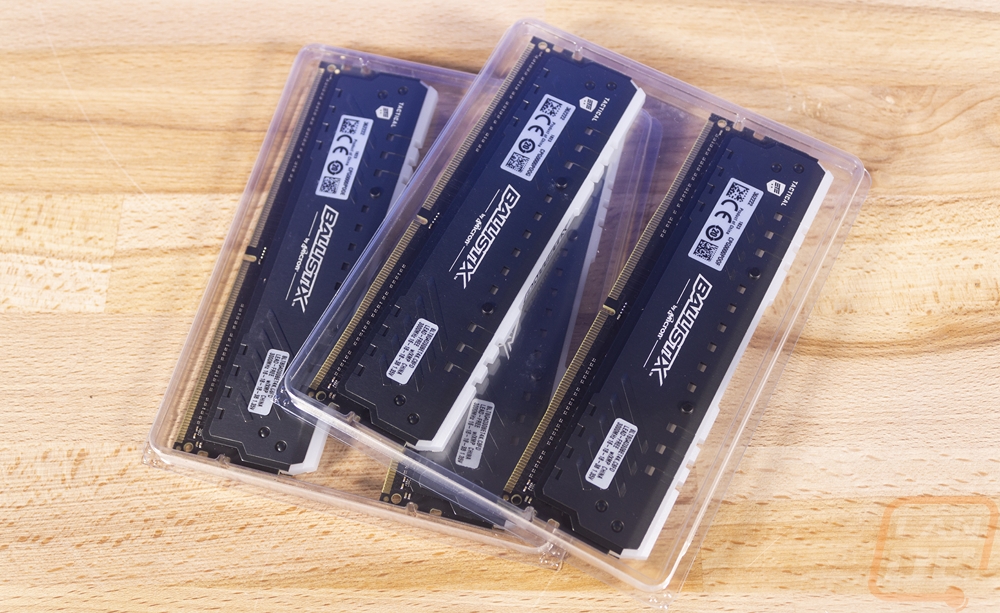
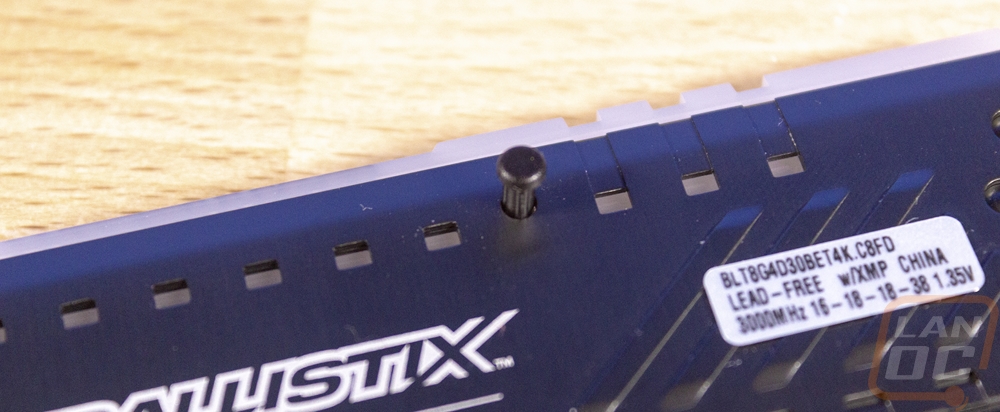
Before pulling the memory apart and starting to print and carve things I, of course, wanted to take a look at the memory first. They sent over a quad channel 4x32GB kit that runs at 3000MHz with 16-18-18-38 timings. The kit came in a clear plastic box where you can see the memory through the front, top, and right side. The front is mostly filled with an angled diamond plate section with the Ballistix Tactical branding on it. The normal Ballistix logo was down in the corner and the Tracer RGB designation is only found in the RGB colored strip that goes between the window and the diamond plate print. Around on the back, they have their social media information as well as support. They also have a logo showing the limited lifetime warranty, that is nice to see! The memory itself comes in two more clear plastic trays to keep them from hitting each other.
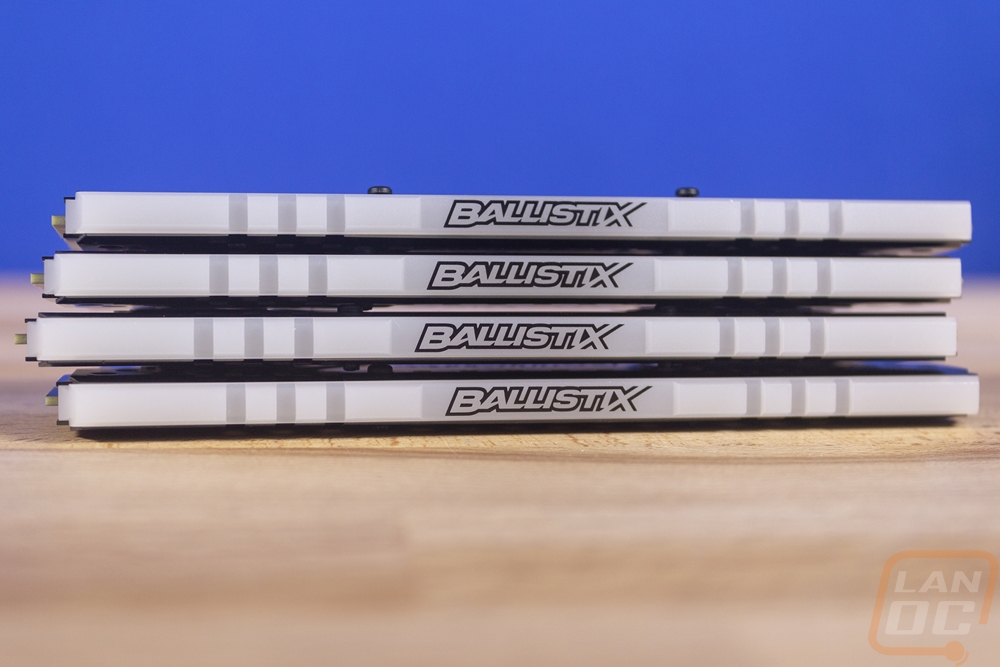
So the memory comes in a grey finish that depending on the amount of light on them looks dark or light. The heatspreader design is a continuation of the normal Ballistix Tactical memory design. That means the logo is still printed on the middle and the dashes are still there, you just get 4 and a half on each side now where the other design had four thicker dashes. Then the holes up near the top are smaller. The heatspreader design also has a dual layer design now, this is to give the lightbar something to sit on.
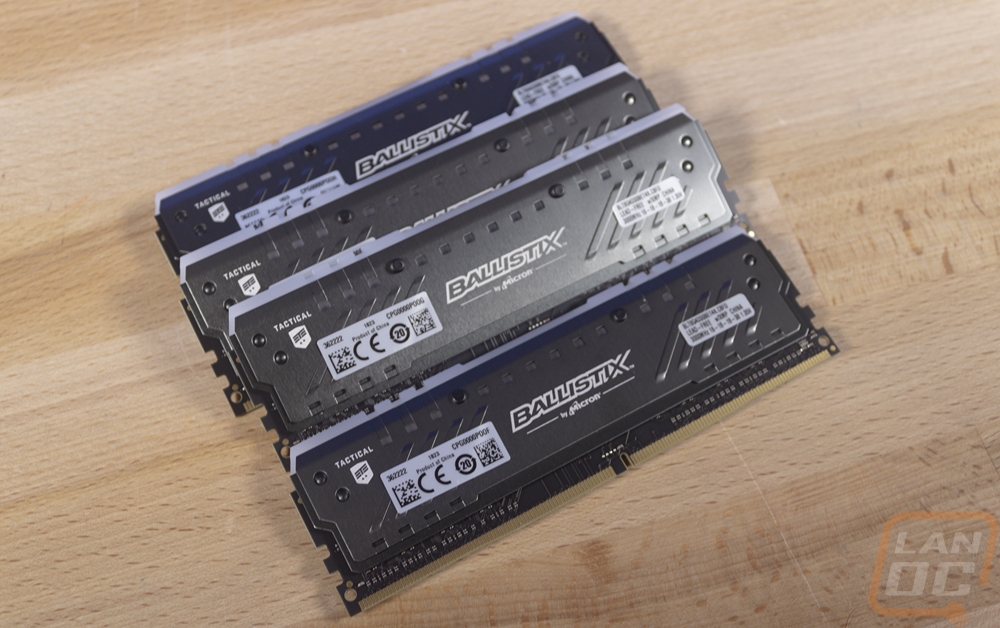
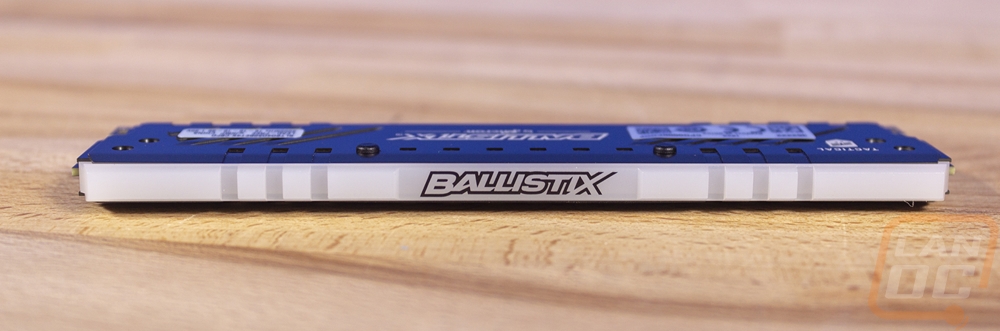
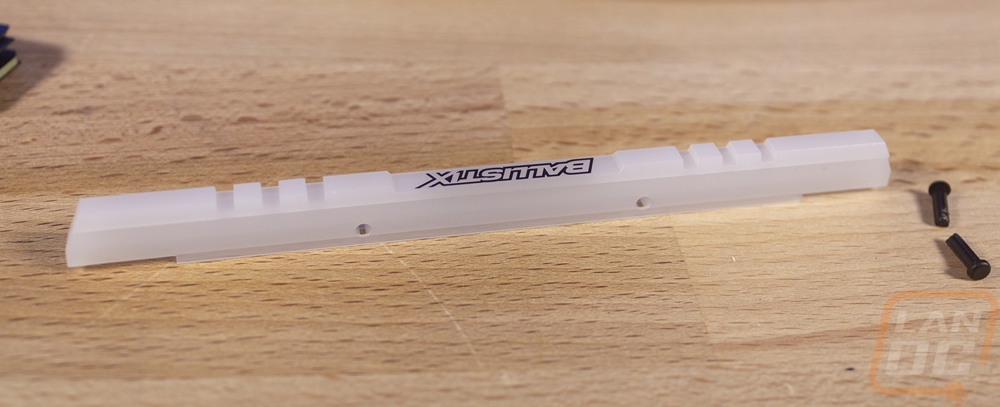
Of course, the lightbar is the biggest addition, the basic tactical memory kit doesn’t have that at all. In fact, this is also a big change from the older DDR3 and DDR2 Ballistix Tracer kits. They just had the heatspreader on the sides with the machined finish around the edge and an open top and bottom for the lighting. The lightbar is a soft white that is transparent but helps diffuse the light, every one of the modern RGB kits has them and that is because it helps makes the light more visible. These also have the Ballistix branding on them in the middle then three lines carved in the top on each side, similar to the heatspreaders only without the angle.
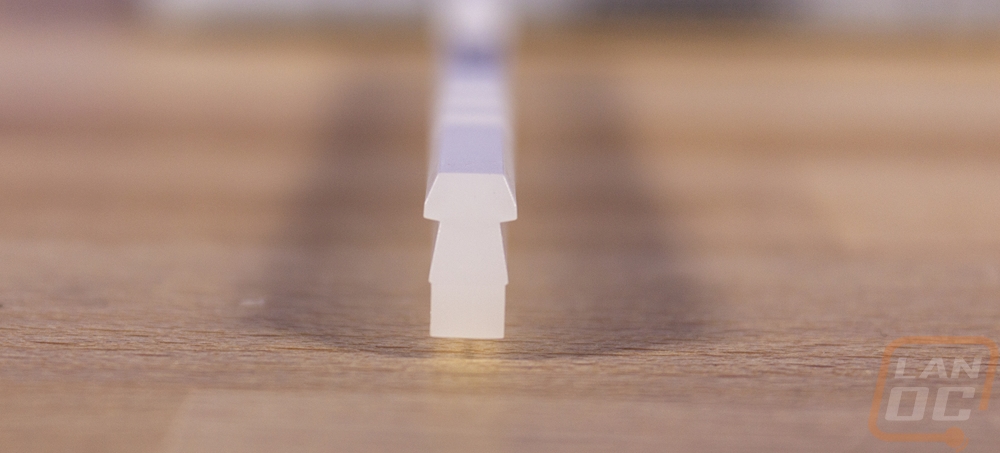
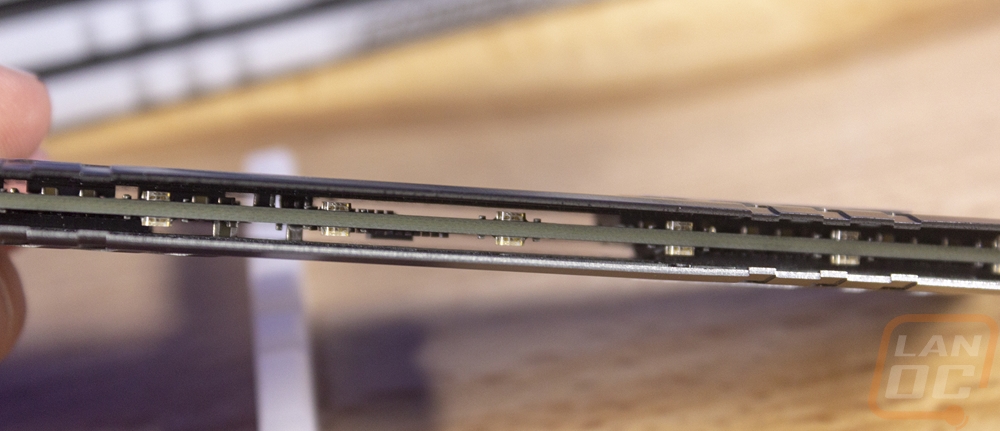
I also pulled the lightbars off, both because I needed to check out their shape for designing a carve for our Carvey and also because I wanted to see what was under them. Pulling the bar out is very simple, there are two plastic pins pushed into holes in the heatspreaders that also run through the lightbar. Push on these from the back side (the side without a wide head) and then grab the head and pull them out. The stock lightbars then just slide out sideways. This is because as you can see they do have a small dovetail shape to them. Under them, you can see that there are RGB LEDs surface mounted to the memory on both sides about every ¾ of an inch. Unlike the old designs, there aren’t also LEDs facing out of the bottom of the memory.
Customizing
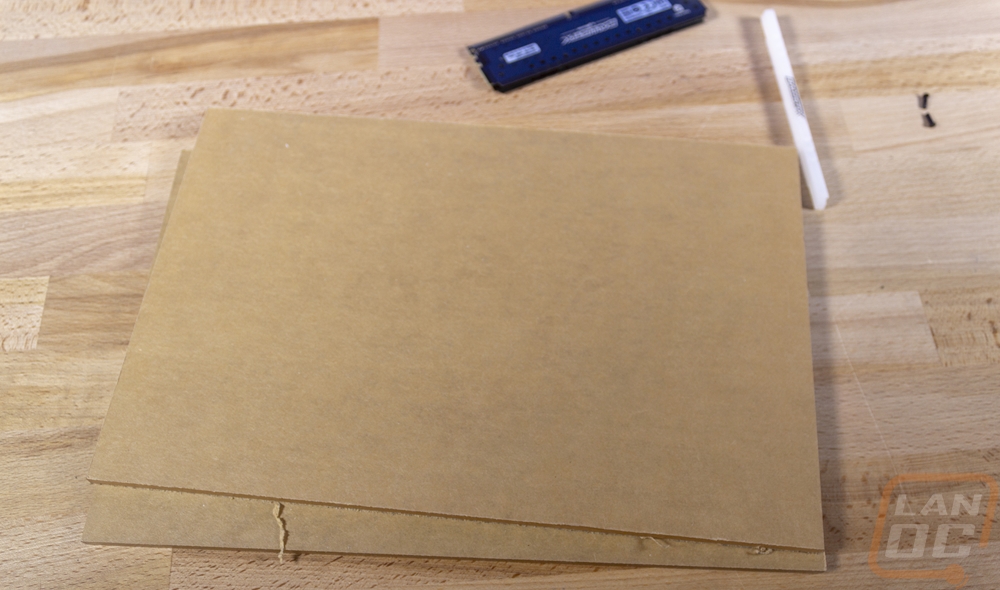
So to prep for this project, I ordered in a few sheets of ¼ inch cast acrylic, while not expensive I did have a hard time finding a good price for a size that would fit in the 8x12 inch cut area of the Inventables Carvey. The sheets were $6.49 from Inventables and that wasn’t that bad of a price but the shipping adds to that significantly. I ended up ordering a two pack on Amazon for $17.99 shipped. I also needed to have clear filament for the 3D prints but I already had a spool of Atomic Filament Clear PLA, my experience has been that theirs doesn’t have the yellow that a lot of the other brands have so I keep some around.
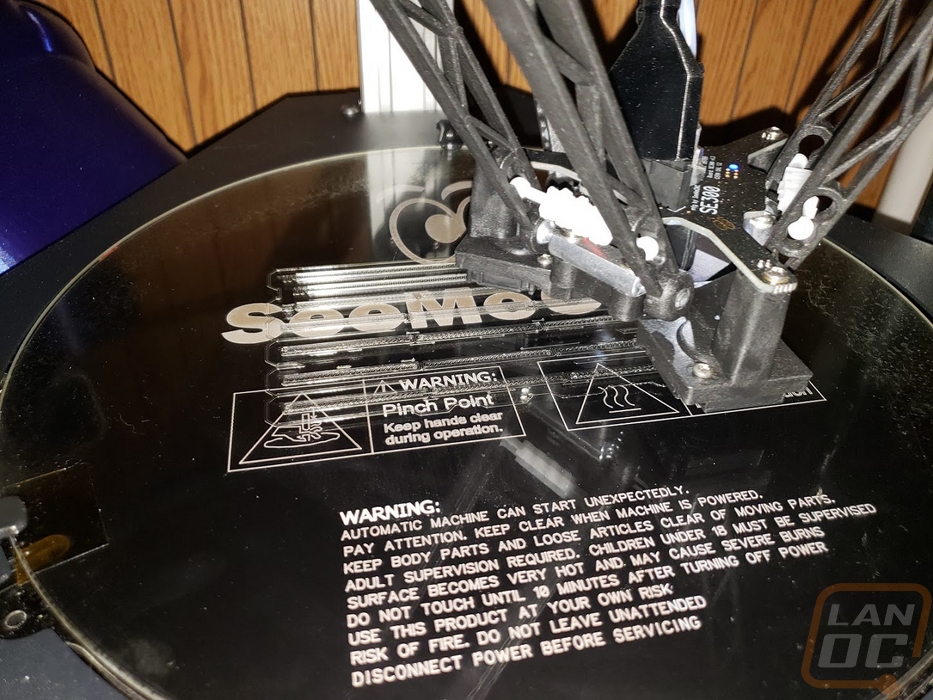
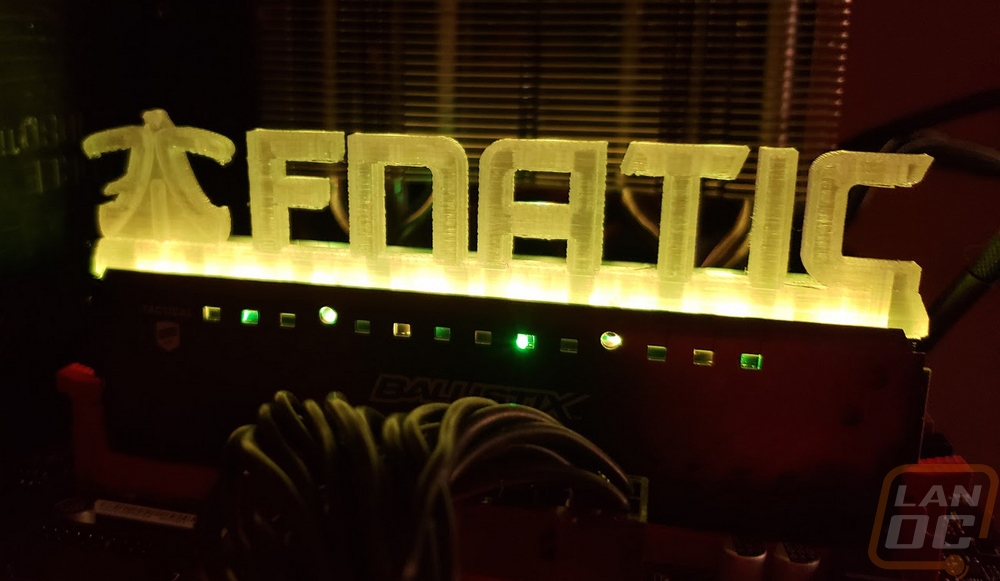
I originally wanted to 3D print a LanOC logo as well as carve one but once I got into designing it our logo wasn’t really a printable design in that orientation. So I stuck with the designs that Crucial has uploaded online as well as a four part skyline design that I saw pictures of at an event and begged them for the design. I used my SeeeMeCNC Artemis to print everything, it is similar to the Rostock MAX v3 from SeeMeCNC that I reviewed a while back but it has a full metal frame and is much larger.
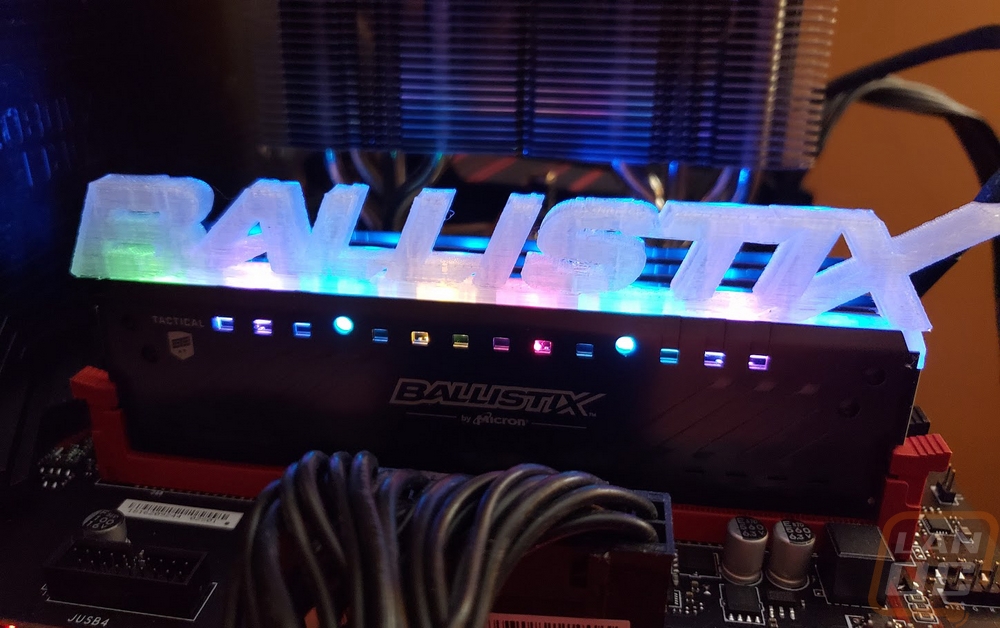
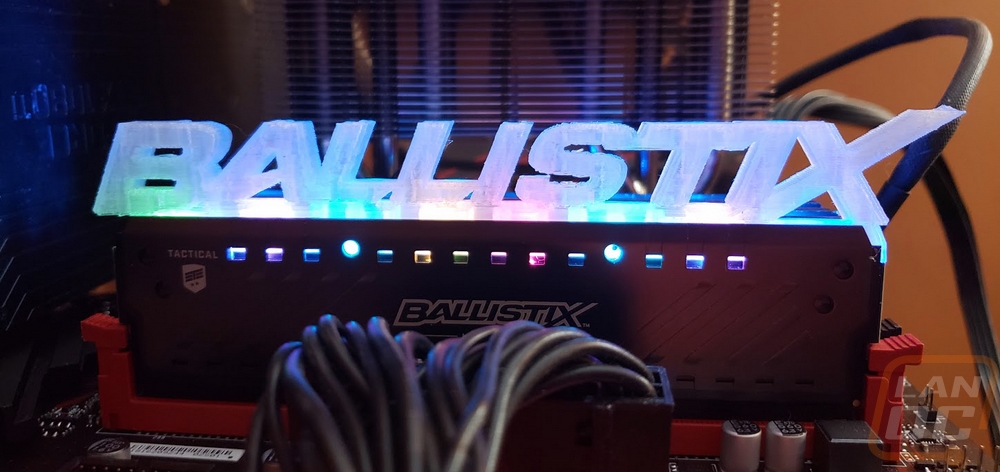
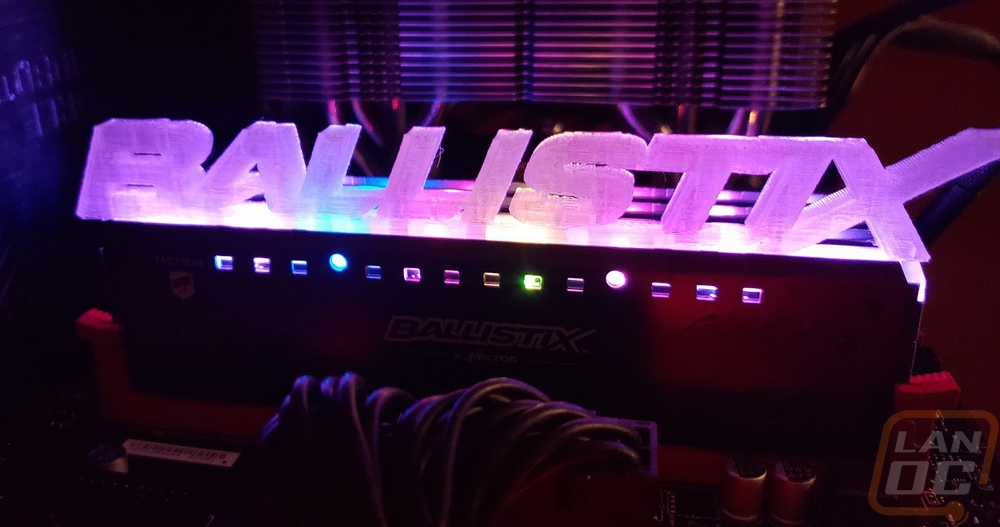
All of my prints were done at a .2mm layer height and I ended up slowing things down a little due to the taller skyline lightbars to keep them looking a little cleaner. I also printed with supports for the Fnatic, Team Liquid (that I broke), and Ballistix prints. While my printer is relatively tuned, I really need to drop the layer heights down a little more for a cleaner look on all of the prints. Especially the text lightbars. More importantly, because these are all FDM printed, meaning plastic is laid down layer after layer like cake icing, the transparent filament starts to get a translucent look to it. This is from the layers attaching to each other, turning up the heat can help a lot with this but that brings on other issues that will require a lot of cleanup. If you want the cleanest look you really want a resin based printer to print these. This also makes the light a lot harder to travel through for taller prints.
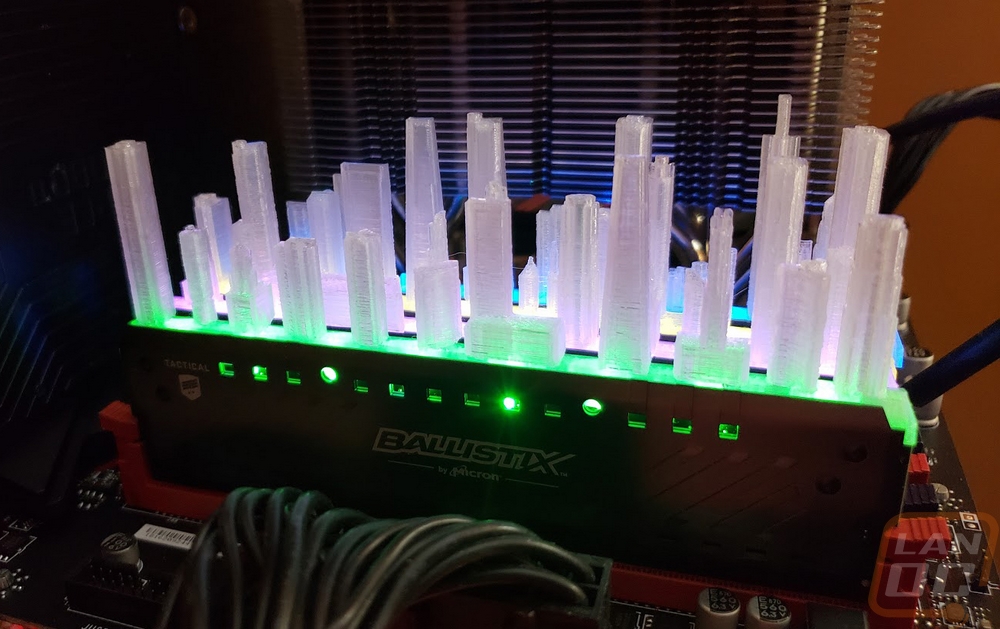
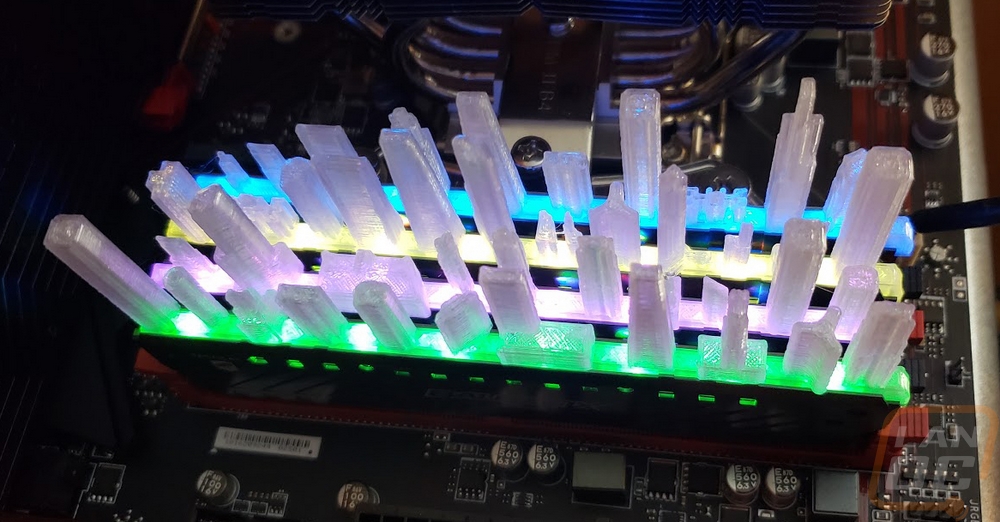
Now the city skyline, on the other hand, is my favorite of all of the designs. For one it is a better design for 3d printing in general. There aren’t too many overhangs that require supports. But the best part is this shows how creative you can get with multiple unique designs. Rather than printing one design four times and all of the memory matches you can add layers. That adds depth and combine that with each memory being able to have different LED colors or even multiple LED zones per stick. The skyline shows that by having different buildings going back like a real city would have. Of course, this would work better if my prints ended up being more transparent for the light to reach up farther into the towers.
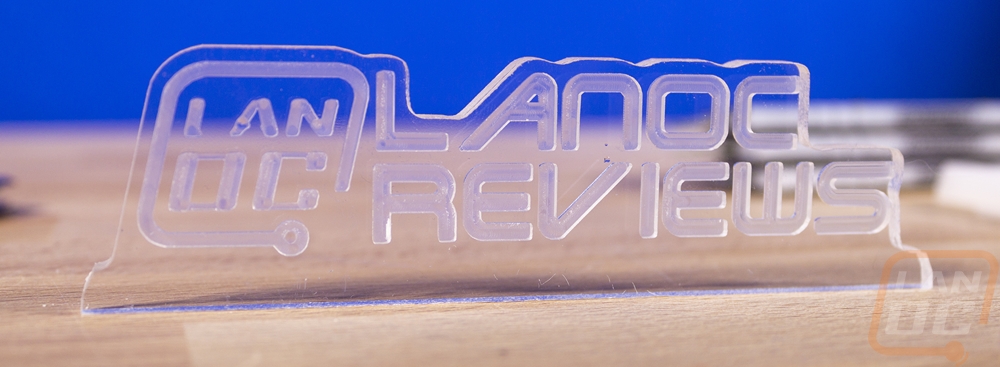
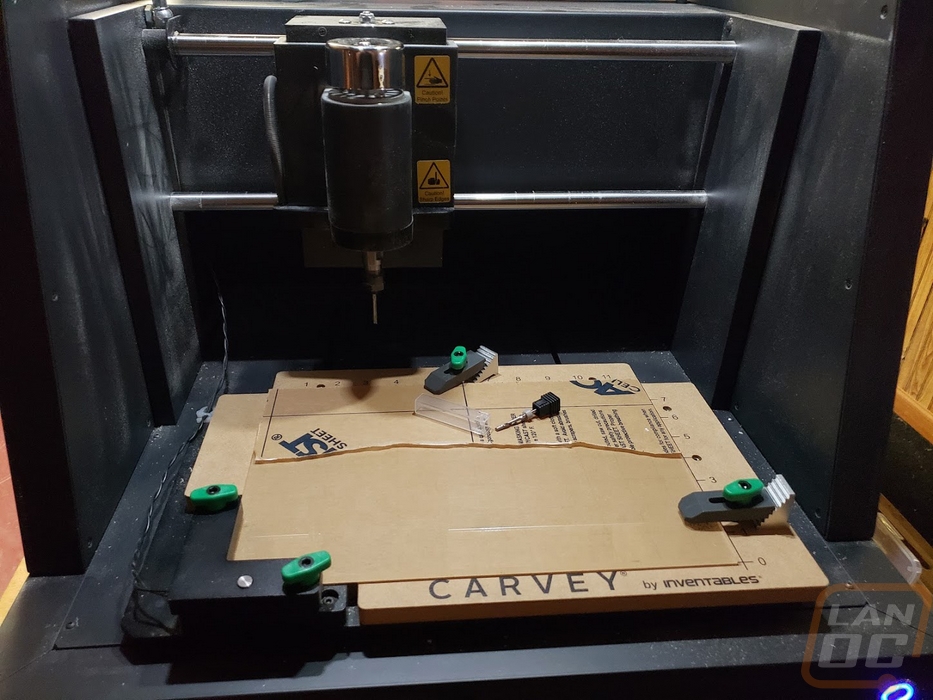
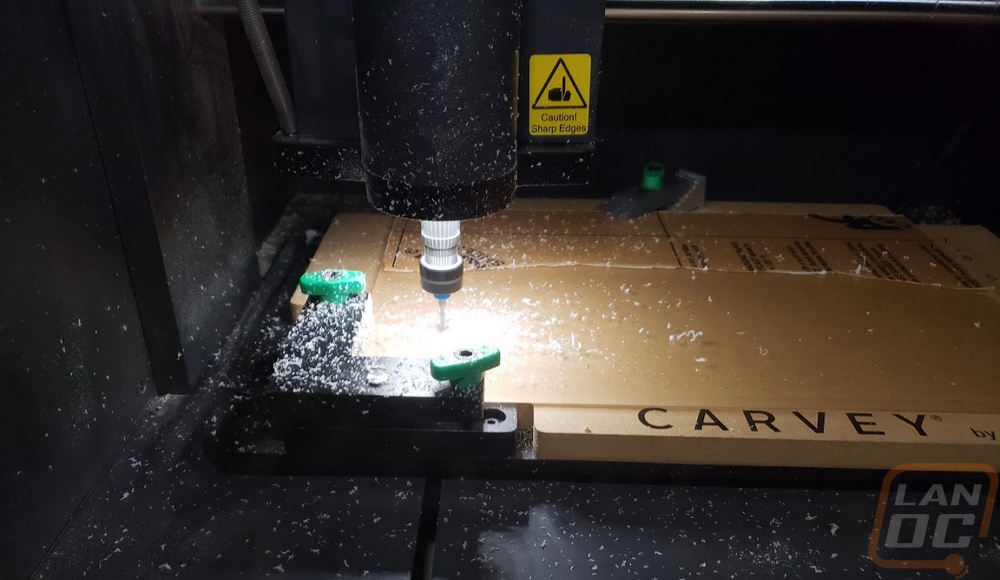
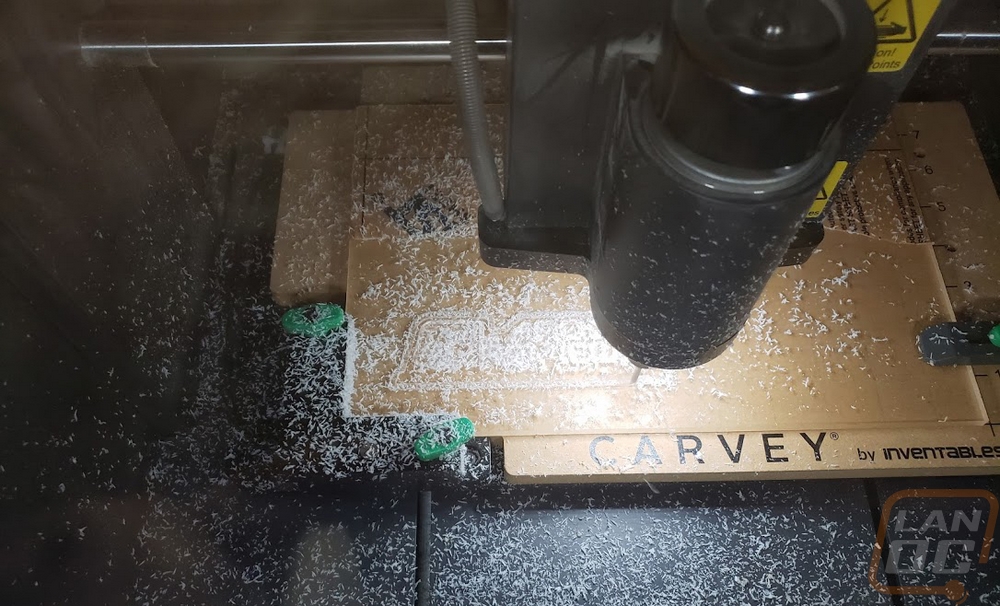
I was really excited to have a good use for the Inventables Carvey. Well to be more specific, something that I could do as far as PC customization that was in line with my still low experience with the machine. I designed a basic outline around the LanOC Reviews logo in photoshop using the outline tool and combined that with a screenshot of the side profile of the designs that Crucial has uploaded of the base file to create my basic design. I ran one carve to get a test piece. Well, I actually did multiple carves. To get the detail in the LanOC logo I had to use a 1/32 upcut bit and that would take forever to do the entire thing so I did my first cut with the 1/16 and the 1/32. With my first test carve, I learned a lot, both about my process and my design. It looked great on first look but I found that the L and A wasn’t engraved because they were smaller than the 1/32 bit. My machine was also not calibrated right and cut the engrave deeper than I had planned.
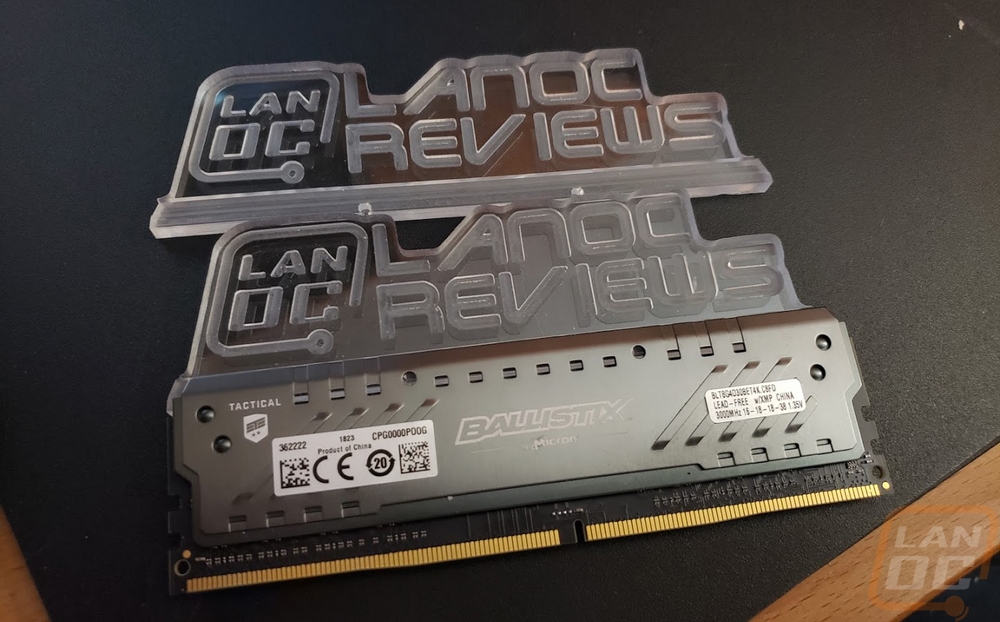
When I did a test fit I found that the ¼ inch material that Crucial suggested did fit but was thicker than the memory could really support. I got it in there but it was pulling the heatspreaders away from the memory.

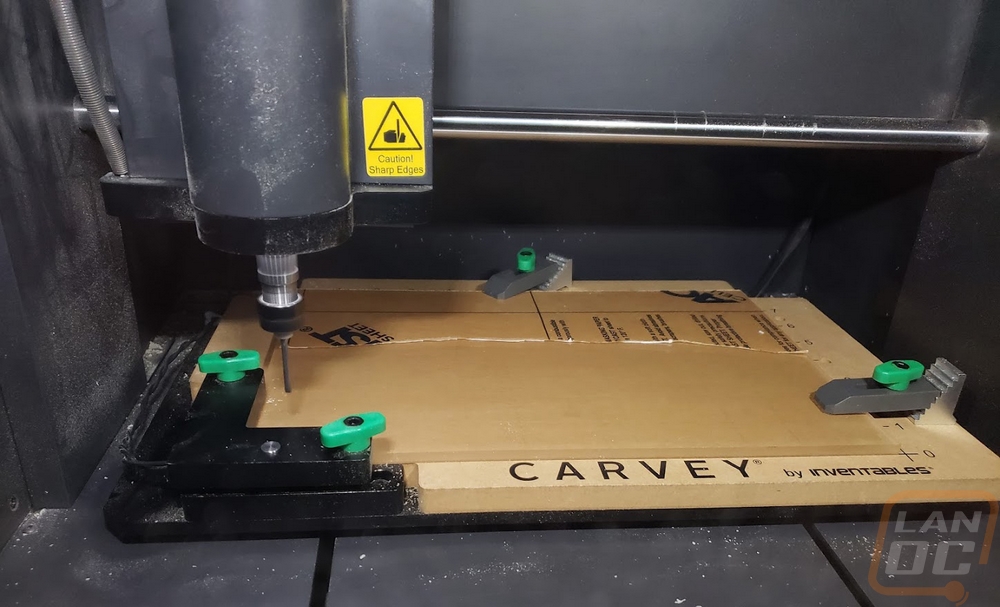
I made a few changes to my design. For starts, I cut a little material from the bottom in two depths to help add a little one sides dovetail shape. This was to help lock the memory in place. I also added a few more carves to my process. I did three carves with one being with two bits. This allowed me to use a 1/8 upcut bit and a 1/16 upcut for the first round. Then I followed up with the 1/32 to just get the details. I then came back after those with eh 1/8 again to just do the final outline cut. I did this on its own because I didn’t want to break a thinner bit and I wanted to have the engraving done before risking the part breaking loose. The Inventables Easel software doesn’t allow for four carves like that so I had to work around it by creative duplicates down at the bottom for my different carves.

Watching the Carvey was interesting, similar to watching 3d prints but with more noise.

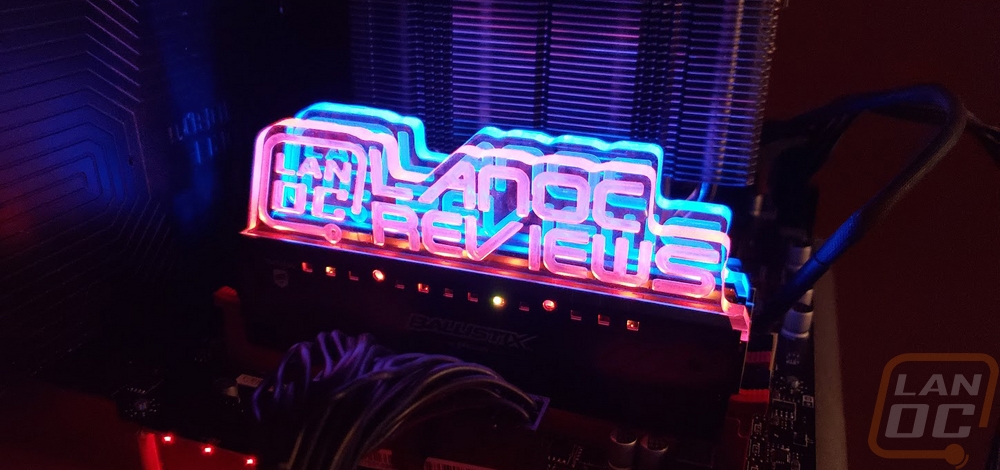
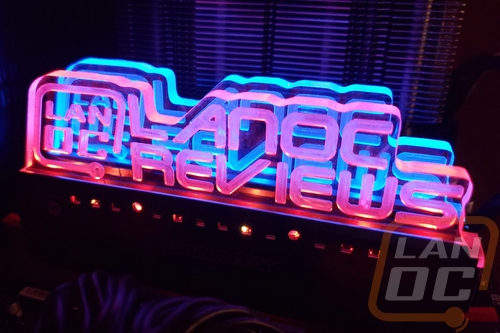
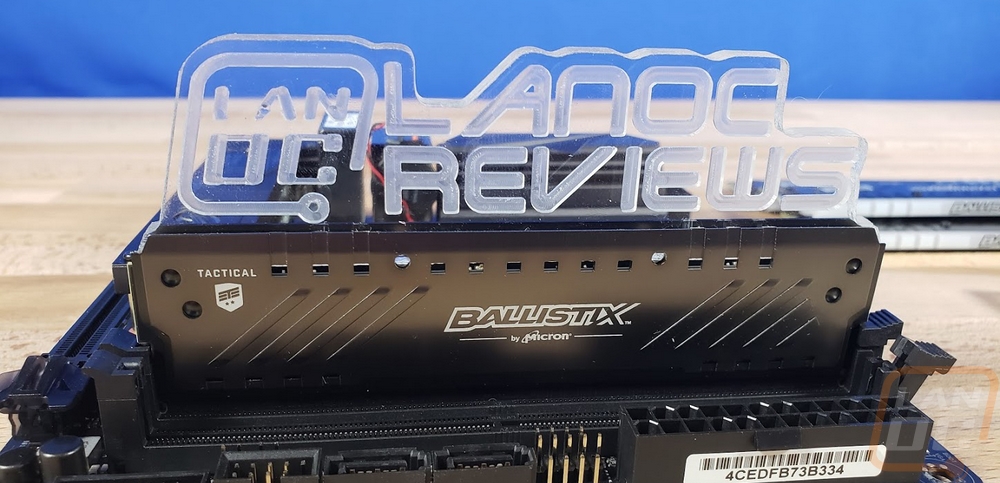
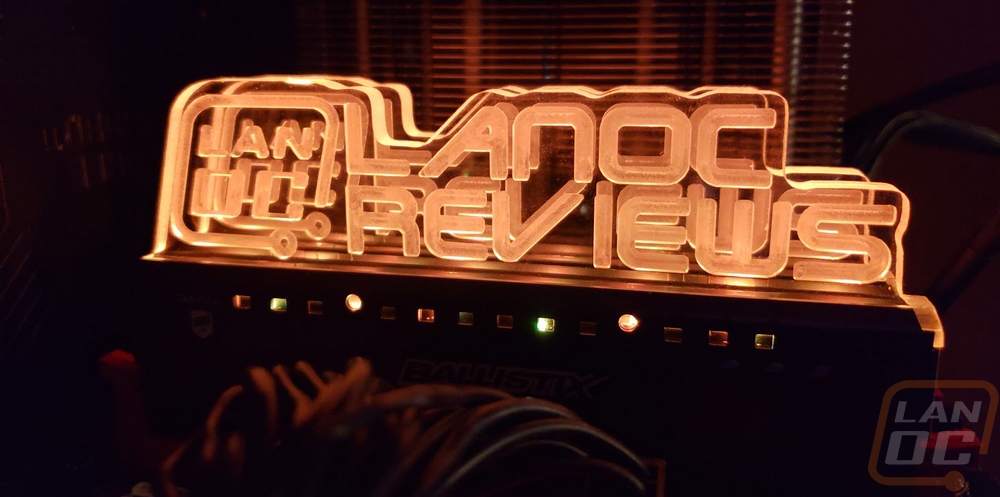
The end result was much better than I expected. Fixing the thickness on the A and L helped bring back most of our logo and more importantly the dovetail cut at the bottom helped the design fit properly into the memory. I even had the holes for the pins to go back in place as well. I uploaded our design as well if anyone wants to use it as a base design or to make LanOC memory. Just let us know, I would love to see what people do with them.
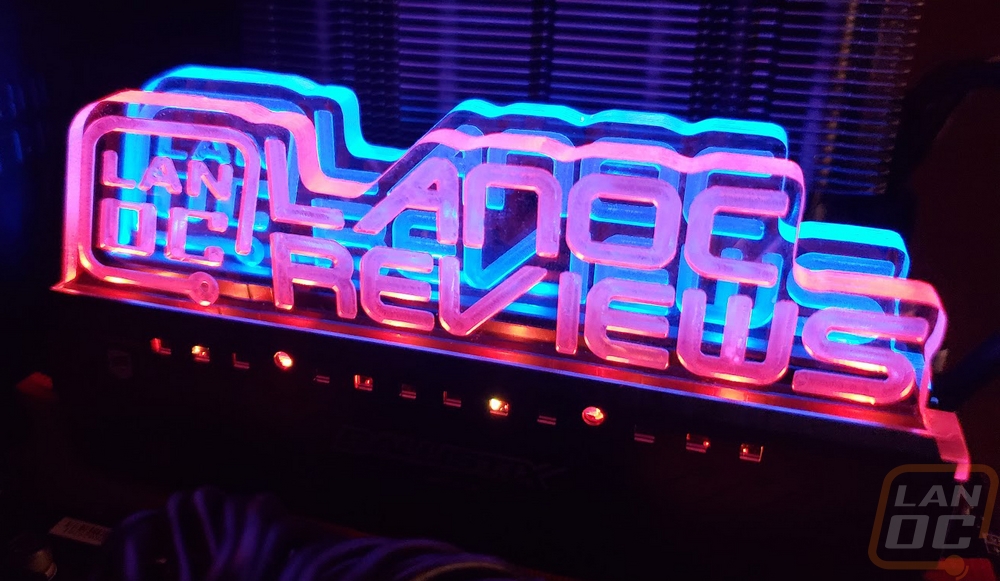
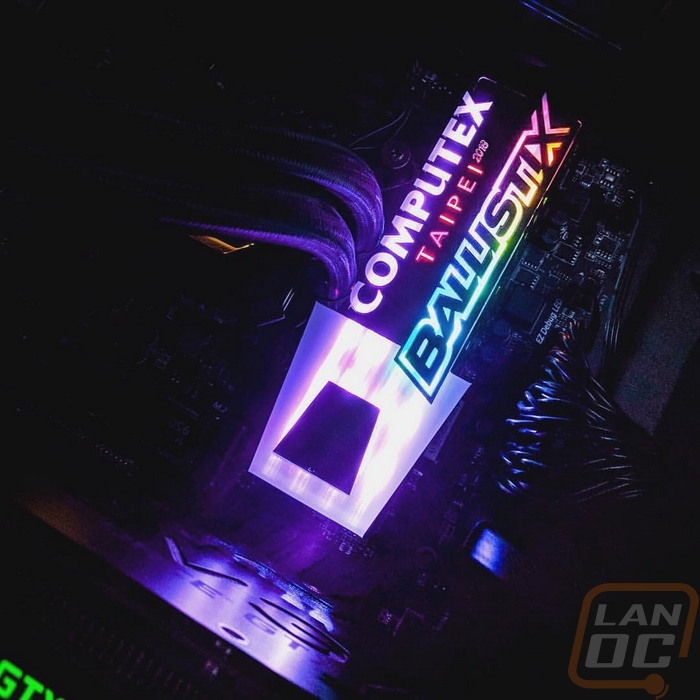
The Acrylic really pops with the lighting on. Because it is more transparent than the printed parts it carries the light up much farther as well with the edges being really lit up.
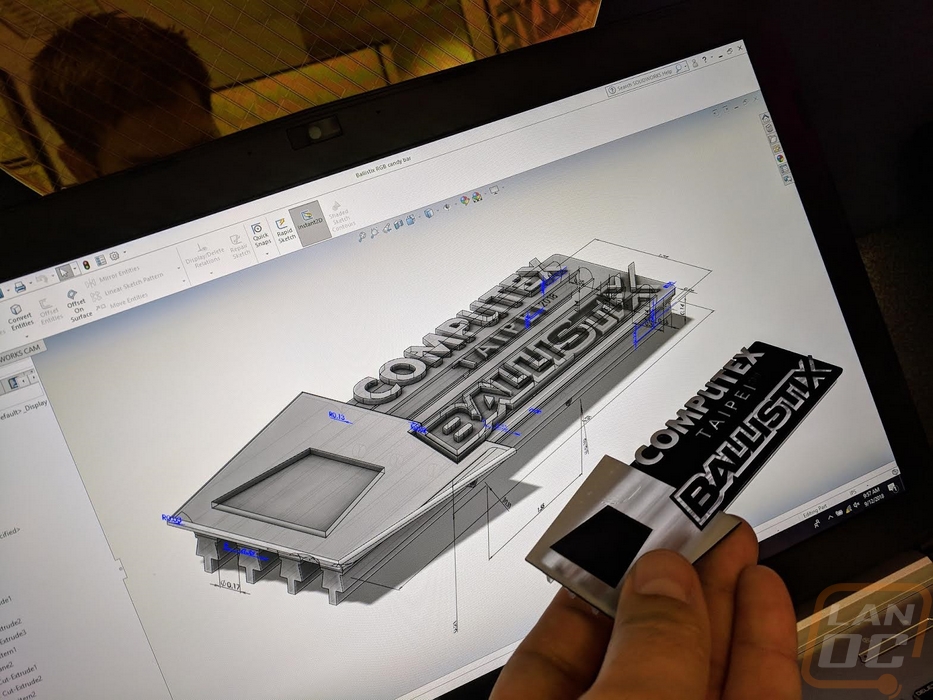
Now Crucial had a really unique design that they called the candy bar design that they showed off at Computex. This to me is really the best direction to go in most builds. The normal design including what I made is best viewed from the side and a lot of builds don’t really support that. They 3dprinted this design but it is a little more complicated because it has to match the gap between the memory DIMMs and apparently some brands of motherboards are different. What I had in mind for a future design on a project build maybe is to carve the two or four dovetails with a flat top. Then carve the top panel, you can put each dovetail in the memory and then glue it all together with it installed in the system to avoid the chance of it not fitting.
Software
So Crucial has their own software available for controlling the lighting and they are also work with all of the motherboard manufactures to also be integrated into those lighting controls as well. I personally like using the motherboard's software because it ties most things together and allows you to have your lighting effects synced together. But in this case, I wanted to check out the software that Crucial has to offer. First I should point out that the first time I tried to get this software up and running on our older X99 test bench it wouldn’t run. But I switched to a newer platform and everything worked.
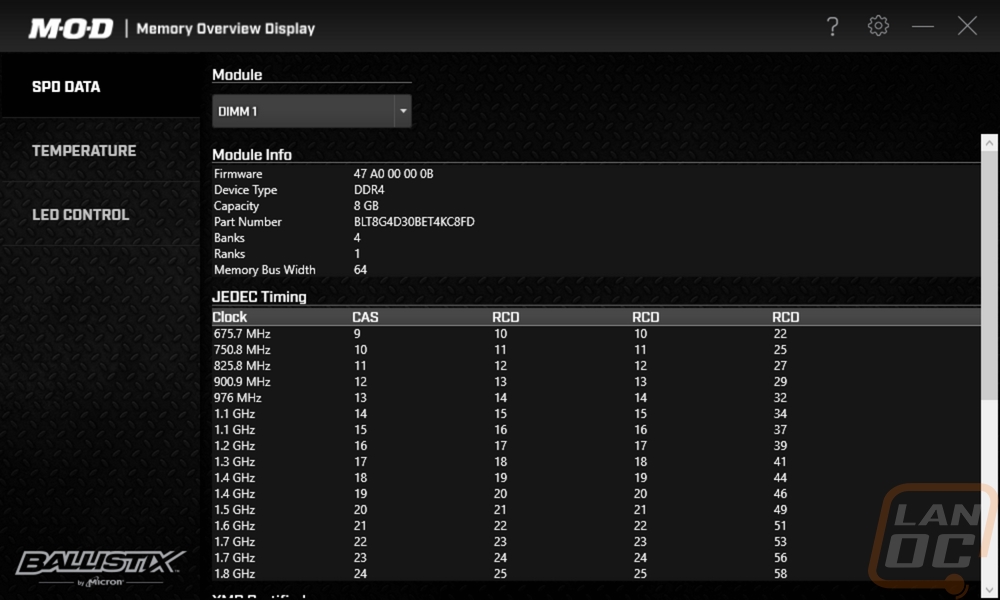
So when you first get into the software you have three tabs on the left. The first one is labeled SPD Data and this is a simple one. This just lets you take a look at the module information and JEDEC Timing for each installed DIMM.
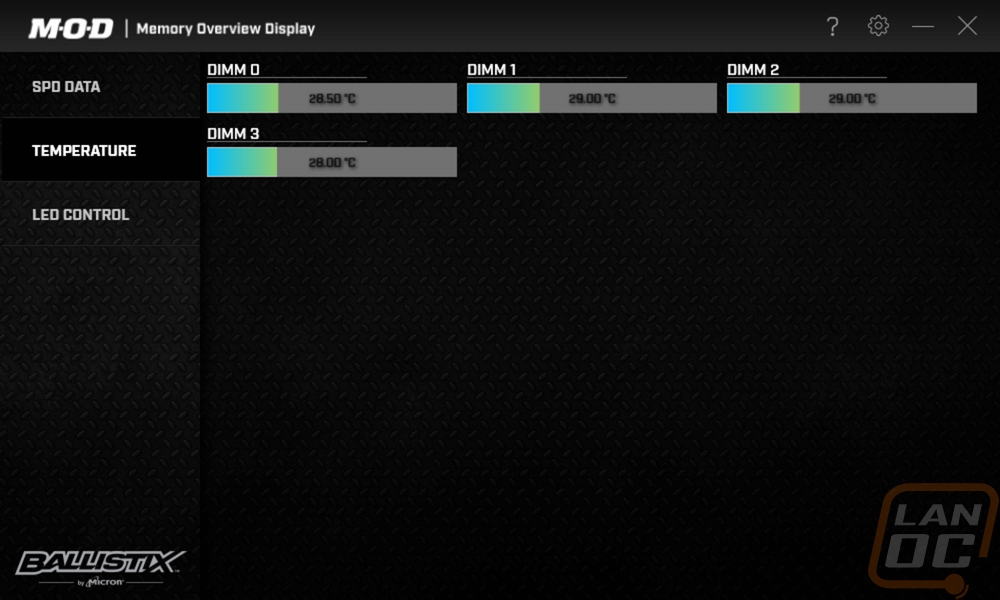
The second tab actually surprised me. While I’m used to nearly everything anymore having temperature readouts. I was happy to see that each stick has a temperature sensor that you can read here. This will come in handle when you start to push the limits or if you are worried that adding a tall printed or carved part on top might block airflow to some of the middle DIMMS.
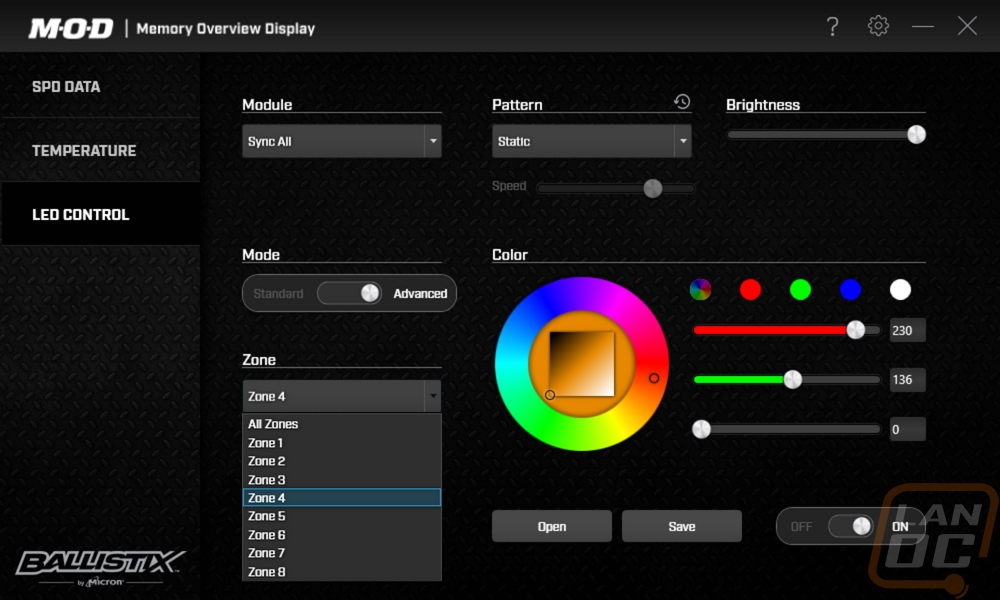
 But really the only thing that I was interested in with the software was the last tab, the LED Control tab. This is where you can adjust or turn off the lighting. Now right away you will see the color wheel and the RGB color sliders. But before diving in you do need to select the memory stick you want to adjust. I had all four installed so under the module option you could select sync all to do all four at once or you could pick from the four DIMMs. From there you have two modes, the standard mode, and the advanced mode. What sets these apart is if you want to customize the lighting on that stick altogether or if you wanted to adjust the lighting by zone. Each stick has LEDs all the way across it, the zones split that up to do more complex lighting.
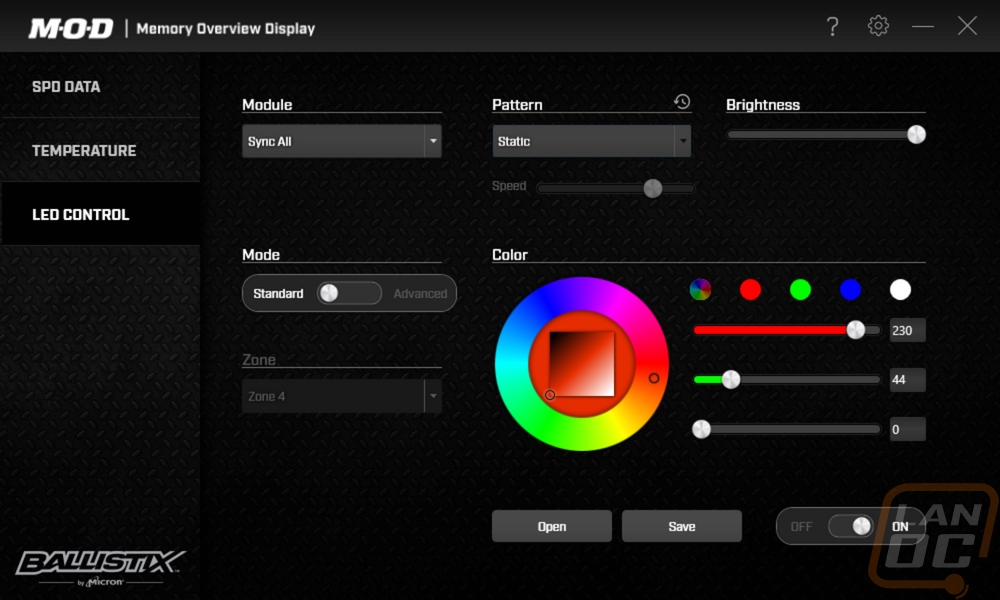
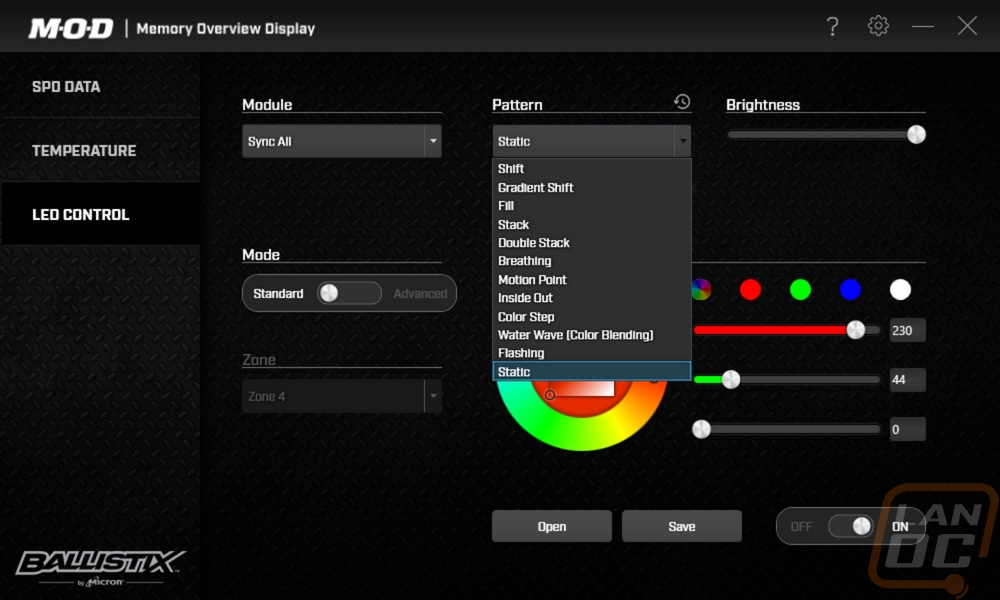
From there you can pick from a whole list of patterns. Most are basic flashing or breathing effects or waves where the lighting turns on and off the inside out or the other way around. They also have effects like color step that will slowly flip through colors, gradient shift is similar but smoother. What I found was missing was more complex effects like the wave that you find on every RGB keyboard.
The brightness adjustment is nice, you can tone the lighting down as much as you want. Especially if you don’t want your whole case to be glowing, just to have a few lights when you look in. Overall I found the lighting to be about what you would expect as far as color matching goes. No one can seem to get orange to match the orange you click on, you have to get into the reds to find that. The wheel lets you set the lighting to just about any color.
I toyed around for a while with using alternating colors, this worked really well doing it between sticks or using the color zones in advanced mode. This could especially work well with custom printed lightbars where you could, for example, set the LanOC part on the left of our logo in orange and the part on the right in a different color altogether.