Crucial Ballistix Tactical Tracer RGB
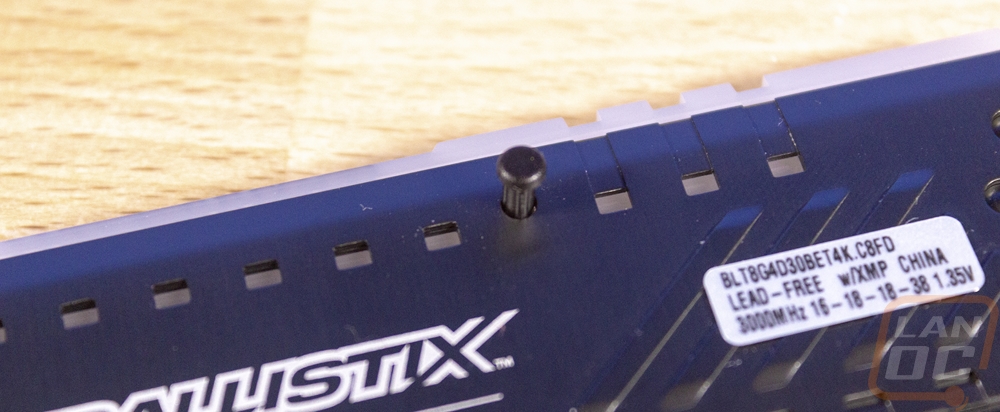
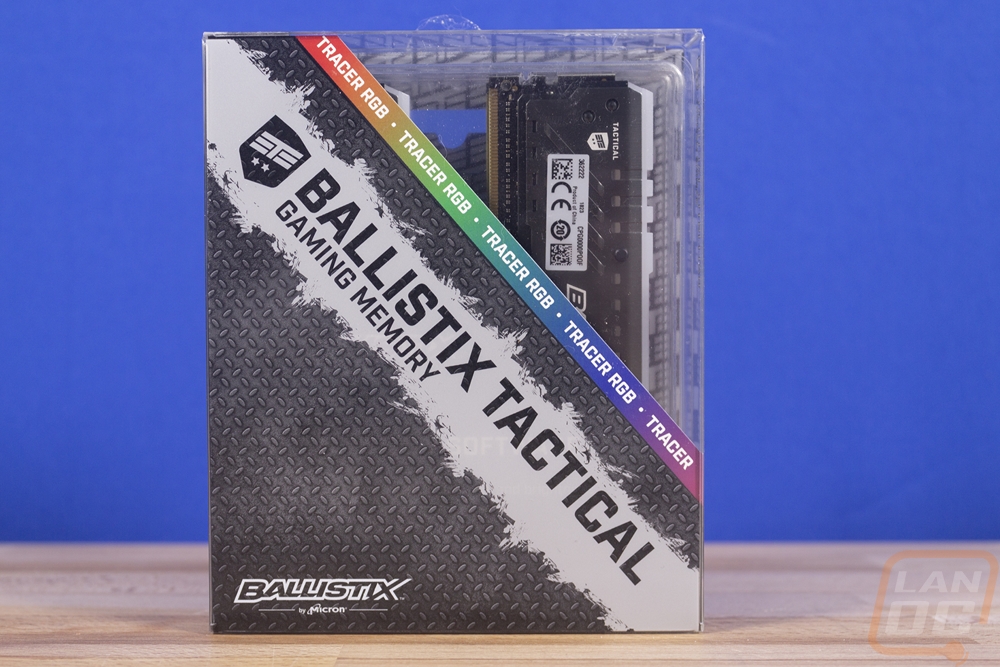
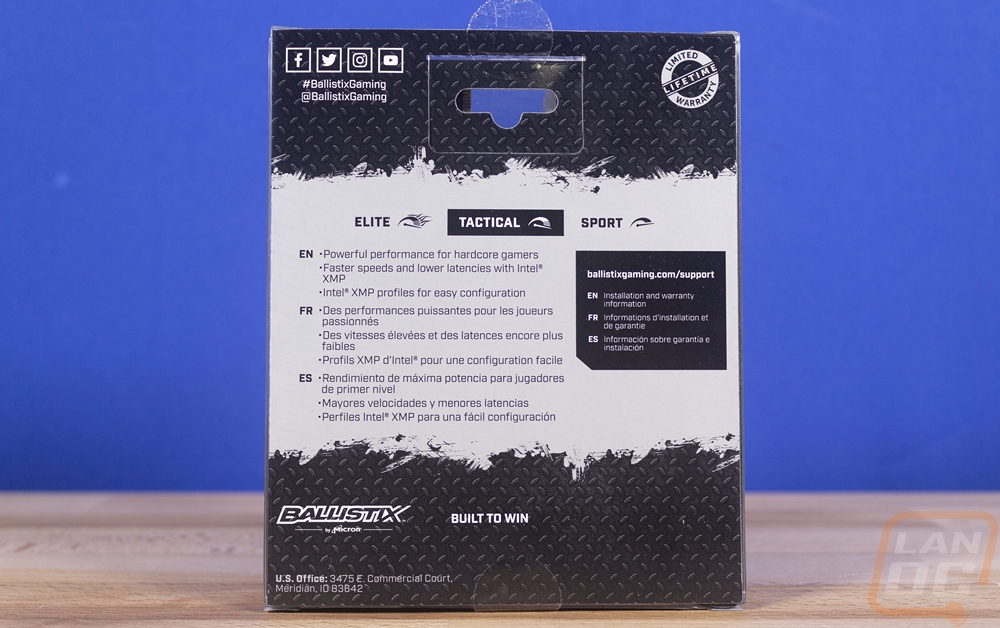
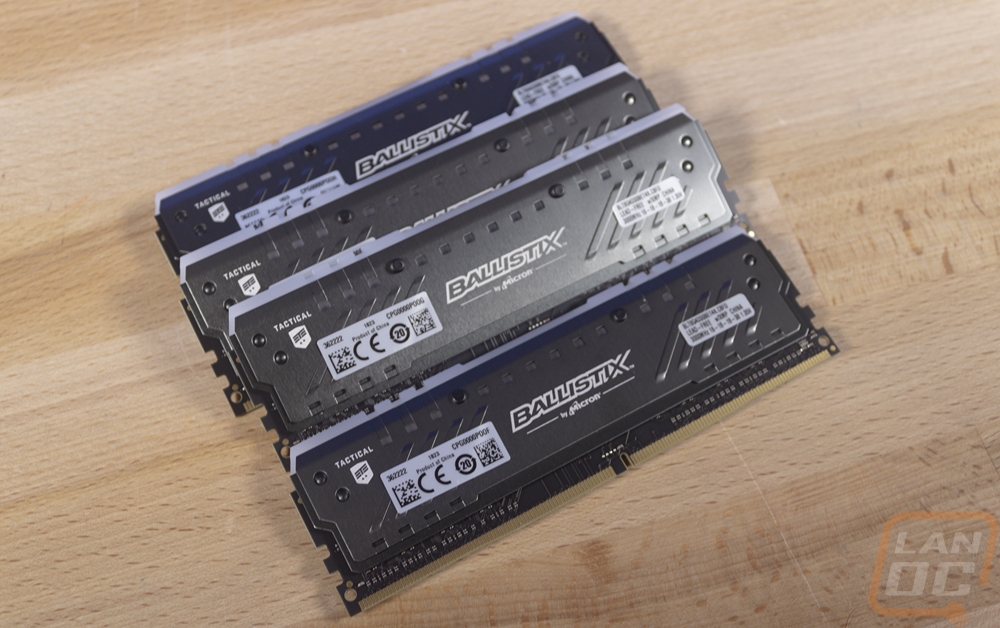
Before pulling the memory apart and starting to print and carve things I, of course, wanted to take a look at the memory first. They sent over a quad channel 4x32GB kit that runs at 3000MHz with 16-18-18-38 timings. The kit came in a clear plastic box where you can see the memory through the front, top, and right side. The front is mostly filled with an angled diamond plate section with the Ballistix Tactical branding on it. The normal Ballistix logo was down in the corner and the Tracer RGB designation is only found in the RGB colored strip that goes between the window and the diamond plate print. Around on the back, they have their social media information as well as support. They also have a logo showing the limited lifetime warranty, that is nice to see! The memory itself comes in two more clear plastic trays to keep them from hitting each other.
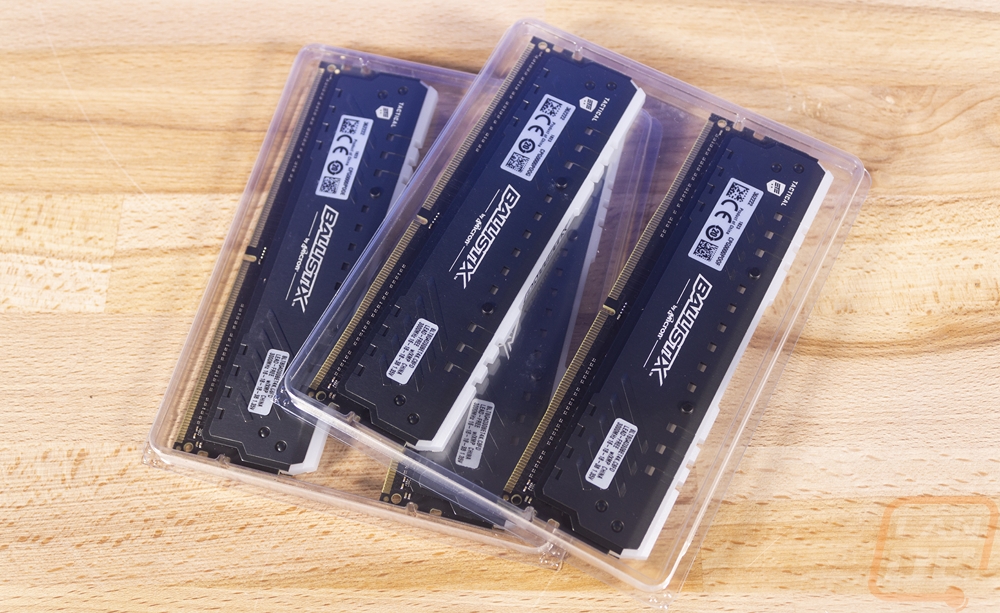
So the memory comes in a grey finish that depending on the amount of light on them looks dark or light. The heatspreader design is a continuation of the normal Ballistix Tactical memory design. That means the logo is still printed on the middle and the dashes are still there, you just get 4 and a half on each side now where the other design had four thicker dashes. Then the holes up near the top are smaller. The heatspreader design also has a dual layer design now, this is to give the lightbar something to sit on.
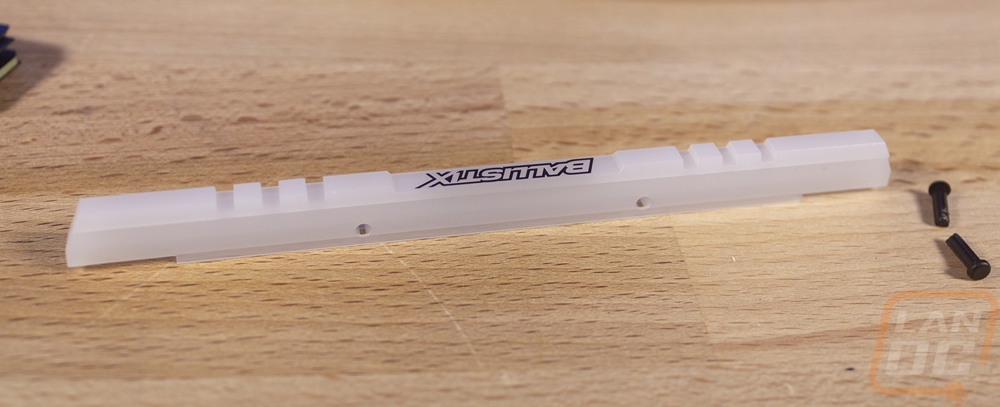
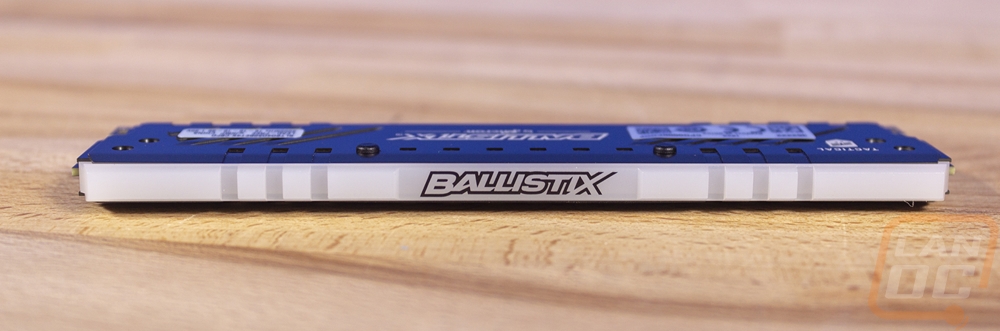
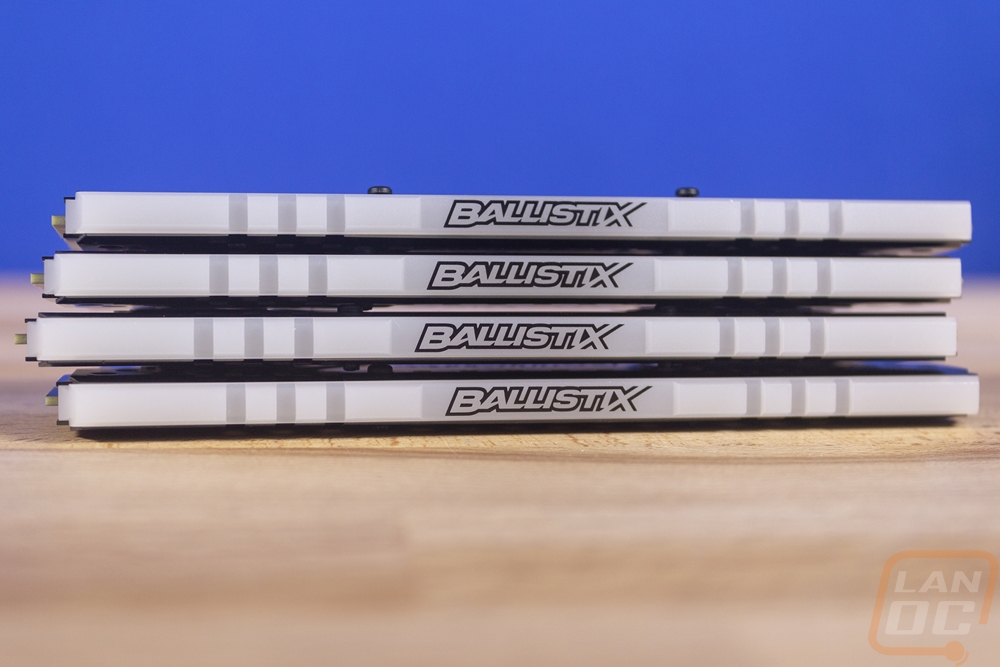
Of course, the lightbar is the biggest addition, the basic tactical memory kit doesn’t have that at all. In fact, this is also a big change from the older DDR3 and DDR2 Ballistix Tracer kits. They just had the heatspreader on the sides with the machined finish around the edge and an open top and bottom for the lighting. The lightbar is a soft white that is transparent but helps diffuse the light, every one of the modern RGB kits has them and that is because it helps makes the light more visible. These also have the Ballistix branding on them in the middle then three lines carved in the top on each side, similar to the heatspreaders only without the angle.
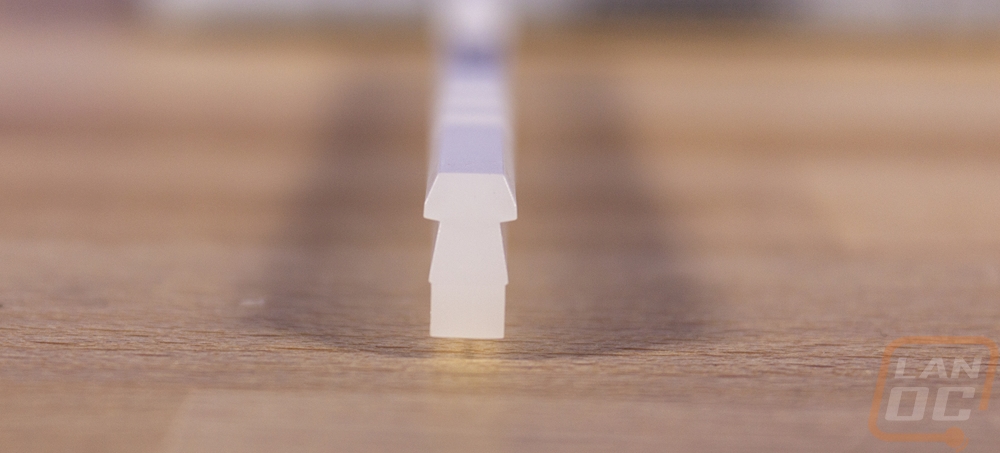
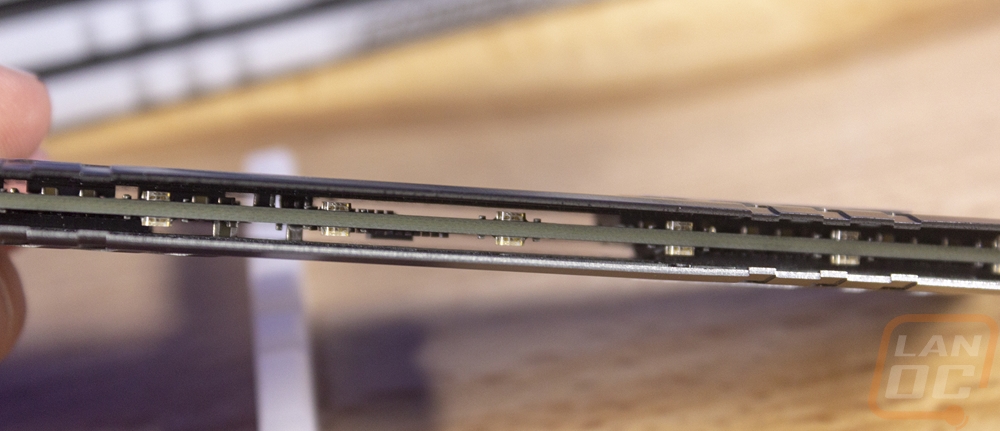
I also pulled the lightbars off, both because I needed to check out their shape for designing a carve for our Carvey and also because I wanted to see what was under them. Pulling the bar out is very simple, there are two plastic pins pushed into holes in the heatspreaders that also run through the lightbar. Push on these from the back side (the side without a wide head) and then grab the head and pull them out. The stock lightbars then just slide out sideways. This is because as you can see they do have a small dovetail shape to them. Under them, you can see that there are RGB LEDs surface mounted to the memory on both sides about every ¾ of an inch. Unlike the old designs, there aren’t also LEDs facing out of the bottom of the memory.