Continuing where we left off in part 2, we changed some things around on the network to hopefully protect the NIC in the new build, we picked out a video card powerful enough to match up with the AMD Threadripper 9980X with its 64 cores, and we got two fast PCIe 5.0 drives in high capacities, one for the OS drive and the other to install games on and to use as a scratch drive. But that’s still not everything needed to get this monster of a build up and running. We still need to figure out the cooling and power, and we did have an unexpected component come in that will be a nice addition as well. So let’s continue where we left off and see what will be cooling that Threadripper 9980X.
Project Name: Project Momentum - Part 3
Written by: Wes Compton
Build Sponsors/Supporters: Fractal Design, AMD, Asus, G Skill, Be Quiet, Silverstone, Nvidia, Lexar, Trendnet, and Patriot
Amazon Affiliate Links:
Links to the rest of the project: Part 1 – Part 2 – Part 3 – Part 4
Water cooling
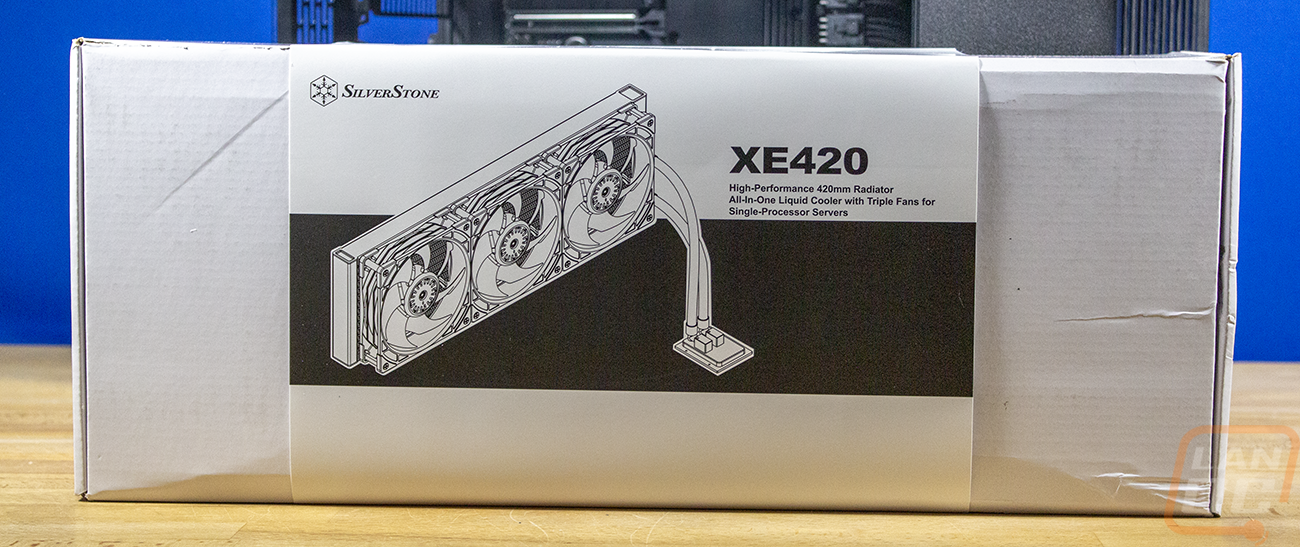
I was originally going to go with the water cooler that AMD sent with the Threadripper 9980X. We already knew how well it worked, and it was from Silverstone, which I have had good experiences with. So much so that I had that kit installed and done. But I did still look into what other options there are out there for Threadripper. Other than just using a different bracket on a basic AIO water cooling kit, which wouldn’t get very good contact on the large surface area of a Threadripper CPU. I even seriously considered going with air cooling, there are a few really good options in air cooling. But this is a monster of a CPU, and I want to keep noise down as much as possible. Silverstone is one of only a few companies that have coolers available for Threadripper, and on top of that they actually have a few options. So I reached out and they sent over a nice little upgrade from the original XE360-TR5 to their new XE420 high-performance cooler. With a similar full-contact water block but an even larger radiator and better fans, it fit the bill. Our box, on the other hand, took a beating at some point and I will show you later but the cooler did as well. The box is all white with a white and black strap around it with the XE420 branding and picture on it. Inside, everything is in foam and in its place, and given the box's condition without that foam, I can’t imagine how badly it all would have been damaged.
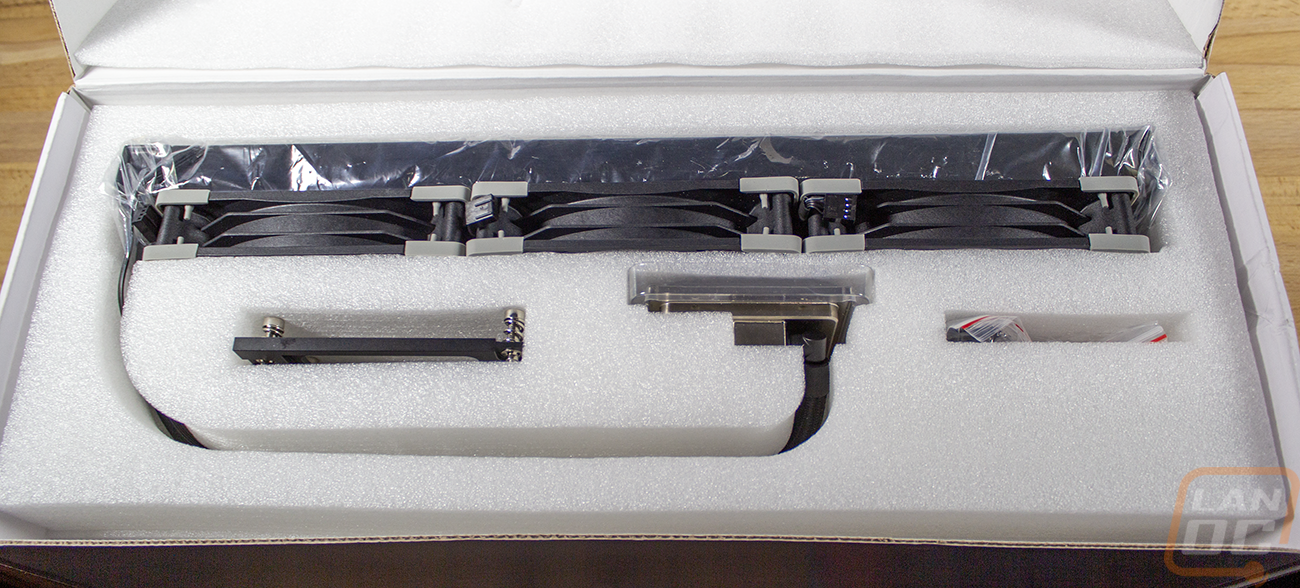
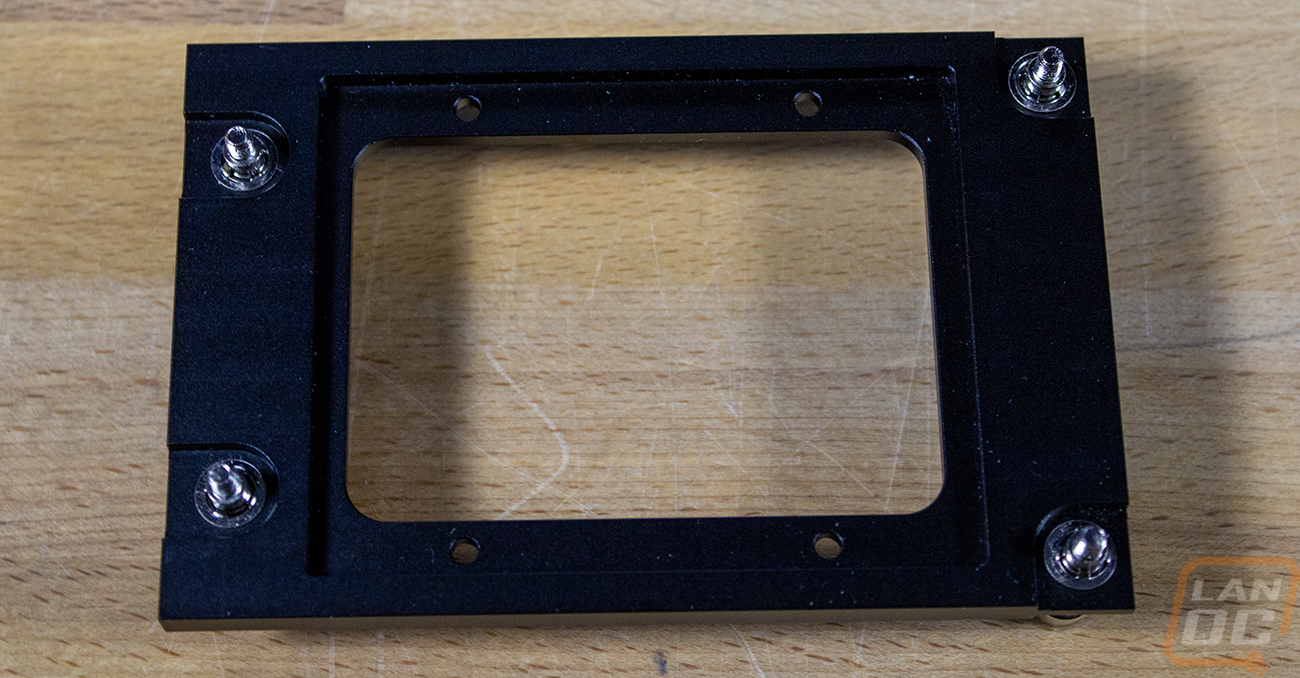
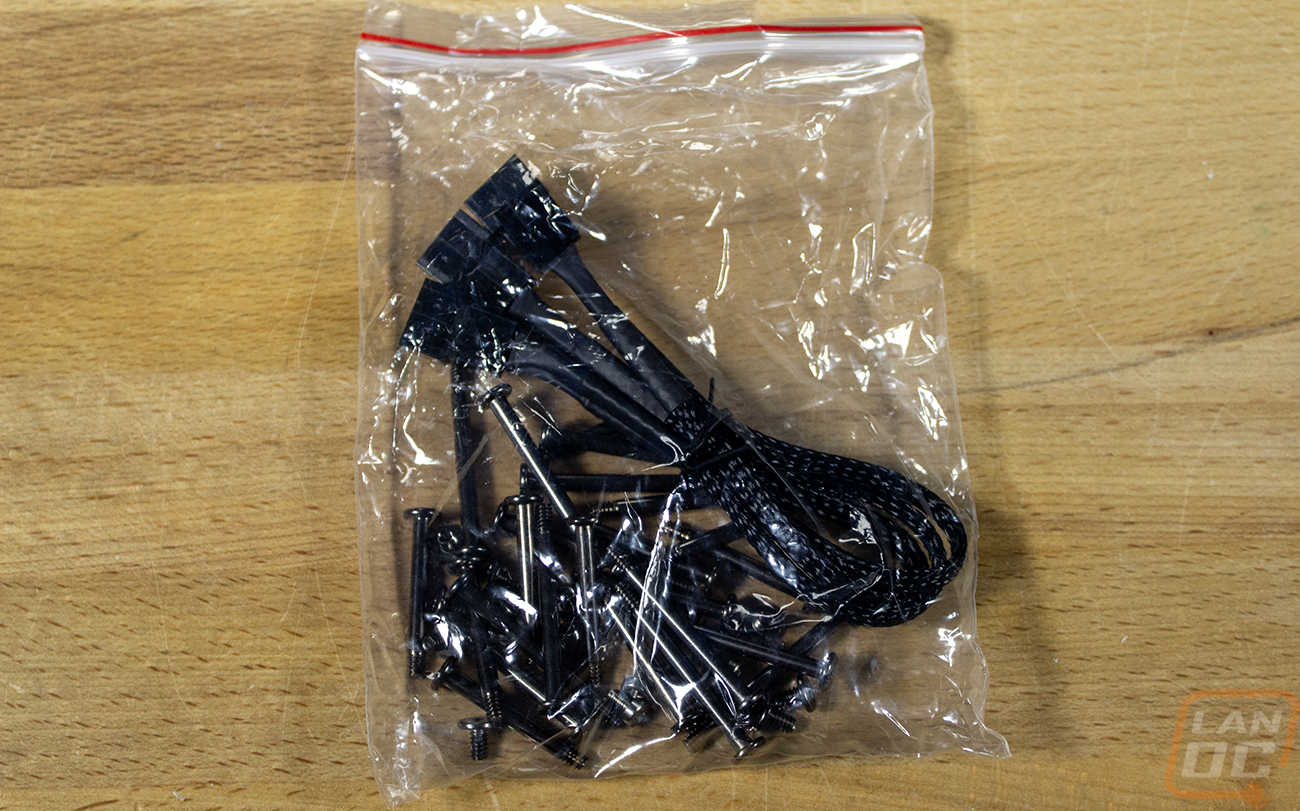
Like with the original cooler, you do need a TR5-specific bracket for the cooler. This one doesn’t have the Silverstone branding like our other cooler but that fits with our mostly blacked-out build really well. You get a big bag of screws as well as a three-way splitter wire for wiring up the three 140mm fans.

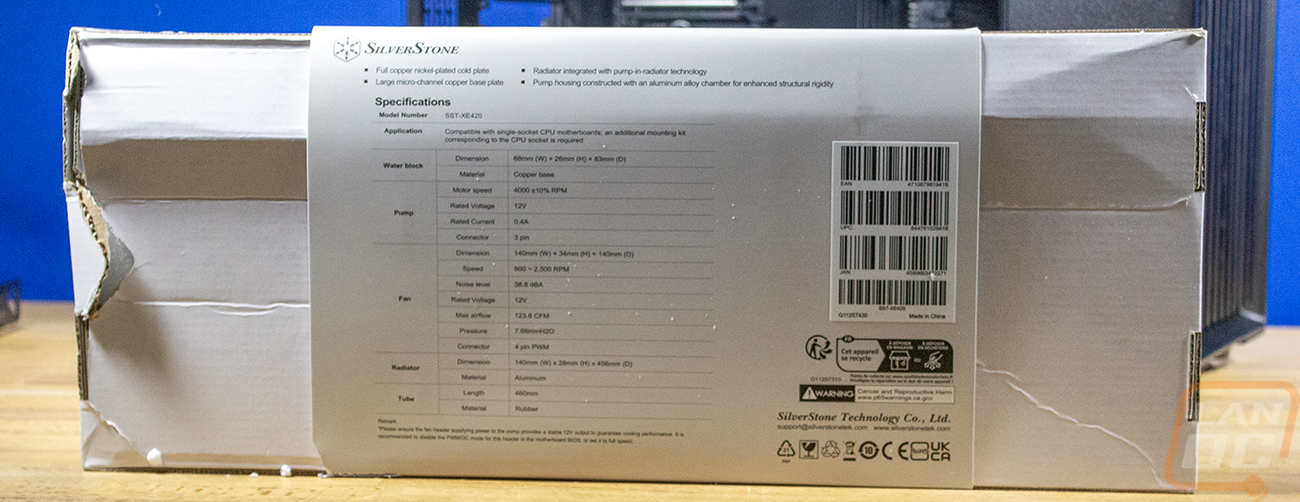
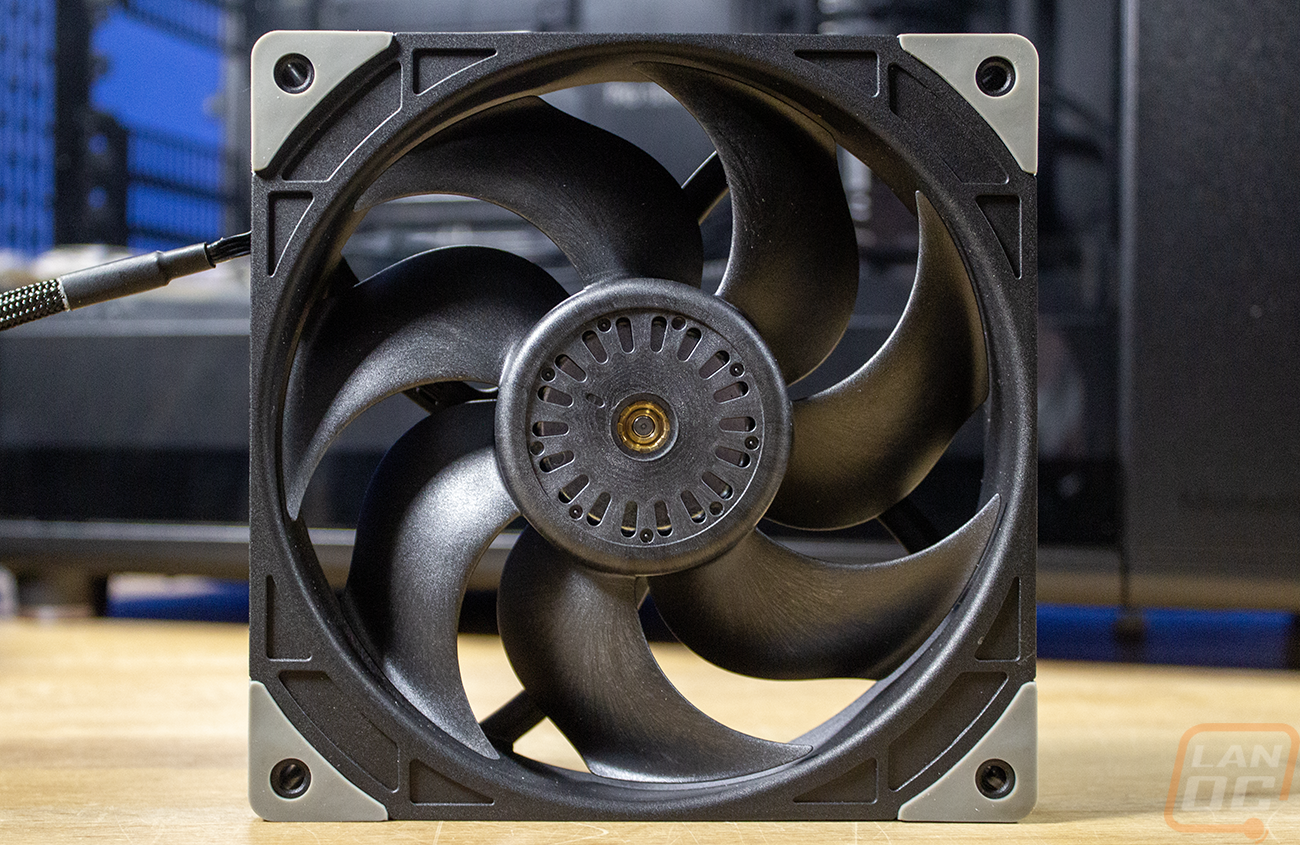
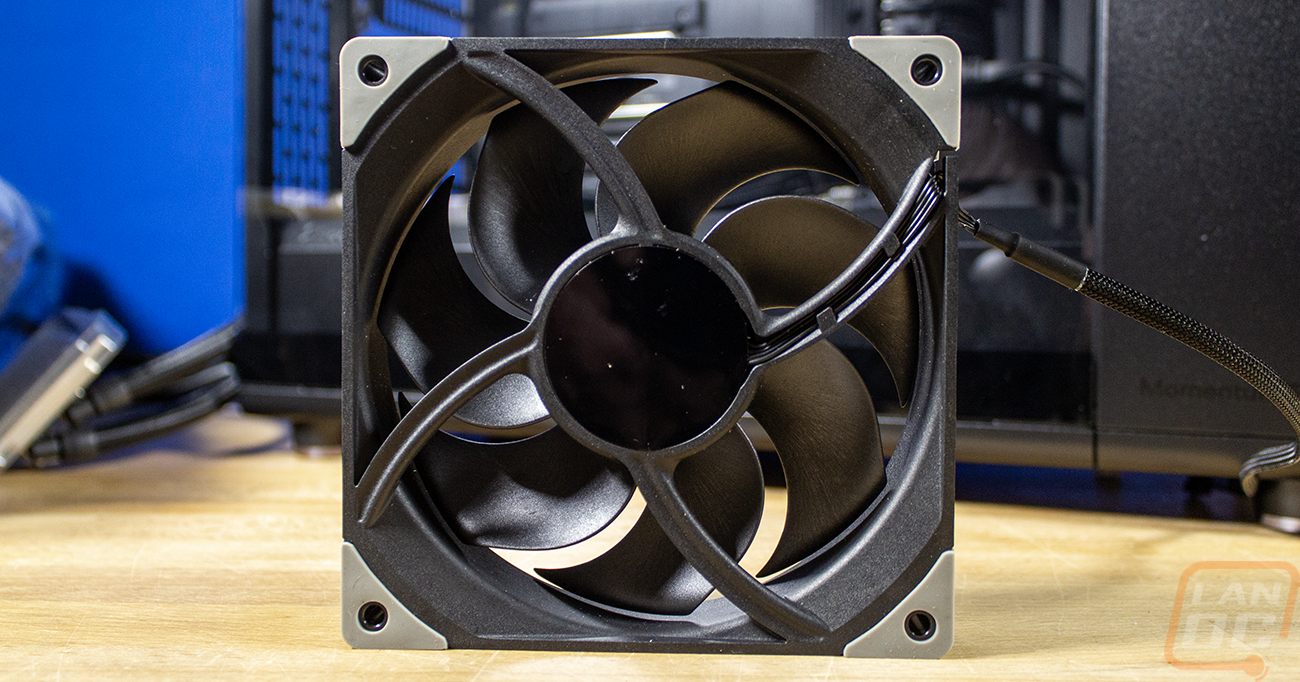
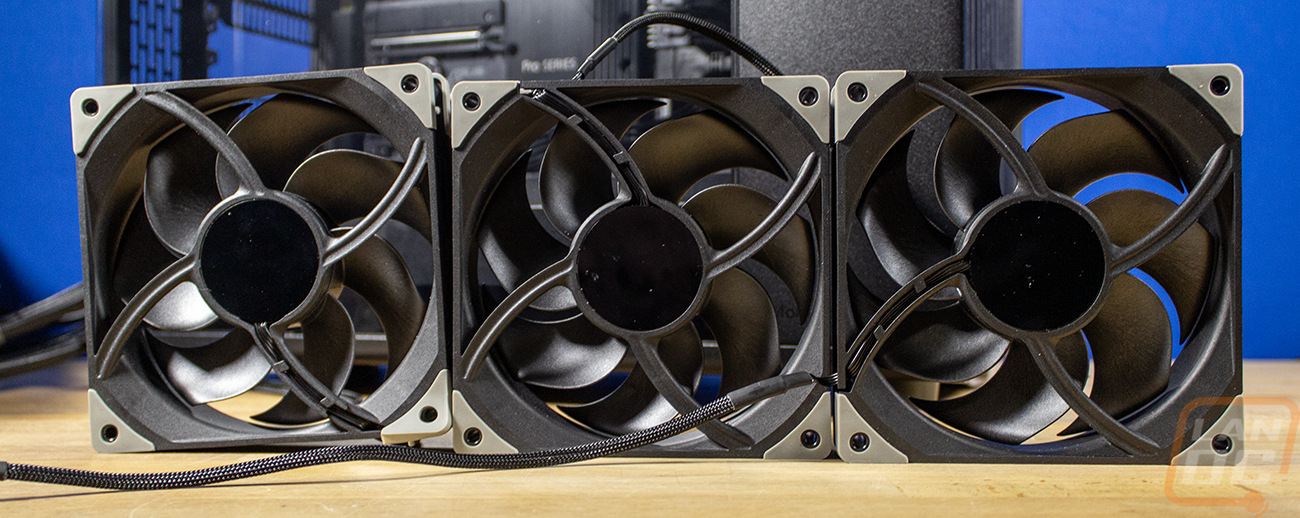
Speaking of the fans, the XE420 has new fans built out of liquid crystal polymer. They are a little thicker than your standard fan at 34 mm. They run between 800 and 2500 RPM, and according to Silverstone, they can run up to 38.8 dBA. The impressive part though is their airflow, which maxes out at 123.8 CFM with 7.66 mm of max air pressure at full speed. They are rated at 100,000 hours, which should be a lot less than what I plan on running the system. They have a black LCP finish, and on the corners, they did give them silver rubber bumpers to help with vibration and noise. Silverstone also touts a closed-loop speed feedback control design which compares the fan's actual RPM and target RPM to help adjust for resistance with things like dust filters or even just the radiator.
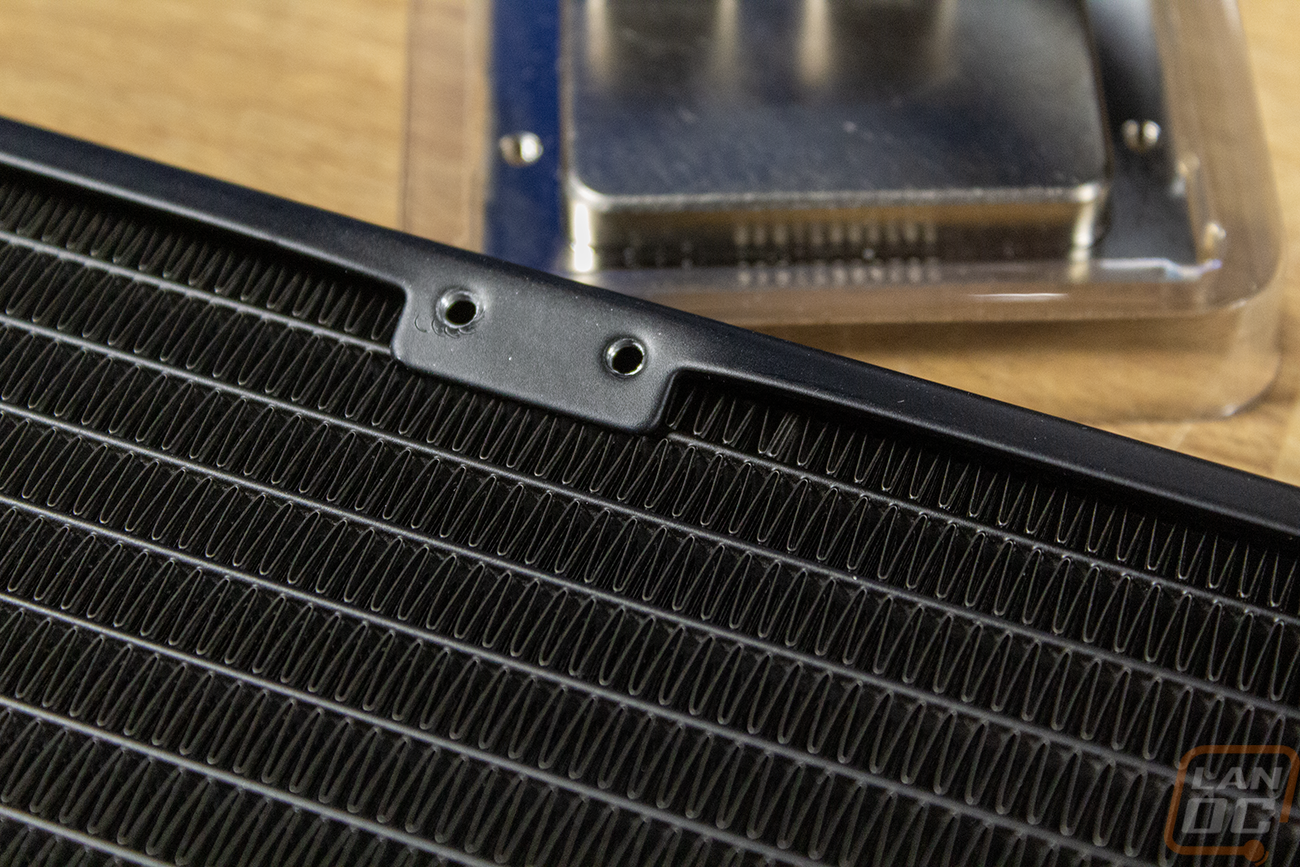
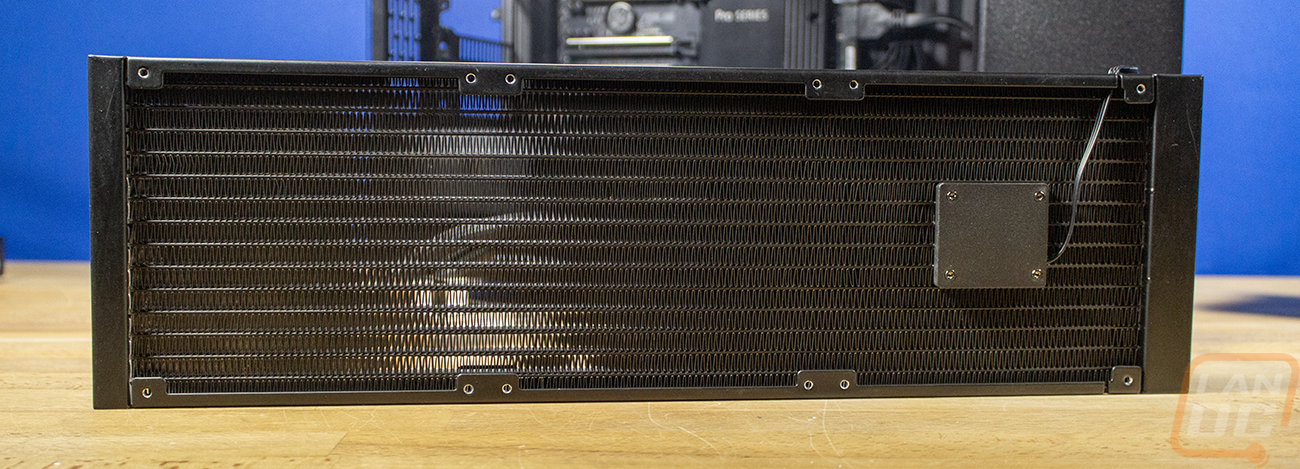
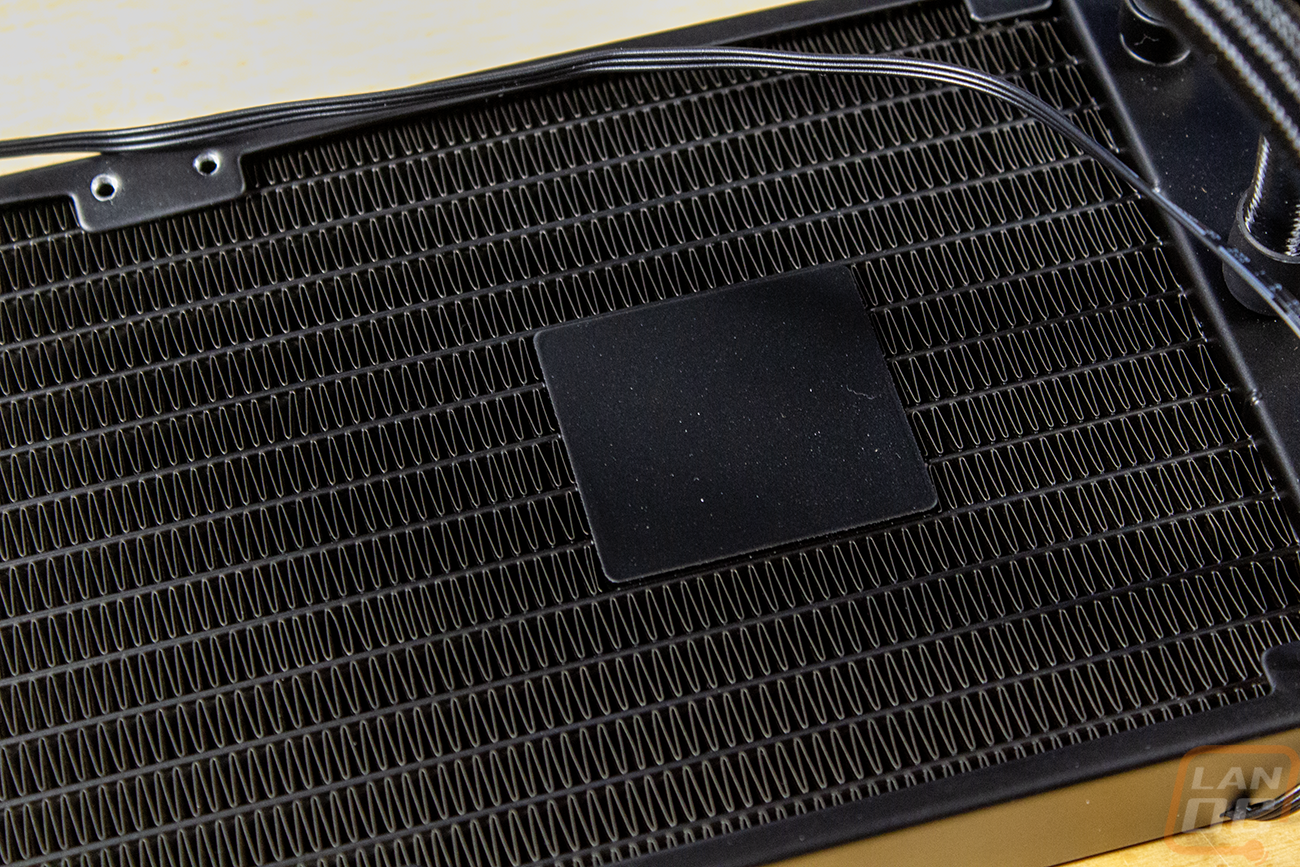
The radiator is aluminum, like most AIO coolers, and it comes in at 140mm x 456 mm x 28 mm. That just means it holds the three 140 mm fans and is a little thicker than some AIO radiators. It does however, have the pump built into it, which is interesting. The pup is a three-phase, six-pole pump. You can see in the pictures of the radiator that the fan tabs were bent in. I ended up bending those back out, but did ding up the fins slightly and had to do some extended testing before putting the cooler in with all of those expensive components.

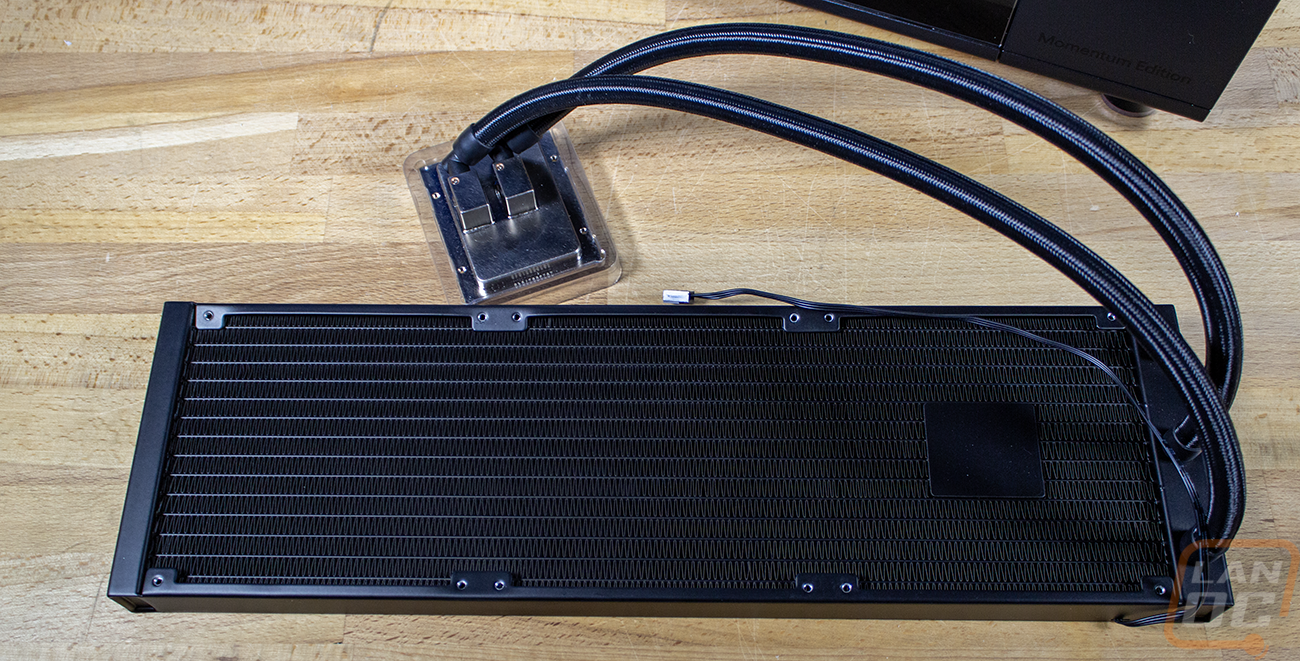
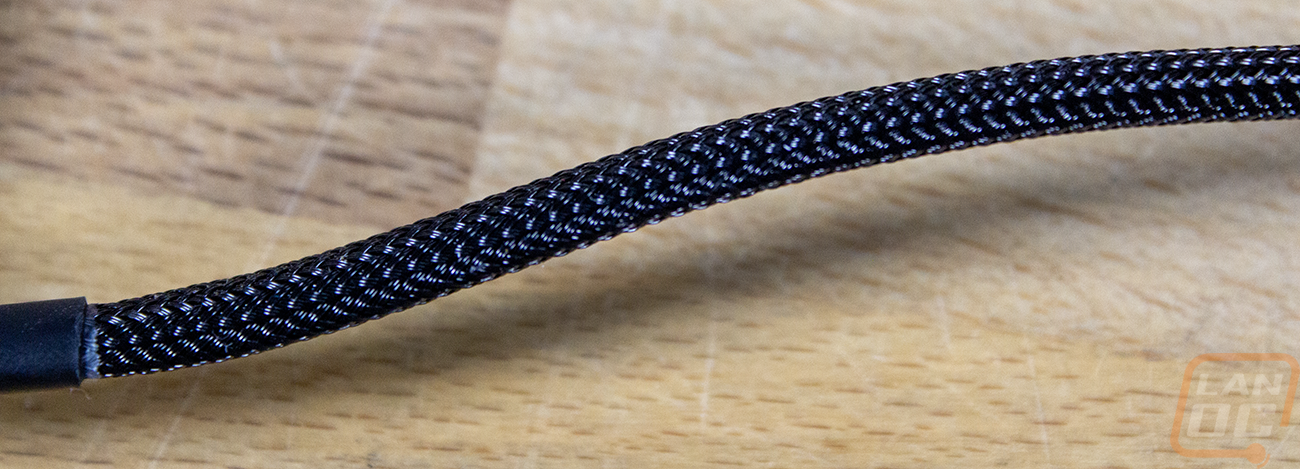
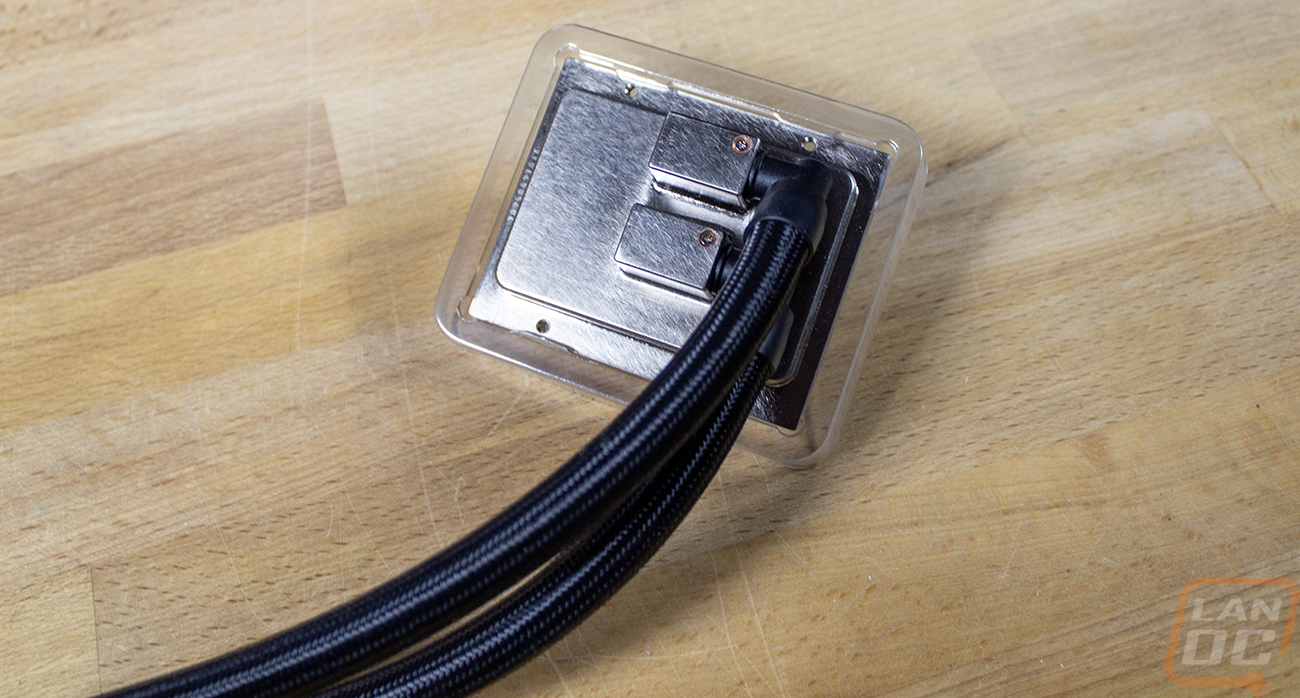
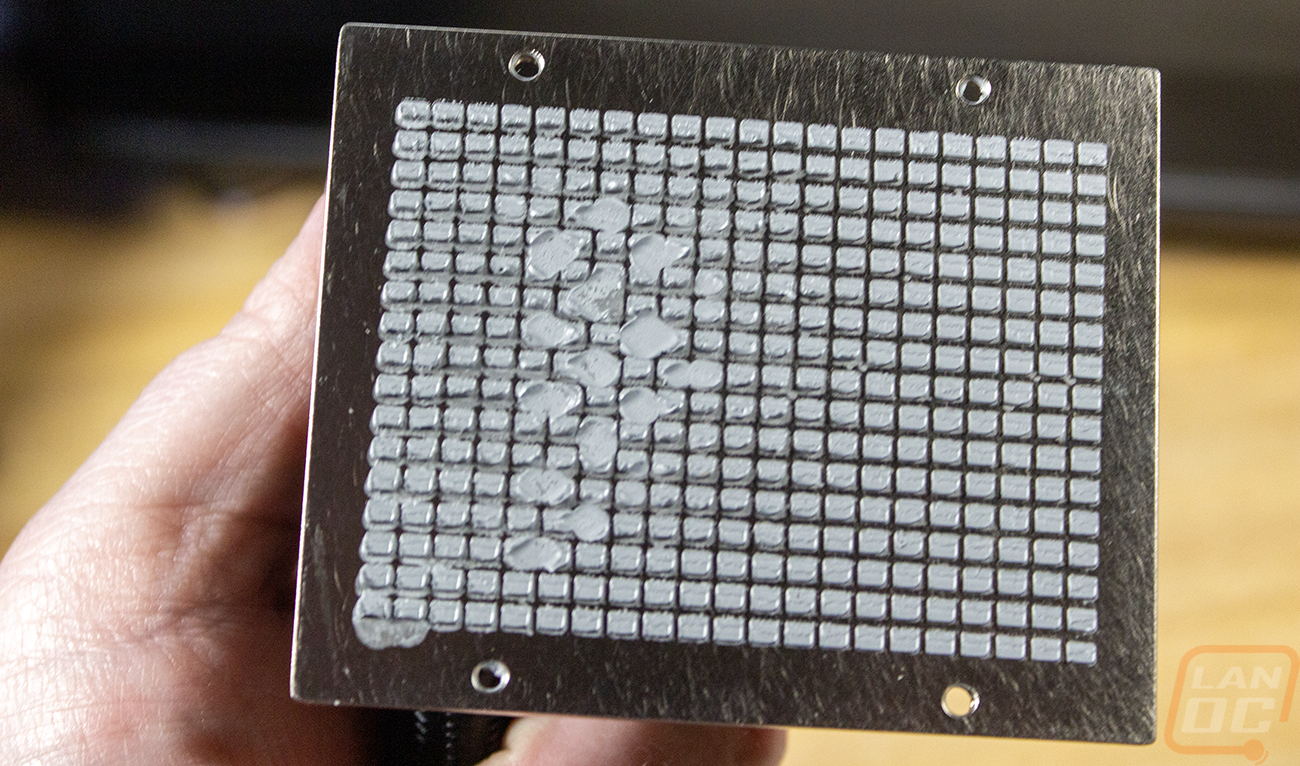
Last up is the water block itself, and because the pump is integrated into the radiator, this is surprisingly simple compared to most coolers these days. For starters, there aren’t any displays or screens built in, and no lighting as well. Which is perfect for this build, which has almost no lighting and is all blacked out. The hoses are 460 mm long rubber hoses with sleeving over the outside. They run to the water block, which is 68 mm x 26 mm x 82 mm and fully covers the full Threadripper CPU. The water clock has a copper base for better thermal transfer and a nickel-plated finish over all of that. The two connections do rotate side to side to help with your hose placement, but that’s about it. Nothing flashy, just what is needed to get the job done. It does come with thermal paste on it, but with all of the banging around, ours did touch the plastic cover in a few spots, but not enough to worry about.

PSU
None of the components for our build will work without a way to power them. For power, I knew I would need a lot of power to push the Threadripper 9980X as well as the Nvidia RTX 5090, not to mention leaving room for even more wattage-hungry video cards that may come out in the future. So I was already looking for something in the 1200-watt range. A high efficiency was important to keep power bills down as much as you can with such a demanding PC at least. Good ranking in the various PSU Tier Lists was important as well, because power supply quality varies significantly even across the same brands. Last up, something that would be able to run quietly was needed as well. Well, one of our long-time partners fit the bill perfectly in this case, and it just so happened that it is the same model that we run on our test bench. I went with the Be Quiet Dark Power Pro, which was available in 1300 and 1600 watt models. Be Quiet sent over the big boy 1600-watt model.

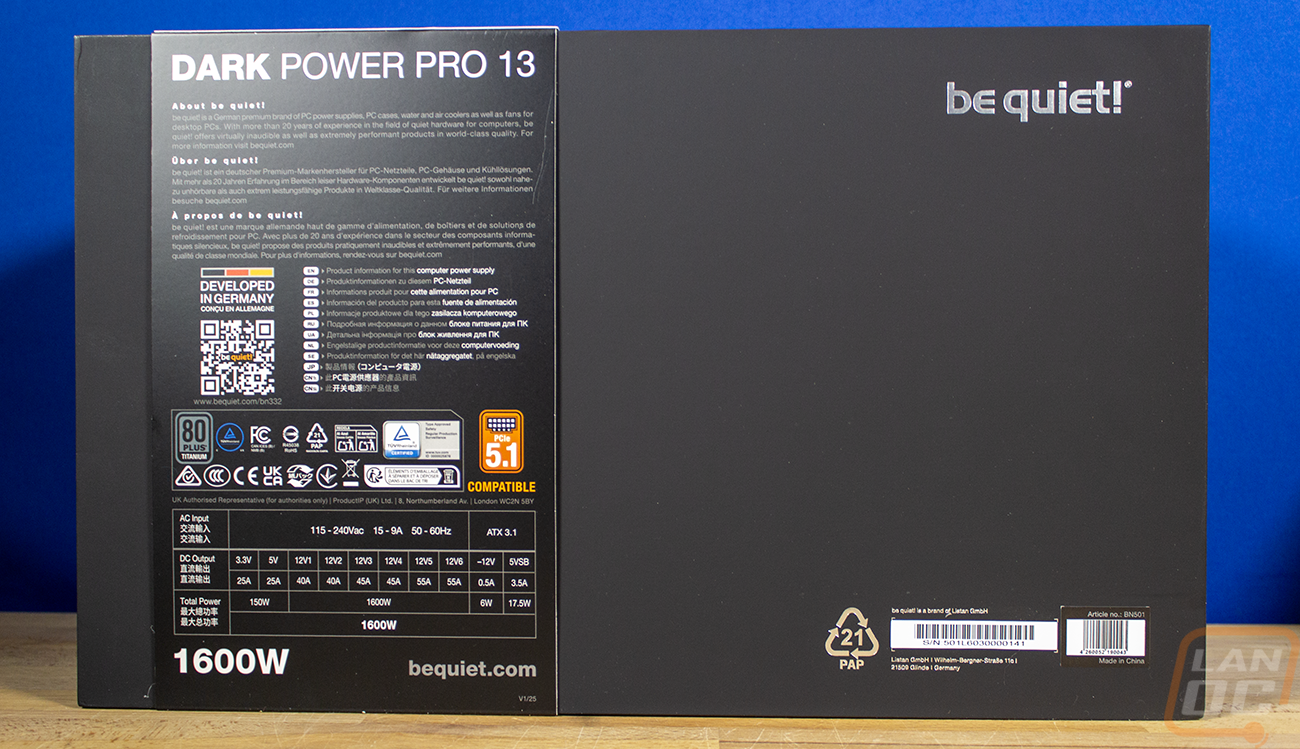
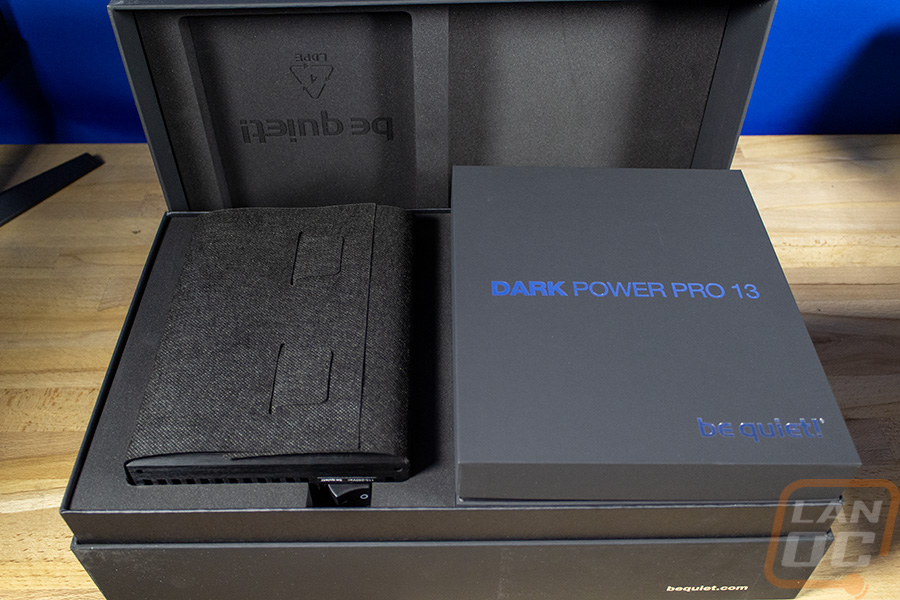
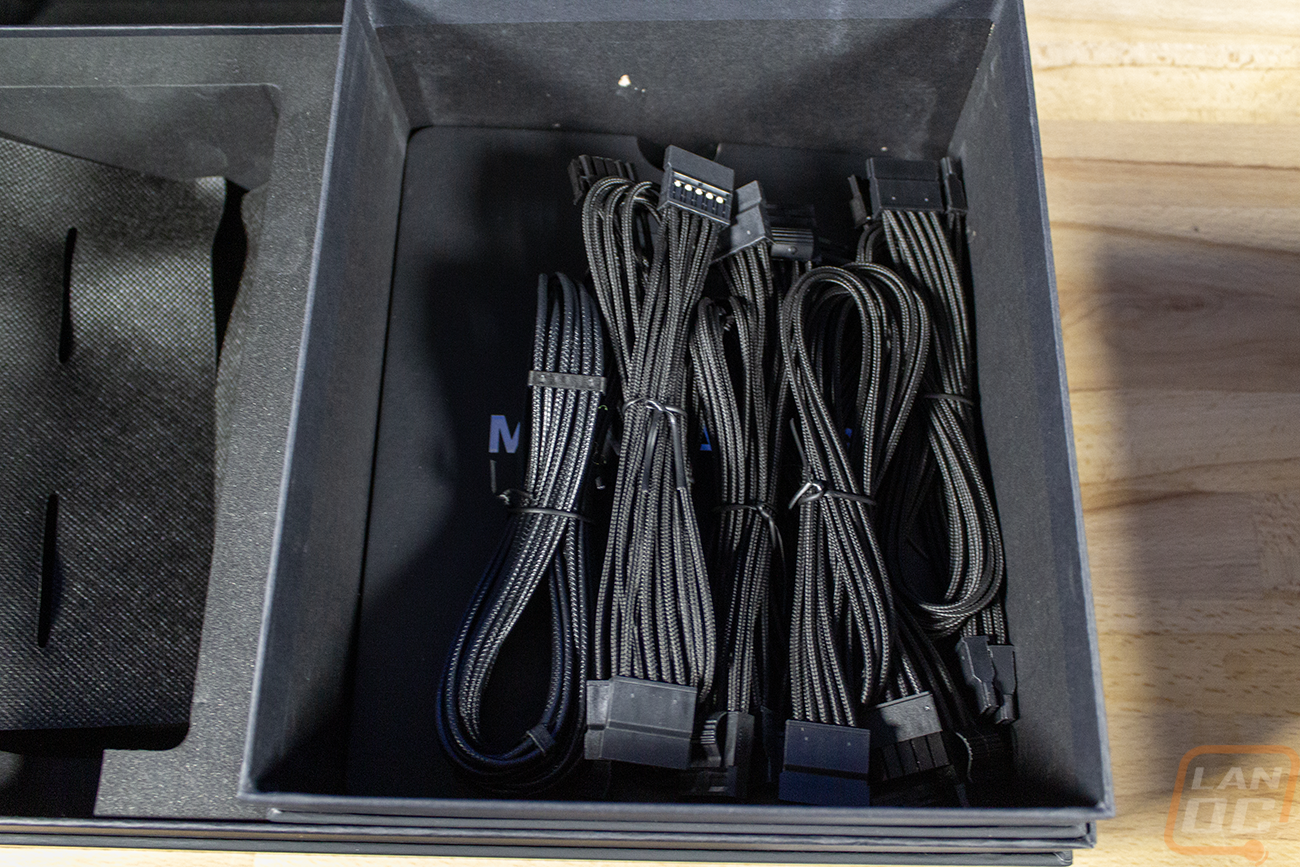
The Dark Power Pro 13 gets the full treatment from top to bottom, and that includes the box. Most power supplies have a basic brown box and a thin outside box with everything printed on it. The Dark Power Pro 13 has a thick box made out of a denser cardboard than normal that is all black with the Dark Power Pro 13 model name across the top. They have a strap that slips over it with a picture of the power supply itself and the wattage, as well as more information, including a wattage breakdown on the back. Then, when you open everything up, you will find the power supply itself wrapped in a soft fabric and sitting in a thick foam tray all around it. Next to that is a second hard cardboard blacked-out box with the Dark Power Pro 13 branding on it. That box has the documentation, all of the cables, and a bag full of other accessories.
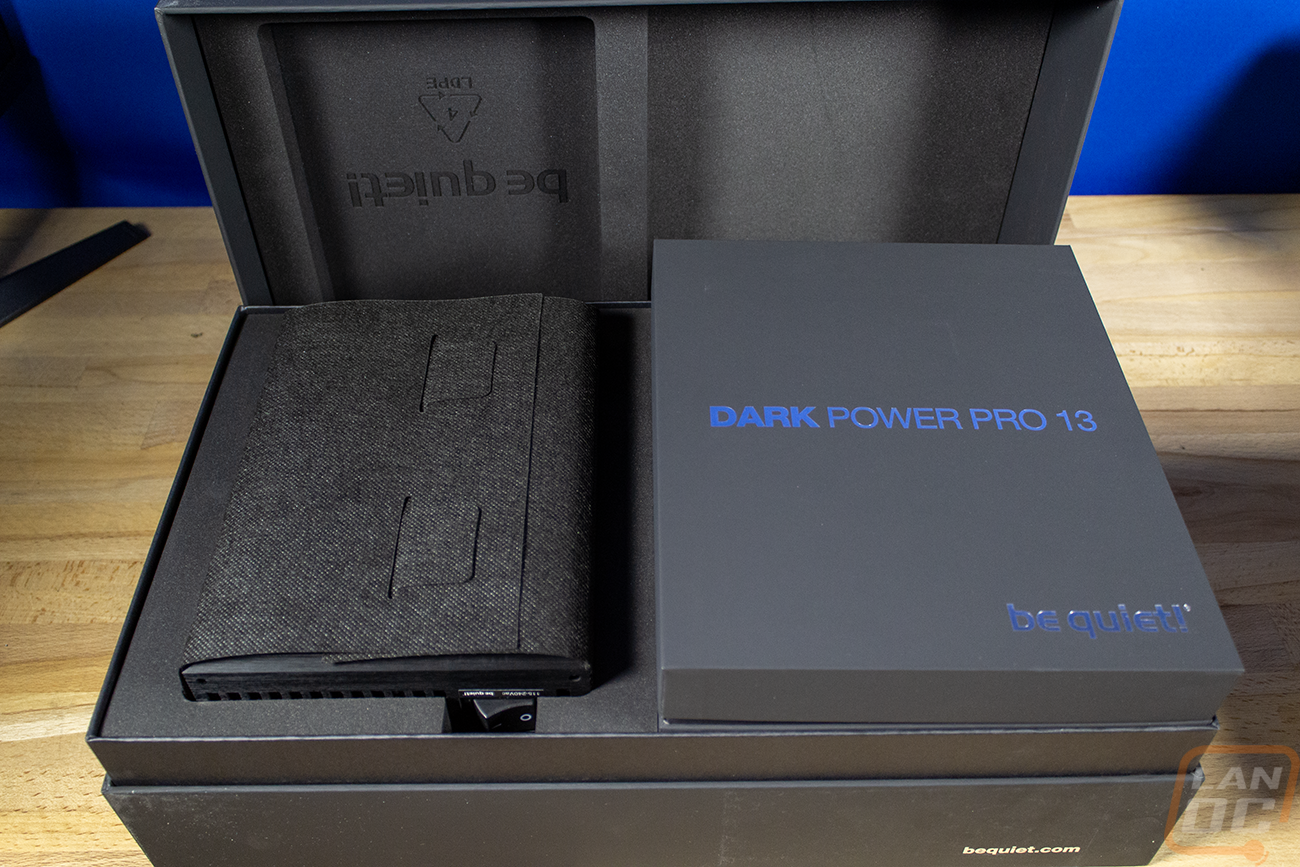
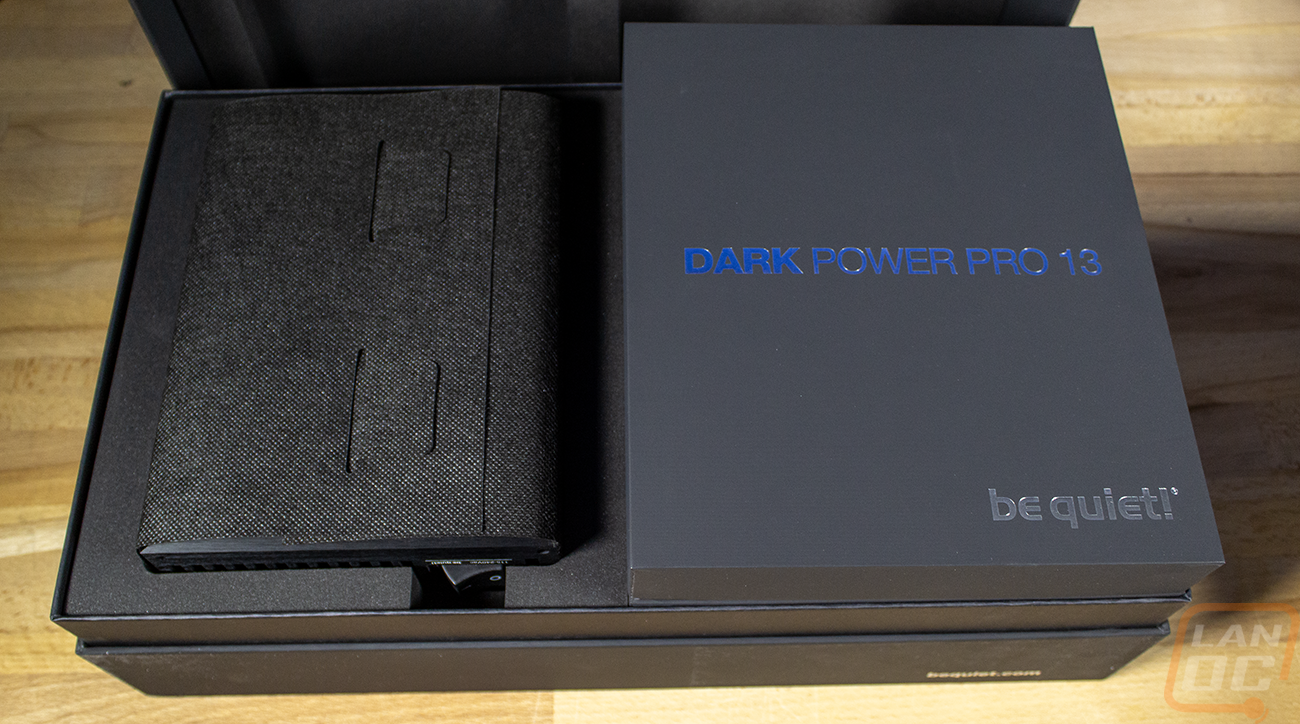
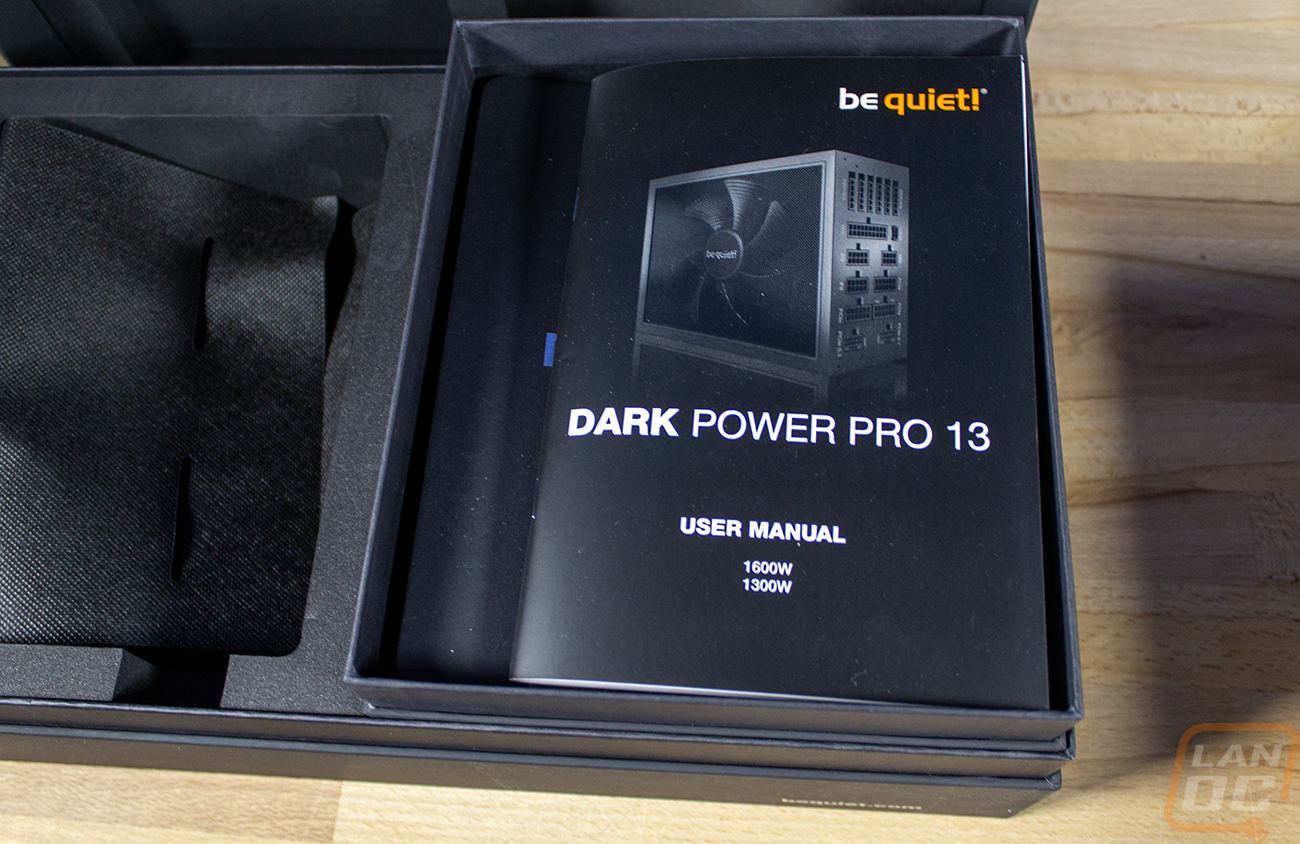
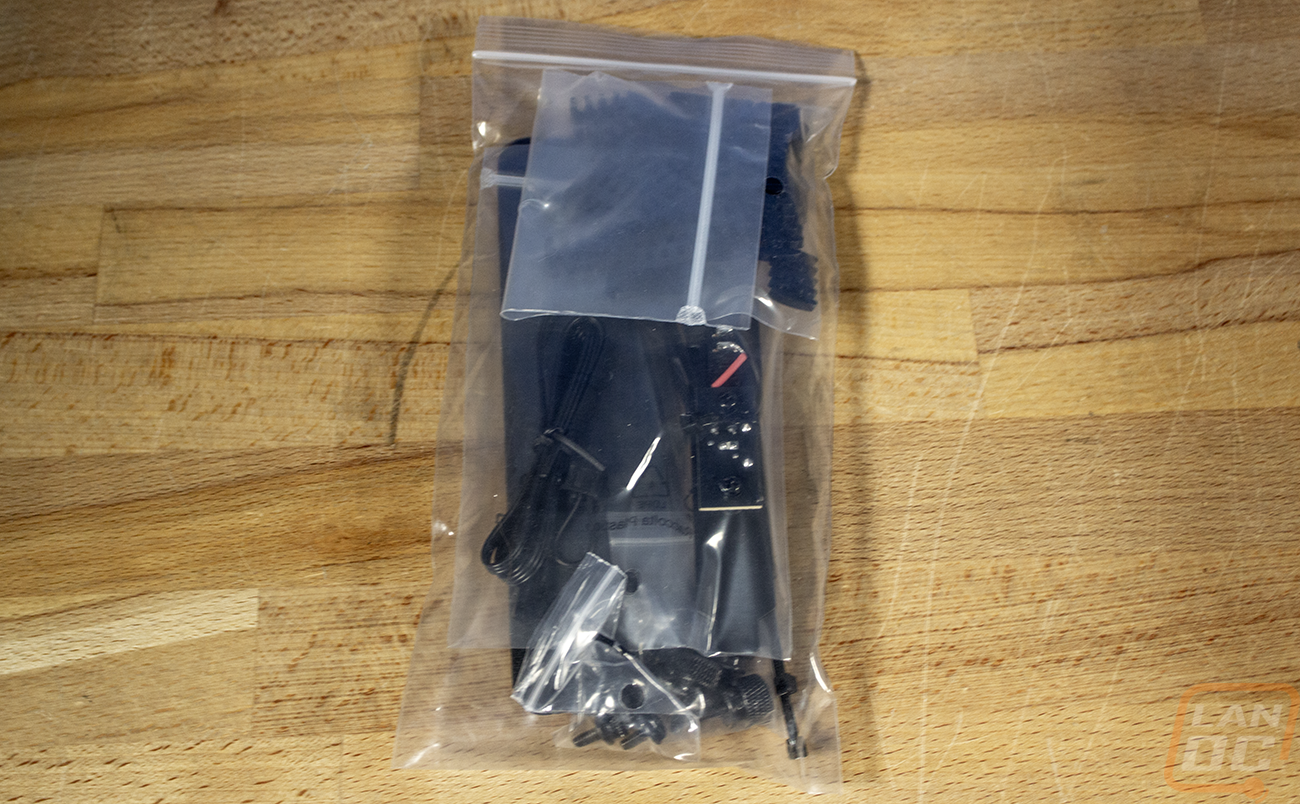
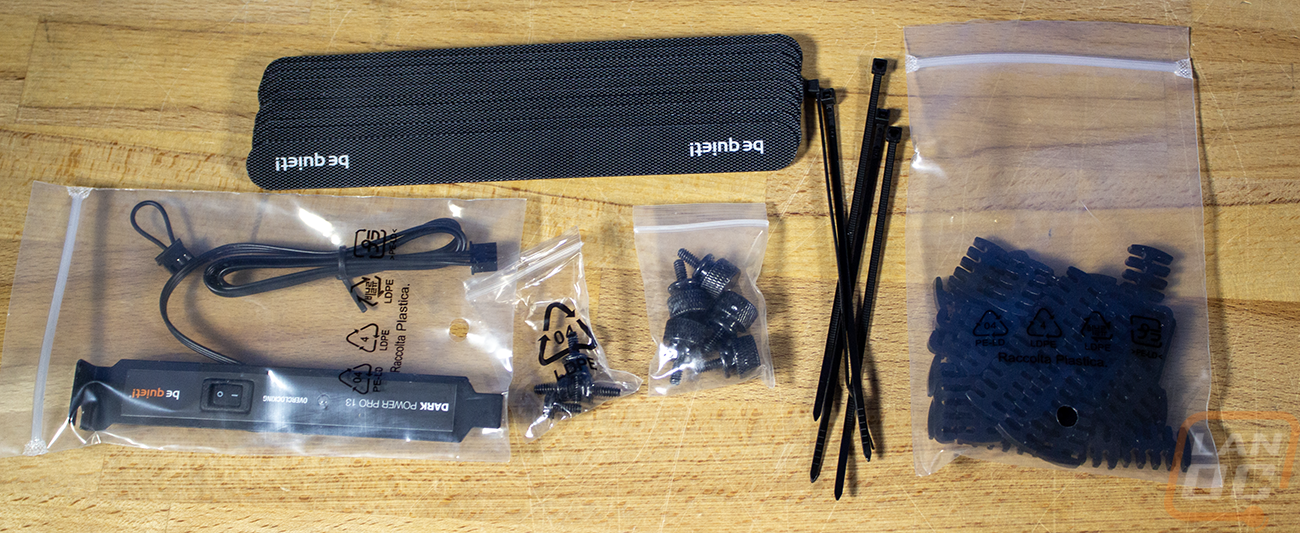
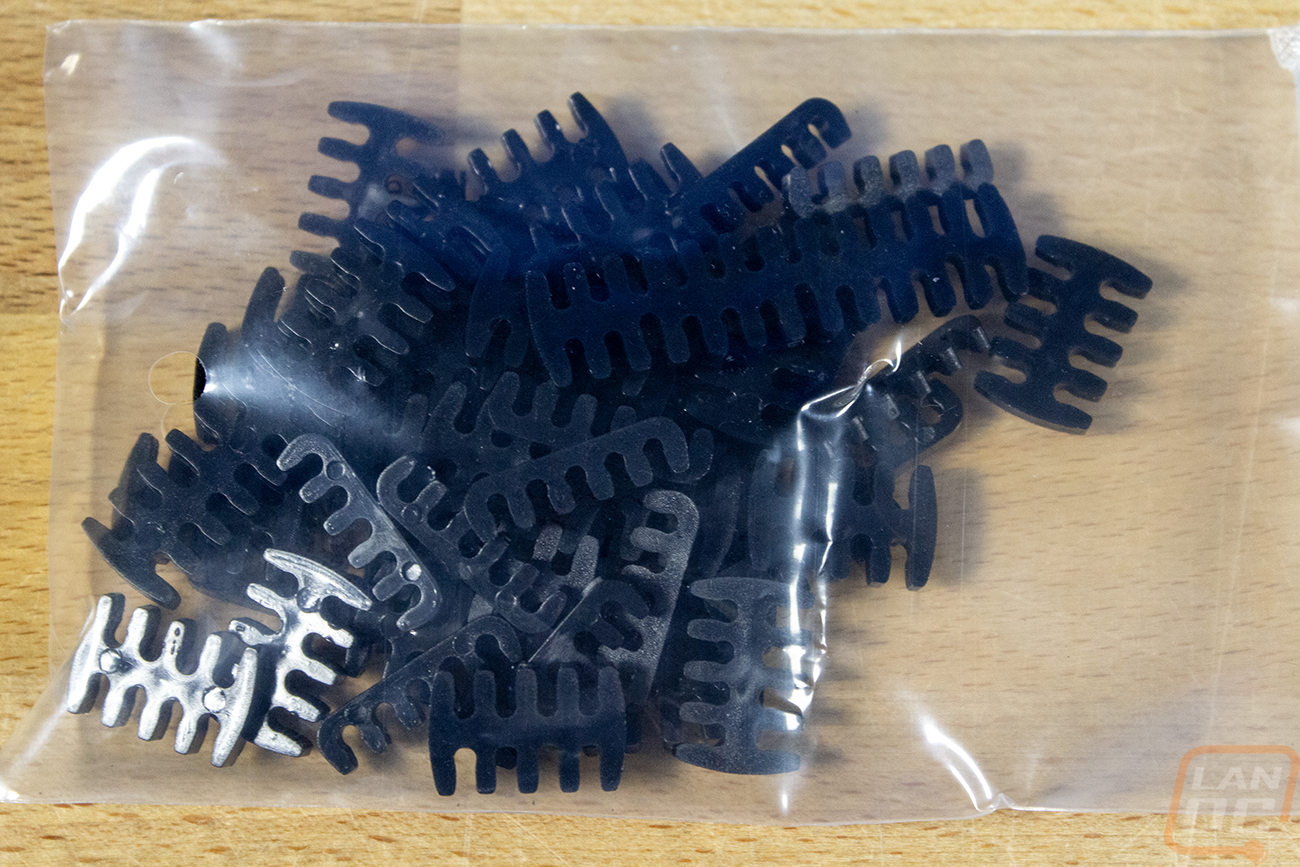
The accessories include a thick power cable with a larger C19 connection, not the standard plug. This is because a lot of people are loosey-goosey with their power cables, and with the wattage this can pull, swapping to a thinner cable during a move or if you lost this one could cause a fire. In the accessory bad you get a set of Be Quiet branded Velcro straps and wire ties as well for cable management. There are thumbscrews and regular screws for installation, with both of those being blacked out. There is also a PCI bracket with a switch and a jumper these are for overclocking the PSU, switching it from six rails to one massive 12V rail. Also with the accessories is a large bag of cable combs for the individually wired cables, if you prefer the all straight clean look.

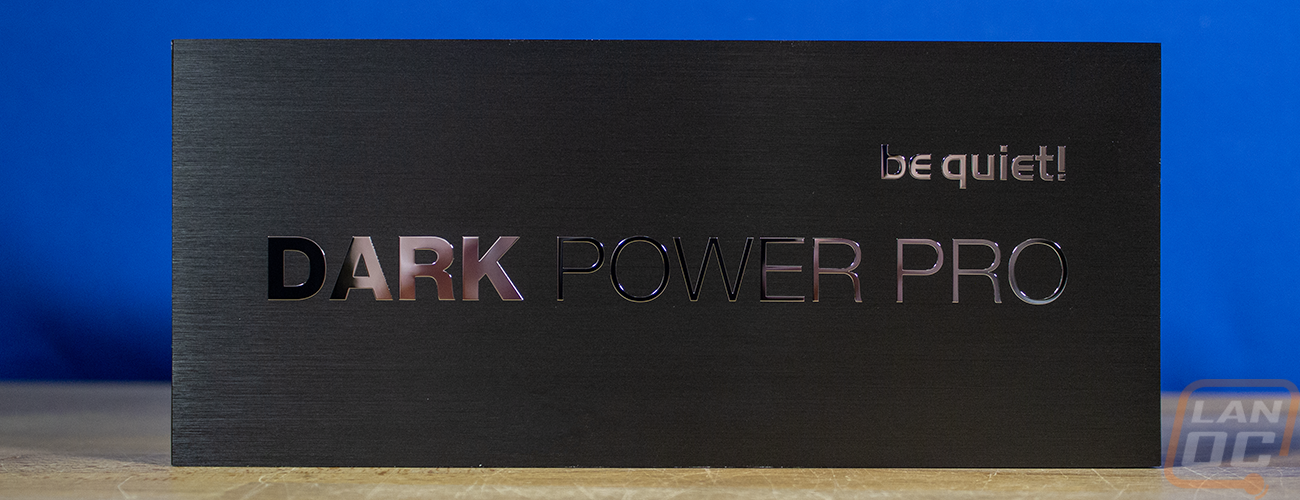
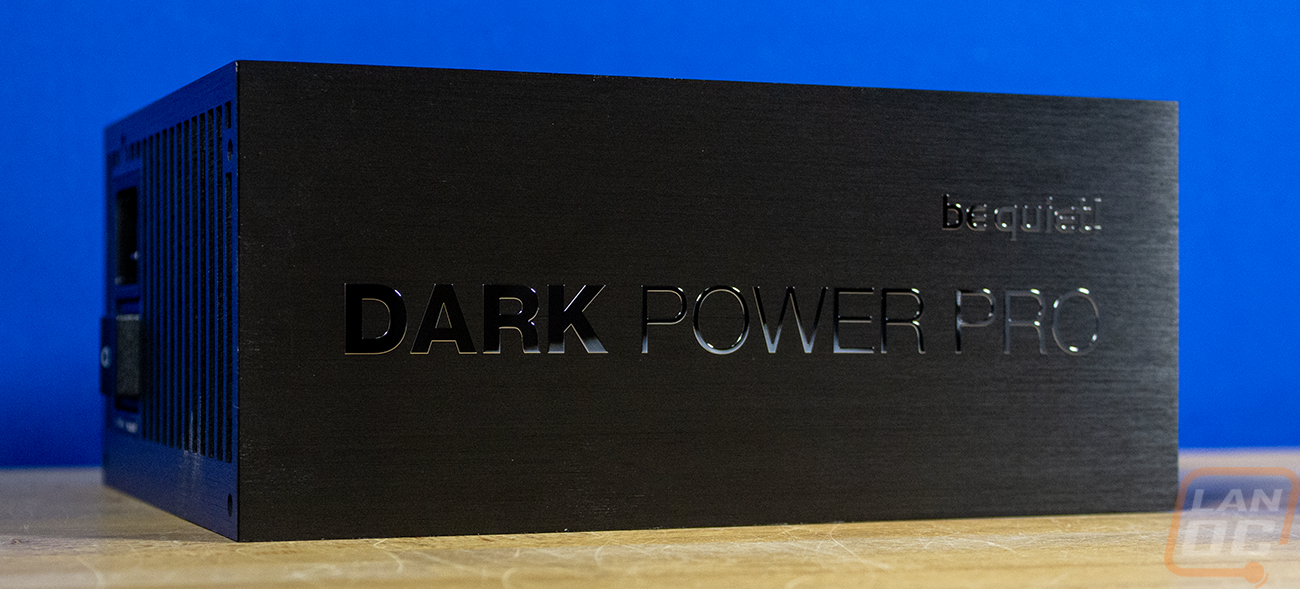
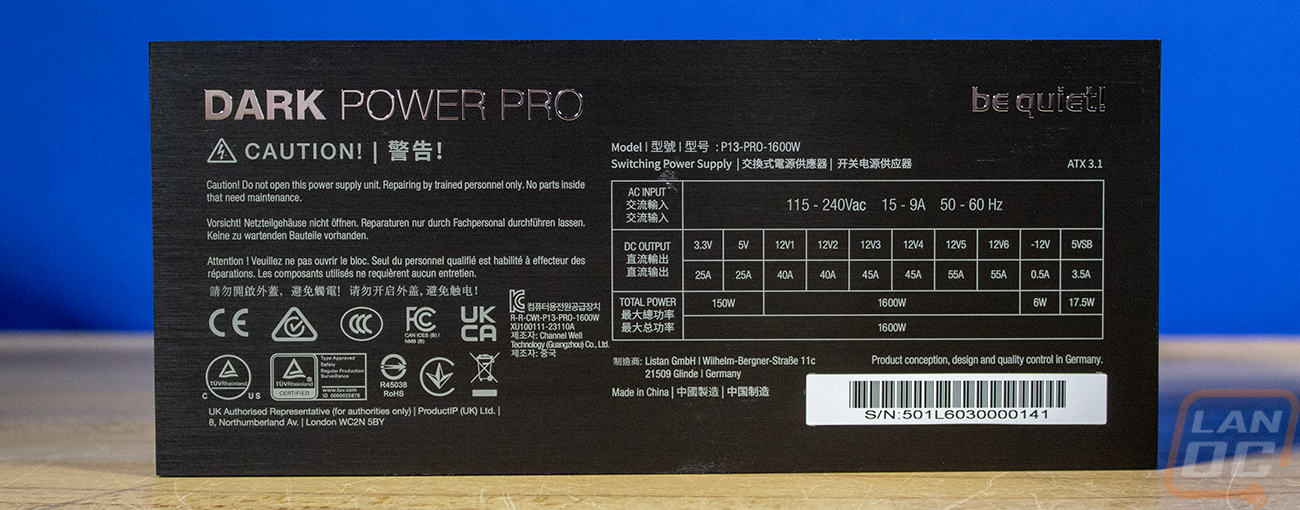
The Dark Power Pro 13 itself is a unit. Where most power supplies have a basic stamped steel housing, Be Quiet uses a thick black anodized brushed aluminum, which gives the power supply a unique look. Then, for the branding on both sides, the model name is applied with a mirrored finish, which really pops against the aluminum. One side has just the branding on it in a large font, and the other side has the branding there as well, but much smaller to make room for all of the certification information and a breakdown of the wattage. The serial number is on that side as well.
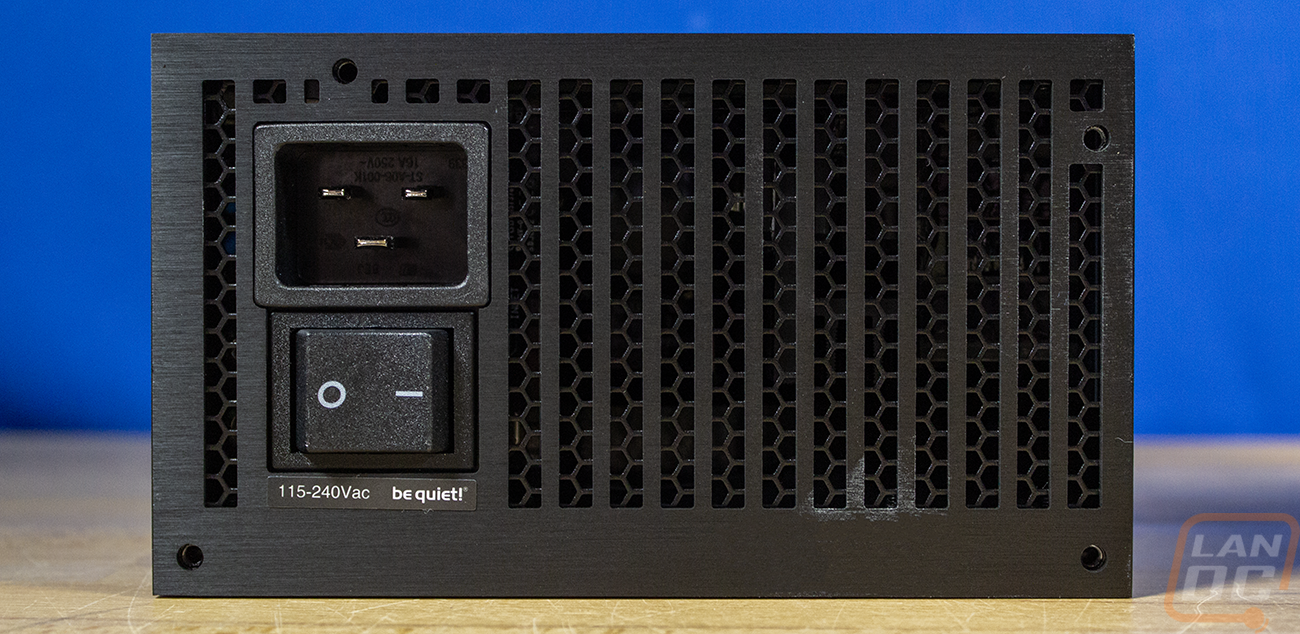
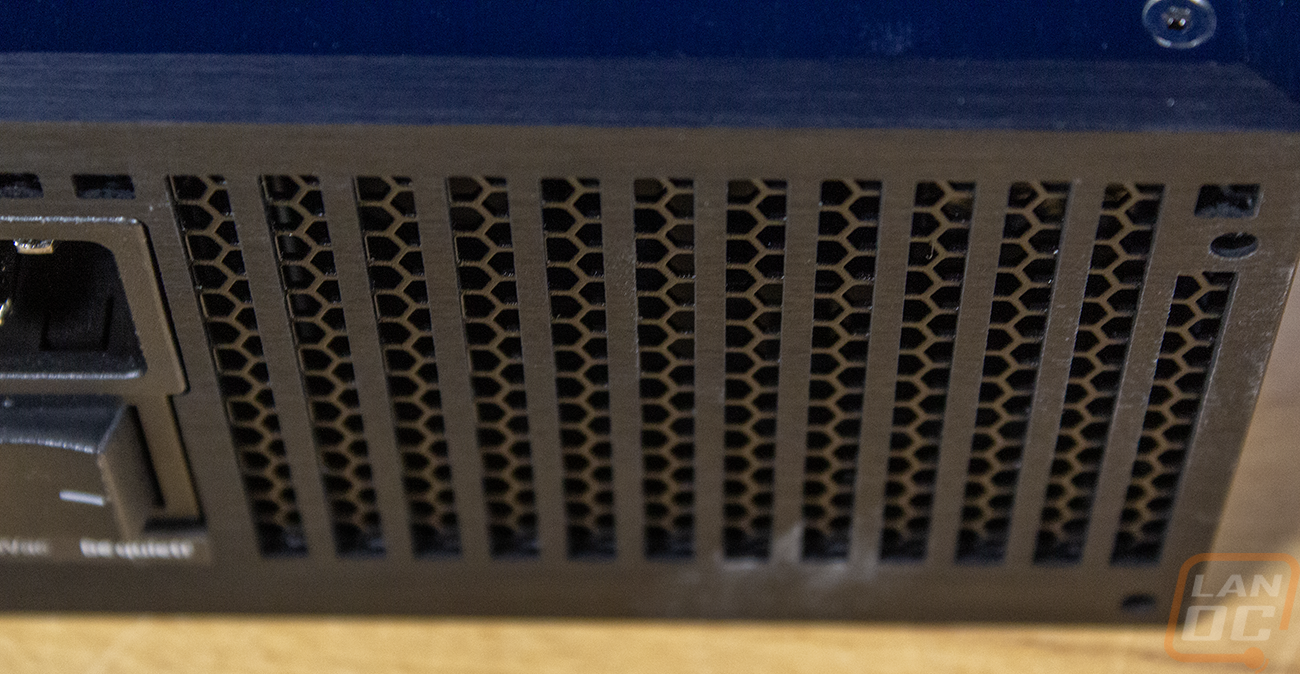
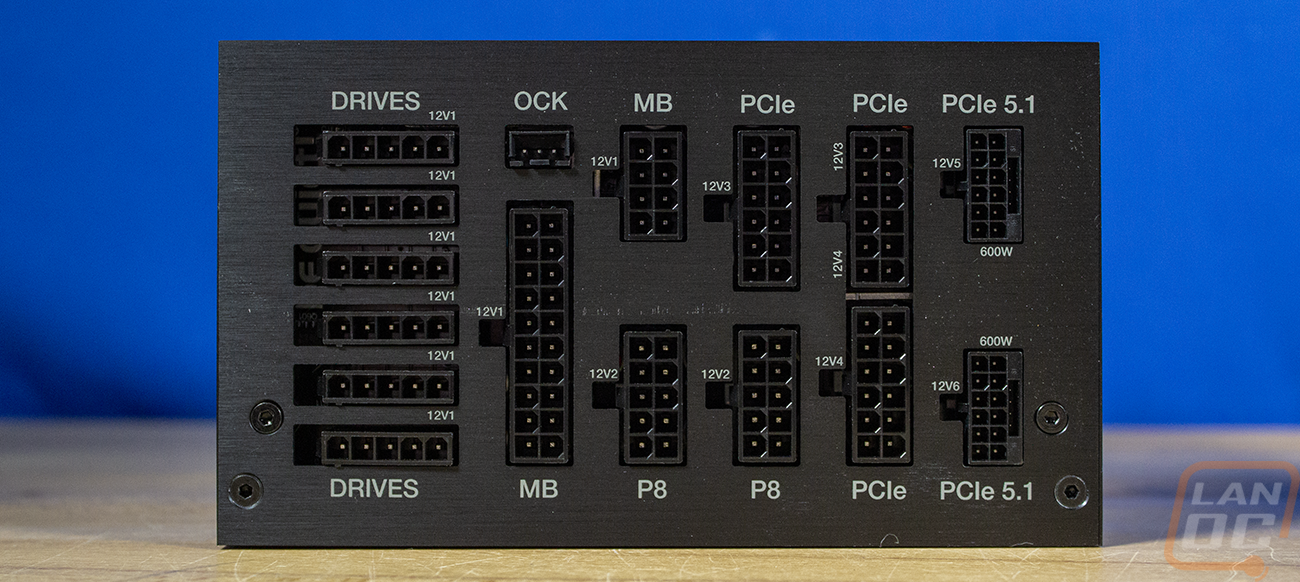
The back of the housing has vertical cuts in the aluminum housing, and you can see a more normal honeycomb layout in steel behind that. The back has a large power switch and above that, a large AC power connection as well. This is a C20 plug which pairs up with the C19 cable included with the Dark Power Pro 13. These have a higher amperage rating of 15 amps, whereas a normal PC power cable, which is a C13, supports 10 amps. This is needed to safely handle 1600 watts, 1600 watts at 120v is 13.3 amps, for example. The other end of the Dark Power Pro 13 has all of the connections for the cables. Each is laser-etched with a label above or below it. There are 6 of the 5-pin connections for SATA or Molex connections. There are two connections for the motherboard power cable. There are two P8 cables for the CPU power. Then there are three PCIe connections for the 6- and 8-pin PCIe power cables and two more connections for the newer PCIe 5.1 cables, aka the 12VHPWR cables. These use the standard 12VHPWR connections, not a proprietary connection. There are a few pros and cons to this setup. Those cables, and specifically the connections, have been known to melt, which is a major concern. On the other hand, because it isn’t proprietary, you can use any cable, including cables and other solutions that are aimed at helping regulate power across the cable to help prevent damage.
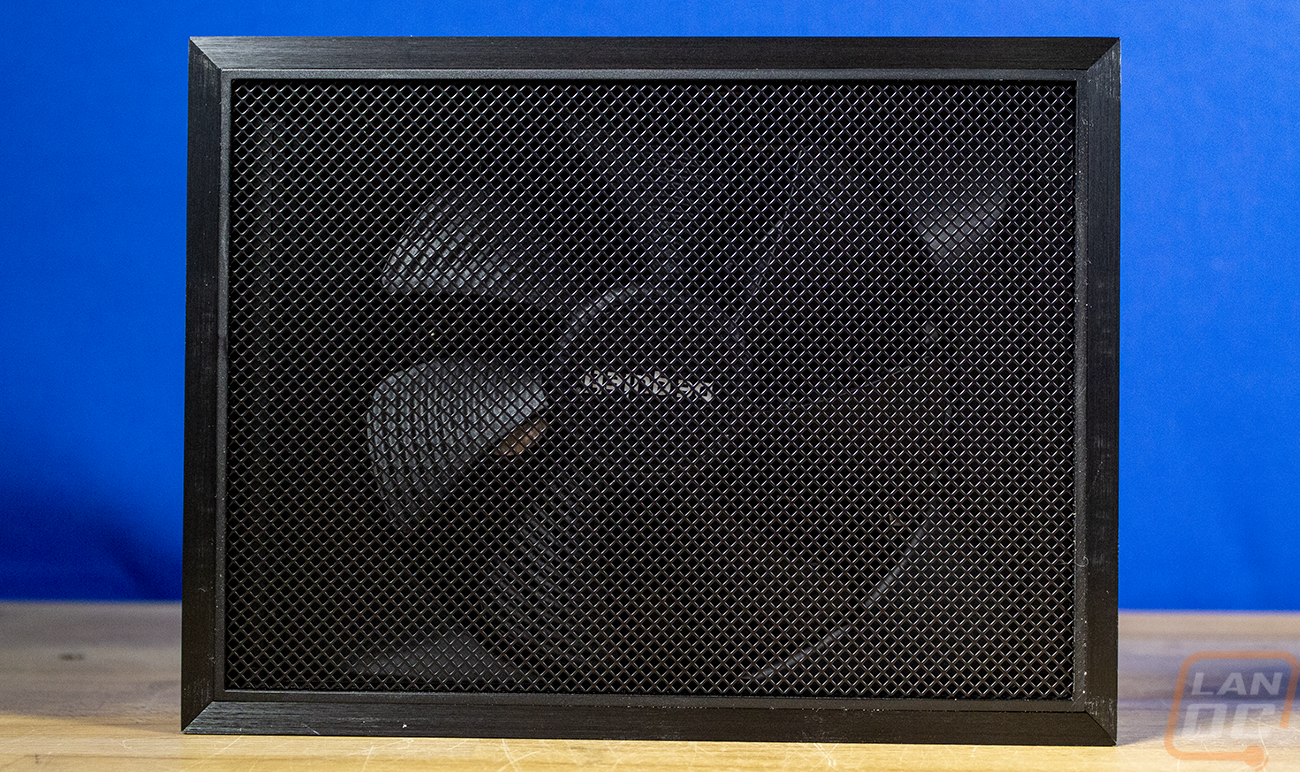
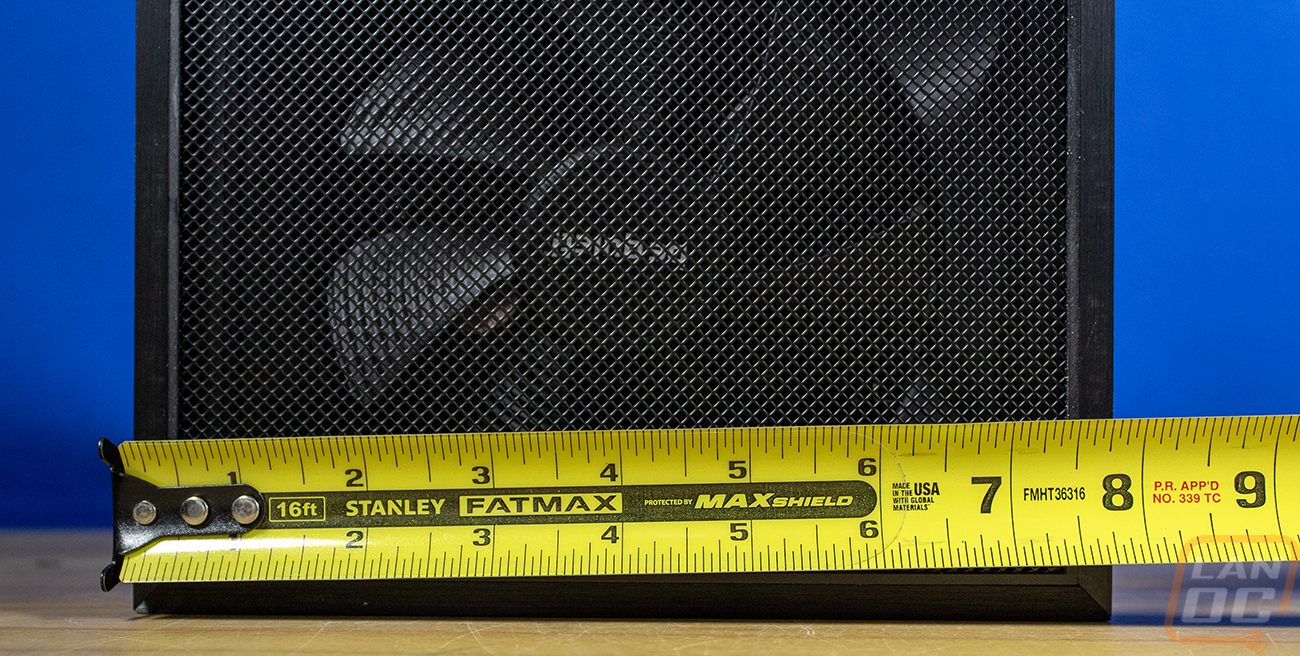
The top (or bottom, depending on how you are installing it) of the Dark Power Pro 13 has the aluminum around the outside edge with nice mitered cuts on each corner. All of that frames a solid wire mesh grill that covers the rest. This is unique compared to any other PSU I’ve seen. In the center, behind all of that, you can see a large 135 mm fan. The fan is frameless and is a Be Quiet Silent Wings fan with a Fluid Dynamic Bearing.
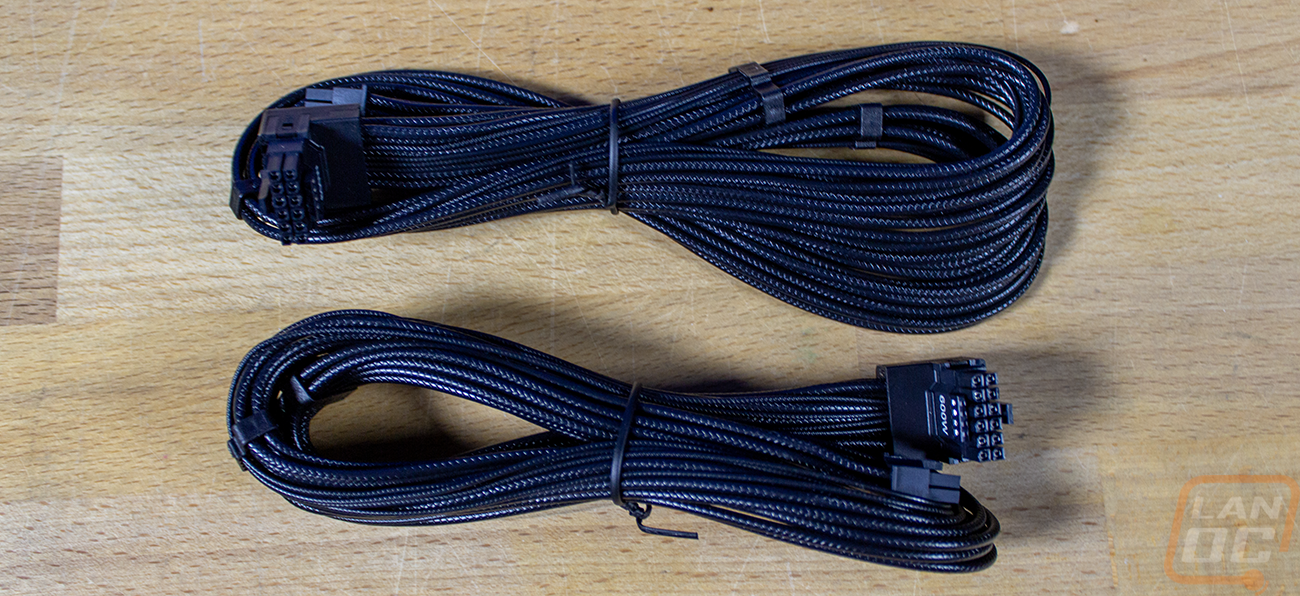
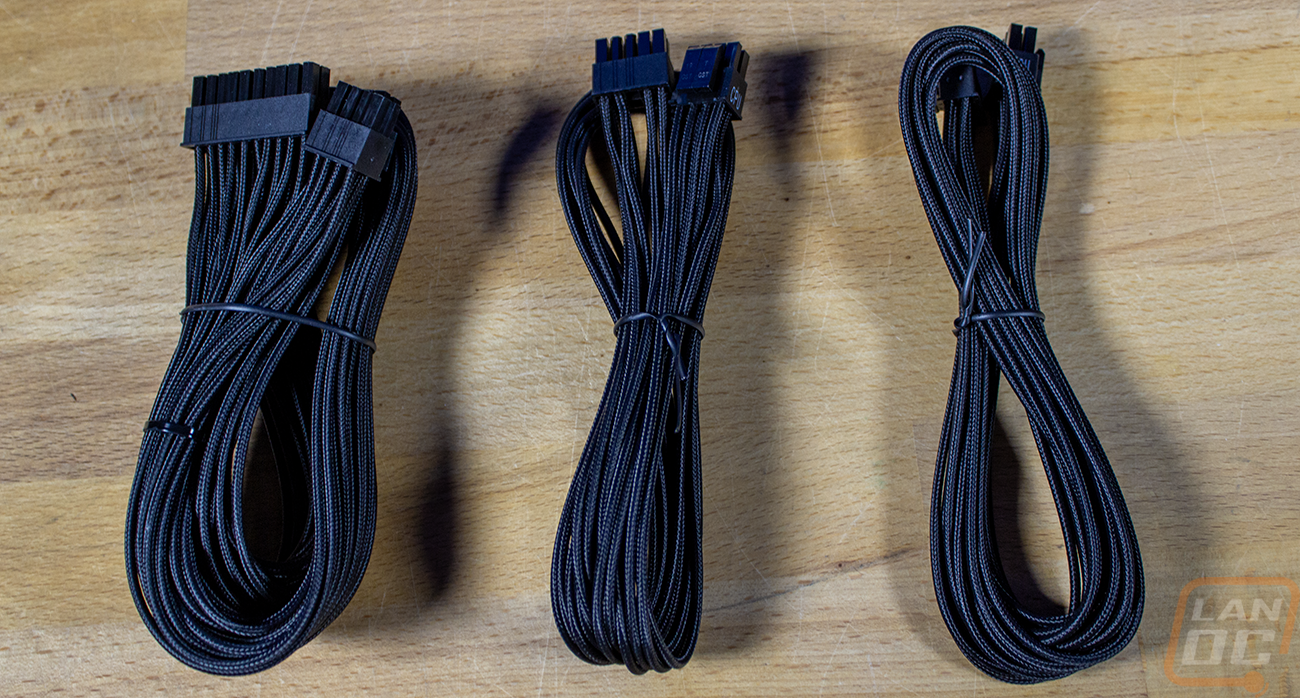
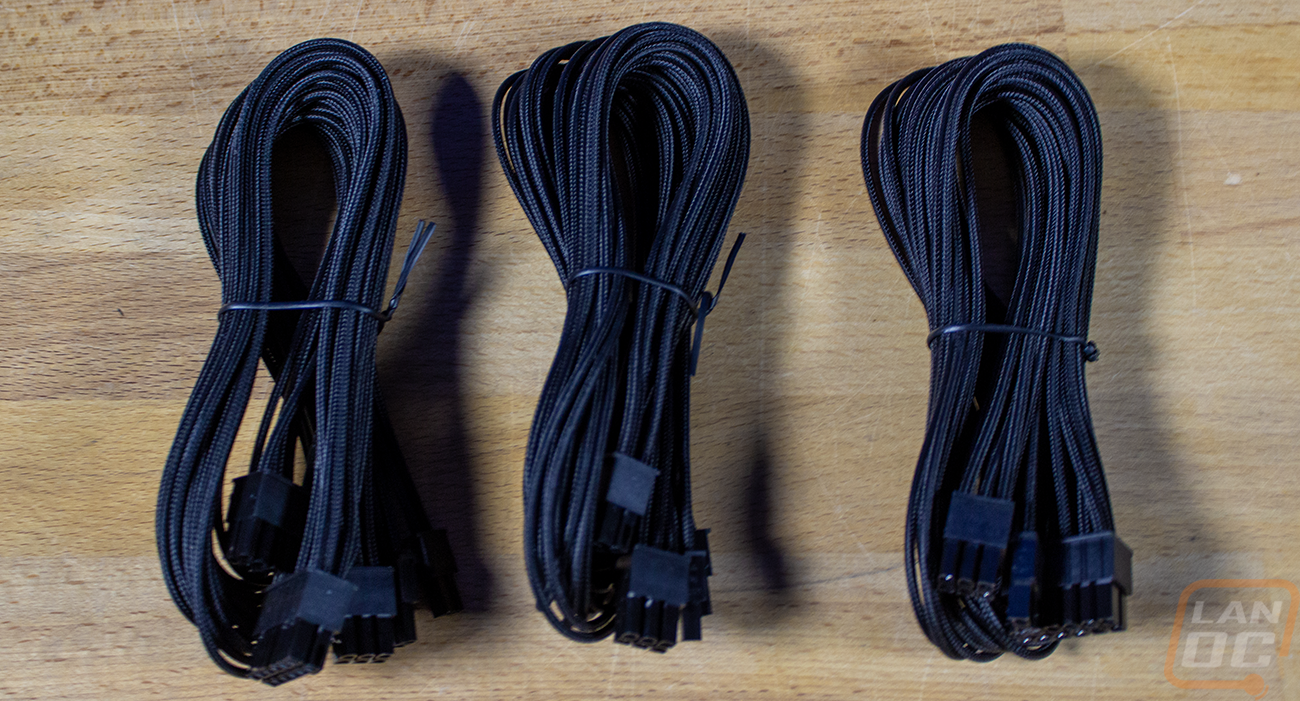
Last up, the Dark Power Pro 13, of course comes with a whole box full of modular wires. You can pick and choose what you need. In our case, we will need one 12VHPWR cable, both CPUs, a few of the PCIe cables for additional power for the ASUS Pro WS TRX50-SAGE WIFI, and that should be it. We shouldn’t need any or very few of the peripheral cables, with most of the power being fed into the motherboard itself. All of the cables, including the motherboard 24-pin, are individually sleeved with a nice black sleeving that matches the entire build. The only cable that is different from that is the 12VHPWR, which is still individually sleeved but has a rubber sheathing that has a texture added to it to look like a sleeving, and honestly, I might like the look of those even more simply because it is something a little different while still having a clean look.


Surprise Storage!
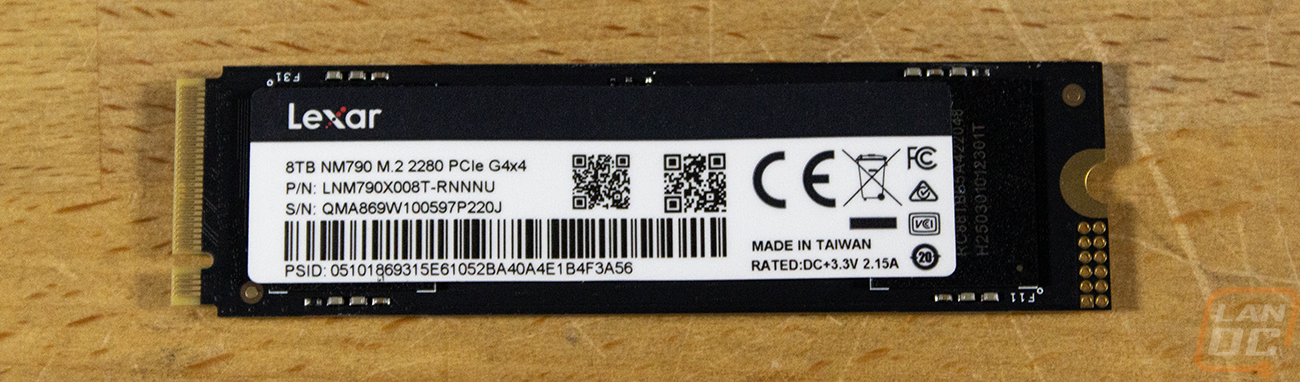
We had all of our storage stuff figured out, right? So what are we doing here? Well, long story short, when looking at storage options, I reached out to Lexar along with Patriot. Well, they weren’t able to do anything, Patriot stepped in and sent out drives. Then out of nowhere, I had a package show up that I didn’t know was coming, and it was from Lexar. They apparently were able to find a drive for us, and it was a monster. They sent over the Lexar NM790 in the 8TB capacity. Perfect for installing any and all games without worrying about running out of room. So our surprise package turned into a nice storage upgrade for Project Momentum, and lucky for us our motherboard could fit it without having to shift anything around! A big thank you to Lexar for their support as well!
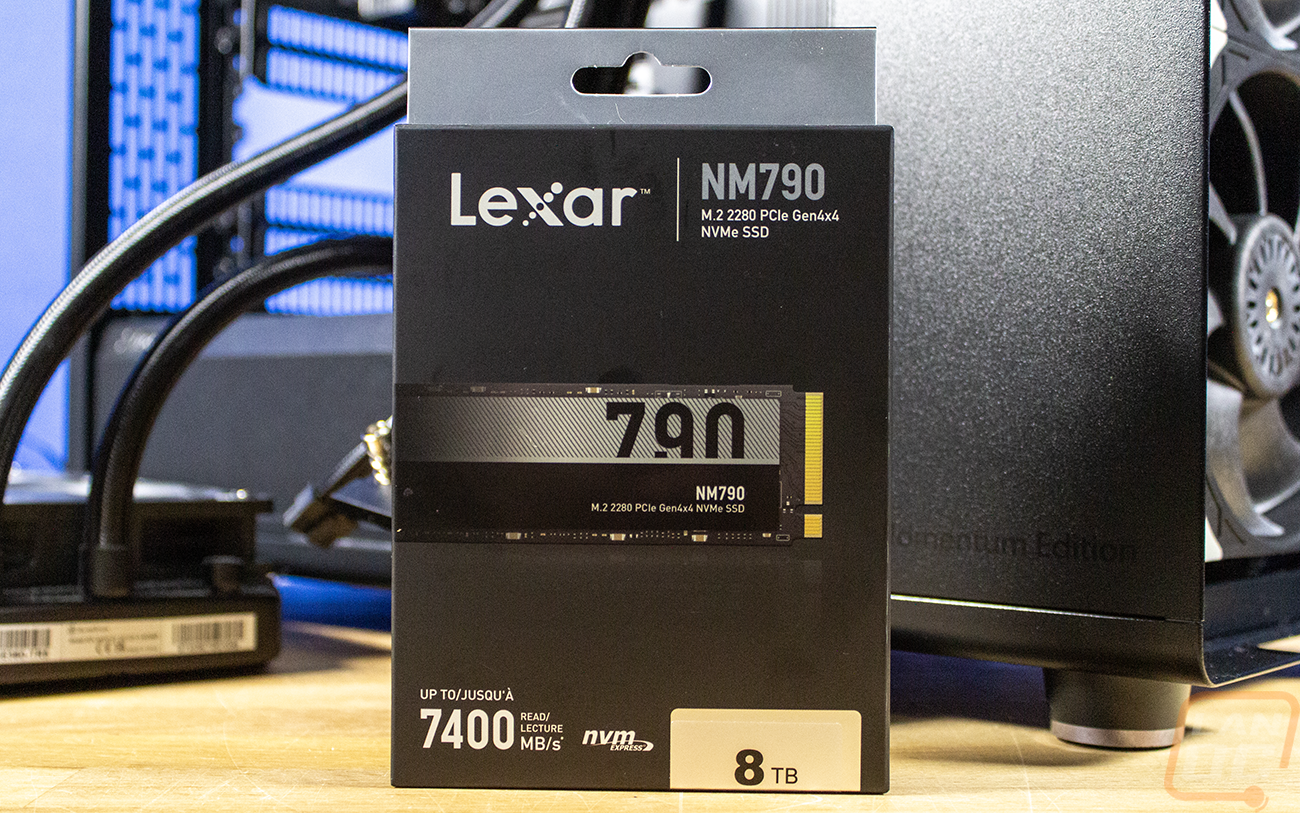
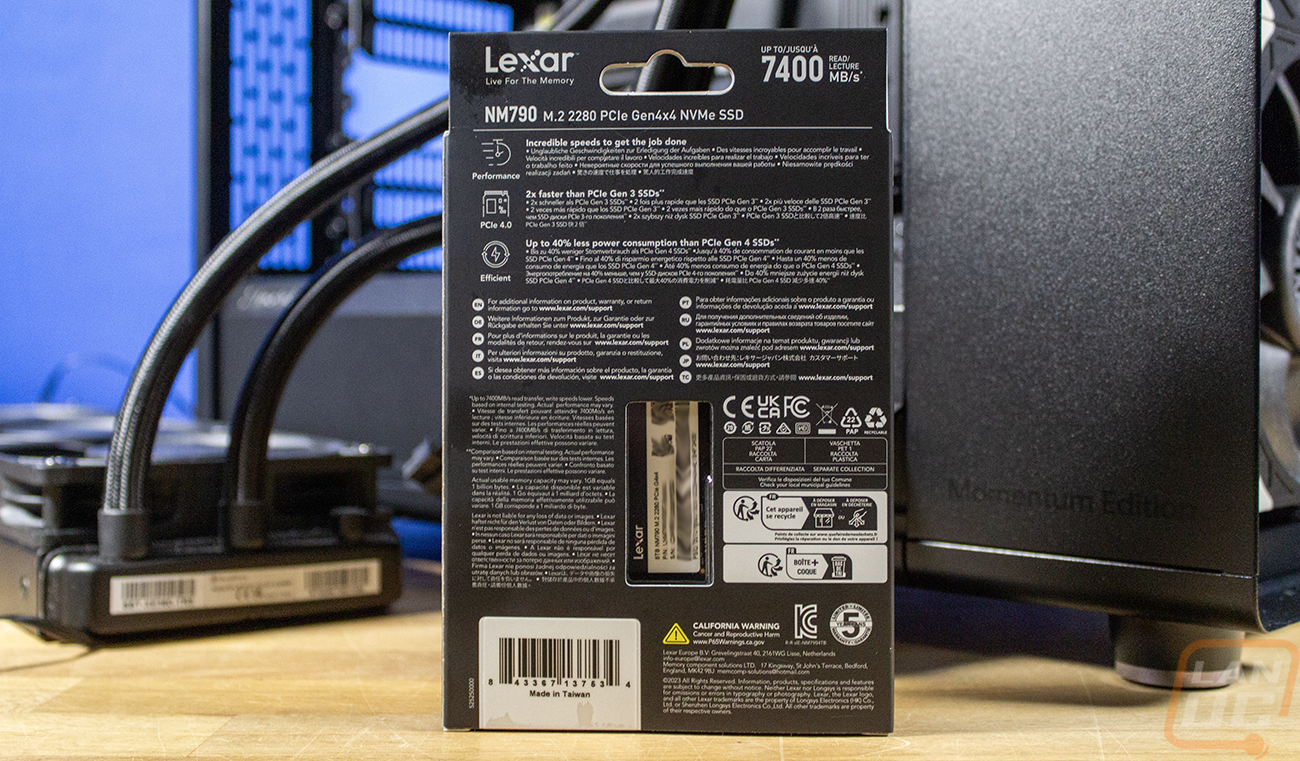
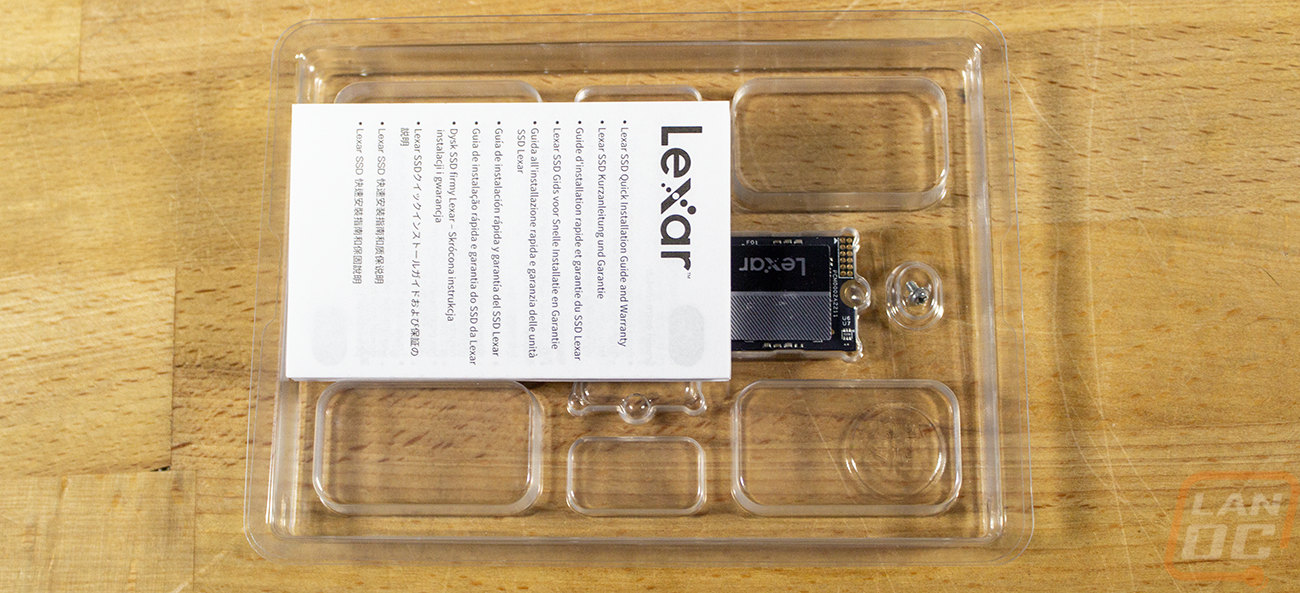
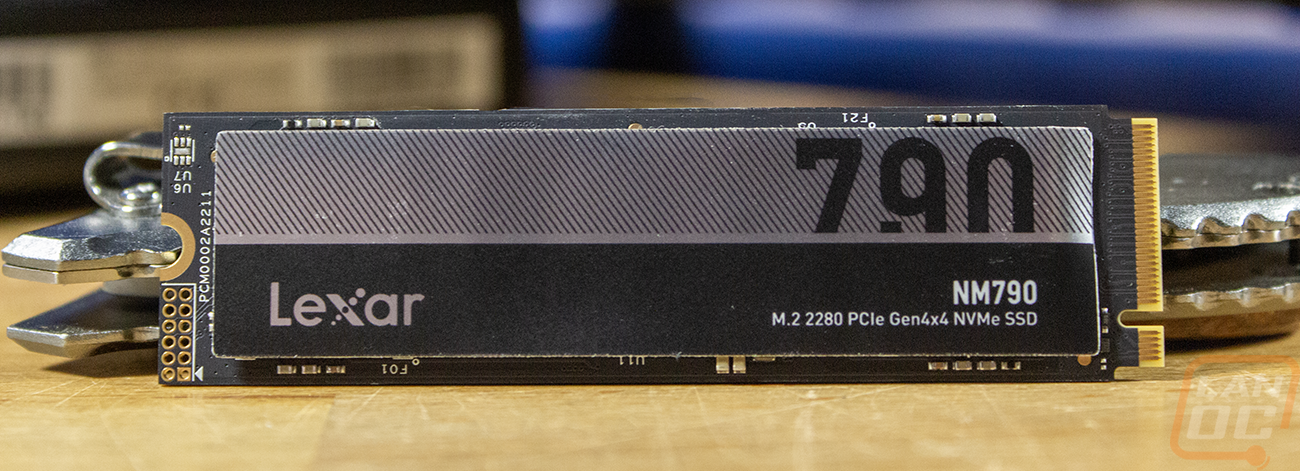
So what is the NM790 all about? This drive has been around for a few years now, filling up part of Lexar’s higher-end PCIe 4.0 lineup. It is available in a 1TB, 2TB, 4TB, and an 8TB drive we have here. It is a DRAM-less design and has the MaxioTech MAP1602A controller. That is paired up with YMTC 232-layer 3D TLC NAND flash. Together, it has sequential read speeds up to 7000 MB/s and write speeds of up to 6200 MN/s which is down slightly on the larger 8TB model vs the smaller capacities. The 8TB has 850K read IOPs and 900K write IOPS. The 8TB model isn’t listed in the specifications for total bytes written, but the smaller 4TB is 3000 TBW, I would imagine that would be higher here. It also has a 5-year warranty, which is important, especially given how much drives cost these days.
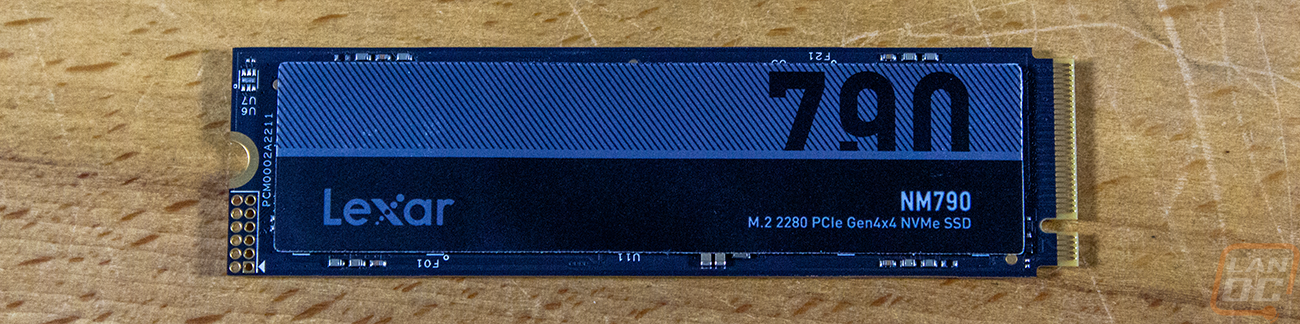
The drive will be hidden behind the heatsink on the TRX50-SAGE WIFI, but the silver and black branding across the top would be a perfect match for our blacked-out build. It’s kind of a shame, I do miss the days when we could see the SSDs in builds, and they didn’t need cooling, but that is long gone now.
That’s it for the components going into the Momentum build. Next time we will get it all put together and touch on a few issues that I ran into when putting everything together. On top of that, we will put the new build to the test and see how it performs. We know it will outperform the system it is replacing, but will it address the issues that I was running into?