The last time we took a look at our Project Data Hoarder build I went through what we were using for the CPU and motherboard as well as cooling and ram to get all of that sorted out. We are down to just the last few components to button things up. So today I’m going to talk about what power supply I went with, the rack rails, and getting things installed and set up. So let’s dive into our TrueNAS CORE build as I work out ways to use some older hardware to get an open-source NAS up and running. The goal is to finally condense some of my home and office storage needs down into fewer devices, get them tucked away into my rack, and learn about TrueNAS CORE which was formerly known as FreeNAS.
Title: Project Data Hoarder – TrueNAS CORE Build Part 4 – PSU, Rails, and Installation
Written by: Wes Compton
Build Sponsors/Supporters: Silverstone - Western Digital - Crucial – FSP
Amazon Affiliate link: Storage Drives – OS Drive
Links to the rest of the project: Part 1 – Part 2 – Part 3 – Part 4
Power!
One of the best features of the Silverstone RM21-308 and the reason I think it or the RM22-308 (which holds a bigger motherboard) are perfect cases for anyone looking to turn an old PC into a rack-mounted server without going with a thick 4U case is that the RM21-308 supports a traditional 2U power supply or you have the option of running an ATX power supply. But because I was using components from around the office I didn’t have a system with a power supply already in it so I would need to find another option. I originally reached out to FSP because they have their Twins PSU which is a redundant ATX power supply but they didn’t have one they could send out. They did however have their Hydro PTM Pro power supplies which fit the bill, and were short enough to fit in the case. A high wattage power supply wasn’t needed for this build, there wouldn’t be a GPU or at least one that requires much power so the 650-watt model was way overkill. Beyond that, knowing that the server would be running all of the time I wanted the most efficient model possible and the Hydro PTM Pro is 80 Plus Platinum. It has a 10-year warranty which gives a little extra comfort for the long hall and given the compact space in the 2U server I did want a modular power supply so we didn’t have to try to tidy up a lot of extra cables.
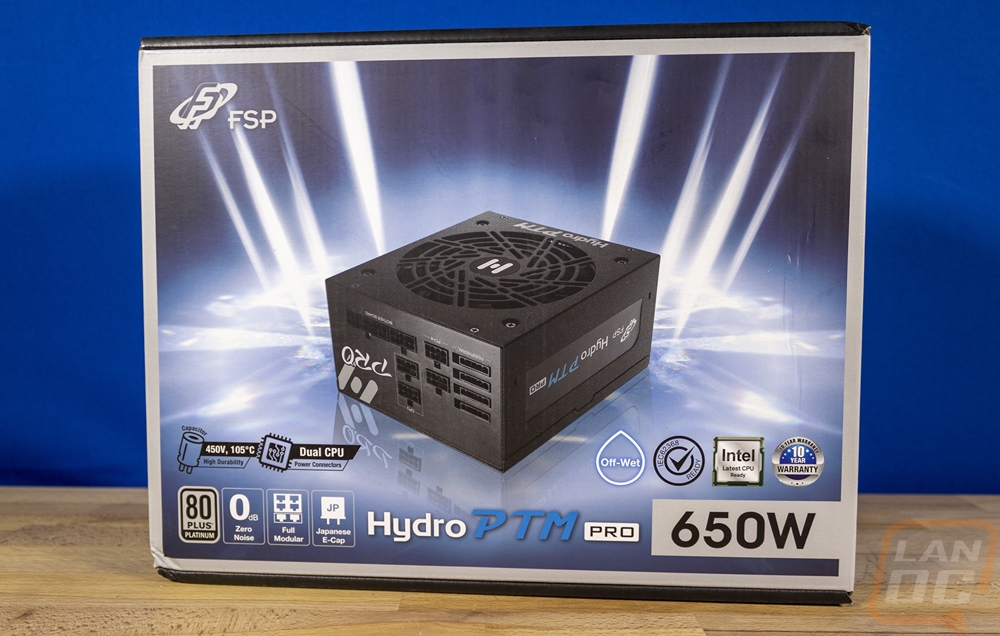
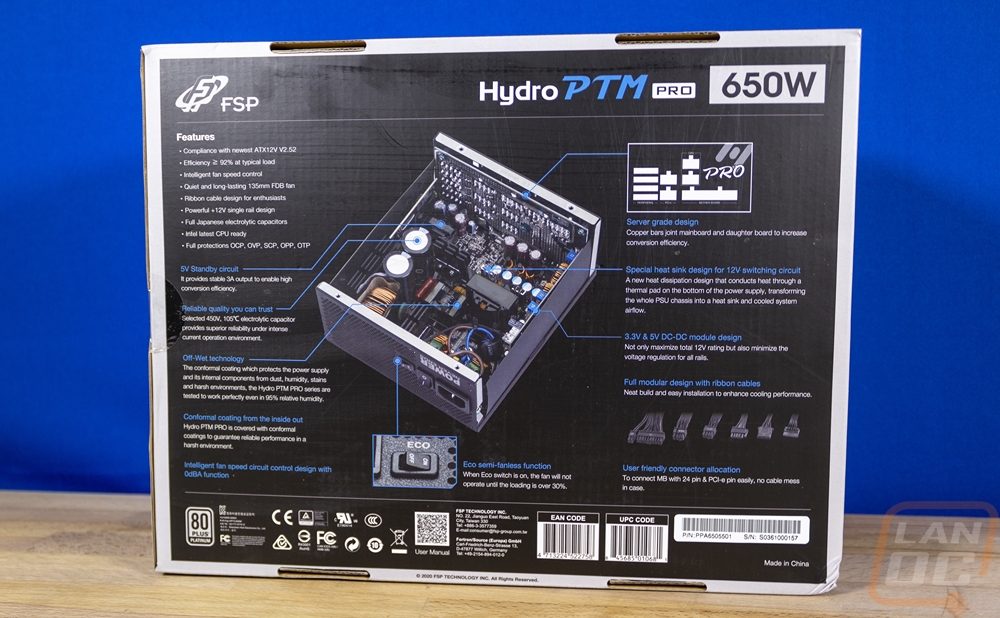
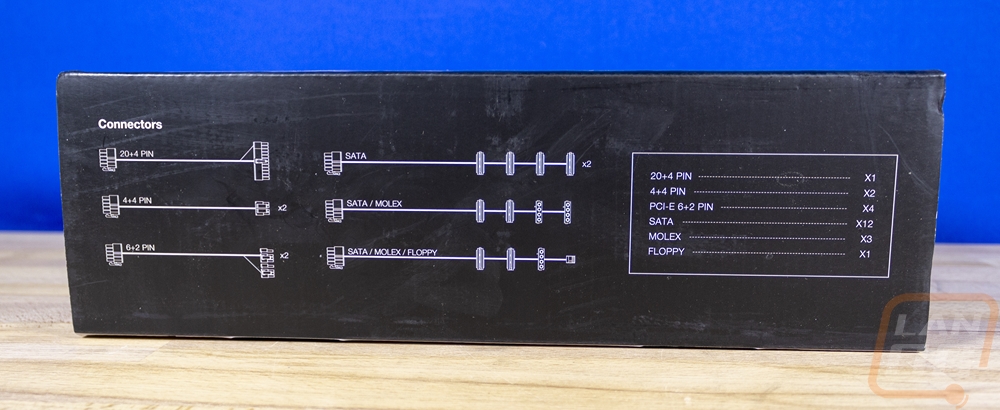
The Hydro PTM Pro 650W has a picture of the power supply right on the front of the box which I love. Often you can buy something in a store and not even really know what it looks like inside. FPS has their logo up in the top left corner then in the bottom center, they have the model name. It is a little buried in with all of the icons that show the features, I think it would have been a little better up in the top right personally. Then in the bottom right corner, they have the wattage. Around on the back, FSP has another picture of the power supply, this time with the top taken off so you can get a look inside which is awesome. They have lines going to different components to highlight a few of the features. The off wet feature is interesting even though it doesn’t apply to our application, the Hydro PTM Pro 650W can run in high humidity, up to 95%. It also has an eco mode for the fan that is controlled by a switch on the back. The box also has pictures of all of the power connections on the back and on the side, a line drawing showing you the full number of connections.
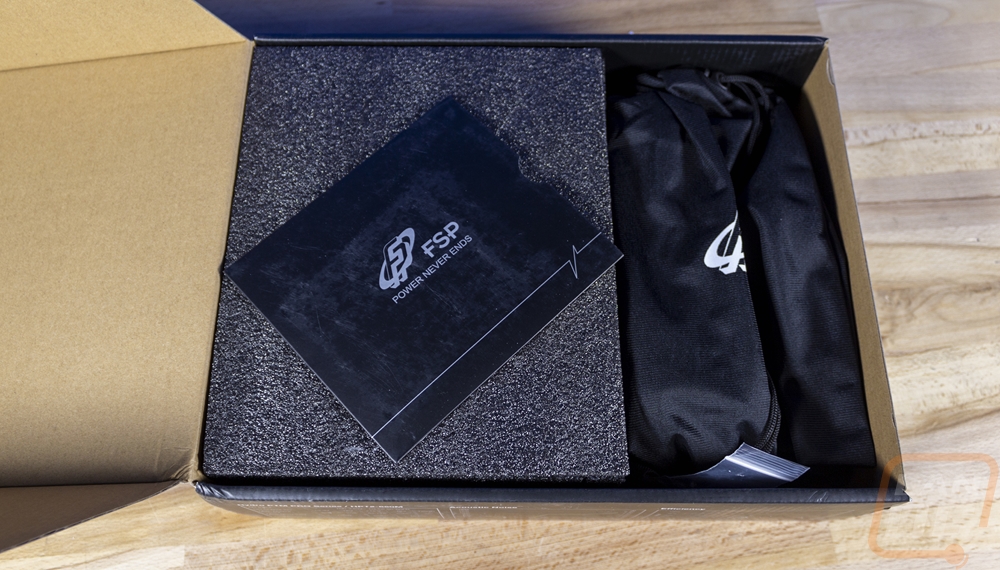
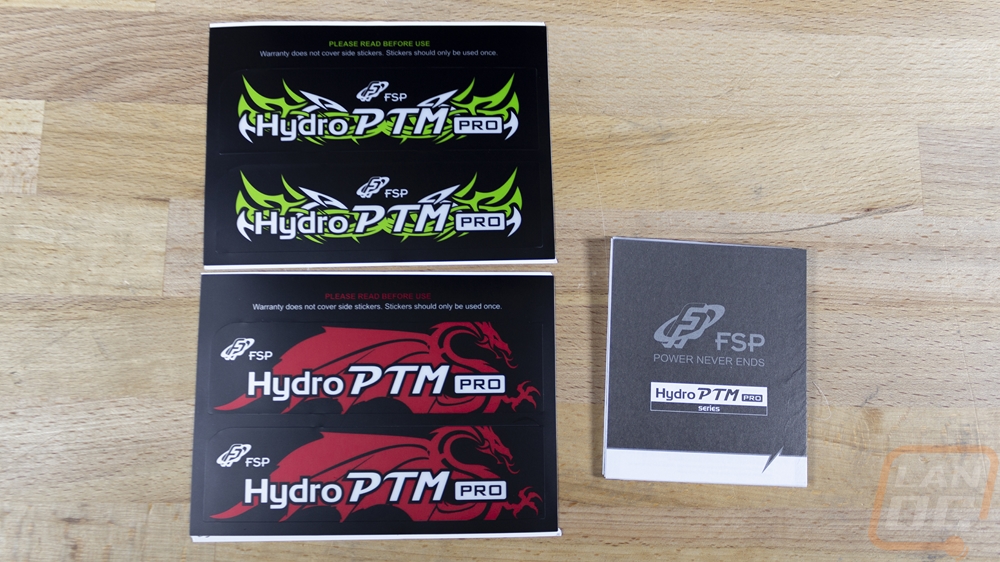
When you dig into the box up on top FSP has a nice folder with the documentation inside as well as a set of stickers. It took me a minute, but I realized these are replacement stickers for the side of the power supply to change up the look if you want while keeping the branding. You have one with green tribal like a 90’s tattoo and then a set of red stickers with a red dragon in the background. Those would go especially well if your build was using a lot of MSI Gaming components with their red dragon theme as well.
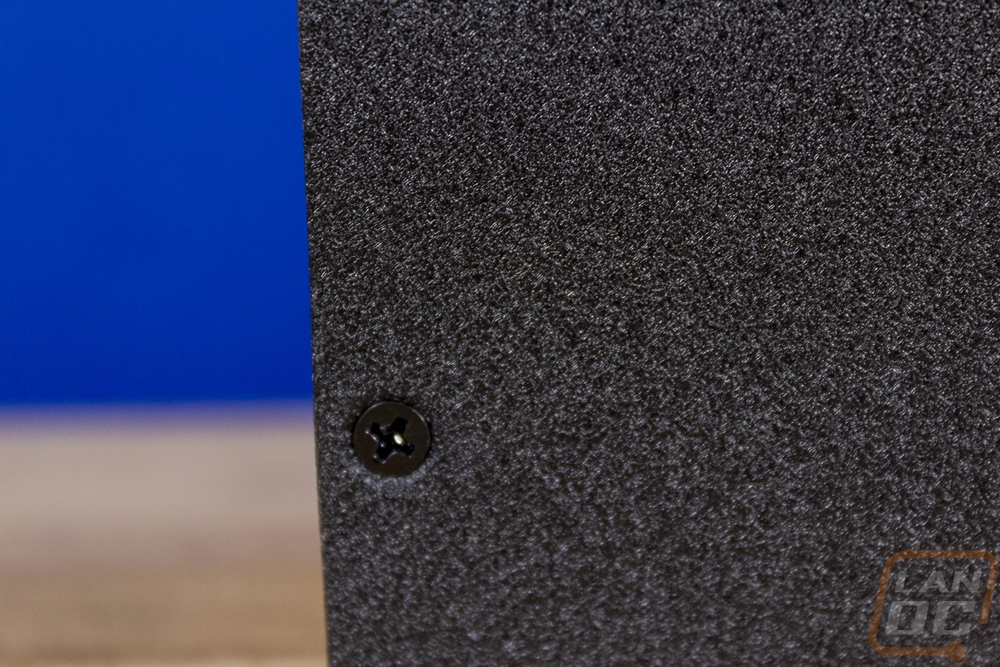
The Hydro PTM Pro 650W has a unique black textured finish that looks great. Then on both of the sides, they have black stickers with the FSP branding the Hydro PTM Pro logo. These are a lot tamer compared to the extra stickers that FSP provides in the box and I think they look sharp though I am surprised they don’t include the wattage as well like a lot of power supplies have on the side. One is of course flipped upside down so that with the fan up or down depending on the case layout the outside sticker will still be readable.
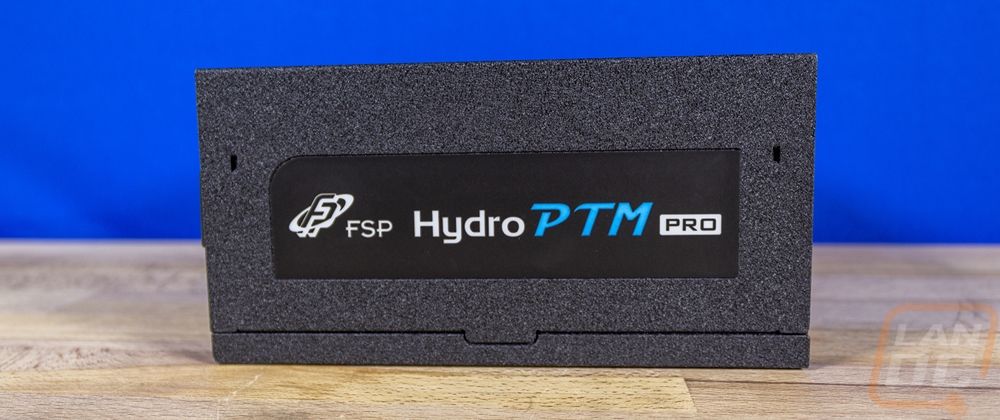
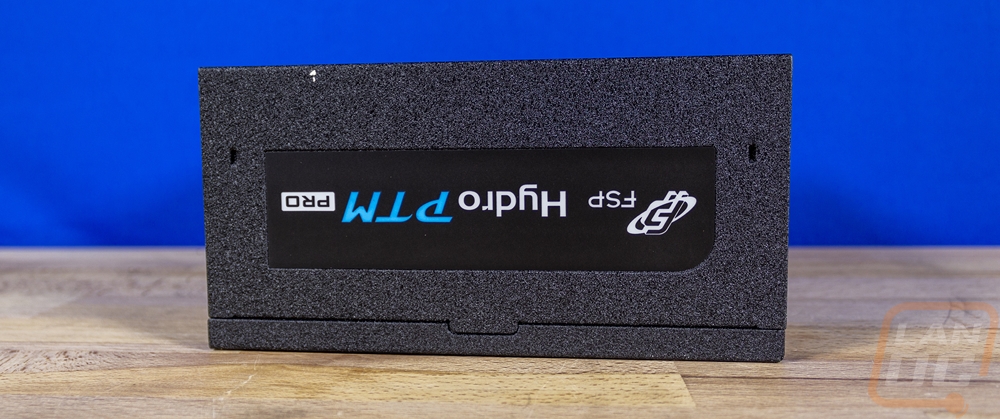
Here is another look at that black textured finish.
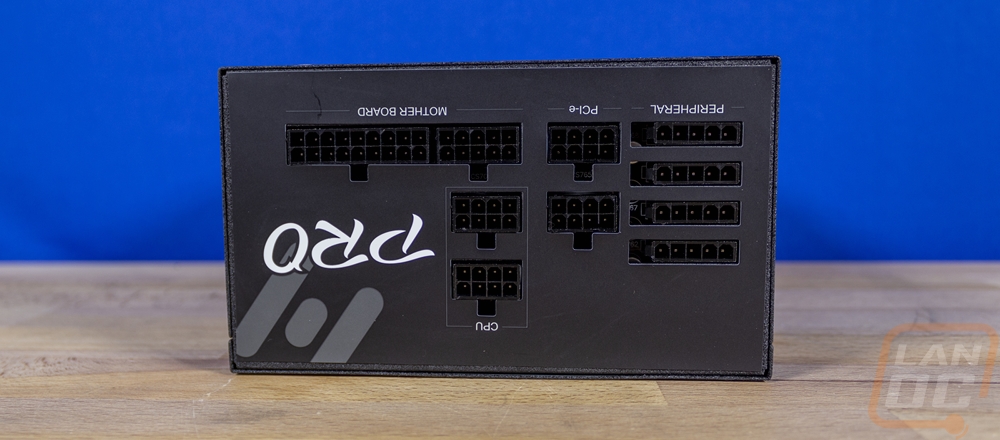
On the inside end of the Hydro PTM Pro 650W, they do have some more branding, this time just the Pro in the Hydro PTM Pro name but it's interesting because this isn’t the same font that the full logo uses. Then they have all of the modular cable connections with the motherboard 24-pin split up into two but still next to each other. Then the two CPU connections are above that and the PCIe are to the left. The peripheral plugs are then all stacked on the far left (on the right in our picture) but what caught my eye is that these have a different plug style than most power supplies have been using. The clip is at the end not on the top middle so they all stack together closer together here.
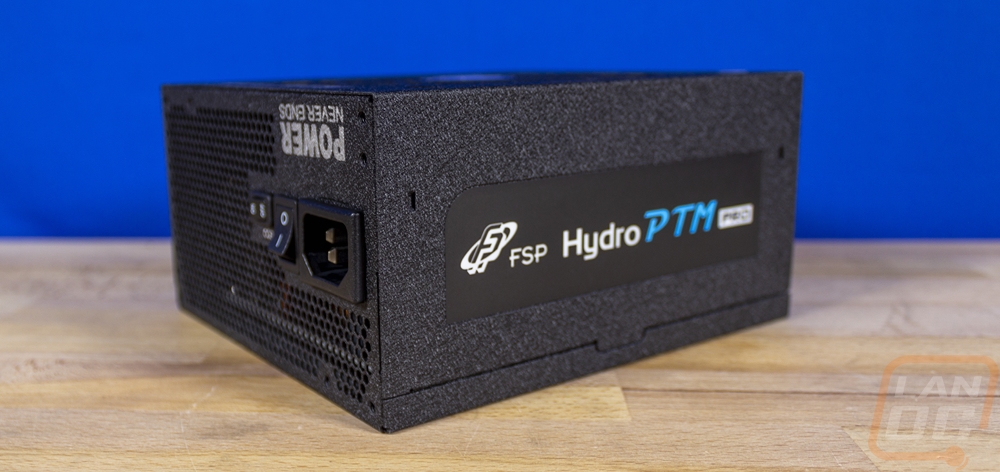
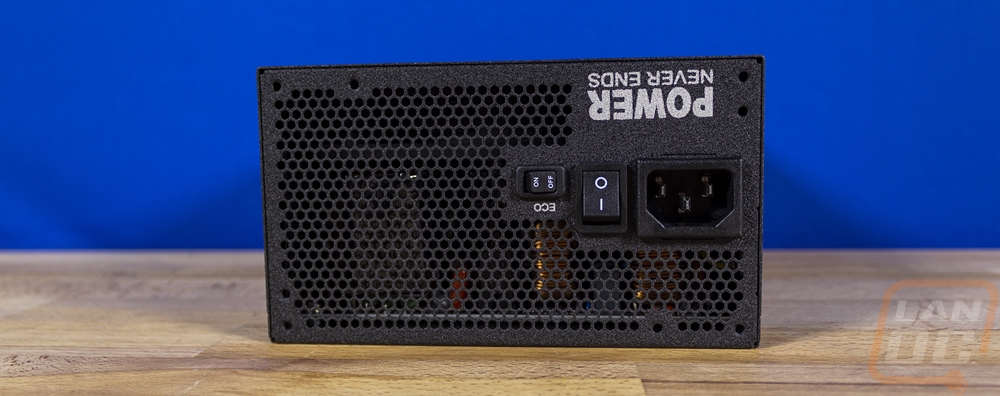
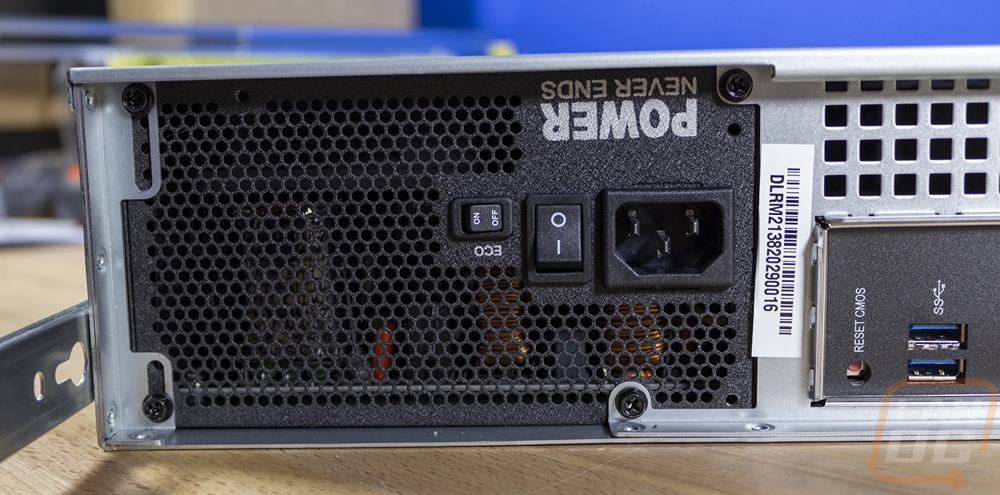
On the outside end of the Hydro PTM Pro 650W FSP, it is mostly covered in honeycomb-shaped ventilation holes to exhaust all of the air that the intake fan pulls in. FSP has “Power Never Ends” printed on here as well as a quote. Then there is the standard power plug and with it a power switch. The smaller switch next to that is for the ECO mode which will turn the fan off until the power supply is at over 30% load which is over 195 watts on the 650-watt Hydro PTM Pro we have here. That’s just enough to keep the fan off under a majority of workloads in our specific case or anything not in game in a lot of gaming PCs.
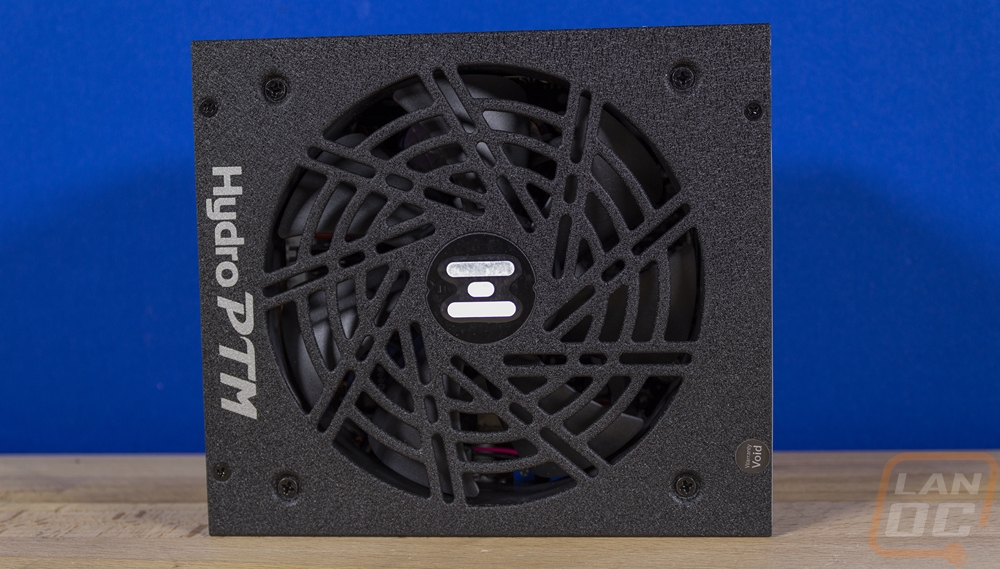
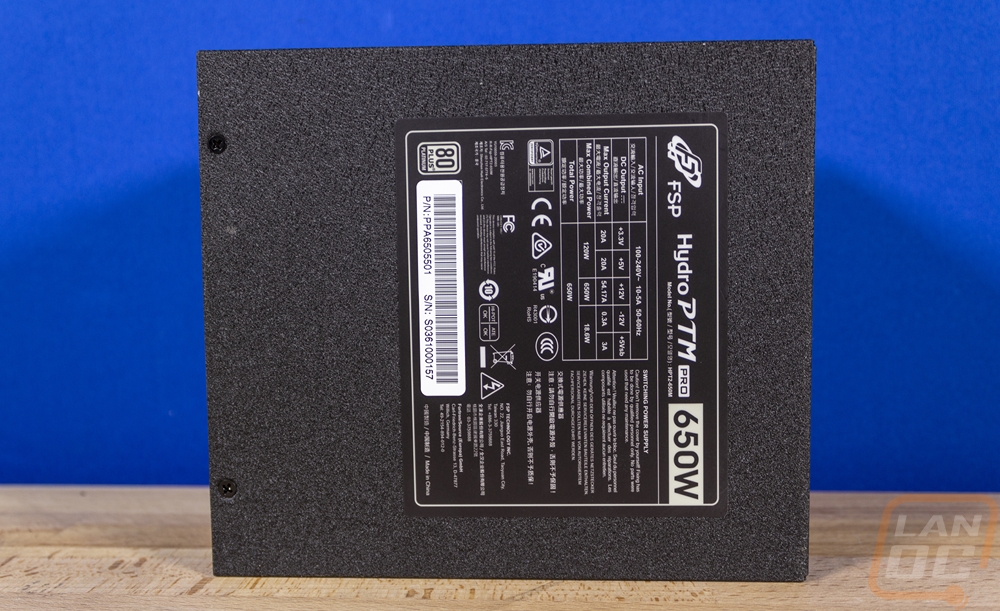
For the top/bottom of the Hydro PTM Pro 650W which depends on which way you have the power supply installed. You have one full paneled side which has the information sticker. That has the wattage breakdown per voltage and rail as well as the serial number and part number in case you need to take advantage of FSPs 10 year warranty. The sticker also has the model information including wattage and all of the regulatory logos needed as well. Then on the fan side, the Hydro PTM Pro 650W has a unique vent layout for the fan which is cut out of the case. The fan grill itself looks a little like a fan which looks cool and isn’t like anything I’ve ever seen before. They also have the Hydro PTM branding on this side.
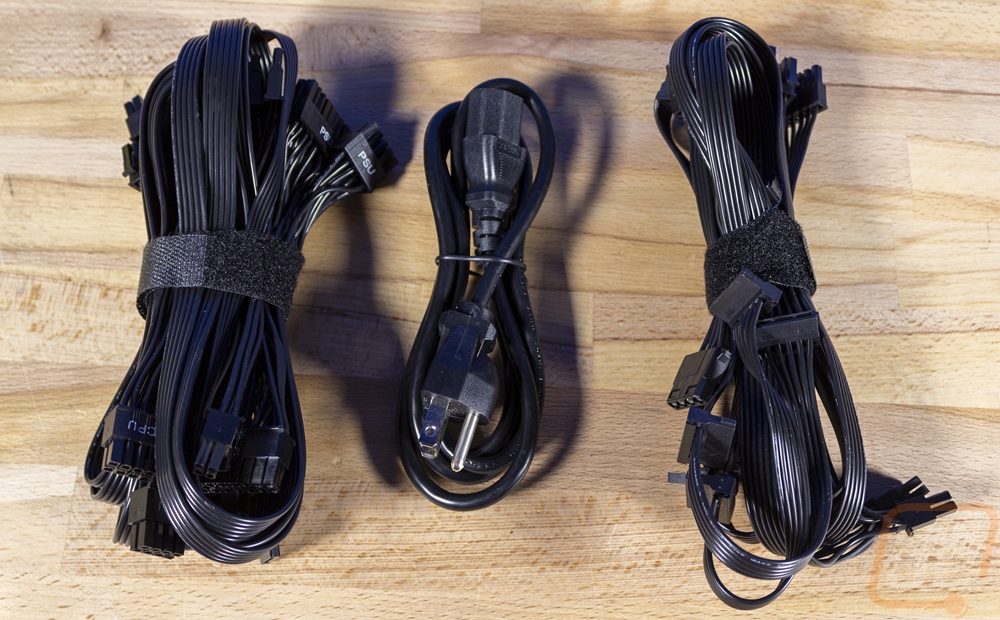
All of the modular cables come in a soft drawstring bag. So many companies have been dropping the cable bags but I’m glad that FSP still has it with the Hydro PTM Pro 650W because I know we won't be using all of the cables. Having something you can store the extra in is nice and helps if you have more than one PC with a modular PSU as well because you don’t want to mix cables up. They do sometimes have unique pinouts that can fry things if you hook them up to the wrong power supply. They also included a set of black mounting screws for the power supply as well.


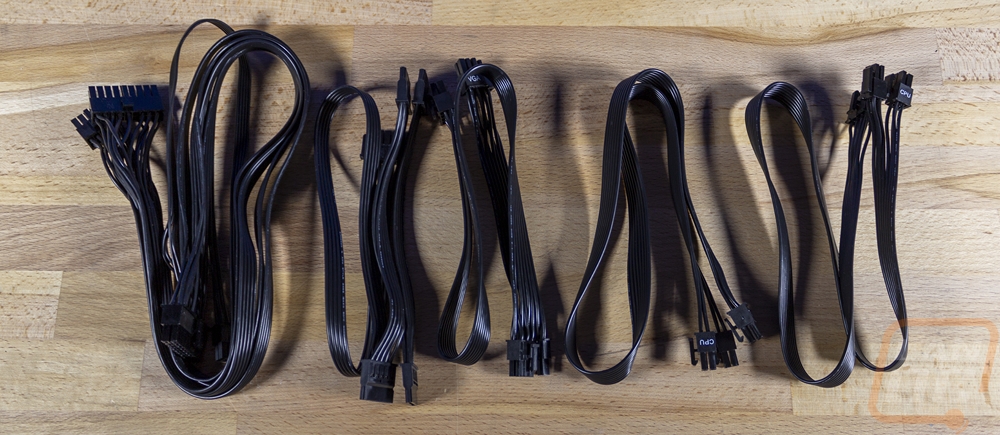
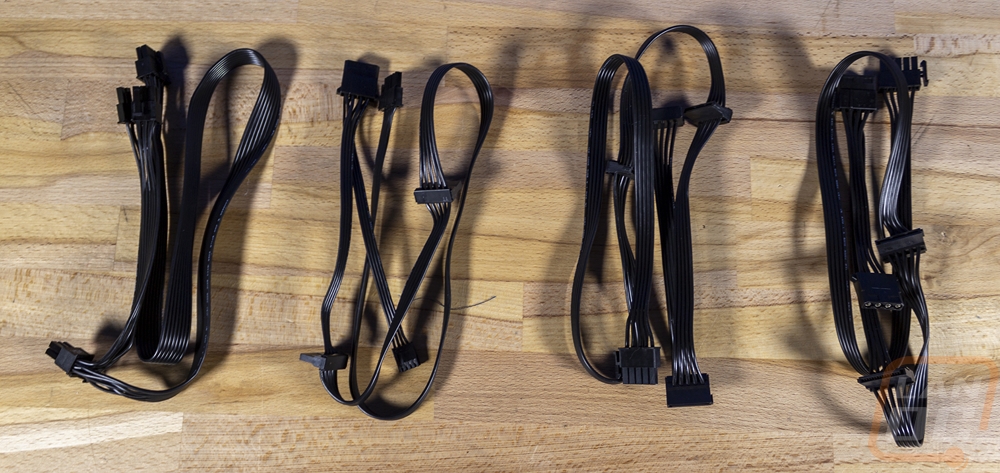
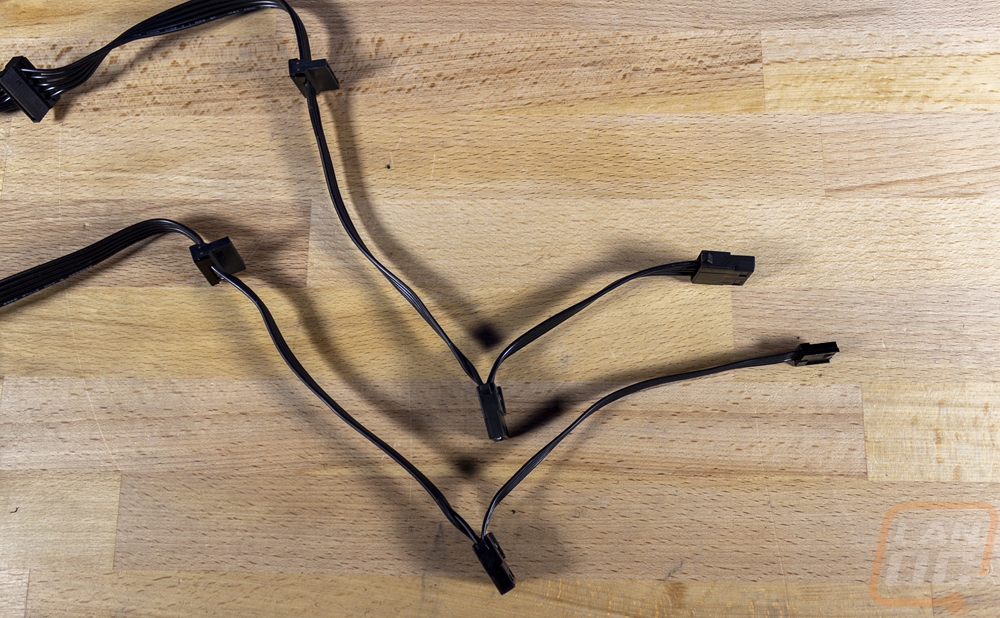
For the cables, FSP went with what is now the standard black flat cables that are flexible and easy to tuck and hide under things. Each of the cables also come with their own Velcro straps as well, normally cables like these are all just wrapped up with twist ties, so the Velcro is a nice step up and reusable as well. For cables, they have the 24-pin motherboard power, two 8-pin CPU power, and two PCIe cables with dual 6-2 cables to support two video cards if needed. Then there are four accessory cables which is where FSP went a little different. Two of the cables have all SATA power ports which is about what you would expect. But then the other two have a mix of connections. Normally we would see one or two cables dedicated just to Molex but what FSP did was put two SATA power plugs then at the end added Molex. One cable has two Molex and the other has just one Molex and then an old floppy drive power plug which honestly I would love to see go. This does create a small (but fixable) problem for our build as the Silverstone case uses four Molex connections to power the hard drive array, which would have been covered if not for that floppy plug taking up a perfectly good Molex spot lol.
Rails
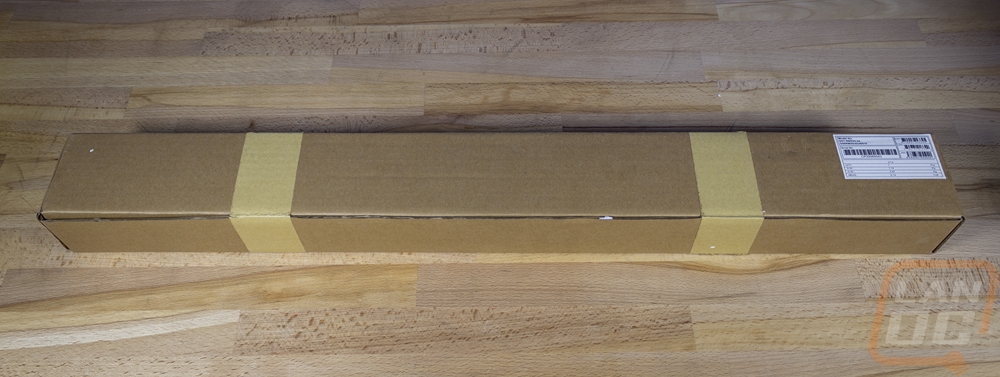
So in addition to updating our storage capacity and trying out TrueNas, one of the other big goals with this project has been to clean up our server rack area. This has been an ongoing project which has included another NAS, redoing some wiring, and updating switches as well. But for this project part of this was to combine two tower NAS that I had sitting on a shelf in our rack which wasn’t exactly very efficient when it comes to space and it wasn’t that great for their cooling as well. So in addition to the Silverstone RM21-308 rack-mountable case that I went with. I also wanted to make it accessible once installed as well. So I would need rails. Our rack, like a lot of people who have homelabs, was picked up locally from a long gone business which means it was an older rack. The downside to this was that it doesn’t have the newer square hole mounting system. So I had to be extra careful when picking out rails. Thankfully Silverstone had a solution and it came recommended right at the bottom of their page about the RM21-308 case. Silverstone sent over their SST-RMS03-24 rails.
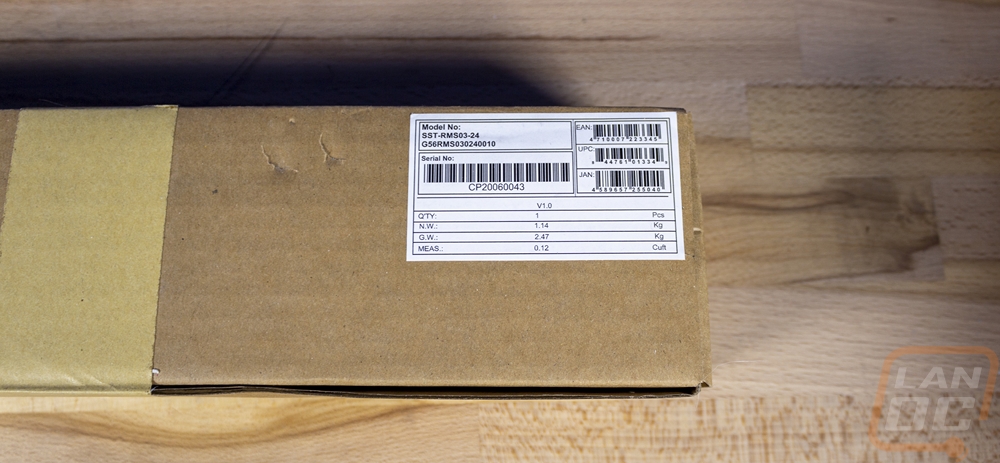
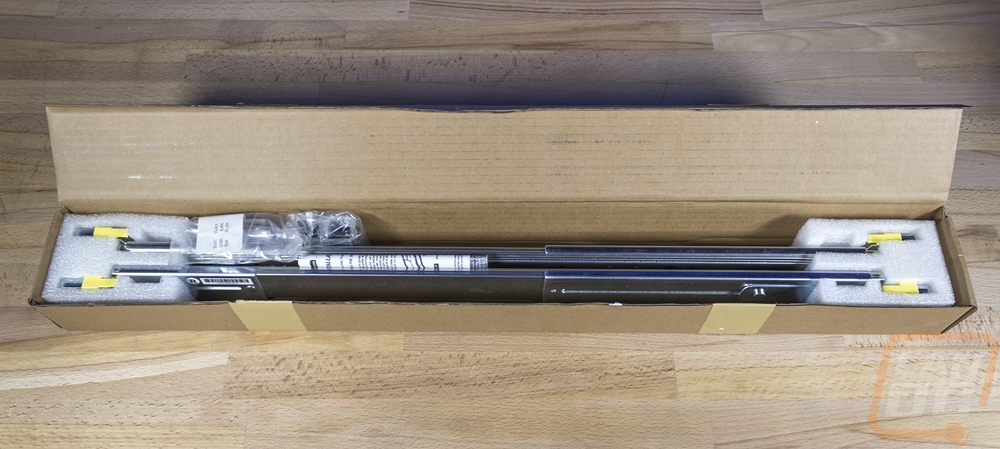
They are of course packaged in a regular old brown box with tape around it in two places to keep things closed and just one white sticker with the model name and barcode on it. Inside the two rails have foam at both ends holding them in the middle and safe. Then there is a small accessory bag as well.
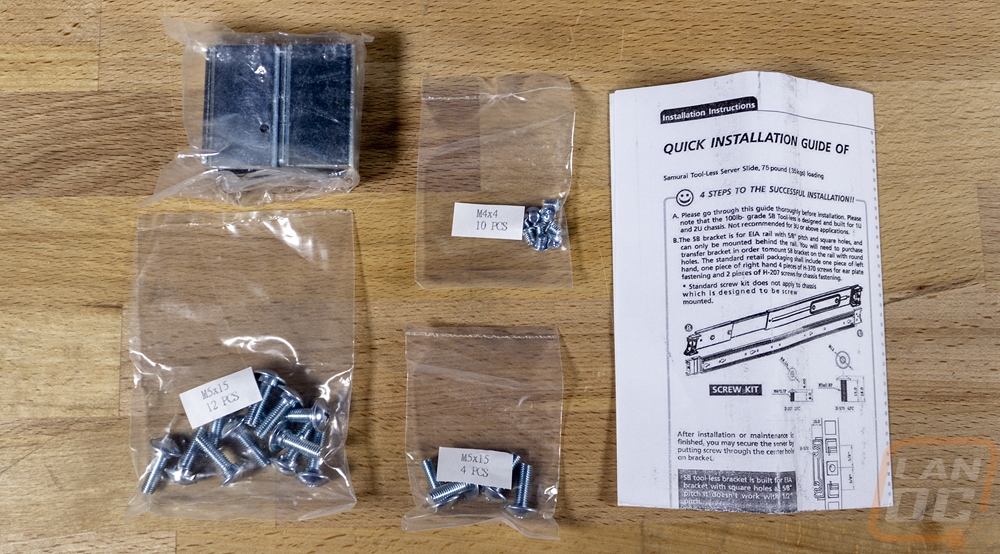
The accessories are what make it possible for these rails to work with our older style rack. The rails themselves are set up for the newer square mounts but they include four square to round hole rail adapters with everything. You also get three sets of screws. The smaller screws are for installing the rails to the case then you have two sizes for your rack depending on the thread type. They also include a basic one page instruction guide as well.
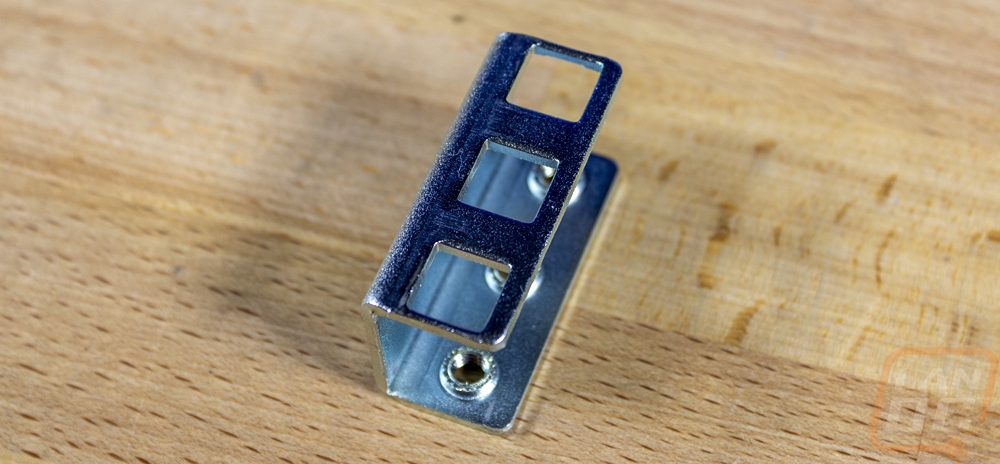
Here is what the adapters look like and you might be surprised at how much finding more of these can cost. Rack mounting things is still new to me when it isn’t something that can be hung by the ears like our switches and patch panels. So I went looking to see if I could find anymore to mount another server that I was unable to get round hole rails for and I expected them to be a few bucks. They are a lot more than that. So it is nice that Silverstone includes them with the RMS03-24 rails.
The rails have the toolless mounting with the square holes and they are bearing rails that can support up to 100 pounds. These specifically are the 24-inch long model but they do have other lengths as well. They have a variety of mounting holes down the rail as well as a few keyholes as well for an easier installation on the Silverstone cases. They also have each rail clearly labeled as left and right both with a sticker and it is also etched on the smaller inside rail as well in case you get mixed up when you have them apart.
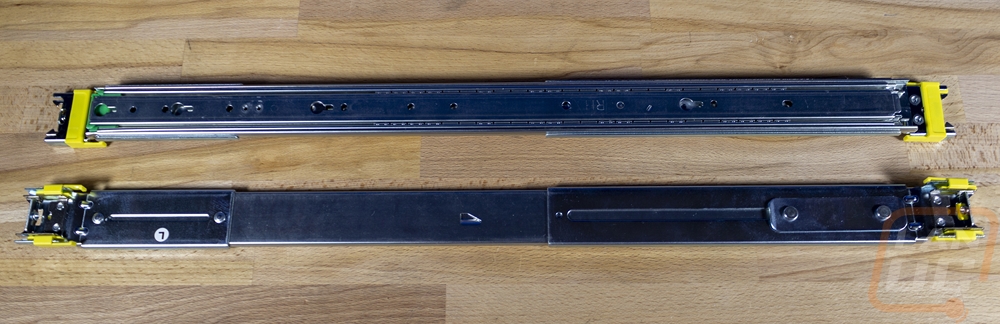
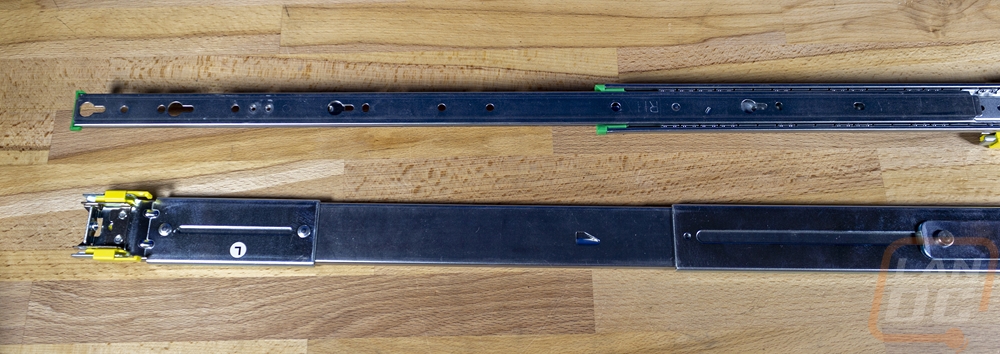
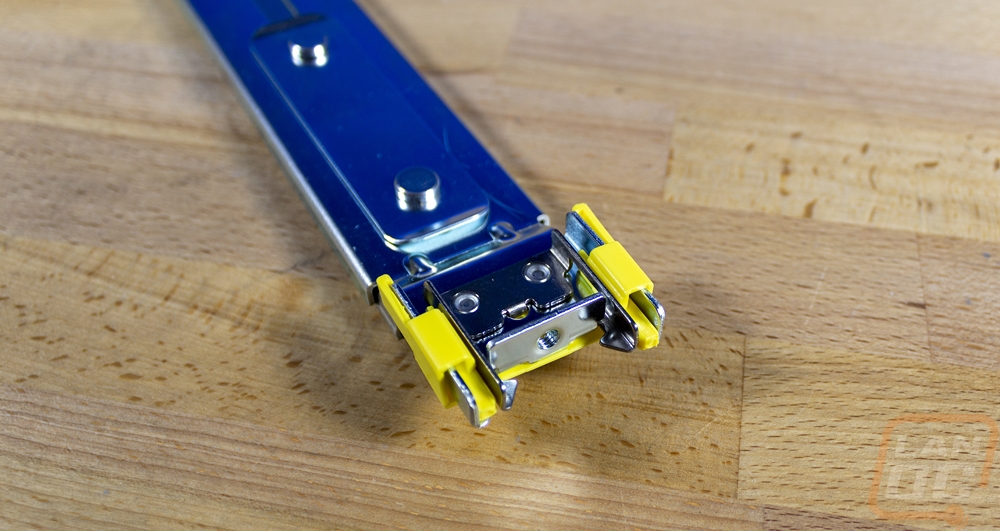
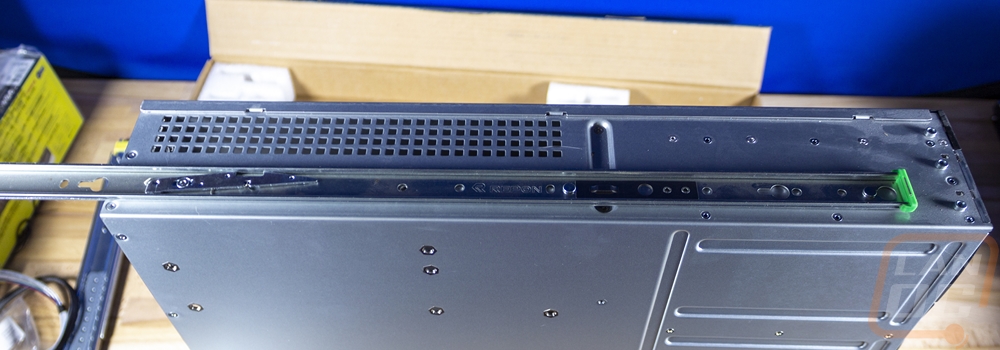
Installing the rails is a three part process. You need to install the inner rails on the server. Then you need the outer rails installed into your rack. Then you have to put them back together as you install the server into the rack. Below are the inner rails which have a green cap on them. The Silverstone case had two round hooks already on the sides ready for these rails. So this part of the installation was really easy. You line the keyholes up and slide them over. Then you just have a few screws to install to keep things from moving around. This view also gives a great look at one of the latches on the rails. Specifically, this is the latch you have to lift up on if you want to remove the rail apart from the outer or yellow rail.

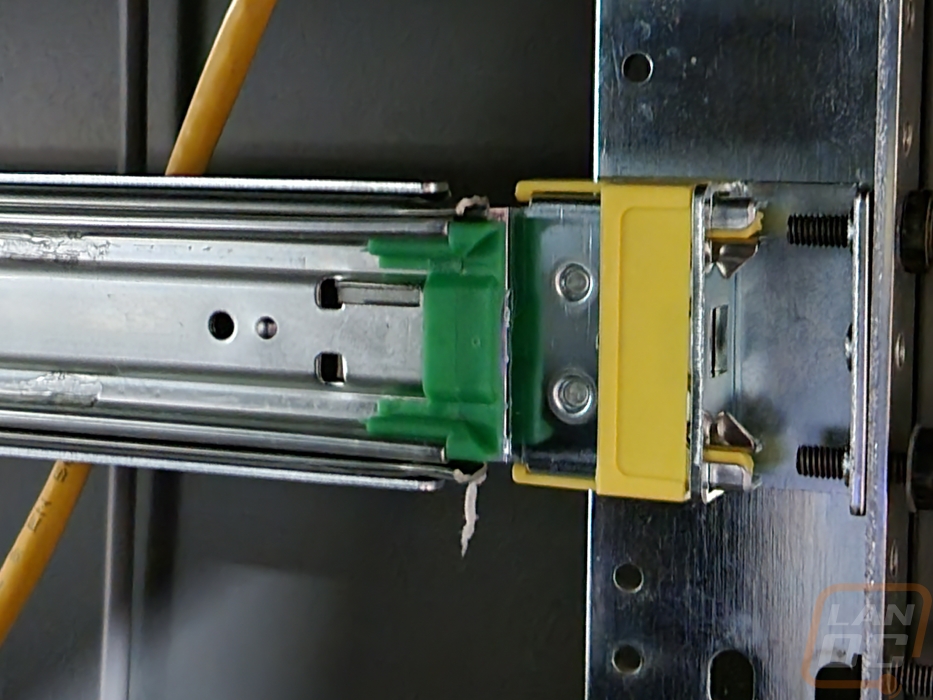
Now you might be wondering how the round hole to square hole adapters work. Well, the instructions didn’t explain them much at all but this is how I put them to use. I mounted them behind my rail mounts. This can be very complicated because the adapter and my rack itself both have threaded holes. So you have to get the screw started with it perfectly flush or it won't mount closely and put extra strain on the screws. I had to do this on all four corners. This did cause a problem though. So our 24 rails were already a close fit for our rack which is 24 inches but like I said before I am new to this. So adding these adapters on each end made things REALLY tight for the rails even at their shortest setting. I ended up having to flip the rear adapters around and mount them to the outside. This wouldn’t work on the front of the rack because they would make it too tight to pull the server out, but in the back, they weren’t in the way.
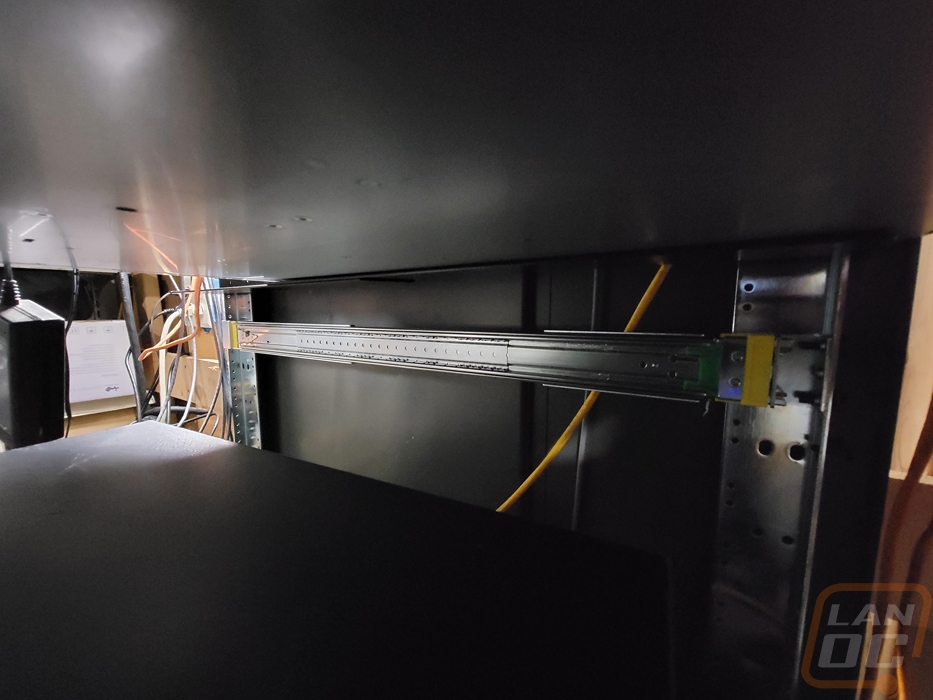
The installation wasn’t done there of course. I did need to install the server into the rack so we can skip ahead a little. Getting the server installed was a bit of a nightmare for me. I was trying to do it by myself and where I have it mounted is high up on our rack because I haven’t gotten rid of the other NAS until I can move data over. I would first recommend doing this without your hard drives installed. Both because of the weight that they add, but also because if you do drop things at all the drives are easier to damage, and if you are reusing hardware like I am they can also end up being a majority of the costs of your system as well. The biggest issue I ran into was that one rail slid in and was perfect but the second looked like it was in. But would fall out when you pull the server out. Talk about an oh-crap moment when your new server starts to fall. I ended up having to get a second pair of hands to finally get things latched in. The other issue was a small one but related to the round to square adapter. This whole system is designed to latch when pushed into the rack with the included handles included with the case. But those are designed to work with the square holes as well so I couldn’t use them. I may add them back in the future if I pick up more of the adapters and mount them on the front of the rack as well. But as long as your rack is level you shouldn’t have to worry about anything.
Installing Everything
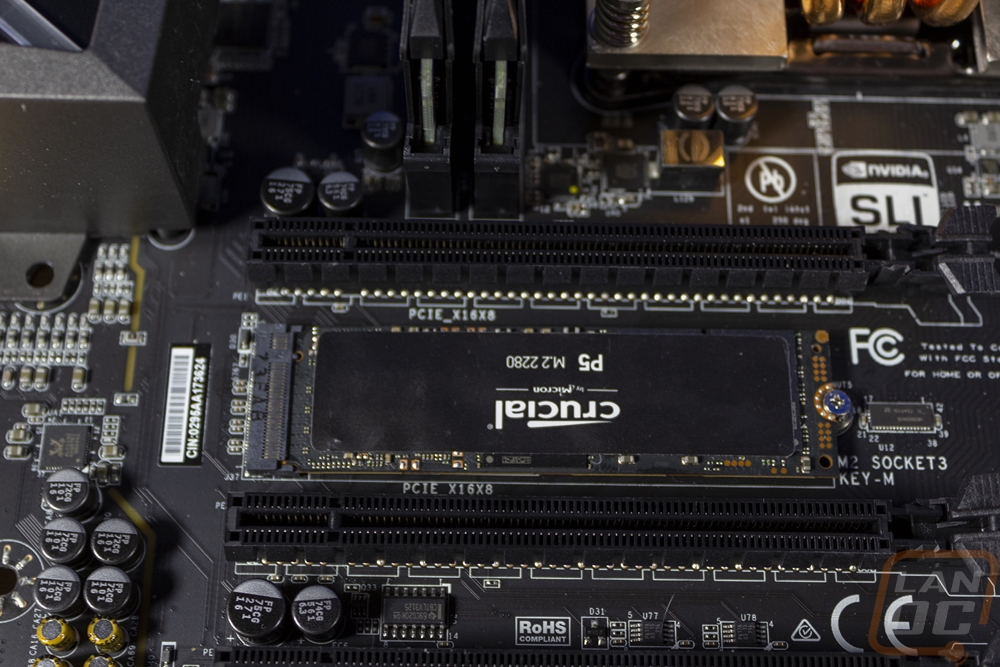
Other than be going into the future with the rail installation, up until now we have mostly just been going over the hardware going into the build. Before I could get things up and running, however, I would need to get everything installed into the Silverstone RM21-308. The RM21-308 is a bit of a hybrid case where it is rack-mountable but they offer support for traditional PC hardware as well. Which is why we went with an ATX power supply and are reusing an old Micro ATX motherboard. I did switch things up for the cooling for the CPU to work better in the 2U case, but beyond that, the motherboard, CPU, ram, SSD, and PSU are all the same that you would use in a gaming PC. I did speed things up by installing the CPU, memory, and cooler when I spoke about those. But I did need to get our P5 M.2 SSD from Crucial installed before getting everything put into the case. That of course just needed a small M.2 screw to mount it in our EVGA X299 Micro motherboard. This board had just one slot available that would fit a drive. The other is used for the onboard WiFi which we won’t be using.
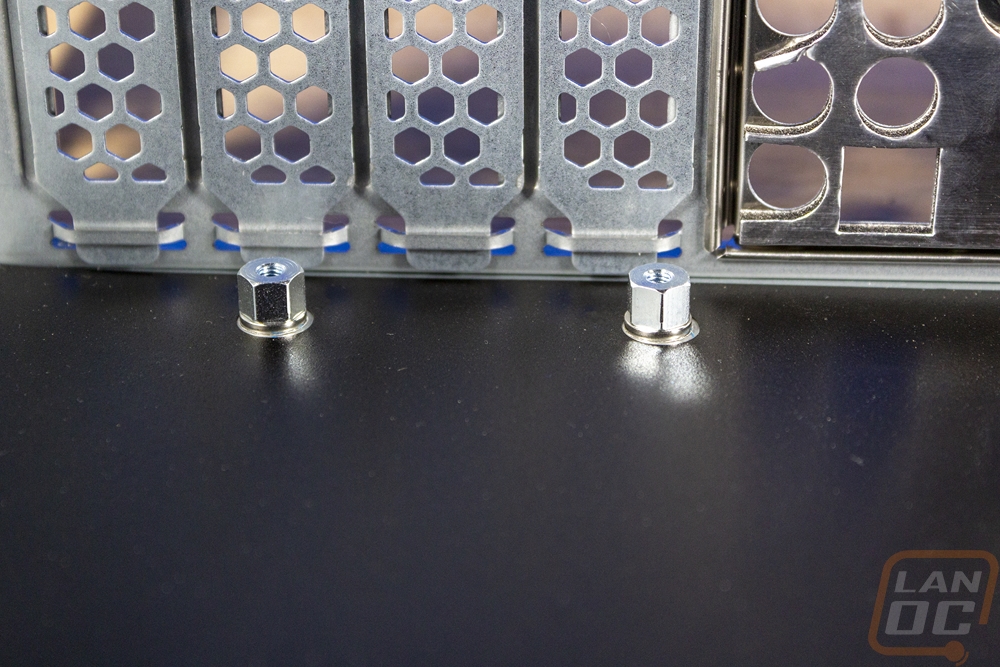
From there, with the motherboard all ready to go. You want to get the included motherboard standoffs out and line them up with all of the mounting holes. They give you the installation tool to install them but they can’t come preinstalled because the case supports multiple form factors. You also want to install the rear I/O panel. Then you can drop the motherboard down in and install the screws. I did this but did run into issues where I needed to pull it back out. So you may want to just use one or two screws until you have everything buttoned up then come back and install the rest.
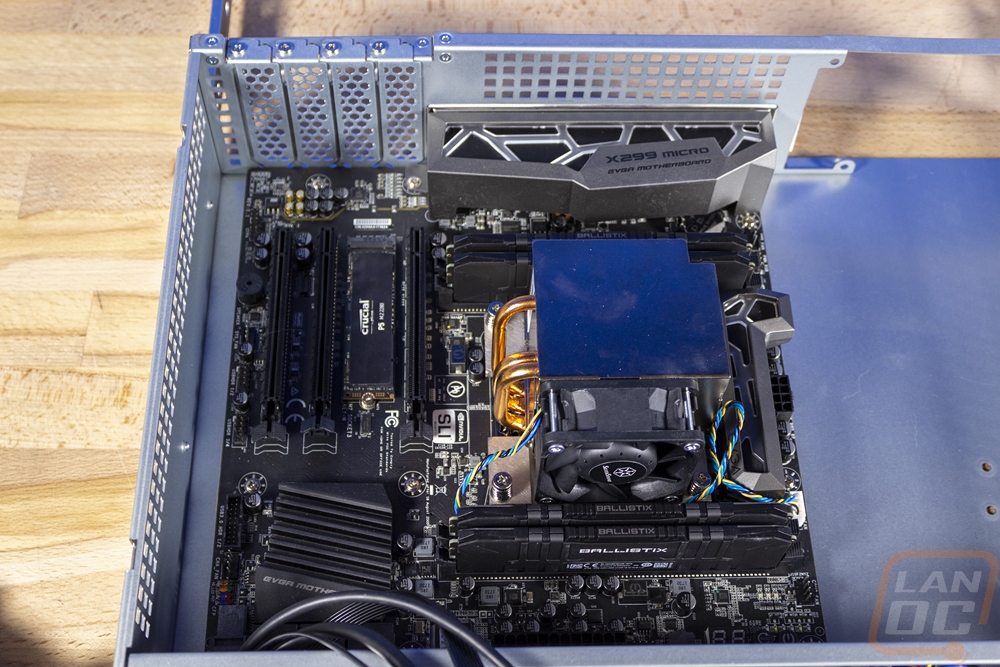
Next, you want to get all of the case wiring hooked up to the motherboard. This includes things like the front power button and the front USB ports. It is also a good time to hook up your SATA ports if you plan on using any of those but I do want to give a warning. Depending on your motherboard things could get tight. As you can see in the picture below, the nice right-angled SATA ports that EVGA provided which are amazing for a normal PC make things tight in this case. Hopefully, your board doesn’t have them or you might have to look into other options or even cut the case. I was able to get these four plugged in just barely and I wasn’t all that comfortable with it. That was all I had planned on using. I spoke about my plans for hooking up the hard drives in our motherboard selection article, but let's just say things got interesting. So I will be talking more about that next week rather than even talking about the cables I went with which was the original plan here.

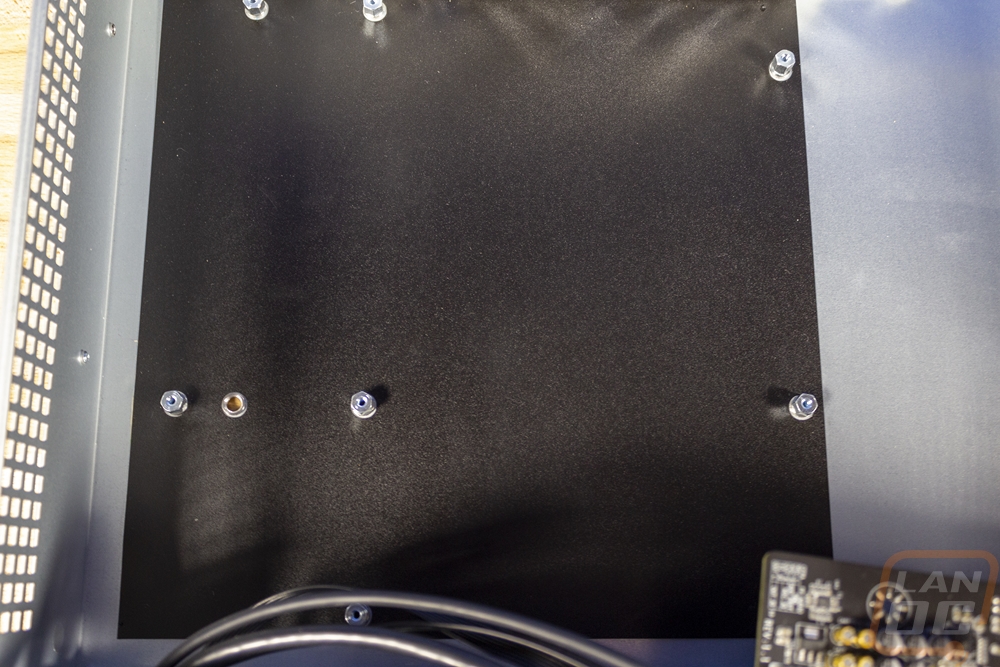
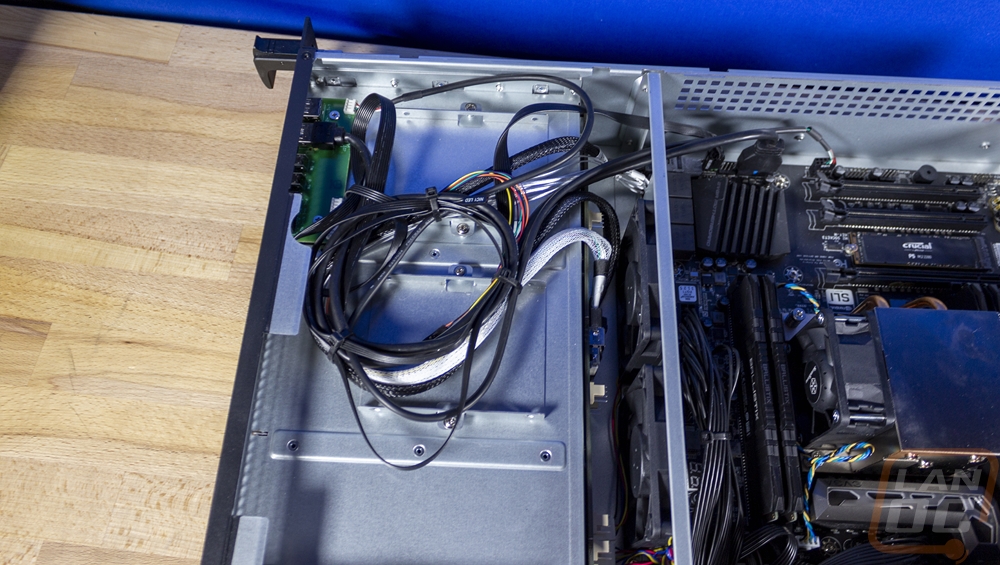
You will want to tie up any extra cables. For me there were a few extra front panel connections I didn’t need and some of my data cables all were too long as well so I went with a loop here where the 2.5-inch drives could mount. I just wanted to keep things away from the fans to not chew up any cables and also so we could have good airflow.
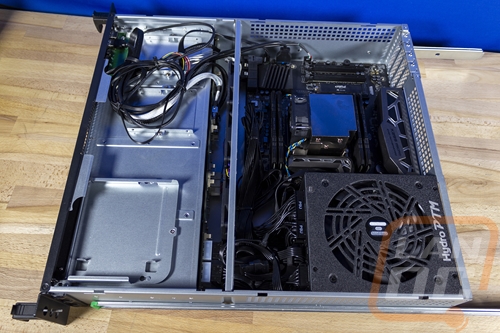
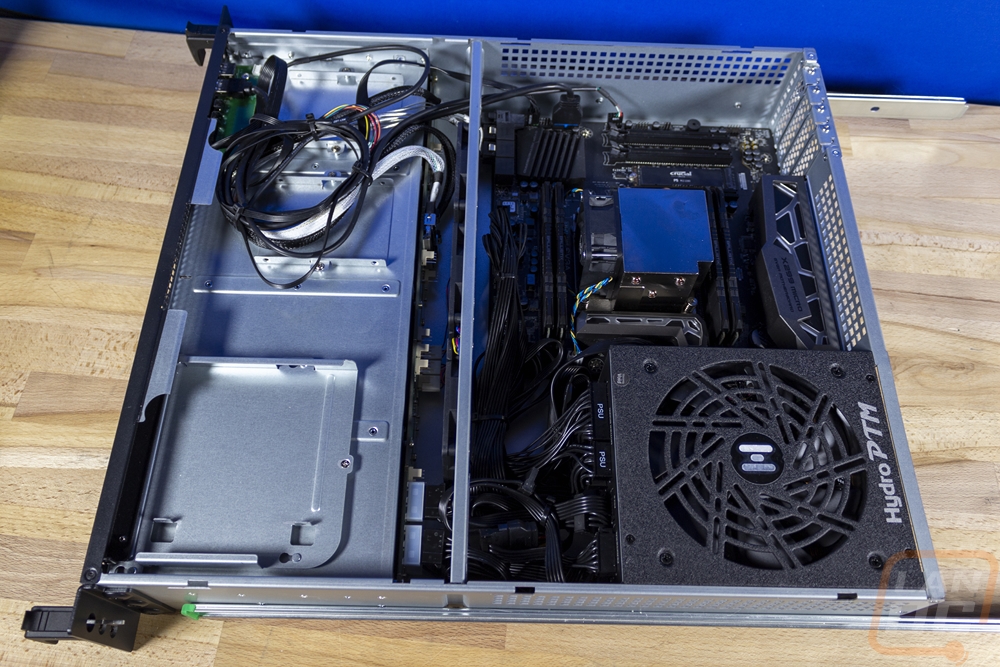
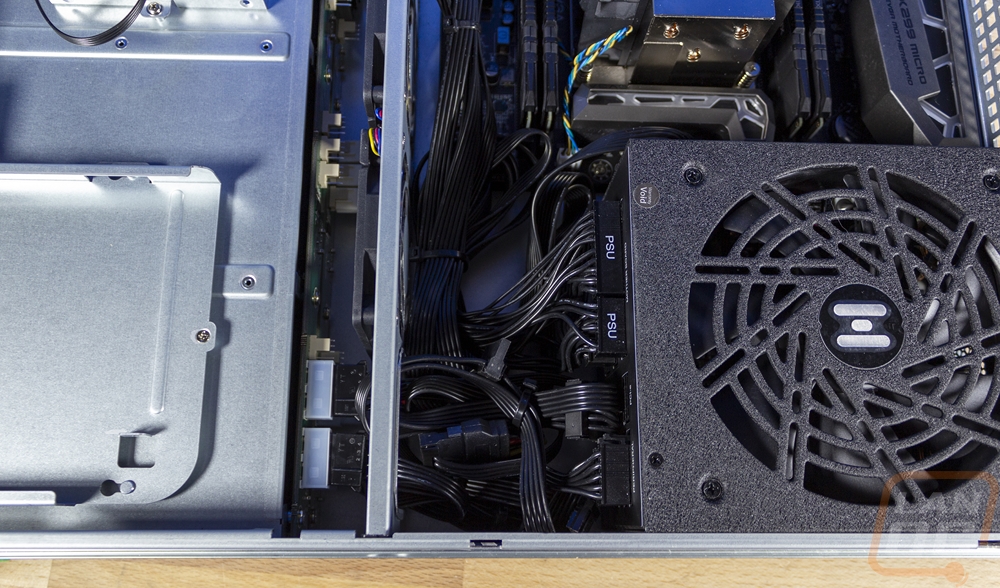
Once you have all of the other wiring done, then you can install the power supply. This just helps give you room to work on things. The PSU cables fill things up quickly. Especially given how close the PSU is to the motherboard, there are a lot of cables that are a lot longer than they need to be when using a traditional ATX PSU here. One big point to remember though is that your PSU fan. The case has vents only on the top so you will need to mount the fan pointing up. Also, make sure to leave a gap between this and the next device in your rack as well for airflow to the PSU.

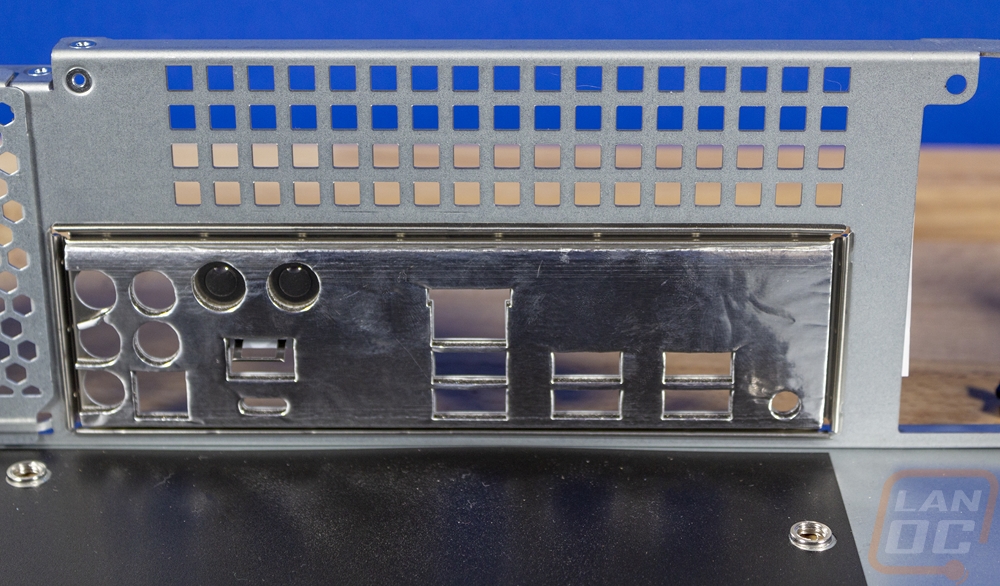
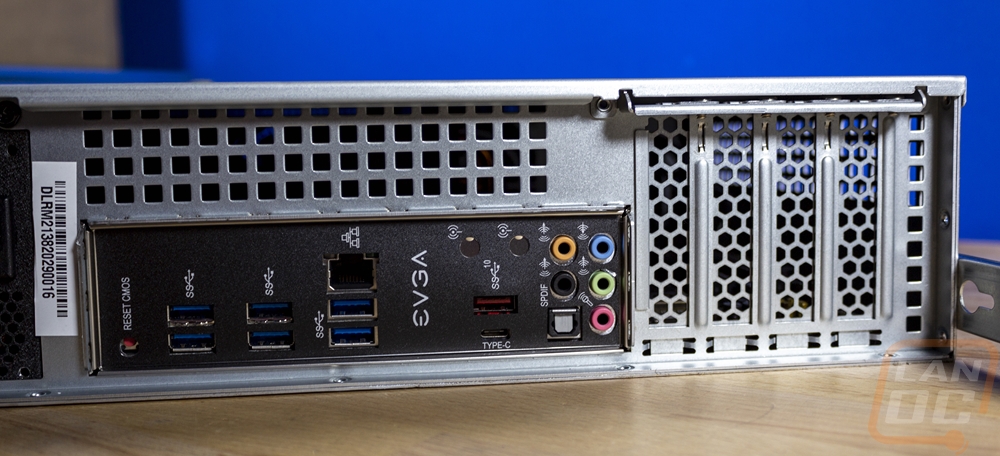
Here is our rear I/O all installed.
Once everything is installed and you have the top of the case back on. The last thing to do is install your hard drives. Our 8TB WD Red Pro drives installed easily into the Silverstone trays. You will need to remove a plastic 2.5-inch adapter that comes installed in the tray. Then from there, you need the four screws on the bottom then they can slide right in and latch.
