So a few weeks ago I got started on our Ryzen based project build. At the time the plan was to put together a reasonable Ryzen build with a nice red theme. We picked out the case, the motherboard, and a power supply. Well, today I’m going to run through the rest of the go fast bits so to speak. That means we need some sort of storage to get our OS on, memory, a video card, and to pick out which CPU we want to go with as well. So today we run through those parts and at the end I will include a small preview of what else is coming for this build. I’ll give you a hint, while the original plan was to put together something reasonable things have gone a little crazy on the water cooling front.
Title: Project Build: Carmine - Part 2
Written by: Wes
Pictures by: Wes
Build Sponsors/Supporters: Cooler Master – Asus – AMD – Kingston – Aquatuning – Primochill
Amazon Affiliate link: HERE
Links to the rest of the project: Part 1 – Part 2 – Part 3
Storage
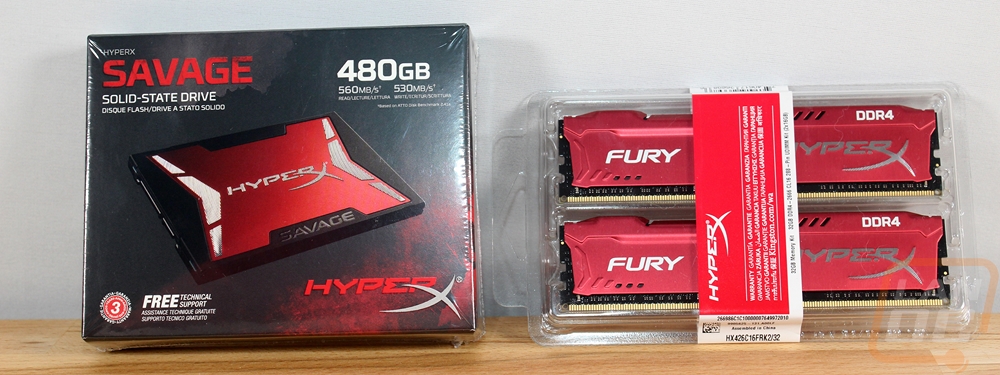
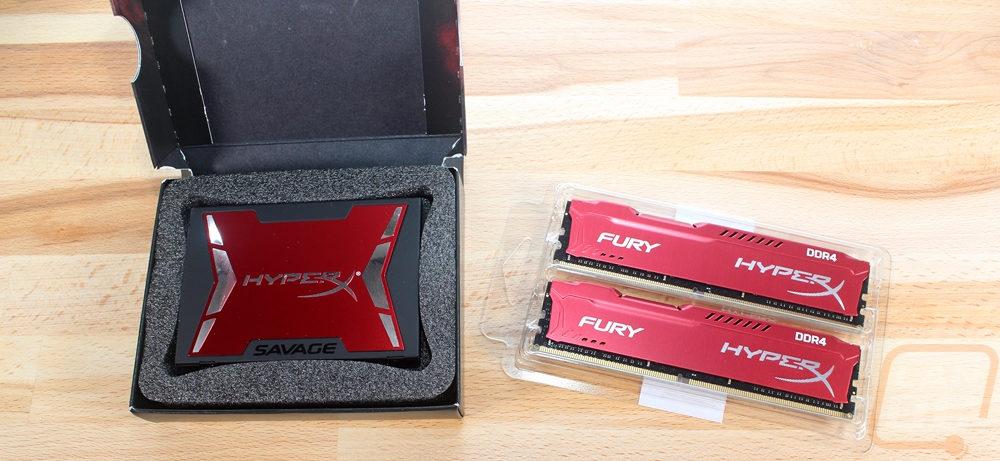
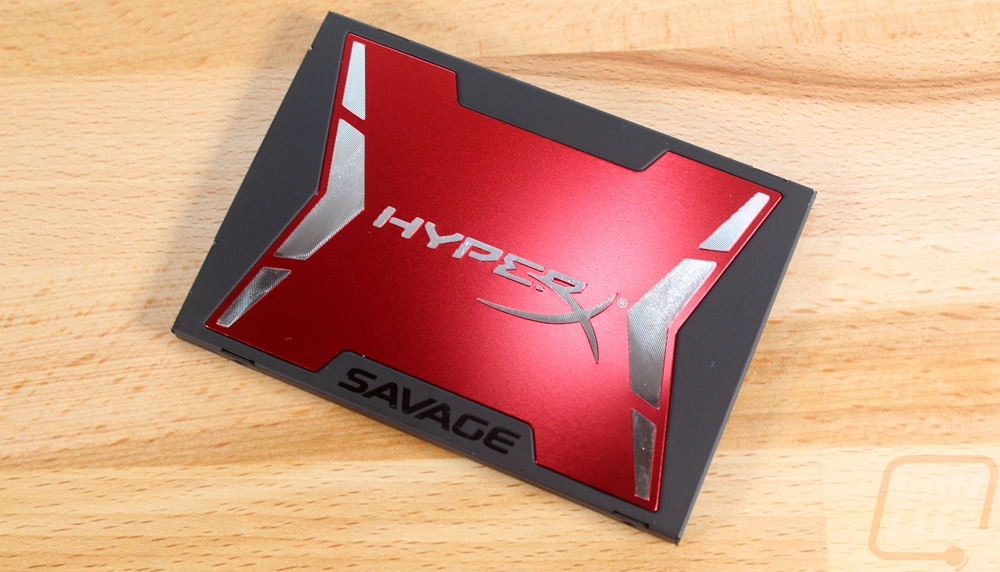
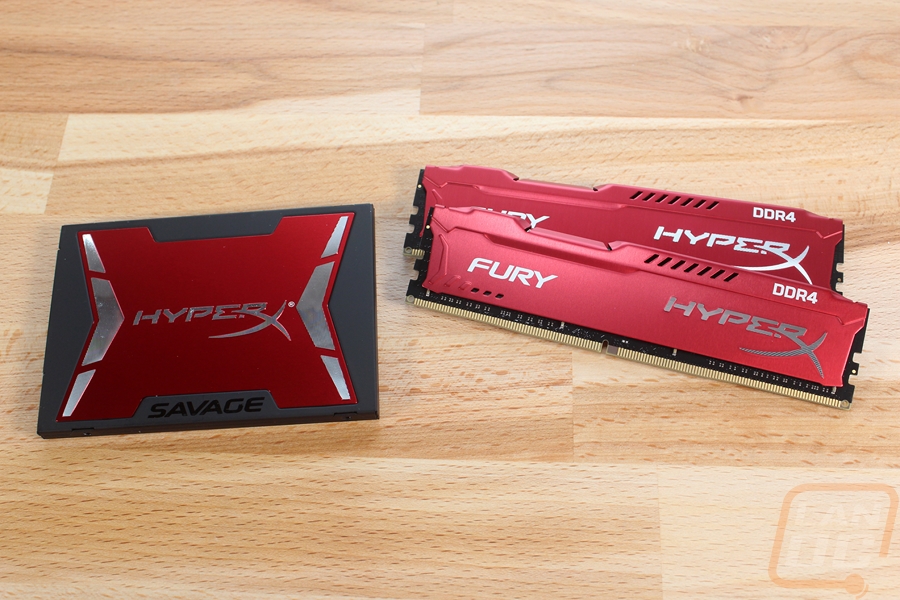
So to get the ball rolling on the second batch of components I first wanted to pick out an SSD and RAM for the build. The SSD was a no brainer really, I wanted to bring more red into the build to stick with the theme and Kingston drives have been solid on our test benches and multiple times in our project builds. So I reached out to Kingston about the HyperX Savage SSD, looking for a capacity of 480 gigs. I needed something a little larger than normal because I wasn’t planning on running a hard drive in this build and 480 GB is enough to install Windows 10 and all of our tests along with a decent mix of games without filling it up. The drive has a black shell with a great looking anodized aluminum finish up on top.
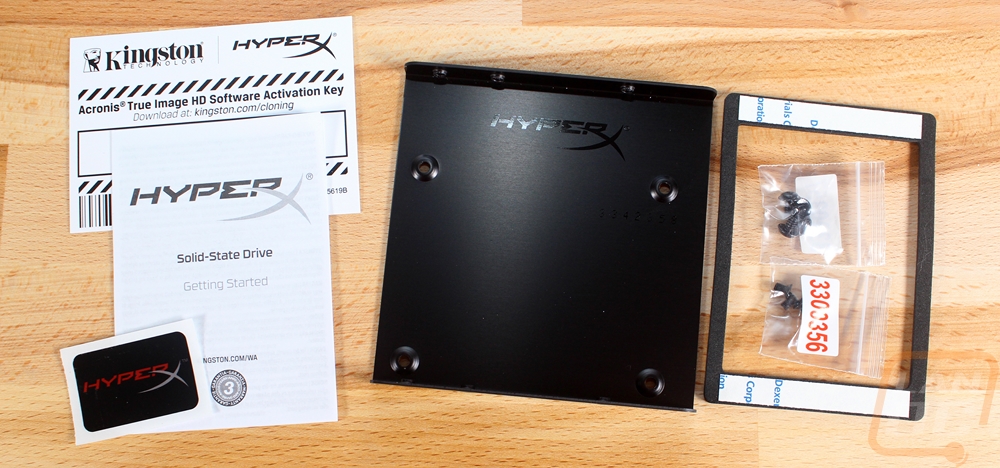
The drive came with a 2.5 to 3.5-inch adapter even though I won’t be needing it and a space to add thickness for cases that are designed for the thicker SSDs. They also give you a case badge and screws as well. You even get a key for Acronis True Image HD to clone your drive if needed.
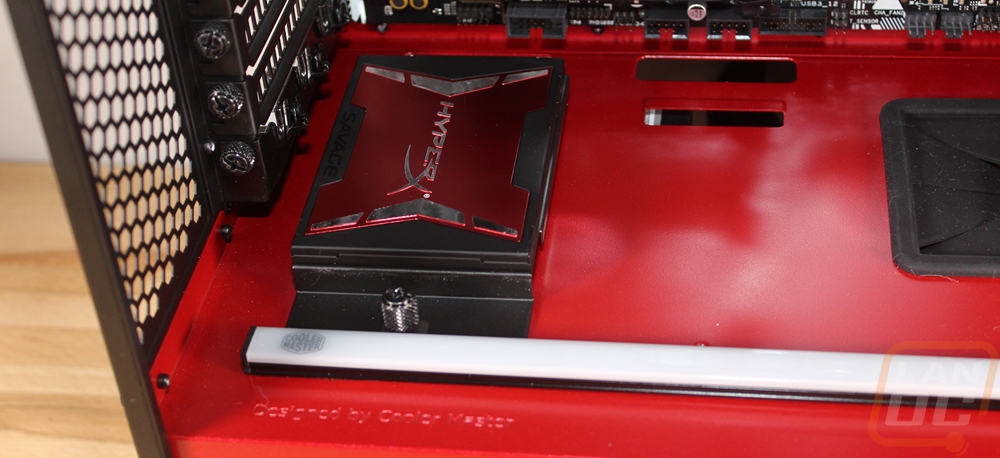
Check out this drive, not only is it quick but it really fits with the red and black 5t from Cooler Master.
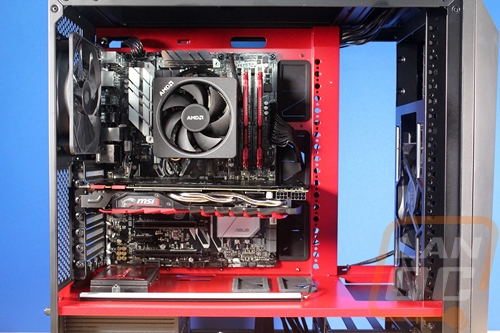
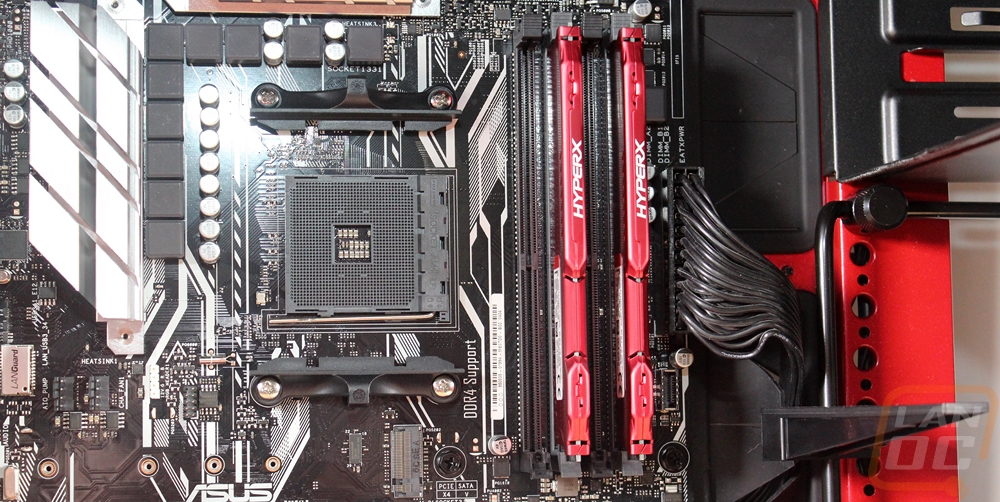
Then for RAM, I was a little torn, there are a few memory kits that overclock well with Ryzen so I was leaning towards one of those until I saw that this Fury kit had just gotten Ryzen certification. I’m not sure I will be able to get as much of an overclock out of them as some of the other kits, but they match the SSD well and bring a little red on to the black and white ASUS Prime board. I went with a 32 gig kit for the extra capacity while sticking with just two sticks for hopefully better luck in overclocking later on.
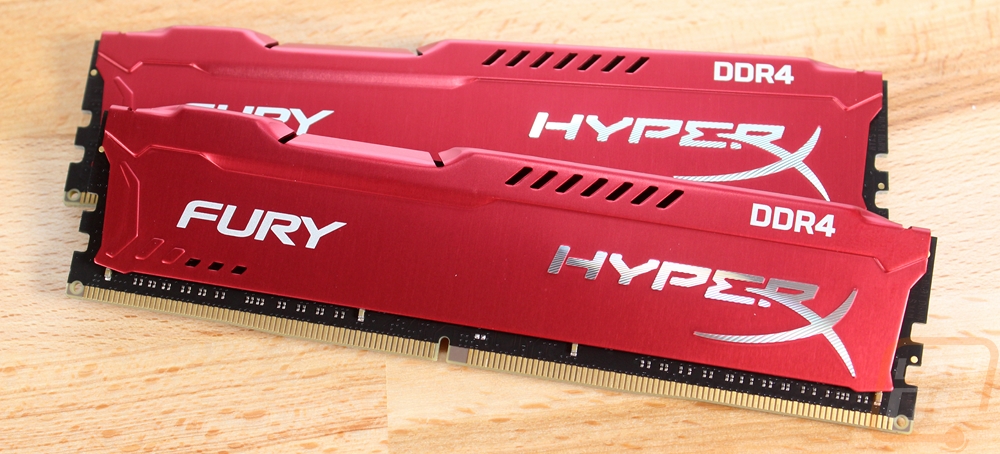
So it isn’t much red, but the Fury DDR4 does look good on the board.
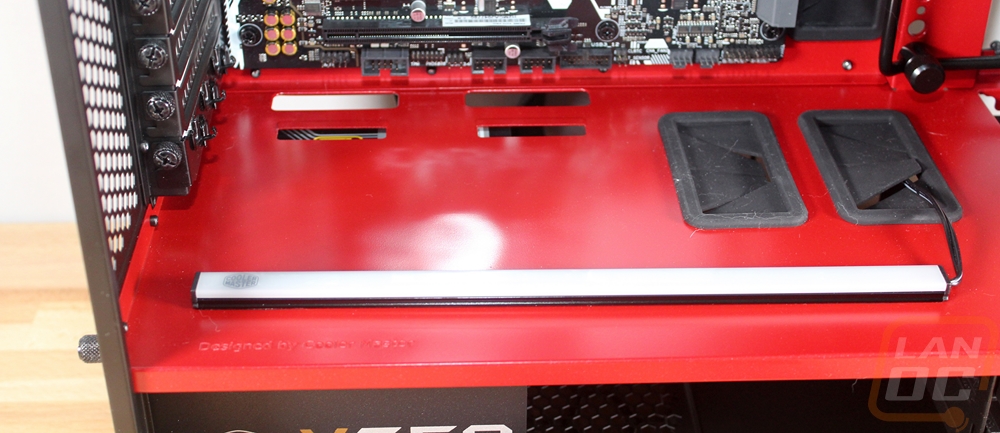
For the SSD I was excited to put one of the two SSD mounts down at the bottom of the 5t. I pulled both out but put the one away so we would just have the one mount needed for our drive and to clean up the bottom of the case. The SSD just sits on top and is held in place with four screws, I used the screws that came with the drive itself. I dropped it in for the photo below, but I learned later that you might as well run your SATA cable and SATA power and plug them into the drive before installing it, you can't get to them later when it is installed.