So the launch of Ryzen was exciting because AMD was finally rejoining the high-end market on the CPU side of things and a lot of the benchmarks were very exciting. So once it was all finished up I had to get a proper AMD build together. The original plan was my wife's new PC might be running a Ryzen 7 CPU but ITX AM4 boards aren’t out yet so rather than wait I decided to build an AMD themed build right away. While Ryzen has gray and orange as its colors I decided to stick with the traditional black and red as AMD has used them both a lot in the past. So I started gathering parts and decided on a project name as well. This build is going to be called Carmine as it is a shade of red while also avoiding the traditional red themed names like Ruby. I’m still working on getting in components and planning out the build but I did want to at least get a post up with the base components we are going with, so check them out!
Title: Project Build: Carmine - Part 1
Written by: Wes
Pictures by: Wes
Build Sponsors/Supporters: Cooler Master – Asus - AMD
Amazon Affiliate link: HERE
Links to the rest of the project: Part 1 – Part 2 – Part 3
Case
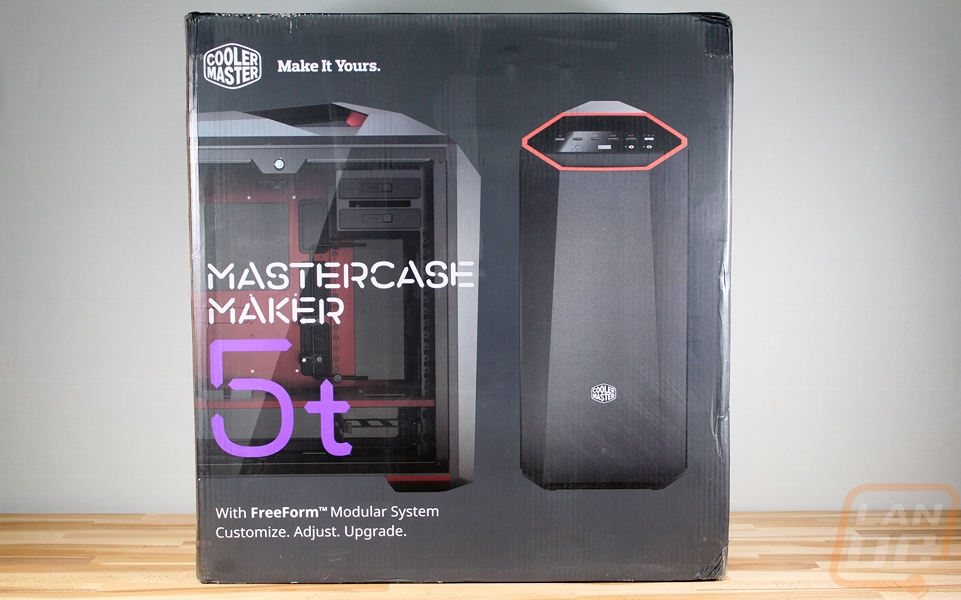
As always, picking out our case was important before figuring out the rest of the components. The plan with my wife's PC was small form factor so this time around I thought this build could be a little bigger. I had the exact case in mind right away as well, with a red theme I have been wanting to check out the Cooler Master Mastercase Maker 5t and it fits perfectly with its red interior, red trim, and red lighting. Cooler Master was kind enough to send one out for the build, so let's take a look at the case. But first here is a look at the box. I love that they went with a full-color box and have multiple angles of the case photographed on the front. The box also had specifications and just about every detail all on the outside as well for anyone shopping in a store.
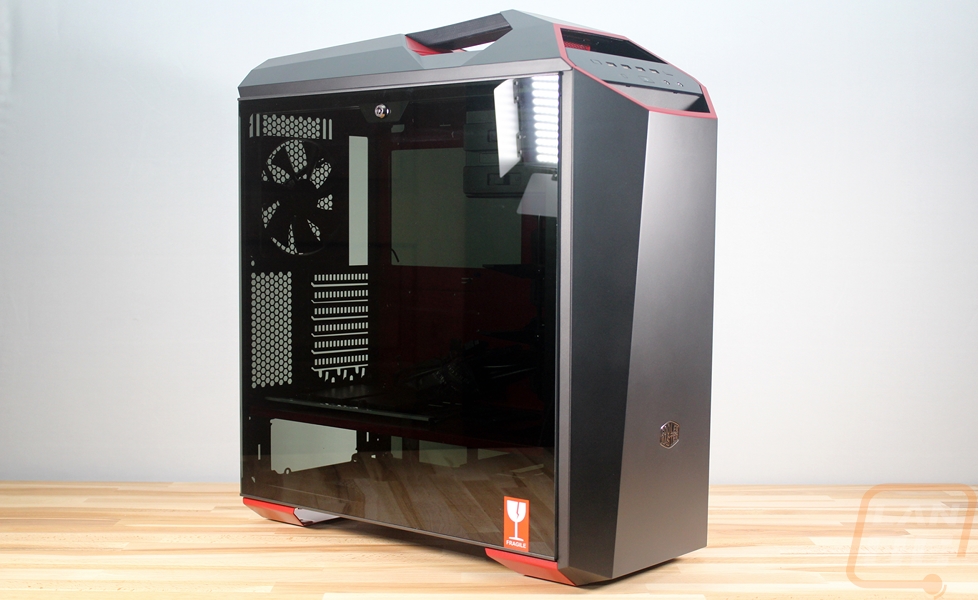
So even from the outside, you can start to get an idea of what this was a good pick for the red theme of Carmine. The 5t shares the same styling as the Mastercase Maker 5 only they trimmed this entire model out in red. This includes down at the feet, around the front I/O panel, and under the handle on the top of the case on the outside.
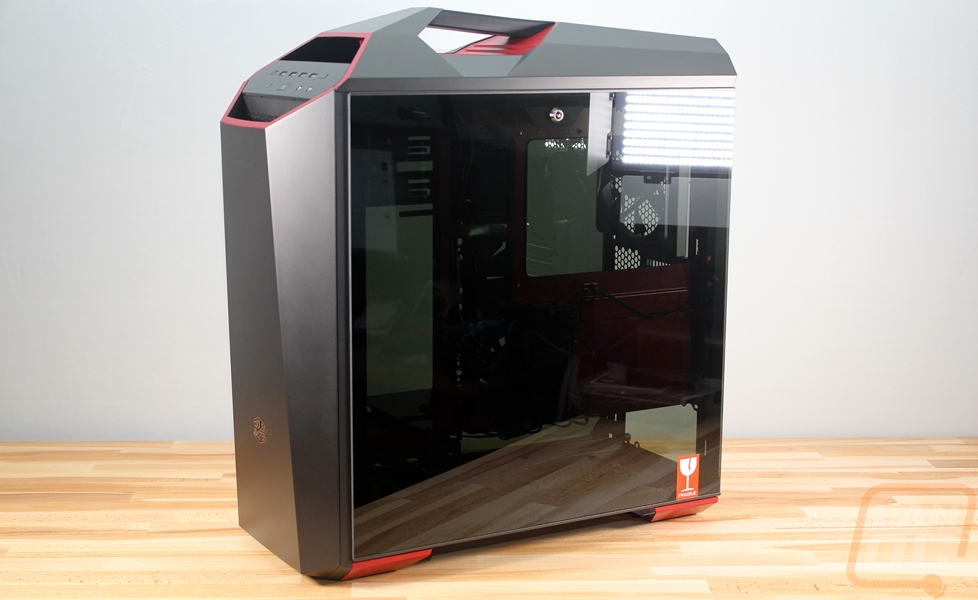
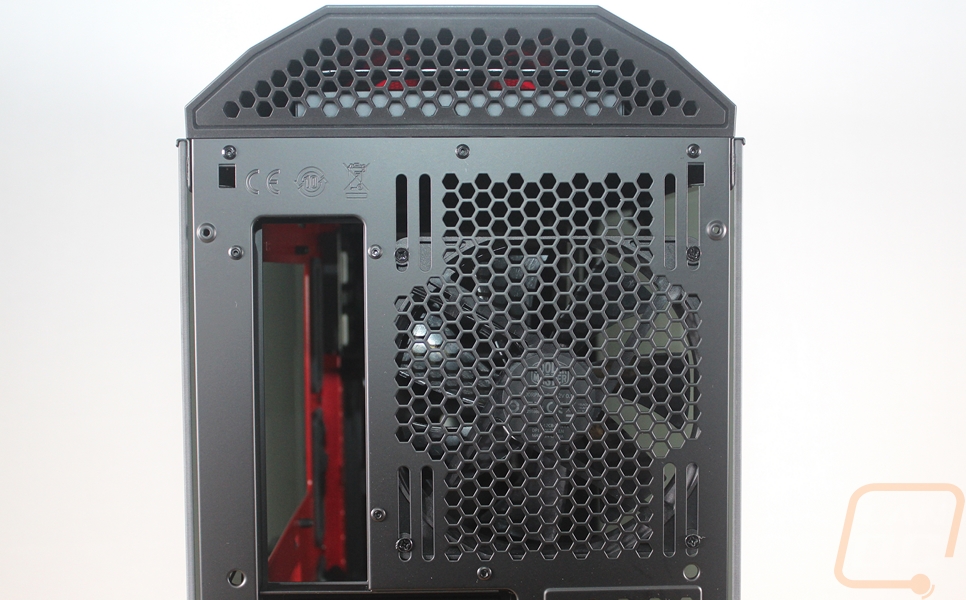
The handle on top is really nice to see, you rarely see handles on larger cases and while this is officially a Mid-Sized case, I would still consider it a big case. The top handle should help move it around in the office if nothing else. Up under the handle, there is some ventilation but the overall handle design does cut into the overall ventilation. They fixed this by integrating a removable panel behind the handle that can be popped off for more airflow if needed. This is really only an issue if you install fans or a water cooler in the top of the case.
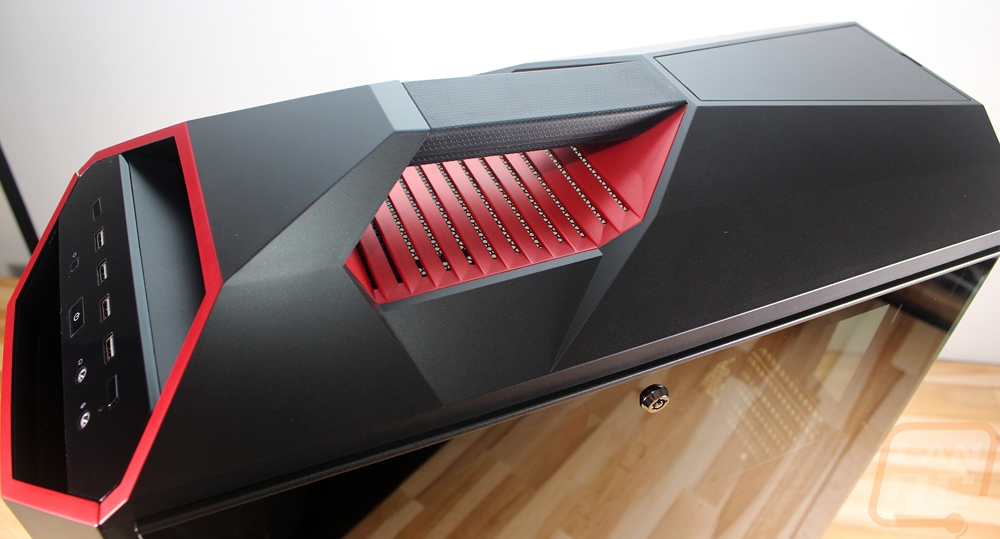
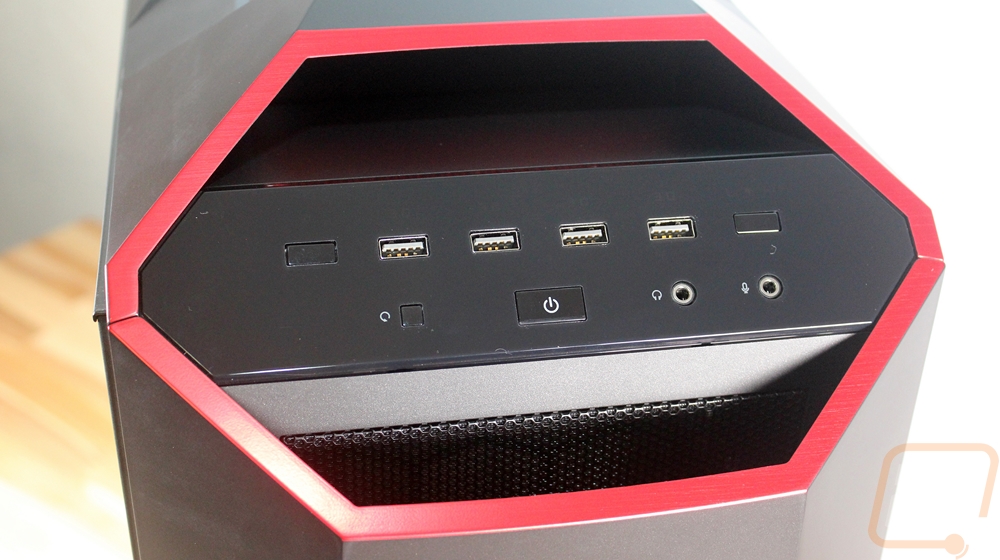
For the front I/O they went all out with four USB 3.0 ports along with the front panel audio and power and reset buttons. It is up in the top front corner, facing up and out. There are two buttons that don’t look labeled but have labels that light up when the case is powered on, they control the lighting and fans in the 5t.
The front of the 5t has a unique tilt forward action that you can do when you need additional airflow. This is also how you remove the front panel as well. You lift it up and it comes right off leaving access to the large fan filter across the front of the case. It can also be removed by pulling on the bottom to pull it out to clean. The flip down front panel is held in place with magnets and is great if you install a disc drive in the case as well as it will bump the panel open when your drive opens.
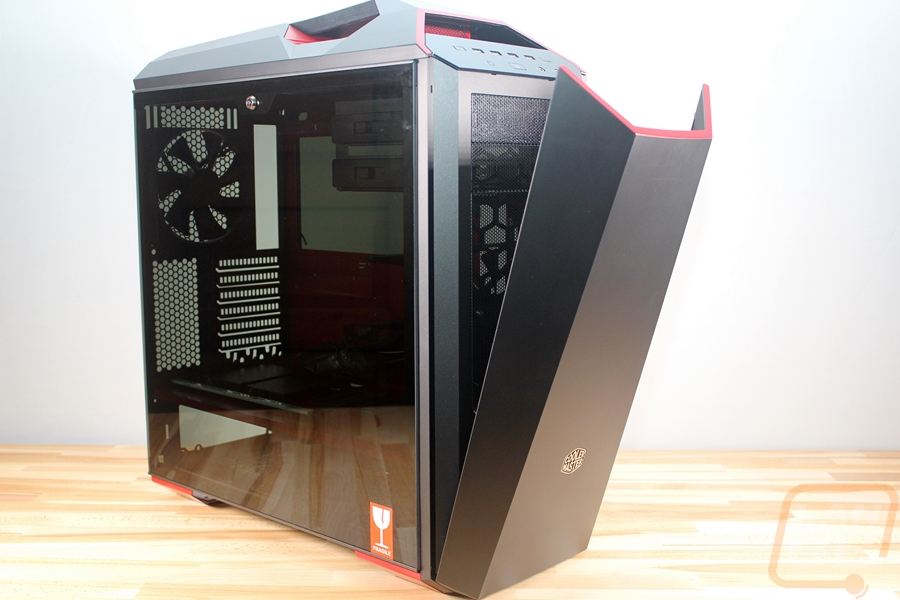

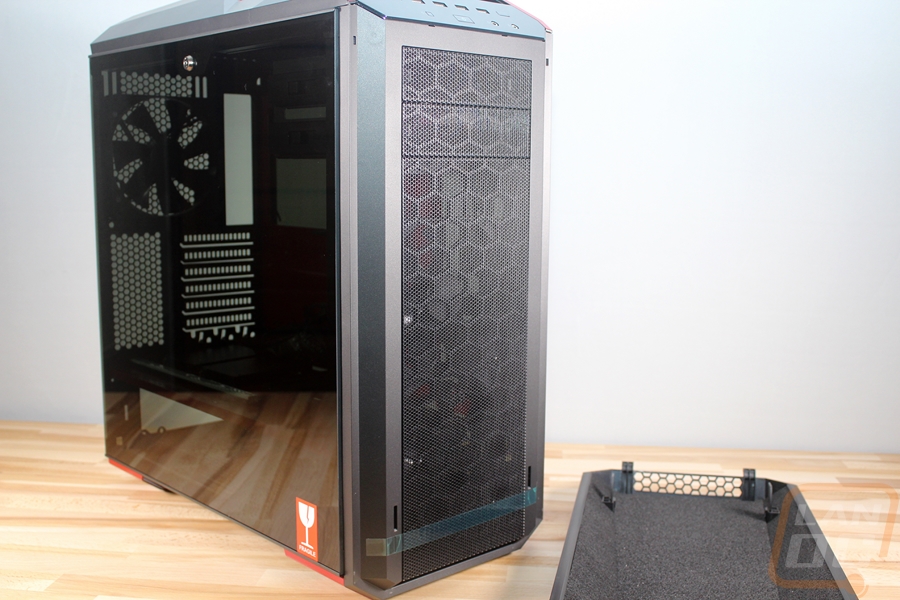
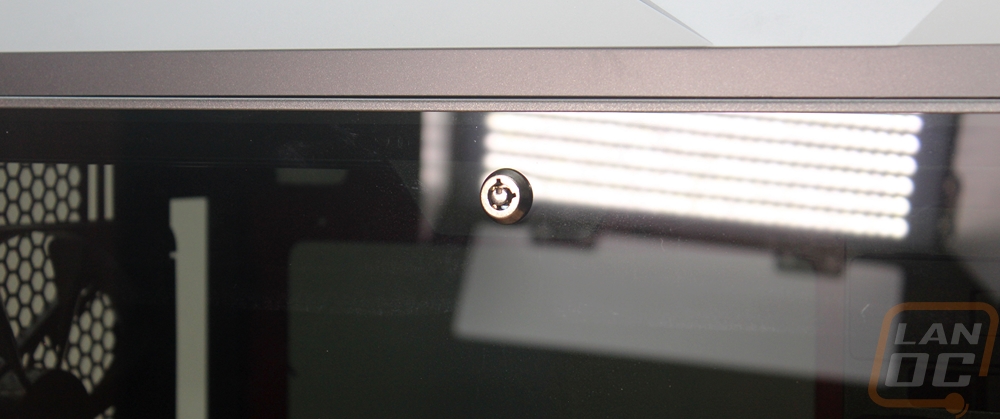
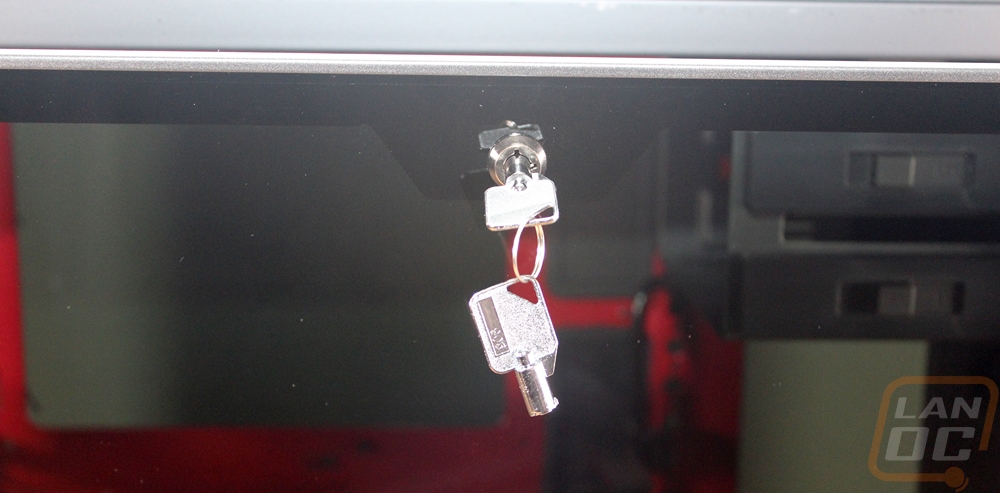
Cooler Master also has the best implementation of glass side panels in the 5t. Most companies just put four holes in the side panel and have you mount it using thumbscrews. They used a lock at the top to keep it latched. When you unlock the side panels the glass panel drops down but stays attached until you lift it up and take it off. This means you don’t have to worry about dropping it or having to get finger prints all over it when installing it. The only downside to this is where do you keep the keys.
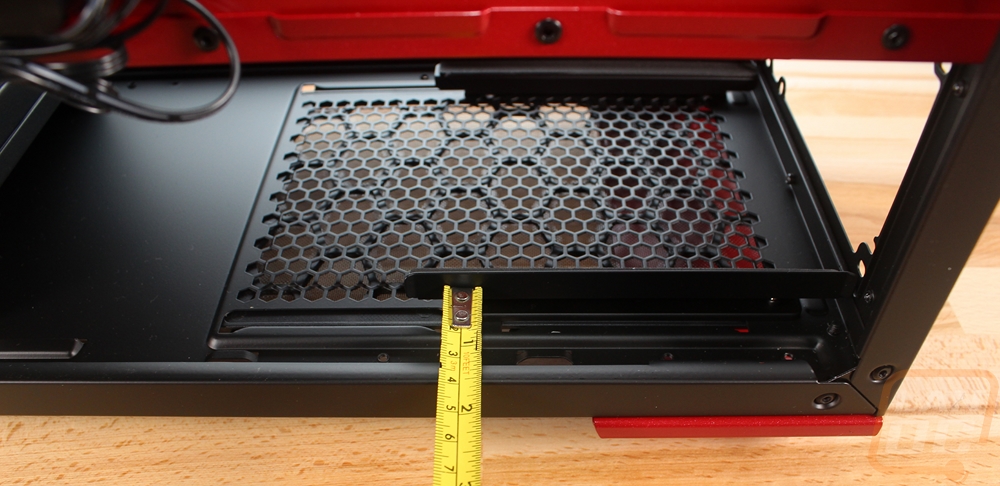
The bottom of the case has a pullout fan filter under the power supply and then the two red feet.
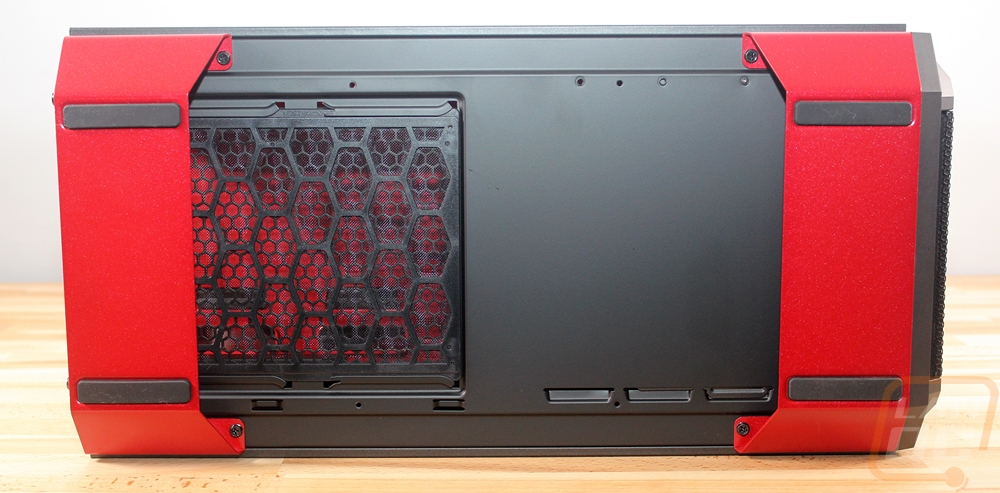
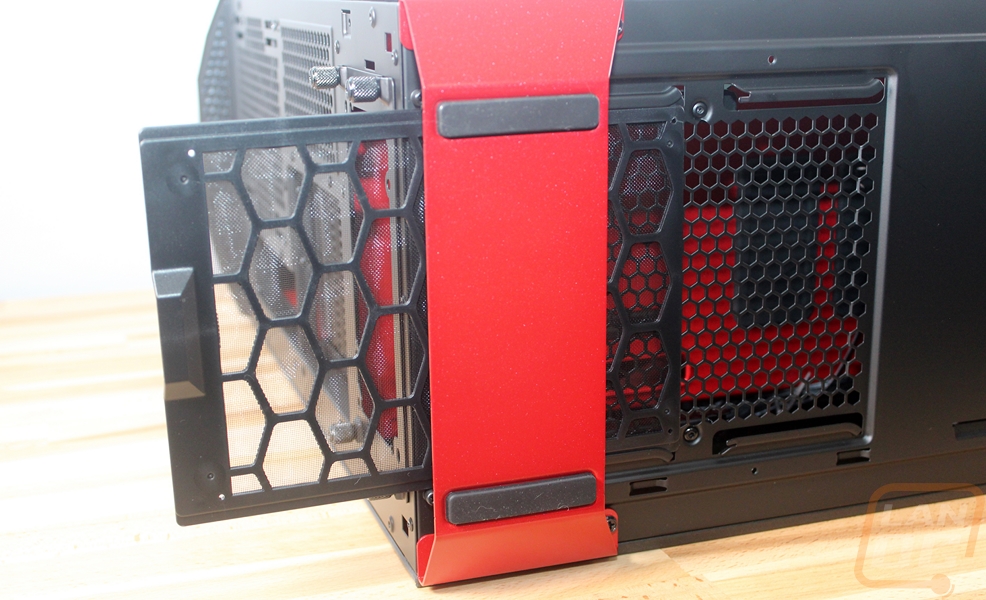
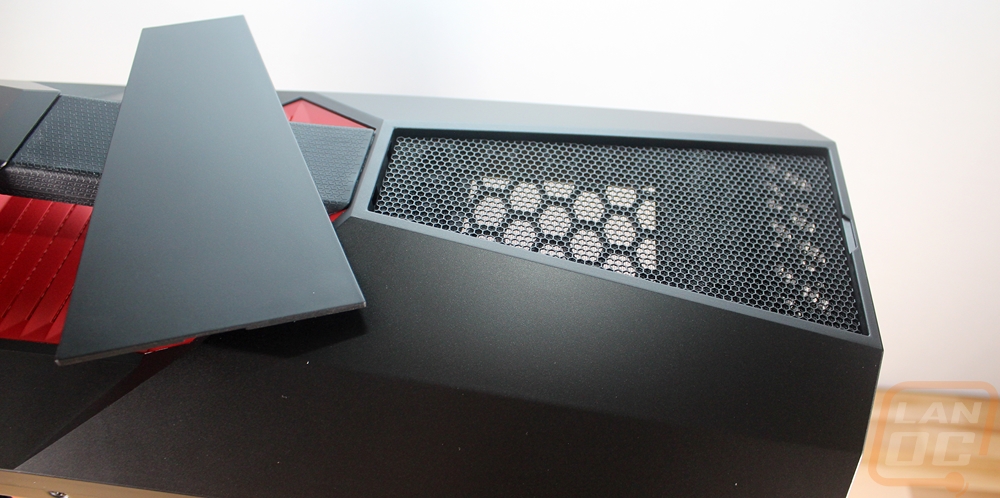
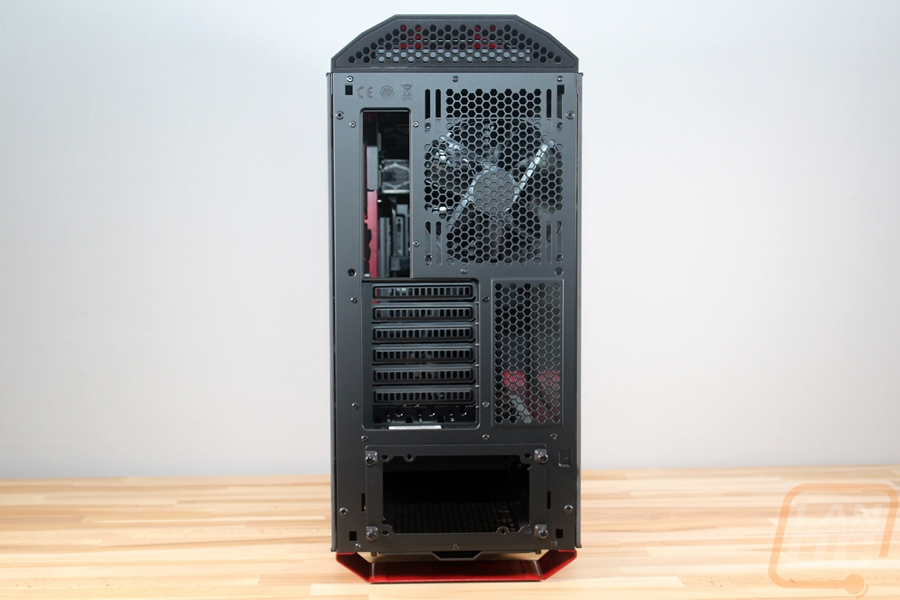
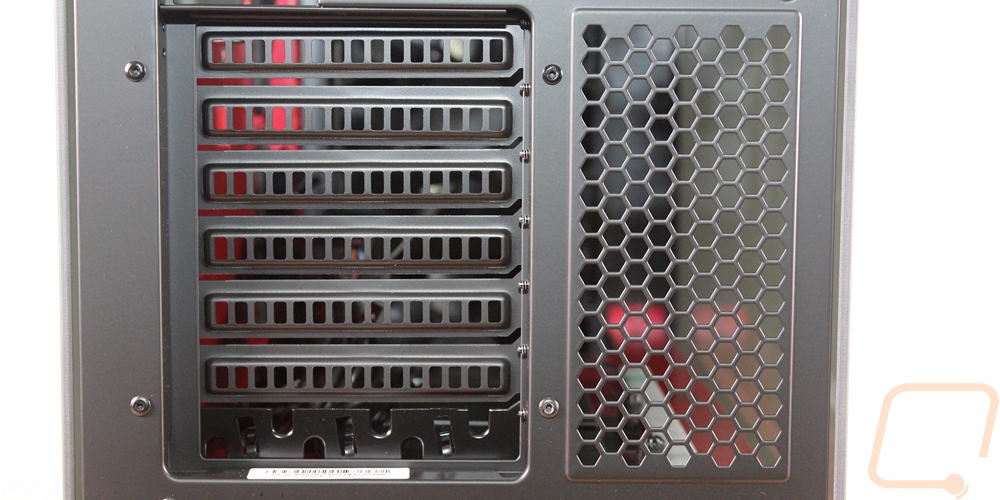
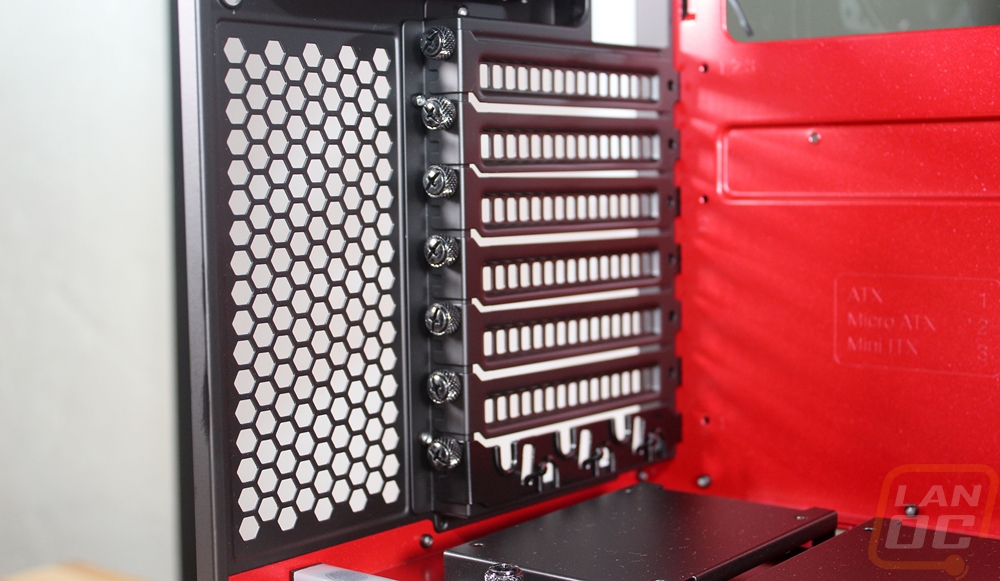
Then around to the back of the case, I was surprised at all of the ventilation. There is one exhaust fan but there are vents up in the top, above the PCI slots, and even in the PCI slot covers themselves. The exhaust fan also has an interesting design where it can be slid up or down about an inch and you can swap to a smaller 120mm fan as well if needed.
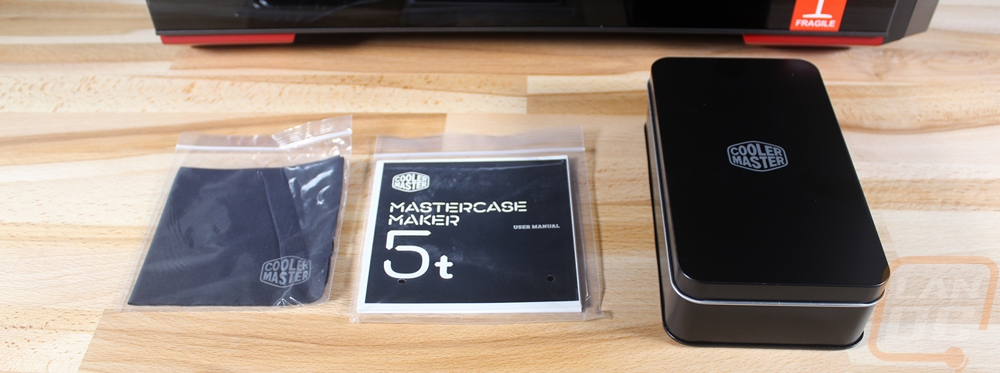
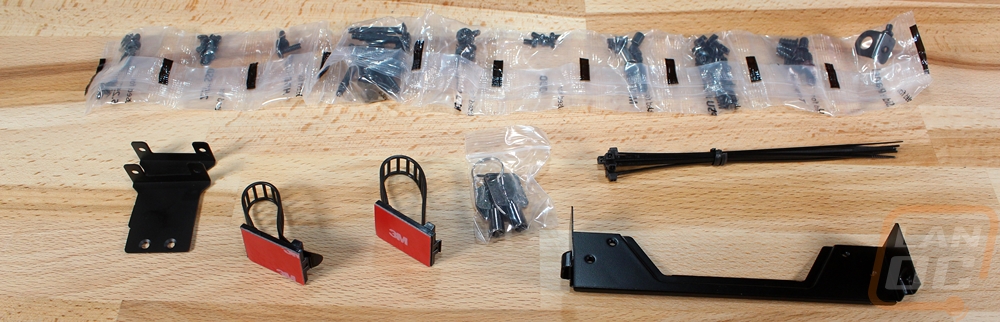
Rather than dump all of the accessories and screws into a bag, Cooler Master went out of their way to include this tin with a sorter inside to hold everything. It also has magnets inside so you can stick it right on to parts of the case if you want so you don’t misplace it.
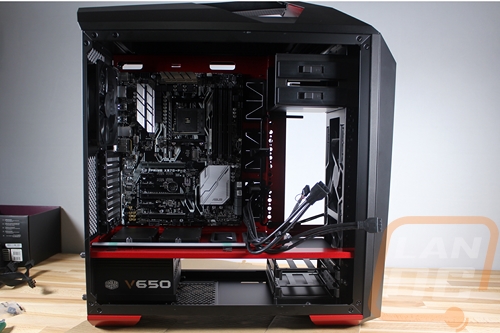
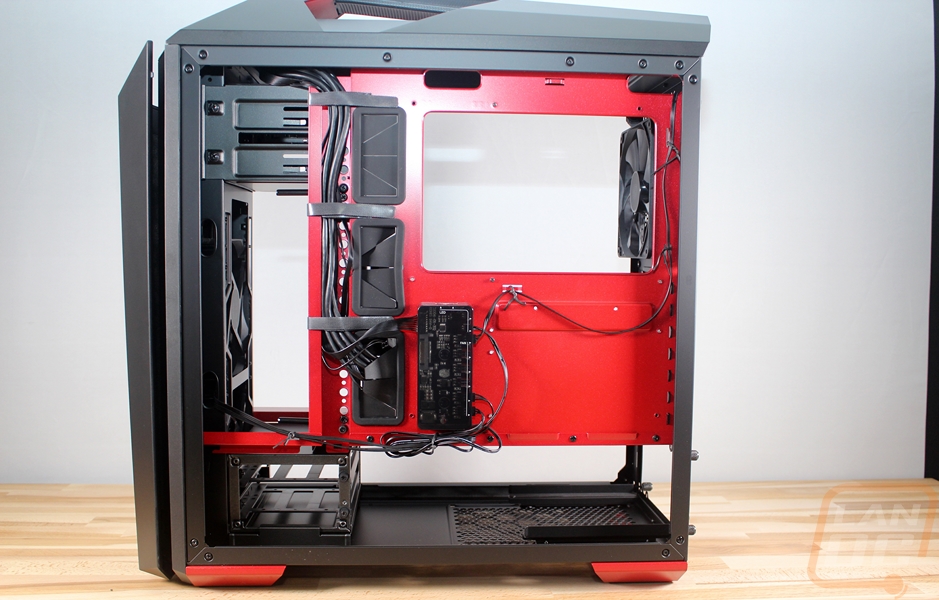
Inside the case, they went even crazier with the black and red theme. The entire motherboard tray and divider above the power supply section are both painted in a metallic red finish. The case itself has a lot of room and supports full size and extended ATX motherboards. The huge hole in the motherboard tray also means you should be able to get access to the back of the CPU on just about any board configuration as well.
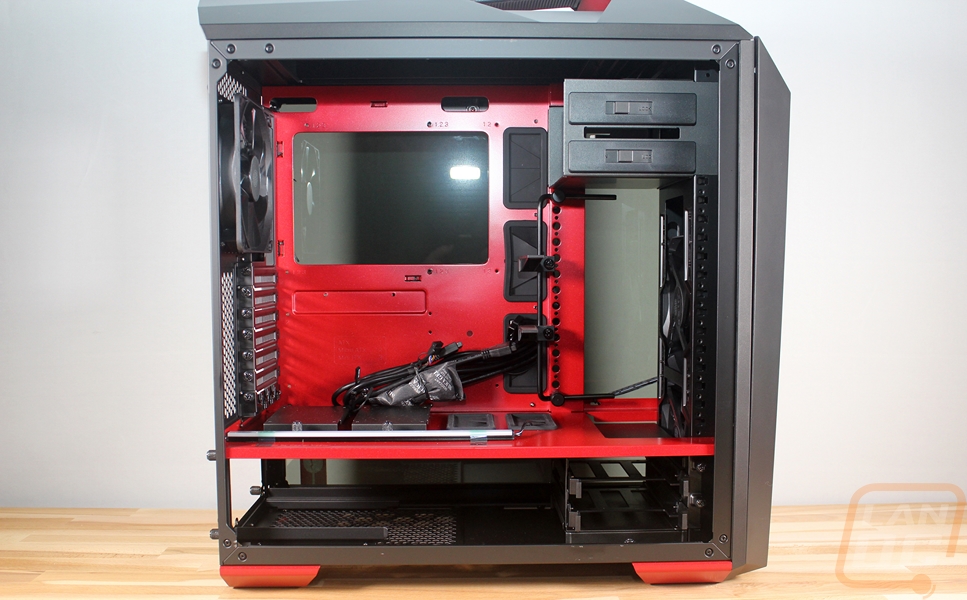
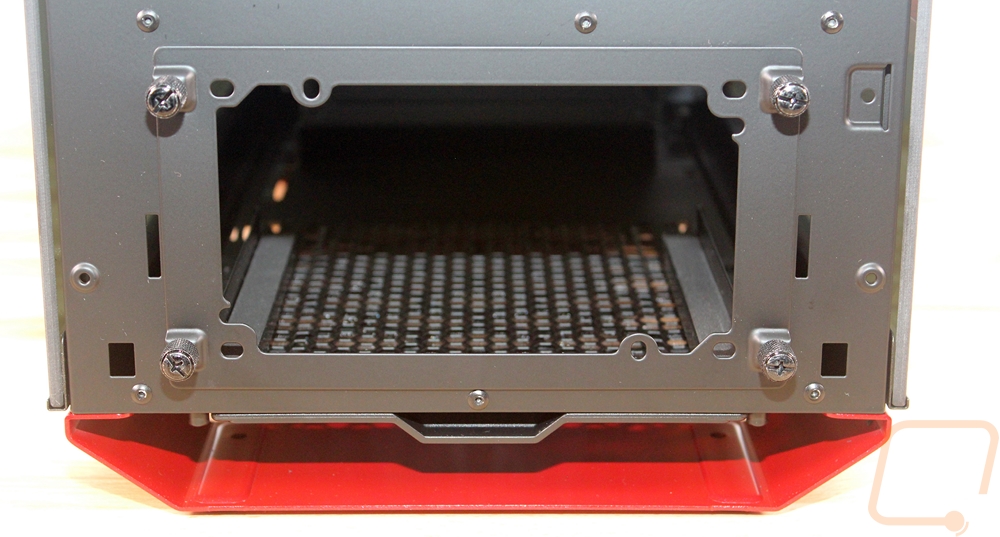
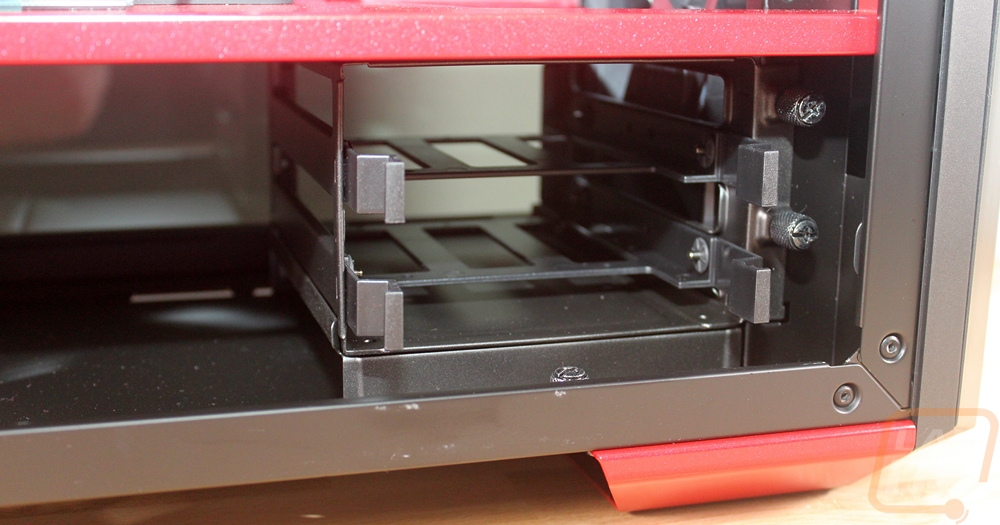
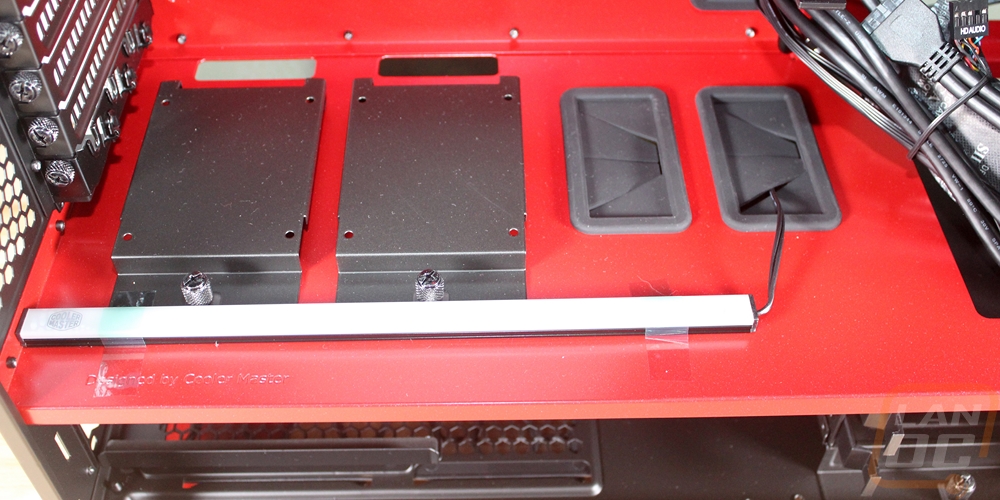
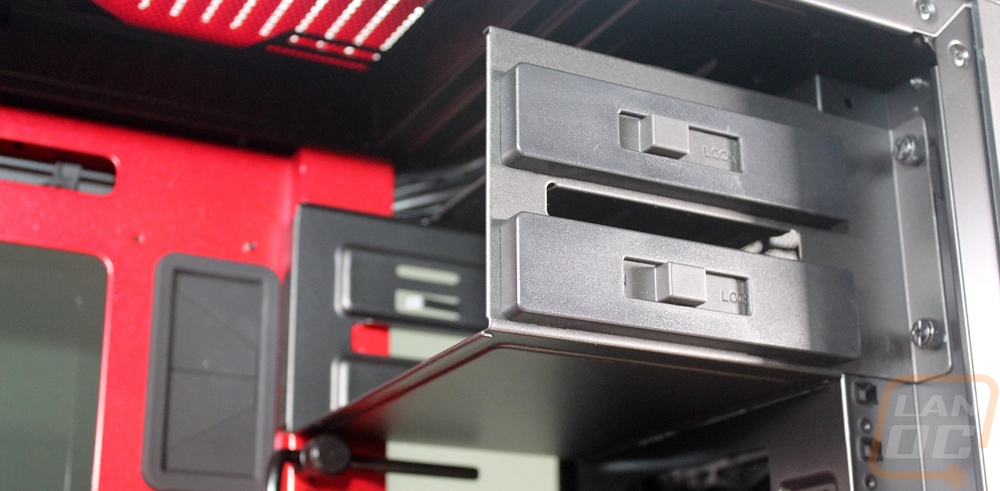
The bottom section that is split off from the rest of the case supports the power supply and helps you hide some of the wiring. You actually install the power supply by removing the four thumbscrews on the back panel and sliding it in from there. There is also a two hard drive cage down here in this section that can be removed. Both trays are toolless when using them with 3.5 inch hard drives but you can also install SSDs in them with screws.
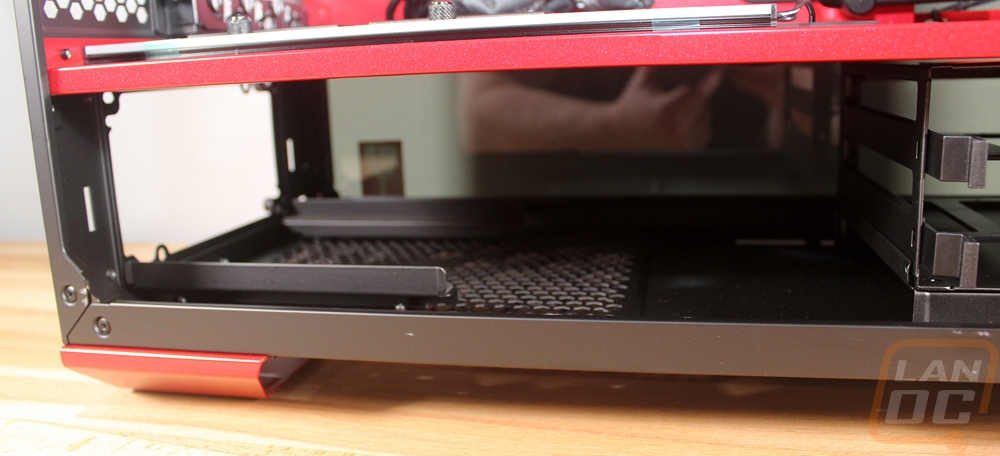
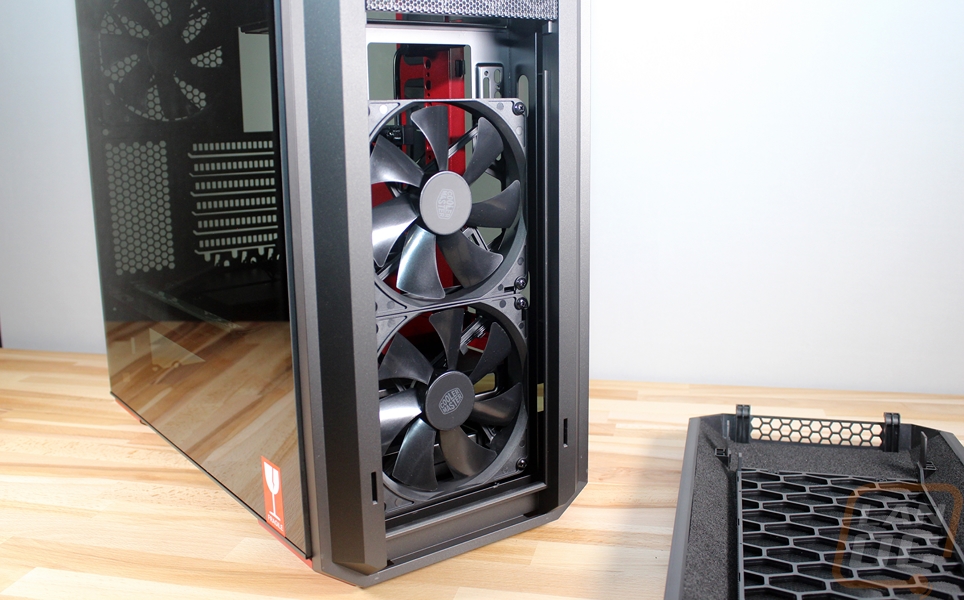
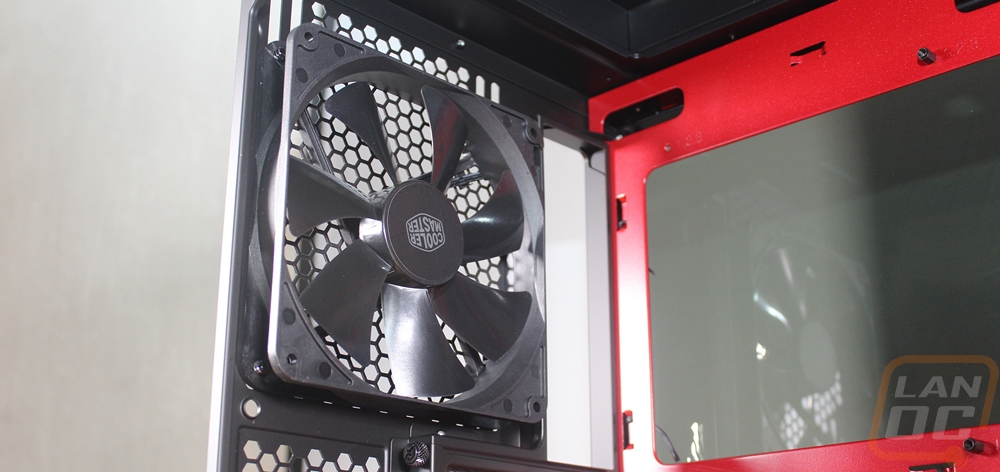
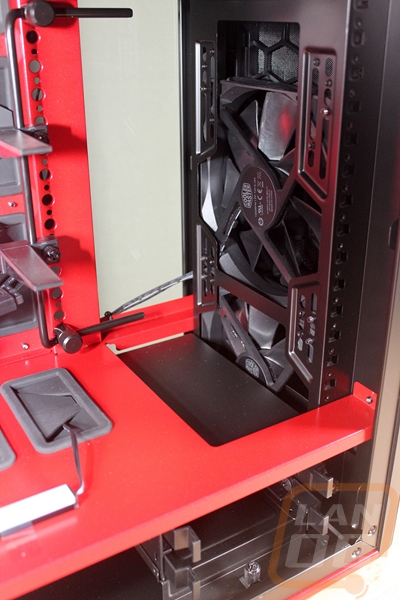
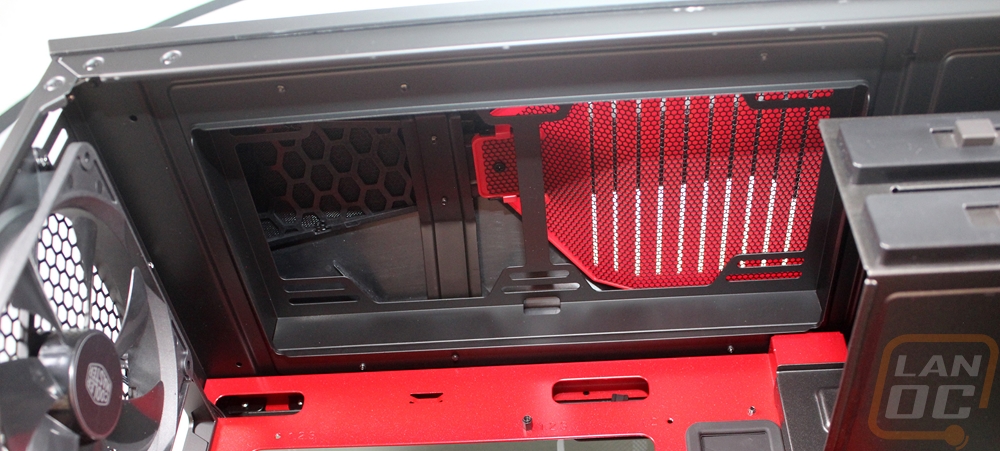
For airflow, the 5t comes with three 140mm fans. Two are on the front of the case for intake fans and the exhaust fan is on the rear of the case blowing out the back. This means there is some positive air pressure with the stock configuration to blow out the other vents in the back panel and up the top of the case as well. The mounts on the front fans are similar t the rear fan where they have slots to allow you to swap to 120mm fans or to just move the fans up. The front design is very modular. The stock configuration has one of the fans down in the bottom section, you can actually remove the hard drive cage and install a radiator there if you want.
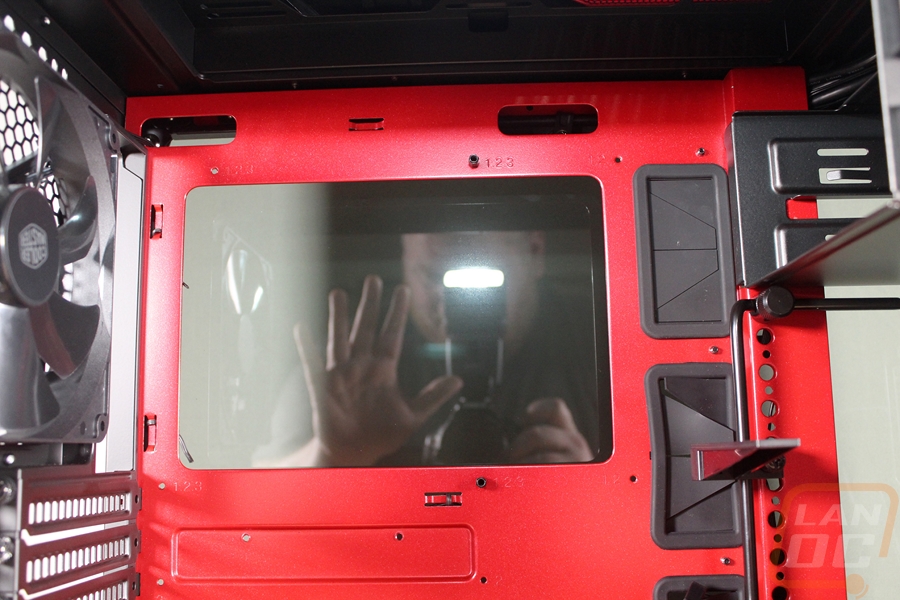
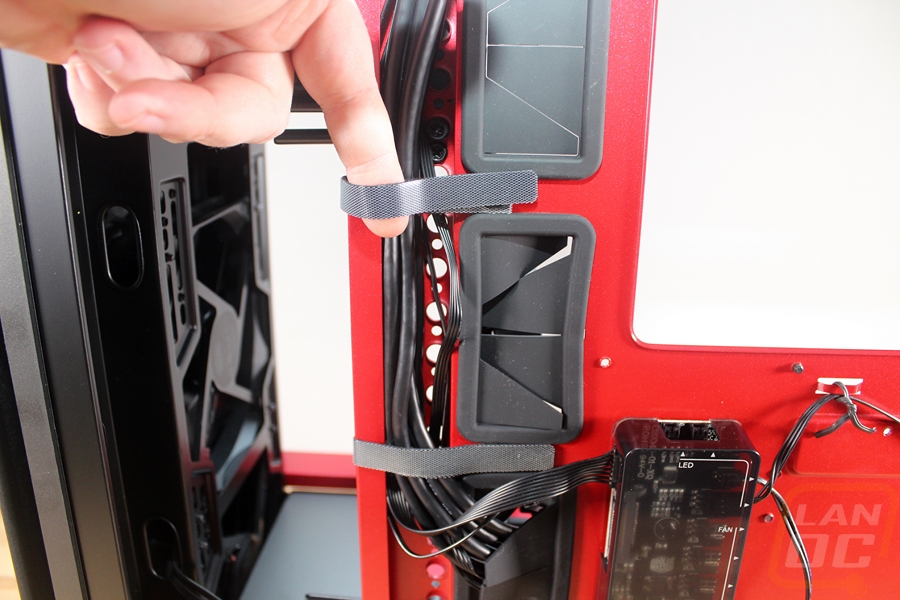
Beyond the bottom drive cage, there is also a dual 5.25 drive cage for a disc drive or fan controllers. You almost never see these on cases anymore. They are removable as well to open up more room for water cooling if you want. There are also two SSD trays sitting on the section divider. The 5t also came with its own LED lighting. The lighting panel is really interesting because it is actually defused where LED light kits normally have direct light. It is also magnetized so you can move it around in the case to whatever works best for your configuration. Also in the divider are two large grommeted holes for wire management.
Here is the view of the top where you can slip in another two 120mm/140mm fans.
They also included this cool adjustable video card support setup to help hold up those long video cards.
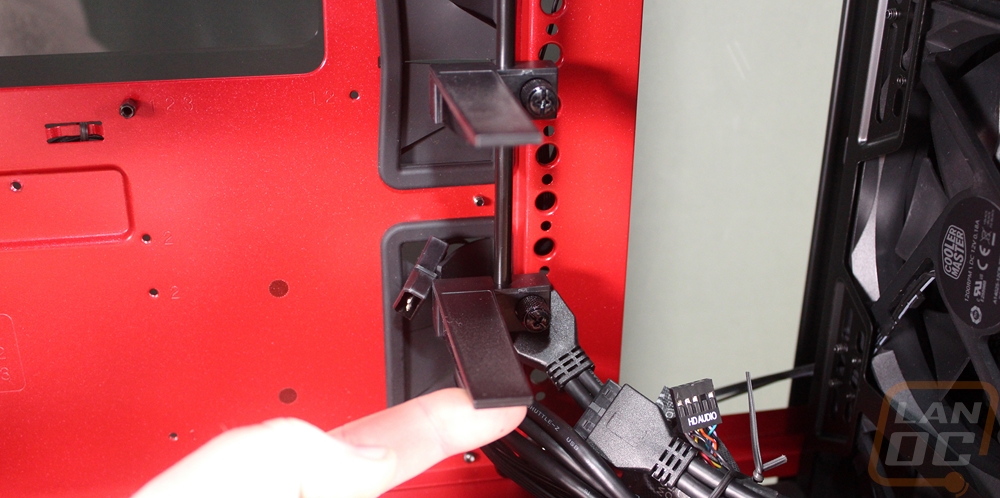
The back of the 5t has a lot of room for wire management. The tightest area is directly behind the motherboard tray where you get about ¾ of an inch of space then it opens up complexly when you get to the power supply area. There is even about an inch and ¼ next to the power supply. There is a track for wires that runs from the bottom to the top as well right in the middle. All of the front panel cables come pre-run in this area and Cooler Master included Velcro strips to hold the wires in place down the track.

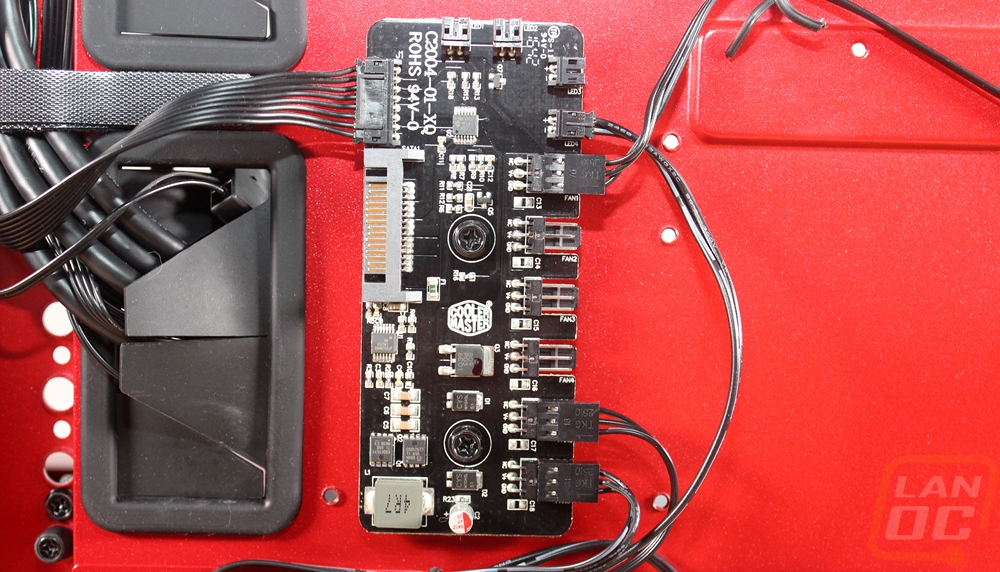
It all leads to a PCB on the back where the fans and LEDS are all controlled. The fans have dual speeds 12 and 7 vote modes and the lighting can be flipped between on, off, and breathing. The PCB lets you expand and add three fans and three lights on top of what comes with the case.