Now that you know a little more about all of the parts that are going into Lunchbox 3, today we are going to go over how well the installation went and then put it all to the test in a few benchmarks. This is where we can finally see how the part choices work out and talk about any regrets I might have with them. Of course I’m most excited to see how it all performs. Then this coming weekend I can finally put it to good use at a LAN.
See Part 1 Here - See Part 2 Here
Project Supported by: Lian Li, Asus, Kingston, Silverstone, Seagate, and Noctua
A special thank you to the companies above who helped make this project a reality!
Written by: Wes
Pictures by: Wes
Installation
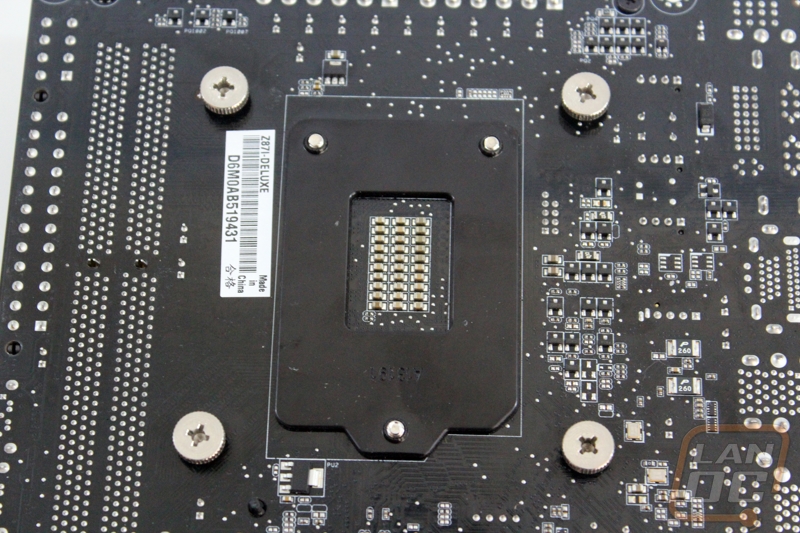
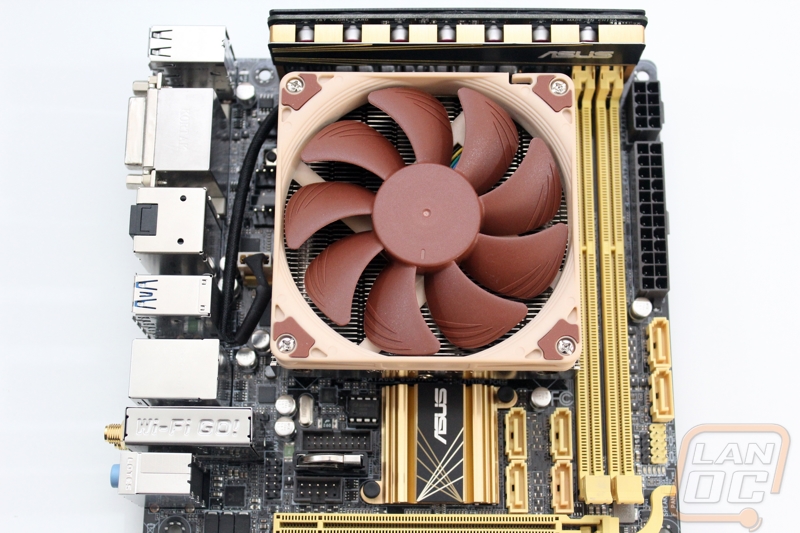
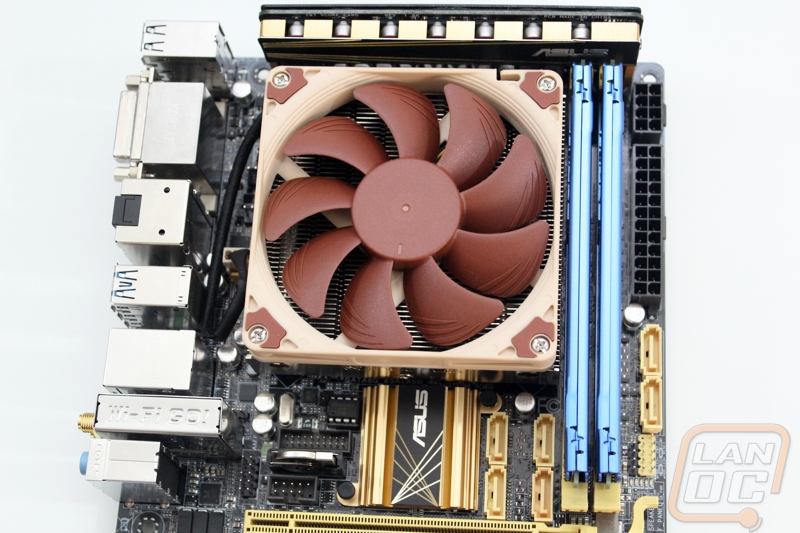
To start the installation off I needed to get the CPU and heatsink installed on our Asus motherboard as well as the ram. The CPU installed without any issues but I was curious how well the Noctua heatsink was going to install. Surprisingly this was the easiest installation I have ever done. After putting my thermal paste on the CPU, I dropped the heatsink into place and then flipped the motherboard over and screwed in the four screws provided. Once tightened down I just had to plug in the fan and it was all good to go. Installing the ram was easy as well. With that all set I was ready to dive into more complicated parts of the build.


Next I installed the motherboard using its four screws and set out on installing my SSD and SSHD. Mounting them was simple, but as someone who plans ahead, I knew the wiring was going to be tight so I connected the power and SATA cables to the drives before dropping them in. I had hoped to be able to install the drives with the wiring facing back, but it was clear right away that wouldn’t work. If Lian Li moved the mounting tray over a little I think it would be possible though. To save wiring room in an already tight spot I actually removed one of the three SATA power plugs from my cable all together, giving me just enough cable to plug everything in without having to worry about the space later when the video card is installed.
With the drives in started hooking up the front panel connections for the power button, USB 3.0, and audio. The USB 3.0, as always, was stiff and requires a little work to get it plugged without it wanting to come unplugged. The front panel connections were a complete pain due to the limited space. Asus did provide the extension cable for this exact reason, but I wanted to keep the wire length down so I decided to go it alone. Once I had all of those hooked up, I could finally slide in the Asus GTX 670 DirectCU Mini. This required a little work as it doesn’t fit well between the edge of the side panel and the fan. To keep things clean I went ahead and hooked up our modular power supply cables to this as well.


With the Power supply being the last thing I was sure to hook up our SATA cables and clean up all of my wiring so far. This is extremely important here because once the power supply is installed there just isn’t room to get in and clean anything else up. With my pre-planning though, installing the PSU went smoothly because I only had to clean up the power cables before locking it all down. As you can see below, with it all installed it is still very tight. Speaking of tight, the wiring on the back side of the motherboard was as tight as I had thought previously. I did run one small cable to hook up the front fan, but much more than that is going to be very tight.


To add the final touch to the whole build I also put together a little artwork and ran it on the right side of the case. I plan on including a few things on the left side when I get a little more time to cut them out on the plotter as well. The idea behind the design was to make this look like an actual lunchbox, but the aspect ratio of normal lunchbox art wouldn’t fit well with the case. So I found the original artwork that they made the Star Wars lunchboxs with and made adjustments to make it fit the LAN theme a little more.


