Performance
Like with most of their products, the SOLIX C2000 Gen 2 does work with Anker’s software and if for no other reason than checking for firmware updates you should connect it to the app. Getting it connected wasn’t hard. In the app you click add a device and select the C2000 Gen 2 once it pops up. That is assuming you have it powered up. From there you can give it a name and pick from Wifi or Bluetooth control. I only do Bluetooth anymore, having even more devices on my wireless for no reason doesn’t help and I have had a few devices (including from Anker) that have bugged out and given my wifi issues in the past. Of course if you are going to be using the C2000 Gen 2 in a permanent installation in your house or in a camper being on WiFi might be better for you because you can check in on it remotely.
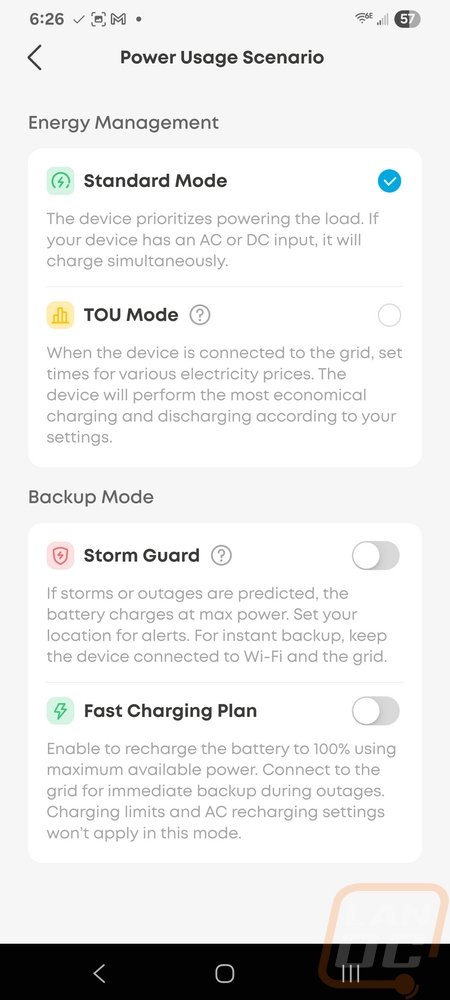
Once set up, the main landing page shows a picture of the C2000 Gen 2 up at the top and inside it shows both the battery capacity and temperatures. The first and most important setting is right there at the top. This is where you set up your power usage scenario. You can pick from four. Standard will prioritize the output power first. An example of this is if you have something plugged in that uses a lot of power, it will recharge the battery when it can but makes sure that device gets its power first. Then TOU Mode will recharge the battery when you have lower power rates for areas that have off-peak rates. Storm Guard will make sure the battery is charged completely when storms or outages are predicted, it will need to be connected to WiFi for this. Then you have the fast charging plan which charges the battery up to 100% using the maximum available power. That is ideal if you are trying to get the C2000 Gen 2 charged up before taking it out camping or on a trip. That main landing page as you scroll down shows all of the input and output connections. Each will show the charge or output rate when they are in use and for the car charger and the AC plugs there are power buttons that you can turn those ports on or off with. Those also graph out the usage over time, so you can check in and see if there was a lot of power being used previously as well. Down at the bottom you can turn the display on and off as well.
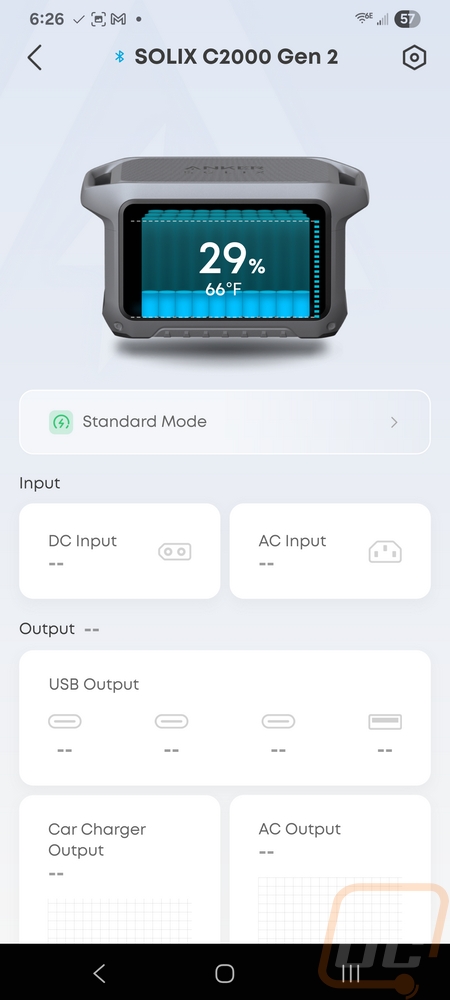

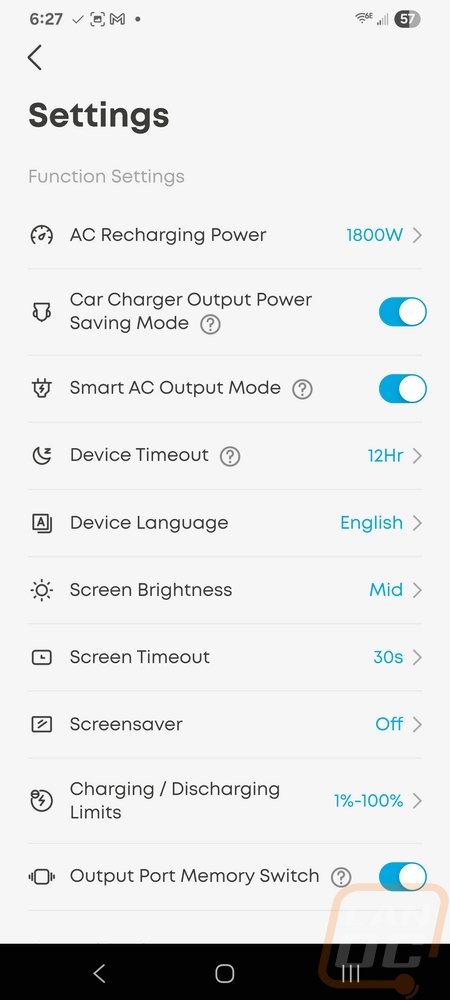
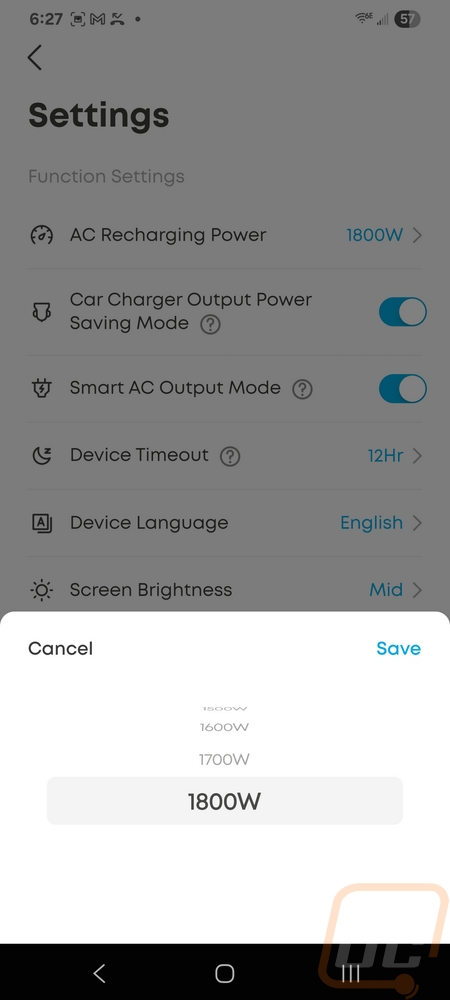
Up in the top right corner the hexagon shape is the settings button. I don’t know why they don’t use a gear which is the universal symbol for settings these days. Once open this is where you can dive into all of the other settings details. The first option is setting the recharging wattage limit for AC power which maxes out at 1800 watts. The car charger and AC outlets that can be turned on and off have their smart mode switches here. They will turn the outlets off after not having any power output for a specific time. The C2000 Gen 2 itself also has a device timeout that will turn the whole thing off if it isn’t being used or powered to keep from using up the battery. Then from there you have things like the language, screen brightness, and screen timeout. Down at the bottom, the charging and discharging limits are another important one. This is where you can set up some battery-saving functions. You can set the max that the battery will be charged to and then set limits on both the charging and discharging. There is also the output port memory option, which just makes sure that ports are turned back on if you had them on previously if the battery is depleted. That is an important setting if you are using the C2000 Gen 2 as a UPS. Without that setting once the power comes back on you will have to manually turn the ports back on.


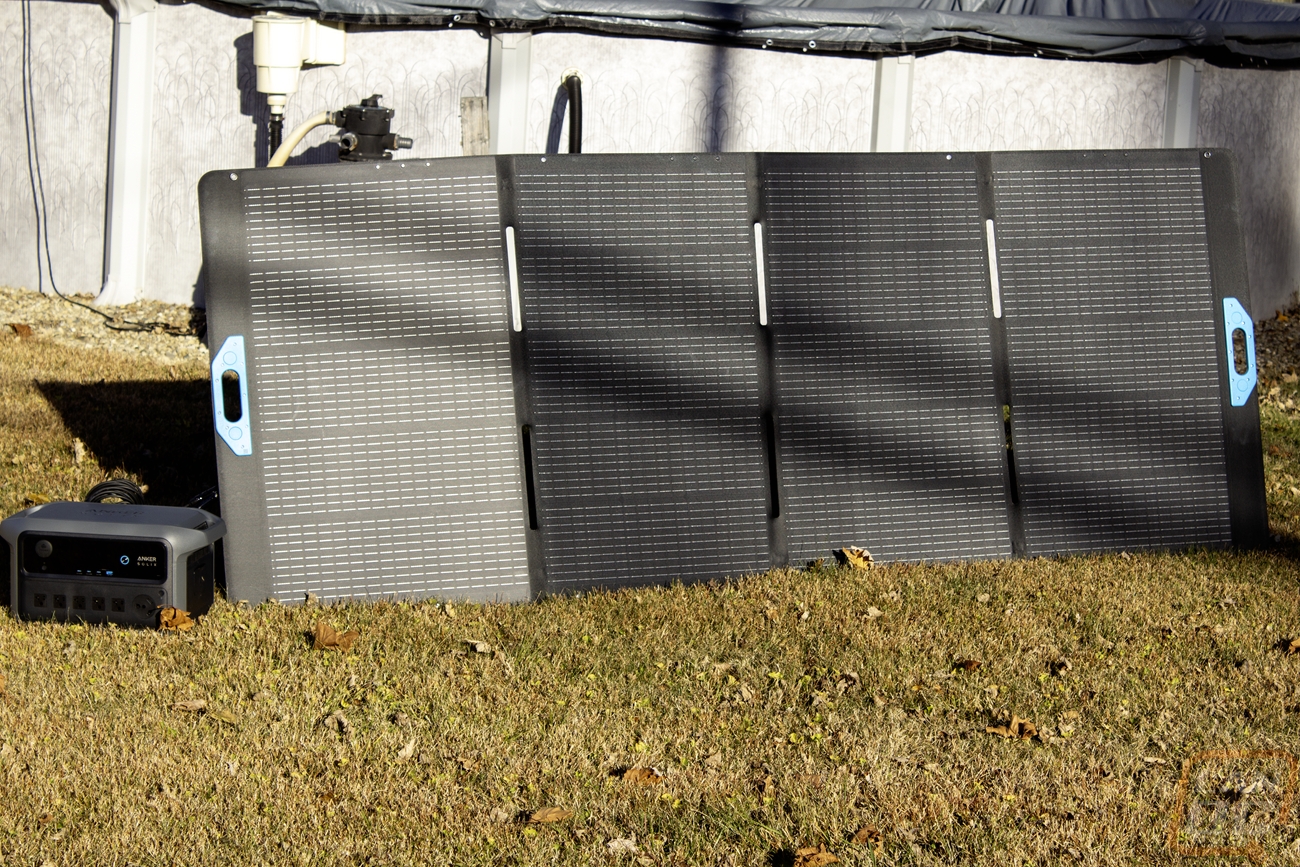
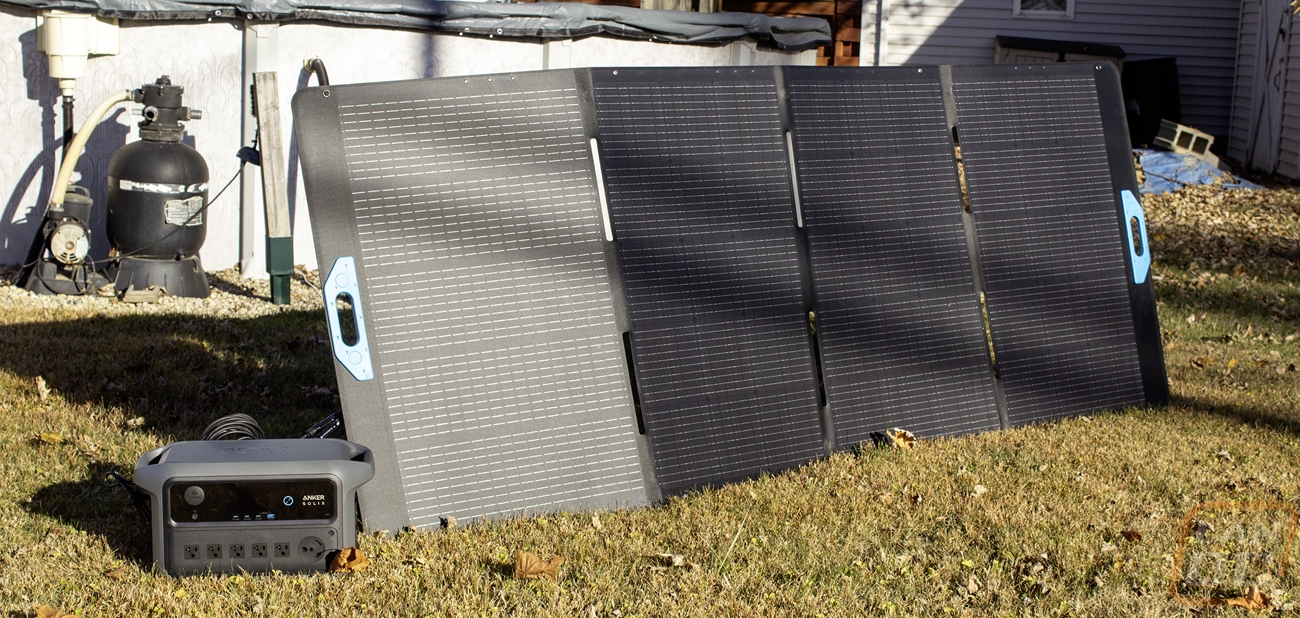
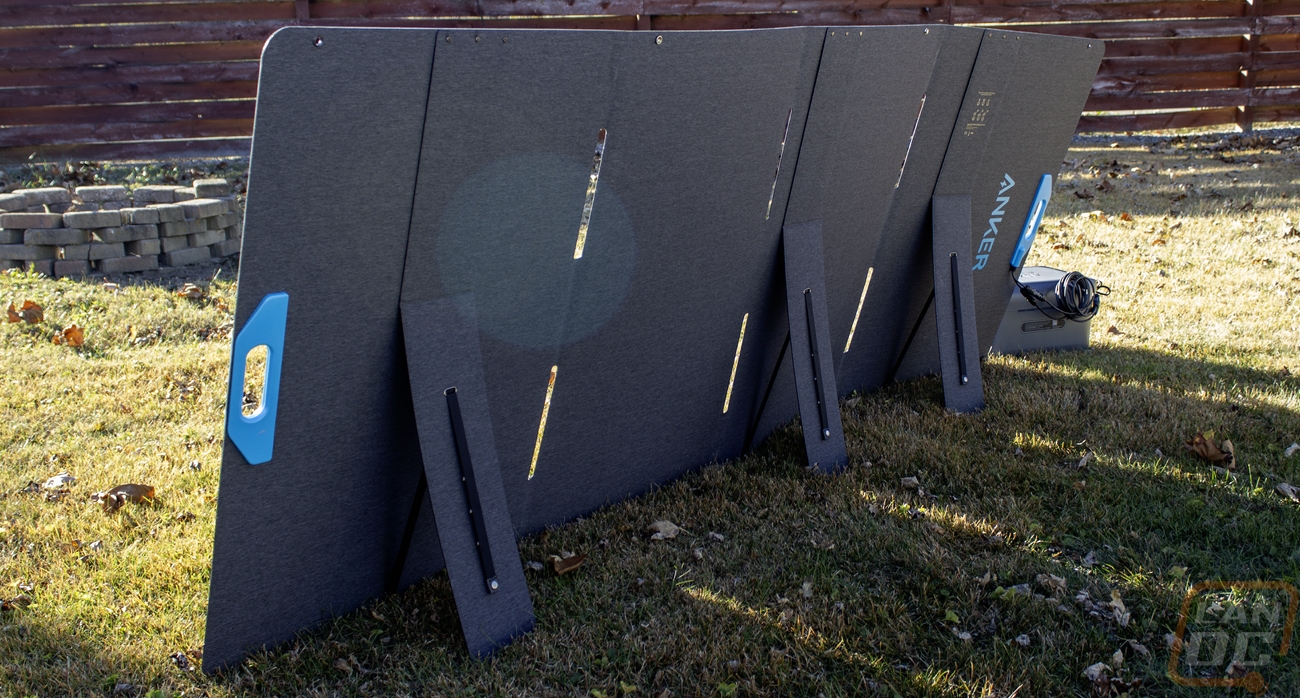
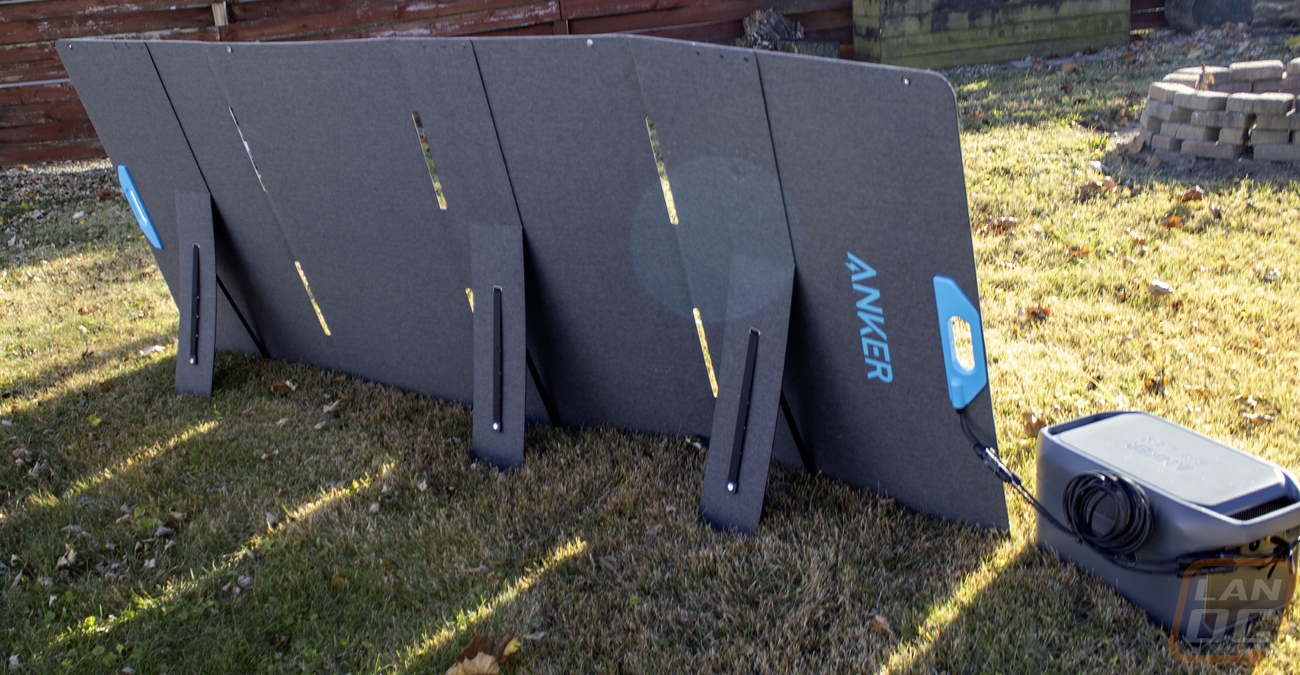
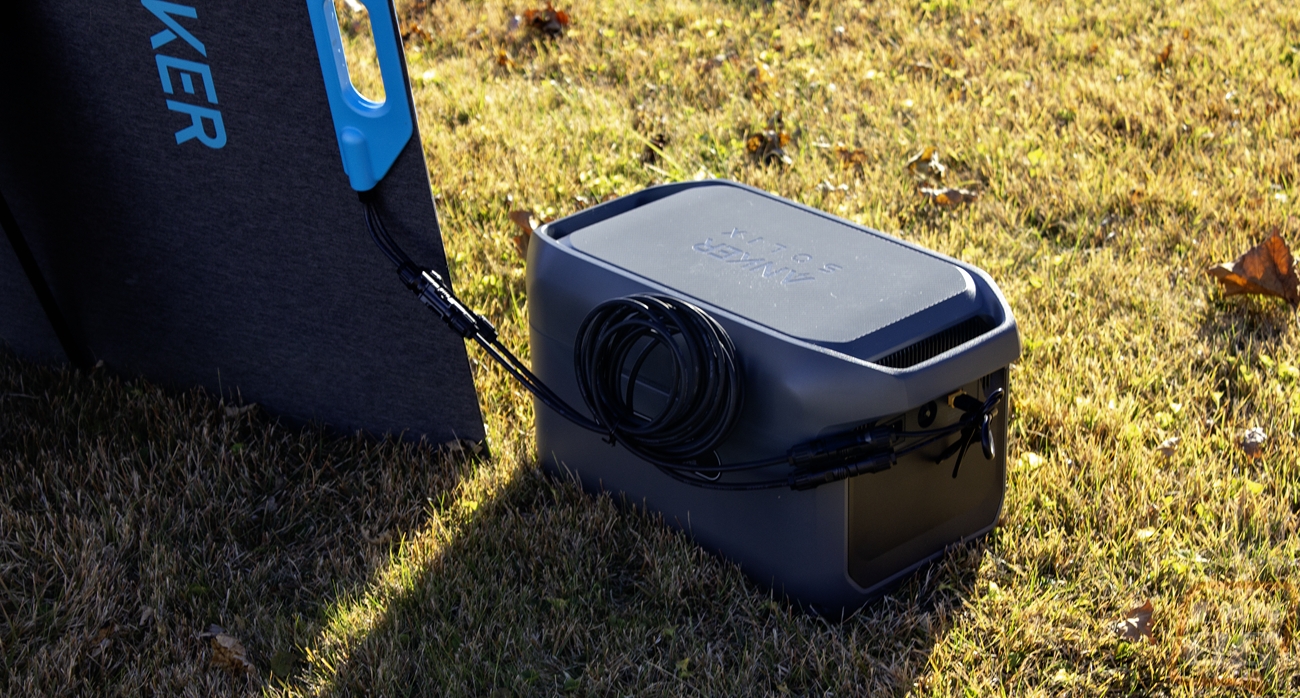
Testing the SOLIX C2000 Gen 2 consisted of two aspects for me. I was really curious about how the combination of the 4000-watt solar panel and the battery backup could work. The Solar Panel is portable and for more temporary use when the power is out longer term, so I hope that I rarely have to use it. Before our full winter set in, I snuck out with both the C2000 Gen 2 and the solar panel to set it up in the yard. Even at this time of year, when we aren’t getting the best sun and setting up with big shadows across the panels as you can see below. The panels did still start charging the C2000 Gen 2. Of the 400 watts that the panels can put out I saw 183 in our less than ideal conditions. 183 watts however is just under the 190 watts that Anker advertised as the power used for their fridge testing. Even without getting the panels into better light it would mean the battery would hardly be discharging during daylight hours. In a more ideal sunlight environment you would be able to keep the C2000 Gen 2 recharged with a constant load like that even through the night. I mentioned earlier that the solar panels have some weight to them and that was very true when dragging them and the C2000 Gen 2 out into the yard, but not any different than messing around with a generator and that doesn’t count having to get and maintain the gas in the generator. With the C2000 Gen 2, at least for my setup I’m most likely to set the battery up in our basement and run the wire out to hook up the solar panels out on our deck in the future.


The other half of my testing was using the C2000 Gen 2 without the solar panels taking advantage of its battery capacity and its capability as a UPS to quickly change to battery power when the power goes out. Having it set up more in the middle of our house like this made it easier to take advantage of the built-in USB ports while also powering our fridge. The C2000 Gen 2 took over power immediately as power went out and kept our fridge running through the one power outage that happened during my testing and again when I “manually” had a power outage. Our fridge is larger than Anker's most likely used and I didn’t turn off our ice maker but it ran for 16 hours which is at the bottom of their advertised 15 to 32 hours. I could tweak our temperatures, turn off the ice maker, and not open it (we opened it like normal during testing) and get a lot longer range. But I was happy with the result, not including adding in the solar panel power if we were in a real emergency.