Board Layout and Pictures
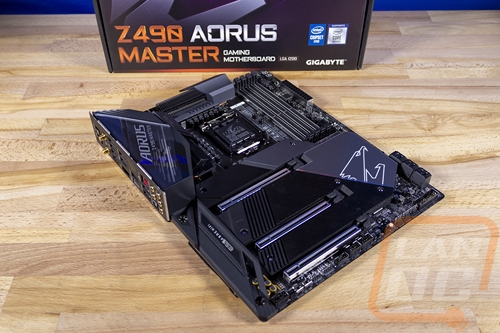
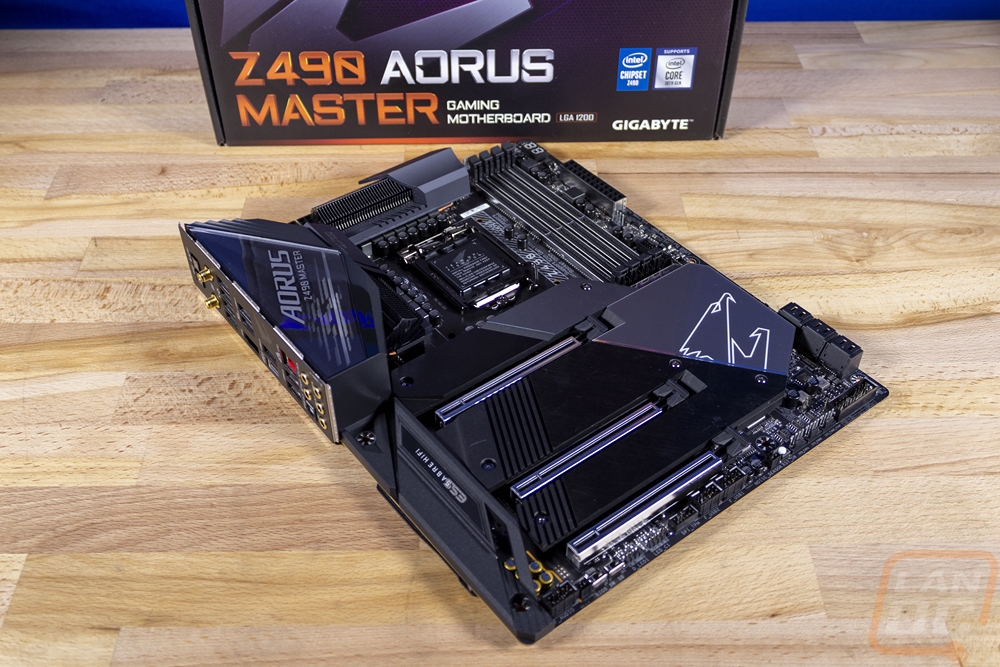
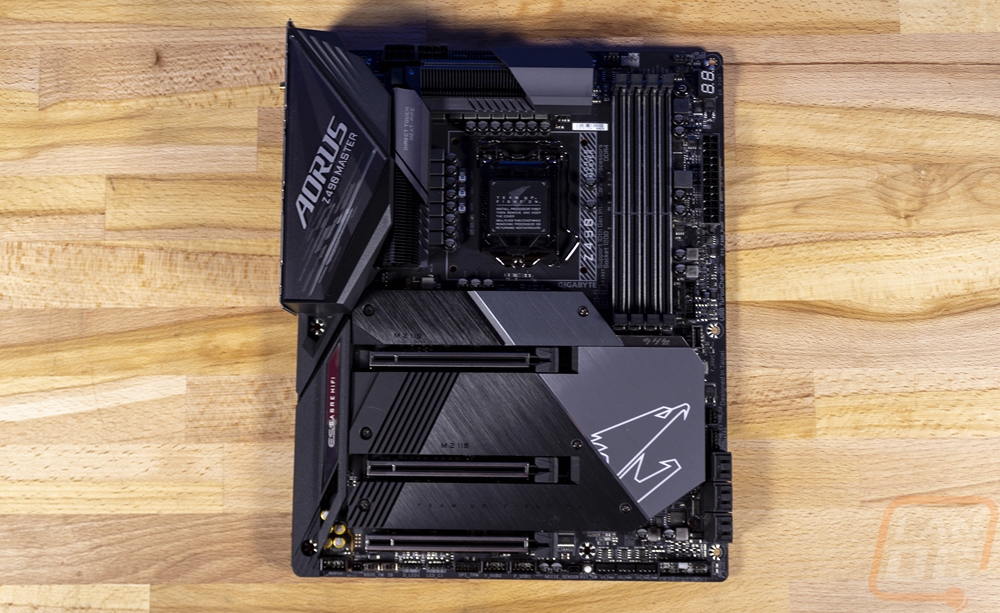
While I do miss the black and orange boards, the look of the Aorus Master here is sharp. They went with a combination of black, grey, and a chrome finish which most boards have been moving to and using RGB lighting for accents to give more color options. Being a higher-end board it is also decked out in heatsinks, shields, and covers. Part of that is for the always great Aorus cooling, but they also have integrated covers over the rear I/O down to over the audio circuitry as well as one large cover that is the chipset cooler, a cooler for the M.2 slots, and also more of the aesthetics for the board as well with the chrome section and the large Aorus eagle logo that is backlit. The board is a full ATX form factor coming in at 30.5cm x 24.4cm, not an extended version that isn’t going to fit in every case.
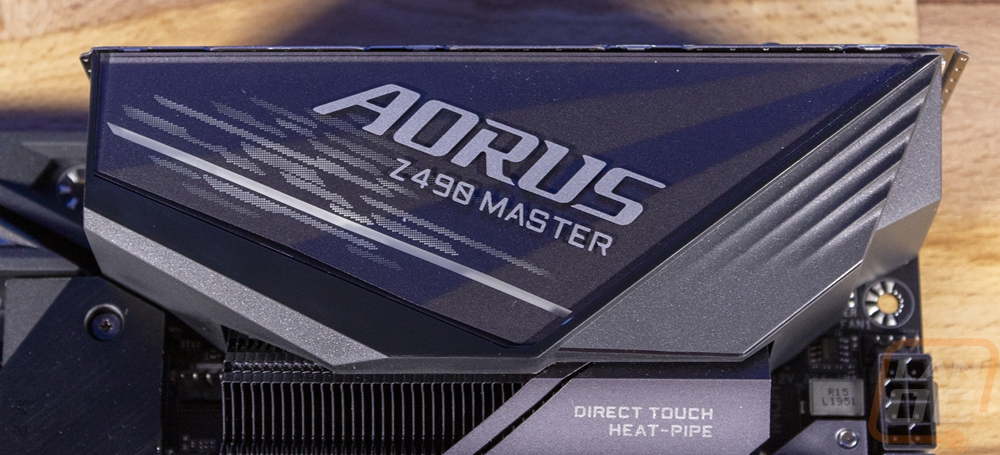
Some people may not care, but I am always impressed with just how much better a board looks with the silver rear I/O covered up. The Aorus Master has its branding on the cover and they also managed to tie in the black, two different greys, and the glossy finish as well. The cover tucks in right up against and over the left heatsink for the VRM as well making it look all integrated together. Of course it does also black some of the airflow going to that heatsink as well.
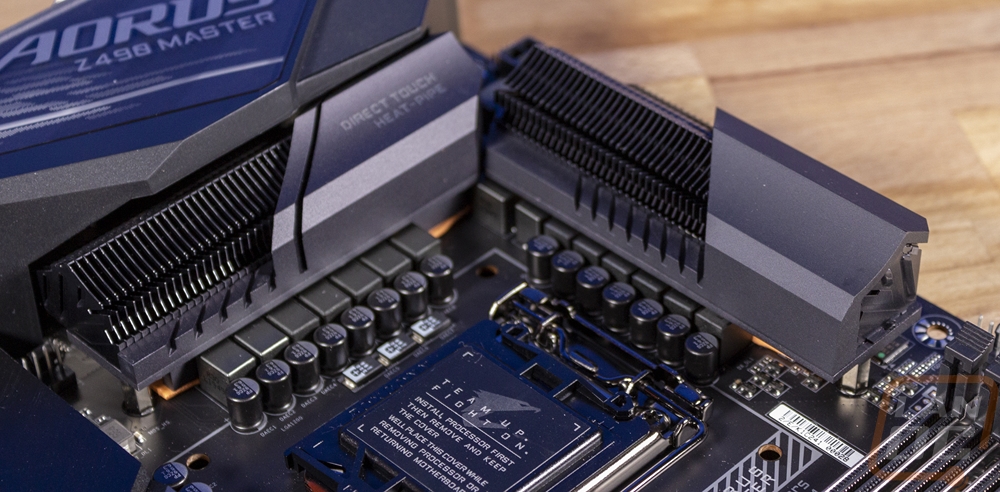
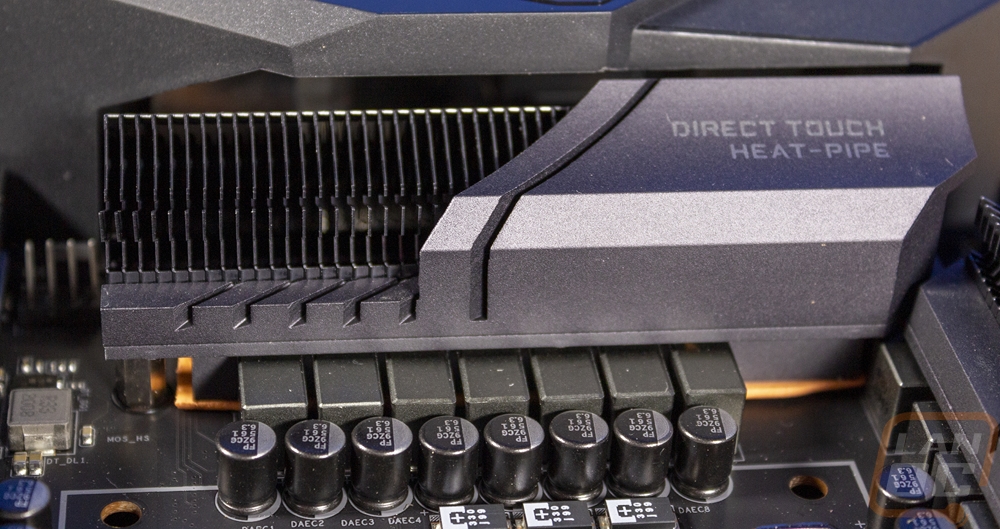
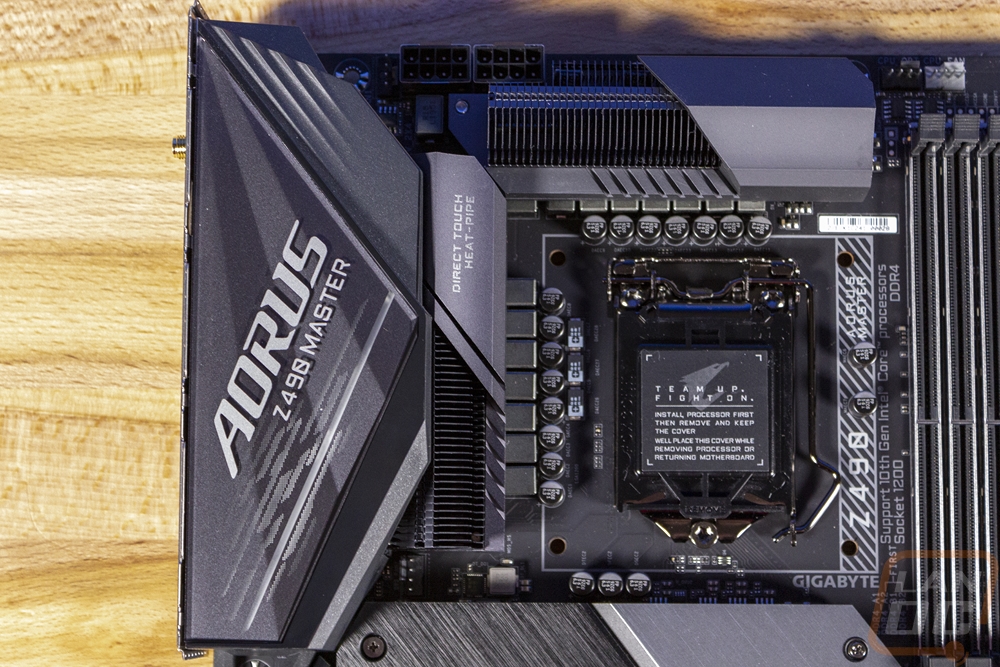
The reason I have mentioned the cooling on this board a few times already is because Gigabyte for the last few generations has been slipping in propper actual heatsinks on their boards, not just machined or extruded aluminum design which does work but not as well as sheet metal heatsinks. You can spot them on the left and above the CPU socket on the Aorus Master being combined with the aluminum heatsinks for some styling. They go over the top of the 14 phase power configuration, sitting right on top of the VRMs and next to the chokes.
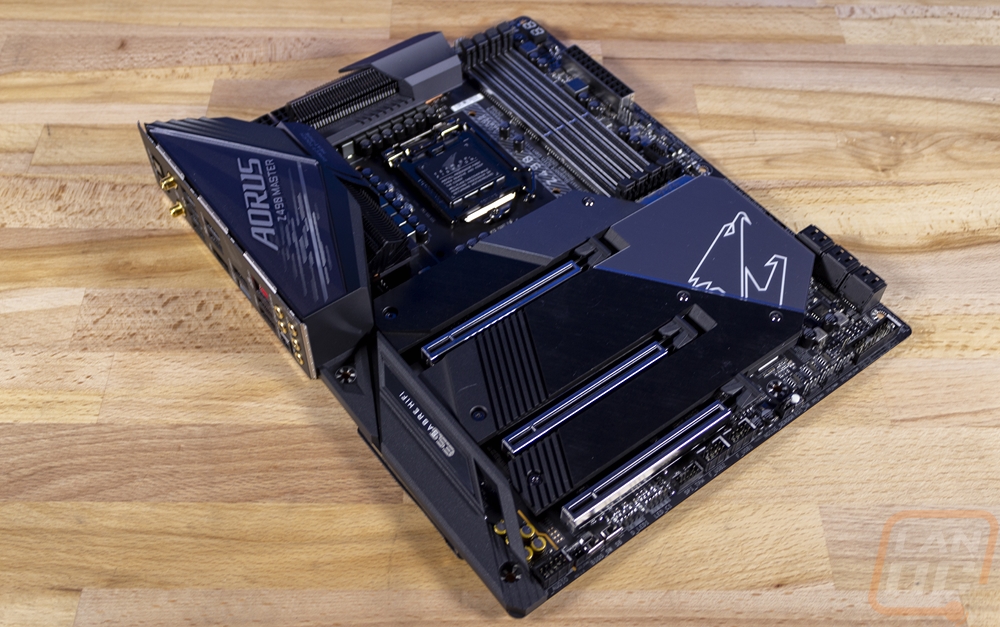
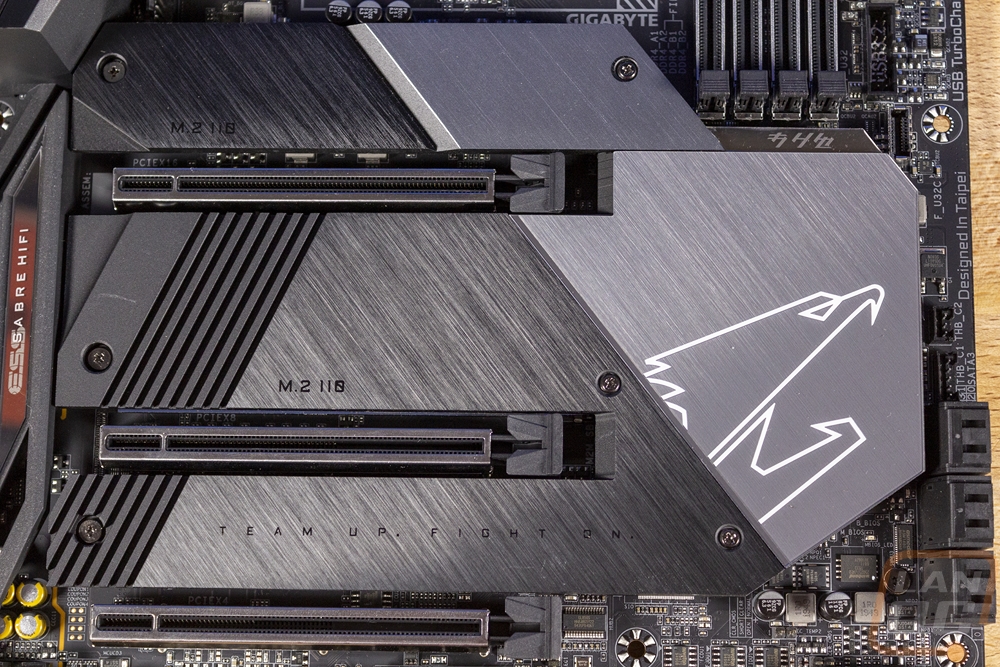
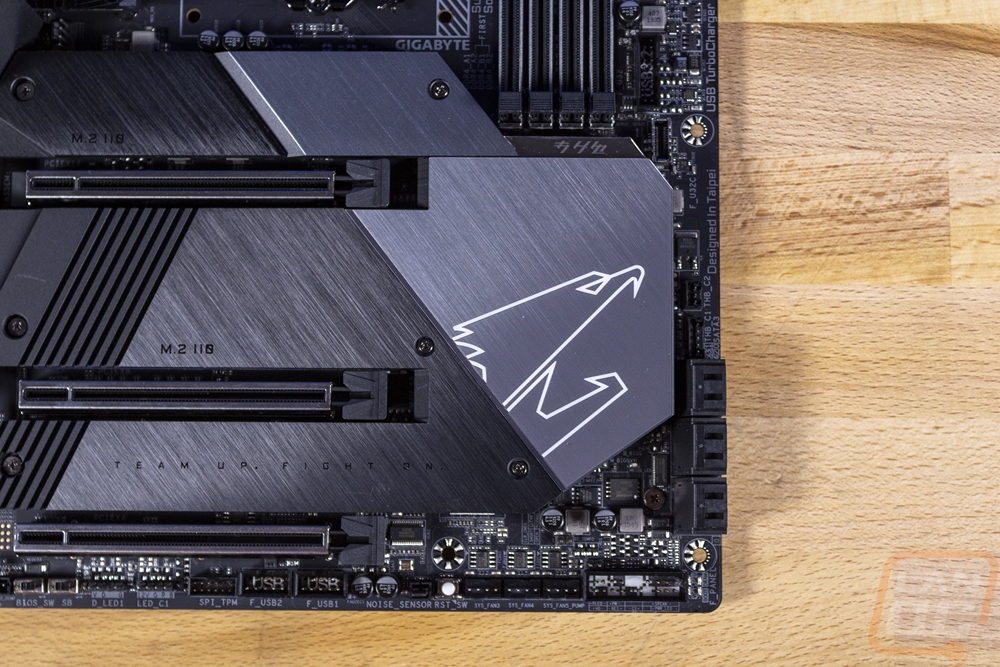
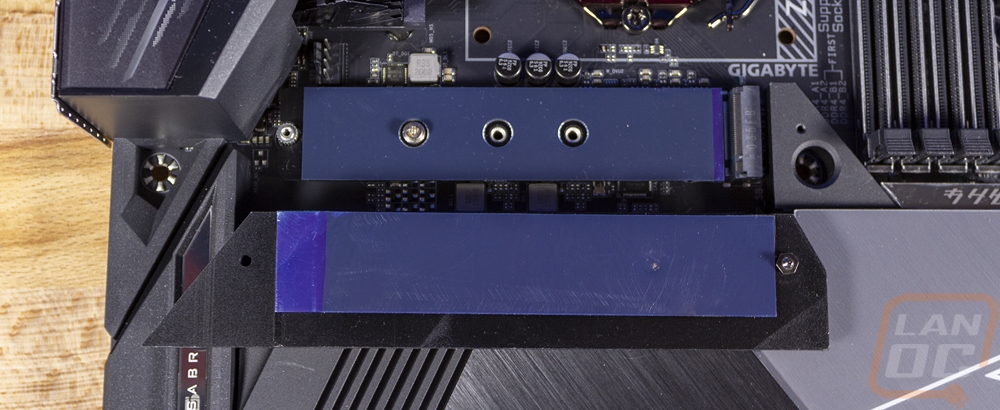
The bottom half of the cooling is the combined cooler that covers the chipset on the right and all three of the M.2 slots. The bottom left portion which covers two M.2 slots is one section then the top M.2 slot is on its own heatsink. You can see the small mirrored section up on the top edge then the rest of the right which covers the chipset is a brushed silver. It does however still have backlighting on the logo that lights up.
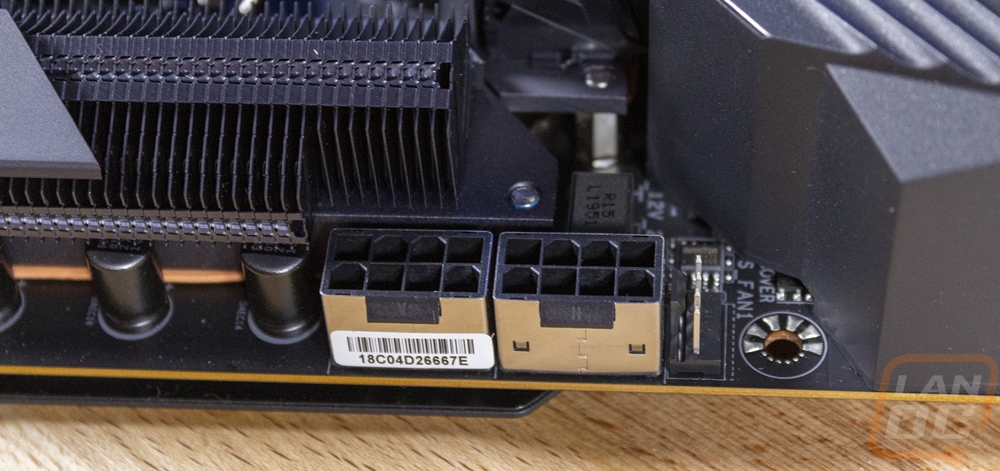
Starting up in the top left corner, let's take a look at some of the features that Gigabyte has included on the Aorus Master. This section is taken up mostly by the rear I/O and the CPU socket which has those larger heatsinks to the left and top. There are still the two 8-pin power connections for the CPU power up above the VRMs and they also slipped in a 4-pin fan header next to them.
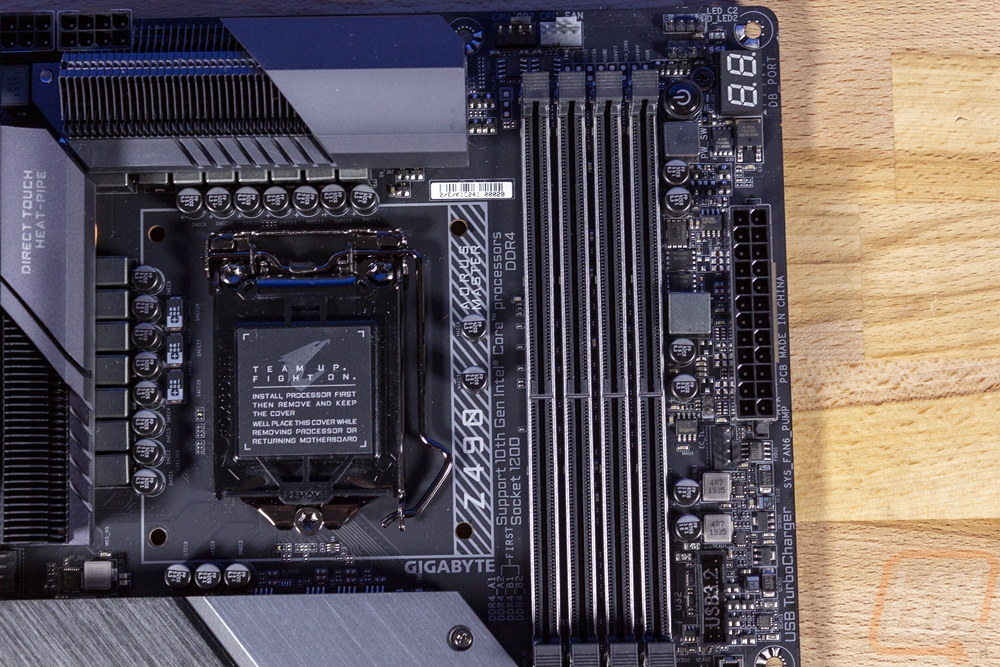
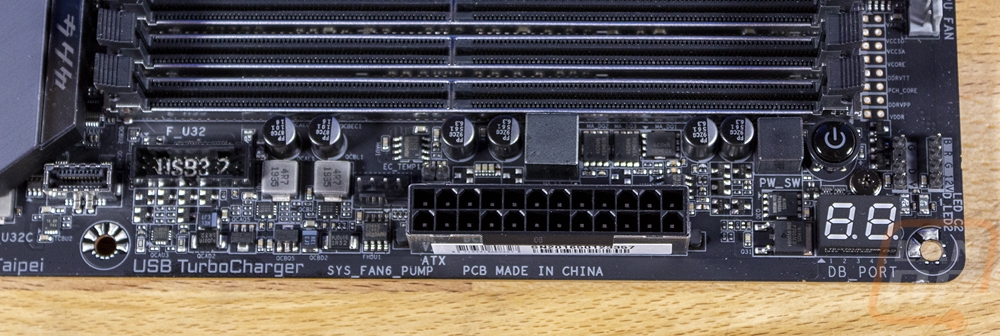
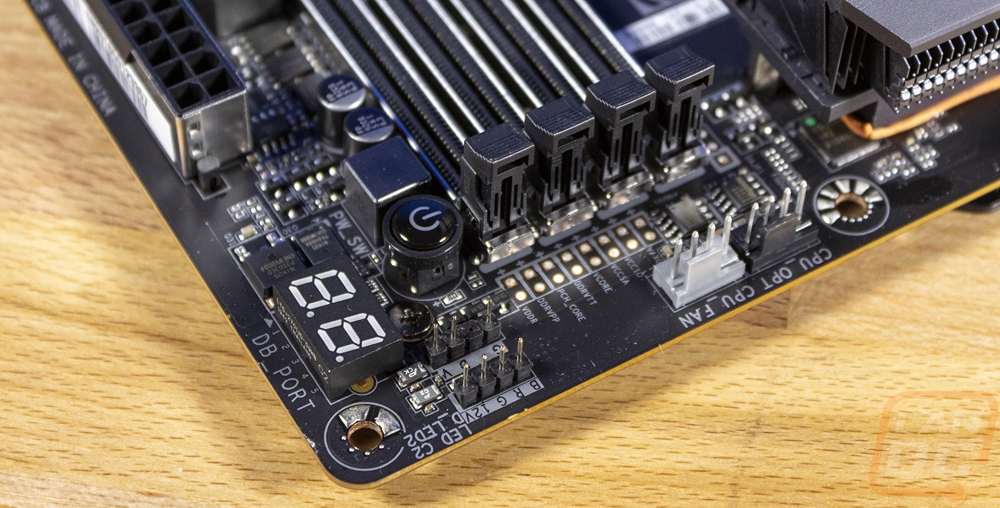
The top right on the other hand has a LOT going on starting with the four DDR4 slots to the right of the CPU socket. Each has metal reinforcements. Up above the memory slots there are two CPU fan headers and near the corner RGB headers for traditional RGB lighting and addressable RGB lighting. Also there is a power button and two LEDs. Below that on the right edge is the 24-pin motherboard power which has also been reinforced with metal around it and another 4-pin fan header which is labeled for a fan or water pump. Then down at the bottom on the right edge is the USB 3.2 header and the new USB 3.2 gen 2 front panel header as well.
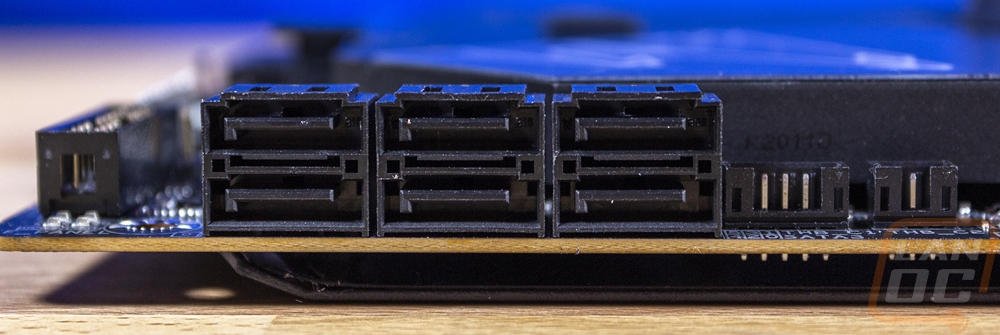
The bottom right corner of the Zorus Master has the chipset heatsink taking up a majority of the space, but they do still pack a lot along the edge on the right and bottom. On the right edge above the SATA ports there are two headers for the Thunderbolt integration. Then you have six SATA ports, all sitting at a right angle for cleaner wire management. Then in the bottom right corner just below the mounting screw they packed in four LEDs which are labeled for VGA, CPU, BOOT, and DRAM to help with diagnosing boot issues, the PC will stop on the LED of the area of the boot which it locked up. Next to that is the front panel connection which has labels printed under it but sadly doesn’t have the color-coded inside of the plug like in the past. To the left of that there are three more four-pin fan headers, which makes 7 so far. Then the reset switch is next to those. I don’t know why the reset button is so far from the power button. The noise sensor plug goes with the noise sensor included with the board, you can tie in outside noise control into your lighting which is cool. Then on the far left there are two USB 2 headers.
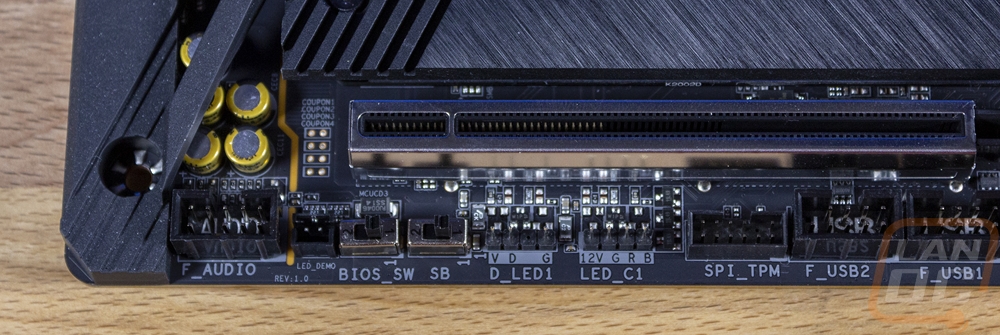
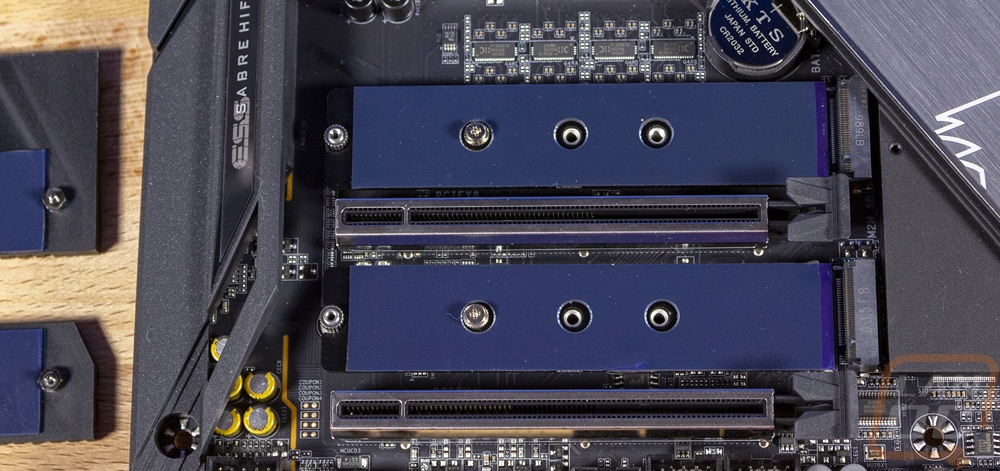
The bottom left corner has the M.2 slots along with that huge cover but I will talk about those in a minute. Beyond that you get three full-length PCIe x16 slots. They don’t however all have that x16 bandwidth. The top slot is the x16 slot, but it shares bandwidth with the second slot which runs at x8. So if you use the second slot your GPU slot will run at x8 as well. Then the bottom x16 slot runs at x4 at all times. This is where the Aorus Master ups the game. The current Socket 1200 CPUs don’t support PCIe 4.0 but the board does have future support in mind. In other words, even though nothing about future CPUs has been announced, IF they were to have PCIe 4.0 support this board would support it which does mean that you won’t be out of date a year later when new CPUs come out (or whenever they come out). The bottom edge has two more RGB headers, one addressable and one traditional, and a TPM header next to them. On the left of the bottom edge you have the audio front panel header which as you can see is on the left side of the PCB split and then to the right of that one of the headers for the included thermal sensors. There are also two switches for the dual BIOS support. One lets you switch between the two BIOS and the other can turn off the dual BIOS support altogether.
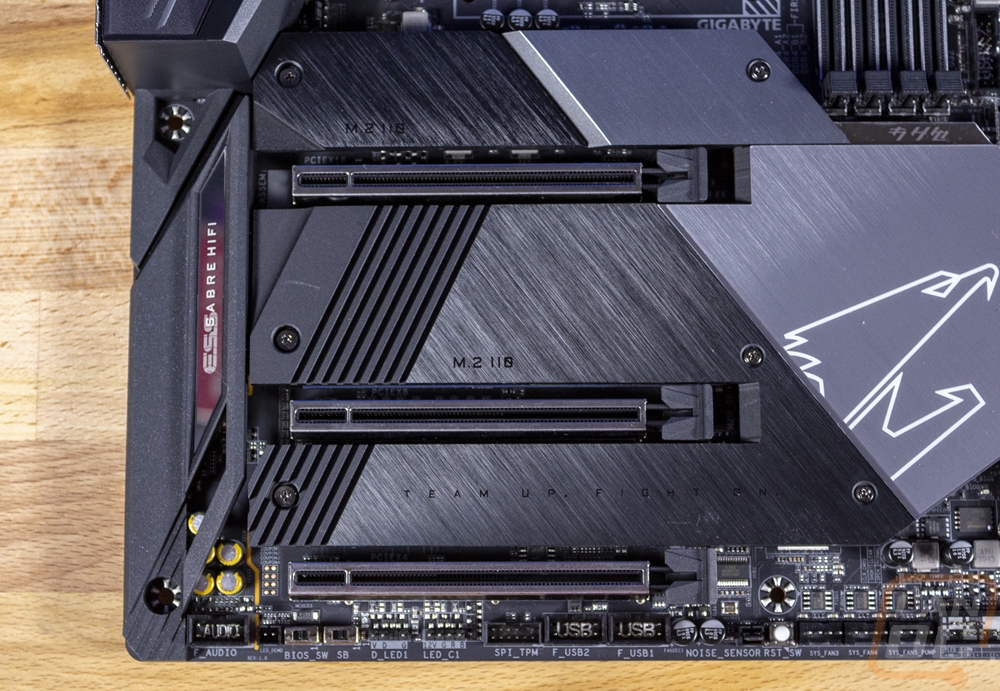
I’ll be honest, nearly every PC I’ve built recently has only used M.2 drives so getting loaded up on M.2 slots is huge for me. The Aorus Master has a total of three and they are all positioned in between the PCIe slots. All three of them support PCIe x4 and the bottom two also support SATA. RAID 0,1,5, and 10 are all supported as well. Each of the slots has its own thermal interface material to help pull heat out on to the larger heatsink.
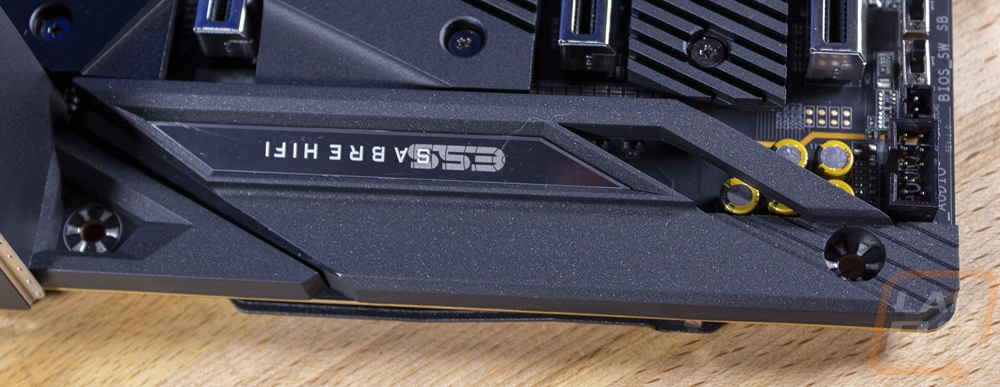
All of the audio is tucked in along the edge on the bottom left corner. It is mostly covered by the shield but you can spot a few of those Nichicon gold caps. It runs on the Realtek ALC1220-VB codec and you get an ESS SABRE reference DAC ES9118.
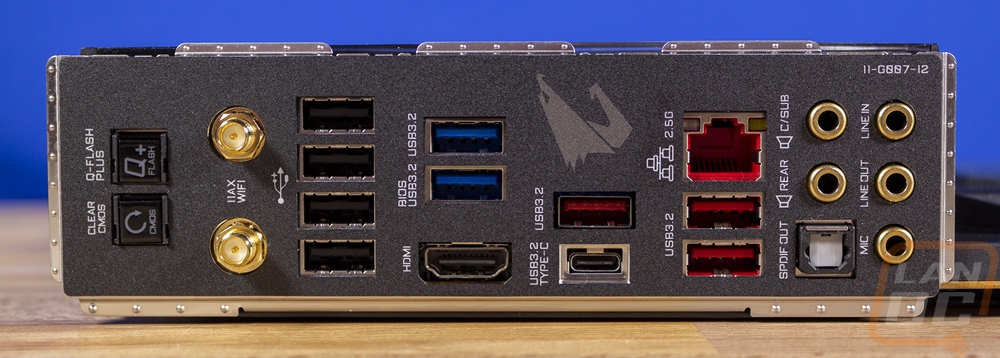
What I love the most about mid to higher-end motherboards is the connection options you get on the rear I/O. I run far too many devices to get by with just a few USB ports and honestly I’ve never seen a board have as many as I would like to have. But the Aorus Master does get you a good mix. You get a stack of four normal USB 2.0 ports in black. Then you have two USB 3.2 ports in blue and three Type-A USB 3.2 gen 2 ports in red along with the one Type-C. They could have done a much better job labeling these though, the color does help but it is the only indication that the red ports are all Gen 2 speeds. I also wouldn’t be against trading one of those Gen-2 ports for a second Type-C. They also didn’t include a Gen 2x2 port where even our cheaper board had one which is a bummer, those are the only ports capable of full speed from the fastest M.2 based external drives. Over on the far left you have the clear CMOS button and a button for their Q flash to update the BIOS without a CPU. Next to that are the two connections for the included wireless antenna, That hooked up to the Intel Wi-Fi 6 based AX201 controller which gets you AX or Wi-Fi 6 and AC with Wave 2 features as well as Bluetooth 5 as well as 11ax 160MHz wireless. There is just a single NIC and it is running on an Intel 2.5GbE LAN chip. Then on the far right are the audio connections. They aren’t color-coded but they are labeled. All of the rear I/O is surrounded by the I/O shield which comes pre-installed.
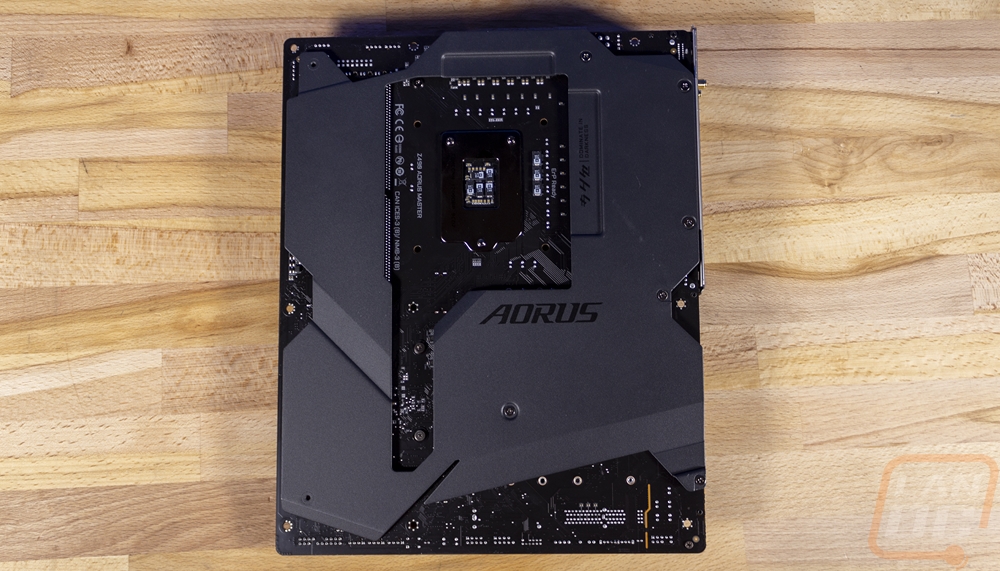
The back of the board does give us a look at some of that black painted PCB. But most of it is covered with a partial shield that helps protect the board. The shield is blacked out but does have the Aorus branding on it and the areas it doesn’t cover keep things around from all of the standoff positions as well as the back of the CPU for cooler backplate installation.