SILENT WINGS 4 140mm Photos and Features
|
SILENT WINGS 4 140mm Specifications |
|
|
Mechanical specifications |
|
|
Dimensions (L x W x H), (mm) |
140 x 140 x 25 |
|
Bearing technology |
FDB |
|
Motor technology |
6-pole fan motor |
|
Weight incl. fixed cables (kg) |
0.220 |
|
Push pin fixing |
Yes |
|
Screw fixing |
Yes |
|
Cables / Connectors |
|
|
Y-cable for lighting signal` |
No |
|
Lighting connector |
No |
|
Connector |
3-pin |
|
Cable length (mm) |
500 |
|
Cable sleeve |
Yes |
|
Performance / Noise |
|
|
Air Flow @ 100% PWM / 12V (CFM / m3/h) |
51.3 / 87.16 |
|
Air Pressure @ 100% PWM / 12V (mm H2O) |
0.92 |
|
Noise level @ 100% PWM / 12V (dB(A)) |
13.6 |
|
Lifespan (h / 25°C) |
300,000 |
|
Electrical specifications |
|
|
Rated Voltage DC (V) |
12 |
|
Operating Voltage DC (V) |
5 - 13.2 |
|
Current consumption (A) |
0.30 |
|
Safety current (A) |
0.33 |
|
Input power (W) |
3.6 |
|
Rated Current LED (A) |
No |
|
Accessories |
|
|
3-pin to 4-pin 12V-connector |
No |
|
12V to 7V adapter |
Yes |
|
12V to 5V adapter |
Yes |
|
Screws |
4 |
|
Push pins |
4 |
|
hard plastic washer |
No |
|
Others |
Rubber & hard plastic mountings |
|
Safety certification |
|
|
Approvals |
CE / RoHs / RU / UKCA / TÜV / WEEE |
|
Service |
|
|
Warranty (Years) |
5 |
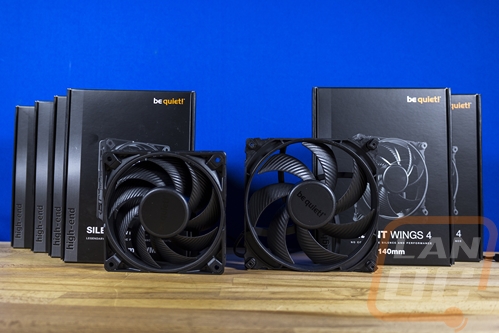
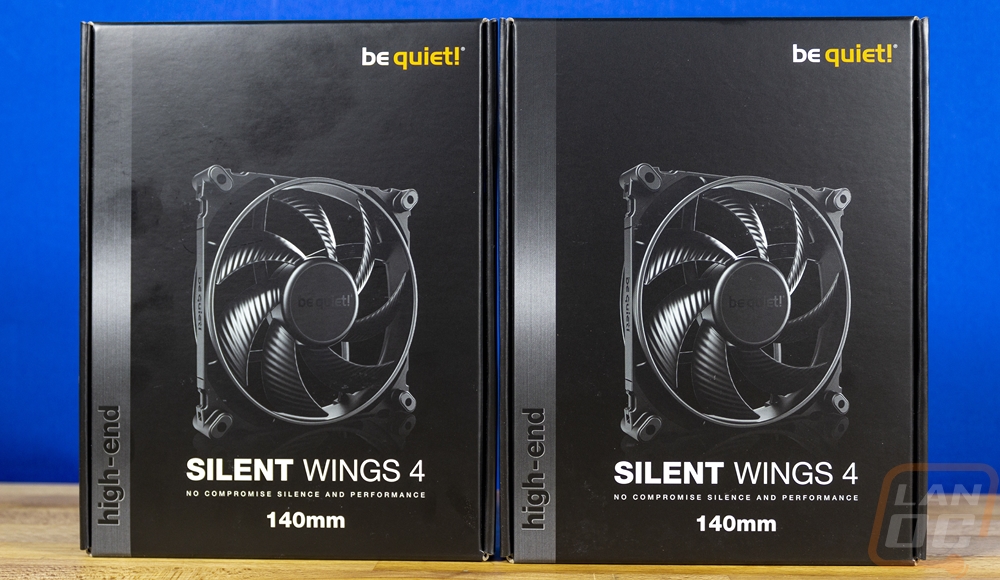
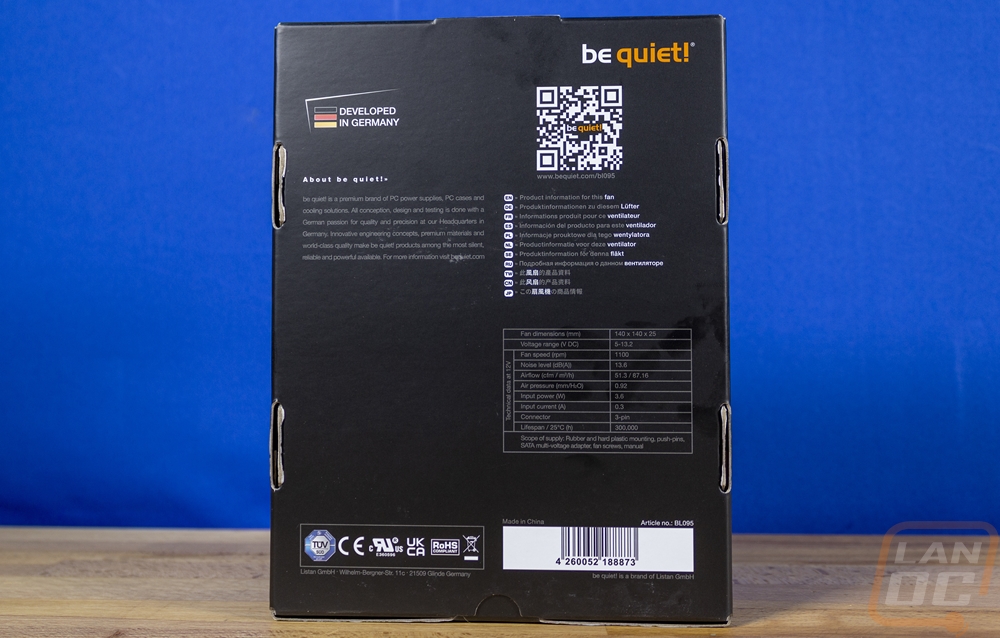
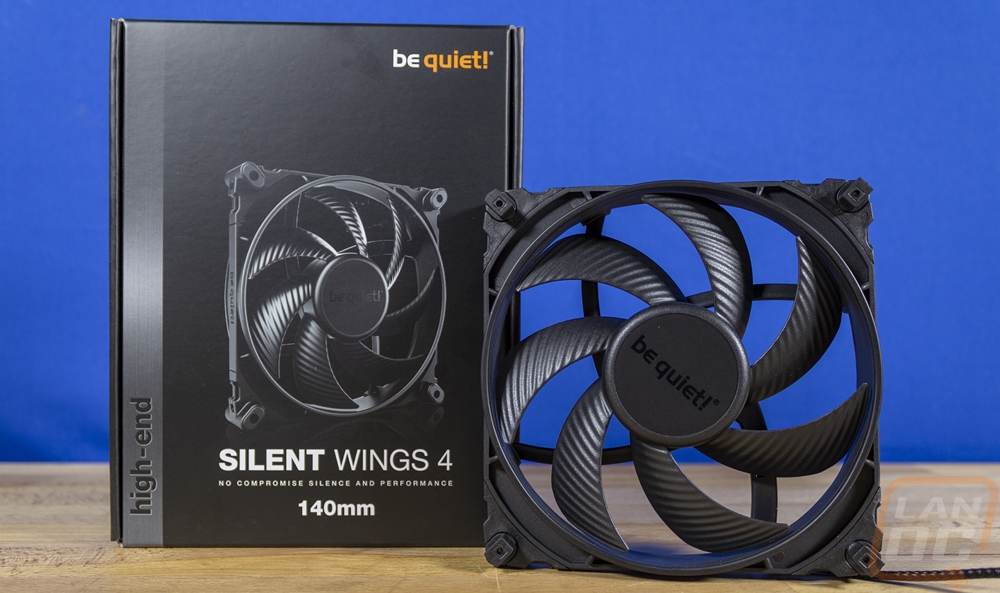
Be Quiet! sent over two of their Silent Wings 4 140mm fans which are the base model of the Silent Wings 4 lineup but they are far from a base model when compared to other fans. Be Quiet even has the high-end designation on the left of the front of the packaging. Beyond that, they have that signature black theme and a large picture of the fan in the center. The Be Quiet! logo is up in the top right corner and is the only color on the front of the packaging. Under the fan picture, they have the Silent Wings 4 branding in the largest font and below that, you get the fan size. The back of the box doesn’t have much at all going on with a short description about the be quiet brand and then a specification listing.
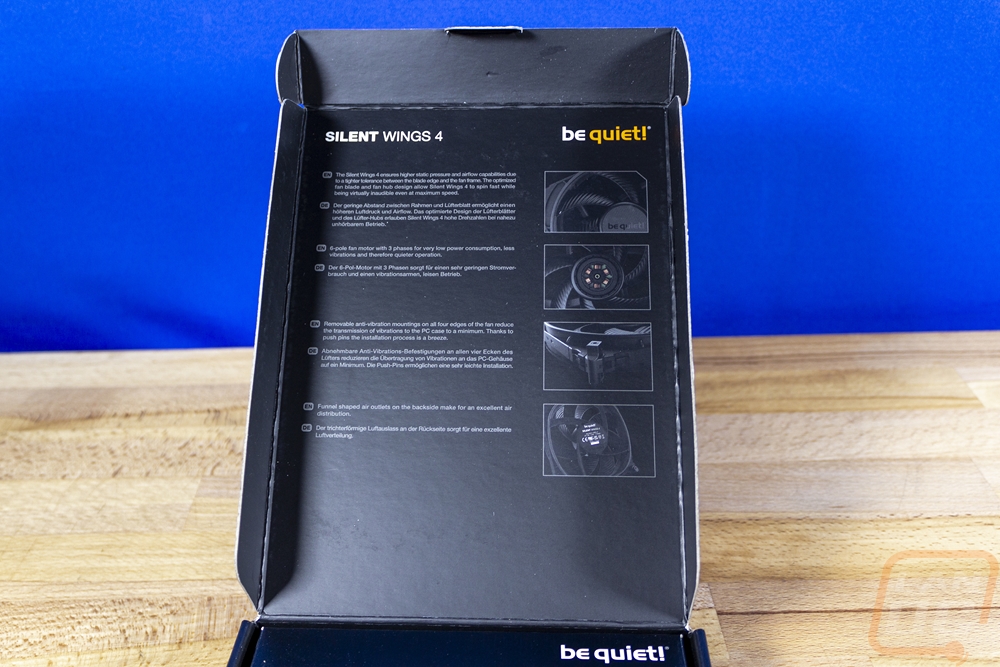
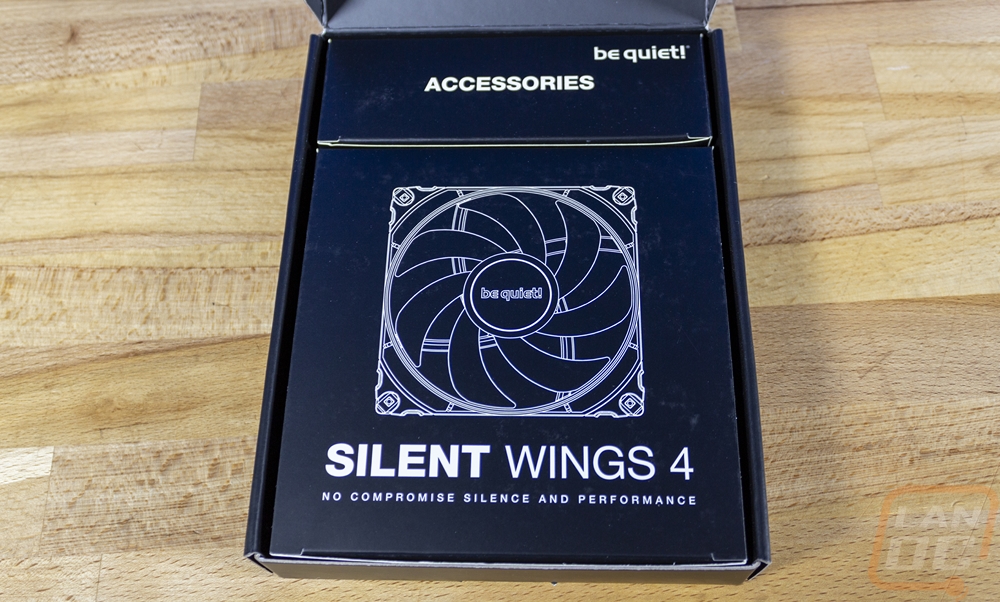
When you open the box up on the Silent Wings 4 a lot of the information on what makes the fans special as well as the closeup pictures are all on the underside of the box. I’m surprised some of this wasn’t put on the back of the box where it could be seen when shopping but either way it is nice to see. Then down in the box, the fan itself is covered up by cardboard with a line drawing of the fan and the Silent Wings 4 branding again and above that all of the accessories have a matching black box with accessories written on top.
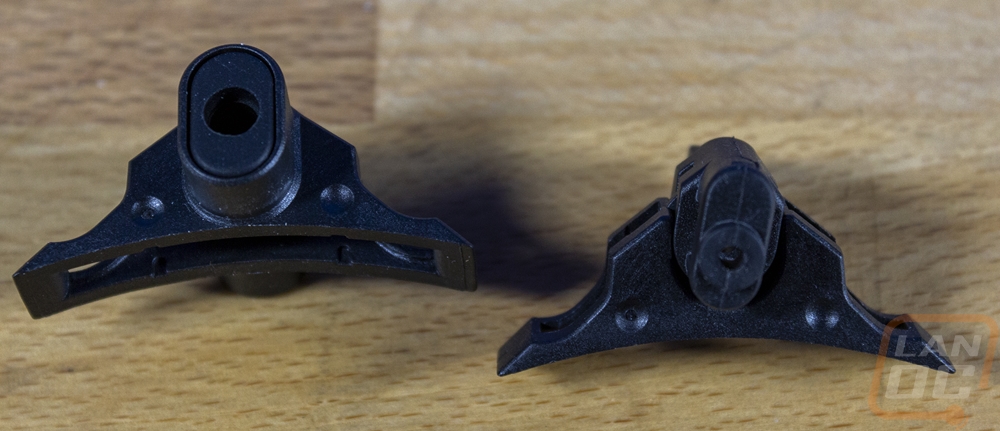
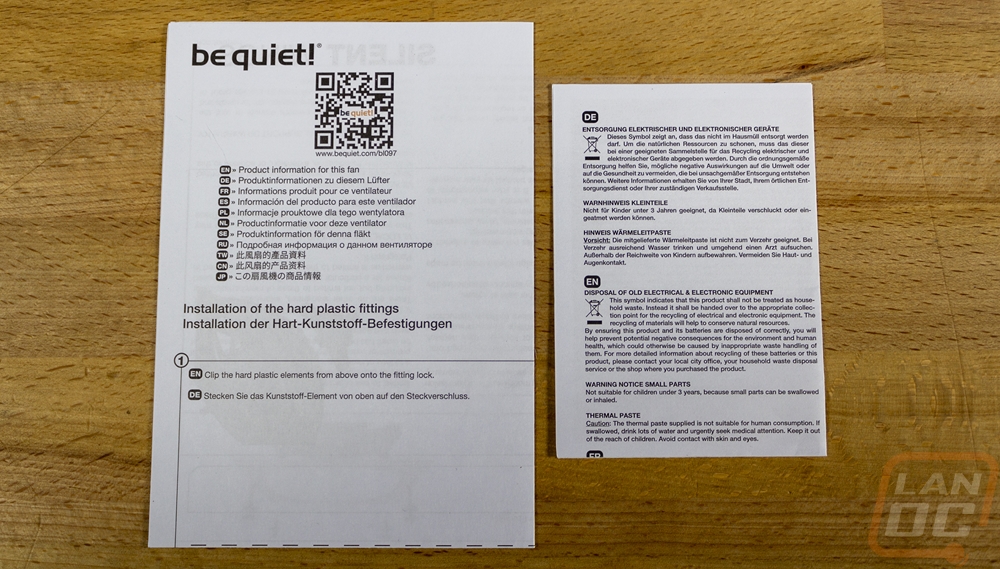
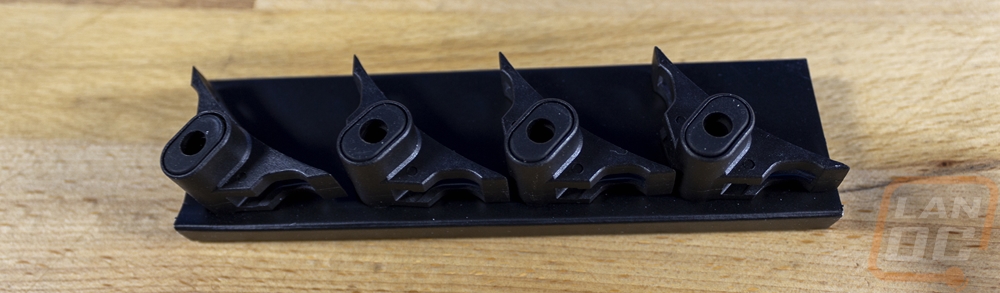
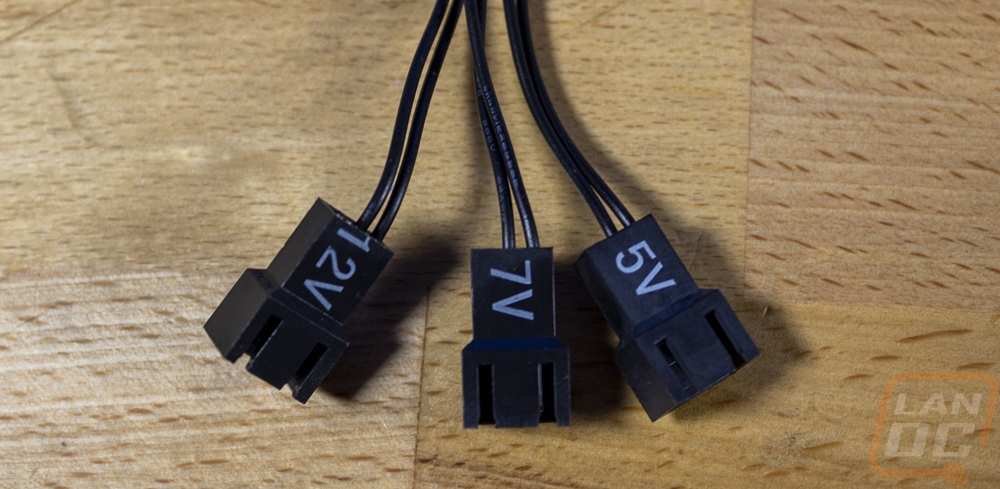
The Silent Wings 4 has its documentation tucked up under everything so when you pull the fan out you will find it. You get an information guide and then a legal paper with warnings on it. It’s the accessories though that stand out. Most fans come with just one or two things but even with this being the lower-end Silent Wings 4 model it is loaded with things. You get a small baggie with four normal black mounting screws then there is a second baggie that has rubber washers and four anti-vibration mounts similar to what a Noctua would come with. There is a SATA power adapter that has three different fan speed options for 5-volt, 7-volt, and 12-volt outputs so you can slow the fan down if you would prefer. Then there is a tray that comes with four anti-vibration corners for the fan that can be swapped out, something I’ve never seen any other fan come with before.


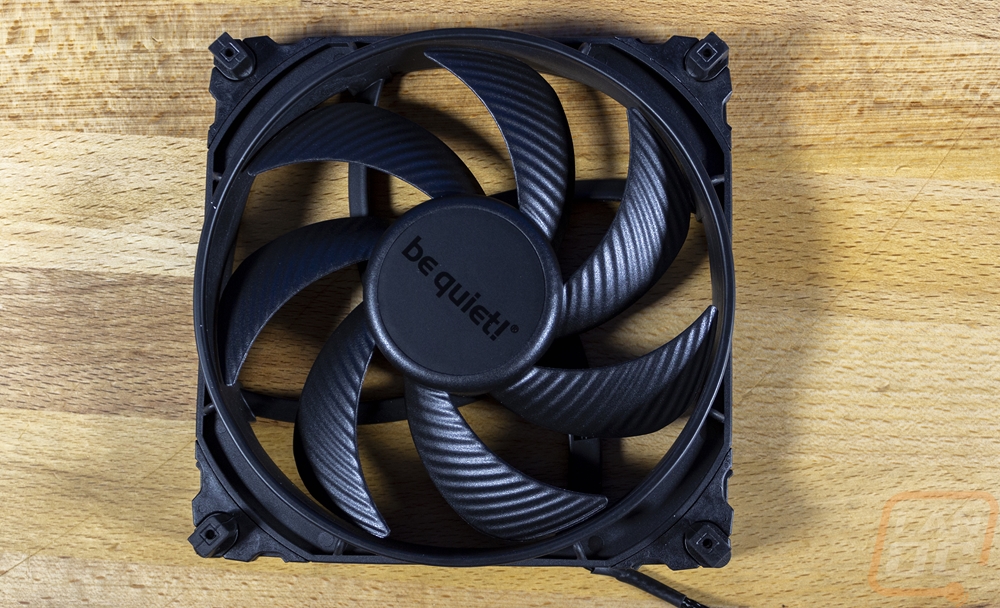
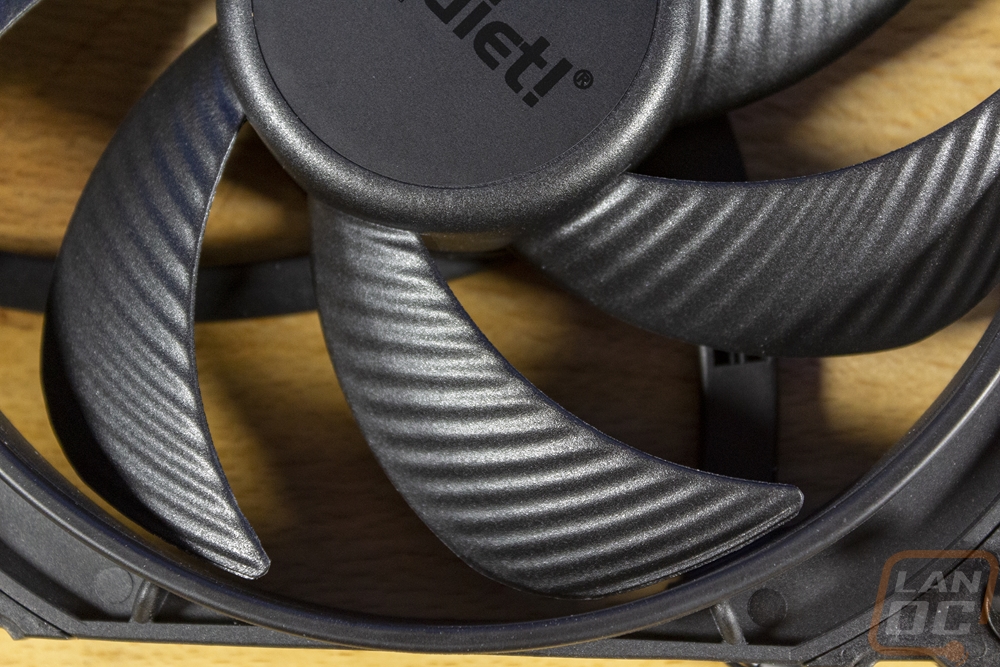
The Silent Wings 4 design has lowered the tolerance between its fan blades and the housing which is a big contributor to getting good static pressure. It has a 7-blade design and each blade has a twist to them as well as the ribs that past Silent Wing fans have had as well. Then in the center, the all-black fan has a black sticker with the Be Quiet branding printed on with a gloss black. This design gets the Silent Wings 4 140mm 51.3 CFM and .92 mm H2O for static pressure while running at 13.6 decibels according to Be Quiet. This model runs at 1100 RPM unless you are using the included voltage drop adapter
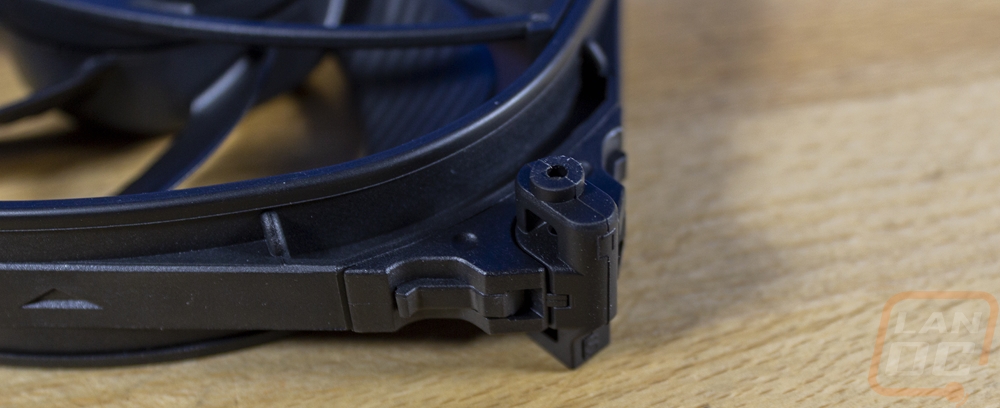
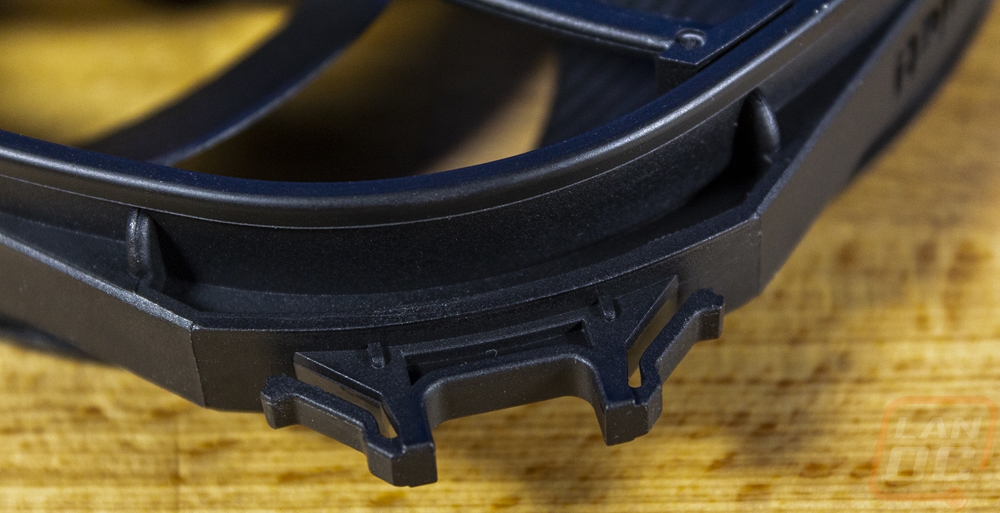
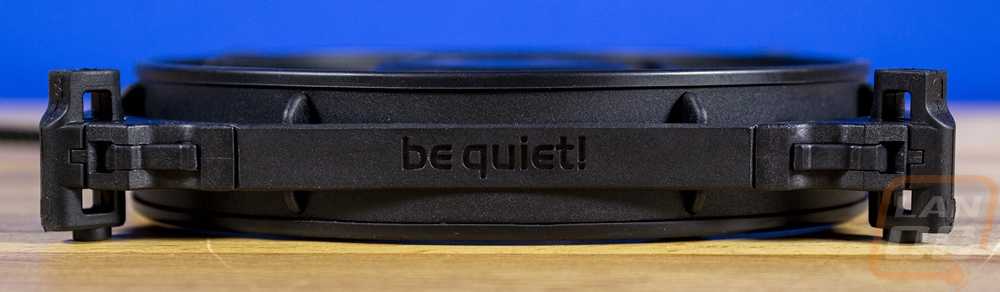
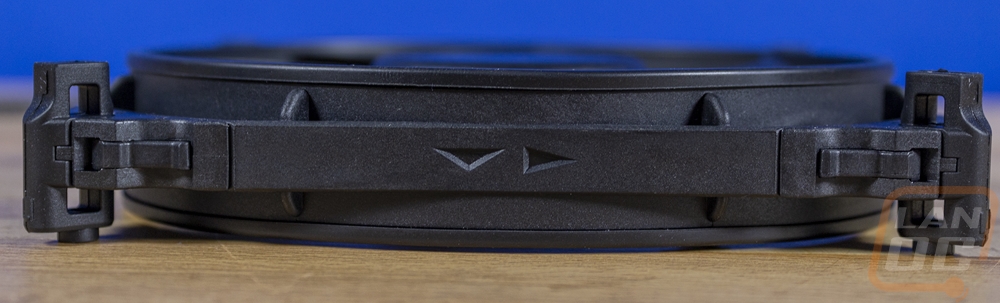
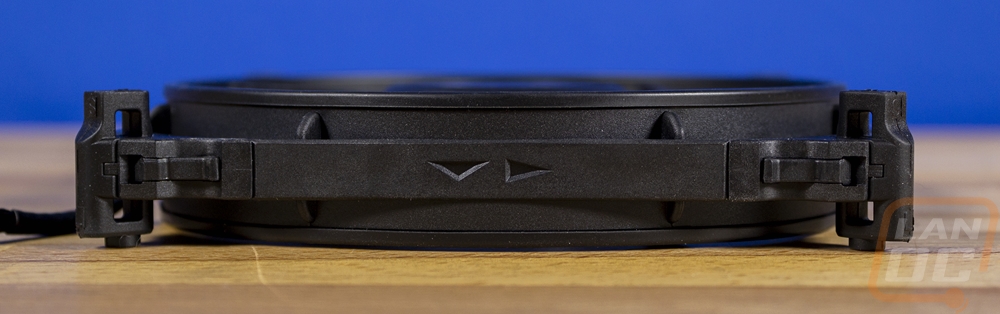
The side profile of the Silent Wing 4 is interesting because even though this fan has a lot of weight to it the side edges are relatively thin compared to the 25 mm thickness of the fan itself. Only the mounts rach up to match the height of the housing around the fan blades but they do have two supports on each side to add to that stability as well which is needed when there is a low tip clearance like on these fans. Two of the fan sides have the Be Quiet branding but what is interesting to me is on the other two sides they have arrows which point to the direction of airflow and the direction that the blade spins.
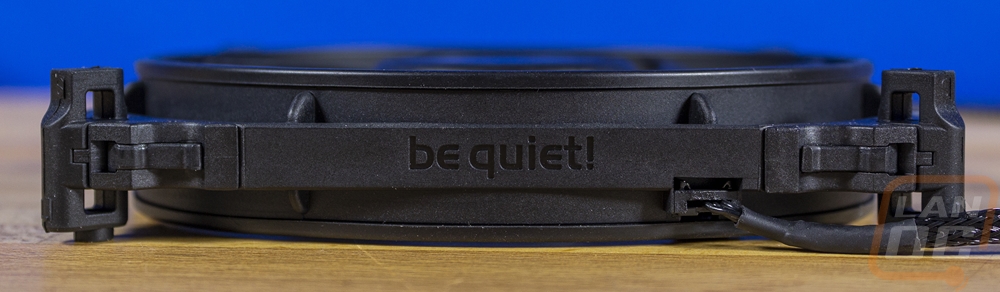
The back of the Silent Wings 4 has its motor mount held in place by four supports which have a slight twist in their shape and an angle to them as well to help line up with the airflow coming off of the fan blades. The center has a sticker with the model number, power, amps, and RPM as well as all of the normal certification logos. Below that where the Pro model has an RPM switch has been filled in with an insert that has the Silent Wings 4 name on it. The three fan wires are black to match the housing and run along the one support that doesn’t have an angle to it. All of the Silent Wings 4 fans have a 6 pole motor design and a fluid-dynamic bearing which keeps vibrations down and keeps things running smoothly and also contributes to the 300,000-hour lifespan.

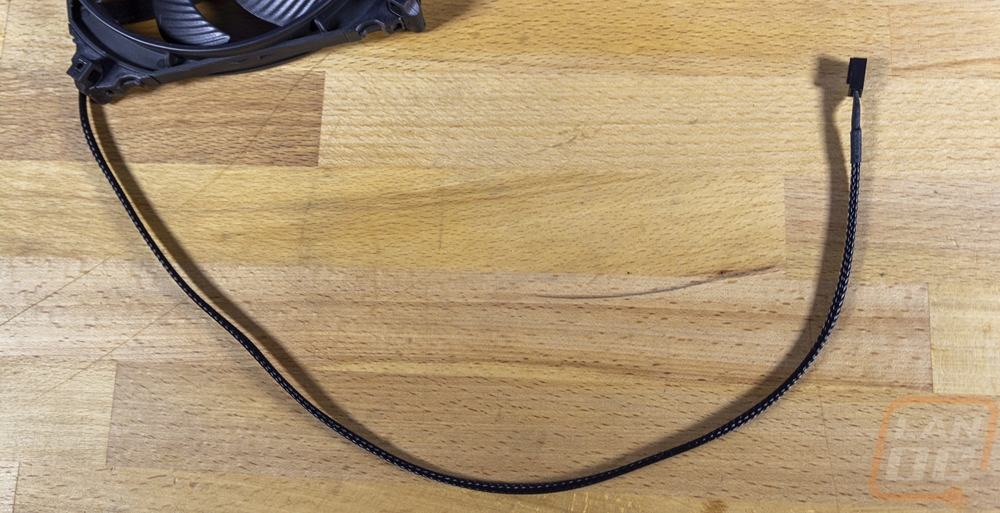
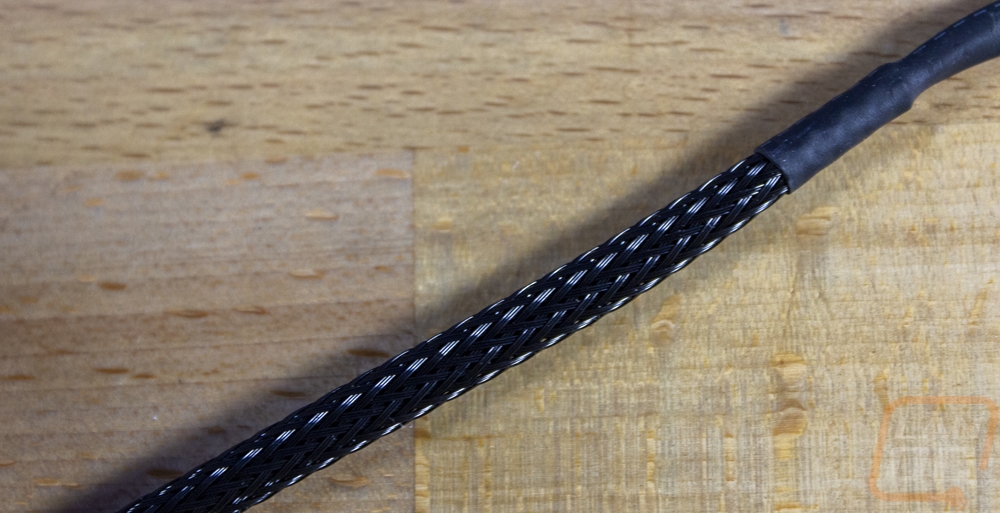
The fan cable for this model which is a non-PWM model has a standard black-sleeved cable with the black cabling inside and the 3-pin plug at the end. It is a preference, but I know for me I would prefer to not have the sleeving simply because it makes it easier to hide the wiring but the sleeving does look good otherwise.
I think the coolest thing about the Silent Wings 4 design is the detachable corners which let you swap between the two included mounting styles. One is the plastic mounting setup and the other is the rubber mounting setup. The plastic works combined with the rubber pull-through mounts for installation in a case to offer the lower amount of noise transfer. But that won't work with radiators and heatsinks so they give you a more traditional rubber mount for use with screws in those situations. They come off by pinching on both sides and swap out easily.