Installation
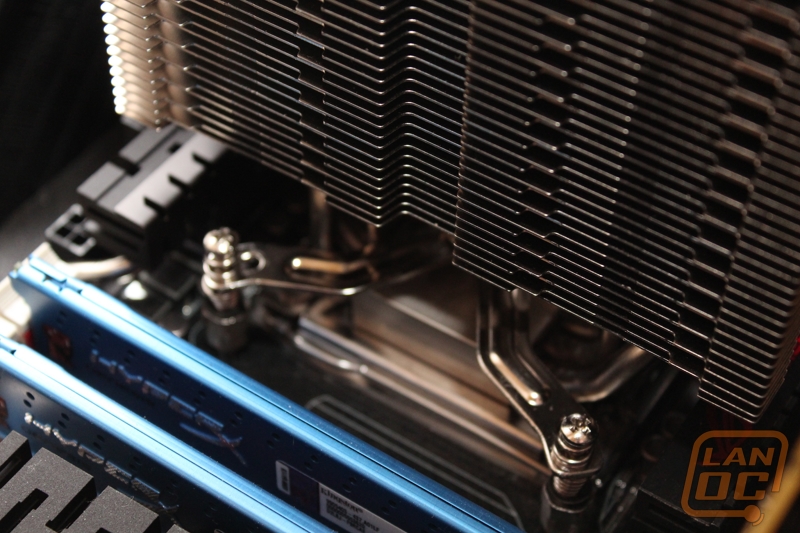
Installation of CPU cooler is not fun. It’s a fact that we tech enthusiasts learn early: hard drives fail, USB is great, and mounting a cooler is dreadful. Cooler Master has put an honest effort in trying to alleviate this process, and it’s a much appreciated one. But it doesn’t help much. The all-in-one bracket, which ratchets to fit the required socket, will save you some time mounting different arms, but takes a bit of patience itself. The piece has knob that fits atop the CPU base, inserted between the two heat pipe banks and then expanded out as needed. There is a small notch that keeps the tool from sliding freely, but if you need you’ll be installing this on a board within a case, three hands will definitely help.
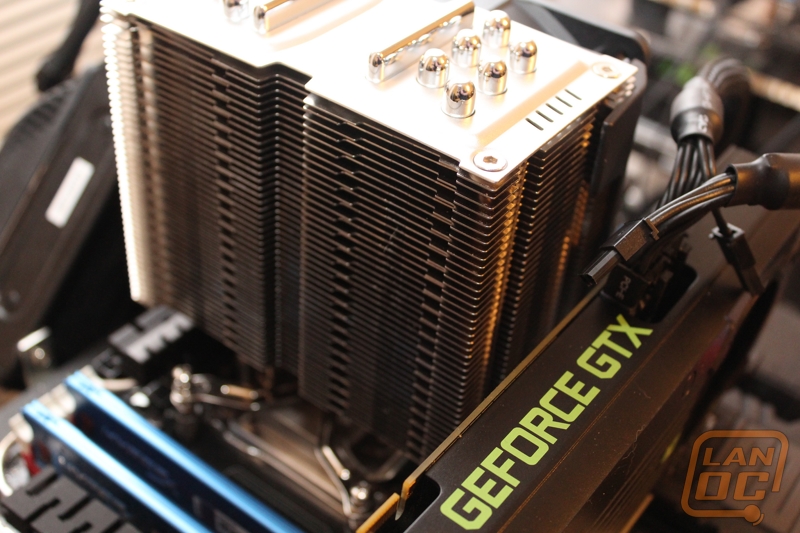
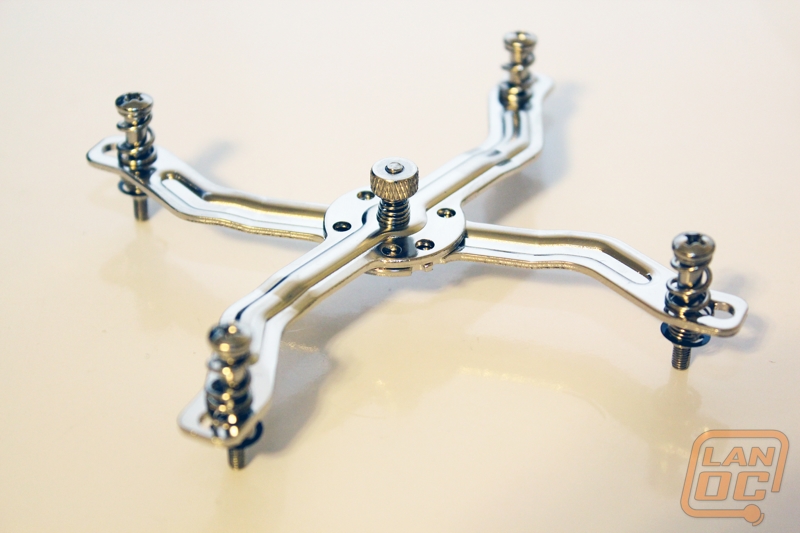
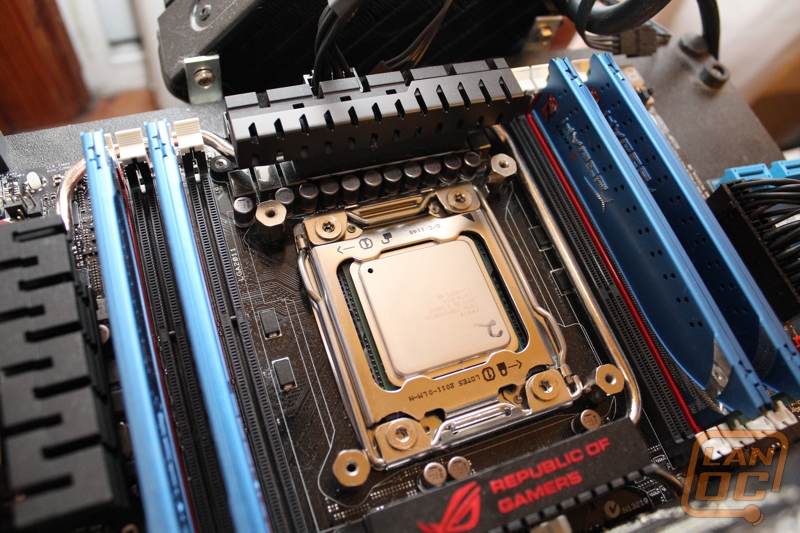
To keep the cooler universal, Cooler Master has included several different bolts that mount first onto the motherboard rise to meet the screws on the cooler. That was my first question, too: why not just make the screws longer? That would work fine for the 2011 socket, but rule out the others.
The second pain is that while there are Philips heads on the mounting screws, the height of the fins are likely to be taller than the shaft of whatever screw driver you may have handy. Since the fins are almost flush with the corners of the bracket, not only will you have to remove the fan to secure the cooler, but you’ll also have to find a screw driver long enough that the handle doesn’t begin before the fins end, or you’ll be going in at an angle. Again, extra points for doing this inside of a case.
