Installation and Performance
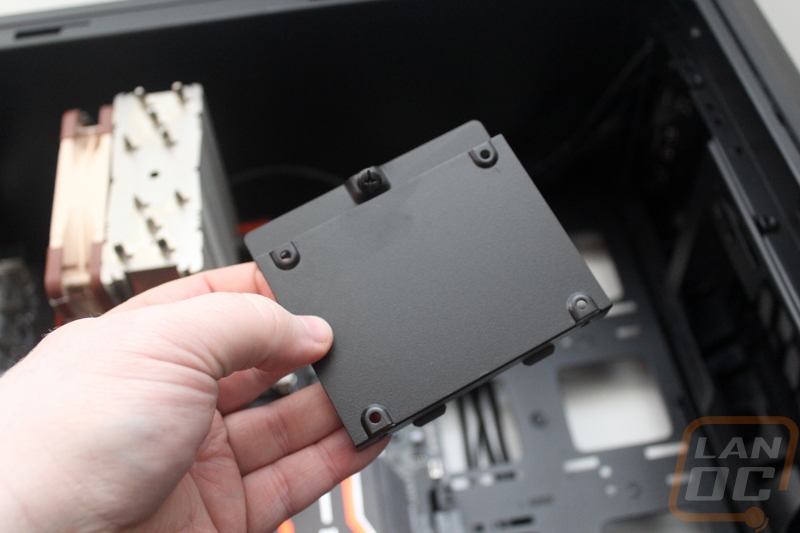
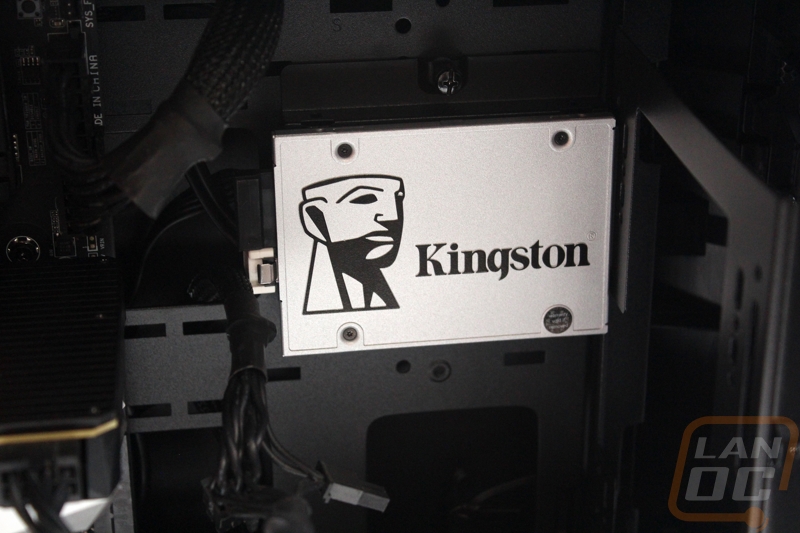
Before I could jump into testing the Masterbox 5, I did have to actually get a PC installed. This also gives me time to get a feel for how easy the case is to work in. So to get started I moved our x99 test bench into the case. To do this I did have to dig through the small bag of screws and pull out all of the standoffs and using the included screwdriver adapter I installed each of the standoffs that I would need. With them installed the motherboard/CPU/ram/heatsink combo dropped right in. The Masterbox 5 supports ITX, MATX, ATX, and EATX motherboards but I also toyed with an EEB board but I will get into that later. With the motherboard installed from there, all I needed to do was get my hard drive and SSD installed along with a video card and PSU. For the SSD I used our new UV400 from Kingston. I installed the drive into the removable mount and while doing this I figured something out. Cooler Master only lists the Masterbox 5 as having the one 2.5 inch mount on top of the two 2.5/3.5 trays in the cage. Well, the SSD mount can actually have two drives installed. You can install one up top like what I did below and you can also mount a drive under the mount at the same time.
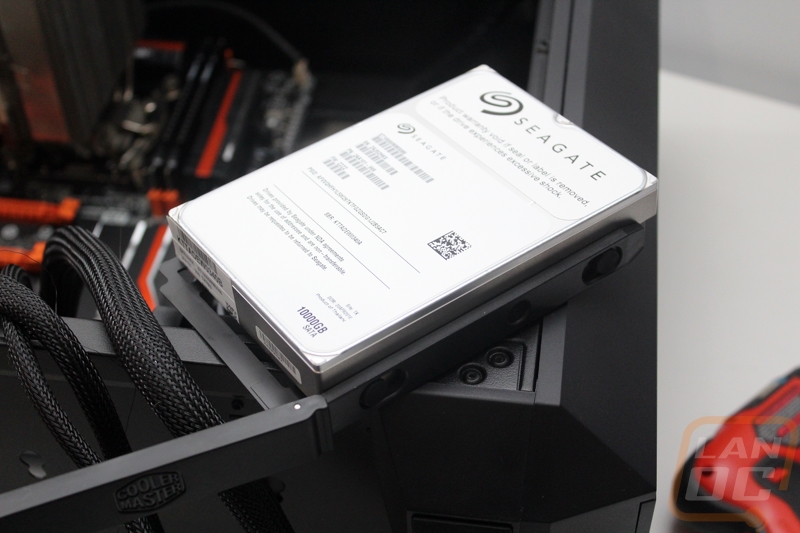
Installing our 3.5-inch hard drive was even easier with the plastic toolless trays. I popped it in and slide it into the hard drive cage.
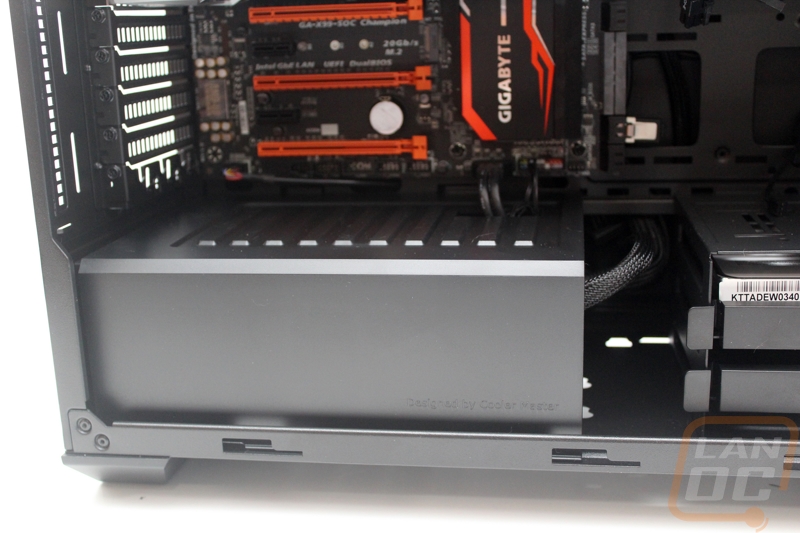
Installing a power supply was simple, four screws and it was done. From there I ran all of our wires out the back of the case and then reinstalled the PSU cover. With the wires in the back I dropped each wire up and through the hole closest to the plug on the motherboard. I didn’t really have to zip tie or clean up the wiring because of the amount of space under the motherboard tray and with the PSU cover.
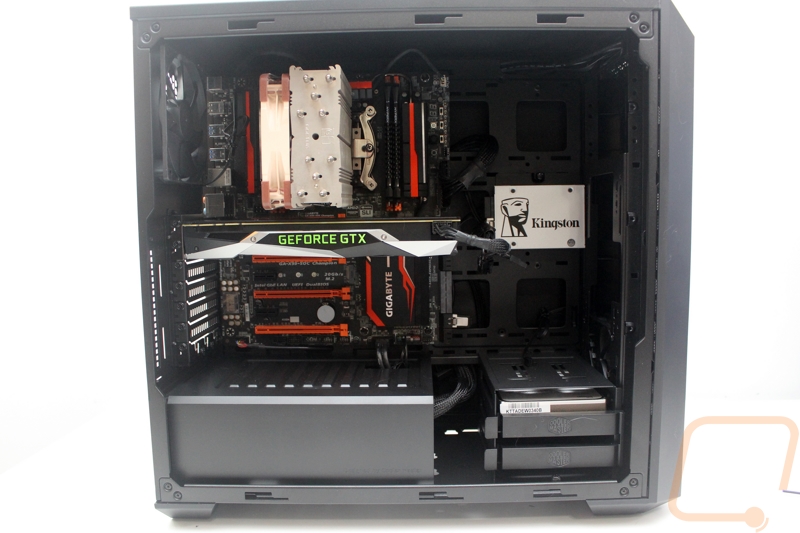
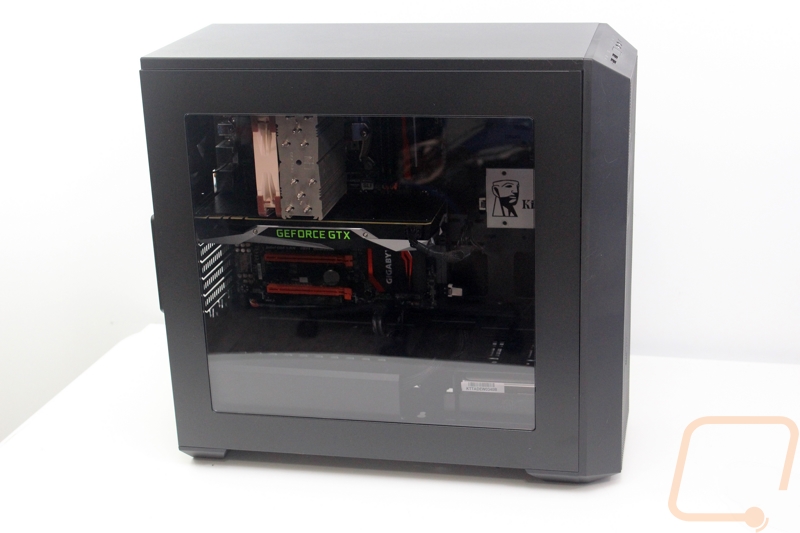
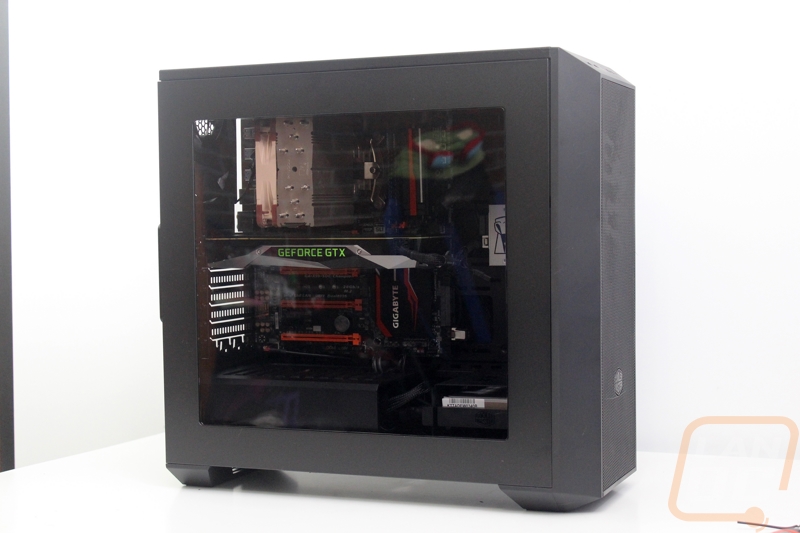
Last but not least I dropped in our GTX 1080 and hooked up the 8 pin power connection that I had already run. For being a mid-sized tower that 1080 actually looks really small inside doesn’t it? This is because there aren’t useless cages running up the entire front of the Masterbox 5. That Kingston drive looks great sitting in there as well. There is room in the front if you want to install a 240mm or 260mm radiator and have a nice tall pump/res combo.
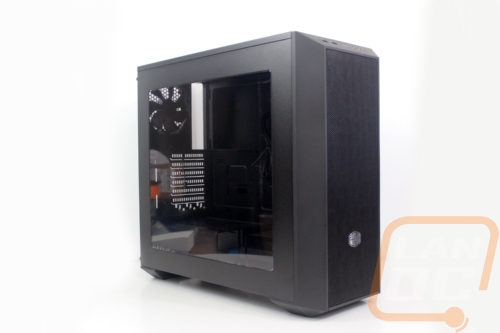
With everything installed and up and running, I closed the case up for testing. I love the way the tinted side window tones down everything inside the case while still giving you a look inside. The large window that I kind of complained about earlier does really help show off the mounted SSD or if you had water cooling there it would show that as well.
After getting the Masterbox 5 up and running I played a few games and kept an eye on temperatures. With the two fans pulling in fresh air over the hard drive and pulling the hot air away from the CPU things ran nice and cool, no different than our open air test bench in fact. The two unmarked fans ran well and didn’t make a lot of noise but I think I still might swap them out later on just so I don’t have to worry about a cheaper fan going out. All in all the Masterbox 5 ended up being a nice case to work in and to use. Its still small enough to take to and from a LAN if needed but large enough to pack a full high-end PC inside with room for a few displayed SSDs or water cooling.
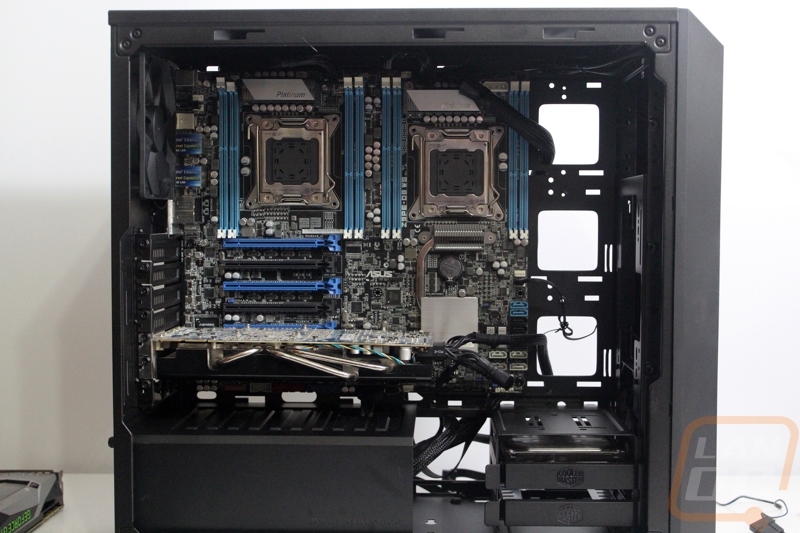
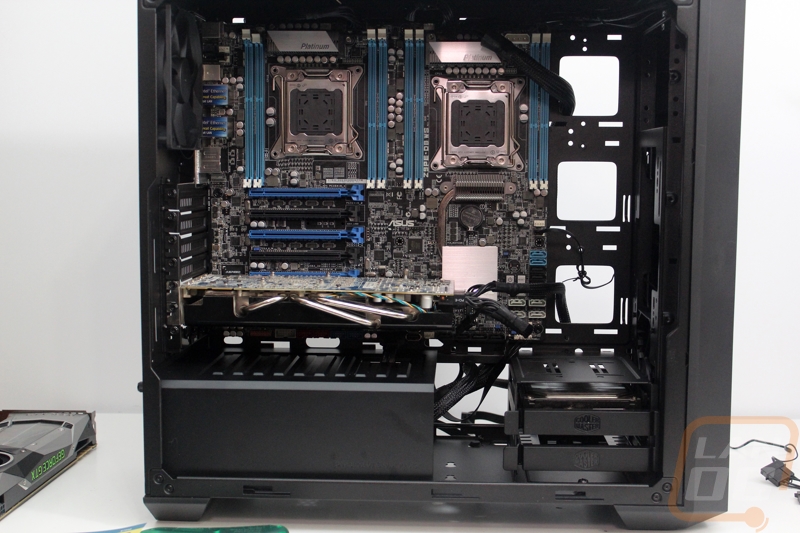
Speaking of installing a high-end PC inside. Once I was done testing the Masterbox 5 I wanted to see if our Asus Z9PE-D8 WS would fit inside. If you don’t know what the case is, it is a large dual socket motherboard. I’ve been looking for a case that wasn’t a complete full tower or a server chassis to fit it in and the extra width of the Masterbox 5 caught my eye. Anyhow the EEB form factor is similar to E-ATX but a few of the mounting points are different because the second CPU socket is over top of the standard ATX mounts. After a little trial and error, I was able to get the motherboard to fit for the most part. I did have to remove a few standoffs and skip a few of the mounting holes that didn’t line up, but I did get the board installed in a way that I was comfortable with. Officially the Masterbox 5 doesn’t support EEB because they don’t have all of the mounting holes, but it is workable. Cooler Master could actually give it full support just by including a few more mounting points for their standoffs, most of the missing locations were over top of structure.