Inside
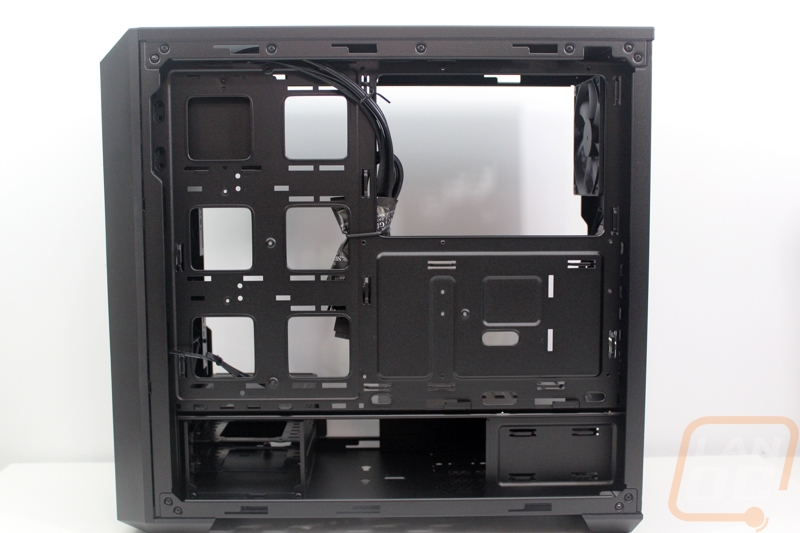
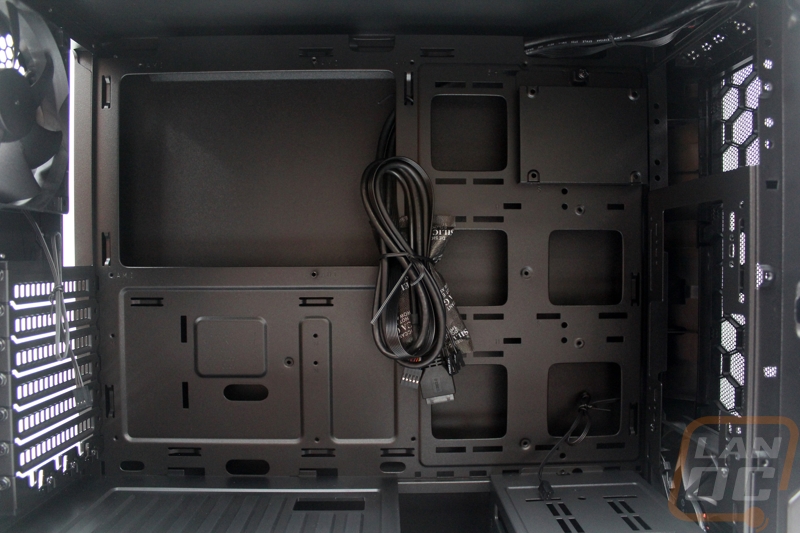
At first glance, the inside of the Masterbox 5 isn’t really all that different from any other case on the market. But a quick look through the product page clues us into what Cooler Master is talking about when they talk about all of the customization. Specifically, the SSD mount, hard drive cage, and radiator mount can all be moved around to fit your build. The entire interior of the Masterbox 5 is powder coated a semi-gloss black that matches the rest of the case, continuing that murdered out look.
The Masterbox 5 supports from ITX to Extended ATX motherboards and from the looks of it no matter how big or small you are going to have access for wiring with the 6 holes over on the right. There is also the extremely large access hole to get at the back of a CPU to install a cooler. Normally the holes aren’t any larger than an ITX motherboard but Cooler Master didn’t let that limitation stop them when going about three inches wider. The six holes over on the right side don’t have any grommets though like the Mastercase 5 had, so we can expect there to be a little extra work keeping some wiring from being visible.

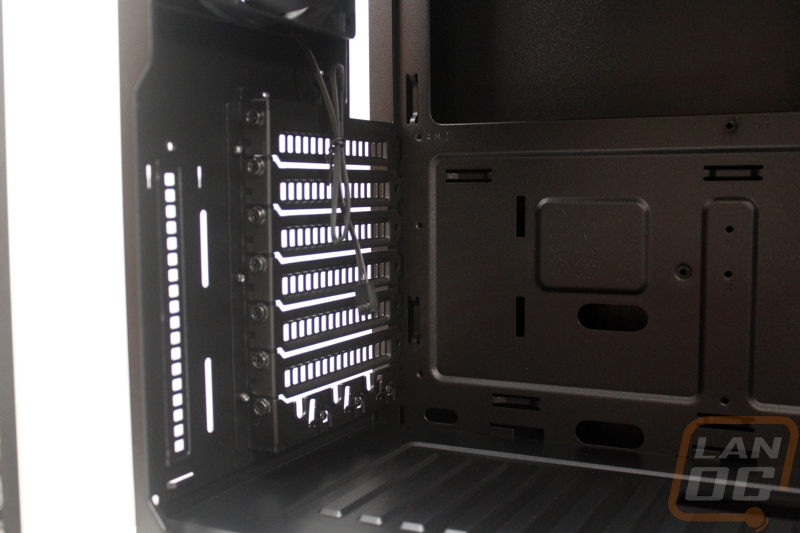
To go with the full e-ATX support they also included 7 PCI slots. Each bracket has wide venting with the exception of the last one. That last one is the stormguard bracket, you wrap your peripherals around it and reinstall it to make it harder for someone to walk off with your keyboard or mouse.
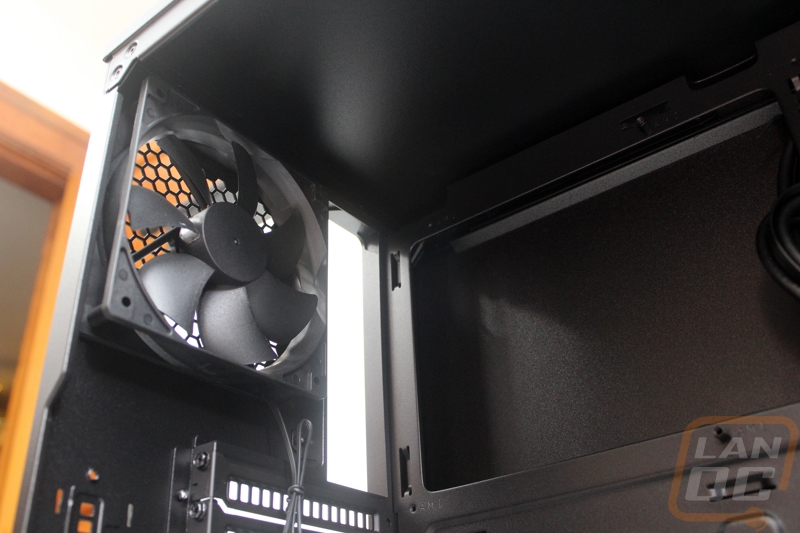
Just above the rear, I/O hole is a basic 120mm exhaust fan. There aren’t any labels visible to show us what fan this is, but I can say for sure it has no lighting and doesn’t have anything special going on. It is however completely blacked out and has a black cord and connector, seeing a pattern here?
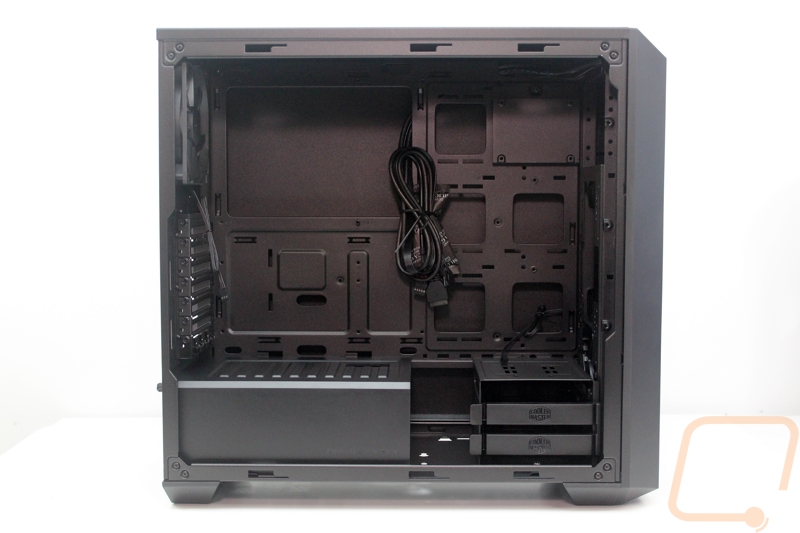
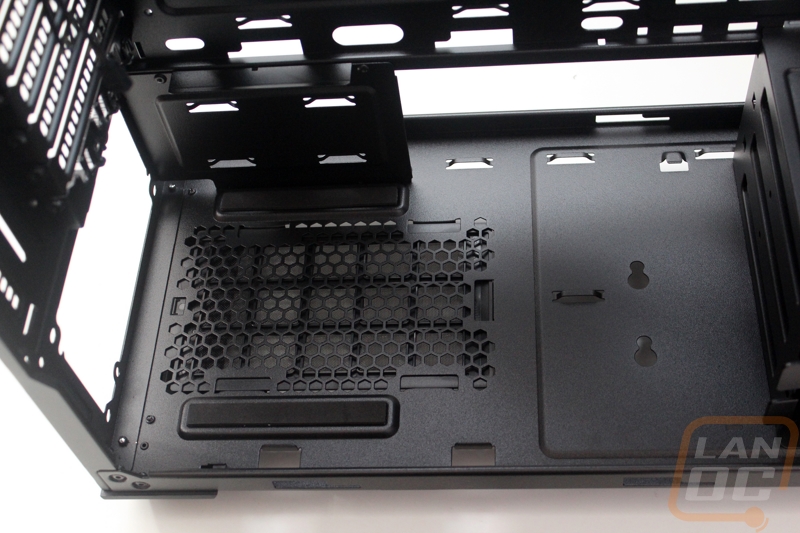
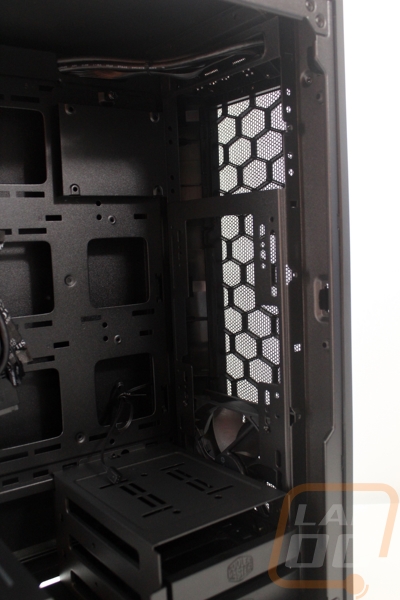
I think one of the best features of the Masterbox is the simple plastic cage that they include to go around your power supply and power supply cables. The box is held in with just one thumb screw and is easy to remove. It has one hole in it to route cables up and out of if needed and it makes having clean wiring much easier. With it removed we can see the two rubber pads that the power supply sits on as well as the bottom vent for the intake fan on your PSU.

So the Masterbox 5 comes with a relatively small hard drive cage that holds two 3.5 inch drives but it is very unique. The drive cage is mounted in with a thumbscrew and it can be moved around. You can move it to the left two spots with the farthest mount being up against the power supply cover in the photo. The two drives mount into the toolless plastic trays that Cooler Master has been using for years. They use pins mounted on rubber mounts to secure your drives and the reason they haven’t changed the design in such a long time is because it works perfectly.
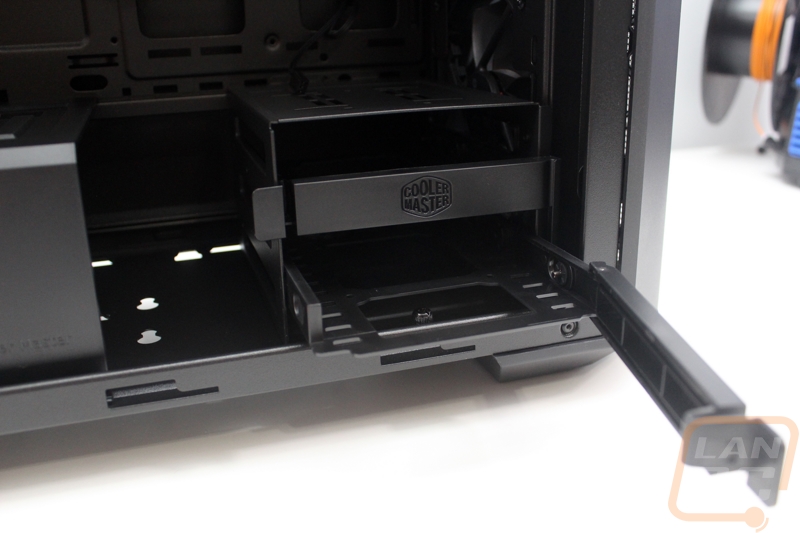
For the SSD mount, it is also flexible in where it can be mounted. The drive cage could only be moved to three positions but the SDD mount can be used in 5. You can mount it in the three visible locations down the front of the case, to the top of the hard drive cage, or you can remove the drive cage and mount it there. I don’t see any additional drive mounts for sale, but I’m hoping Cooler Master sells more in the future because having three or four SSDs installed up the front of the Masterbox 5 would look really good.
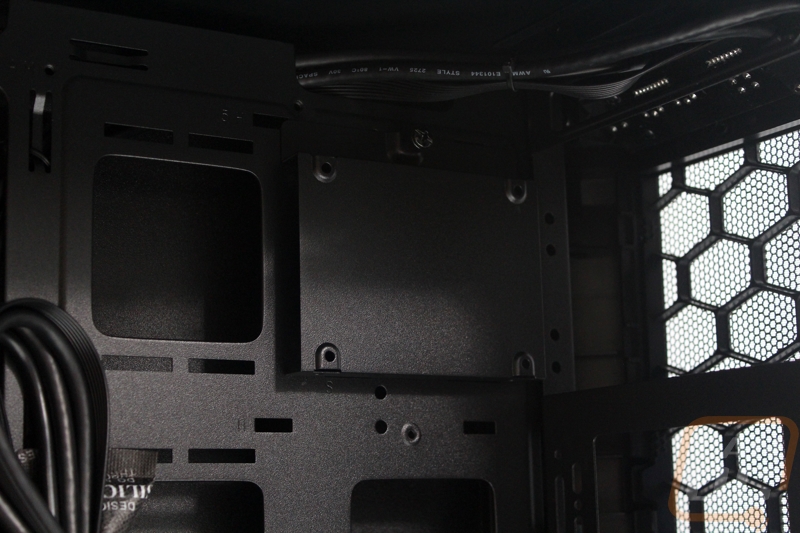
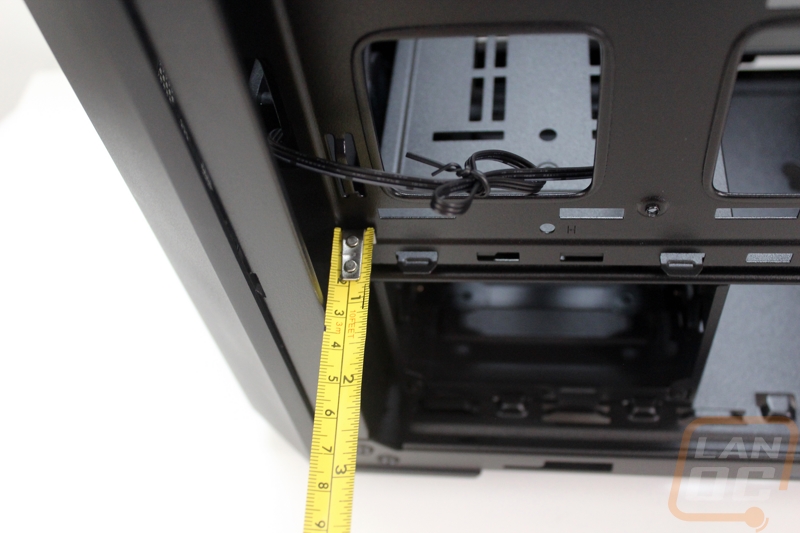
From the back, we can get a much better idea of how much room you actually have for wiring in the Masterbox 5. Both of the 3.5-inch drive bays down at the bottom face towards the back so wiring up hard drives will be simple. There is also a big space between that hard drive cage and the power supply mount for all of the wiring to go up the back of the case. Really though for wiring the most important thing is to actually have room behind the motherboard tray and from looking at the back of the Masterbox 5 I already had a clue that there would be room. With the back panel off I was able to get a closer look and frankly I was blown away at home much room there was. You get a full inch of space so even if you half ass your wiring I will be willing to bet you don’t have to worry too much about trying to keep the wiring tight and up against the back of the motherboard try to get the side panel on.