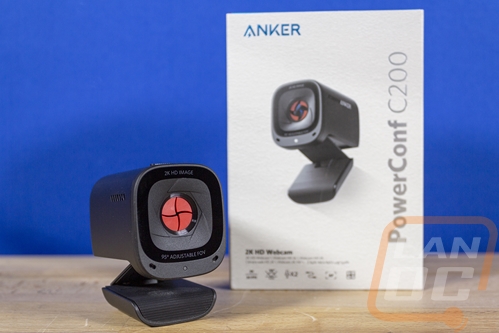
For many years when it came to webcams Logitech was nearly the only name you needed to worry about. Their C910 and later the C920 were the go-to option, but after that webcam innovation went stagnant. But with streaming growing in popularity and even more recently working from home due to the pandemic the need to have great quality desktop camera options have come into play again and a lot of companies have jumped into the game to spice things up. Anker, a popular name when it comes to charging options got into the webcam market last year and earlier this year they introduced their PowerConf C200 Webcam which has a 2k or 1440p resolution, a smaller size than their original 2k camera, and a lower price. I’m going to check out the C200 today to see how it performs and find out how it compares to the rest of the market.
Product Name: Anker PowerConf C200 Webcam
Review Sample Provided by: Anker
Written by: Wes Compton
Amazon Affiliate Link: HERE
|
Specifications |
|
|
Input |
5V 1 A |
|
Resolution |
2K@30fps; 1080P@30fps; 720P@30fps; 320×240@30fps |
|
Field of View (FOV) |
65°, 78°, 95° |
|
Focus Type |
Automatic focus |
|
Sensor |
5 MP CMOS (1 / 2.7 in.) |
|
Focus Distance |
15 cm to 3 m |
|
Maximum Video Frame Rate |
2K video capture @ 30fps |
|
Video Codec |
MJPEG, YUV |
|
Supported Operating Systems or Software |
Windows® 7 or later; macOS® 10.11 or later; Skype for Business; Zoom; Google Meet; BlueJeans; Cisco Webex; WeChat; Microsoft Teams; FaceTime; YouTube; XSplit; OBS; Twitch; Facebook Messenger; Twitter; Mixer |
|
Microphone |
Dual stereo microphones |
|
Voice Algorithm |
AGC (Auto Gain Control), ANC (Auto Noise Cancellation) |
|
Voice Pickup Distance |
3 m |
|
Privacy Cover |
Built-in |
|
Warranty |
18 months |
Packaging
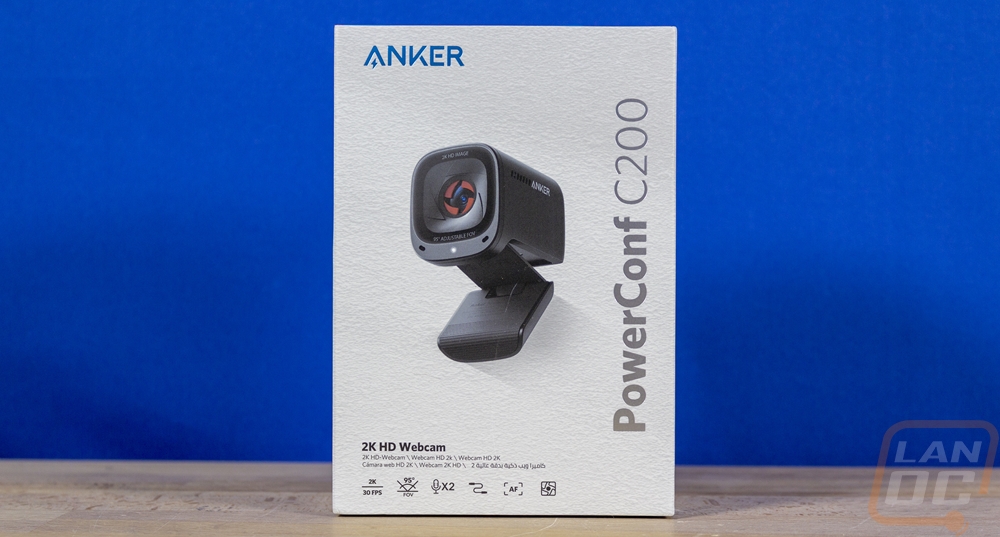
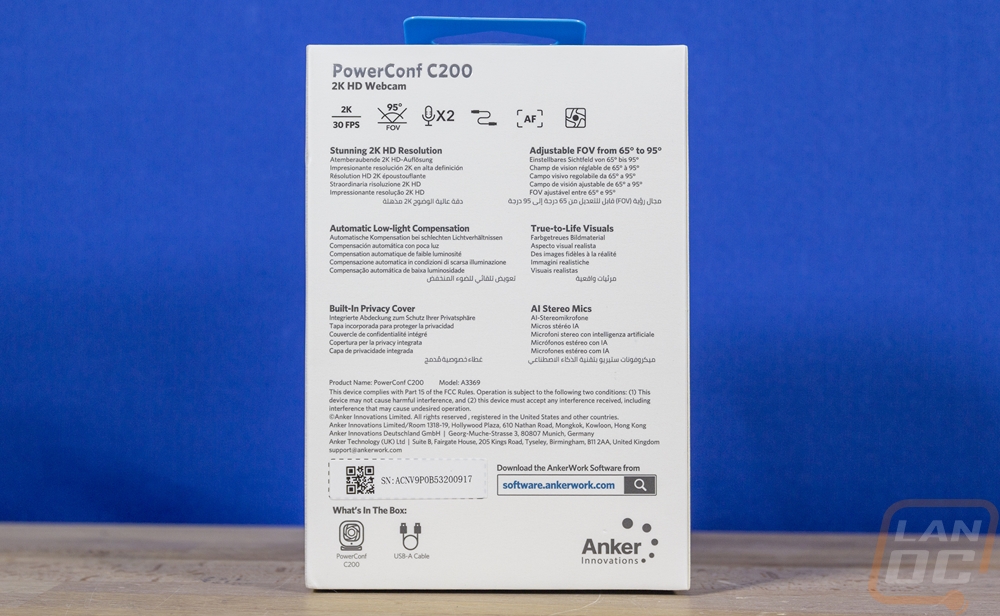
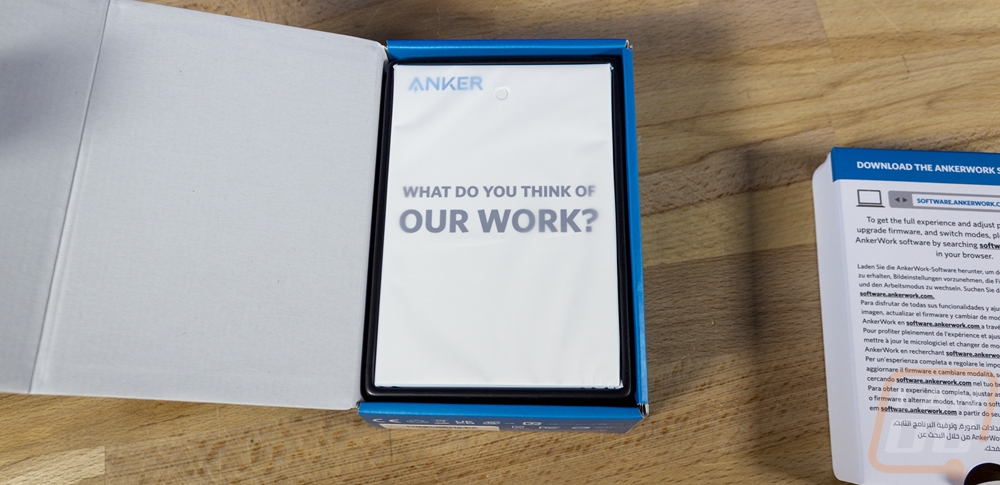
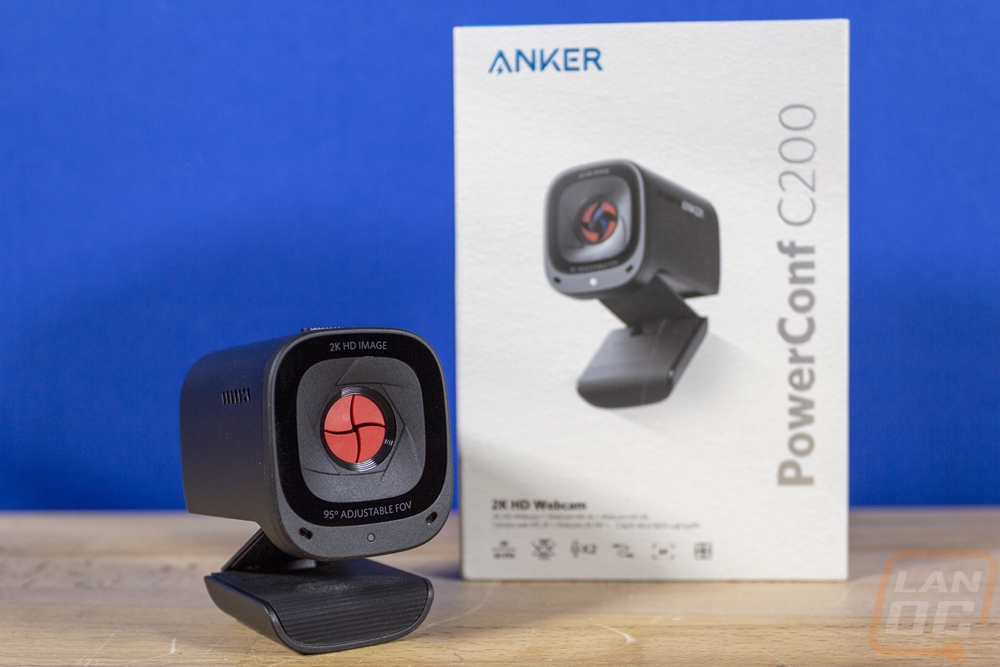
The box for the Anker PowerConf C200 has a white background with a texture printed on the white that makes it look like card stock or recycled paper. Anker has a large picture of the PowerConf C200 right in the middle which I love. So many products don’t have a picture of what is inside at all. Then next to that the PowerConf C200 model name runs up the side. Down at the bottom is a description letting you know this is a 2K HD Webcam which is repeated in multiple languages then below that they have a few icons that help show you a few of the features. The back of the box has those same features written out again in multiple languages then down at the bottom they let you know what all comes in the box, where to get the software, and the serial number for the camera.
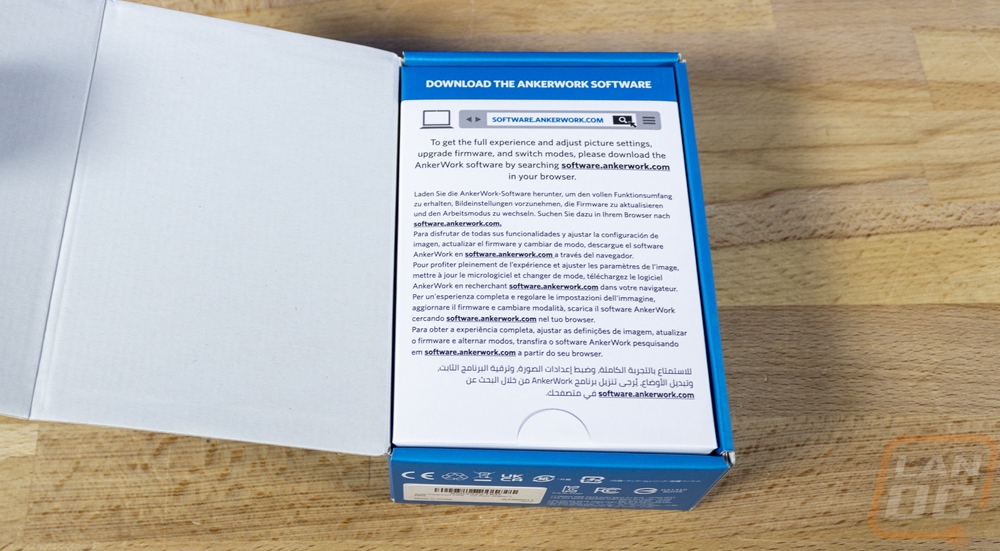
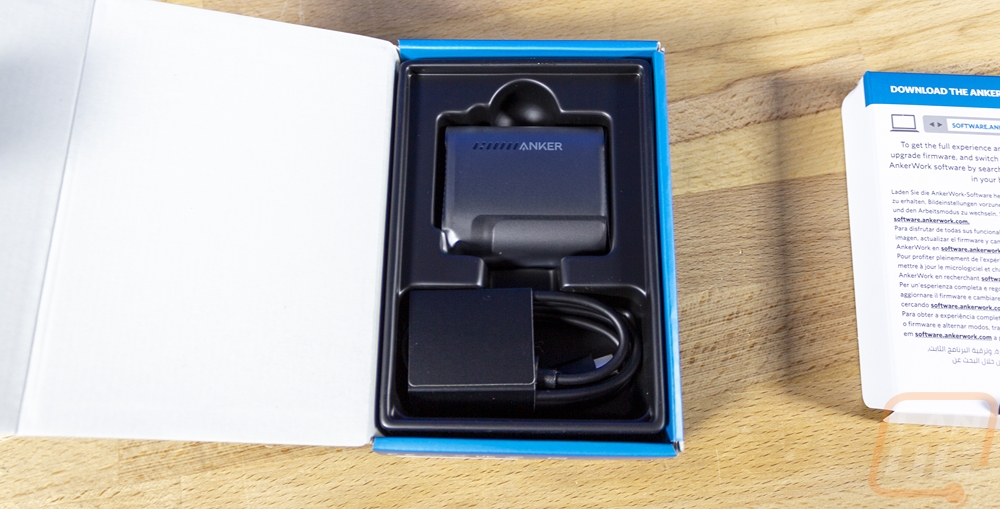
The box has a sleeve on the outside, after you pull the main box out and open it up right on top they have a full page with instructions on how to download the software across multiple languages. Once you get past that under that panel Anker has all of the documentation in one of those soft plastic bags sitting on top. Under that is a plastic tray formed to fit around the camera which also has a plastic cover around it. Under that, the included USB cable has a cardboard strap around it, and then it is wrapped up in its own compartment as well.
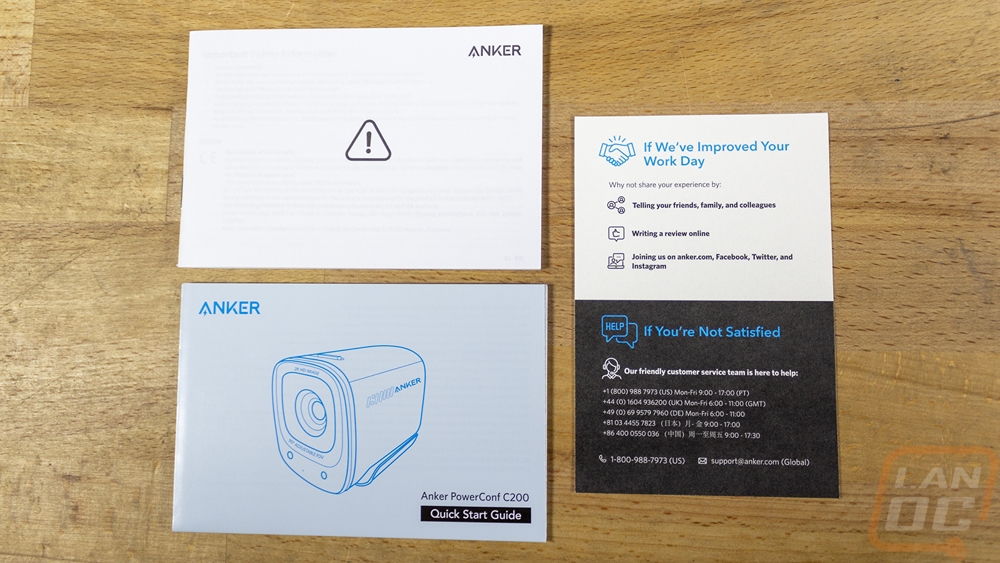
For documentation, the PowerConf C200 comes with a quick start guide and a warranty book. You also get a card with contact information to let Anker know if you have any issues or they encourage you to put up a review online or tell your friends about the C200.
Photos and Features
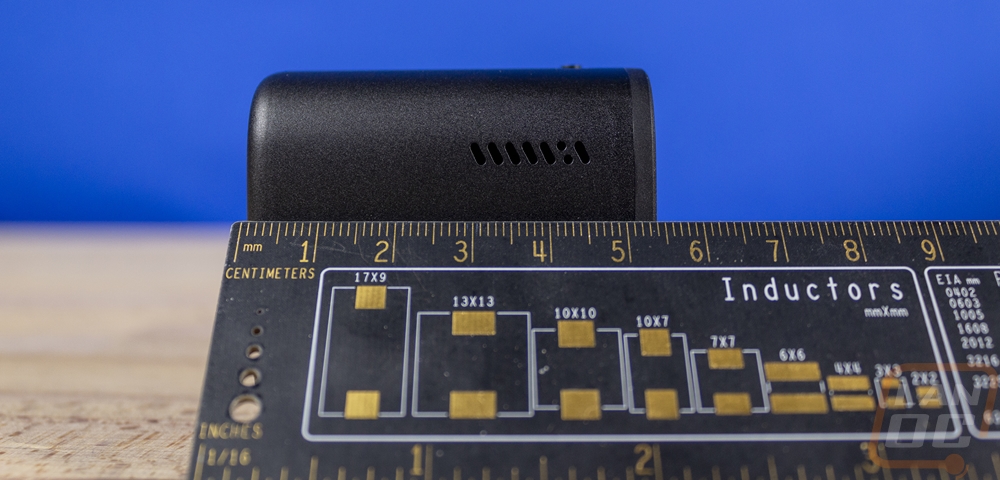
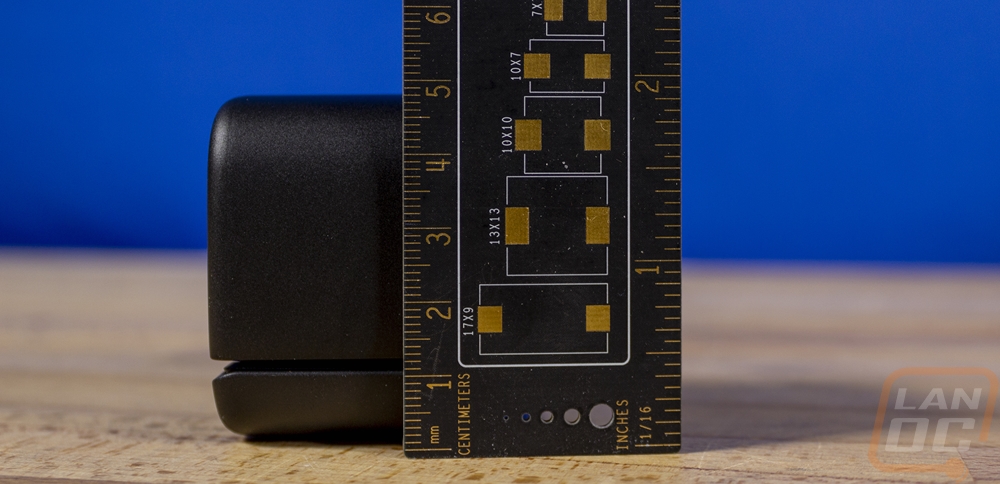
The design of the PowerConf C200 reminds me a lot of the pre-GoPro action cams. It has a relatively small footprint when looking at it from the front and then fills out the space in its depth. It is 54mm in its depth and just 39mm wide. Then for height, it is 49mm tall but the front of the camera is closer to 44mm. Anker went with a flat black plastic for its overall finish which is going to match well with most non-apple desktop monitors but on the front, it does have gloss black around the lens.
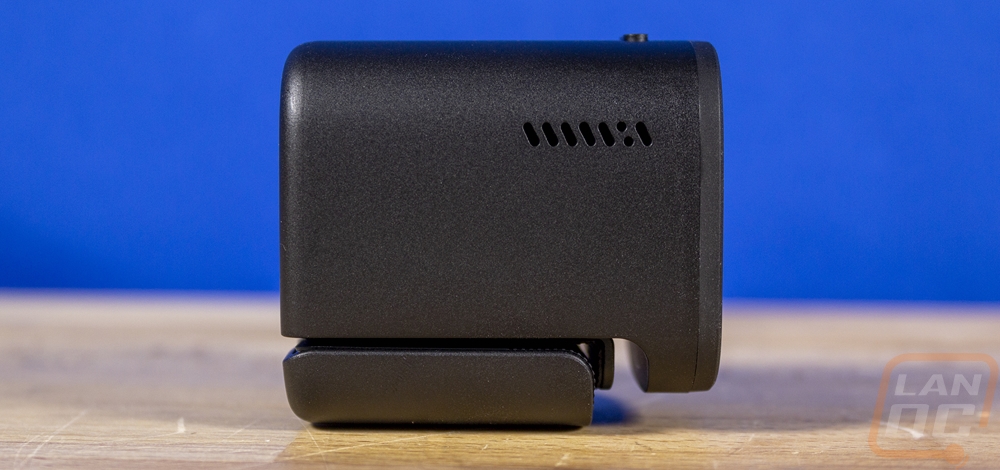
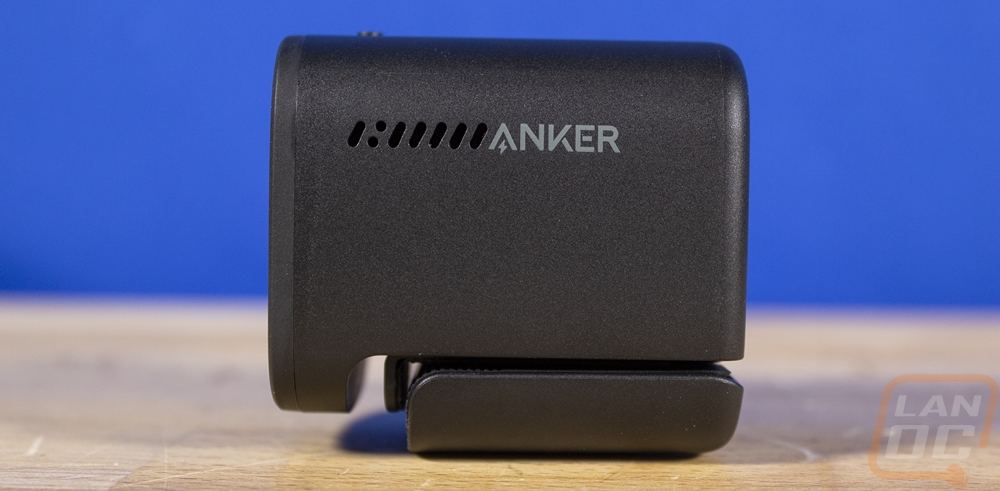
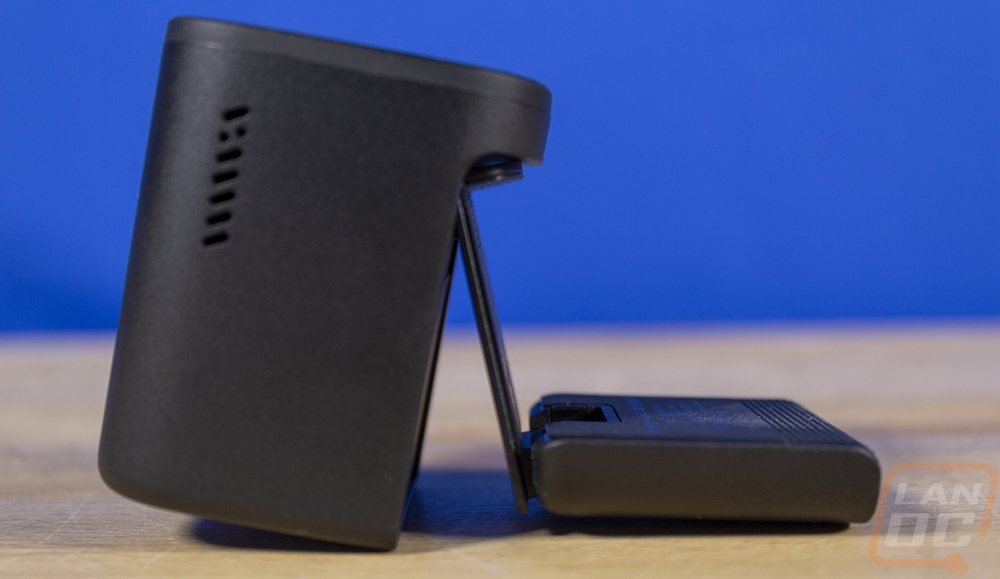
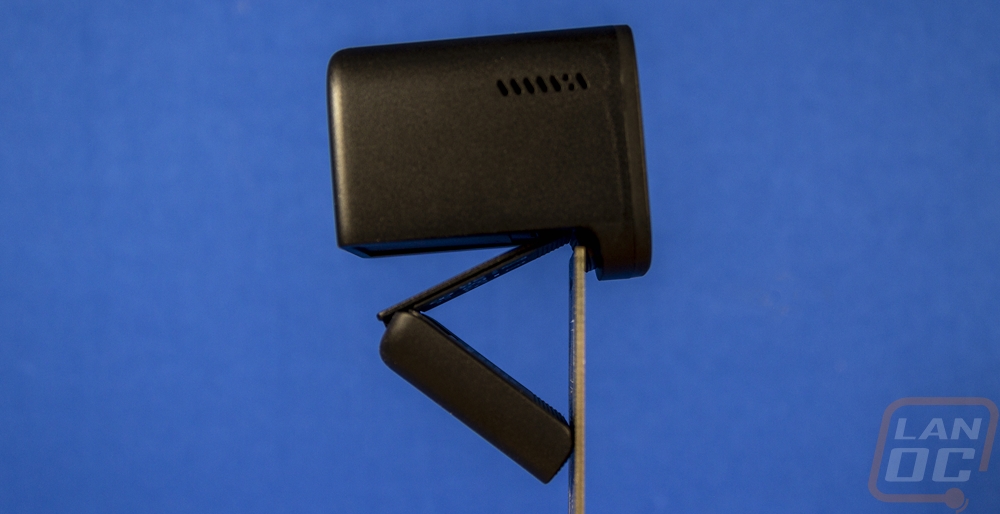
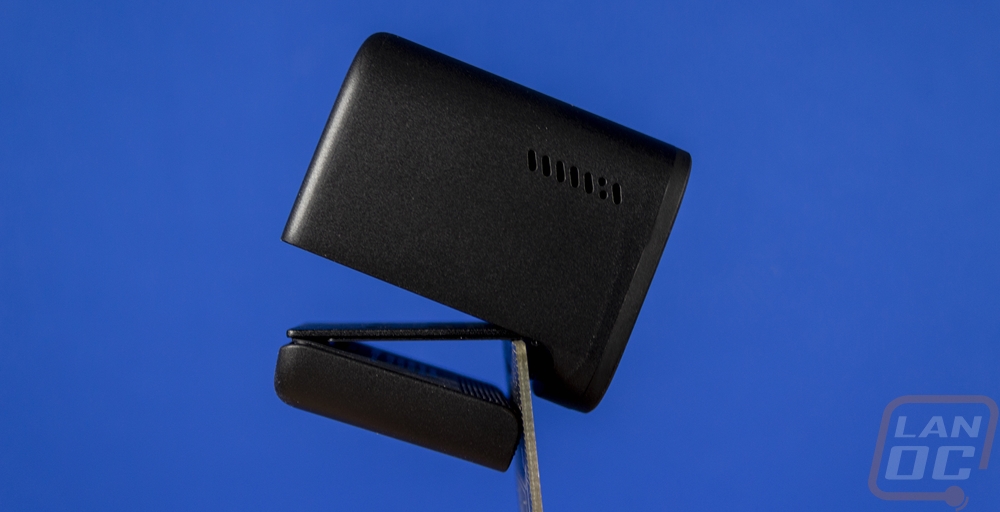
The side view of the PowerConf C200 gives us a much better idea on how its mounting works. The camera housing is lower on the front to give an overhang and then the mount flips out from the bottom or like in these pictures it can sit flat. Both sides of the PowerConf C200 have a series of slots in it which I assume are for the active noise cancellation on the stereo microphones. Then on the right side behind the holes, they do have the Anker logo.
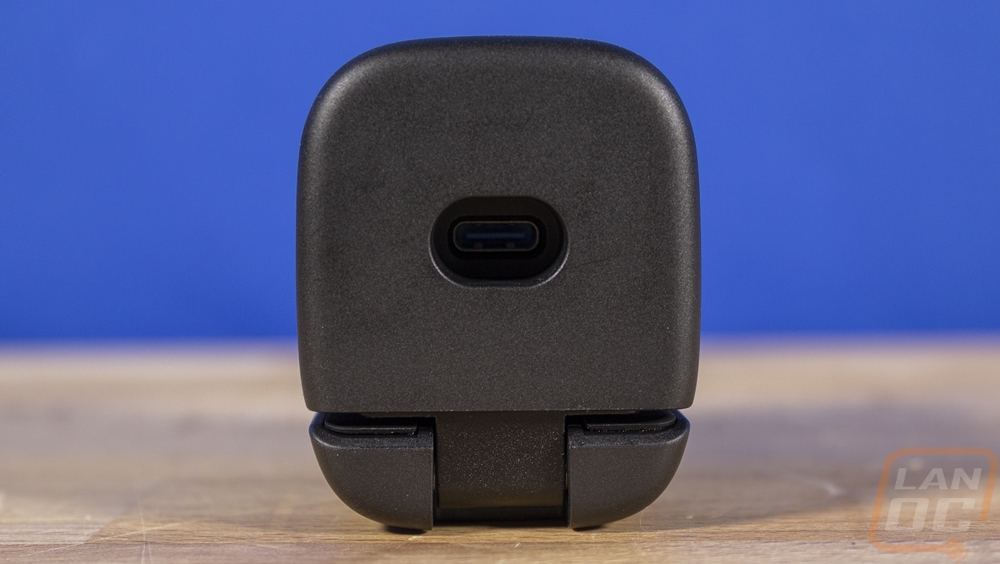
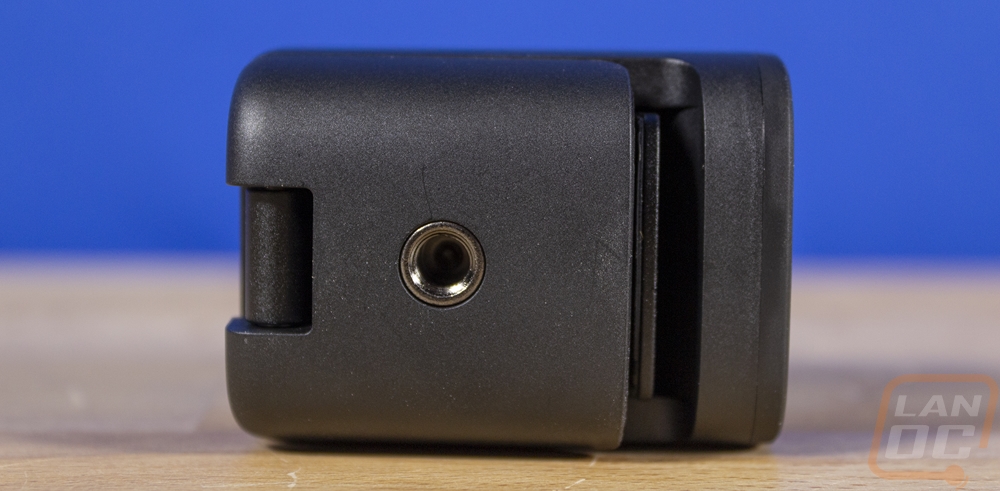
The back of the PowerConf C200 has just one thing going on, right in the center they have a recessed USB Type-C port for the detachable cord. In the past, I have had issues with the cord on webcams failing, especially if you move them around a lot so a detachable cord for the PowerConf C200 means that if you have issues you can replace it and Type-C is a standard connection so finding another cord won’t be a problem.
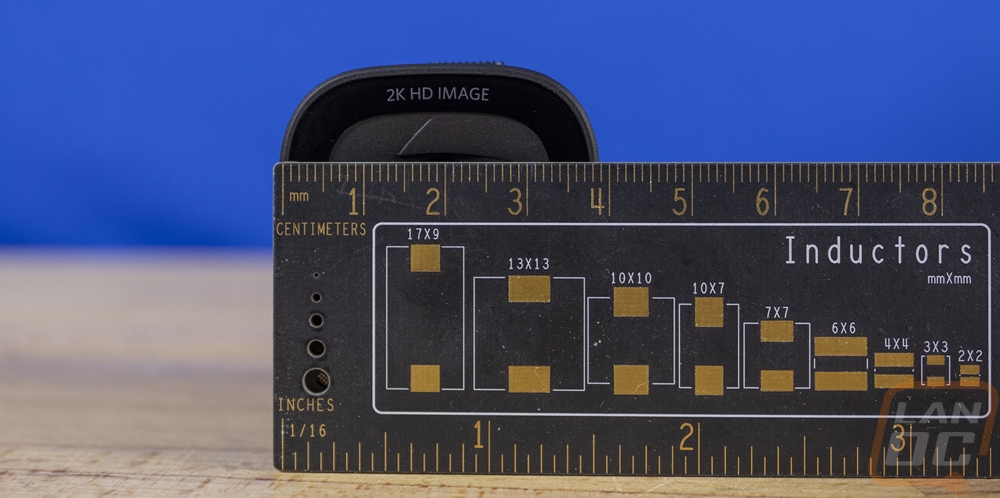
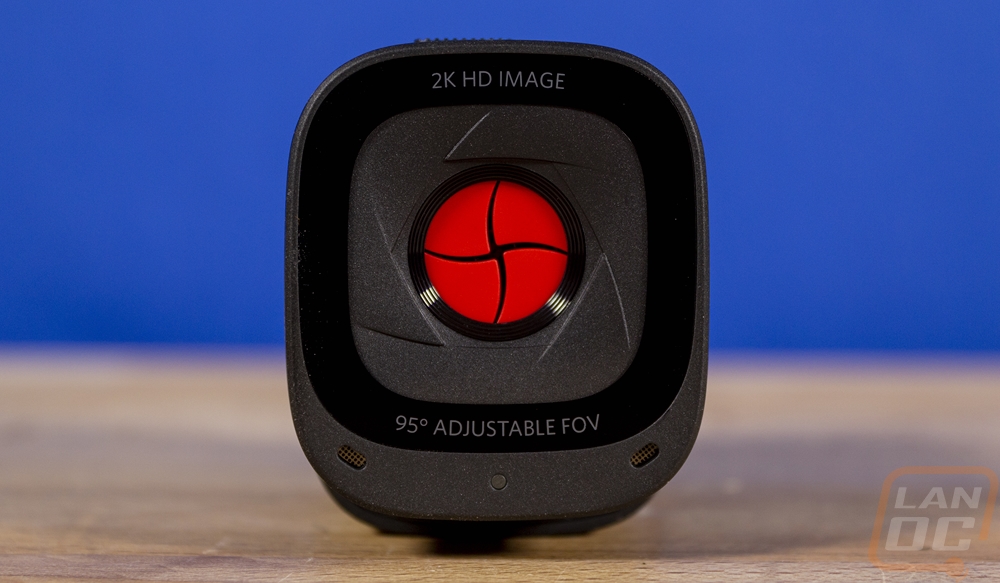
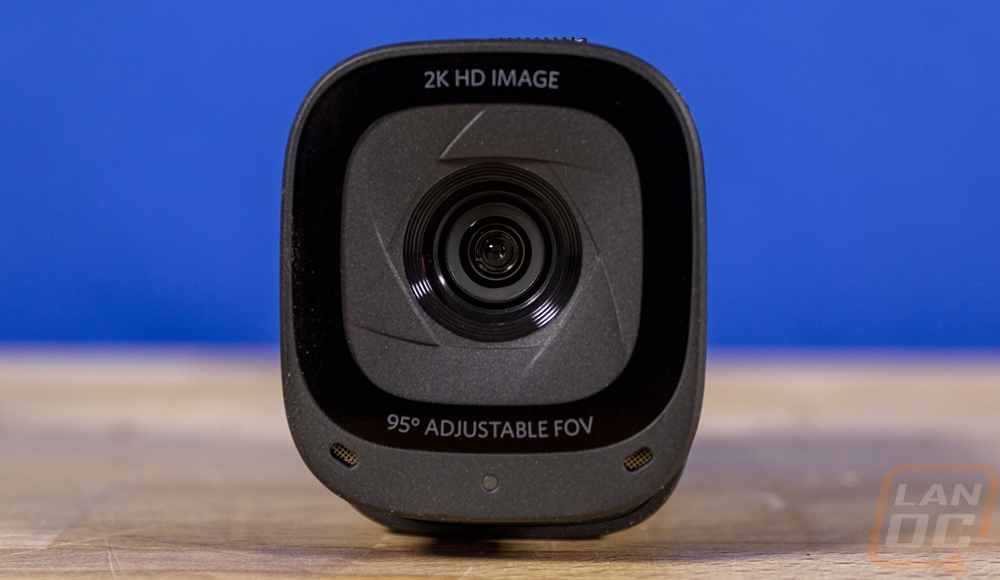
The front of the PowerConf C200 is where the magic happens as they say. Everything is centered around the lens in the center for the 5 MP CMOS 1 / 2.7 in. sensor. It has an adjustable field of view which is noted on the front of the C200 with it being capable of running at 65°, 78°, and 95°. The C200 has a focal range of as close as 15 cm to 3 meters away or in kings feet which is 5.9 inches to 9.8 feet. You won’t be able to shove something right up against the camera and get it to focus, but 6 inches away is perfectly fine and at 3 meters it should stay in focus even if backed away from the camera to show something. The C200 can run up to 2K or 1440p or if needed it can run at 1080p, 720p, and 320x240. It is limited to 30 FPS across all of those resolutions but considering its focus on business use this isn’t a surprise and most conference software like Zoom use 30 or 24 FPS. The PowerConf C200 has two microphone inputs on the bottom of the front for the dual stereo microphones and between those is a small white pinhole LED that lets you know when the camera is active. Beyond that, for privacy, the PowerConf C200 does also have a privacy guard that you can close and cover the camera lens. It is bright red to make it easier to see and uses an aperture design for opening and closing. Overtop of that there is a clear plastic cover to keep the lens clean and free from damage.
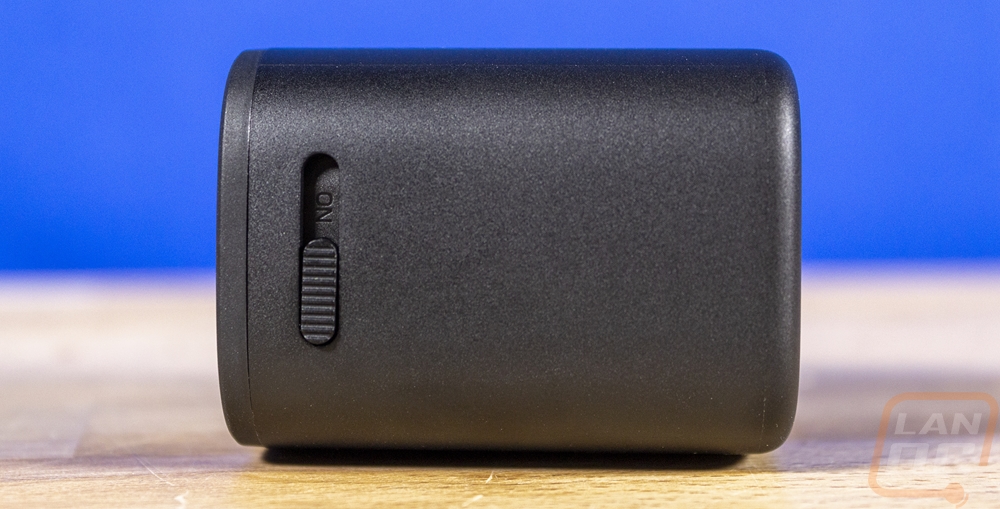
The top of the PowerConf C200 is where the privacy guard switch is located making it easy to reach. Closing the guard also turns the camera off as well.
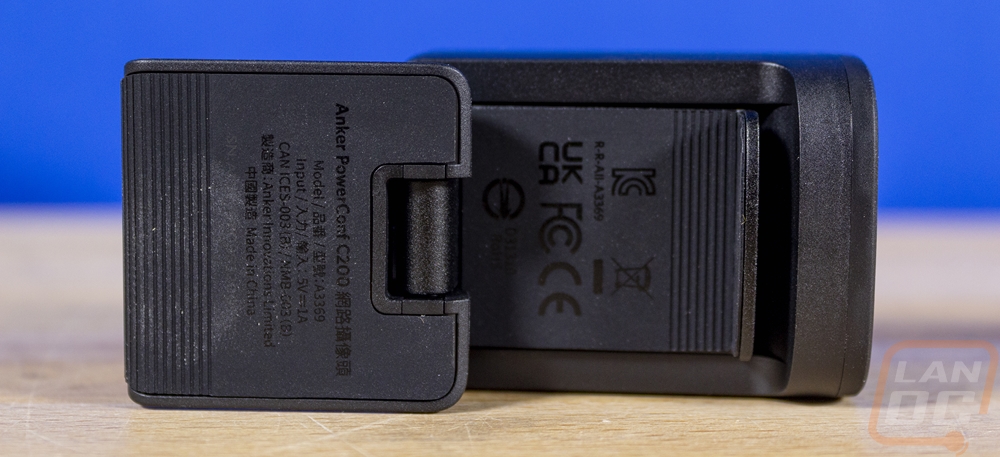
On the bottom, the PowerConf C200 has a standard camera mount as well if you would prefer to mount the camera on a stand or a desktop arm. Once you flip the mount out it has rubber on both sides. They also have used this space to hide all of the required logos and model information. The rubber mounts have grooves cut into them for additional traction in the two main contact spots. The idea with this mount is that the flap touches the back of your monitor or laptop screen and the hook on the underside of the camera hooks around the display. The part that touches the top of the monitor does have some adjustment as well to let you tilt the camera down if needed.
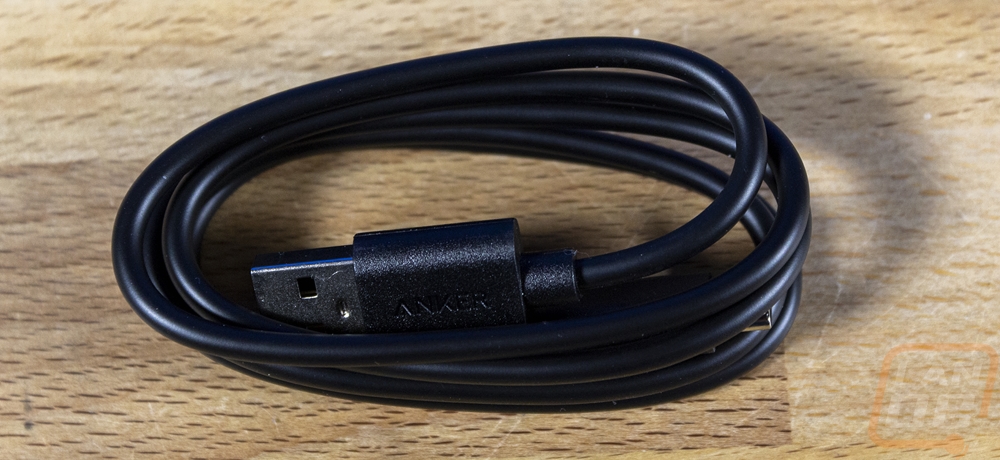
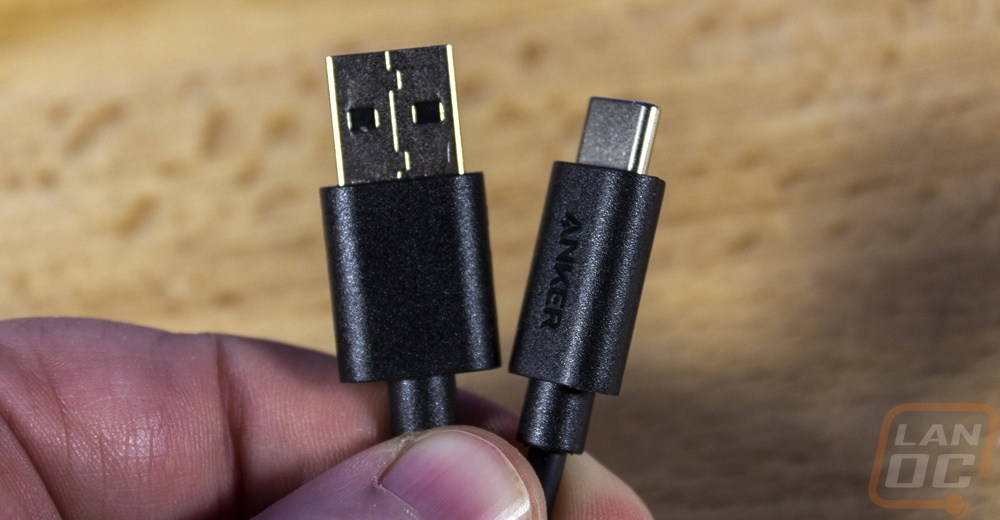
The included cord for the PowerConf C200 has USB Type-C on one end and the traditional USB Type-A on the other end for the most compatibility. You can swap this out for a type-C to type-C if needed as well. Then for the cord, it is 3 feet long which is surprisingly short for a desktop webcam but almost perfect for laptop use.
Performance
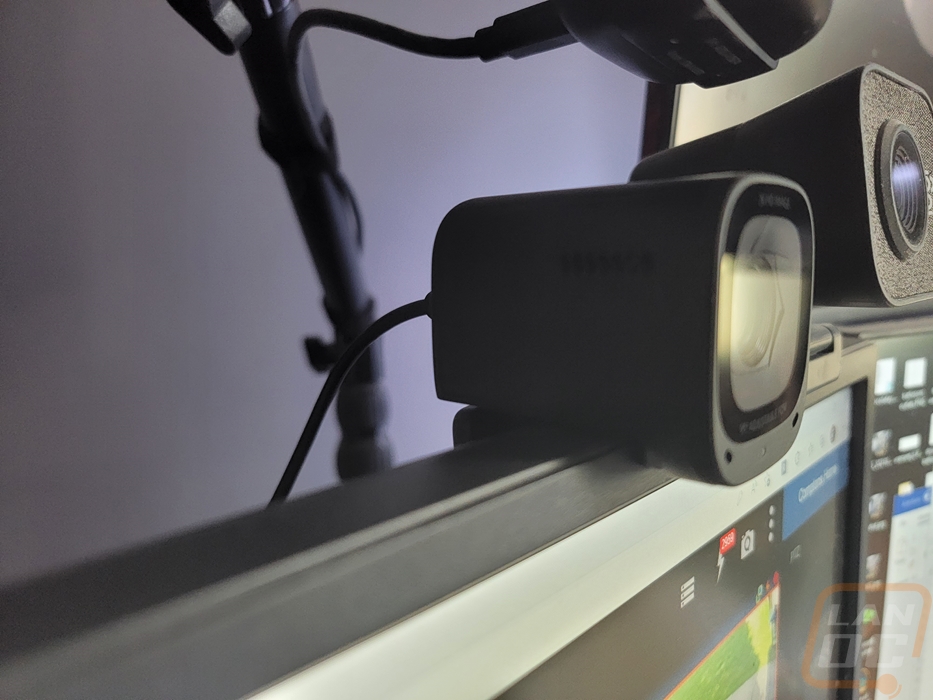
For a better idea on how the mount for the PowerConf C200 works I did get a few examples. The mount is designed for a thicker desktop monitor but the back flap can adjust to any thickness, even the thin PCB that I used here. The extra adjustment can then be used to tilt the camera down like in the second picture but if you use the mount like in the first picture you can also adjust it up if you are using a laptop and are sitting up over it.
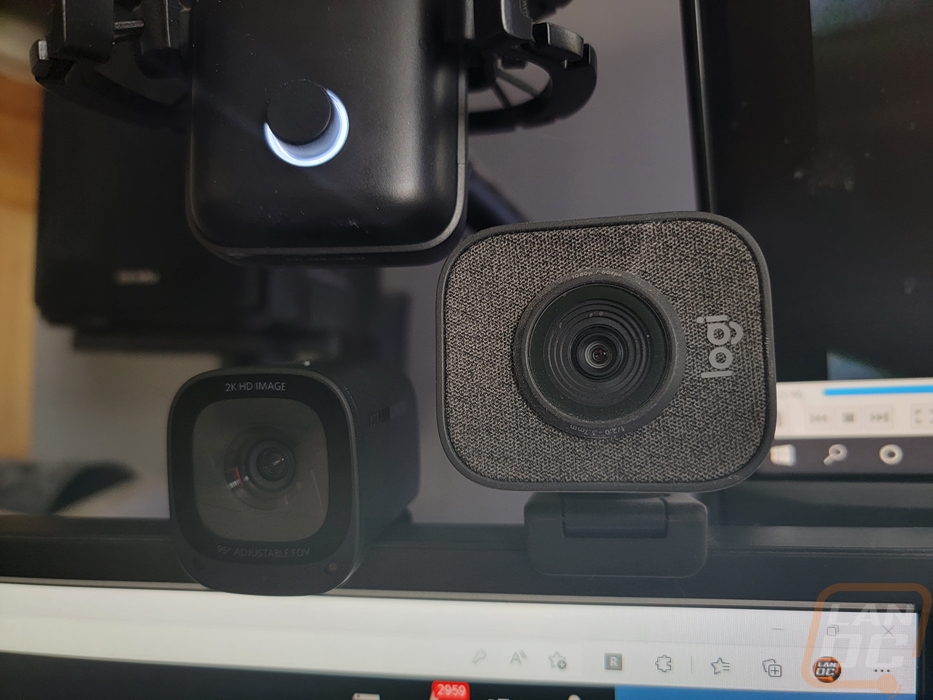
Here is a look at the PowerConf C200 installed on an actual monitor as well, the flat top of the monitor helps give the design even more stability. This also shows its size when compared to the always popular Logitech StreamCam which has a similar depth but is a lot wider on the front.
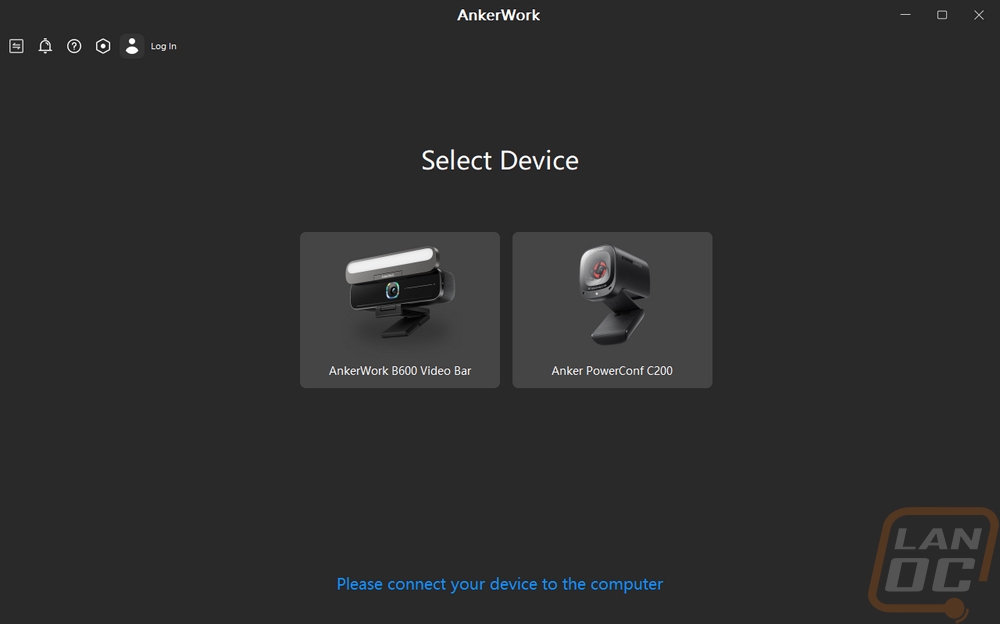
The next part of the performance for the PowerConf C200 is getting its software set up. When you get the AnkerWork software installed it will pick up any of your supported devices. You can see below that both the PowerConf C200 and the B600 both were picked up. From there you can click on the device you want to set up. The software-specific settings page doesn’t have too much going on. You can of course select your language. Beyond that, you can factory reset everything or change where any media files are saved at. The rest is mostly pages of legal info from the copyright information, the terms of use page, and the privacy policy. You can also see your software version here and click on that to check for an update.

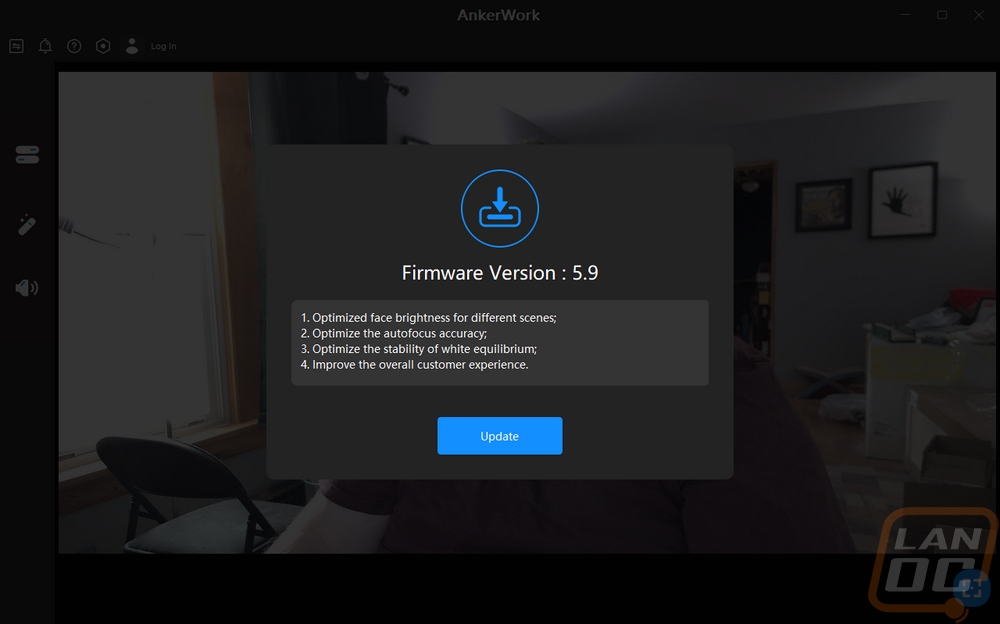
When you first open things up it will check to make sure the firmware on your device is up to date. The C200 had an update available when I first set things up and as I write this there was another as well. I like that AnkerWork does list out their change logs when you get the updates. Not enough companies do this and at least for me, it is nice to know what is getting fixed before updating.
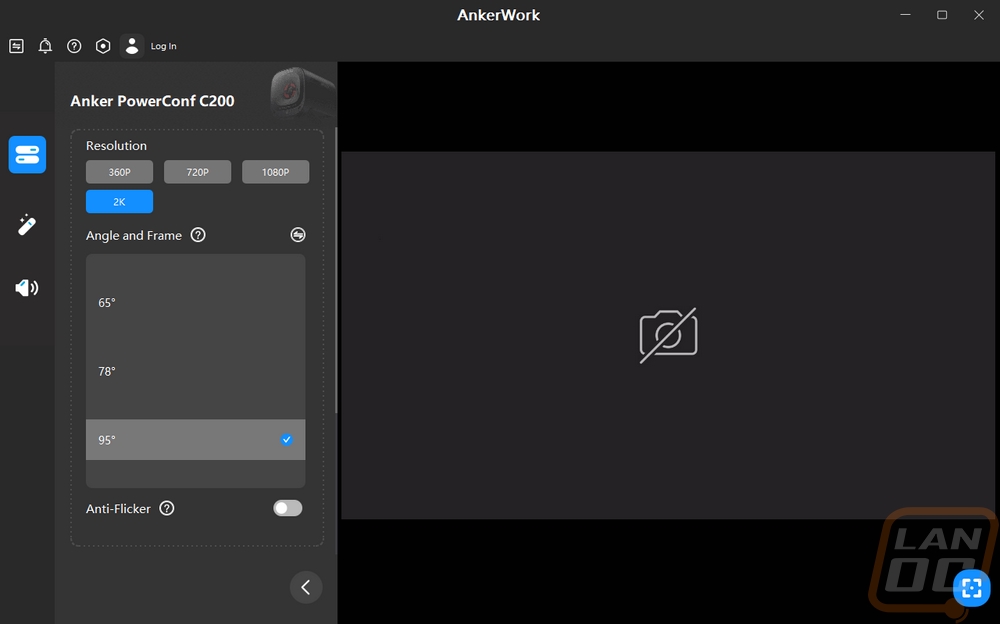
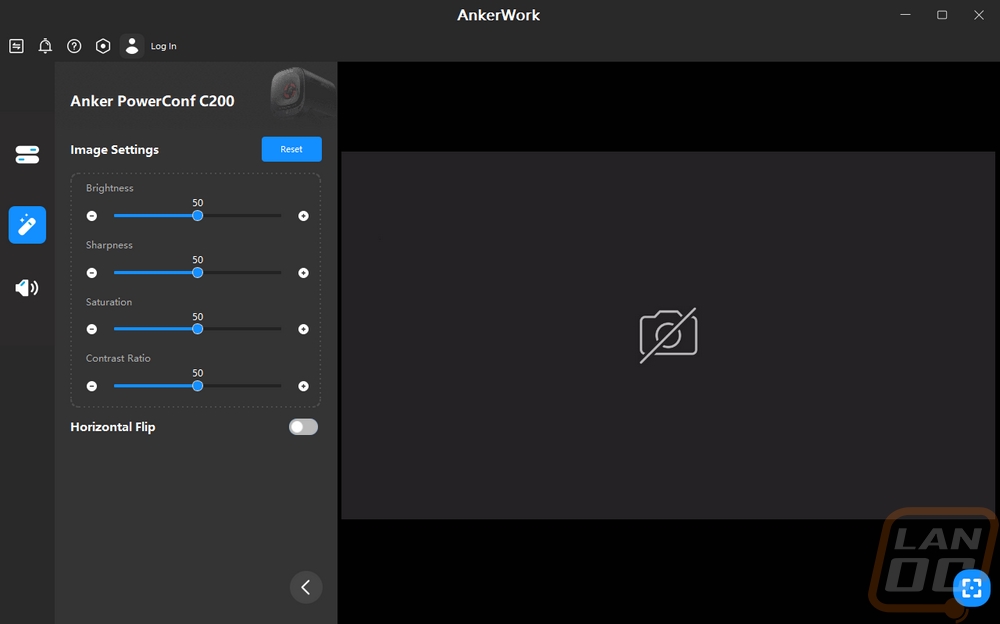
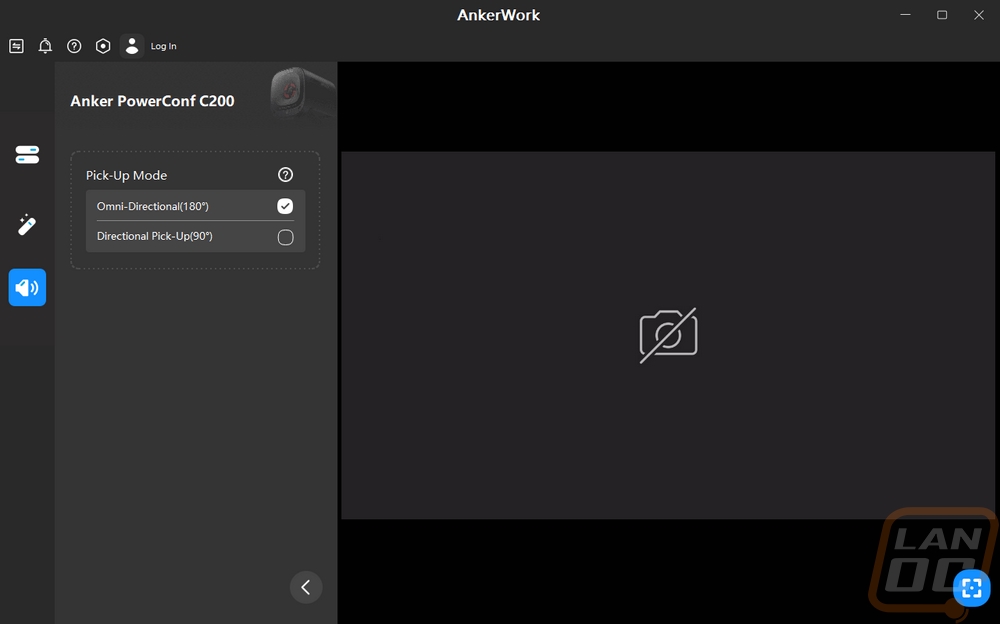
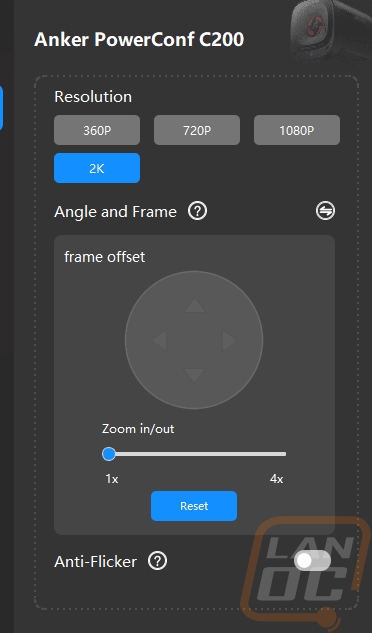
The software when you open it up for the PowerConf C200 displays your current view from the C200 or if you have the privacy guard closed you just get this no picture screen. On the left, there are three tabs that can open up. These are the three settings pages and when you click on them it opens up a 1/3 page menu where you can still see the camera output as you make changes. The top menu is the main display settings. Here you can pick from the four resolution outputs and the adjustable field of view options as well. The field of view options can also be changed to angle and frame which lets you zoom in and out and then move around rather than how the FOV settings by default just zoom into the center. Then at the bottom, you can turn anti-flicker on and off which just changes the Hz between 60Hz and 50Hz for compatibility with some lighting. The magic icon is for the image settings options. You have four bars to adjust settings for the brightness, sharpness, saturation, and contrast. You also have an option to horizontal flip the image, I’m surprised that there isn’t also a vertical flip option as well on the chance anyone uses the screw mount on a boom and have it upside down. The last page is the audio settings page which has just one option. You can change the pick-up mode with settings for Omni-directional or directional for 180-degree to 90-degree pickup. The C200 gets these options by having two stereo microphones built in.
Here is a look at the status LED when the C200 is up and running. It isn’t a huge indicator but it is something and is similar in size to the StreamCam as well. Personally, I think using the privacy guard when not in use is the best practice here. Not only does its bright red better show you that the camera can’t work, but it also protects you even if you aren’t looking for any indicator.

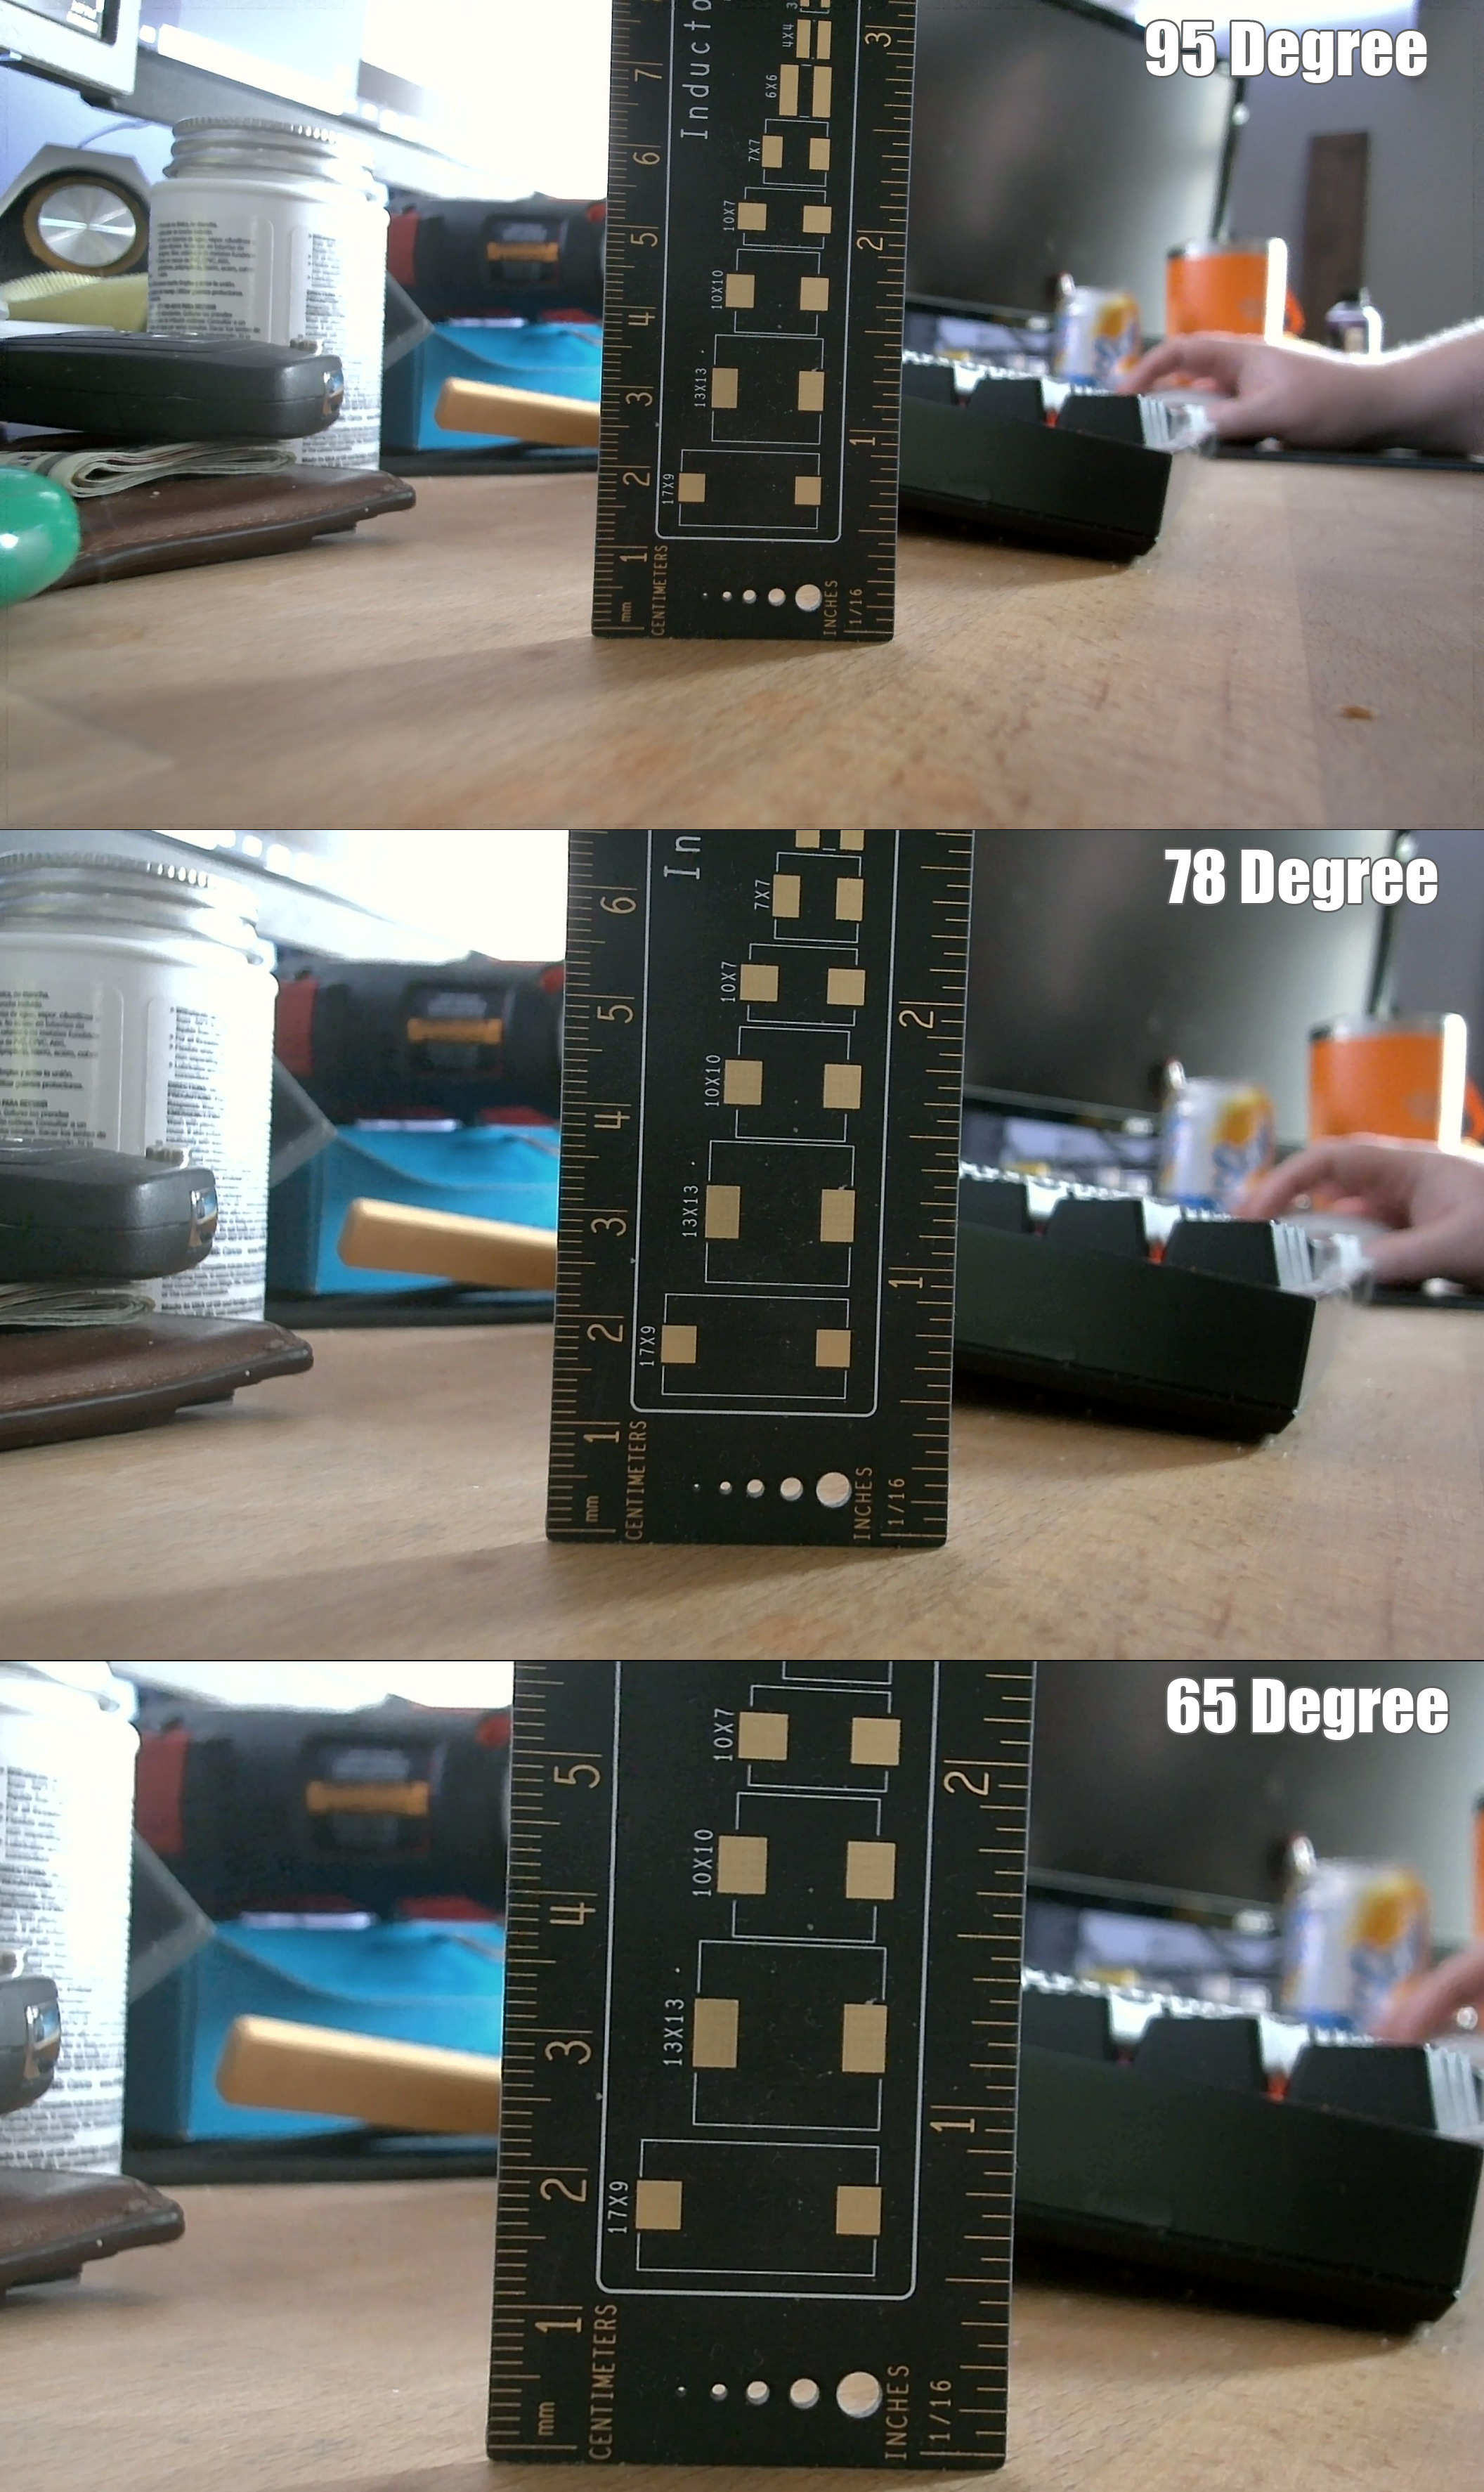
Starting with my testing I did some testing with the different field of view settings. As I mentioned before, using the default FOV settings will zoom in towards the center of the camera's view. If you need something different than that you can switch over and you then have the option to zoom in and move the zoomed-in spot around to focus on a smaller area which can be important if you aren’t trying to show too much of your background or in my case as a fat guy I can zoom in more to my face and not show as much belly.
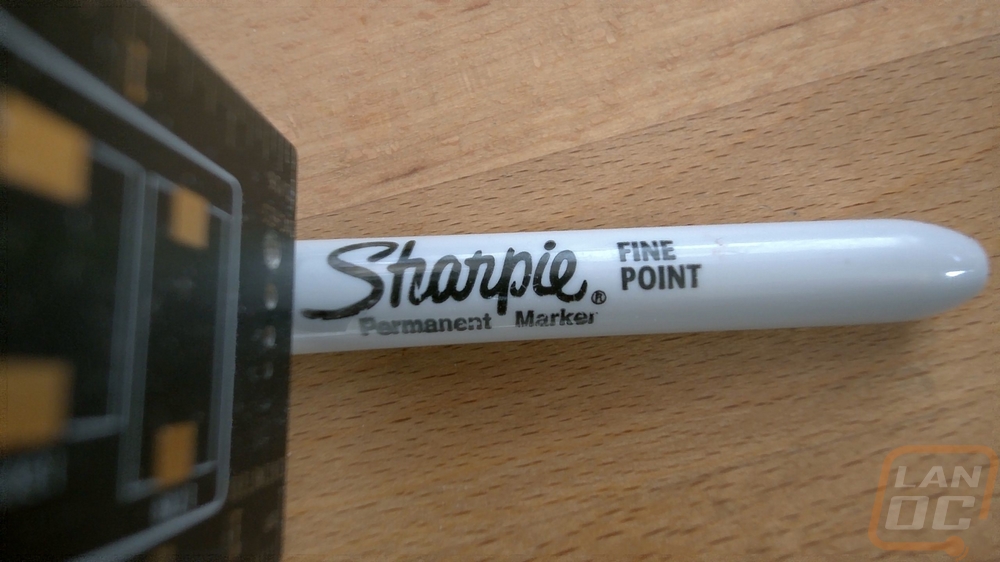
While the advertised focus range is 15cm to 3 meters. I found that the C200 could focus in closer than that at just 2 inches or around 5cm.
 Using the default
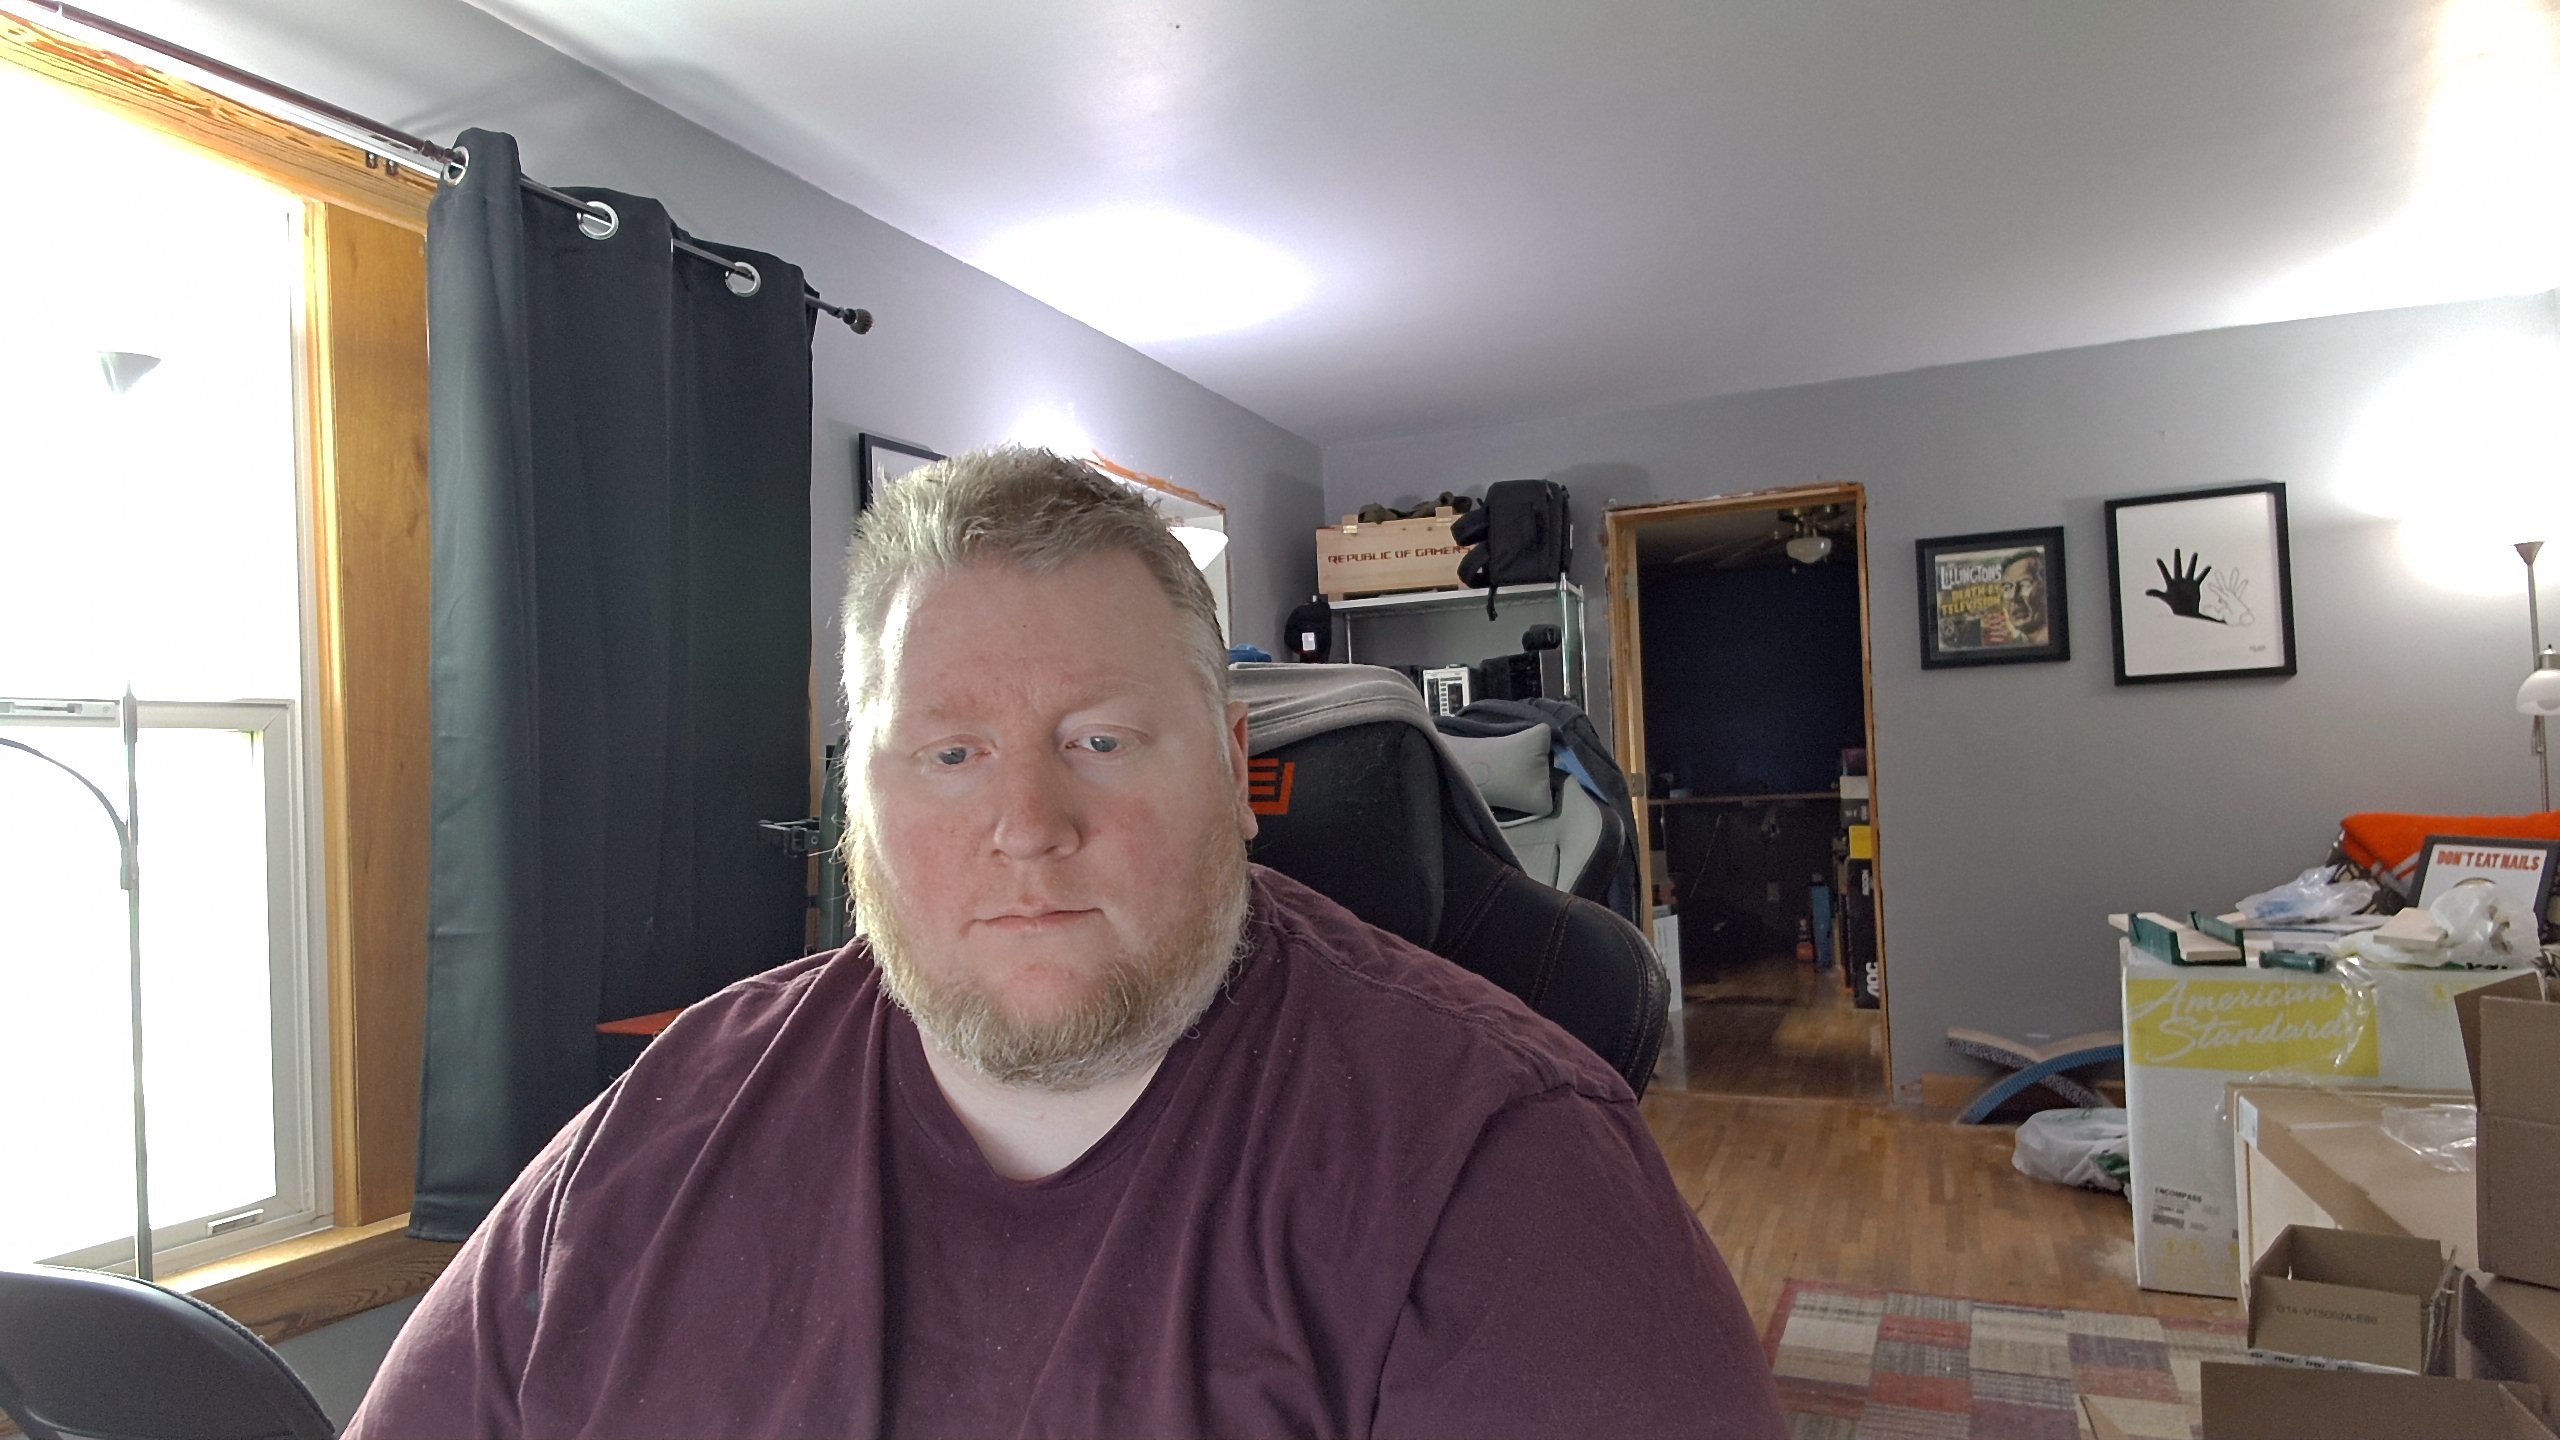
FOV I was curious how the C200 would compare in photos to the Logitech StreamCam using the camera software built into Windows. The StreamCam is a 1080p camera where the C200 is 2k or 1440p and that shows right away in the two pictures which were taken at the same time. The StreamCam also has a tighter field of view by default as well which I do think that a lot of people if using the C200 on a desktop PC may want to use a tighter FOV as well. The wider FOV setting on the other hand is a lot more helpful when you are closer to the camera or if you are doing a presentation where you need that extra space.

I also did a comparison of the video output of the C200 and the StreamCam and the resolution difference was noticeable right away even with it being dropped back down to 1080p for the edit. The FOV set to the default 98 degrees also makes a big difference here as you can see. I’m happy that the C200 does have the option to drop things back down to a lower FOV where the StreamCam defaults to the tighter FOV from the start so with the C200 you have the option to be able to show more if you need to display a product or if you want to have a full body view without being across the room.
For audio testing, I compared the C200 and the StreamCam alongside our past microphone tests which include a variety of gaming headphone microphones, condenser microphones, the BRIO, and the mic array on the Sound Blaster X7. I was also able to test out the difference between the C200’s 90-degree audio pickup and the 180-degree pickup. Overall the PowerConf C200 has about what you would expect for a webcam for a microphone. It is enough to get the job done but it isn’t going to replace a good headphone or condenser microphone. The omnidirectional audio picked up more of the mechanical keyboard sounds. For comparison, I think the StreamCam sounded a little better in that it didn’t sound like I was in a hallway but it also picked up even more on the ambient sounds like the keyboard and mouse clicks.
Overall and Final Verdict
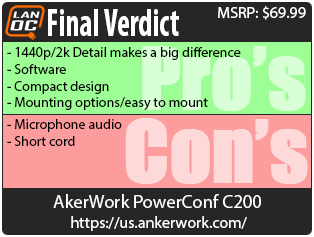
While not their first webcam design, the PowerConf C200 from AnkerWork hits a lot of the key features that you may need when looking for a webcam to up your “zoom” game. For me, my favorite feature has to be the compact design, the C200 is designed a little more like an old-school action cam and its front-facing real estate is small, especially when compared with other webcams like the StreamCam, Brio, and the classic C920. The compact size should make it easier to pack if you are using it with a laptop or if you are using it on your desktop it won’t be in your face when you aren’t using it. The compact design didn’t take anything away from its mounting, you get a screw-on tripod mount or a flip-out mount that hooks on thin or thick monitors, or you can sit flat on your desk or a shelf as well. They integrated a nice privacy guard that is easy to see when it blocks your camera and it also turns the camera off on top of blocking the lens. The 1440p or 2k resolution is a nice upgrade if you have been using 720p or 1080p and even after downsizing at recording and then reencoding again (the overall encode didn’t come out looking too great but before that, it was even crisper). AnkerWork also gave the C200 multiple FOV options right out of the box which opens up options that can be controlled in the included software which was surprisingly good.
For downsides, I would say the microphone performance would be the biggest one. It isn’t horrible and will get the job done but a condenser microphone or a quality headphone mic is still going to be the best option especially if you want to cut down on background noise. The other issue I ran into with the PowerCOnf C200 was the length of the included USB cord. It was FAR too short to reach anything. I had to plug in a hub under my monitors and that was as far as the cord would reach. This is fine for laptop use, but to reach my PC I ended up needing to get a 3-foot USB extension cord to make up the difference. Thankfully the C200 does have a detachable cord, so you can swap it with a longer cable but if you are planning on desktop use, especially if like me your PC is next to your desk and you have 27-inch monitors you will need to plan on more cord.
For pricing, AnkerWork has the PowerConf priced with an MSRP of $69.99 which for comparison the StreamCam that I compared it with is selling for between $100 and $150 making the price not too bad. Anker is known for deals and it seems the C200 drops down to $59.99 often including right now so making it a solid pickup if 1440p and a brand you most likely know by now are your goals this wouldn’t be a bad pickup. That money saved could even get you a longer cord that you may need.
Live Pricing: HERE
