Following up on our previous coverage, we have picked out the case for our new project build, which is also part of its namesake. The Fractal North XL Momentum Edition houses the ASUS Pro WS TRX50-SAGE WIFI motherboard. That is loaded up with a monster of a CPU from AMD, the Threadripper 9980X, and is paired up with 128 GB of 6400 MHz DDR5 from G.Skill to top things off. That’s a really good start, but that isn’t enough to finish up our build. So today we are going to dive into what GPU will be paired up with it all, what we are doing for storage, and also a look at a needed network change to hopefully help protect the network card on the TRX50-SAGE WIFI as well. So let’s dive in and continue with our Project Momentum build.
Project Name: Project Momentum - Part 2
Written by: Wes Compton
Build Sponsors/Supporters: Fractal Design, AMD, Asus, G Skill, Be Quiet, Silverstone, Nvidia, TRENDnet, and Patriot
Amazon Affiliate Links:
Links to the rest of the project: Part 1 – Part 2 – Part 3
Network Upgrades!
One of the issues that I have had with the last 3 or 4 PCs has been the wired NICs eventually dying. I even switched up to a USB NIC and have had the same issues. I’ve swapped out cables and even the switches in our network rack, but the issue has continued. I’ve not been able to pinpoint the issue, but this time around to try to help protect things I am switching my network up and adding in a switch at my desk. I’ve wanted to do this for a while to gain a few more high-speed connections at my work area, but I didn’t want to add noise, and most options I had come across for a small 10g switch would have a fan built in. In planning for this build, I did come across an option from Trendnet that would work perfectly. The Trendnet TEG-S750 is a compact 5-port 10G switch with no fans.
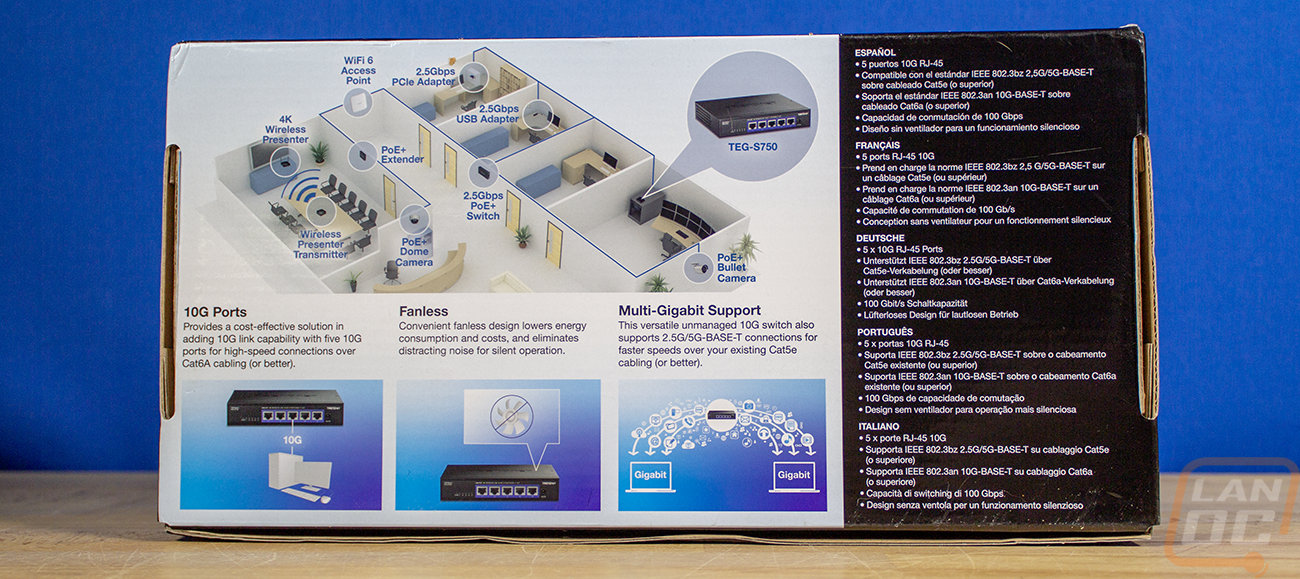
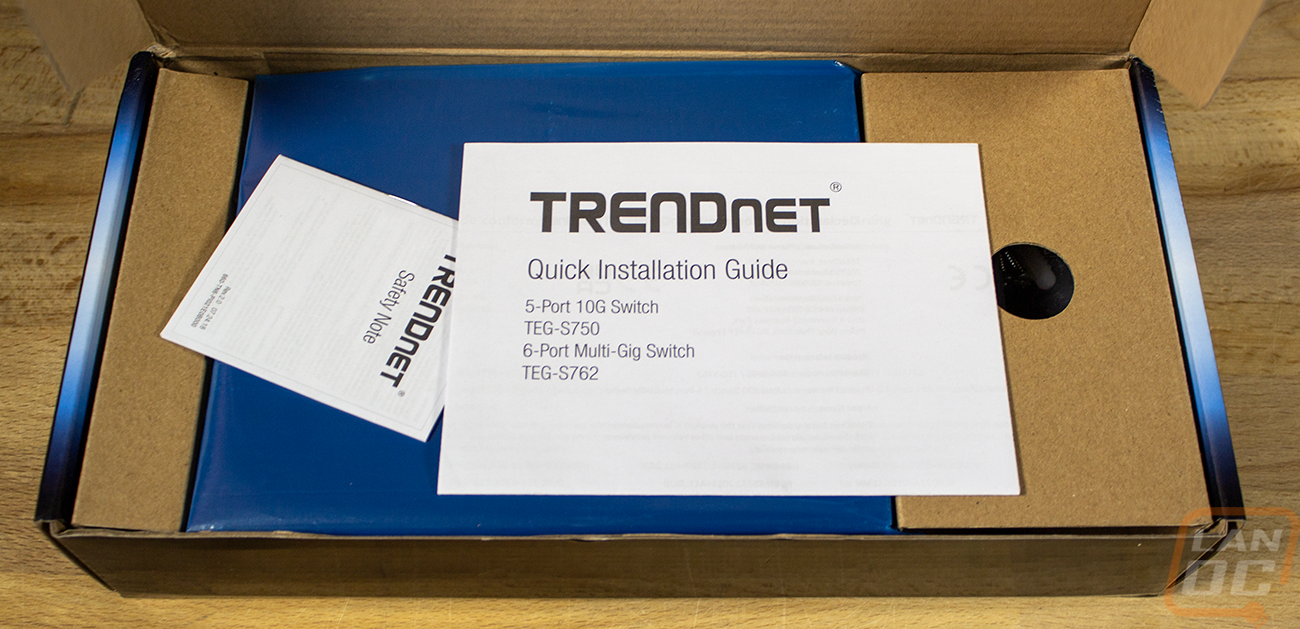

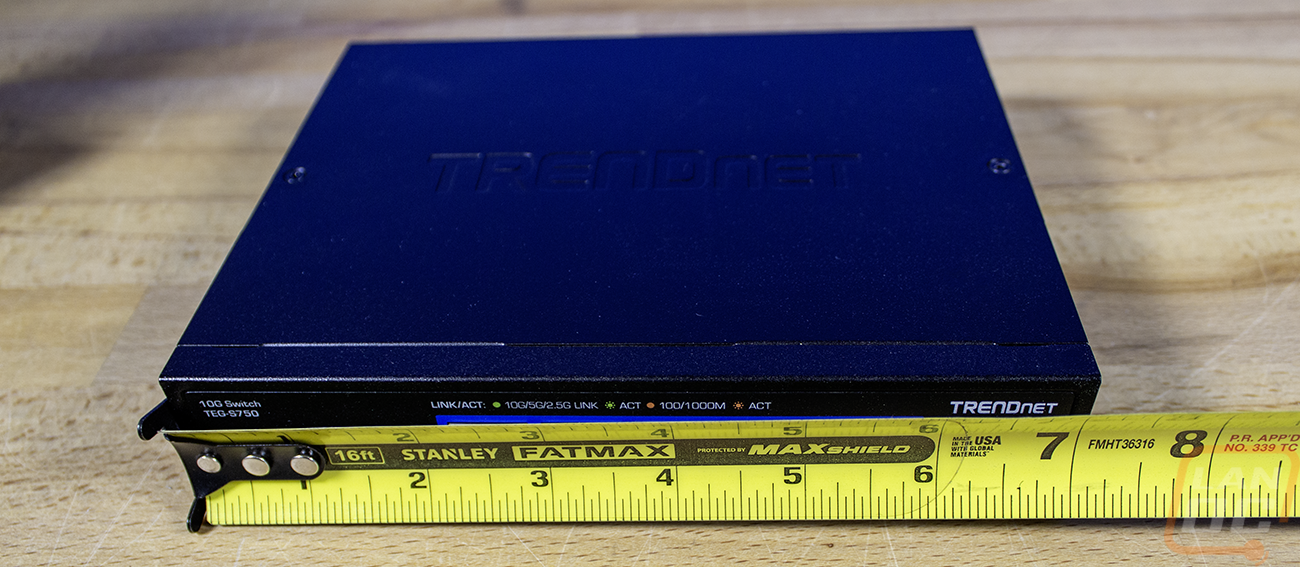
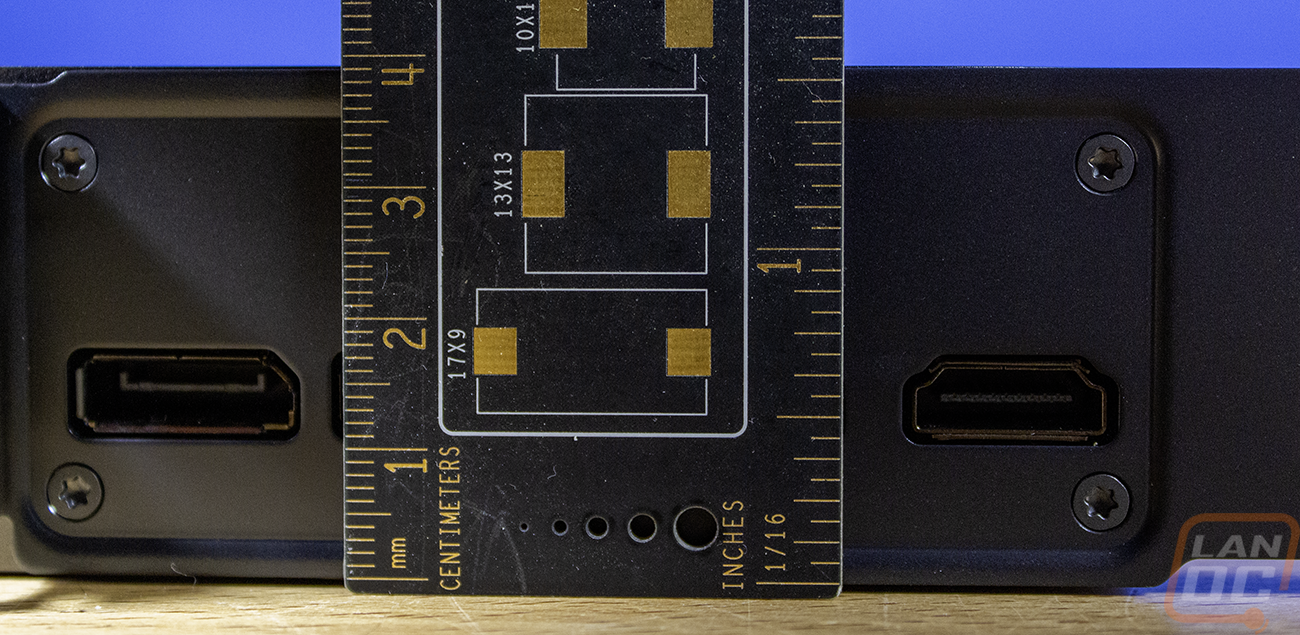
The TEG-S750 is compact at 7 inches wide and 5.7 inches deep and is 1.3 inches thick as well.


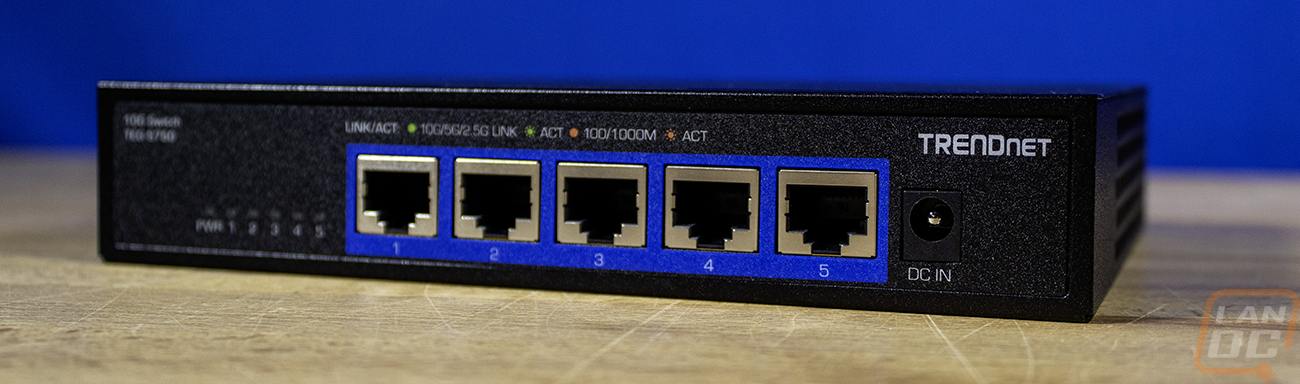
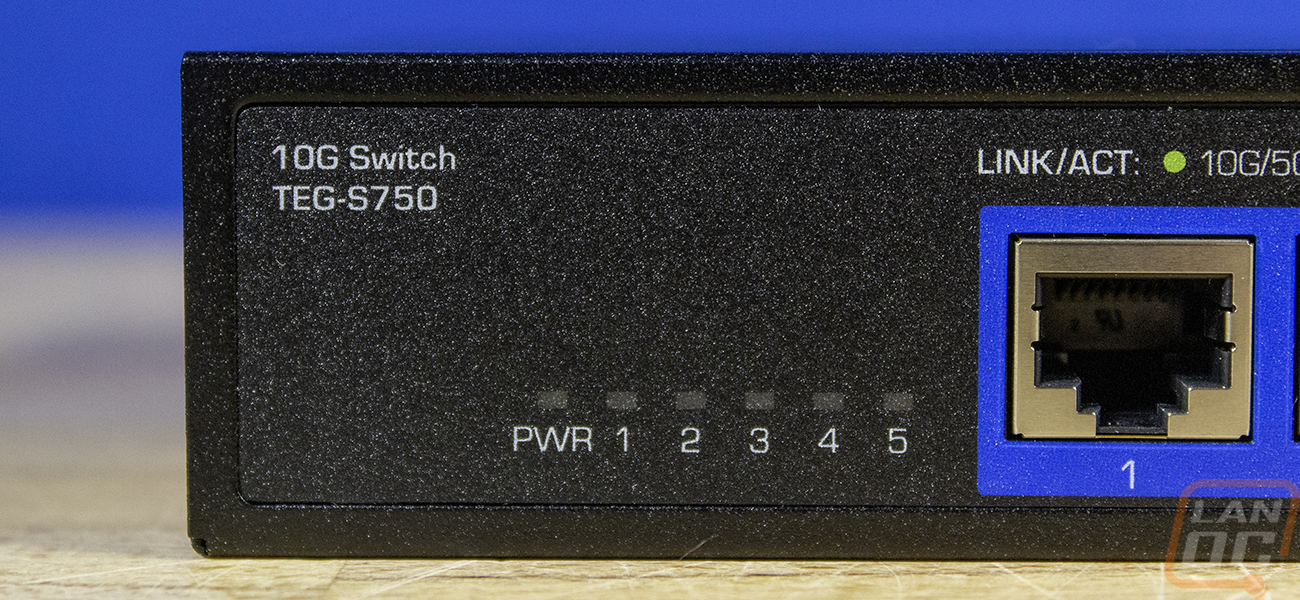
All of the ports, including the power connection, are all on the front. With five ports, that gives me one as an input from our network rack, then potentially four connections at my desk. With my main PC and the test bench always being hooked up, that leaves me with two more when needed. Of course, I still have all of the hard-wired connections as well, so things like my printers that don’t need a 10G network connection won’t take up the extra spots. But for a lot of people, 5 ports might be all that is needed for the main high-speed connections in your house. Over on the left, the TEG-S750 has four status LEDs that are labeled with each corresponding port then on the far right is a DC in for the power.

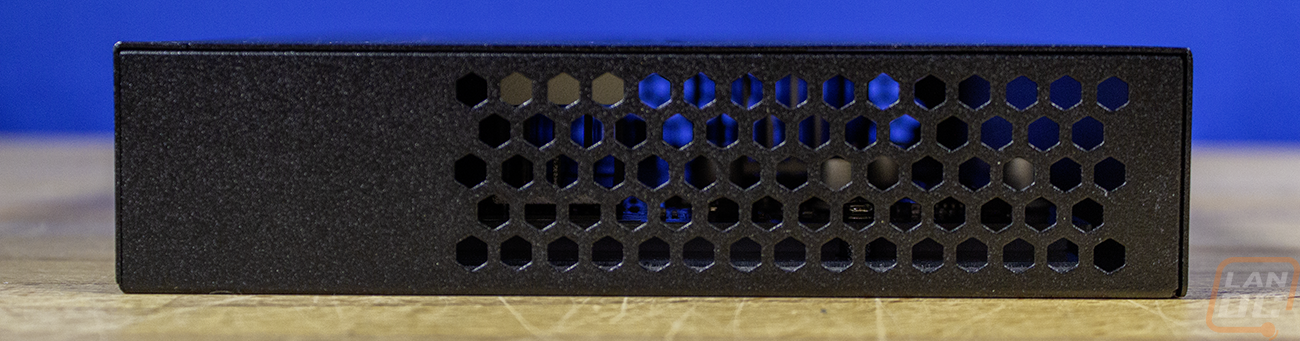
Both sides of the TEG-S750 have an array of honeycomb cutouts for ventilation, which when we look down inside, we can see a few heatsinks as well as all the way through the switch, so even without the fans, it has decent ventilation. With everything on the front, there is nothing on the back other than three screws that are holding the cover on the case.


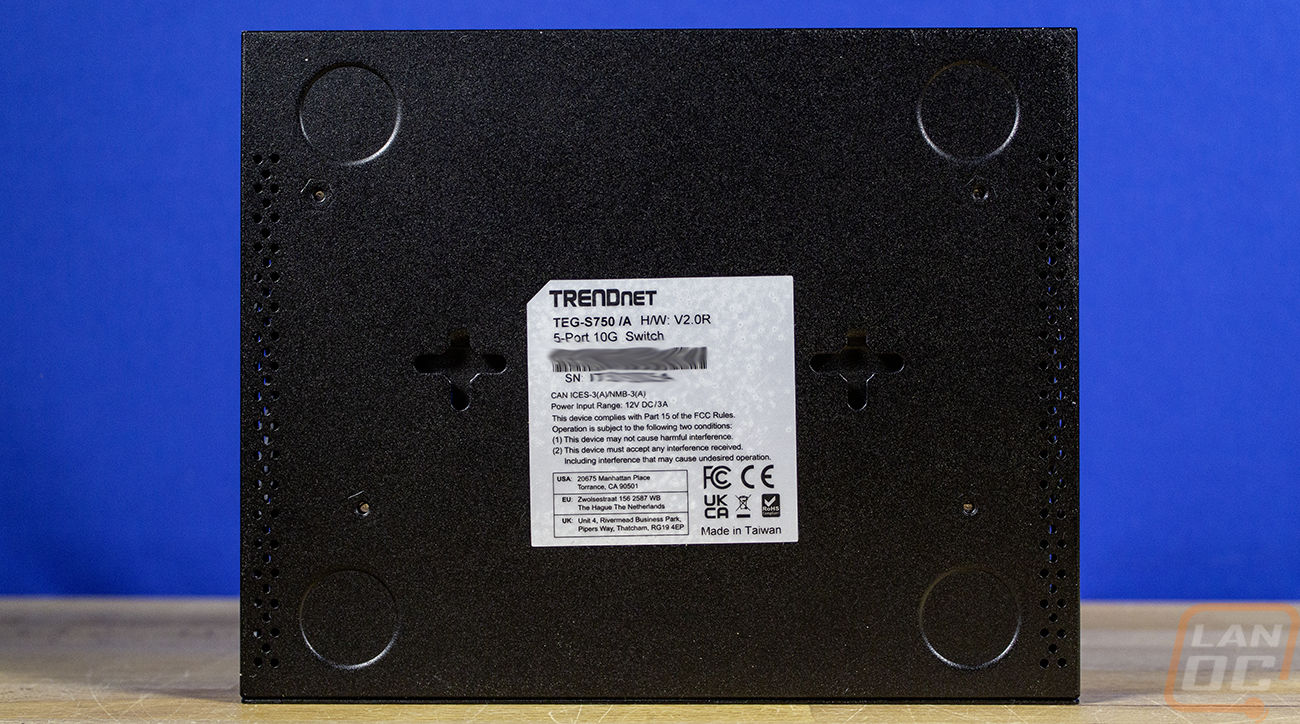
The case has a textured black finish, like most other networking gear, and on the top it does have the Trendnet logo stamped into it. The bottom has a sticker with the certifications all on it as well as the model number and serial number. The bottom also has four round indents to show you where to stick the rubber feet if you plan on sitting it on something. I on the other hand, plan on mounting it on the wall and taking advantage of the two plus sign shaped cutouts on both sides of the sticker in the middle. With those, you can mount the TEG-S750 on the wall with two screws. The bottom does have very small openings along both sides for a little more ventilation, its not much, but it is interesting that they are there at all.

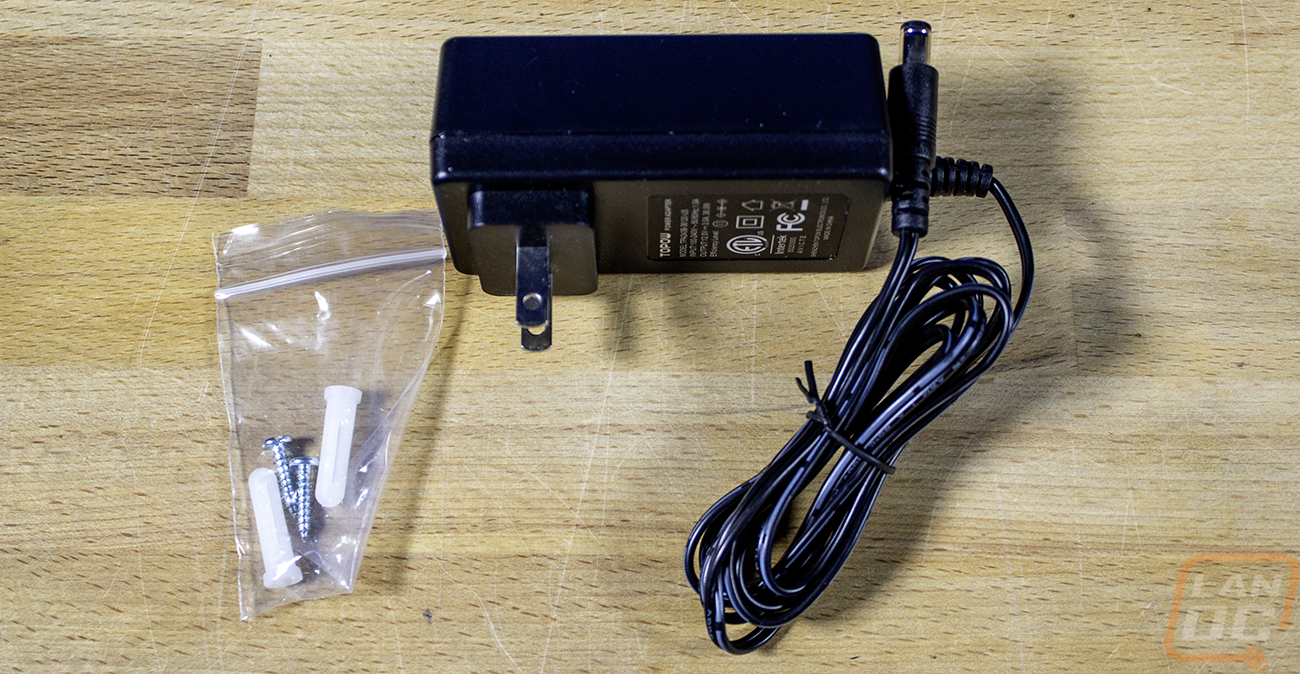
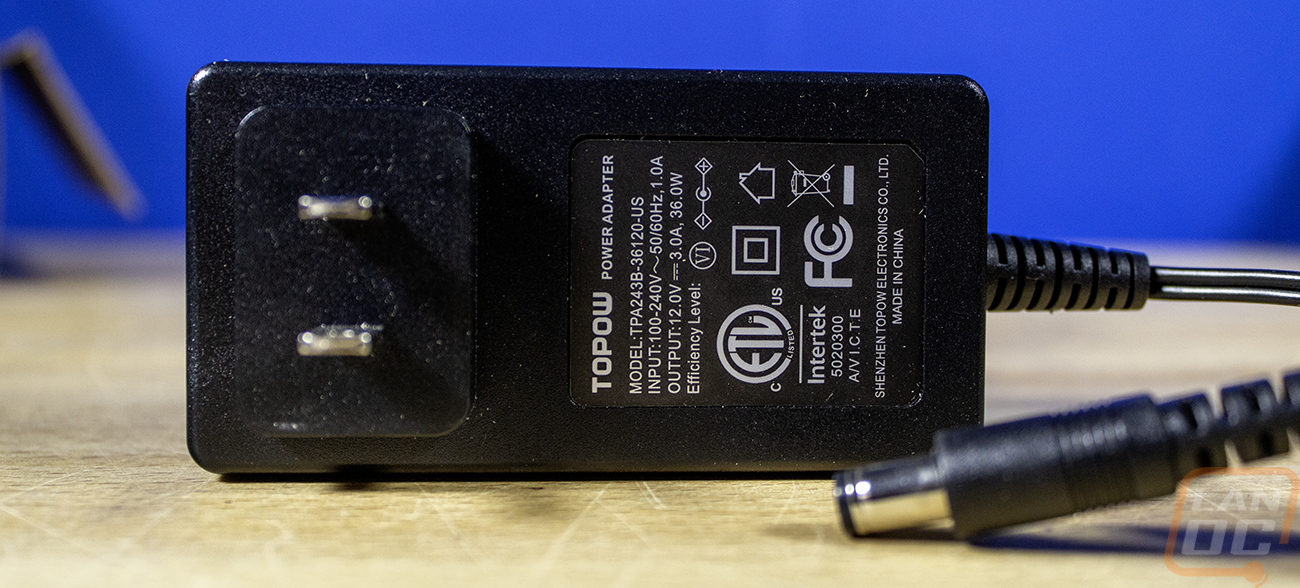
For power, the TEG-S750 comes with a small power brick that outputs 12 volts at 3 amps or 36 watts. I’m never a big fan of the power wart style power supplies, but this one isn’t too large at least. The 36-watt capacity also tells us that the TEG-S750 isn’t put to be very demanding, in fact for its specifications, it is listed as using a max power consumption of 22.75 watts, which would be if all of the ports are being used, which won’t be the case in my situation. It has a 100 Gbps switching fabric and a RAM buffer of 2MB, which will cover the five 10 Gigabit full-duplex (20Gbps) connections. The TEG-S750 also comes with a small bag with two mounting screws and the anchors to go with them.

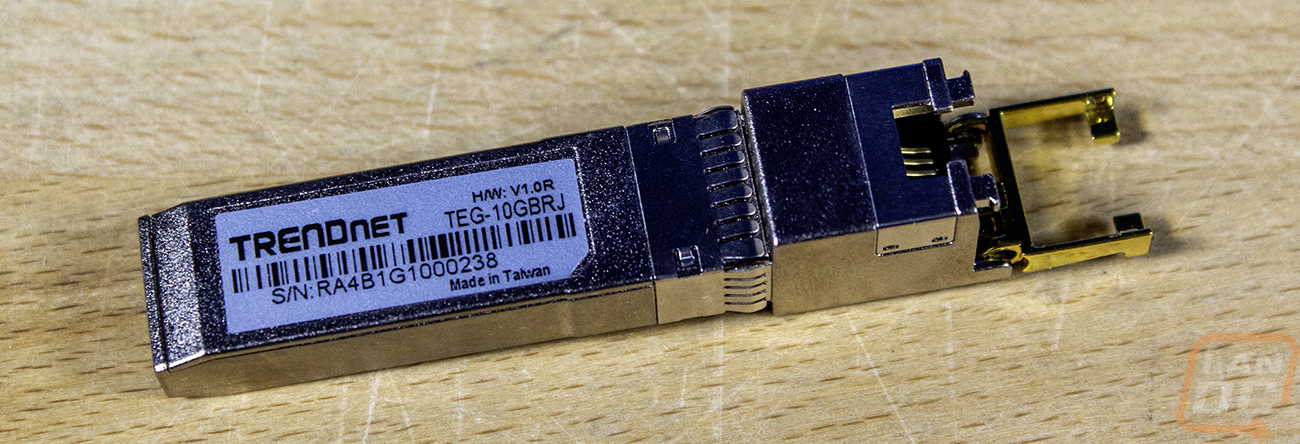
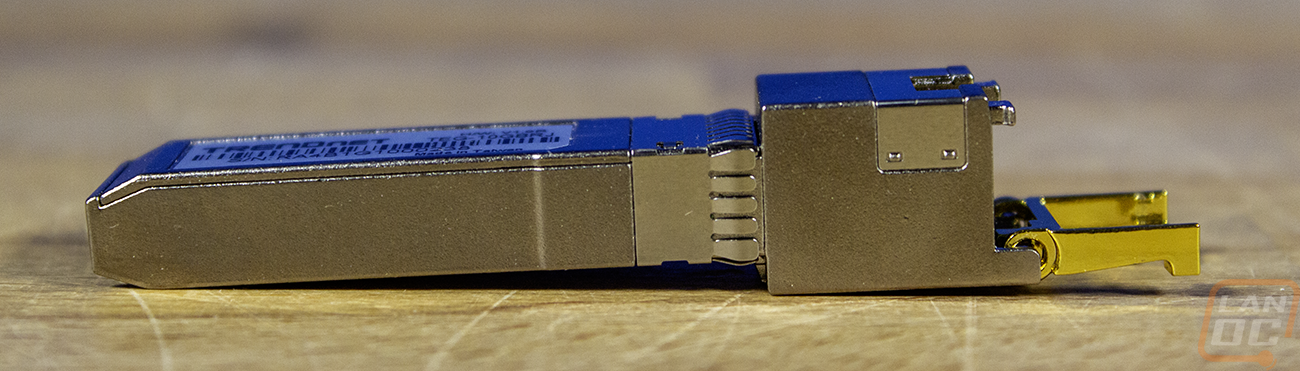
So my 10G network connections going from our rack up to my desk are wired into our switches using SFP+ modules to convert to a copper connection. This is the only thing I haven’t changed out as I have been trying to find what has been causing me issues. Trendnet was nice enough to include a new SFP+ to 10G Copper adapter, model number TEG-10GBRJ, to eliminate that as a possibility and to also get a good connection between our rack in the basement up into my office. You may have seen SFP plugs on the far right side of some switches. These are perfect for high-speed connections as a backbone between switches and if you use the correct adapter for fiber connections as well. This just adapts that connection to a normal RJ-45 connection.




What Video Card?
Without a video card, none of the other components will work right? Our Threadripper 9980X doesn’t have onboard graphics, so a dedicated GPU is needed either way. But given that I plan on also gaming on the PC, a strong video card to play anything I want at 4k would be nice, and with how rarely I upgrade or change out my PC once it is up and running, getting something in there that will be powerful for a long time is needed as well. Right now, there isn’t anything better than the Nvidia RTX 5080, so I went with it, but because I will inevitably need to pull it out for retesting on our test bench, it’s a good thing that the Fractal North XL Momentum Edition gives easy access to be able to swap it out in the future. I don’t need to say too much about the overall performance the RTX 5090 is capable of, it is as good as you can get right now and matches up with the Threadripper 9980X in that way. It also means we gain access to DLSS 4 as well.


The RTX 5080 Founders Edition isn’t fully blacked out like the case, but it isn’t very far off with its dark grey and black theme, and I’ve always been a huge fan of the look and construction of the Founders Edition cards. The blow-through design shows off the great looking blacked out heatsinks on the back side of the card, which will be more visible in our case. Then up at the top, the backlight GeForce RTX branding is lit up in white and will be the only thing other than status LEDs lit up in the entire build.
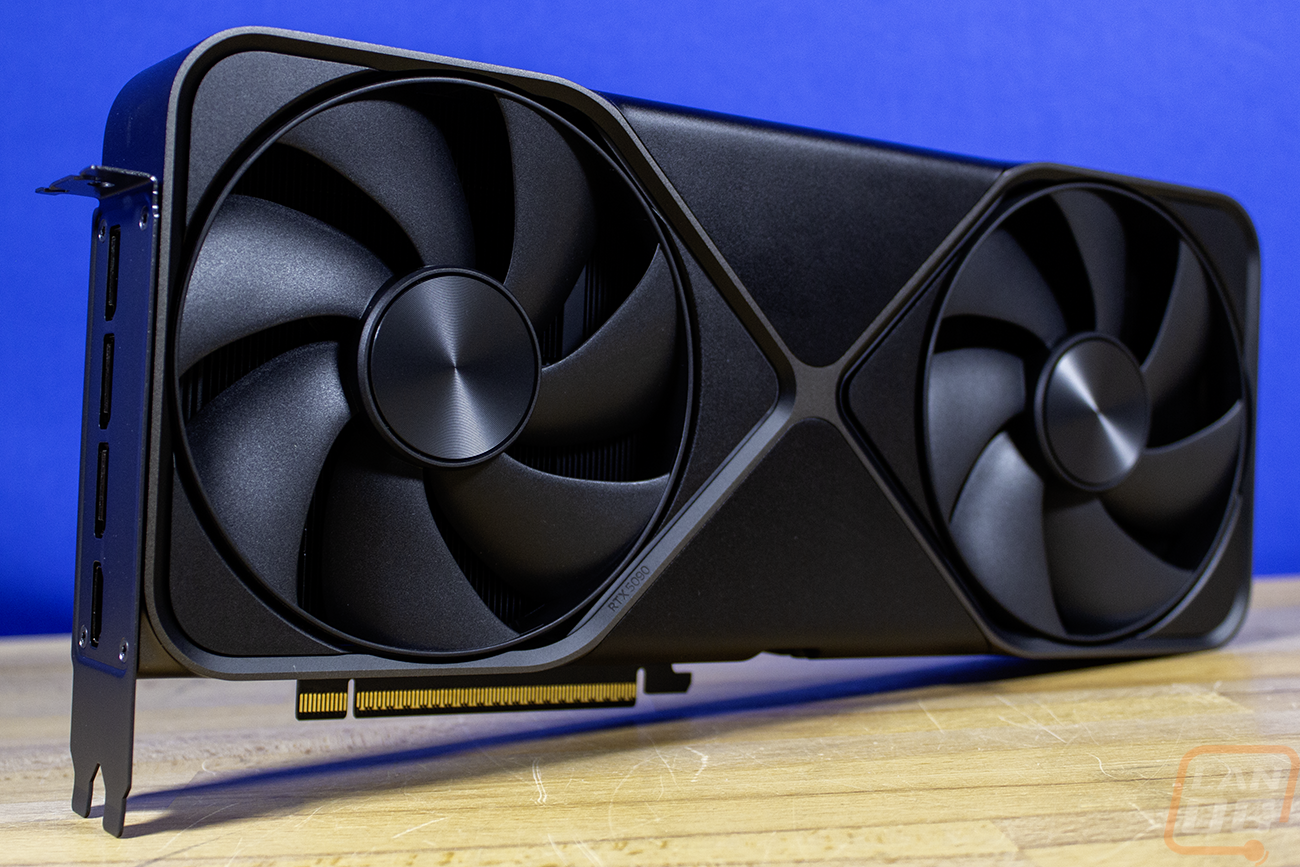
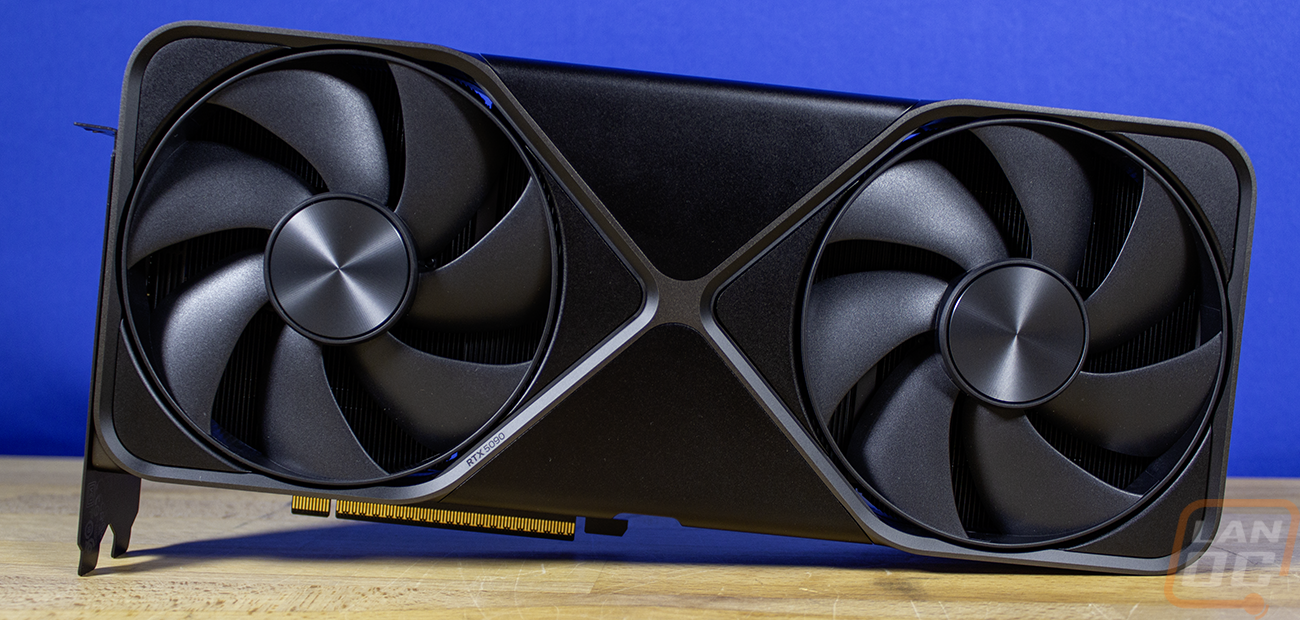
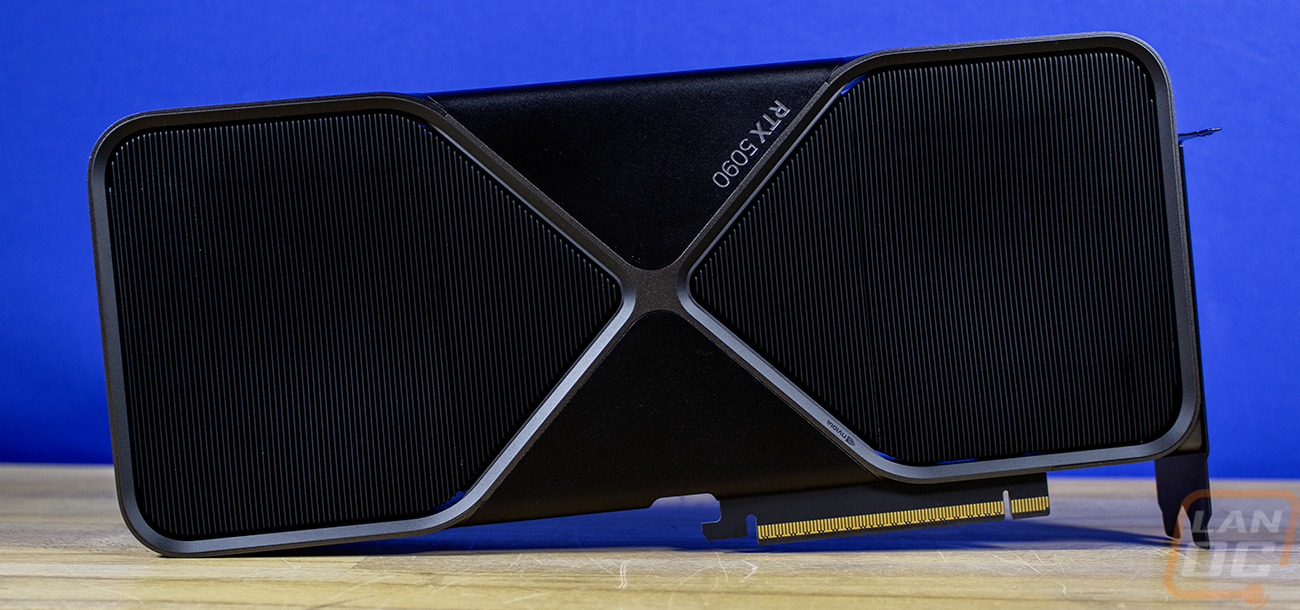
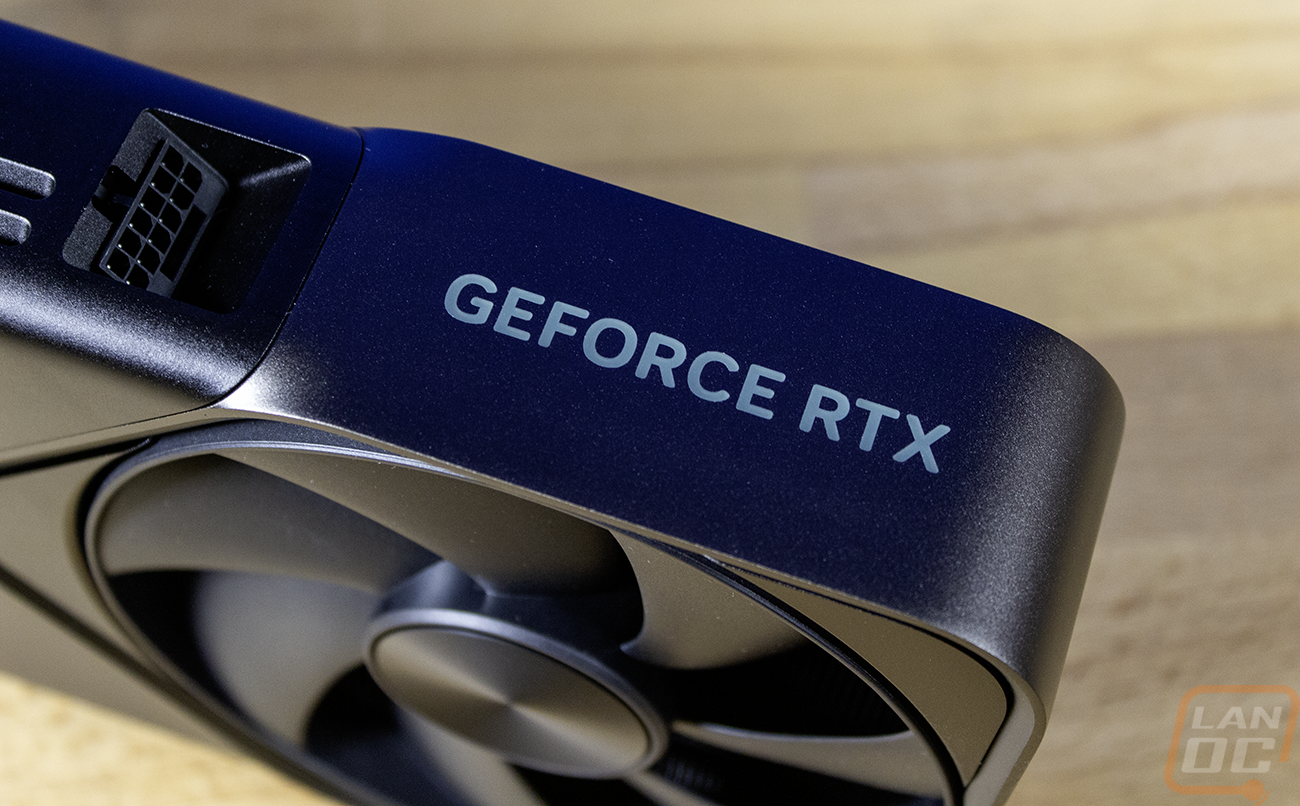
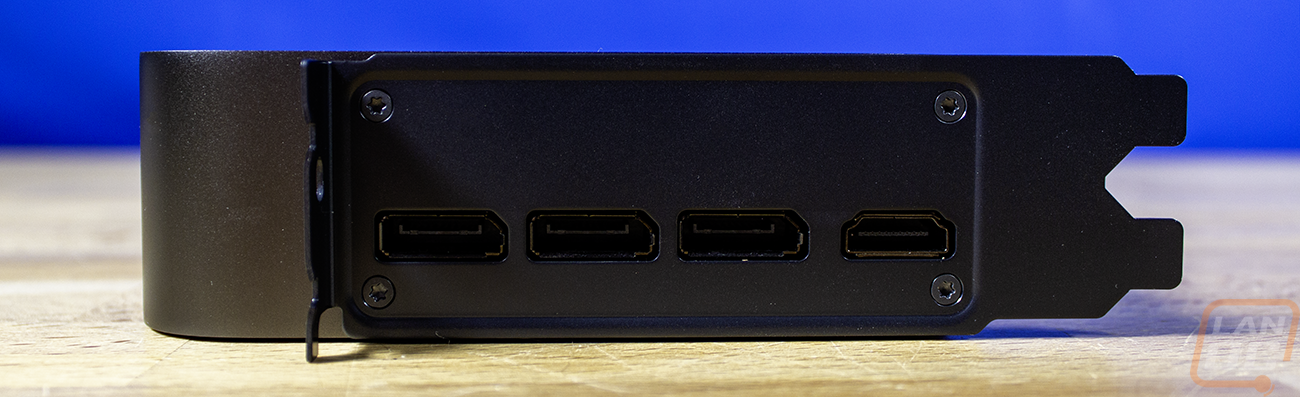
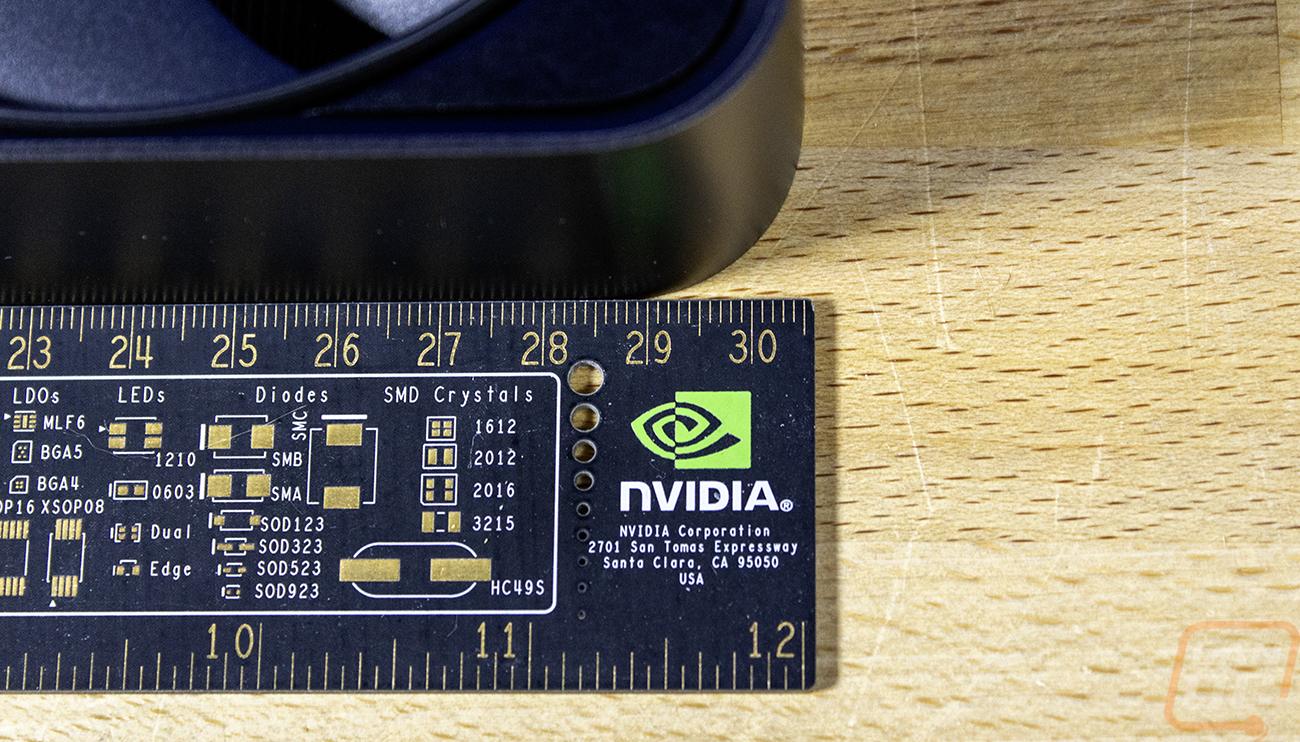
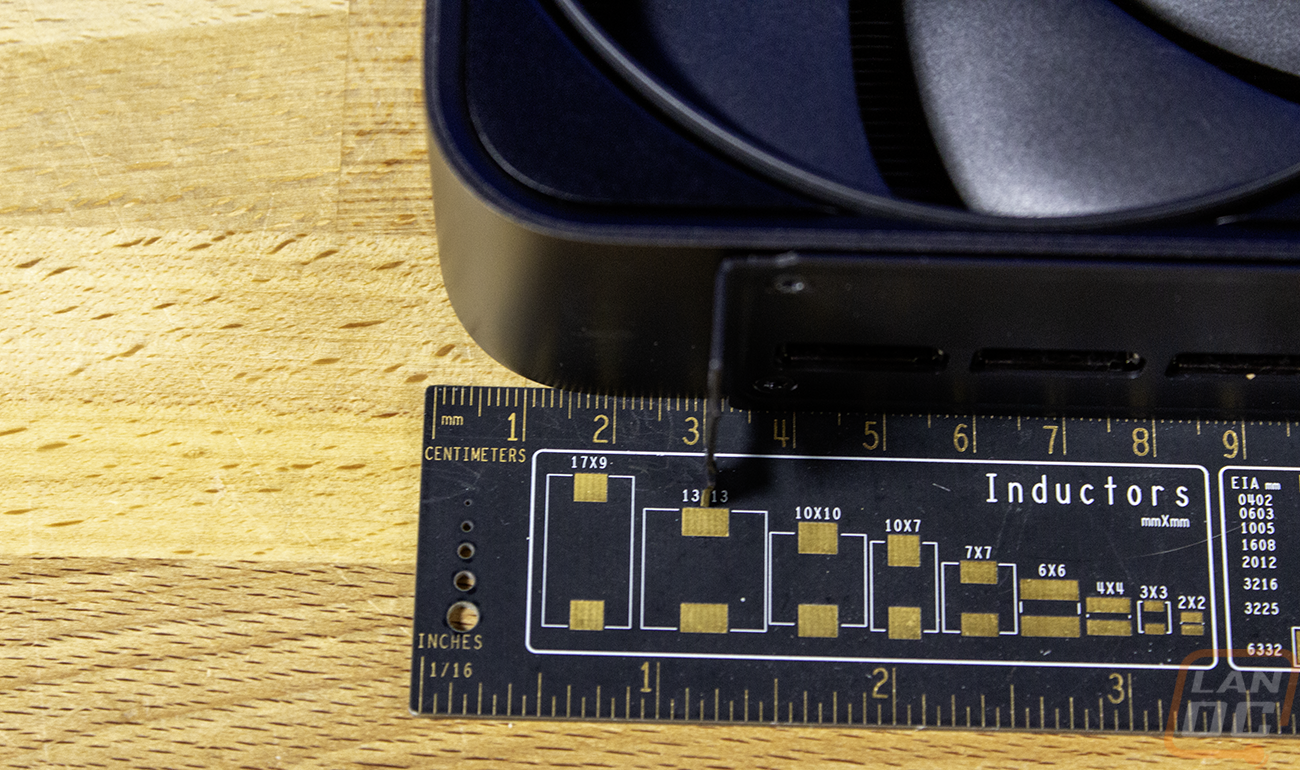
The RTX 5090 Founders Edition is 304 mm long, 137 mm tall, and a true dual-slot card at 40 mm wide. Our case can fit up to a 413 mm long GPU, but if we go with a radiator in the front that is cut down to 380 mm, which would be an issue with some GPU models, but not with the Founders Edition.
Storage
The biggest sticking point for the entire build was what I would do about storage. In my Crushed build, not long after I got it up and running the large hard drive that I installed in it stopped working and eventually the second M.2 drive in it also died. Combine that with just how much space some games take up, and I was constantly removing games, even just to get updates for other games, especially ARK: Survival Evolved which constantly had huge updates. I didn’t want to be low on space, but with storage prices across the board going crazy, getting my hands on enough storage would be an issue. I wanted to have two large-capacity SSDs, with at least one being PCIe Gen 5. Our friends over at Patriot were generous enough to send over two of their 4TB Viper Gaming PV593 drives, which fit that bill perfectly. Enough capacity to not have to worry about what I had installed for games on one drive, and the OS drive is large enough to install everything else and use as a scratch drive when editing videos and photos alike.


Both drives are PCIe Gen 4 x4, and they have sequential read speeds of up to 14,000 MB/s and write speeds of up to 13,000 MB/s. Random reads are listed at up to 2,000 IOPS, and they have an endurance of up to 3,000 Terabytes written. They also have a five-year warranty, which is solid as well!
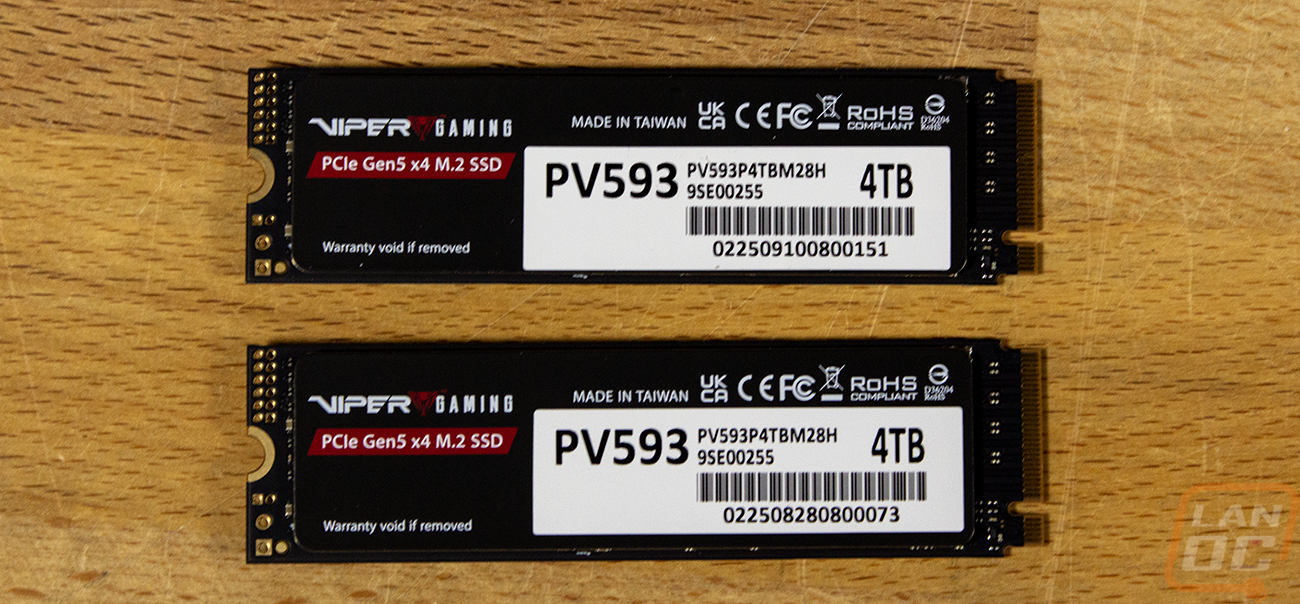
Both drives will be installed under the M.2 heatsinks on the Asus Pro WS TRX50-SAGE WIFI, so it's good that they don’t have a built-in heatsink. They use the Silicon Motion SM2508 Gen 5 SSD controller, which is built on the TSMC 6nm platform, which should help keep heat down as much as is possible with a PCIe 5.0 drive. It’s all going to be hidden behind the heatsink but the drives have a sticker across the top with the Viper Gaming branding and the PV593 model name, as well as the drive capacity and a serial number as well.