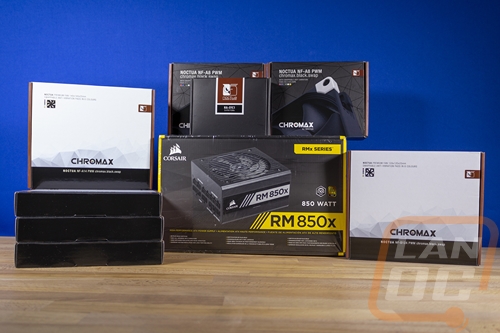
Last week I sat down and figured out the issues our build was having. I also started working on those problems by replacing the hard drive that had been making noise for over a year and replaced the dead SSD used for frequently played games as well as the OS SSD to catch it up to modern speeds. While doing that I figured out that the hard drive failure wasn’t helped by poor airflow so today's plan is to update the fans to add more cooling and to lower noise levels. I’ve also got a new power supply to see if that will fix a few of the intermediate issues to find out if the motherboard will also need to be replaced.
Article Title: Project Build Crushed Update - Part 2
Project Sampling provided by: Western Digital – Noctua - Corsair
Written by: Wes Compton
Amazon Affiliate Link: Noctua - Corsair
Links to the rest of the project: Part 1 – Part 2
Fan Upgrades
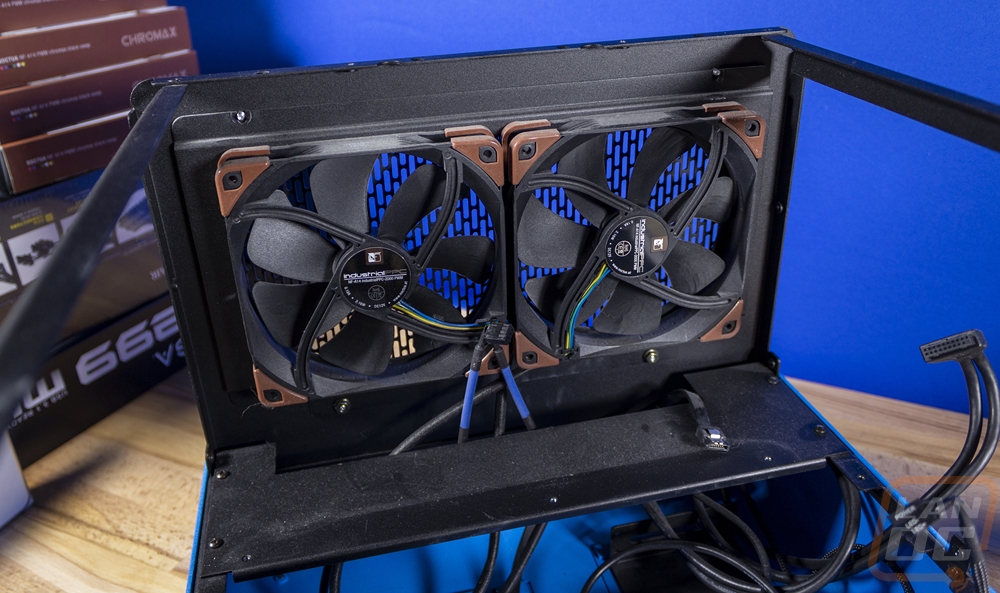
So in my original article, I listed out the problems I have run into with Crushed recently as well as potential solutions. For some people, it wouldn’t be a problem at all, but in the current configuration, I was having issues with the system being noisy. Part of that was the hard drive that was going bad. I fixed that in the previous coverage with a new hard drive. But the fan setup wasn’t really working for me as well. Like most of my personal systems, it did have Noctua fans. But because of the size of the system and with Threadripper inside I originally went with two of Noctua’s NF-A14 industrialPPC-3000 PWM fans. These were the only fans and they are setup on the front of the case in the top section. They keep things cool, but taming the ultra-fast fans down has been hard. The Asus motherboard’s fan tuning wouldn’t let me turn the fans down far enough without turning them off altogether. So if I wanted the system to run quiet it would be quiet, then loud because without airflow things would get hot.
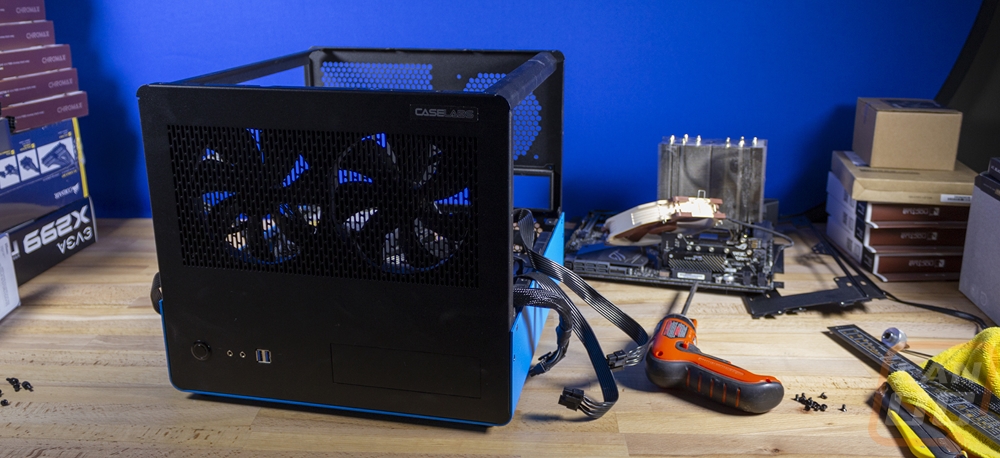
I’ve put up with the noise to keep things cool, but it was on my shortlist of things to address. Not only that but when I got into things to replace the hard drive I found that the original drive had been running extremely hot, most likely causing its eventual failure. So relooking at the entire cooling setup for the Case Labs Bullet BH8. I would need two normal 140mm fans for the front, two 80mm fans to move air in the bottom, then I might as well also add a 120mm at the rear of the case to help pull air out as well rather than relying on the two front fans for everything.
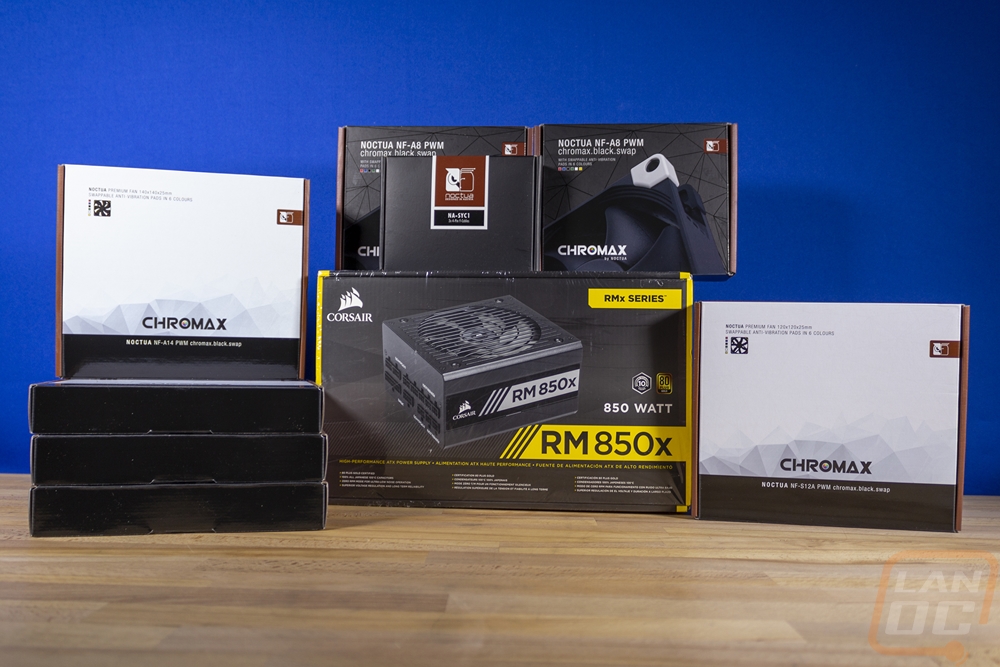
I reached out to Noctua and they were interested, a big thank you to them. So here is the break down of what we have. For the two front 140mm fans I went with the NF-A14 PWM chromax.black.swap which at 1500 RPM is half the speed at full speed as the high-speed IndustrialPPC’s and drop from 41.3DB to 24.6DB if running at full speed. That alone would be a huge improvement. For the 120mm rear fan which faces my desk, I went with the quietest possible option (while also being Chromax, if not the NF-A12x25 ULN would have been better), the NF-S12A PWM chromax.black.swap. Then for 80mm fans for the bottom section, there was only the one Chromax option available, the NF-A8 PWM chromax.black.swap. I would love to see ULN options be added to the Chromax.black.swap lineup though. I also have a second pair of NF-A14 PWM’s, but those will come in to play later when addressing water cooling.
First up was replacing those NF-A14 industrialPPC-3000 PWM’s, it’s funny to even say that I need to pull these Noctua fans out to cut down on noise. But these are the loudest in their entire lineup. That isn’t to say that they are bad fans. One pushes 158.4 CFM and has a crazy static pressure of 10.52 mm H2O, but they aren’t ideal for what I was using them. At least not if I want to be concerned with noise. The NF-A14 PWM chromax.black.swap is 6.8 times quieter and because they are part of the Chromax lineup they also have the option to add blue vibration pads.
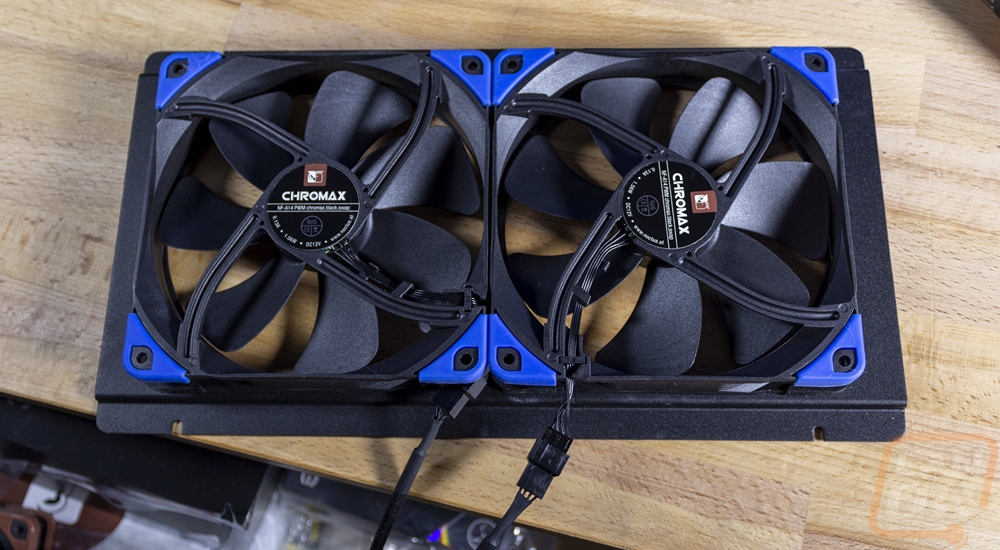
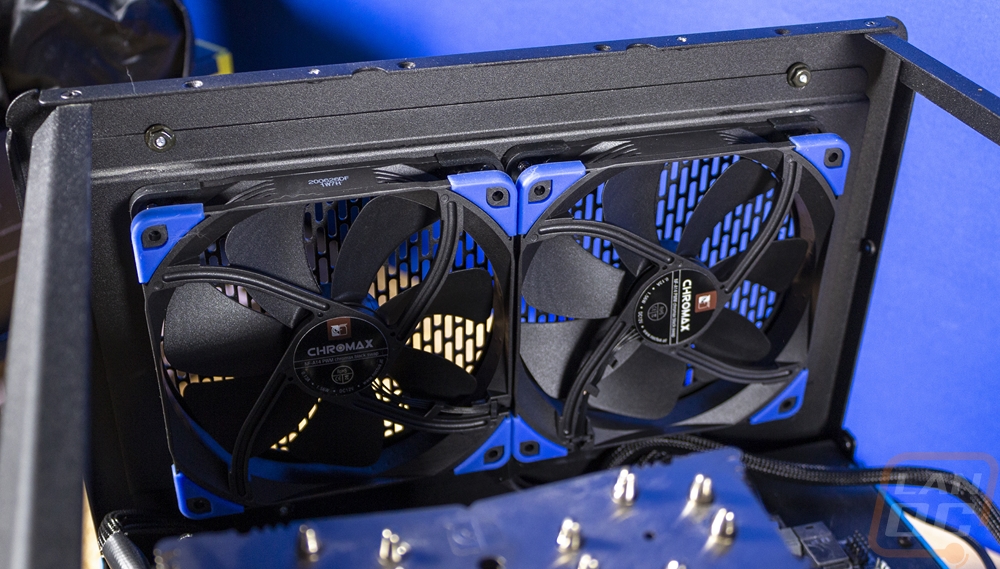
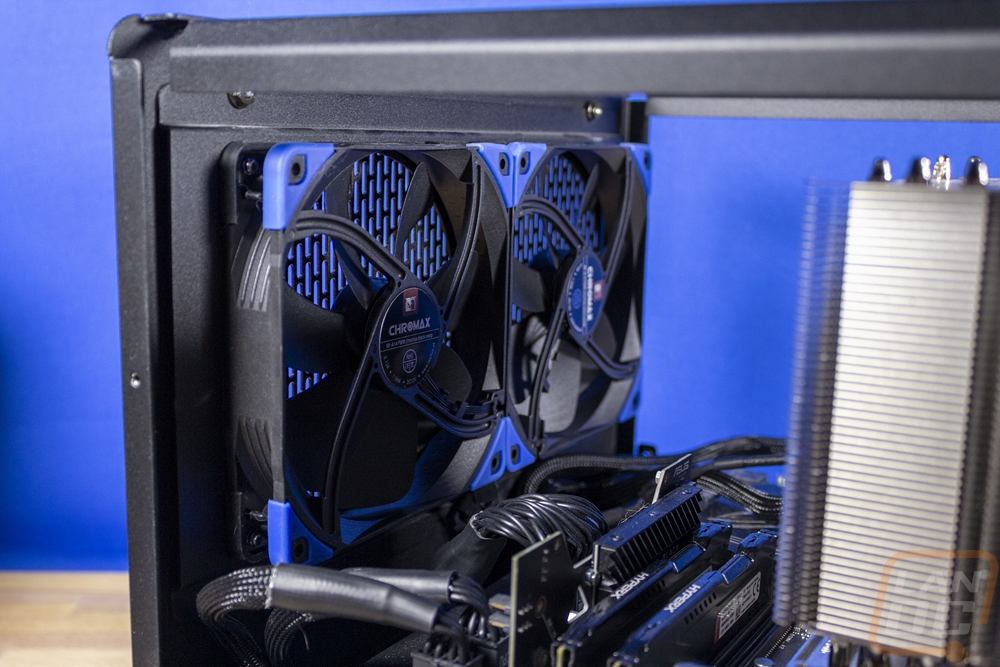
Swapping these out is easy, the BH8 has the front fans mounted to a removable panel. So you pull the top two nuts and it pulls out. It’s a lot easier out of the case. The Chromax fans come with red, white, yellow, green, black, and blue vibration pads but you only get four of each. So I used the black pads on the important side against the panel. Then put the blues on the inside to go with the blue/black theme. The Chromax lineup is also different in the cord, Noctua put a PWM plug right off the fan, then they come with an extension. This is because Noctua also sells replacement cords to match but it works out well here because I can hook up the fan splitter needed to hook them up at the fan, then just run one extension from there cutting back on the wiring.

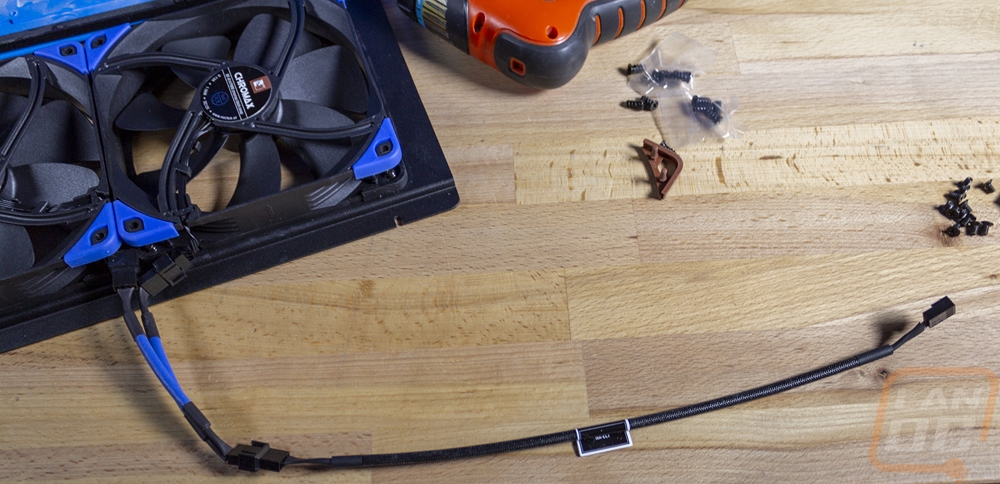
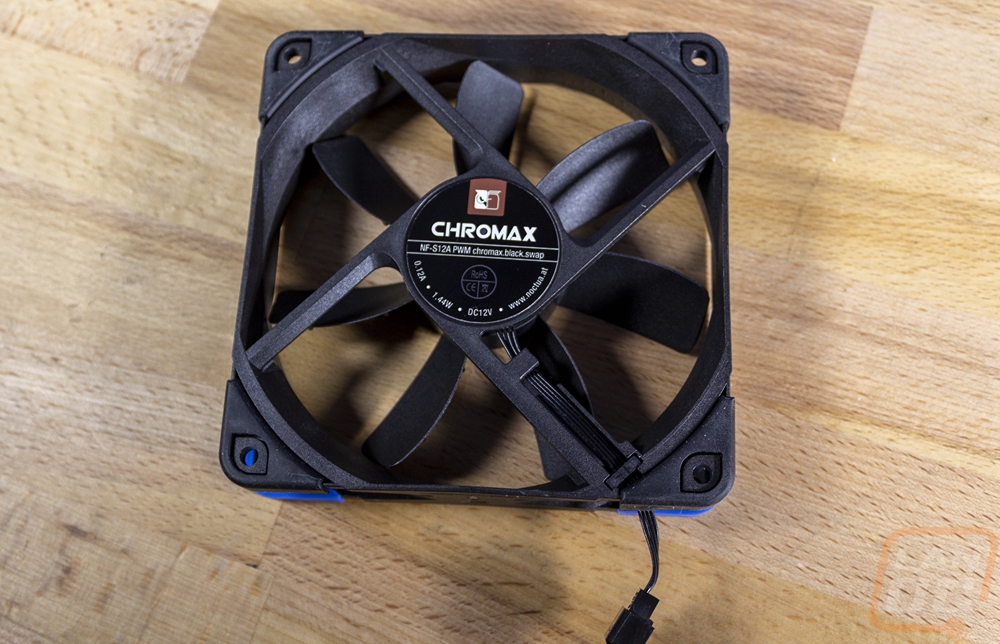
Prepping the NF-S12A PWM chromax.black.swap wasn’t any different than the others really, only it is slightly smaller with its 120mm size. This is the fan for the rear of the case which I didn’t have in before. Again it only comes with four of each color of Chromax color vibration pads so I went with black on the side that goes against the case and blue on the exposed side. This is the quietest of the fans I picked with it being rated at 17.8 Decibels. Its fan blade design is a little different and this fan doesn’t focus on static pressure at all, just airflow and being quiet.

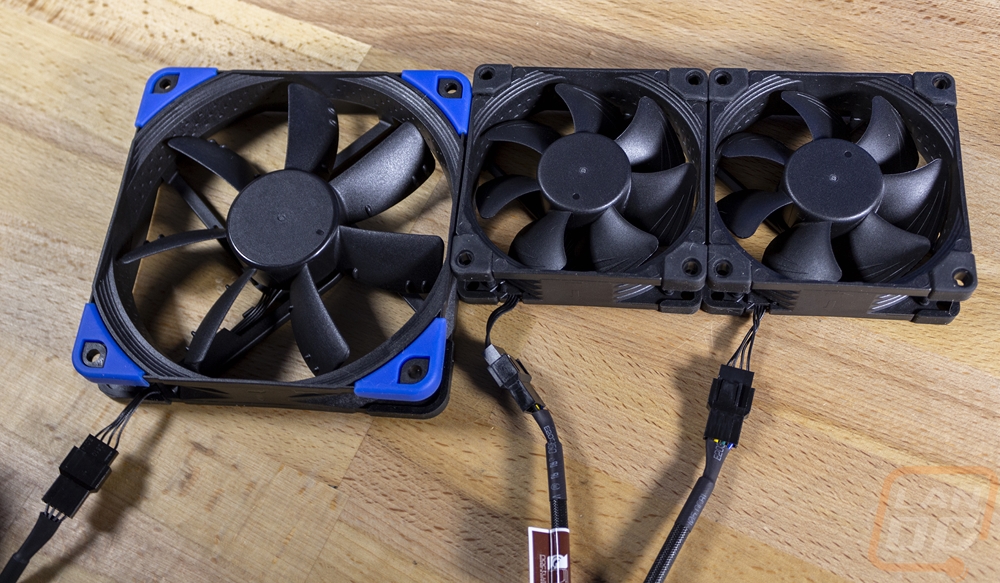
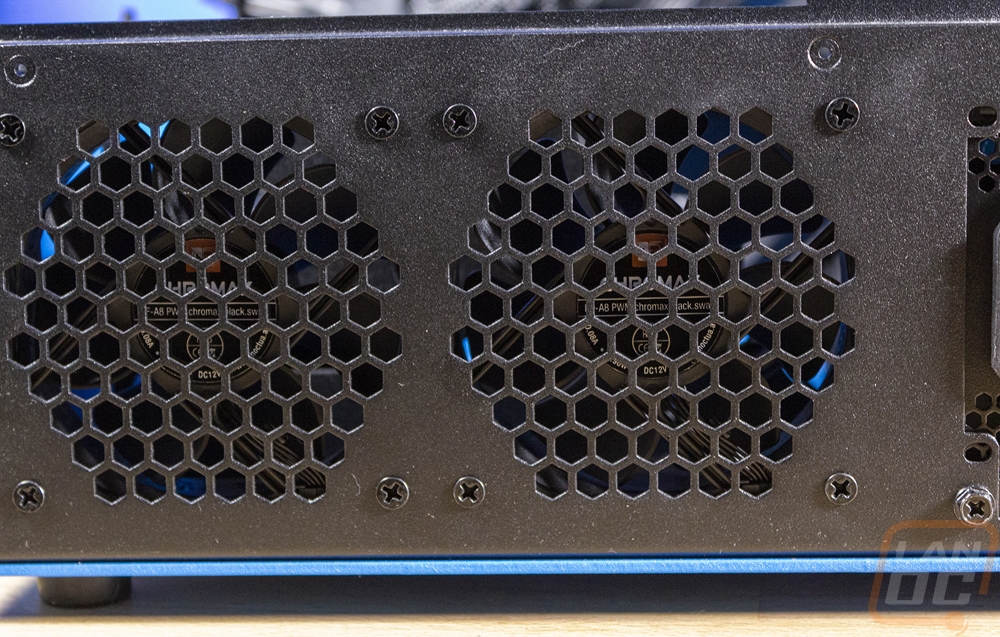
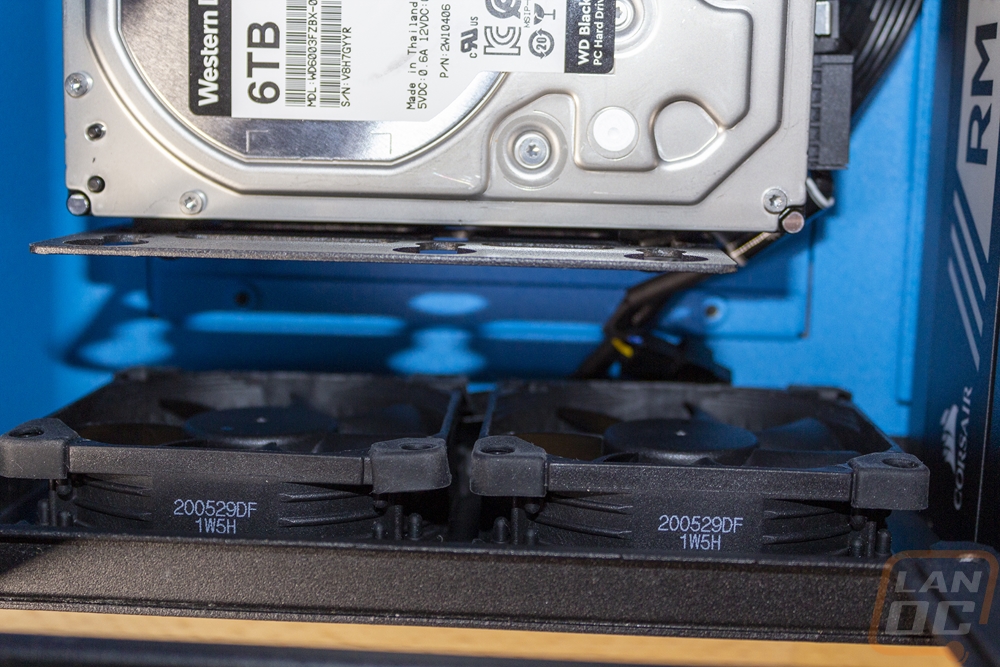
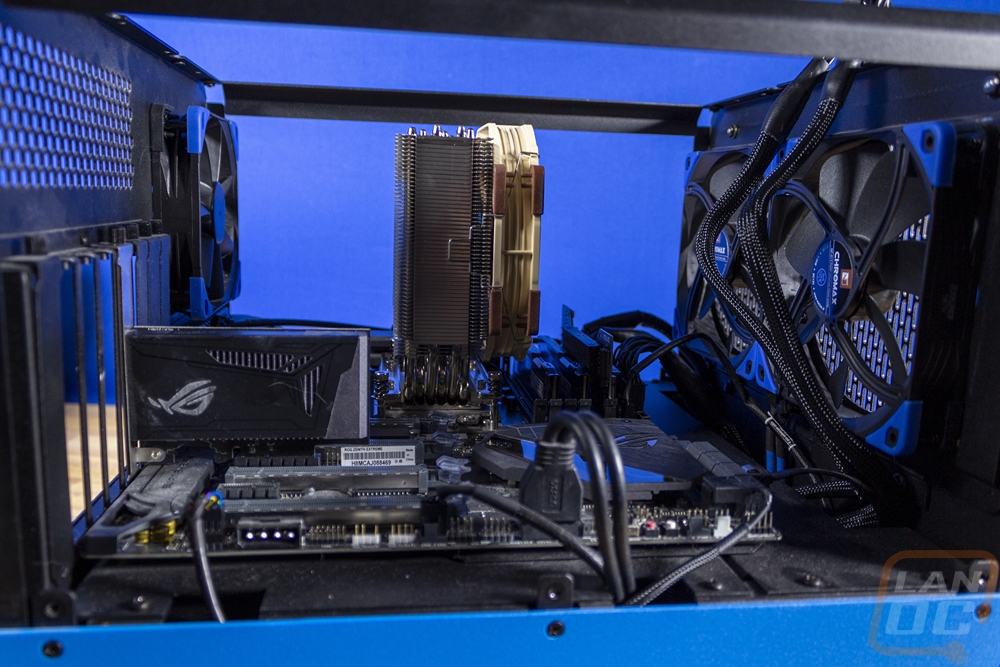
The last fans to get installed were the two 80mm fans for down in the bottom section of the case to add airflow for the hard drive down there. These are NF-A8 PWM chromax.black.swap and they are cute baby Chromax fans. They have the same features like the short pigtail and the different vibration pads. The vibration pads here are tiny and interestingly these come with a total of 8 black pads along with 4 each of the rest of the colors. I was going to use the blue pads like I did with the rest of the fans but because these will be down in the bottom anyhow I went with the black for both sides. I put the 120mm fan next to them for scale as well. These were both installed down in the bottom below the motherboard as exhaust fans, just like the 120mm as well.
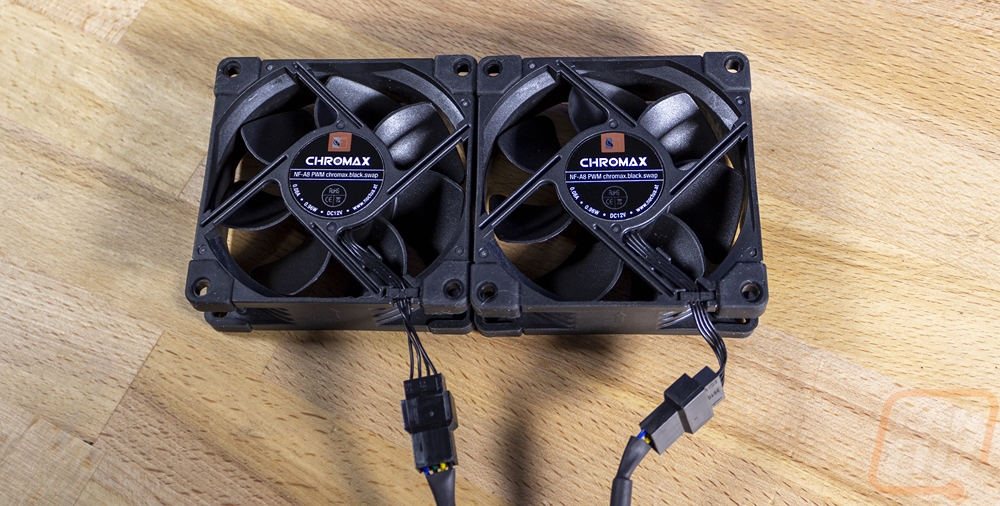
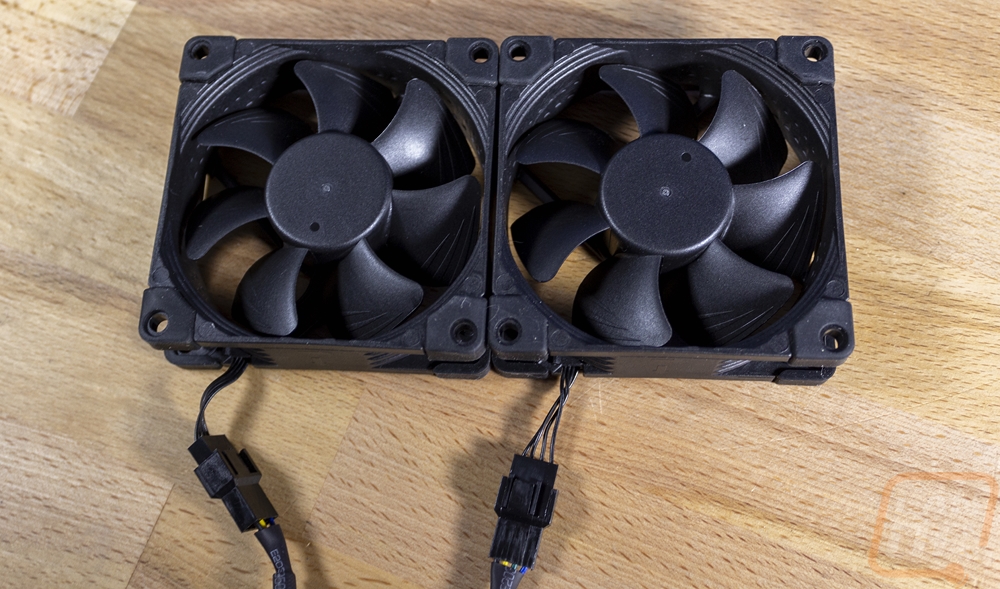
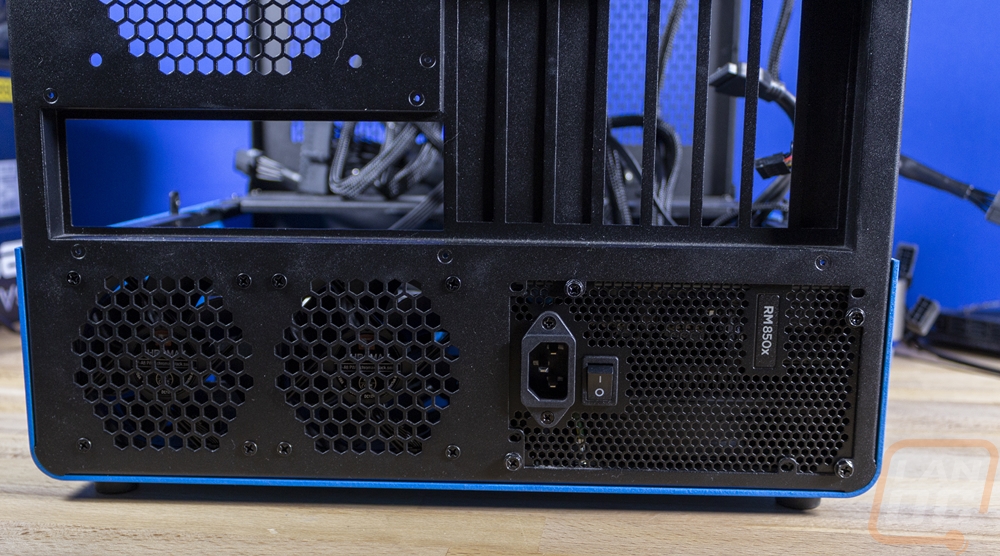
Here they are installed, you can see how they pull air right from the hard drive bracket area which should help a lot with keeping that cooler this time around. I did use the same trick with the Y with these as well to clean up wiring putting the Y right at the fans and just having the one long cord. Our motherboard, at least the current one doesn’t have enough fan headers so using a splitter for both the two 80mm fans and the two front 140mm fans was needed.
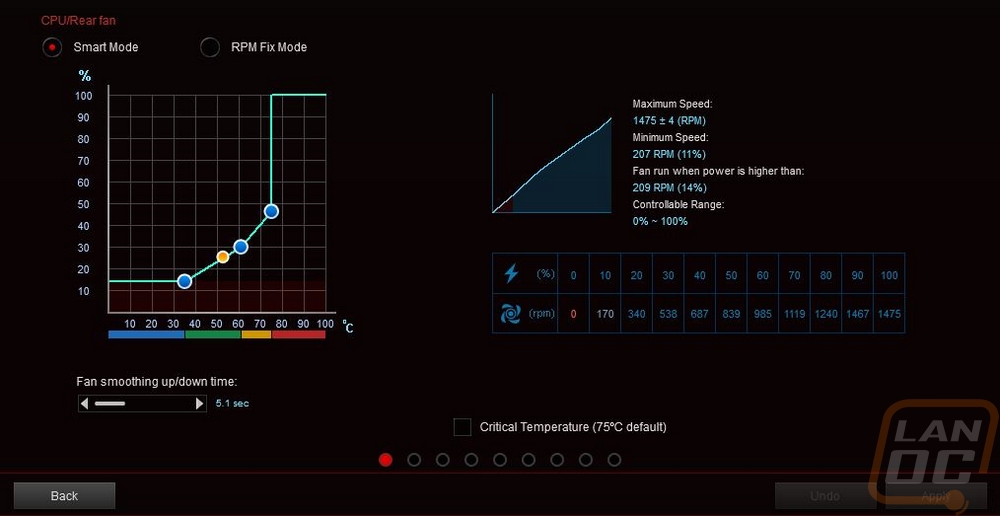
Now installing quiet fans may be enough for some people, but to truly get a quiet PC you also need to tune the fan profiles as well. Especially for me where when I’m gaming I have my headphones on more often than not. But when I’m not I can hear every noise in the office and in my house really. My office is centrally located with four different doorways. Anyhow, starting things off with Asus’s software they give you an option for fan tuning, this runs the fans at 100% fan speed and down to their lowest speeds to know what the upper and lower limits are, from there Asus creates four profiles and for the most part, this does a great job. I prefer a little different profile I change the fan profiles up a little to make the PC silent during normal use.
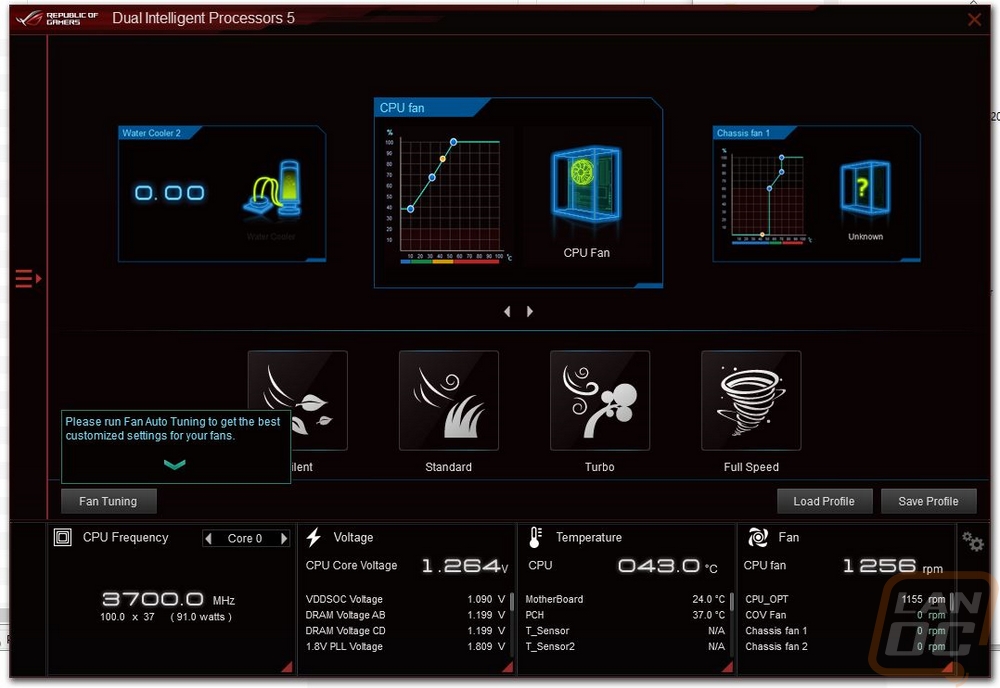
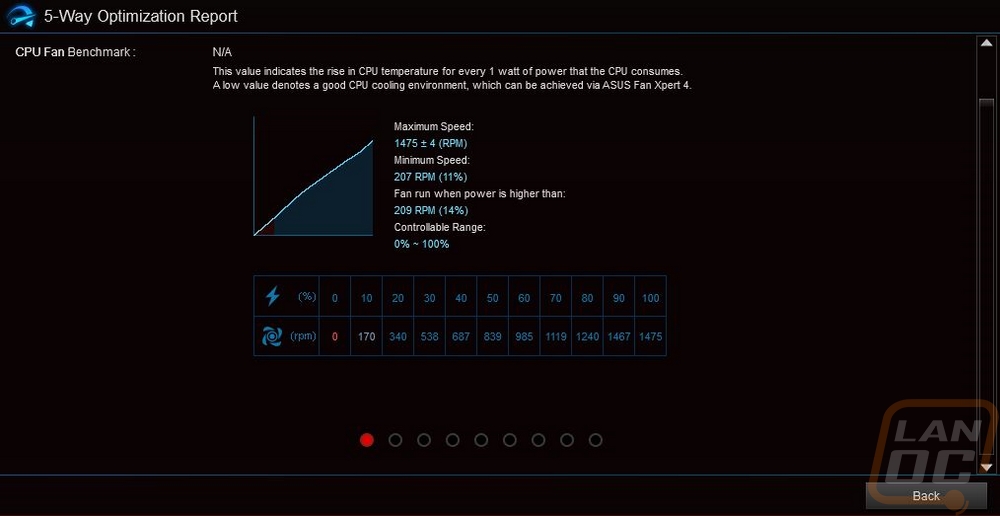
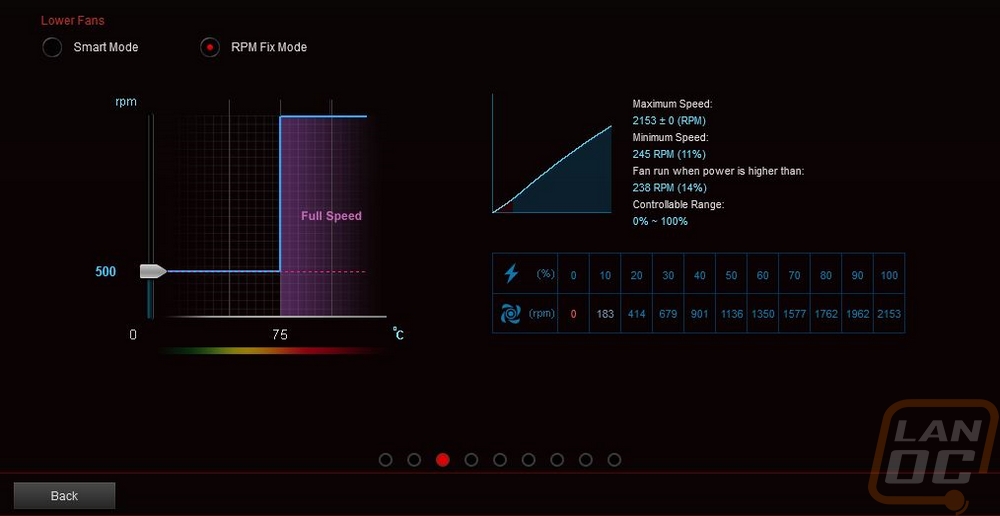
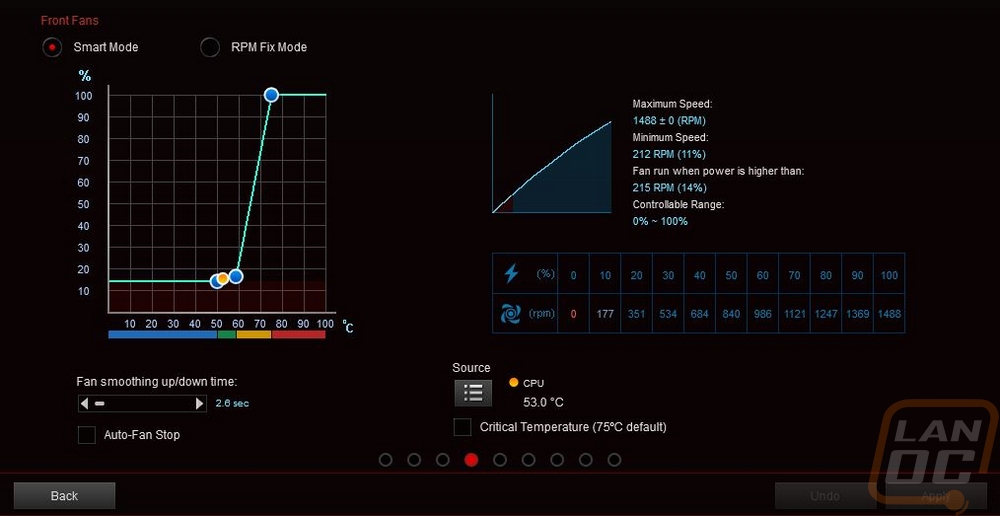
For this setup, I started by setting the two 80mm fans to just above their lowest RPM setting. I don’t need a lot of airflow in the bottom of the case, and I especially don’t need those small fans cranking up to 100% when the CPU gets warm when they are only there to keep there from being a hotspot around the hard drive. So those are set to a static RPM. The two front fans are set to run at their lowest speed until 50c on the CPU with a small ramp up in RPM until 60c where I have a big ramp up from there. Then the CPU fan and the rear fan which are tied together have more of a gradual ramp up. Anything below 35C is at their lowest RPM, but normally it will see between 25% and 30% fan speed as I’m targeting the 50c range under normal use. The idea is to keep things cool enough that the front fans don’t need to also ramp up. Fan smoothing is also important, the quick speed changes are what you hear the most. So setting slow ramp up and down times help keep things less noticeable even when they do get loud. But with this setup, the PC is completely silent in everyday use, including when watching videos, and only really ramps up slightly when in game which is perfect for me. A HUGE improvement from the old setup in noise and cooling. But additional cooling improvements in the future should help even more.
Replacement PSU
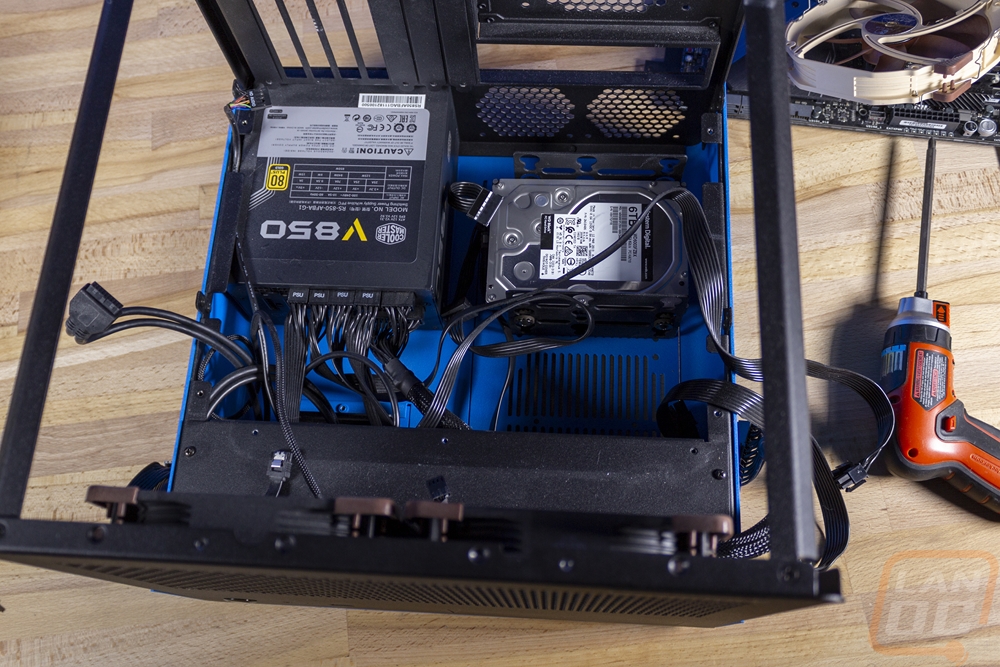
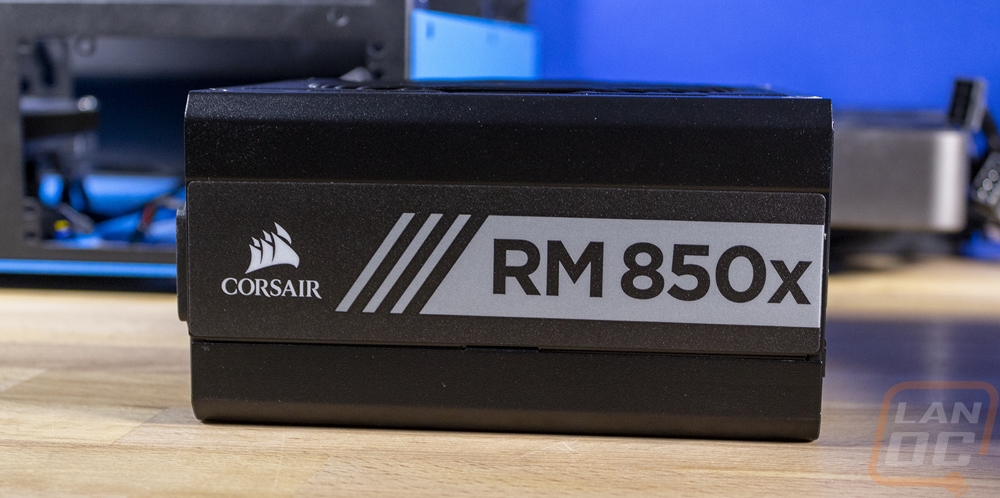
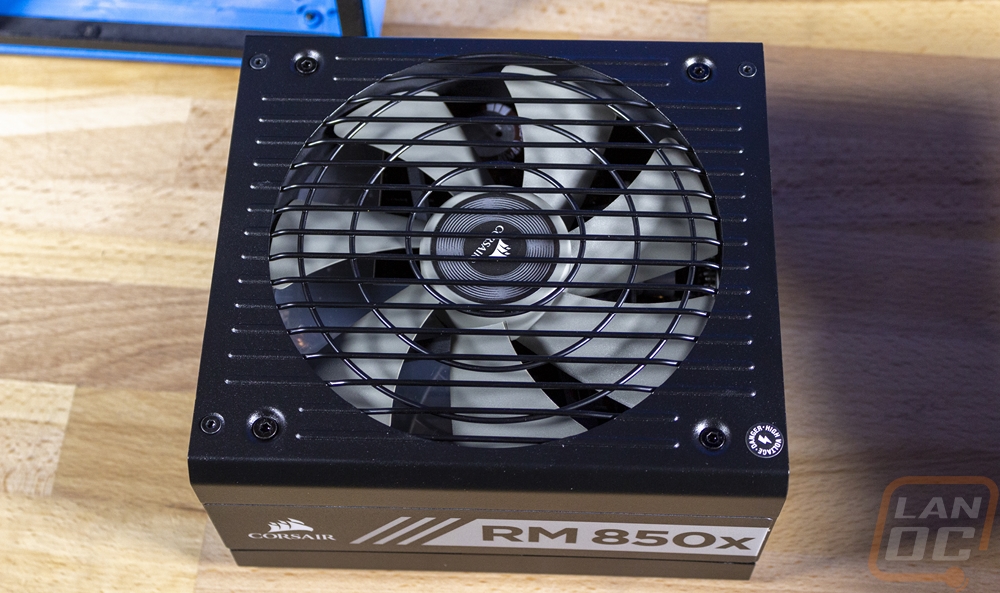
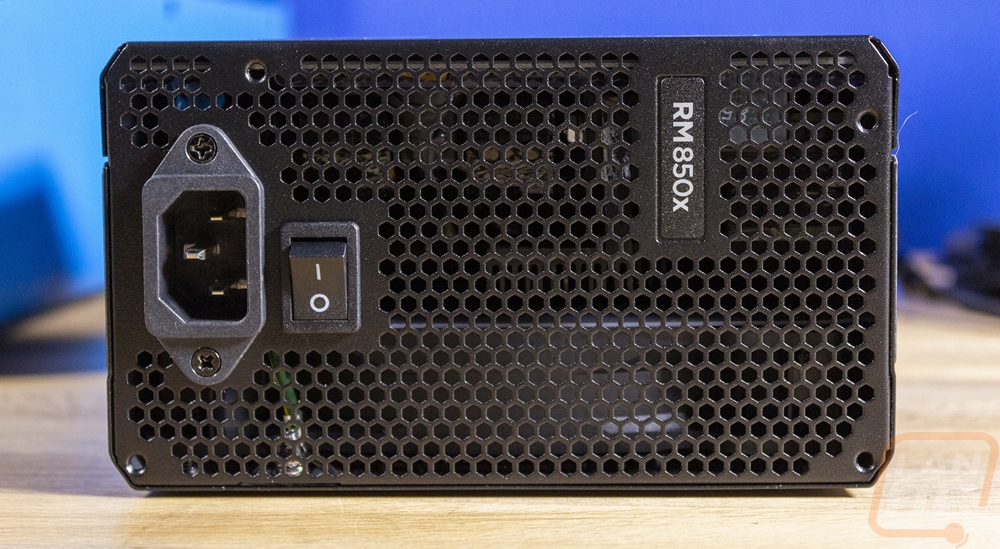
The other half of today's upgrades is a new power supply from Corsair. This is more of a refresh, I don’t know for sure that our current power supply is bad. But with the weird issues, I’ve been running into, especially some of the GPU related issues I want to eliminate the power supply from being the problem. Wattage wise, the new power supply which is a Corsair RM850x is the same wattage as the Cooler Master V850 that it replaces. Corsair has been rock solid for me with power supplies and this one also has a 10-year warranty as well which offers a little extra peace of mind. I was also diving into the bottom portion of the case with the fans anyhow and it is a pain to work with somethings in the bottom other than the hard drives which can be accessed through a smaller bottom panel. So getting it all done at once was a bonus.
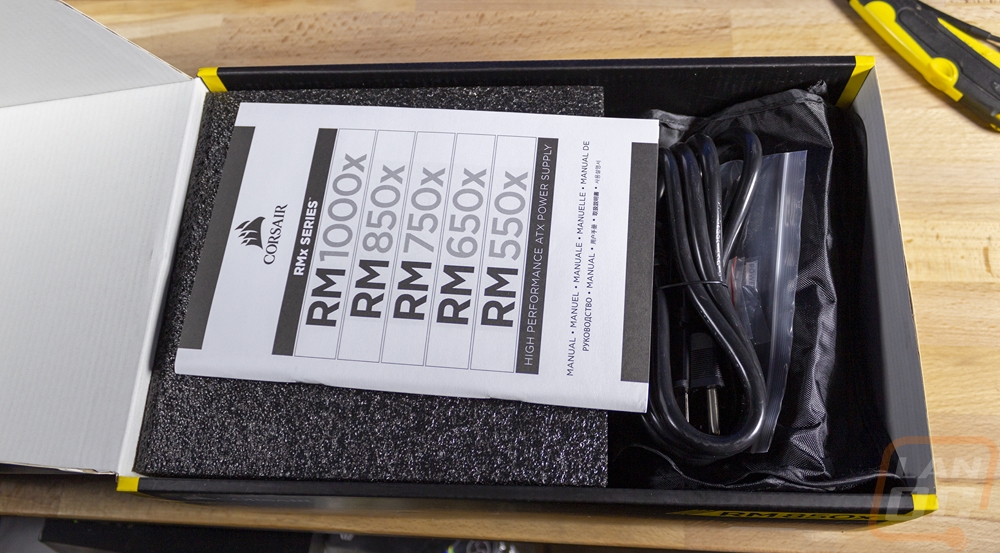
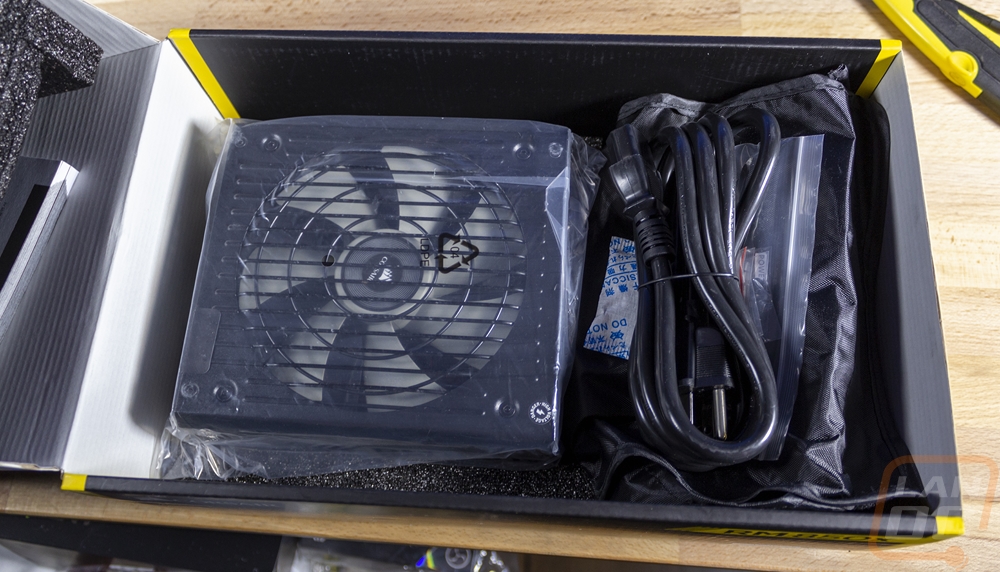
The RM850 comes in your standard setup with foam around it on the top and bottom as well as it having a plastic bag over it to protect it from damage. Then on the side, they have the power cable and a small bag of accessories sitting on top of Corsairs canvas-like bag that holds all of the modular cables, they have been using this same setup all the way back to the first Corsair power supplies which innovated the industry back in 2006 when they started building their PSUs for 50c testing when everyone else was doing 25c, improving quality and longevity. I think my HX620W is still running.
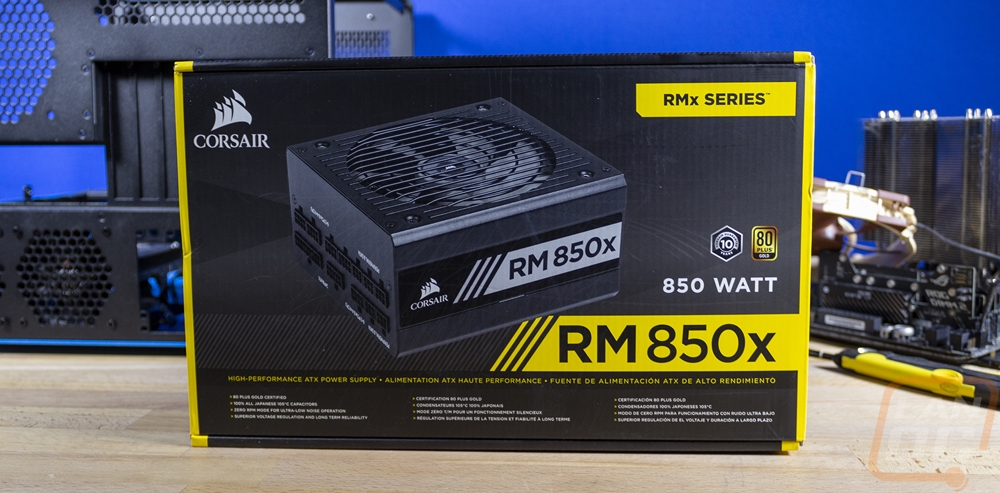
While the V850 and the RM850 have the same specs when it comes to modularity, same cable type, same wattage, and same 80Plus rating which is gold. The RM850 is out ahead in styling, that is for sure. I like that Corsair angled the corners which gives is a stronger look. But then they stuck with the same stripe on the side that they have always done which features the model name/wattage and they use colors to help show which model you have. I like the black and grey look here specifically because it is clean. Sadly none of this will be visible in our case with it buried down in the bottom.
Now for the cables, the RM850 uses a mix of the flat flexible cables and flat cables covered in black sleeving. I personally would prefer to drop the sleeving and stick with the base black flex cabling, I think it is easier to hide and draws less attention to itself. But you can’t say the cables look bad, there aren’t any ketchup and mustard cables to be seen.
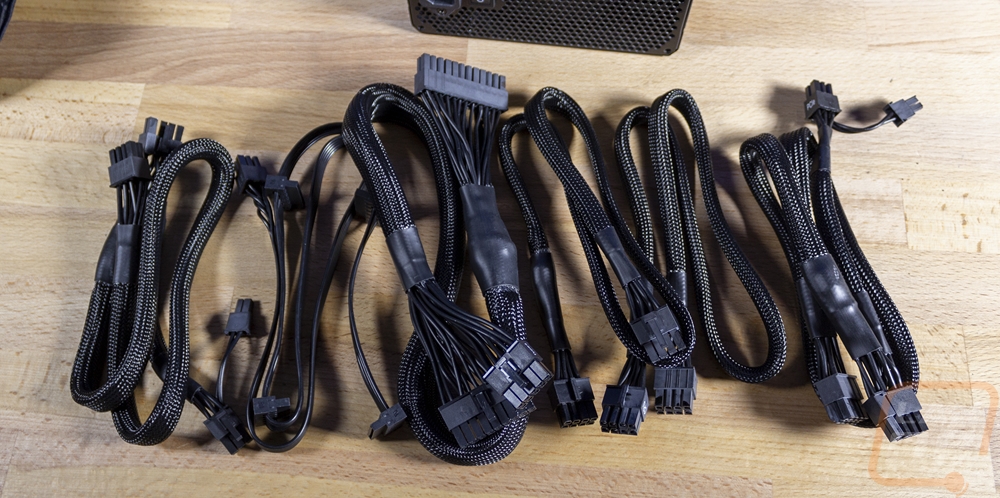
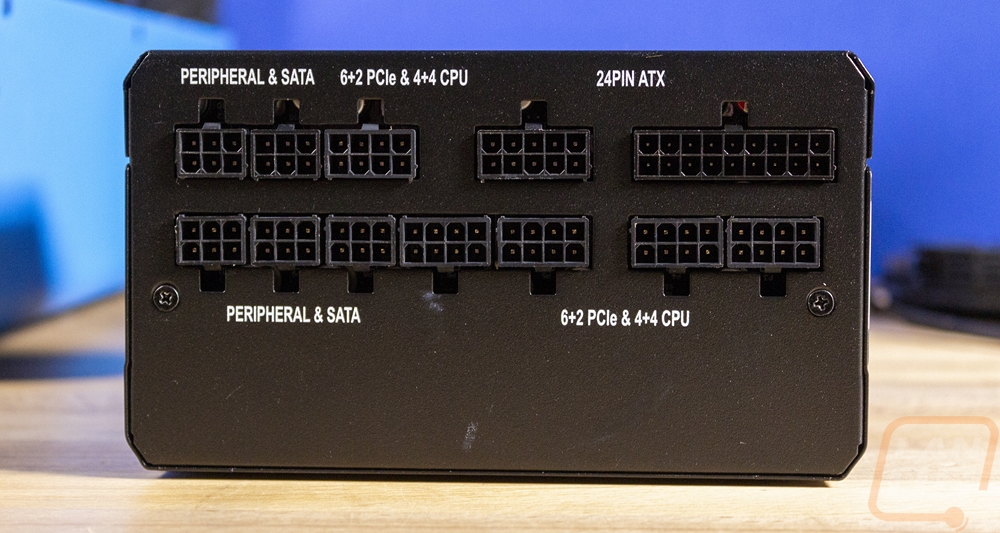
I like to do this in most builds, but it was even more important in this case. I sorted out the cables and figured out what I would need ahead of time and hooked them all up to the power supply. I did this before installing it into the case to avoid the struggle of trying to see where to hook them up in a tight space.
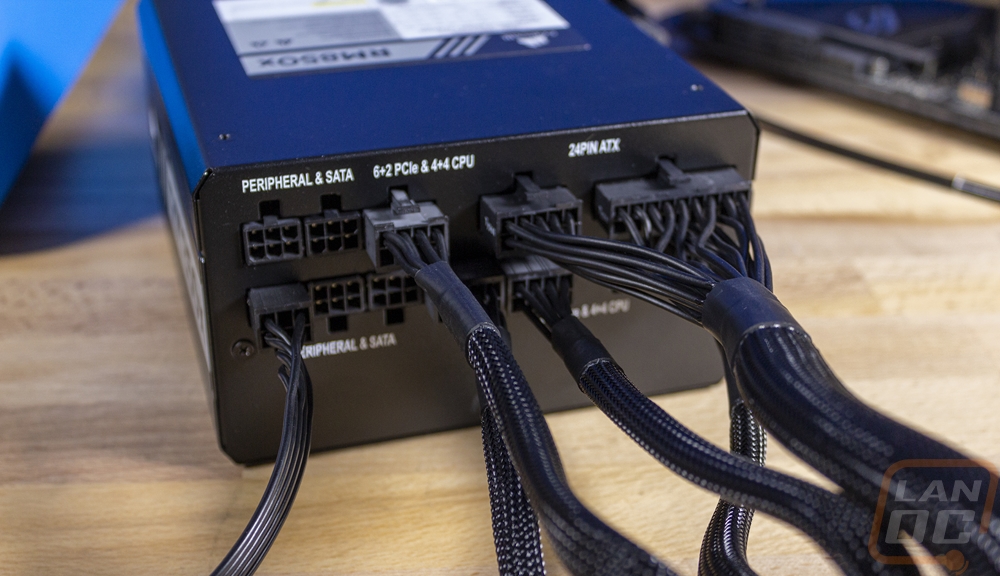
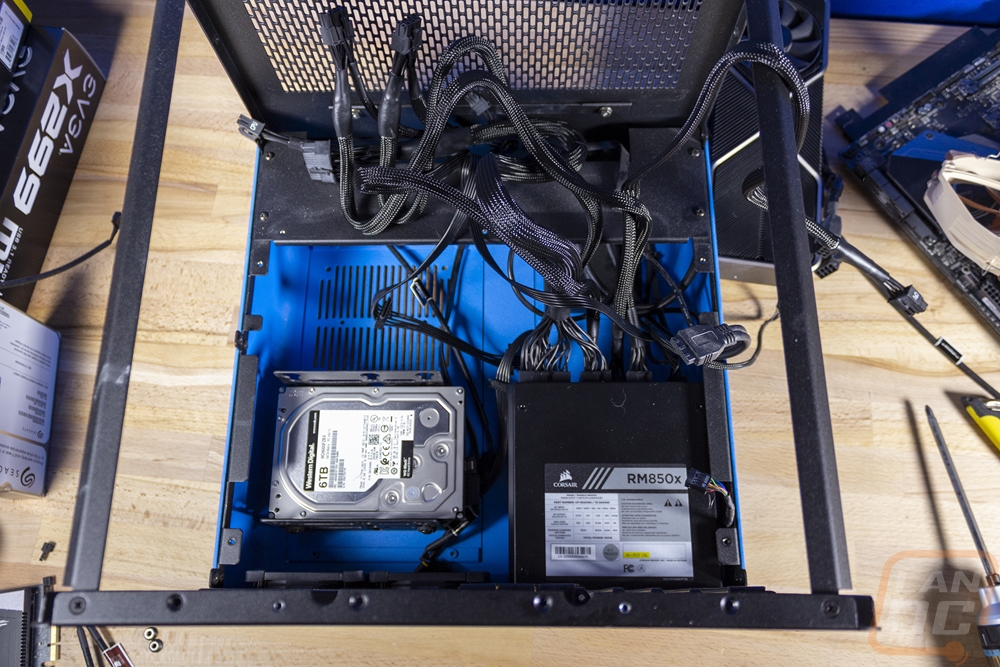
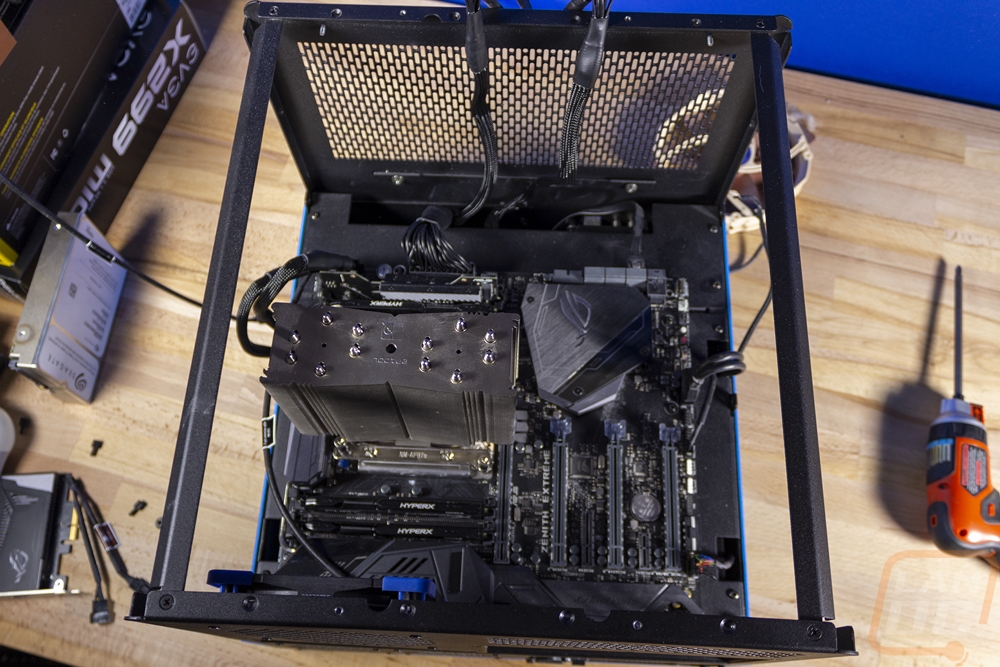
From there I pulled the cables where I knew I would need them. This included hooking up the hard drive down in the bottom and running a few cables down to the edge of the motherboard tray where I knew there were openings. Then the rest up near the front fans to hook up the video card and 24-pin motherboard power. Then I could drop the motherboard tray with our motherboard and everything still installed.
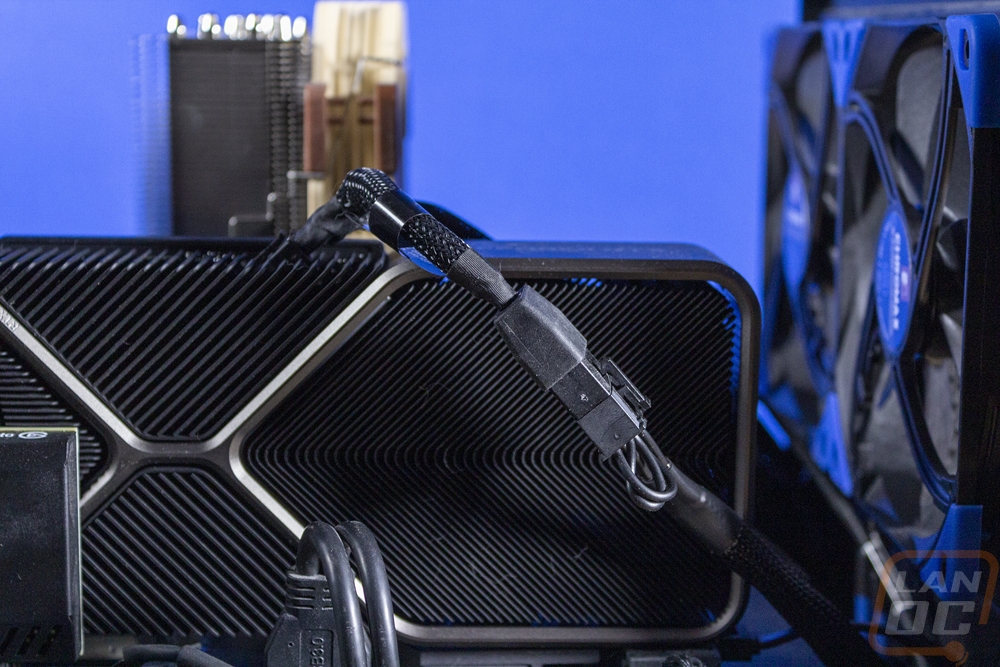
Now beyond just making sure that a PSU issue wasn’t the cause of any of my issues. Swapping things out did let me find a potential issue and correct it. With our RTX 3080 and its dual 8-pin connection as it turns out I had both plugged into the same split cable. Which isn’t out of the ordinary to see, most power supplies including this one come with cables with dual 6+2 PCI power plugs. Video cards do get a little better power when you use two different cables and given the 3080’s higher than normal TDP it is always possible that it wasn’t getting all the power it wanted. Either way, in the end, I was left with a few things. For one, that 12-pin to the dual 8-pin adapter is ugly. I also would love to do color-matched cables on this build, but currently, that seems pointless once you add in the split cable. I hope to see custom adapters available soon, the same for the proper cables for the PSU to avoid the adapter altogether. Corsair does have one listed on their website, but I’m not sure when it will be available. That would at least be an improvement over this current setup!
As for the rest of the build, I will have more upgrades coming soon. I need to spend some time with it to see if the new power supply has helped things at all. On top of that frankly, I need to decide if I want to upgrade the CPU and to what. I have water cooling parts ready and waiting, but what CPU I go with and potentially what motherboard I go with changes what water block I go with. So there might be a little more time until the next part of this series, until then I have another project in the works as well.


