Photos and Features
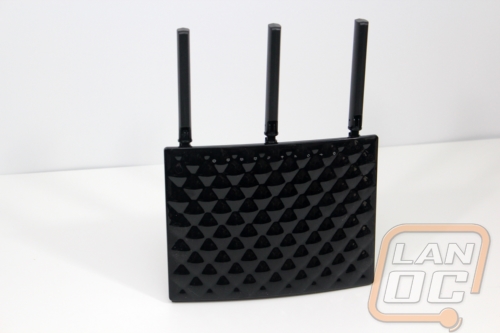
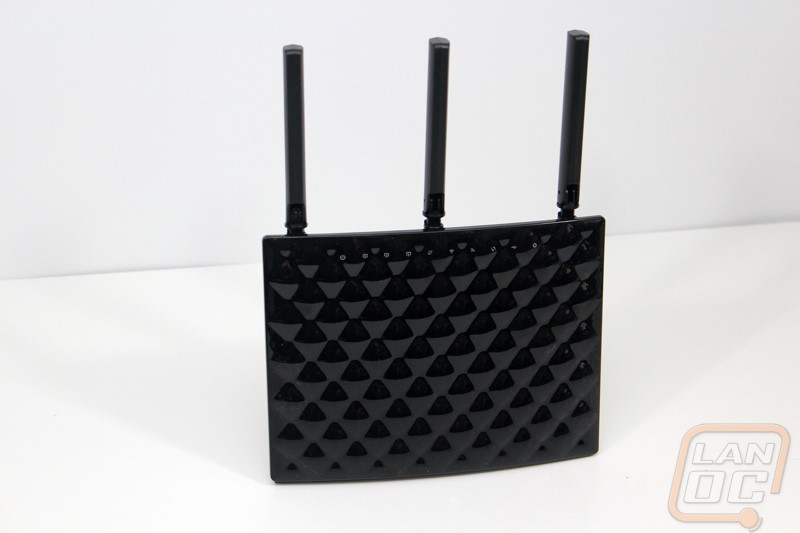
When you first see the AC15 there are really only two things that are going to stand out. The first is the glossy bubble like finish across the front/top of the router. As a whole I’m not a big fan of things like this having a glossy finish as finger prints will always show. The good thing is you shouldn’t be handling your router all that much, but I bet even if you clean the finger prints up you still end up with prints from ghosts. The other big eye catching design feature are the three large antennas. When you sit the router down flat like in the photo below the antennas can be flipped up to keep the footprint small and most importantly to get the best possible reception. For a while a lot of routers were starting to go with built in antennas but with wireless AC using a third antenna most have jumped back to having one external like Tenda has with the AC15. We can’t really see it in the photos but the AC15’s bubble front also has a transparent area near the antennas where it has all of the status LEDs to show when Ethernet cables are plugged in, wireless usage, and power.
Opposite of the antennas the AC15 doesn’t have to much going on. In fact, all you will find here are the holes where you mount the vertical stand that I will talk about more later.
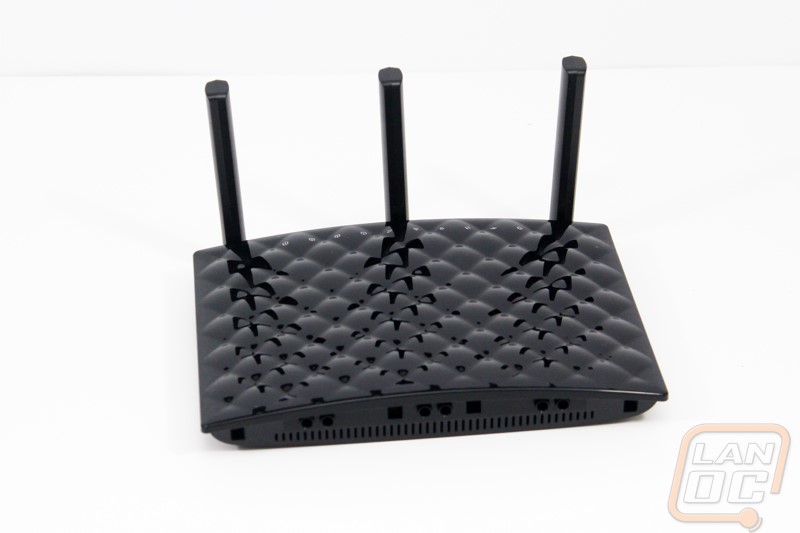
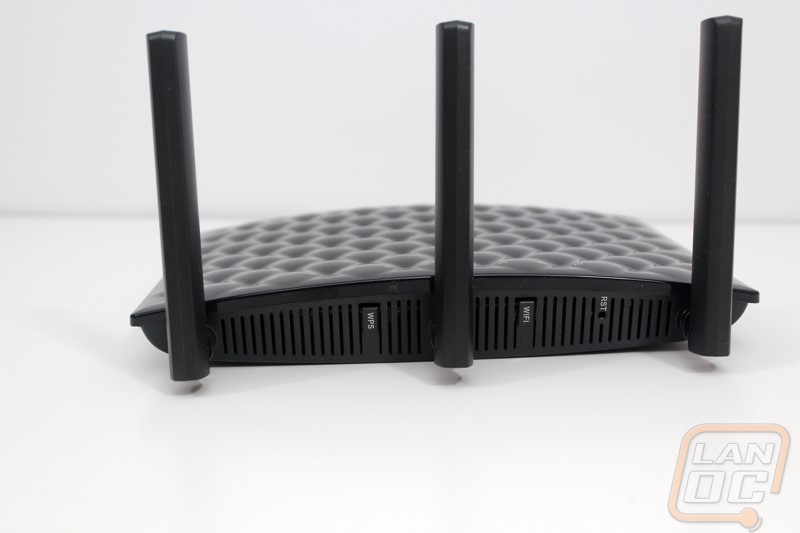
The other end of the router does have a few things going on. Obviously we have the three antennas with their one way tilt. You can also twist the antennas a little as well. Around the middle though there are a few buttons. One is the one touch WPS button for quick setup. The other turns the wireless on and off. It’s great to have a physical button to turn the wireless off rather than having to get into the software to turn it off each time, not that most people do this often.
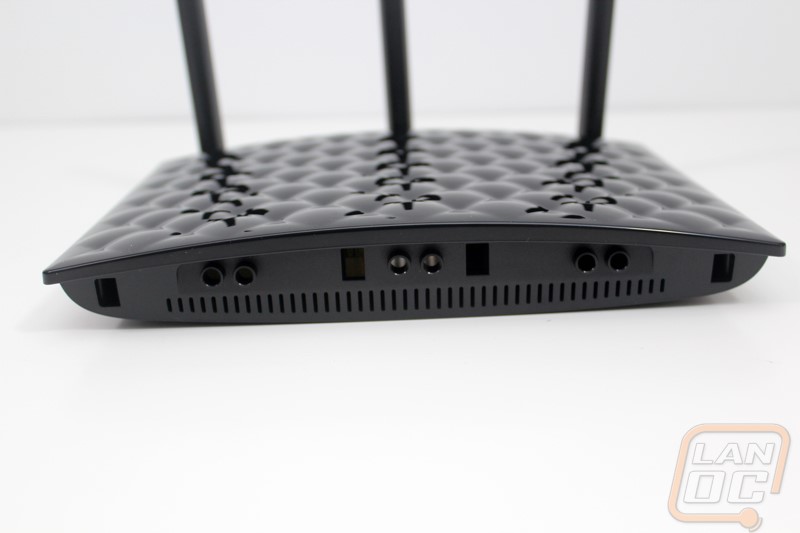
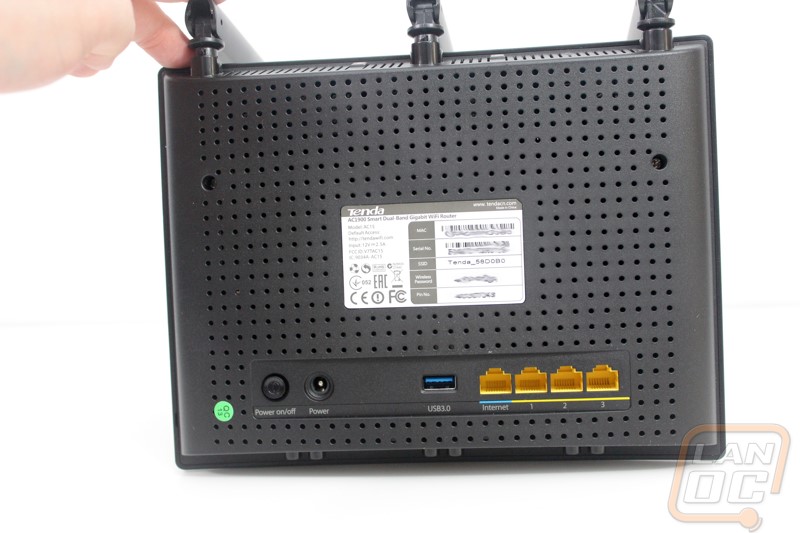
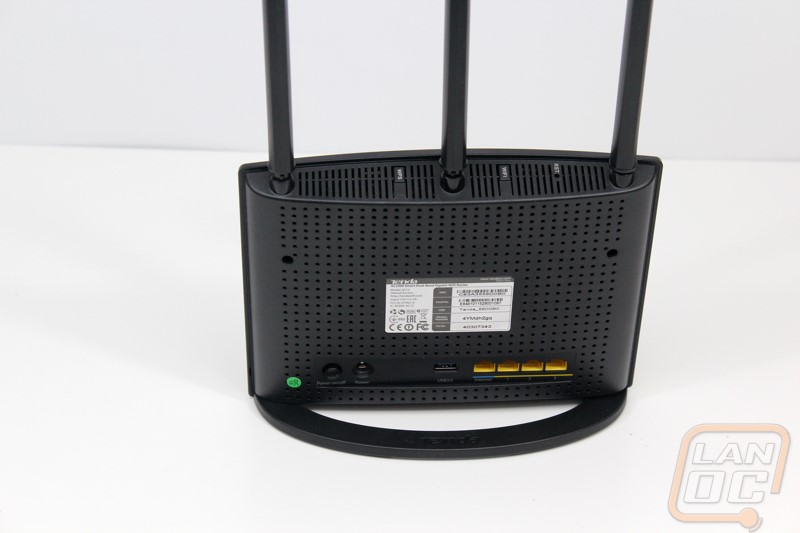
The rest of the physical features are all tucked away on the underside of the AC15. Here we have a sticker in the middle of the back. This has all of the required certifications as always. In addition it also gives you the device mac address, serial number, and even the default wireless name and password. The wireless name and password is important these days because a lot of people might be trying to set this up without a device that connects via Ethernet at all. The entire back of the router has small ventilation holes other than the area around the rear I/O panel. There we have the power connection and power button. There the AC15 has four gig Ethernet plugs, one for the WAN and the other three for LAN. To keep things simple for people who don’t know as much about networks they have labeled the WAN port as internet and put a blue line under it but I would have liked to of seen a different color port all together to help. Then there is also a USB 3.0 port to let you attach storage or a printer to get it on the network.
While the antennas flip properly, the AC15 is clearly not designed to be laid flat. For starters there aren’t any feet on the back but more importantly, with the Ethernet connections being back here it would never be able to lay down anyhow. That’s why Tenda includes a half moon base to attach to the router. The base has a flat finish and on top you can see the Tenda logo just slightly. The bottom of the base is simple and to the point with three pads to help keep the router from moving around.
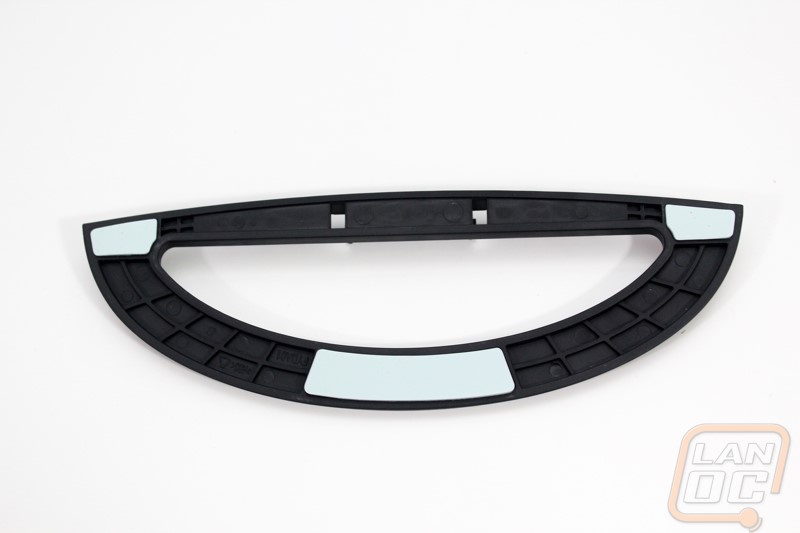
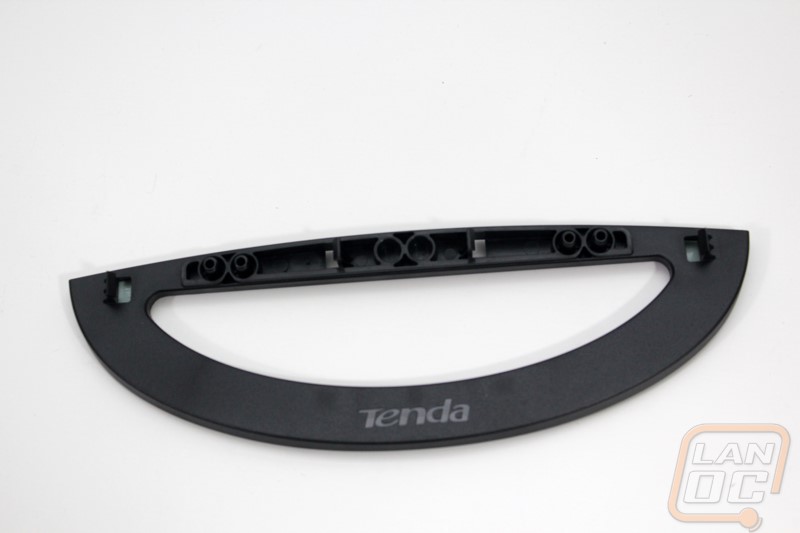
To install the stand all you have to do is push it into the bottom of the AC15 and it will snap into place. Once on the AC15 stands up vertical but leans slightly back to keep all of the weight on the half-moon base.

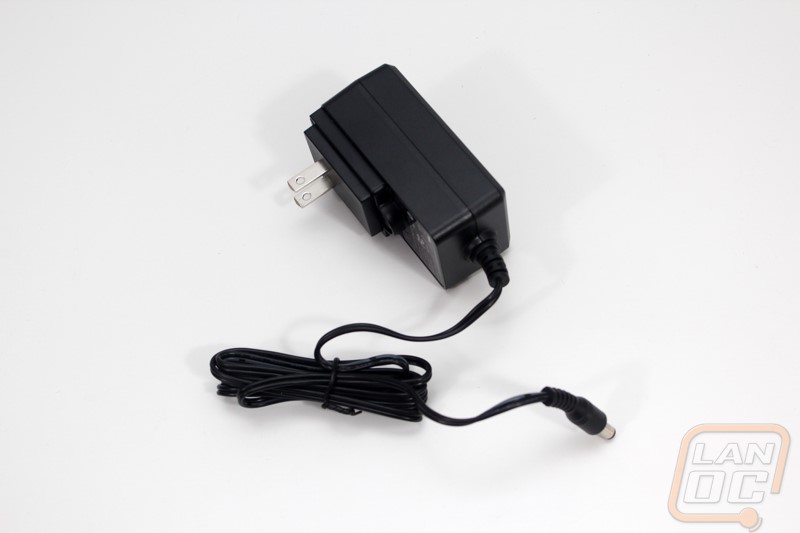
Last but not least we have the power brick. I think Tenda skimped a little too much here, the cable here is at most 4 foot long. I ran into issues right away when trying to put the AC15 in a permanent location.