Installation and performance
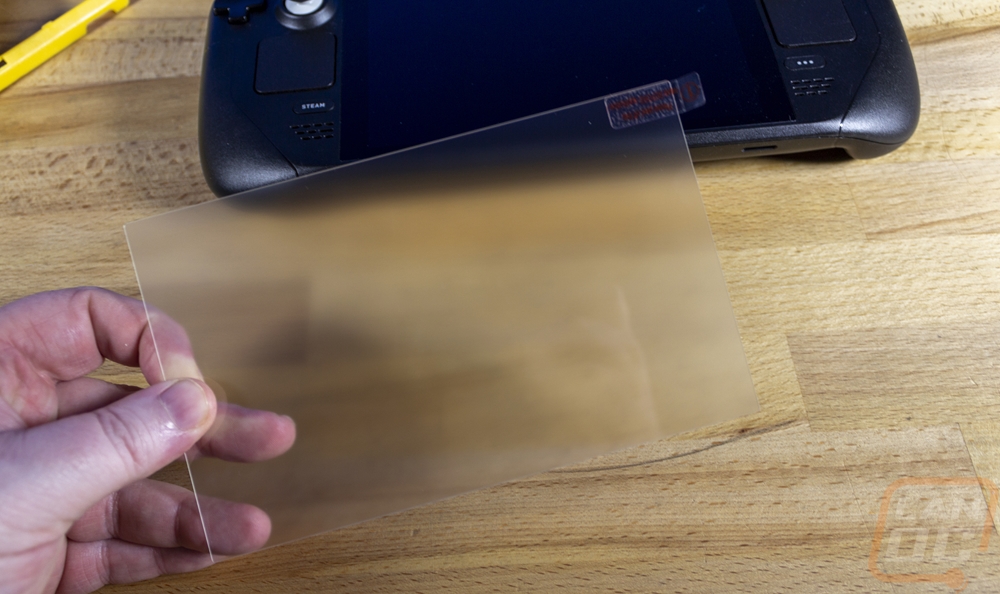
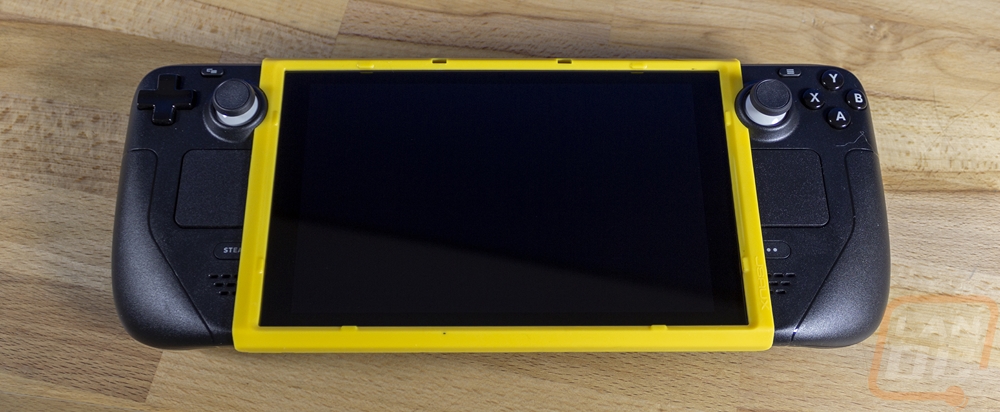
I have to get everything installed before I can talk about how things performed. To start that off I kept things simple by installing the JSAUX matt screen protector. The kit comes with two screen protectors which is nice, even with the installation helper there is always a chance that you end up with something behind it and you end up with a bubble. That said the installation was extremely simple. You clean the screen then install the yellow installation helper. You double check for hairs or dust and use the included dust sticker to pick those up. Then you peel the backing sticker off of the glass and drop it in place using the included squeegee to push air bubbles out.
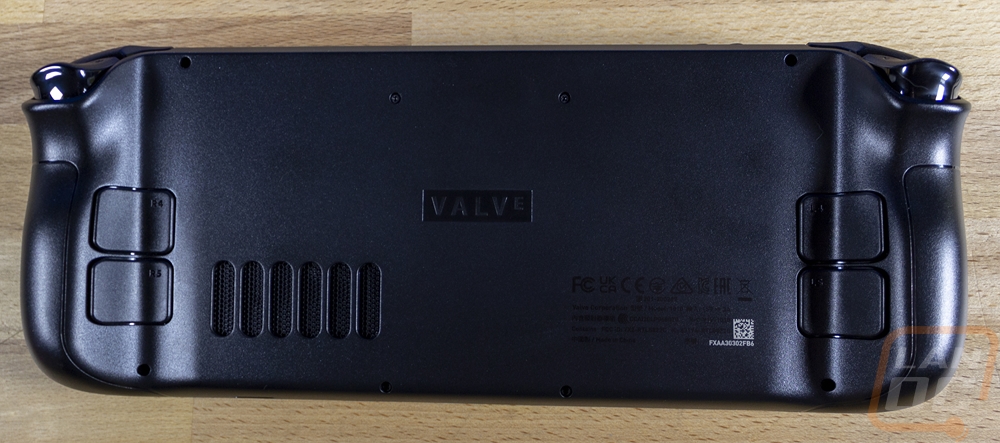
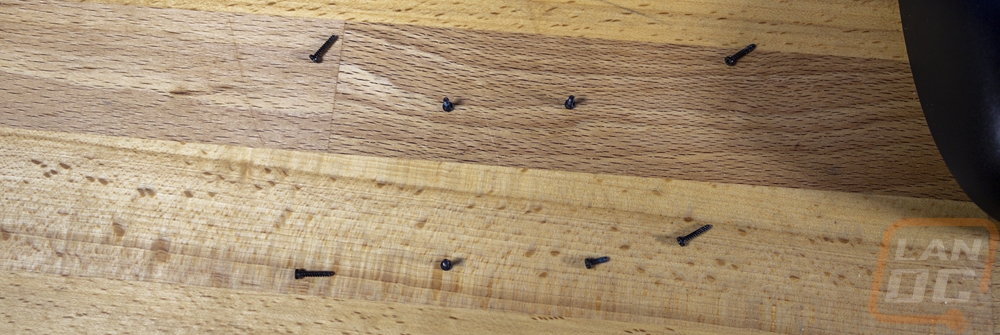
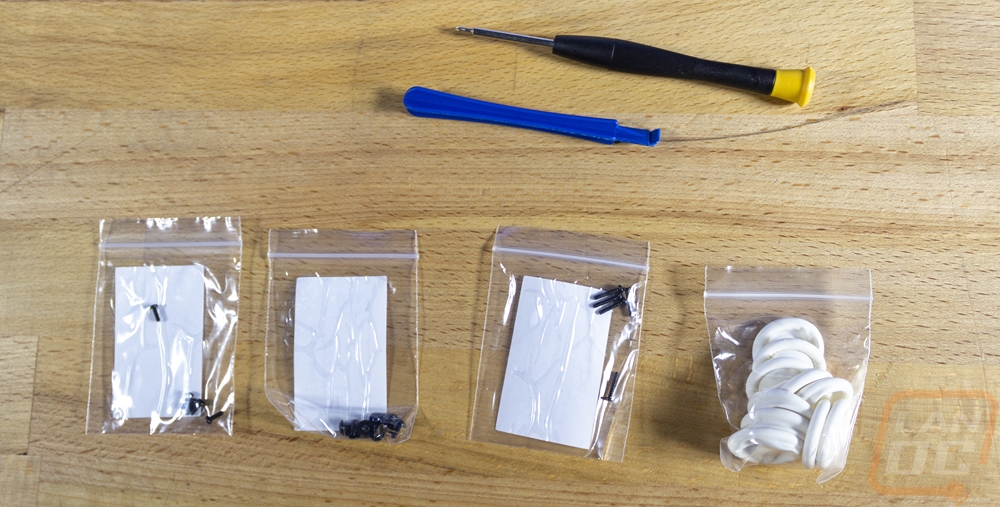
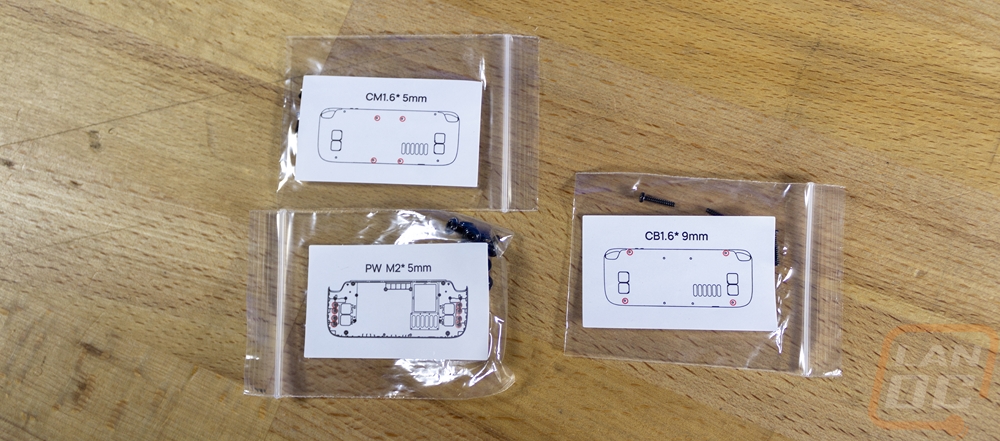
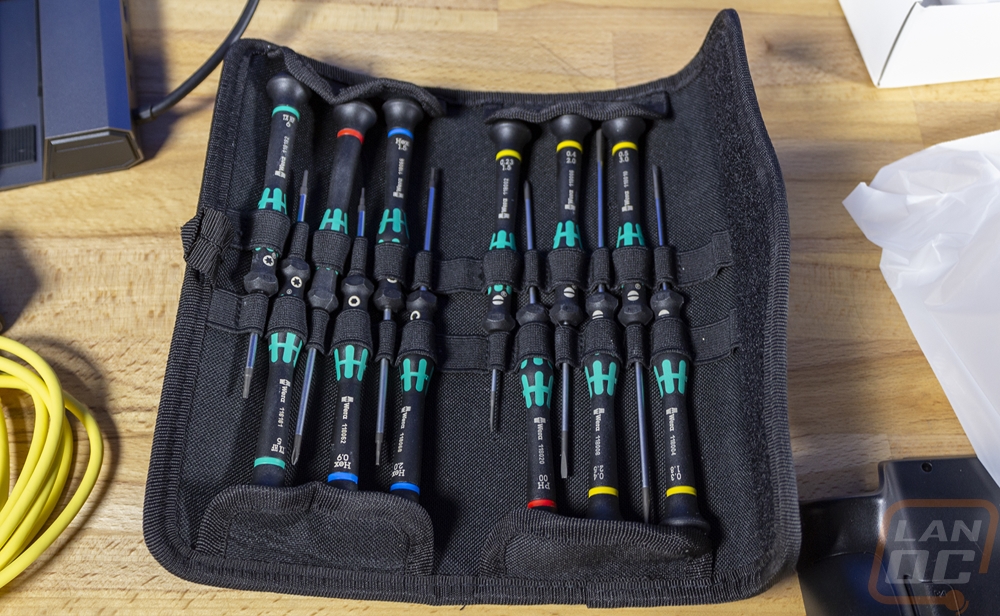
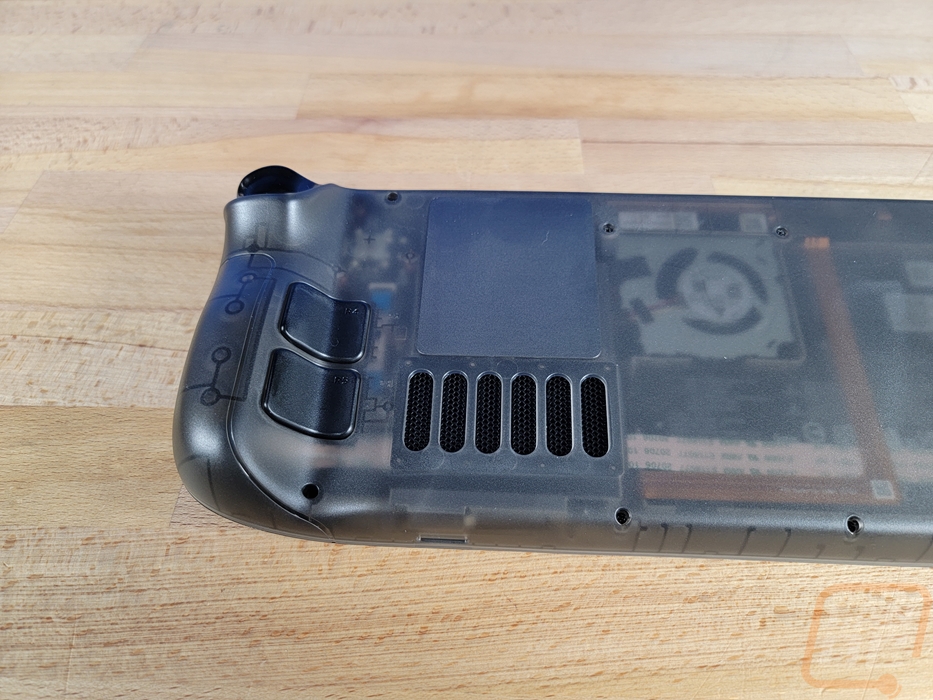
The MicroSD card can’t be installed until everything is done and the dock and charger don’t require installation at all. So we just have the Micron 2400 SSD and the JSAUX backplate. Getting to the SSD requires the backplate to be removed, so I started with the SSD first and then installed the backplate when I put everything back together. Removing the backplate was surprisingly easy though. There are eight screws on the backplate, four shorter screws which are in the middle, and then four longer screws on the outer corners. When removing these I kept them organized but it was nice to know that because the backplate comes with a completely new set of screws if I lost any I wouldn’t have to worry about it. JSAUX also did a great job by putting pictures on each bag of screws showing where each screw goes. The backplate does come with a small screwdriver as well as the clip tool to remove the backplate after you get the screws out. I found that the screwdriver might get the job done, but it was a little loose and had the potential to strip out the screws so I switched to my own screwdrivers just to be safe.
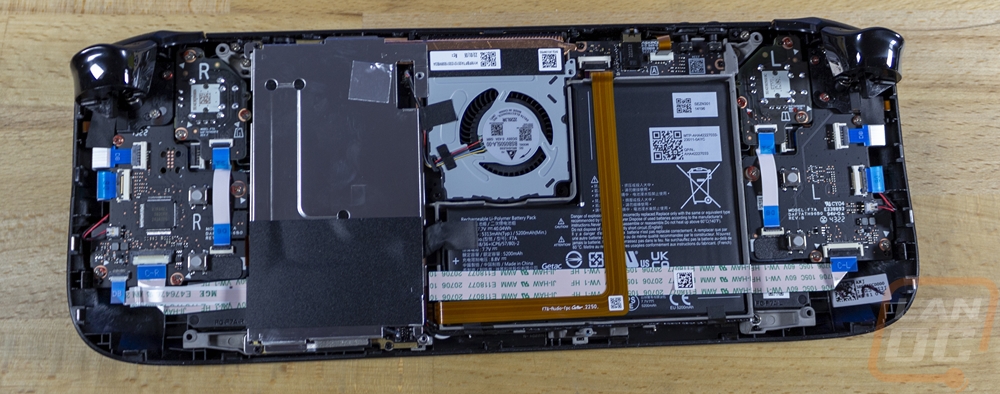
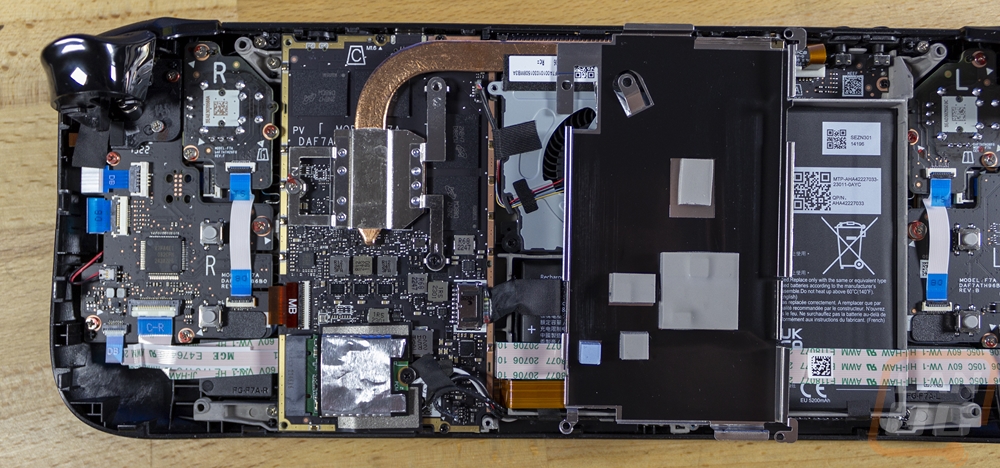
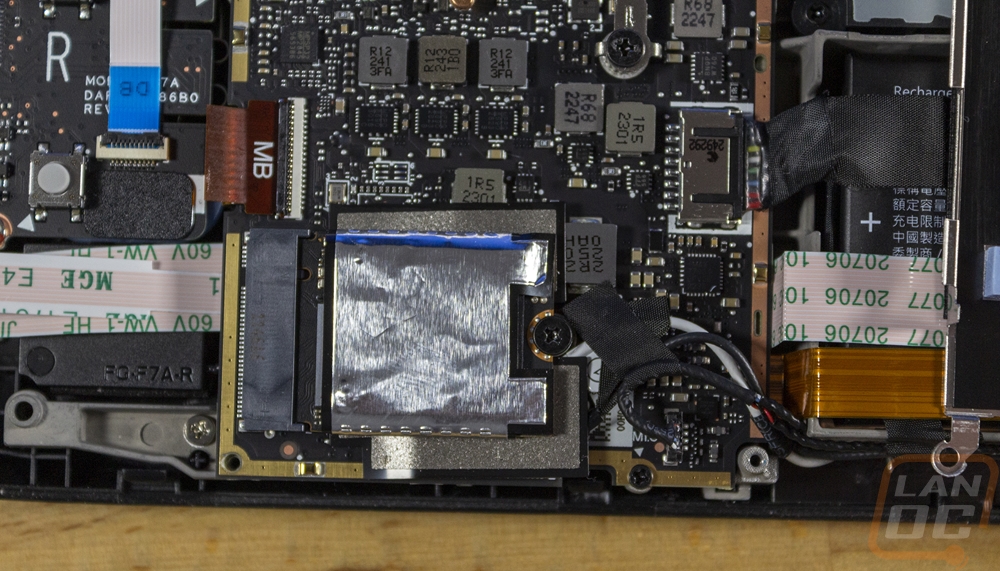
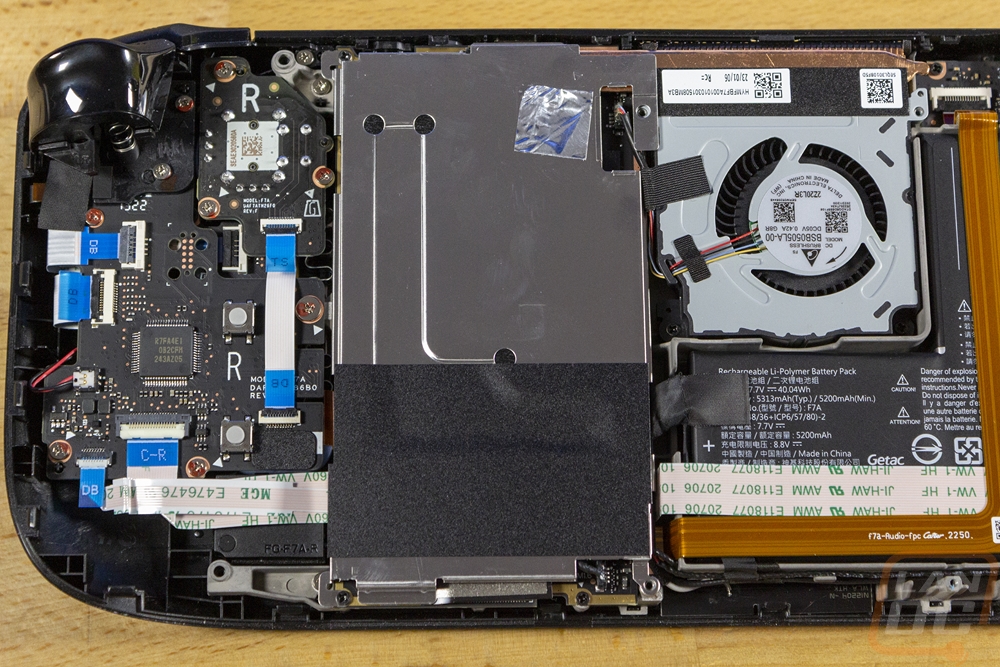
While I would still highly recommend anyone looking to swap out the Steam Decks SSD to follow one of the guides online. I will run through the steps as well. With the backplate off you have access to the main battery which is good to see, just in case that needs to be replaced in the future. To the left of that is a metal shield and heatsink next to the cooling fan. This has one screw under the metal tape that needs removed, then the bottom left and top left corners have small screws also holding it in place. With those out the cover will come off and below it, you have the main board which has the large heatpipe going to the fan/heatsink. Down at the bottom is the SSD which has a metal wrap on it. Like any M.2, this has one screw holding it in place. Once that is removed the SSD will pull out and you need to remove that cover wrapped around it which slid right off for me.
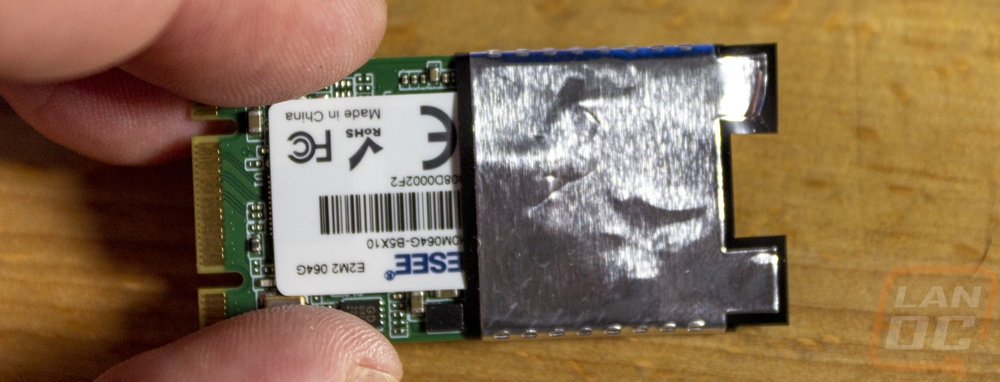
You should put the metal wrap on the new SSD which slid right on for me other hand having to work it around the sticker edges. Then you slide the drive in and replace the screw. The large metal cover goes back in place as well with its three screws and we are back to the backplate installation
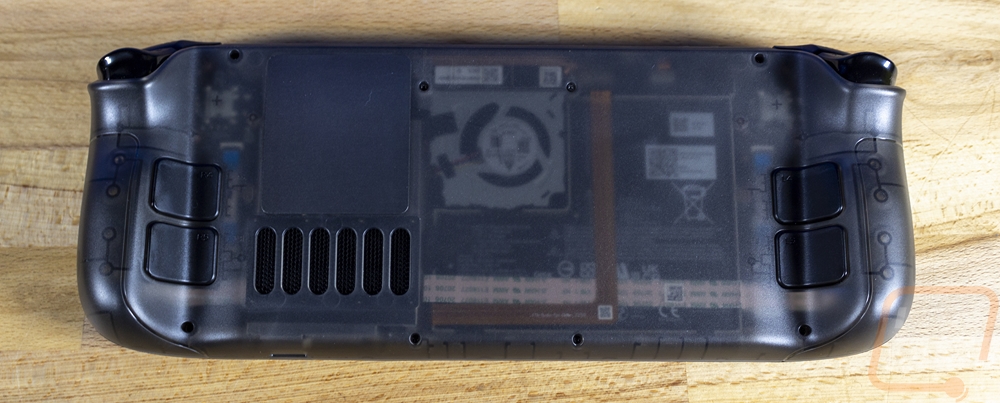
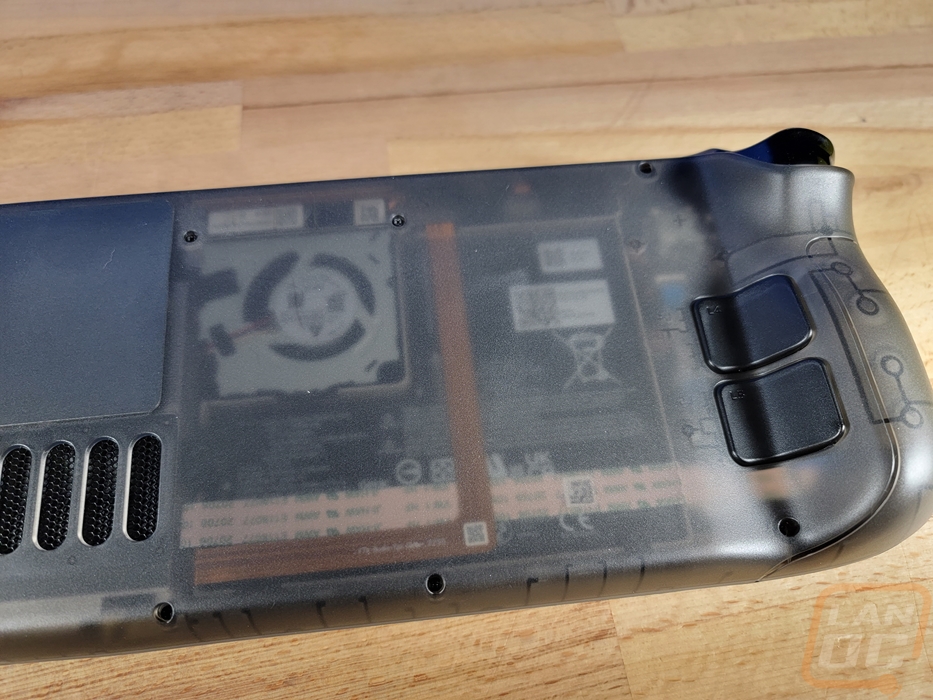
Before installing the JSAUX backplate you do need to decide if one of the larger back button designs is better for you and you do have the option of mixing them up if you prefer that. I do think they would be a little easier to reach than the stock back buttons. But because my wife and I both share this, I didn’t swap them out for now. I can always get back in and change them out later. The backplate snaps back in place and then you have to reinstall the eight screws. Neither the SSD nor the backplate were hard to do at all, especially with the guides available online to let you know what you will see when you get inside. The translucent backplate looks amazing. I do wish they had an orange model as that is what I would have preferred or other bright options like the N64 came in like ice blue. These not only give you a look inside of the Steam Deck, but they also give you a way to set yours apart which would be great if you have more than one Steam Deck in the house. As for their performance, the plastic doesn’t feel any different from the stock backplate. You do have the metal over the motherboard that was hidden before but is now exposed, so when the Steam Deck is running for a while you will feel more heat on the exposed metal. But I’m also curious if that won't also help with cooling. The only other issue I noticed was that in the corners near the triggers, there is a slightly pointy edge on both sides. It isn’t in a location that you would normally touch, but you can feel it when you touch there. I may file them down in the future.
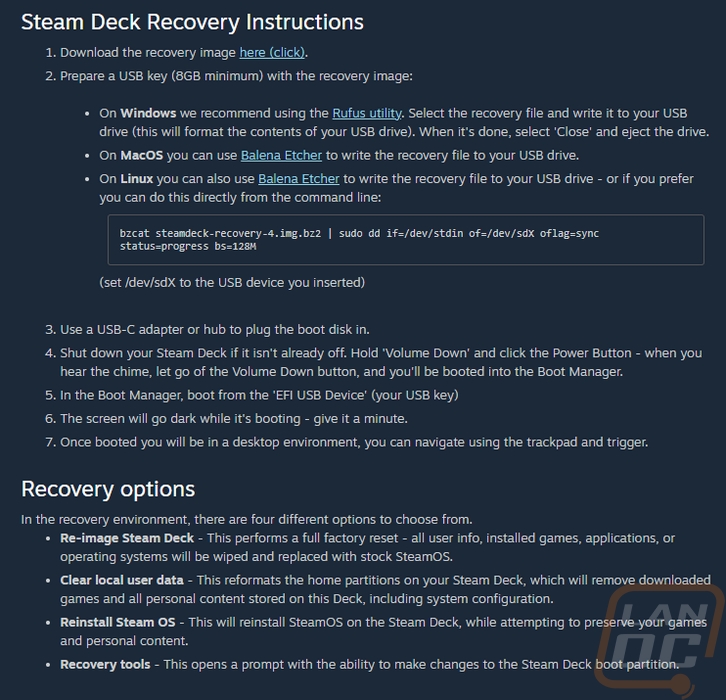
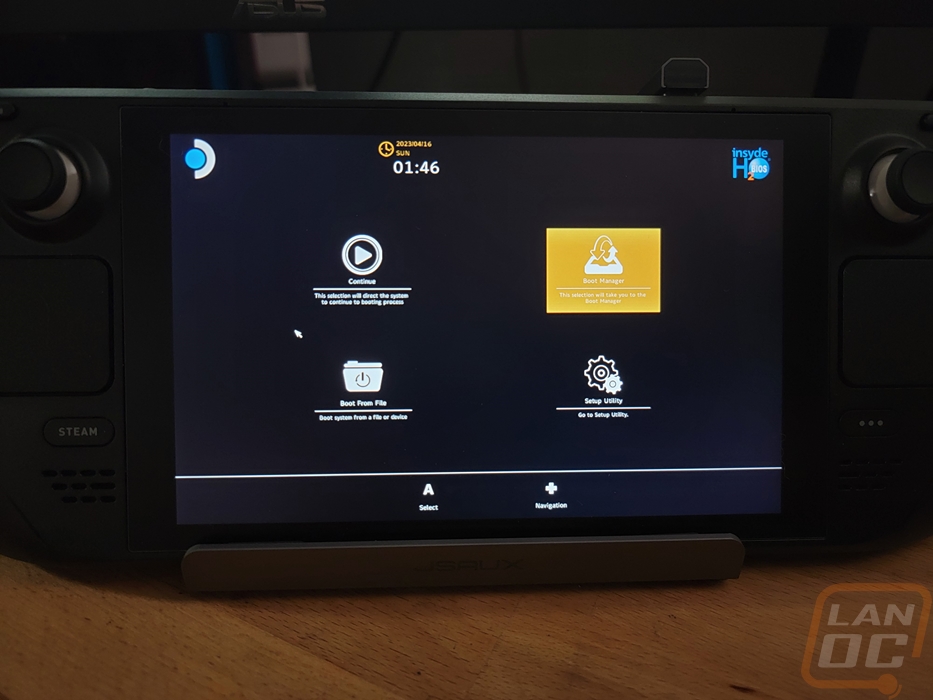
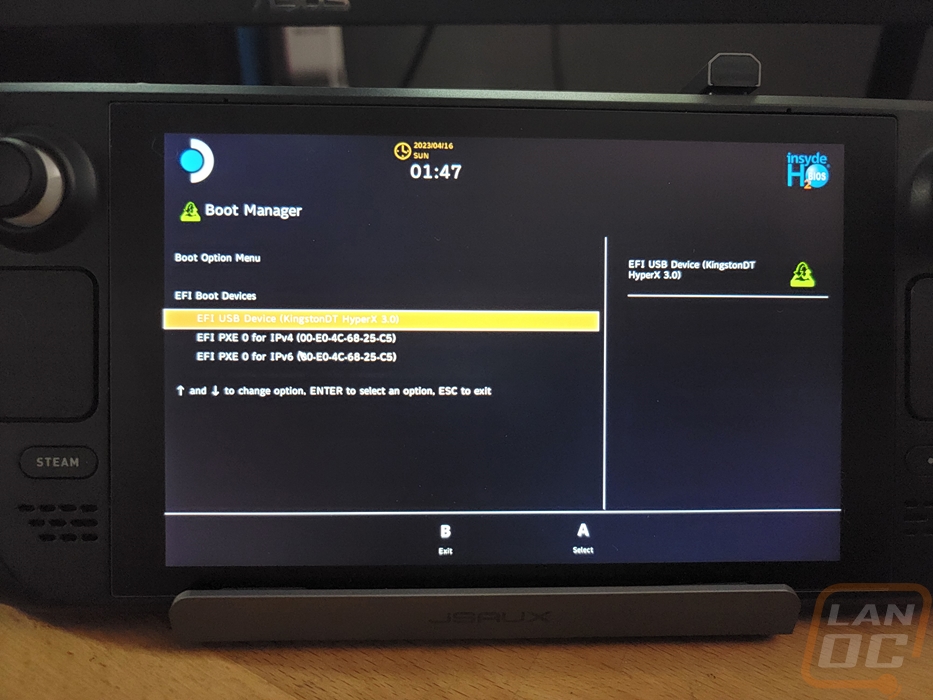
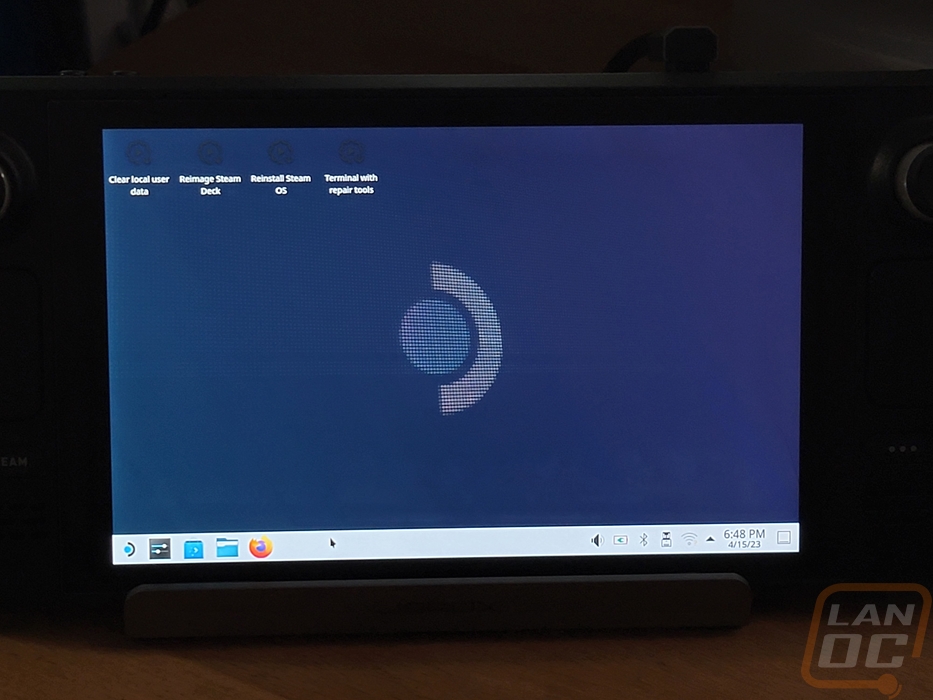
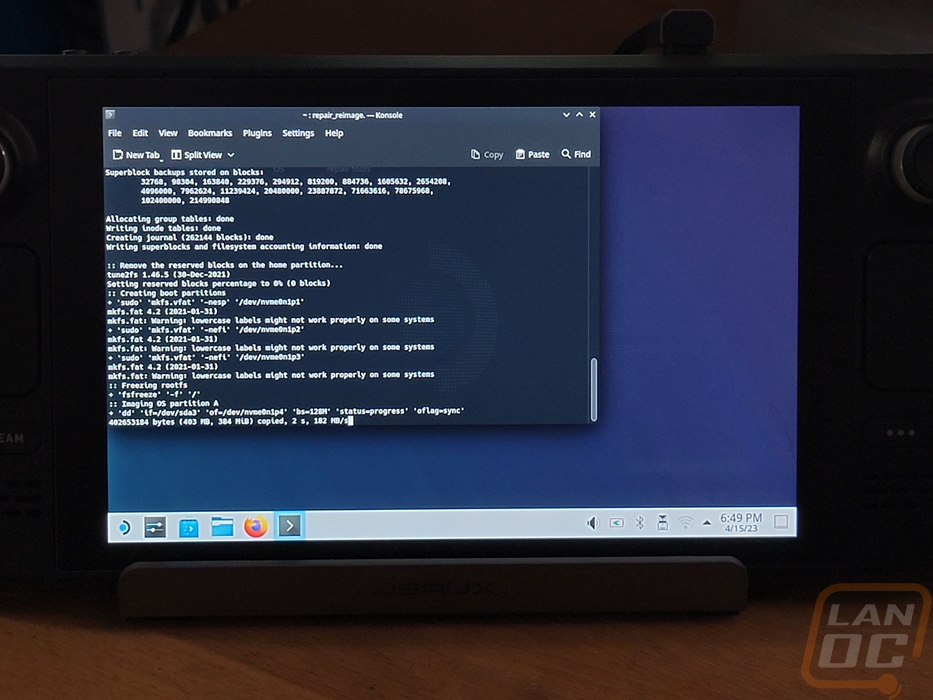
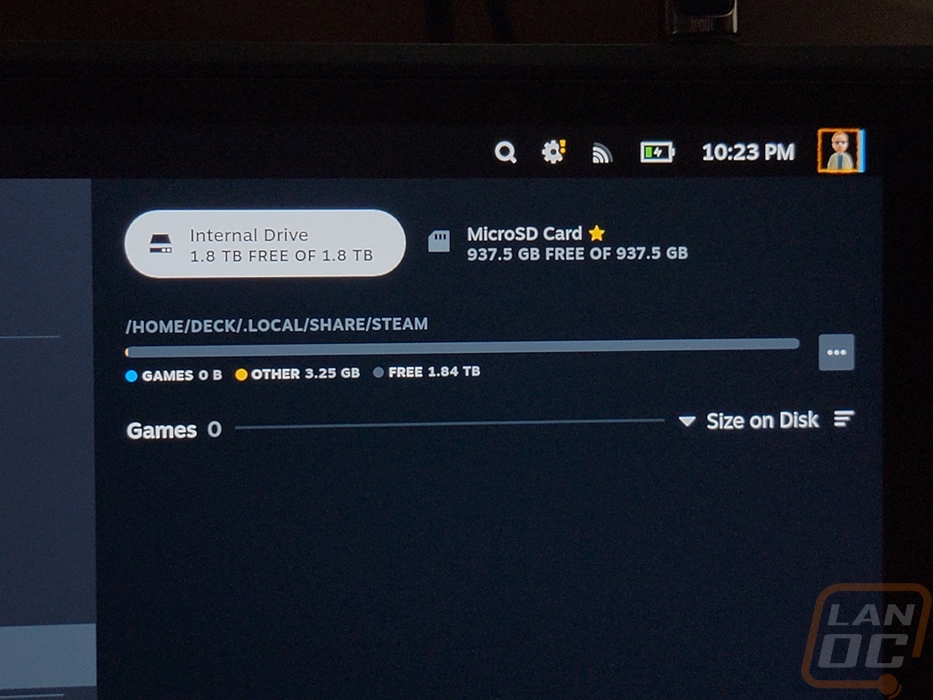
With the SSD installed, you do still need to reimage everything to get your steam deck up and running. Valve offers a step-by-step guide and to do it you will need an 8GB or larger flash drive. Without a dock like we have here, you will also need to make sure you have a Type-A to Type-C adapter for your flash drive. The Valve instructions give you repair, reinstall, or reimage instructions. I did a full reimage as we had a fresh SSD. The reimage takes a little while and runs inside the desktop OS. But once it is done it will boot up and you will now have a fresh install and a lot more room for games. You also need to make sure you install your MicroSD card and in the settings menu format it as well. I can’t stress enough just how big of a difference the two things made. With the stock 64 GB SSD, you basically can only install one or two small games. A lot of the most popular games are 70-100 GB and that can fill up space quickly. Even the 256 GB and 512 GB models won’t have room for too much but with 2TB on the SSD and a 1TB MicroSD card, our Steam Deck is ready to be loaded up with games for both my wife and myself.
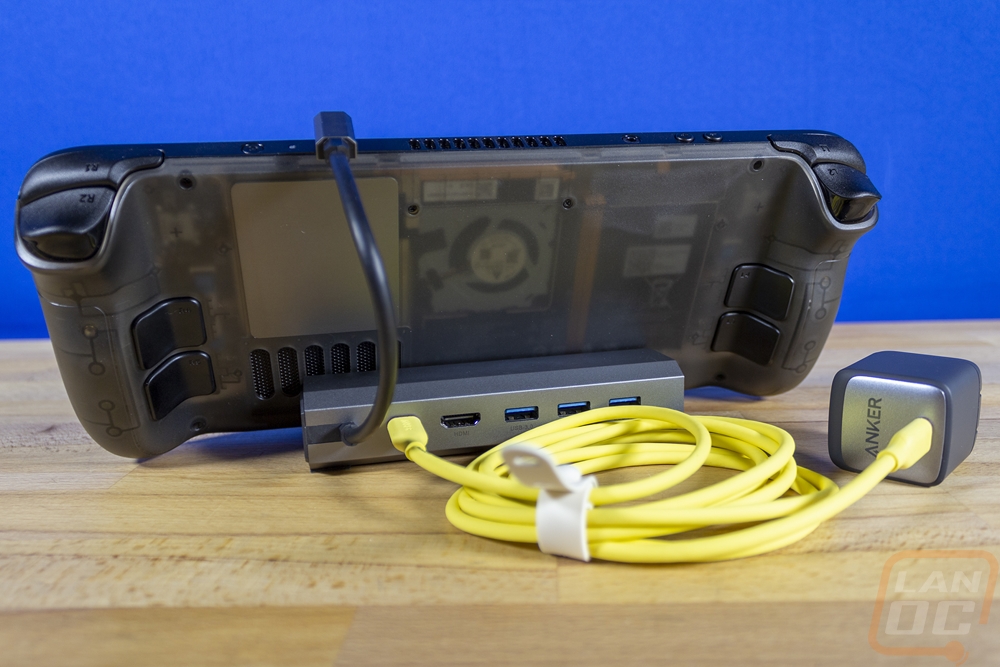
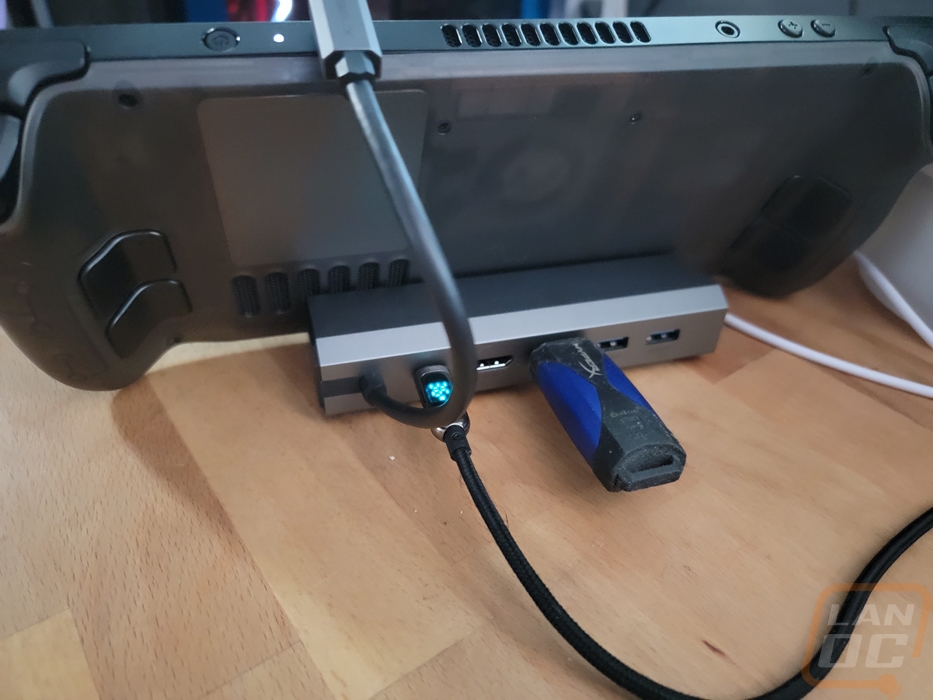
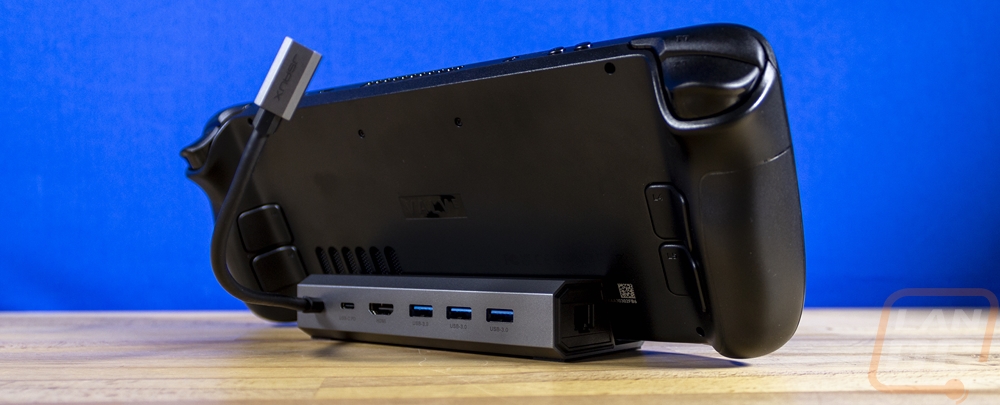
I mentioned earlier that I wasn’t sure when I decided to get the JSAUX 6 in 1 dock if it would end up being useful or not. Valve not having a way for the Deck to charge on the dock without being plugged in was a big reason why I wasn’t sure. But even just doing the SSD reimaging the dock came in handy and again later when copying over files for emulators as well. It remains to be seen if my wife and I will end up using the dock with it paired up with a TV like a Switch or using it as a PC. But having the dock as a way to get a better internet connection for faster downloads has already helped. Especially now that Steam has streaming of game files from other PCs in your house. Basically, it is nice to have around, but at minimum, you should at least have a Type-C to Type-A adapter cable around. The dock does have a lot better construction than I expected with its metal housing and the heavy-duty cable with the right-angled connection and metal housing for that as well is nice.

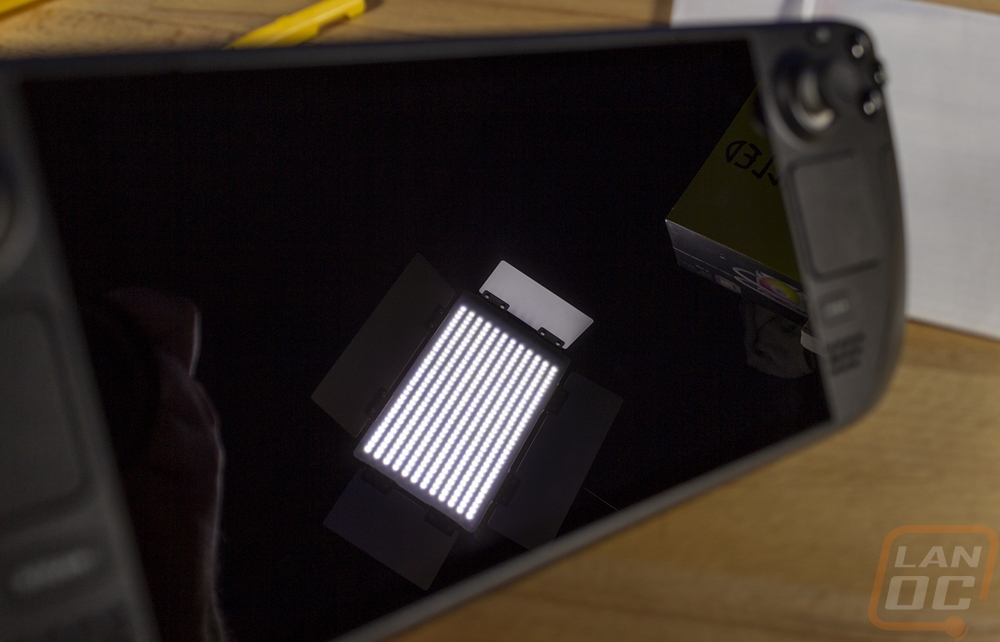
As for the JSAUX tempered glass screen protector. I hope I never have to find out how much it helps protect the factory screen. But the matt finish surprised me with how much it helped. I put the stock glossy screen up with one of our LEDs photo lights as a reflection and the difference between the two is night and day!
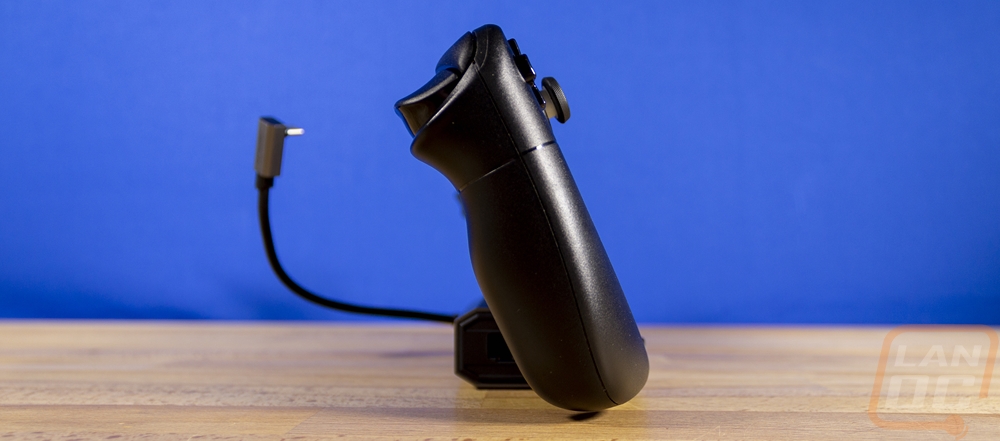
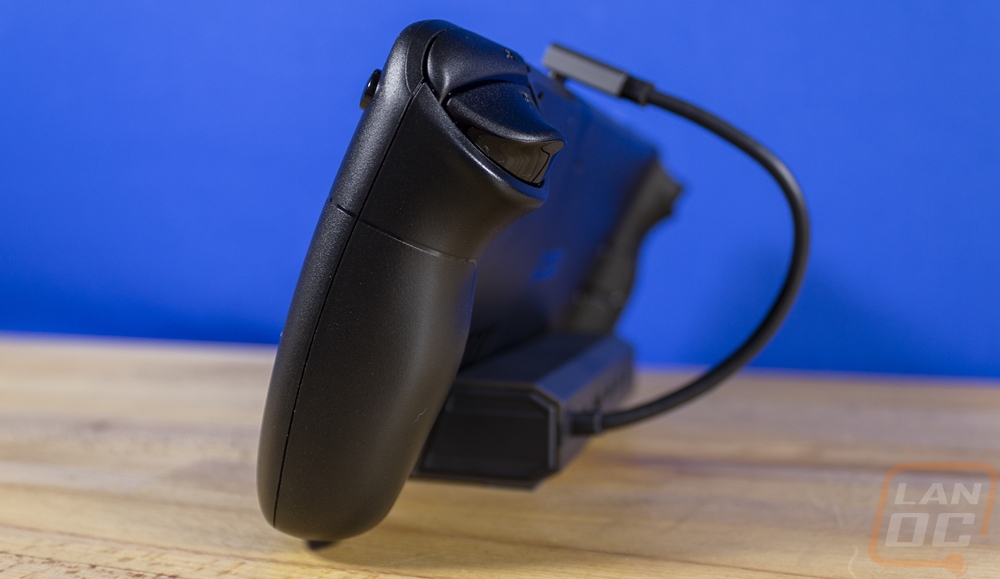
Last up we have the Anker charging cable and Nano II 45-watt AC adapter. As I mentioned before, the stock charger is more than good enough to get the job done. I went with this charger because it is a little more compact and I could use a brighter cable so it would be easy to spot. But I ended up being surprised with how much I liked the Anker 643 cable with its silicone finish. The bright yellow was nice and I like a few of the other color options that they have but I do wish they had more truly bright color options as well because I could see myself using the 643 cables as a replacement for a lot of the Type-C cables around the house.