I'm late to the game as far as the Steam Deck goes. I originally had one pre-ordered but canceled it last minute because I wasn't sure that my wife and I would put it to use. We'll the recent anniversary sale was enough to push us over the edge and pick one up. Being a little late to the party, however, means there are a lot more accessories available. Today I'm going to check out a few Steam Deck accessories to find out if any are must-have pickups for your new Steam Deck purchase or an upgrade ahead of summer where you might be traveling.
Article Name: Steam Deck Accessory Roundup 2023
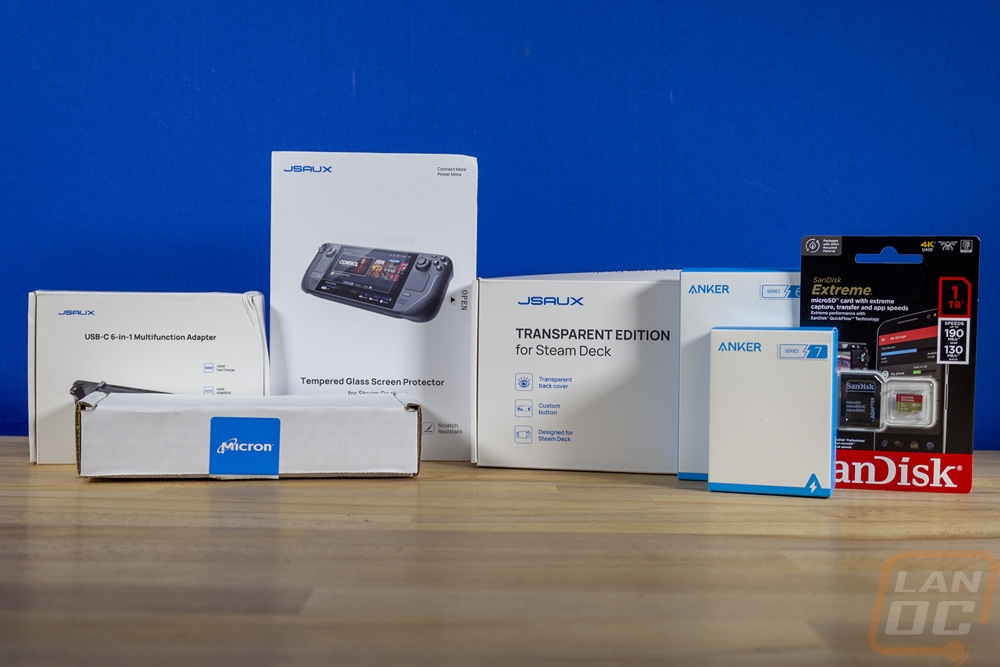
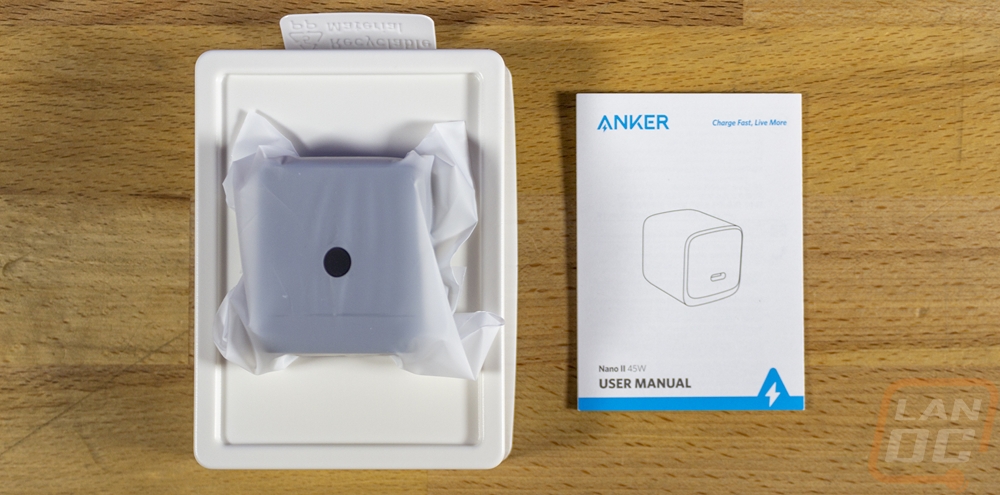
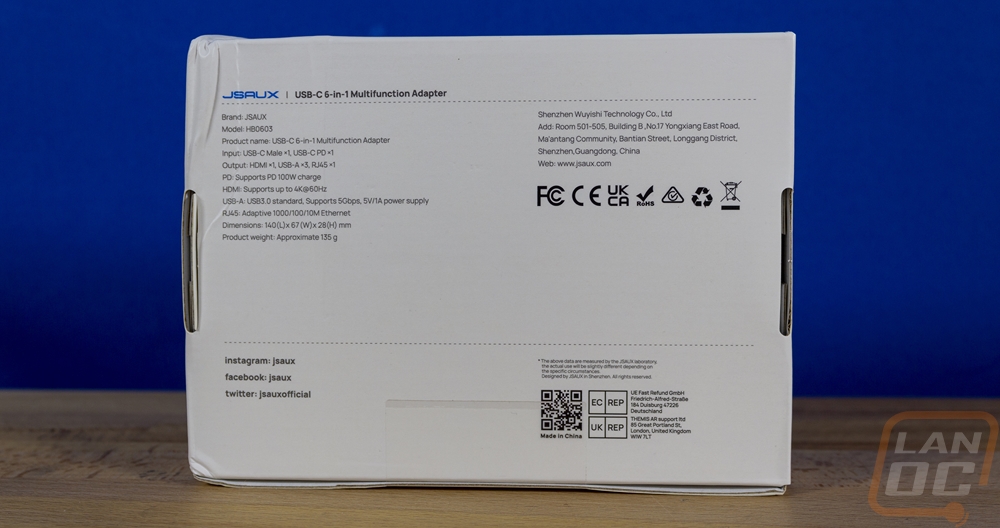
Review Samples Provided by: JSAUX, Micron, SanDisk, and Anker
Written by: Wes Compton
Amazon Affiliate Links:
JSAUX Matt Glass Steam Deck Screen Protector
Micron 2400 NVMe PCIe Gen4 2230 SSD
Anker 643 USB-C to USB-C Cable Daffodil Yellow
Storage
Even before I ordered our Steam Deck, storage upgrades were part of the plan. Valve has three different models and the storage capacity is one of the main differentials between the models. The base $399 model has an eMMC 64 GB drive, the mid-range model is $529 and has a 256 GB NVMe SSD, then the highest-end model is $649 and has a 512 GB NVMe SSD. That last model does come with etched anti-glare glass and has a different carrying case from the other two models. There are also profile and keyboard themes as well but those aren’t important to me. The 64 GB drive wouldn’t be anywhere close to what we needed for storage and its speed wouldn’t be great as well. But even going up to the high-end model would still be tight on storage. So going with the base model and upgrading the SSD was the plan.
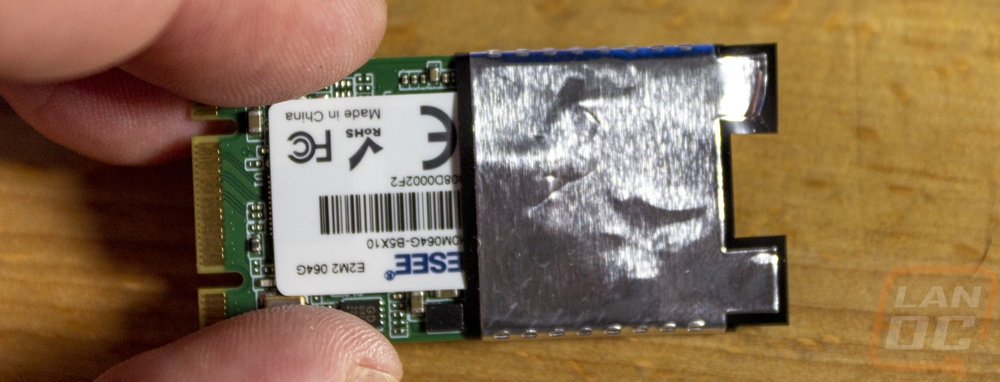
Valve didn’t design the Steam Deck for storage expandability, but it wasn’t long after the launch that people figured out how simple it could be. The biggest holdup however is the drive size that it needs. It is an M.2 connection but it requires an M.2 2230 which is much shorter than the standard M.2 2280 drive. The large drive size can fit, but Valve designed its cooling and power demands around the smaller 2230 drive size. Up until recently, there were only a few options on the market but now most companies are starting to have an option, mostly in their OEM lines, however. I originally was going to go with a Sabrent drive but at the last second, I came across a new model on the market that caught my eye. The Sabrent can be found at up to 1TB but Micron has their Micron 2400 NVMe which is available in a 2TB capacity. Currently they are still hard to come by unless you pay the higher prices from iFixit. But as of right now, you can get them on Newegg for $224.95 vs the iFixIt $299 price tag.
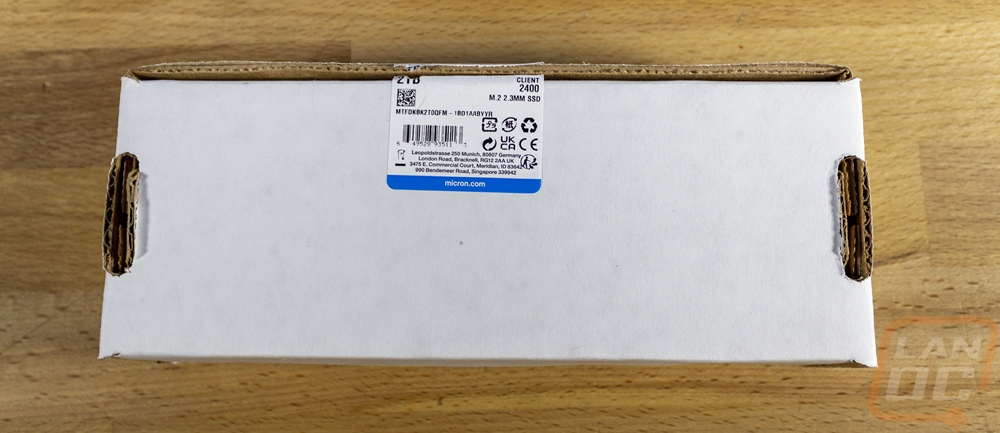
The Micron 2400, with it being an OEM drive, came in a completely different packaging most likely designed for shipping the drives in bulk. It was a large white box filled with foam with the drive inside in a static protective bag. Not being a retail model, it doesn’t have a package that can be hung up or displayed but it did have a sticker with the model information on the box.

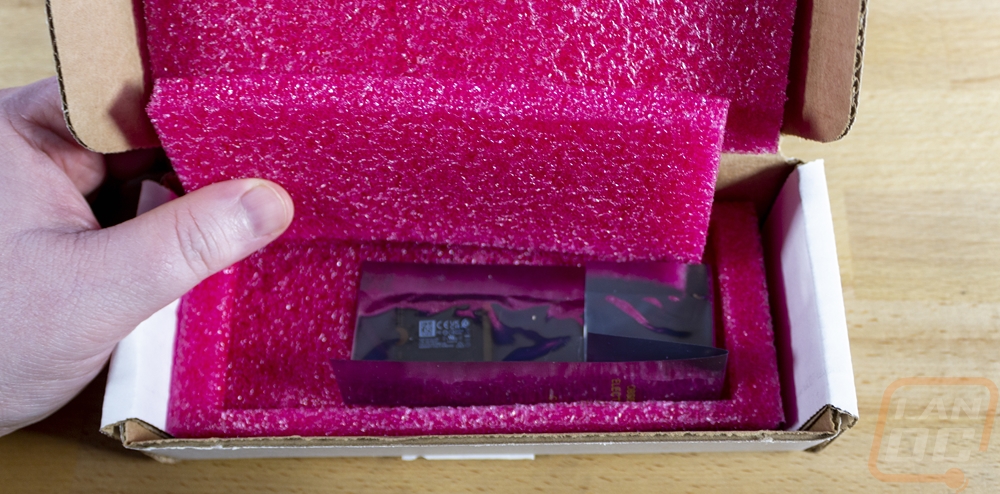
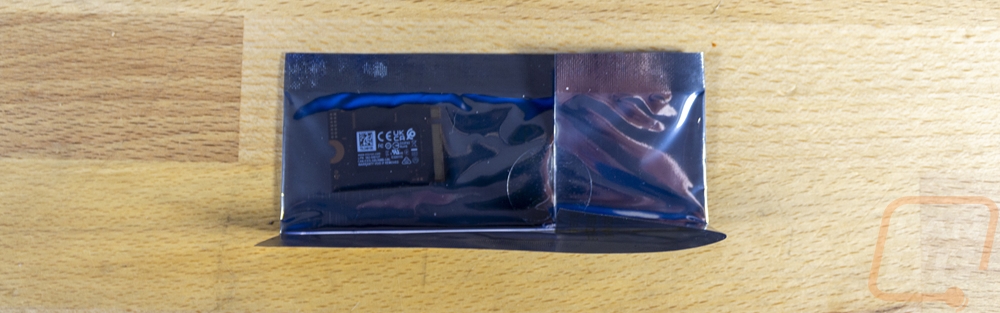
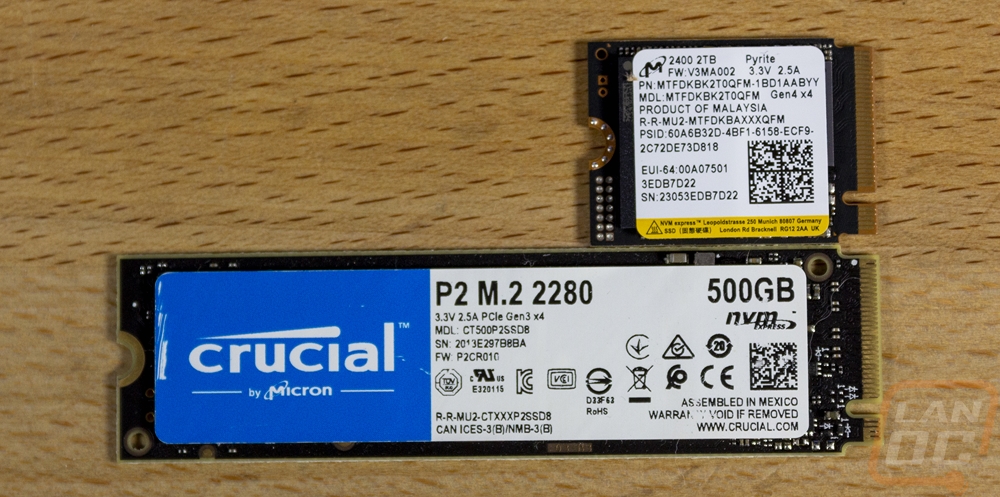
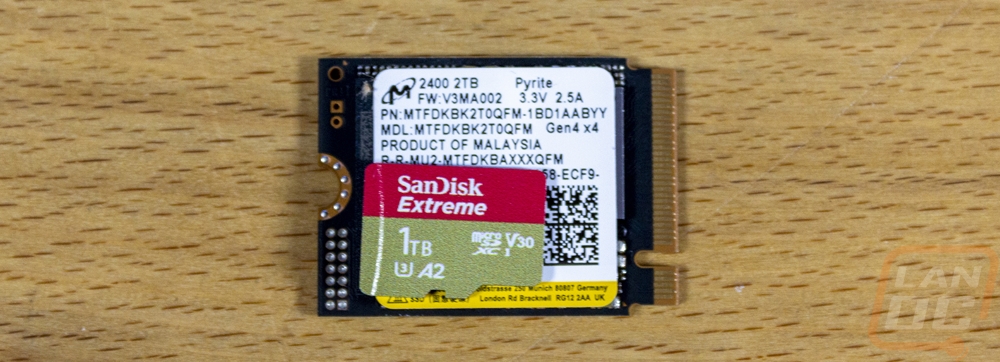
The drive reminds me of the first time I took a look at an M.2 drive. Not long before that, everything was 3.5-inch drives and then SATA SSDs. But M.2 was so small it kind of just blows your mind. The smaller 2230 size of the M.2 does the same thing again with the drive being just barely longer than it is wide. The Micron 2400 has all of the components on just one side and in true OEM fashion, the sticker is packed full of information but lacks any of the flash that a retail drive has. You just have the tiny Micron logo in the top left corner to let you know who makes the drive and then the model name and capacity right at the top. The back of the drive also has a sticker on it as well but what surprised me the most was even with this they went with a black PCB.


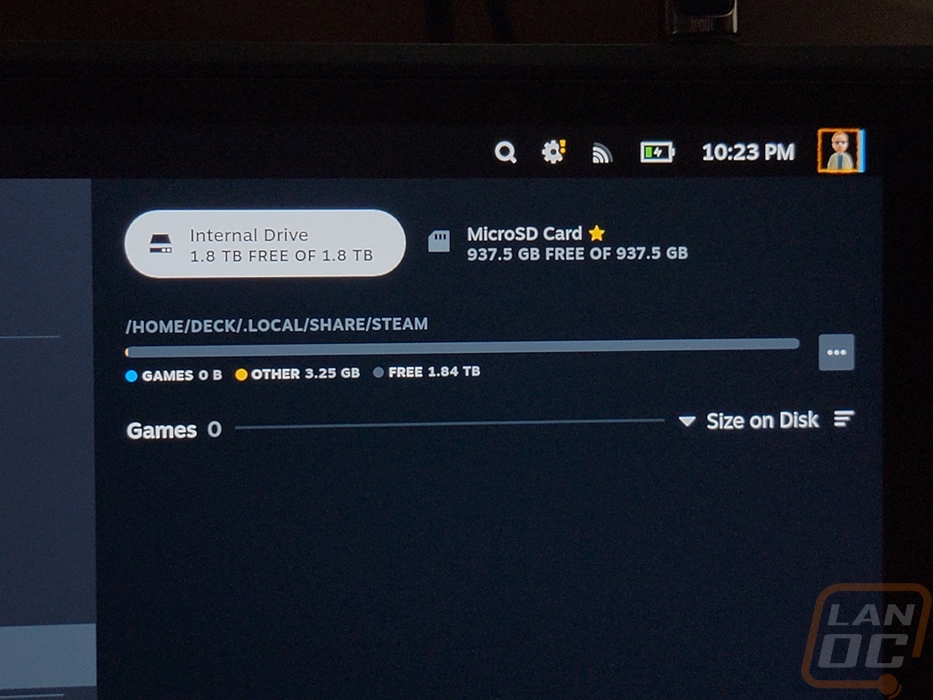
Now the SSD isn’t the only storage available on a Steam Deck, it does have a MicroSD card slot on the bottom edge as well. For most people, this is what you are going to use for most of your storage simply because you can swap them out. The Steam Deck supports UHS-1 MicroSD cards which means that the total speed is limited to 100 MB/s. Even with the fastest cards, this is still going to be slower than even the base eMMC SSD however which is capable of around 250 MB/s and significantly lower than an NVMe SSD. So like with a computer where you might use an SSD for your favorite games but a large capacity hard drive for other games, you will want to consider what games you install on which drives. With the UHS-1 limitation for a MicroSD card, we had a lot of options available. This let me go with a brand that I trust, SanDisk which is owned by Western Digital.
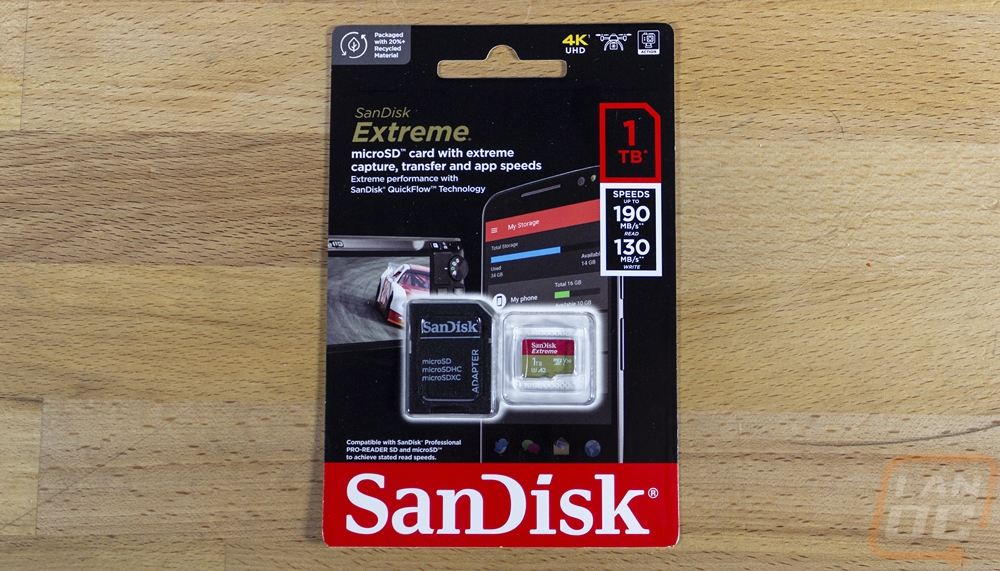
I wanted the largest capacity possible and to be able to utilize as much of the 100 MB/s speed cap as possible. The largest MicroSD cards available right now at 1TB and the SanDisk Extreme fit the bill with write speeds of up to 130 MB/s and read speeds of 190 MB/s it is faster than what the Steam Deck Is capable of doing. The SanDisk Ultra would also work as well and is slightly cheaper.
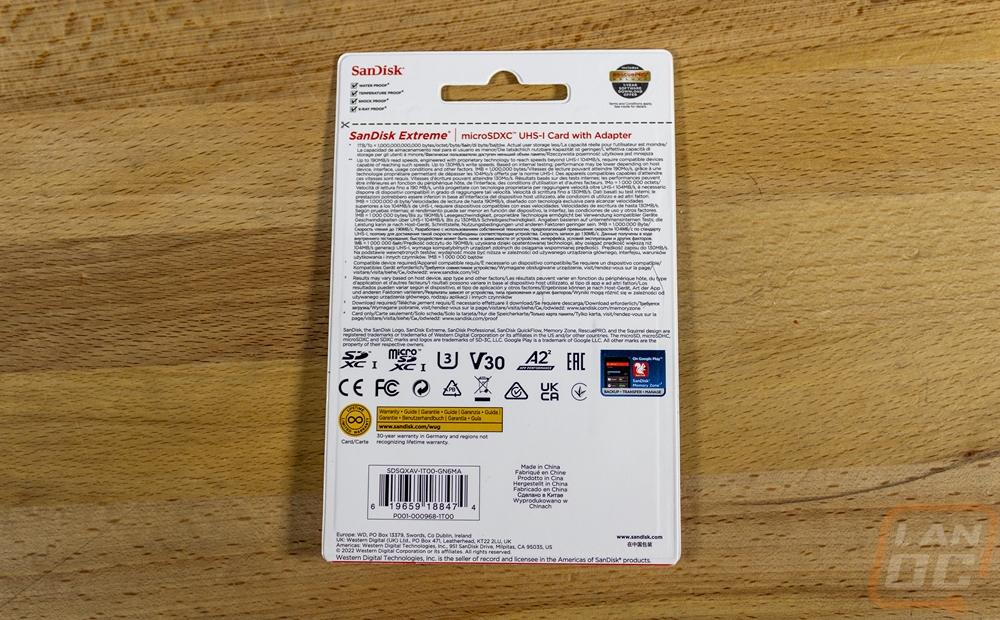
The packaging for the SanDisk Extreme has the drive featured on the front with the clear packaging. You get the drive as well as a MicroSD to SD card adapter as well. SanDisk lists out the drive speeds as well as the capacity over on the right. Then they have icons in the top right corner showing some of the potential uses like to recording 4K footage on a drone or action cam. The entire back of the packaging is mostly filled with small print legal information. They do have the certification logos down at the bottom as well as showing all of the different speeds it is capable of. The big one however is the gold circle showing the limited lifetime warranty.
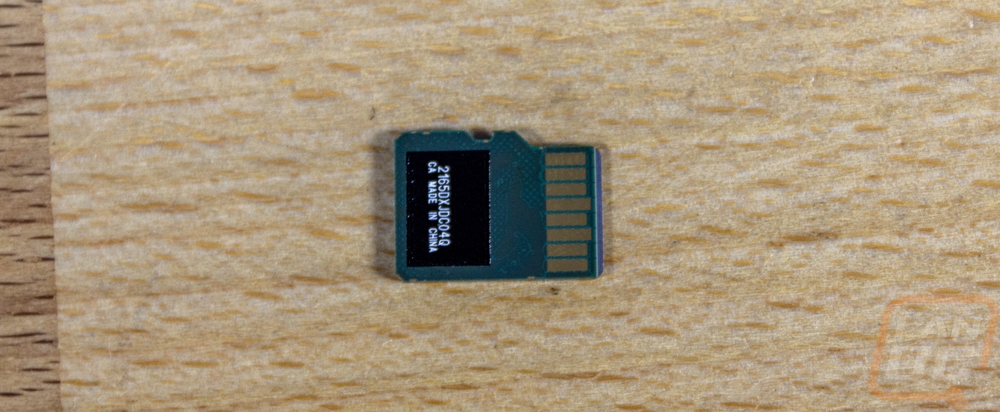
The drive itself has the red and gold theme of the SanDisk Extreme lineup. The top half has the SanDisk Extreme branding then the capacity is in the bottom half. MicroSD cards are still amazing at how small they are and for reference, I even put it next to the tiny M.2 2230 drive as well.
Installing the MicroSD in the Steam Deck doesn’t need to be shown, but because we are digging inside of the Deck I need to wait until we do that before installing it. I will also touch on the installation of the SSD as well later in the installation section so don’t miss that.
Charging and Dock
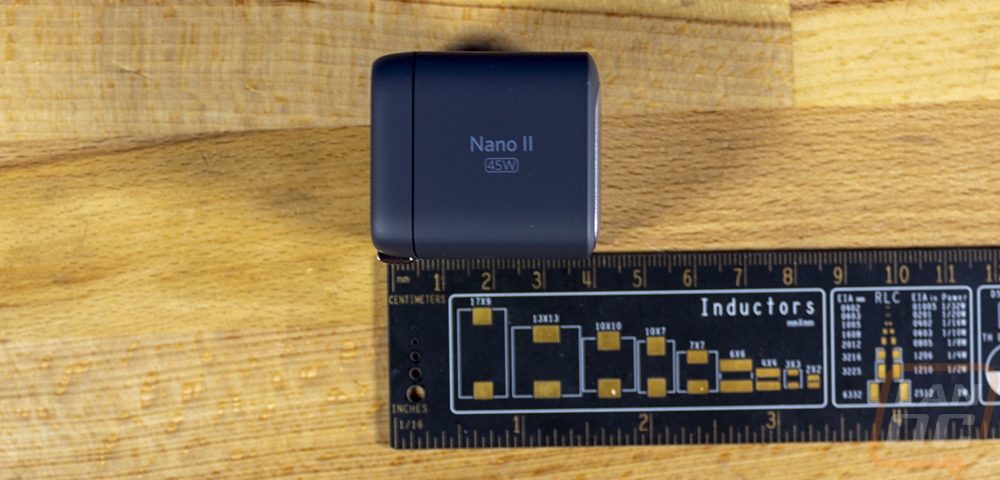
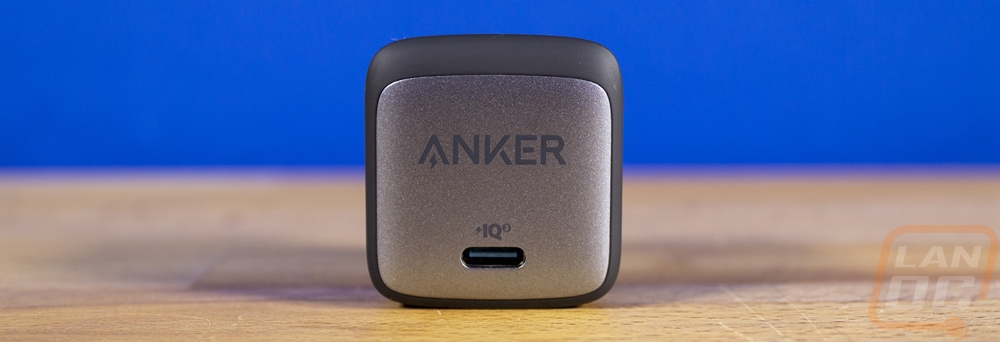
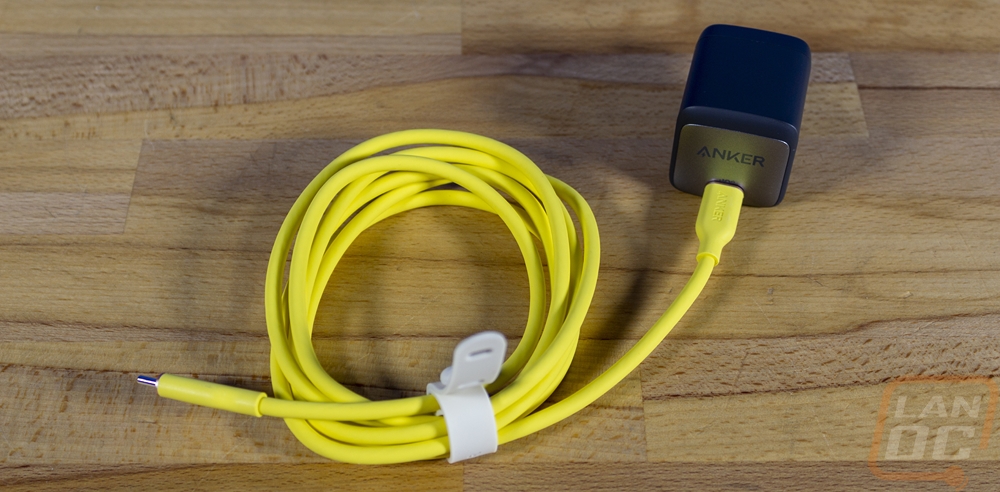
For charging the Steam Deck does come with a USB Type-C charger right from Valve and the included case has a spot to fit it though I have found that it is a little tight. That said you can’t have too many charging options, especially now with more and more devices supporting Type-C charging. Like with the MicroSD card, there are countless charging options from just about any company you want. All you need is one that can support 45 watts of charging capacity as that is what the Steam Deck can handle when you are gaming and also recharging the built-in battery as well. You could go with a power adapter with multiple connections but to keep things simple I went with the most compact 45-watt charger from a brand that I trust, Anker.
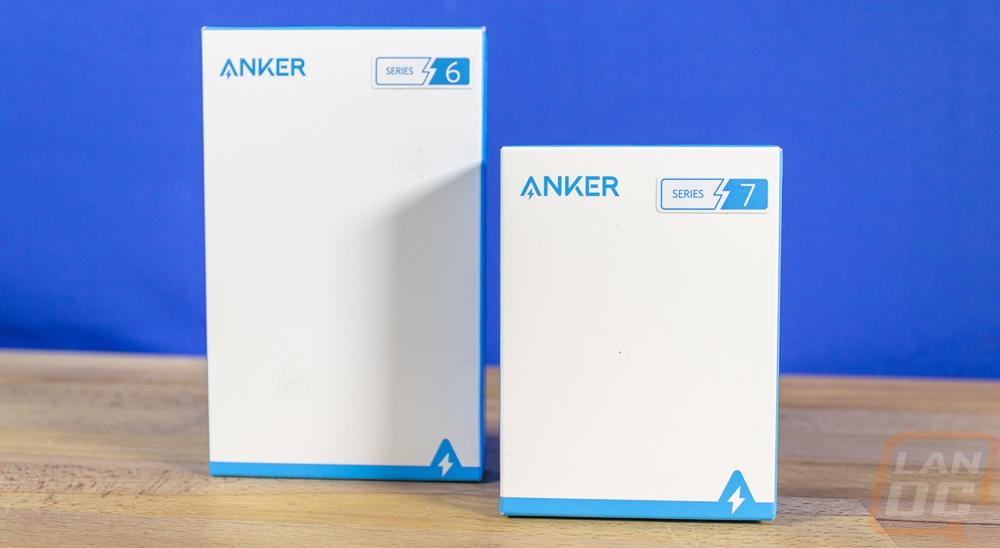
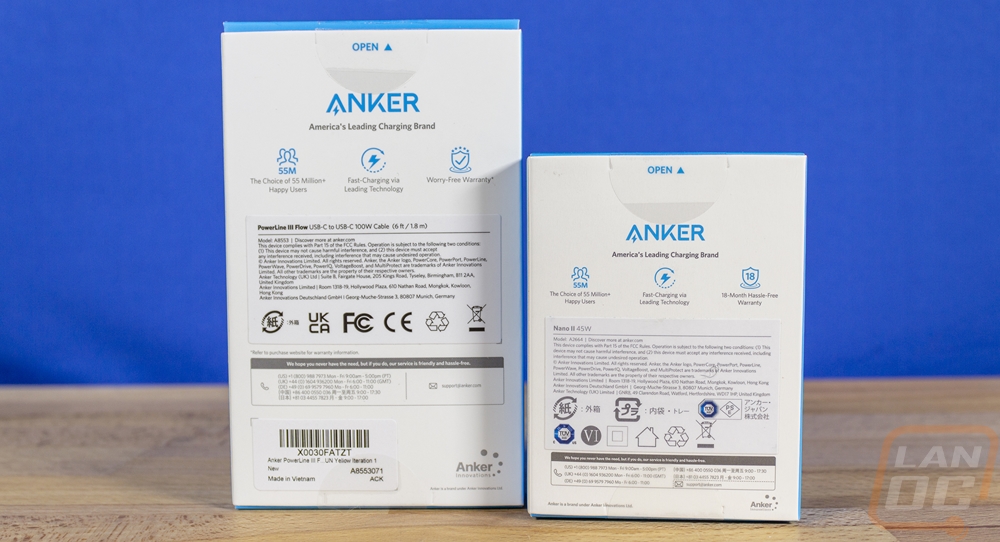
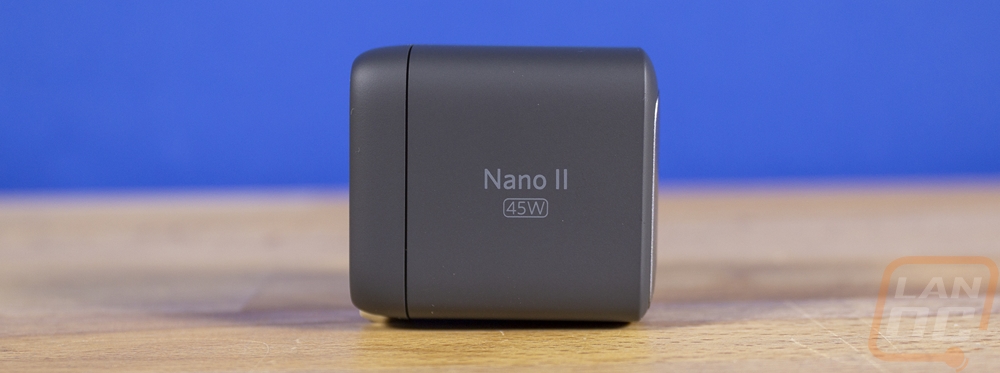
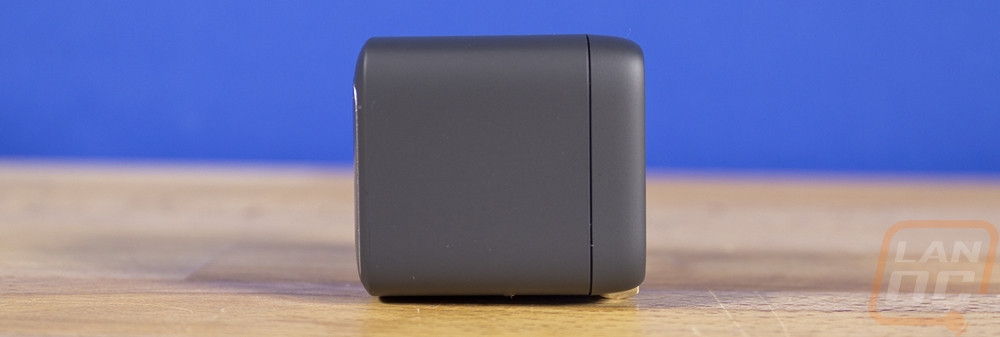
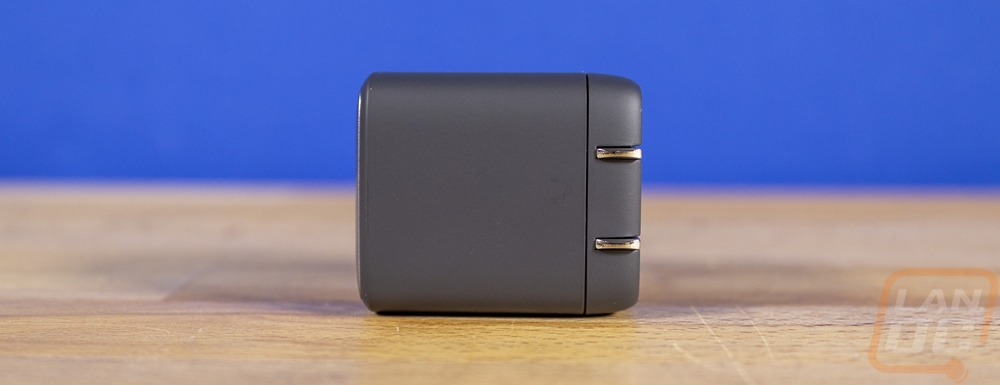
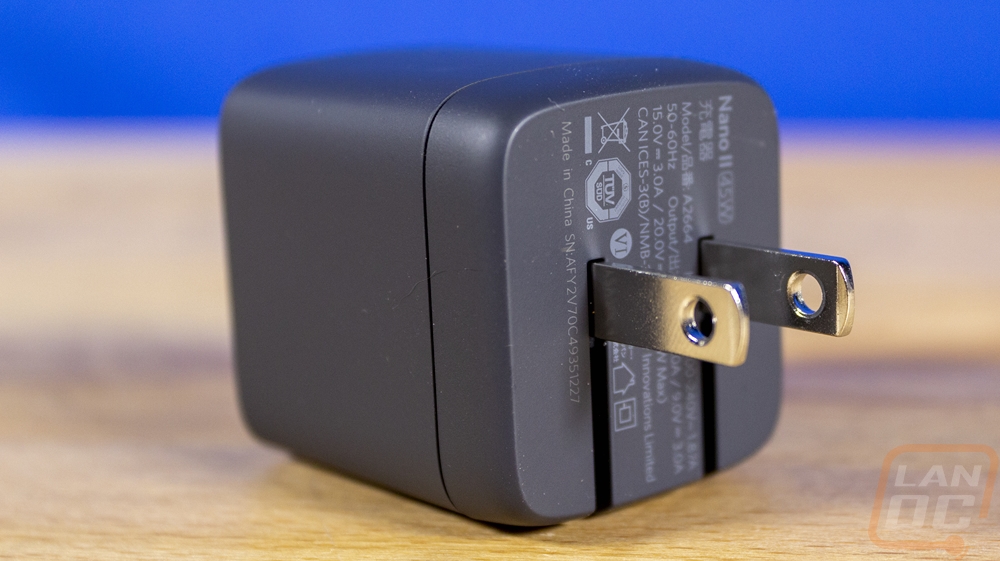
I went with the Anker Nano II 45 Watt because it hit the charging capacity and its design is more compact that the original charger for the Steam Deck. This means we can use the original charger at home and pack this and a cord in the case. It also means that if the cable or charger have problems it doesn’t take out everything, you can replace the half that went bad. The Anker 713 Nano II 45 Watt is 1.49 inches tall when looking at the Type-C plug end by 1.38 wide and 4.62 inches deep. It has just one Type-C connection and the back side has its flip-out AC plugs for US homes. It is a GaN II charger which helps with power efficiency and it supports Apple and other devices as well for fast charging which means you can have it handle multiple devices to save space when traveling.

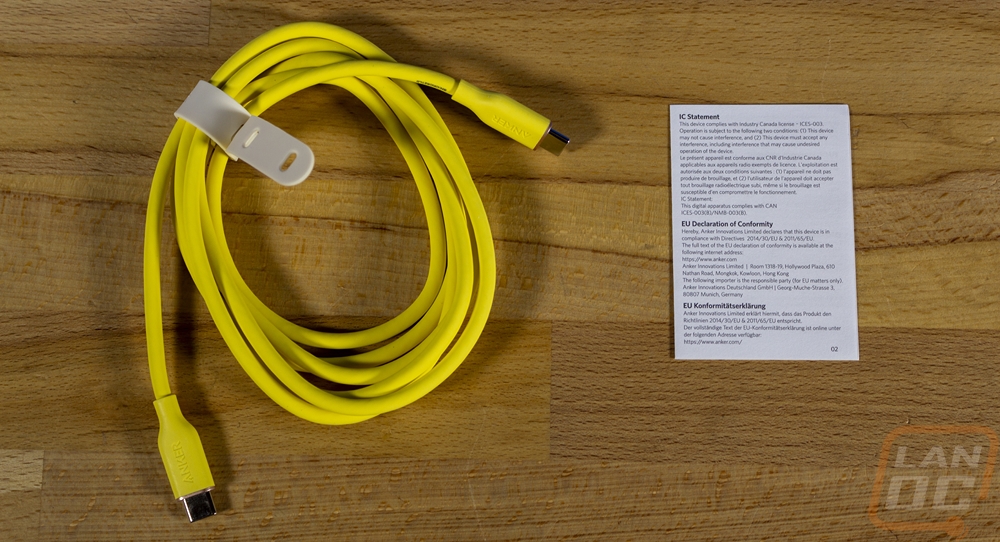
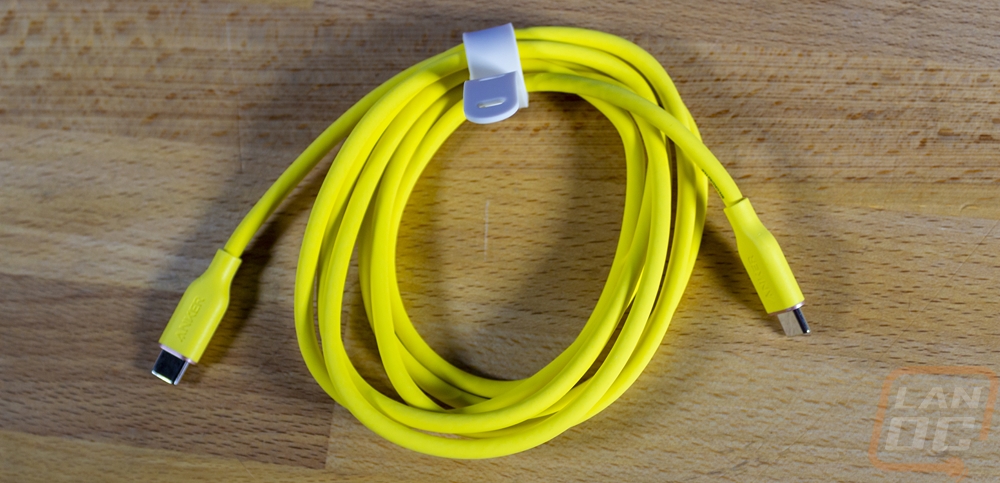
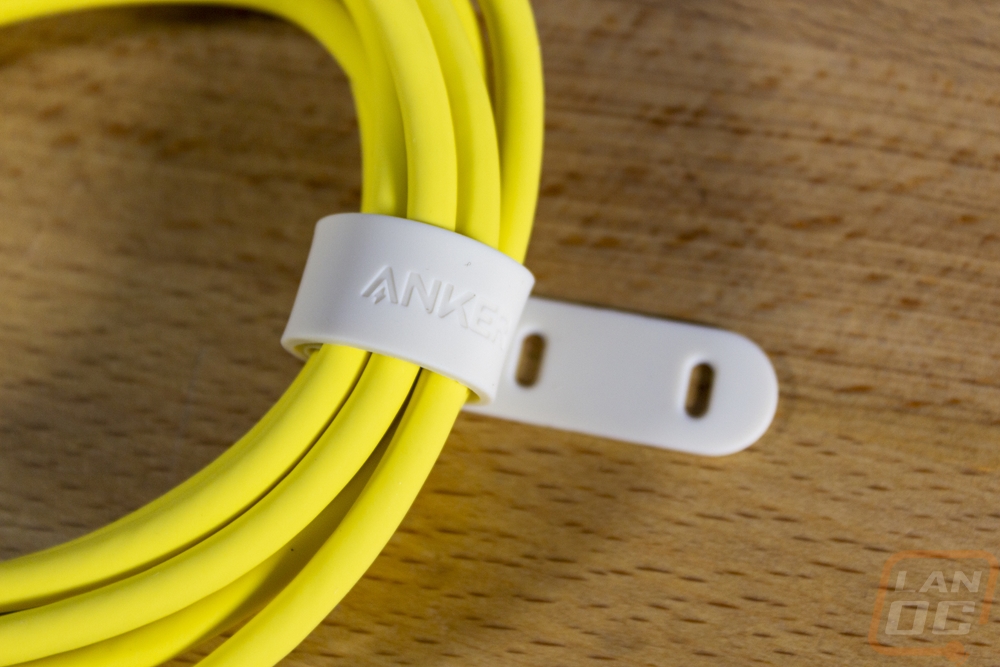
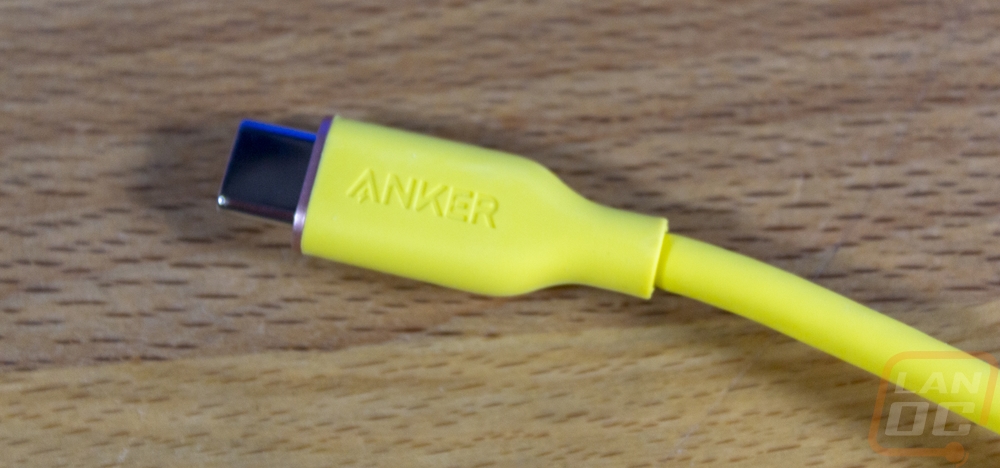
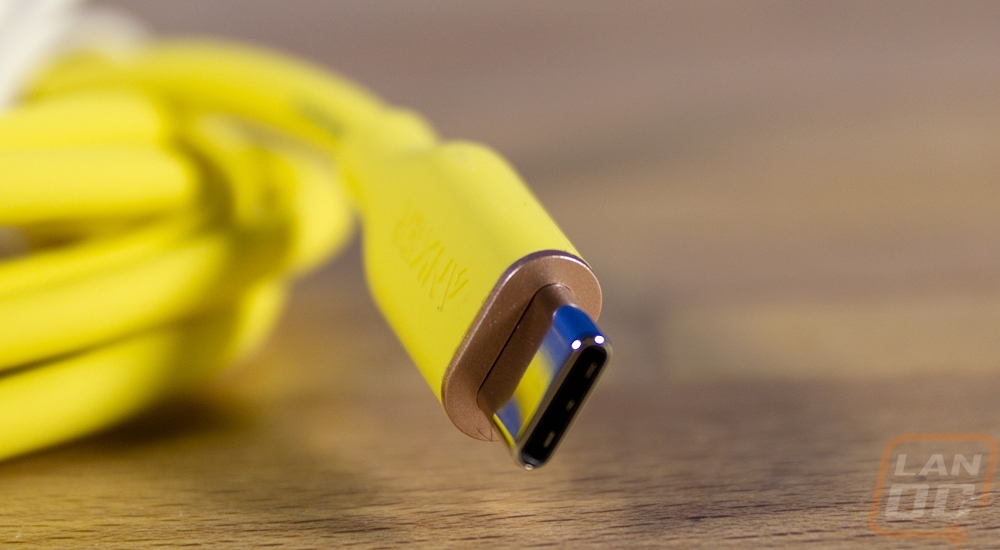
To go with the charger I wanted a bright-colored cable so it would be easy to spot and Ankers 643 line of silicone cables fit that perfectly. They have a variety of mostly spring colors and the Daffodil Yellow that I went with was bright and a unique color that would stand out wherever I left it. Black and white cables almost blend in anywhere you use them which can be nice, but if you are traveling the last thing you want to do is lose your cable. They have this cable with Type-C or Lighting connections and in 3 or 6-foot lengths which for the Steam Deck I wanted 6-foot and Type-C was needed of course. The silicon finish is smooth and shouldn’t catch on anything and carries up onto the connection itself with just a small bronze ring at the end of the plug before the Type-C connection. It also has a matching silicon wire tie strap that comes installed to help keep the wire bundled up.
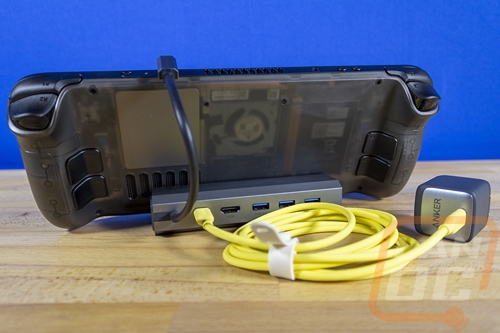
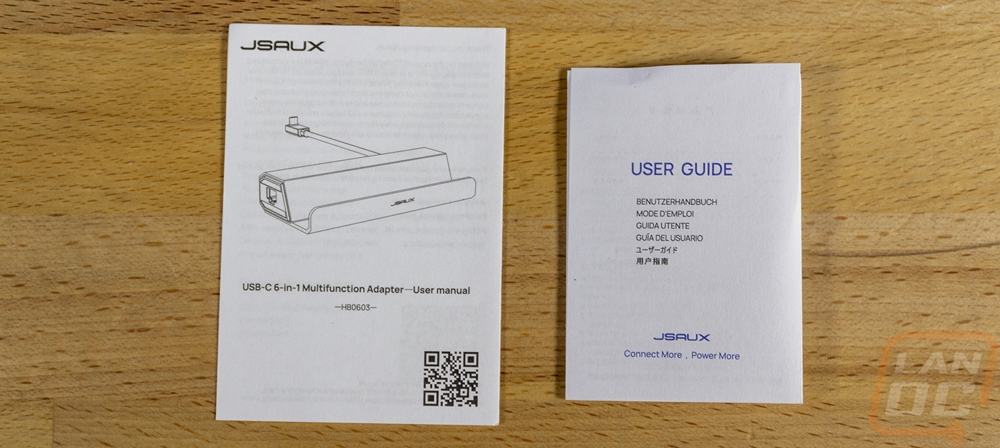
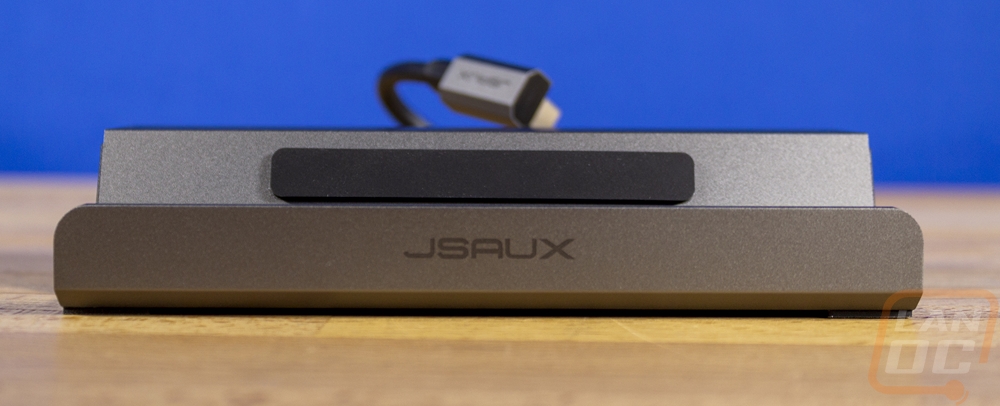
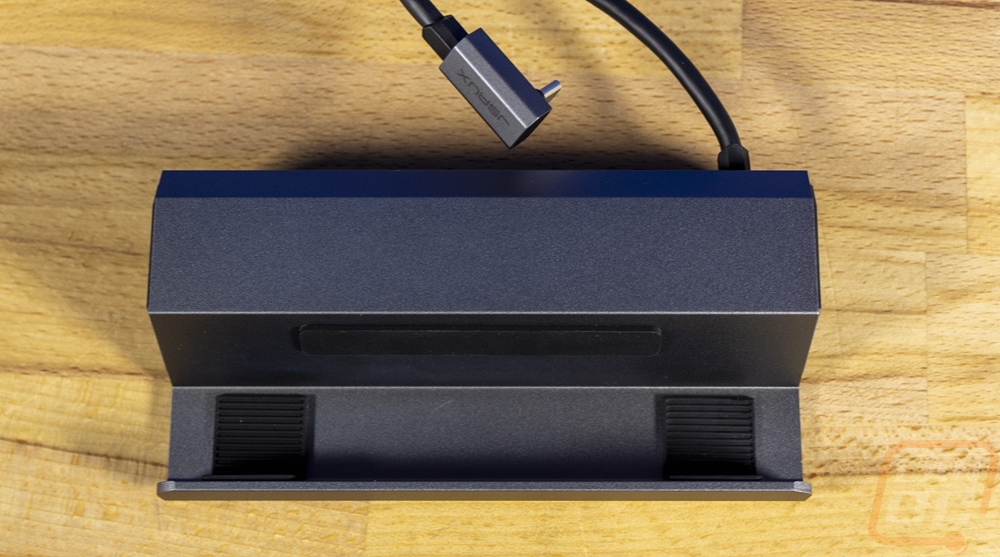
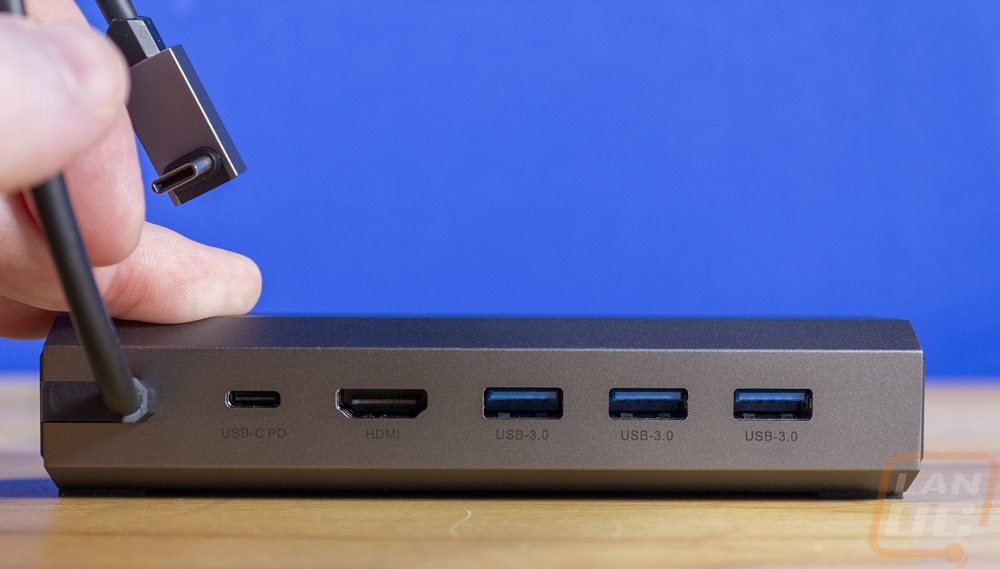
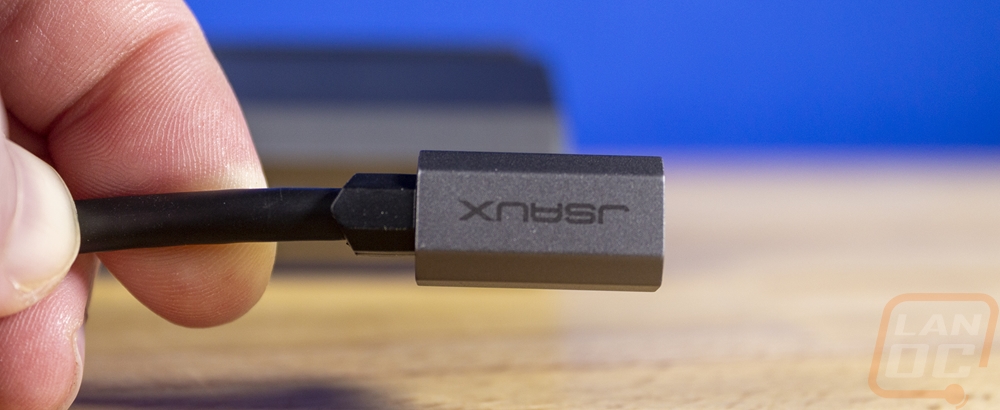
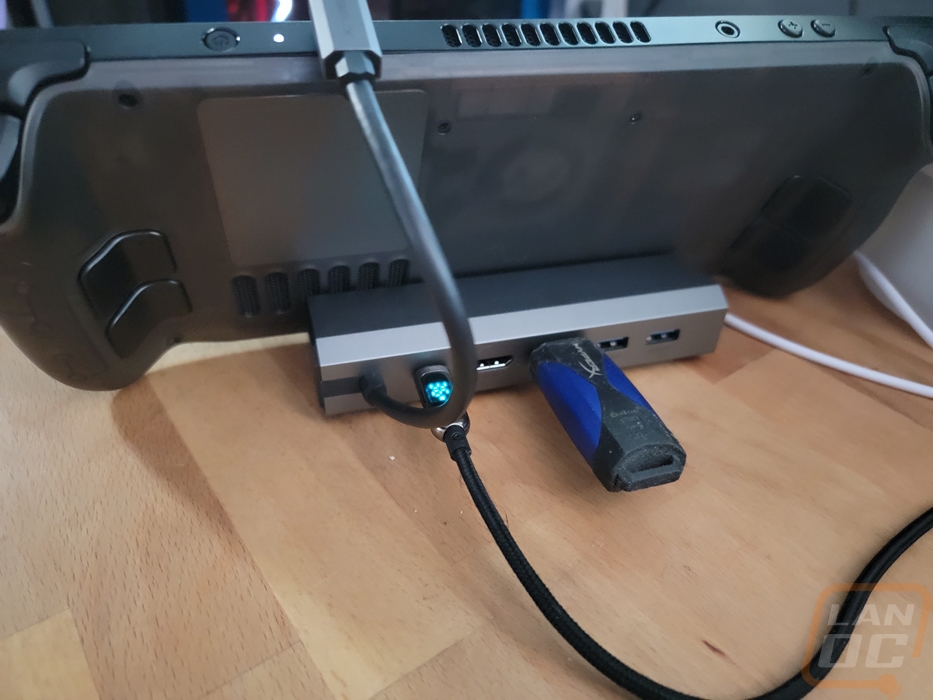
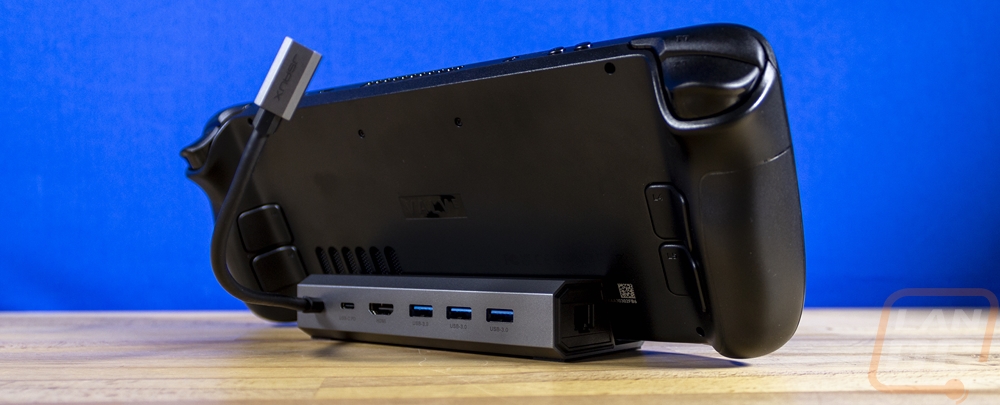
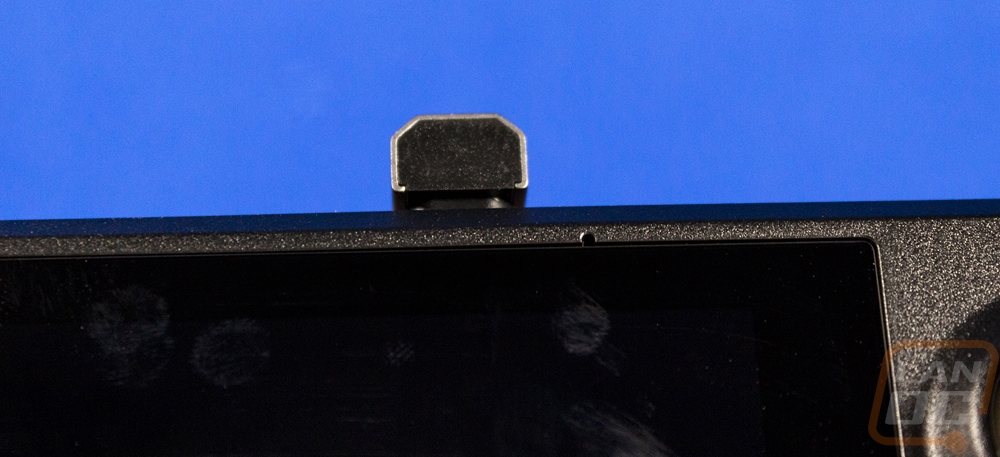
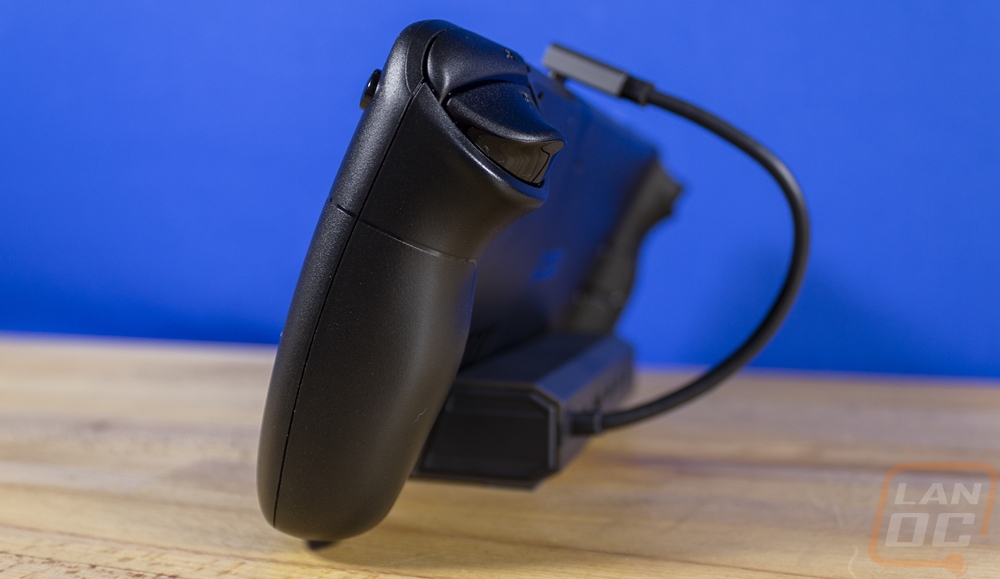
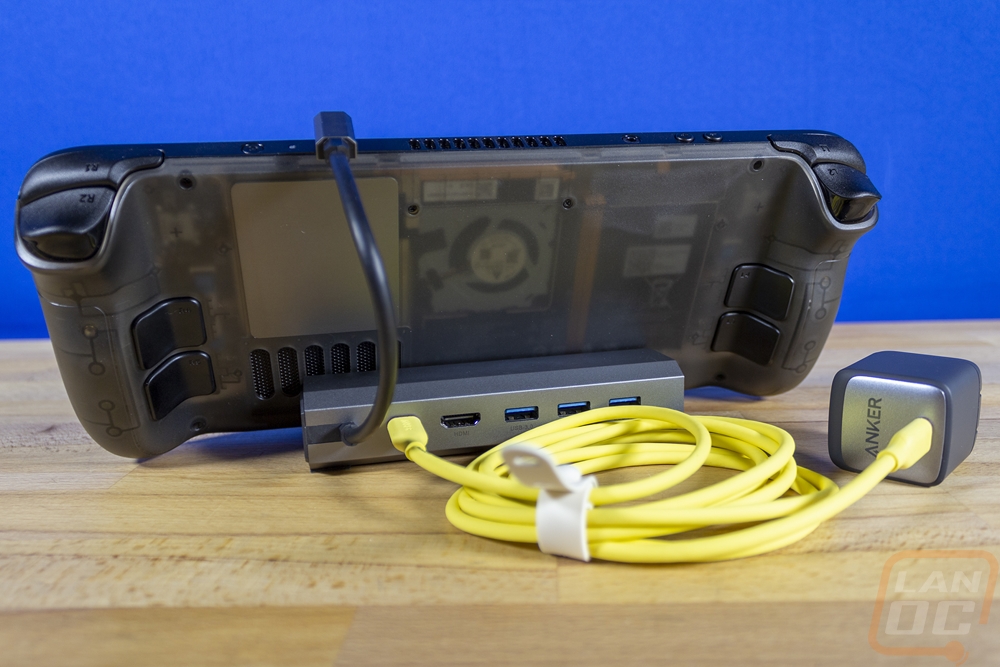
To pair with the charger I also picked up a USB Type-C dock designed to work with the Steam Deck. This is one of the accessories that I wasn’t sure just how much I would or wouldn’t use. But there were a few things that sold me on the idea of at least trying it out. A lot of companies have designs but I went with JSAUX which was recommended by a few people on the Steam Deck subreddit. The model I went with was the HB0603 6 in 1 dock. They have a 7-1 as well and a few other variations but I only wanted a few things. I wanted the dock to have a wired network connection which can be important with big downloads. I needed a few USB connections to make hooking a flash drive up and to be able to use a mouse and keyboard if needed. Then to go with that a display output of some sort, preferably HDMI so it can also work with a TV just like a Nintendo Switch. The HB0603 covered all of that and even supports 4k over HDMI, it also can handle up to 100 watts for fast charging.
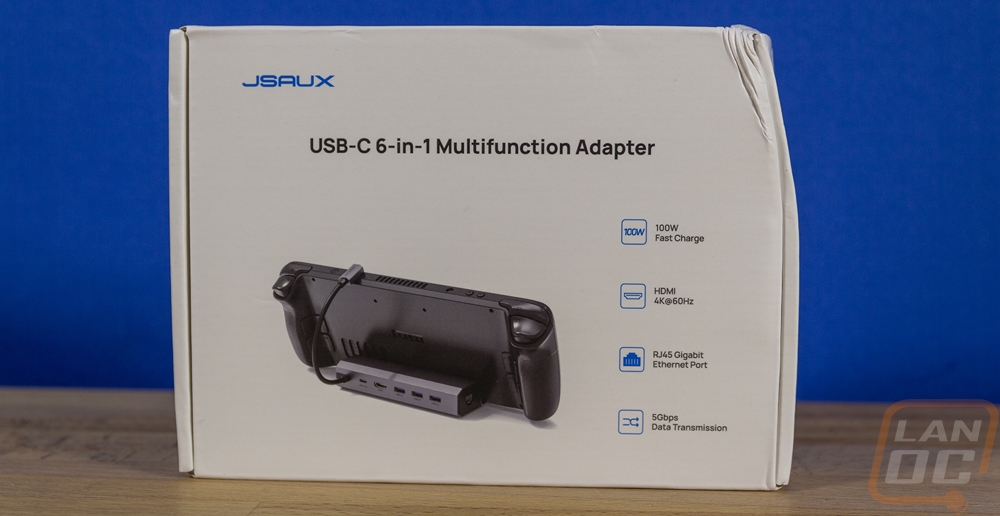
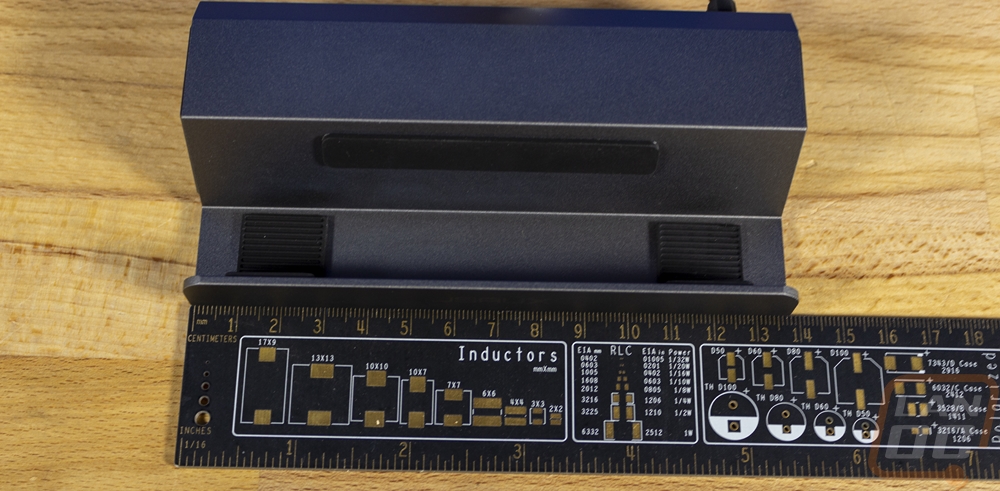
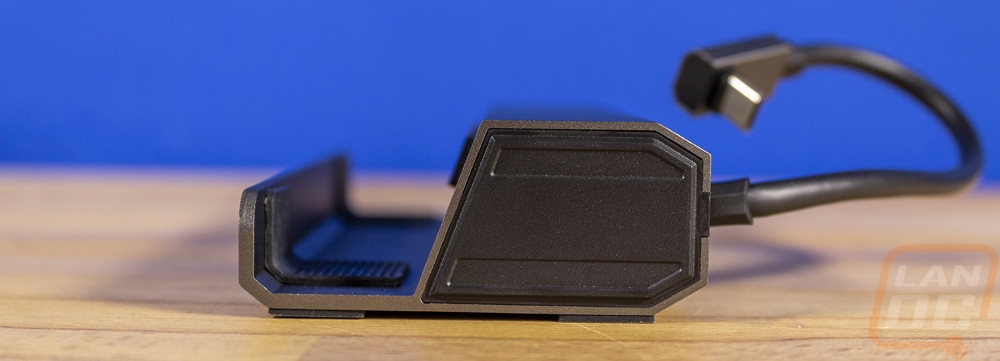
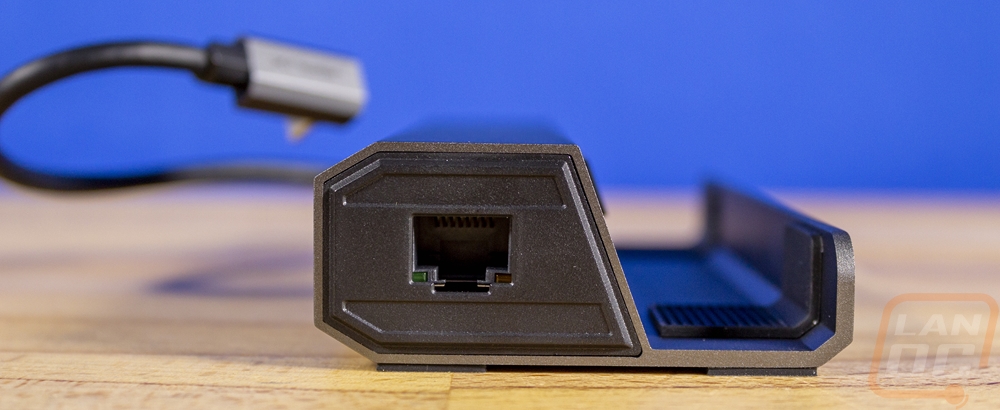
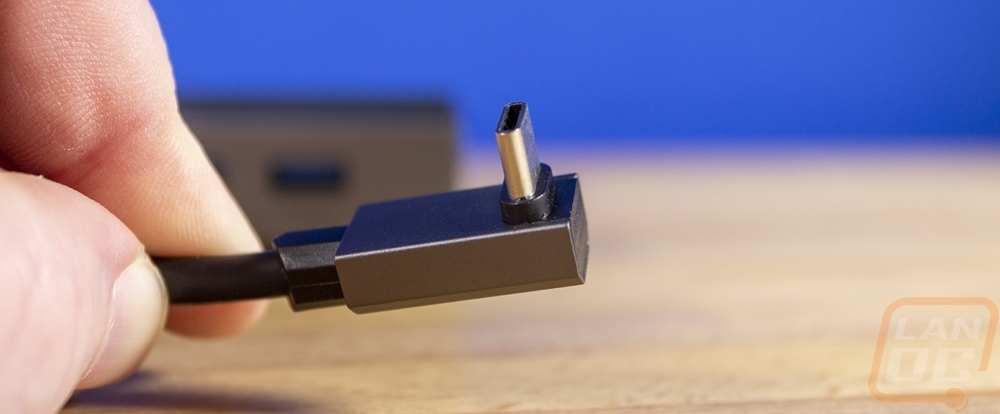
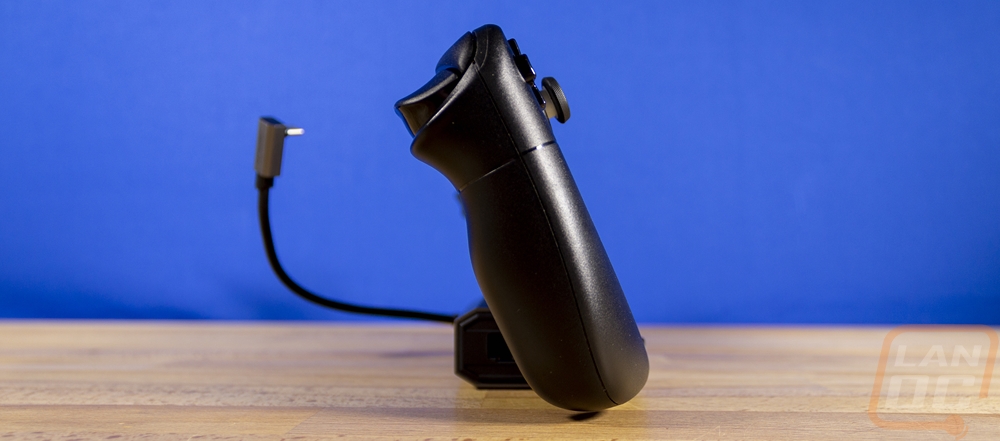
I was also a big fan of the aluminum design which gives the HB0603 more strength and JSAUX used rubber pads in the dock to keep the Steam Deck safe. The end of the dock has the 1 Gig ethernet connection and all of the other connections run out of the back including the Type-C input as well. The Steam Deck design isn’t ideal for a simple charging dock which is a bummer and something I hope thing consider in the future, but right now the Type-C power plug is up on the top edge so the HB0603 has a short cable to hook up to the Steam Deck and JSAUX did a nice job with that using a right-angled connection which has an aluminum housing for strength.
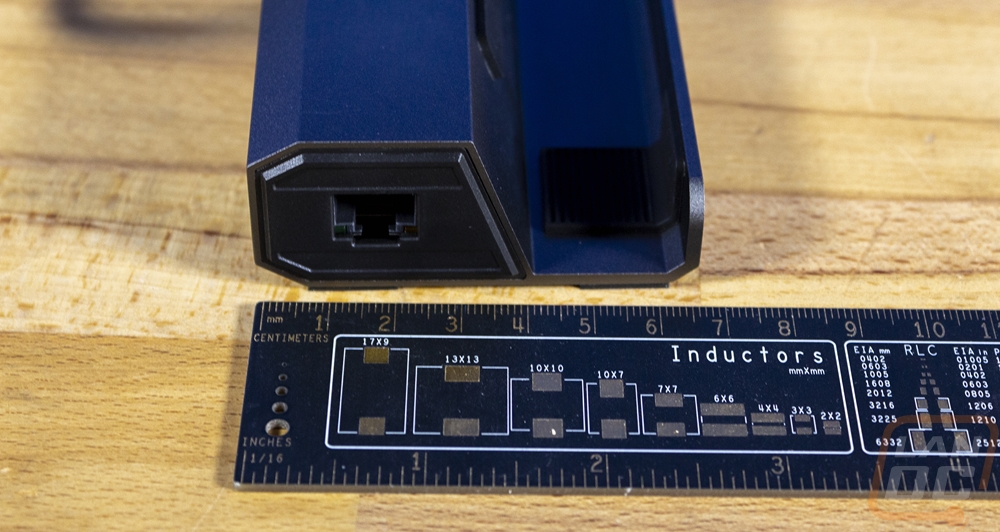
Then on the back, you have the USB-C power input which can also be a data connection if needed. The HDMI, then three USB 3.0 Type-A connections. This is all you need to use the Steam Deck with a television, for streaming to output to a capture card, or to use a keyboard, mouse, and monitor. The Steam Deck is at its core a Linux-based pc and even has a desktop mode.
Other Accessories
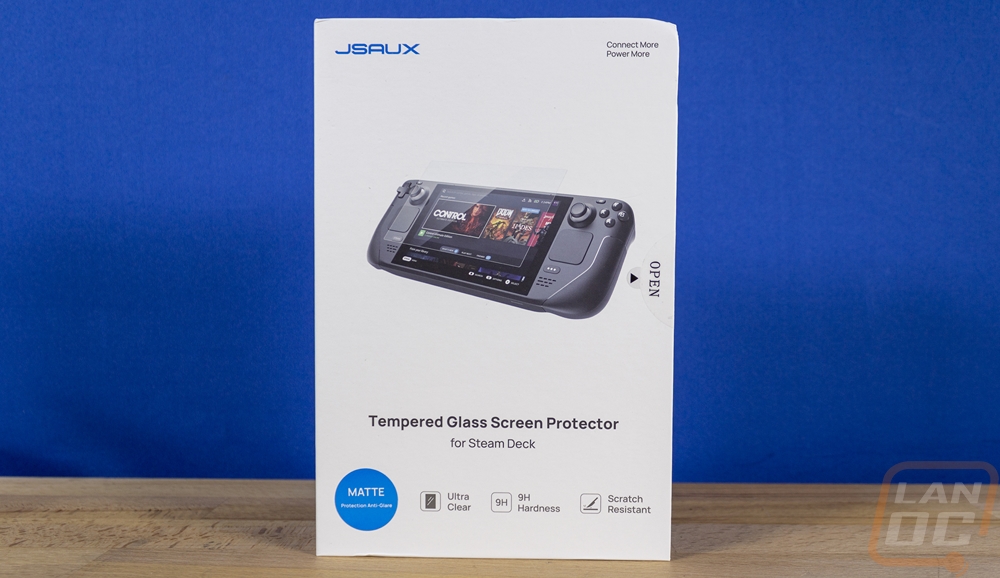
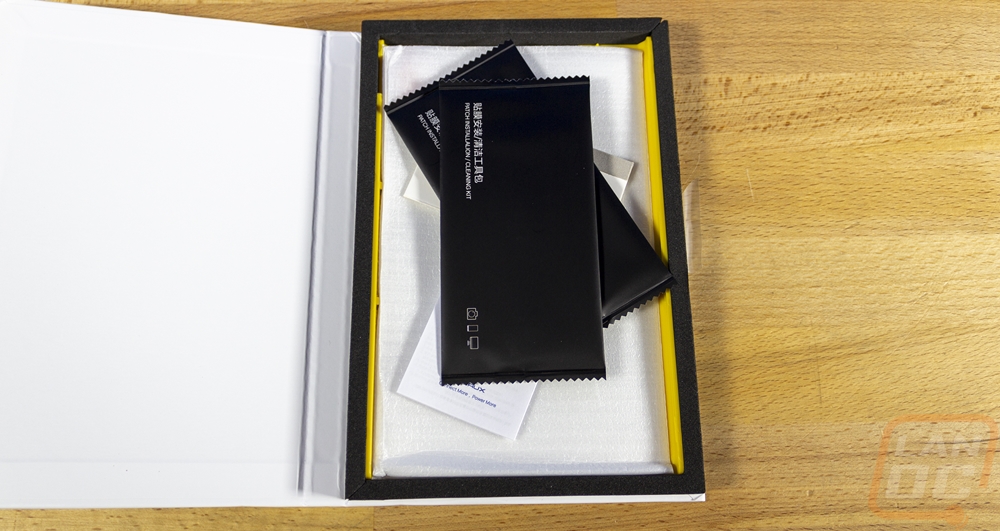
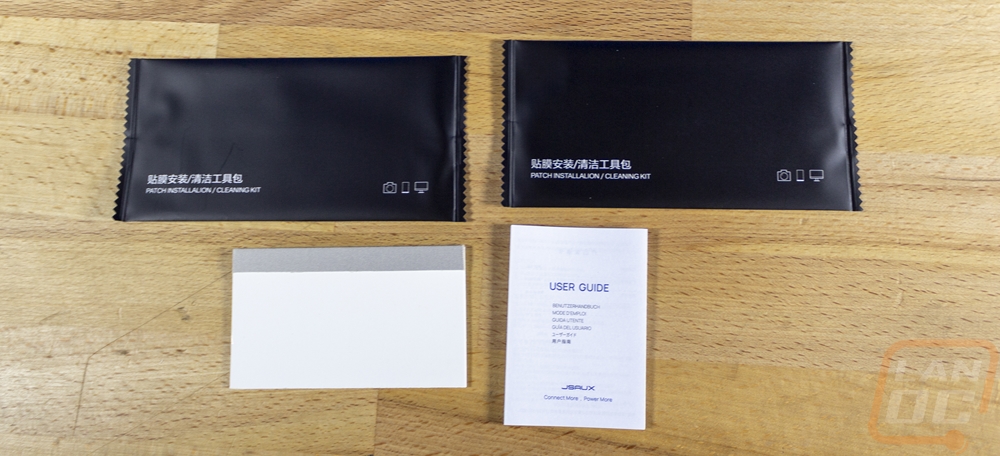
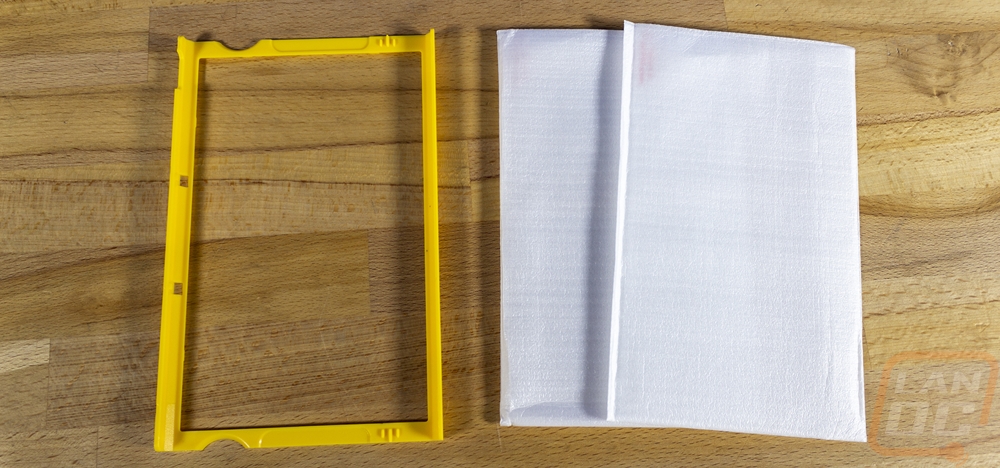
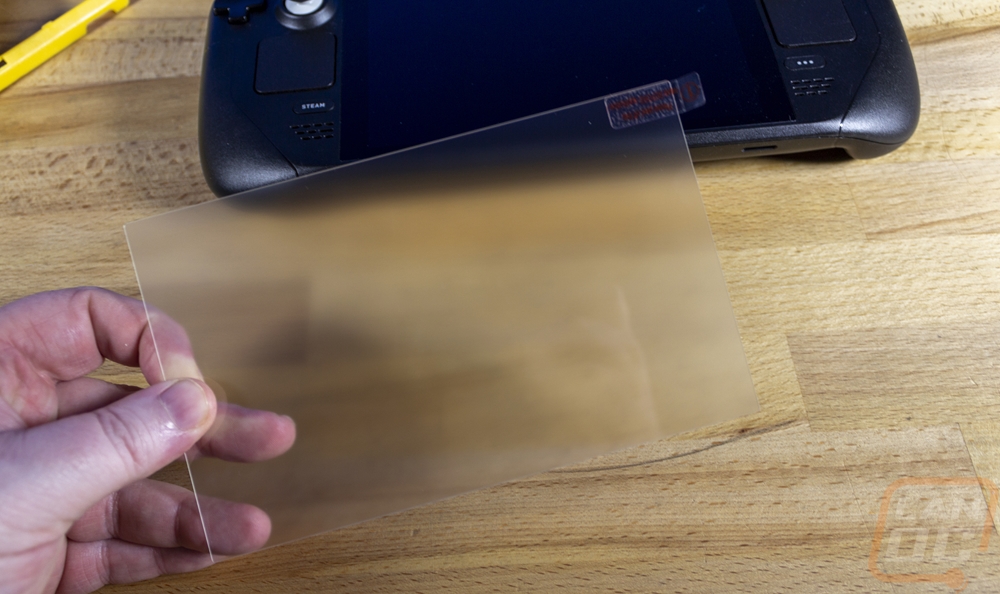
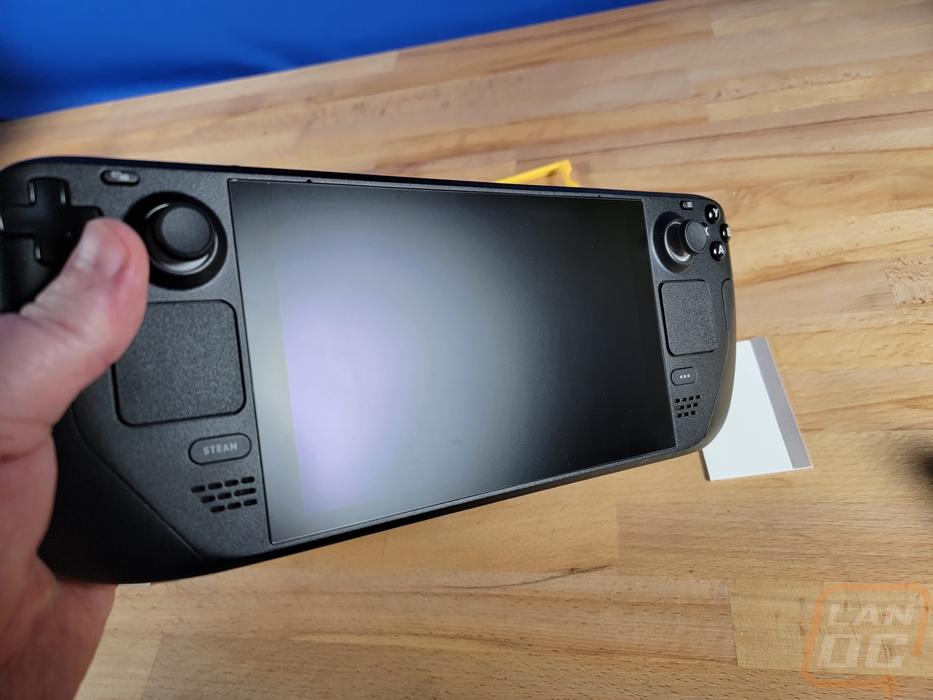
For just about any device I pick up that has a glass display I include getting a screen protector as one of the first accessories that I get and the Steam Deck is no different. Like with some of the other accessories, there are a variety of options when you look on Amazon. But because JSAUX was recommended with some other components I thought I would give them a try. As it turns out they have a variety of options but all of them were tempered glass and all of them come with an installation helper. Both of those features are important when I shop for a screen protector. I’ve installed more screen protectors than I could ever count over the years and a majority of those didn’t have the installation helper and for years tempered glass wasn’t even an option. But both have been great additions. Tempered glass protects your screen but doesn’t make the display grippy or weird feeling, keeping the same smoothness as the original glass and for anyone who has installed multiple screen protectors only to have them crooked or installed wrong and have it drive them crazy would know why the helper is nice to have.
But what options do JSAUX have for Steam Deck screen protectors? Well, they have a traditional glossy finish, a matt finish, a blue light cutting finish, and then one that has a camo accent around the outside edge. I went with the matt finish because with this being a mobile device I feel like avoiding the glare will be helpful, which is also why Valve included it as a premium option on their highest-end model. I will touch on how it was installed and performed in the next section.
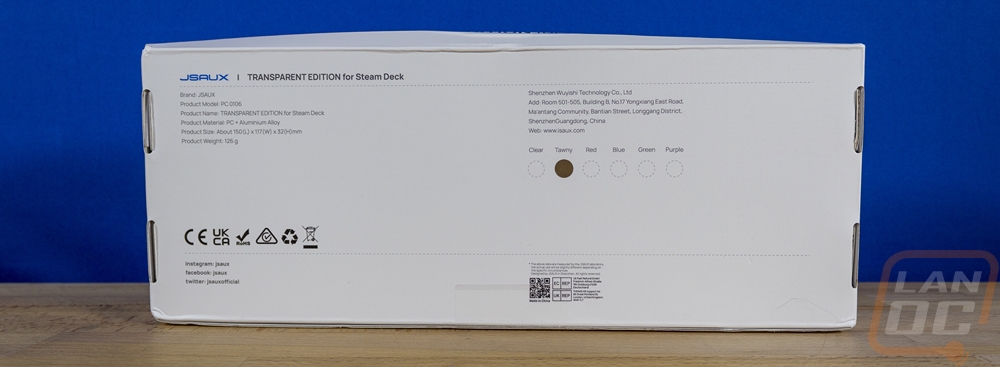
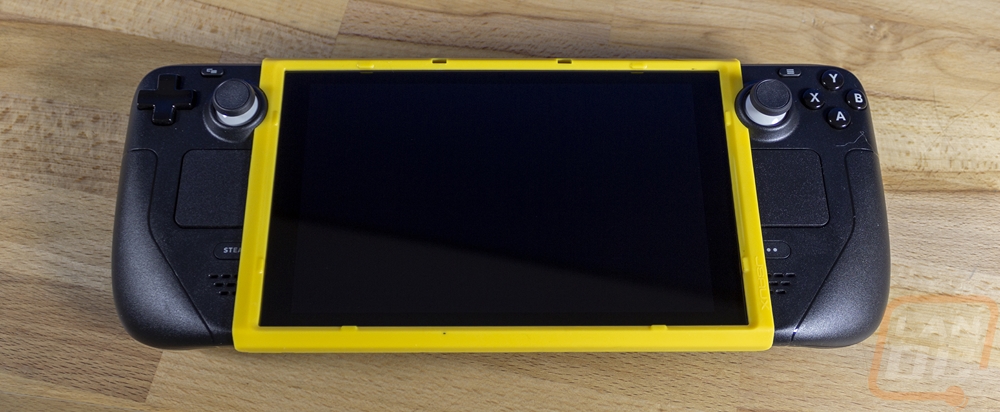
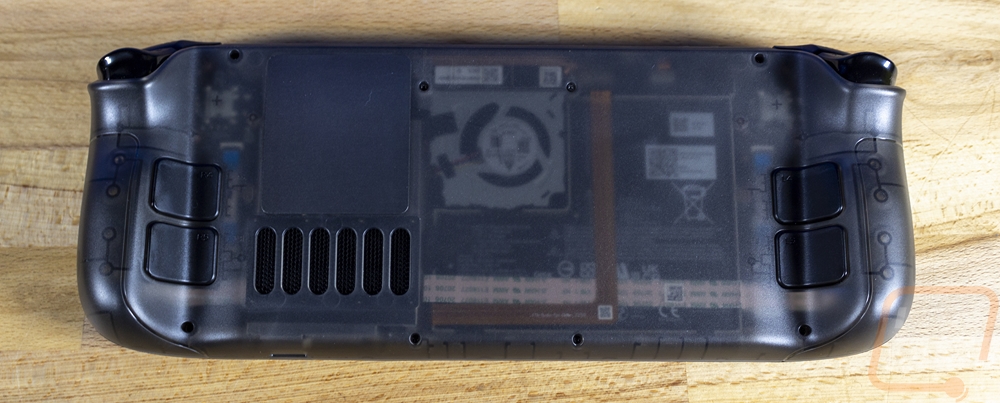
The other accessory that I ended up going with was a translucent back panel from JSAUX. This might show my age, but growing up some of the coolest devices had translucent housings and it’s a feature that we don’t see enough these days if you ask me. They officially call it transparent but I wouldn’t say that they are THAT clear. JSAUX has them in six different color options including red, green, blue, and purple colors. They have one called crystal which is like translucent white and then brown which is close to grey.
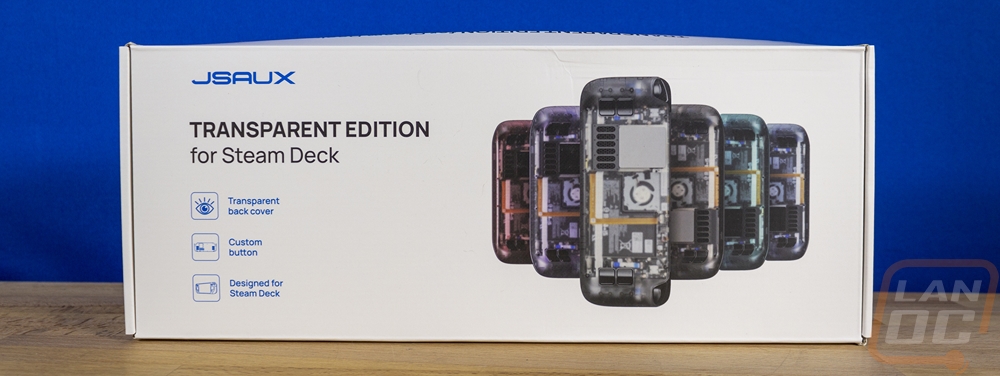
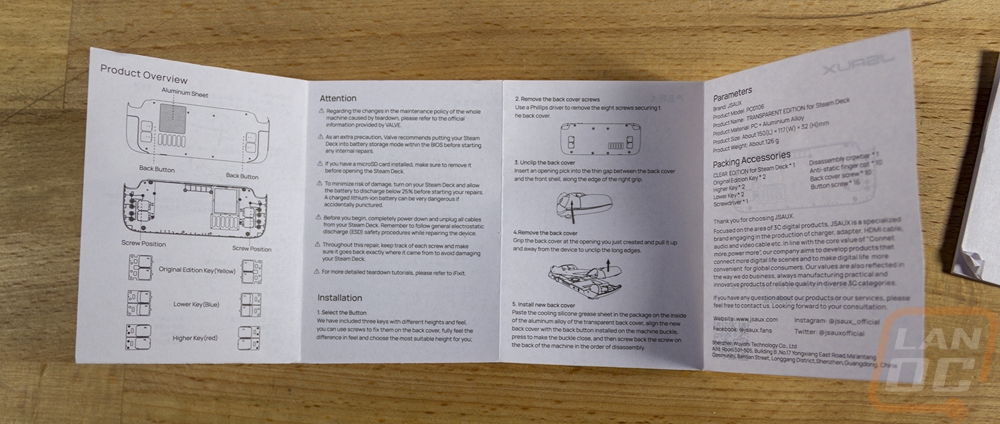
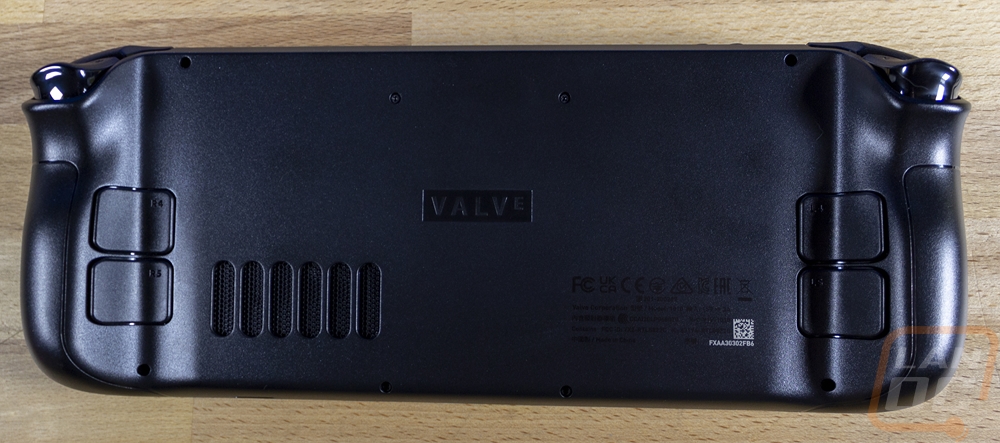
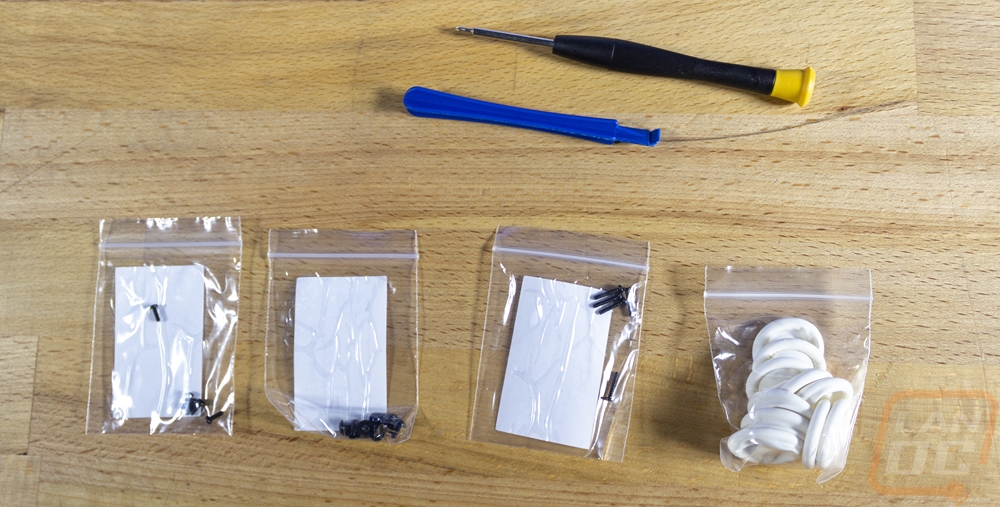
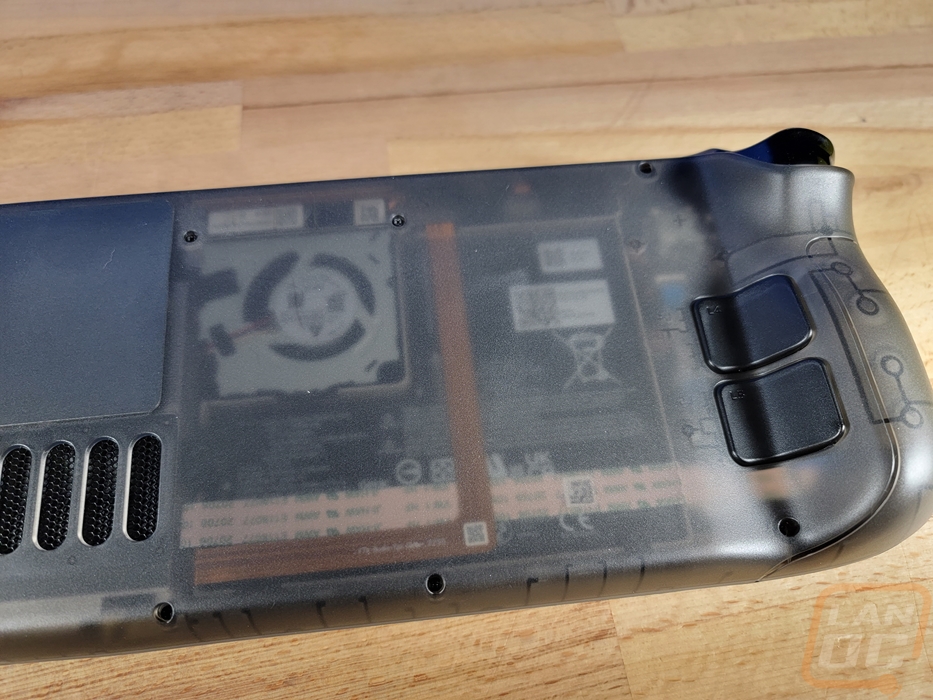
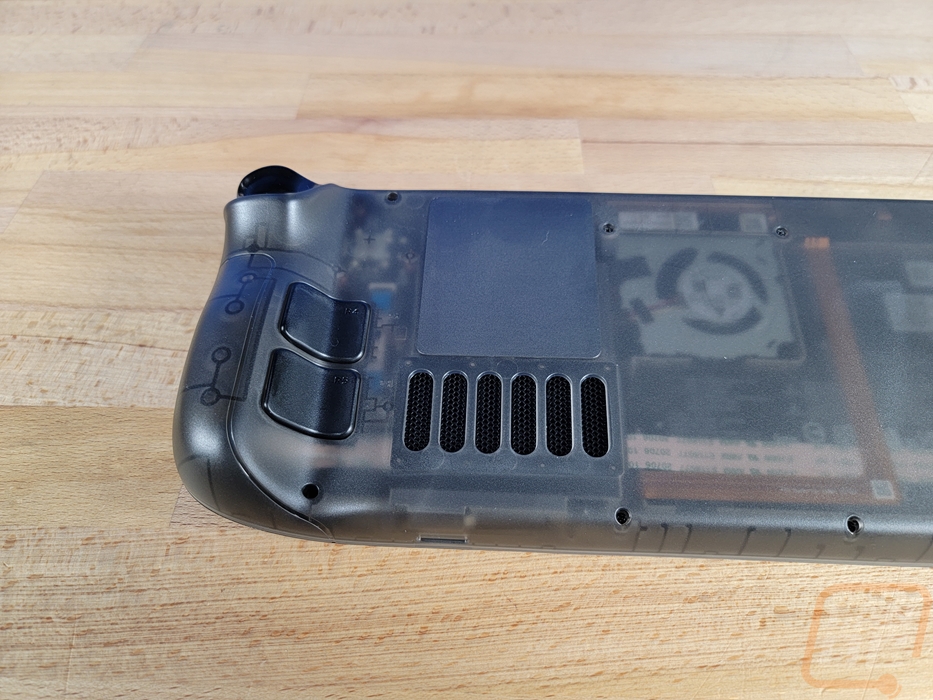
Because we were already planning on replacing the SSD, swapping the back panel out made sense and gave a little customization without going crazy and should hopefully hold up better than using a custom cut vinyl wrap. I will go over the installation in the next section but I should point out that it does come with all new screws, a screwdriver, and a plastic clip to help open the Steam Deck up and you also have three different sets of rear buttons. You get one set of original buttons, then lower and higher buttons that both stick out farther than the original design.

Installation and performance
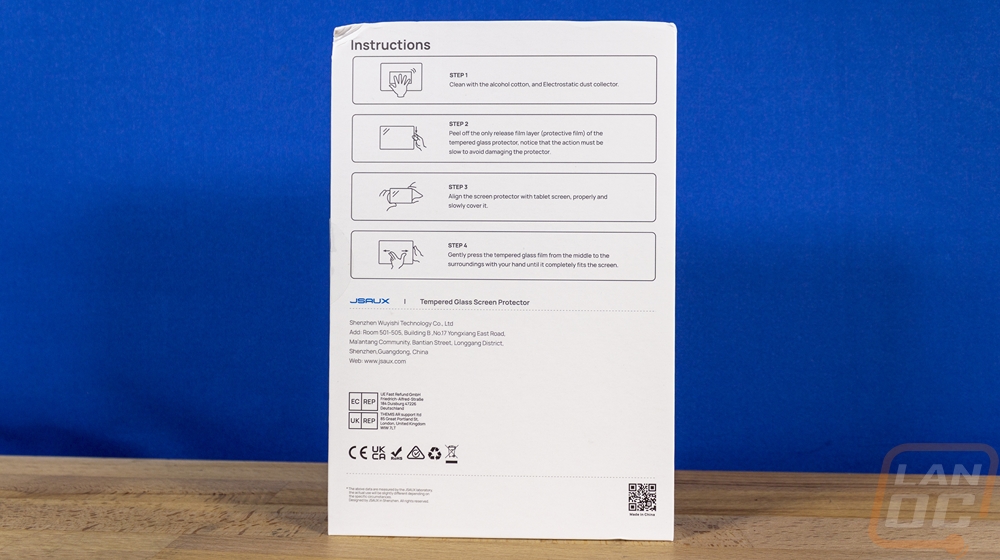
I have to get everything installed before I can talk about how things performed. To start that off I kept things simple by installing the JSAUX matt screen protector. The kit comes with two screen protectors which is nice, even with the installation helper there is always a chance that you end up with something behind it and you end up with a bubble. That said the installation was extremely simple. You clean the screen then install the yellow installation helper. You double check for hairs or dust and use the included dust sticker to pick those up. Then you peel the backing sticker off of the glass and drop it in place using the included squeegee to push air bubbles out.
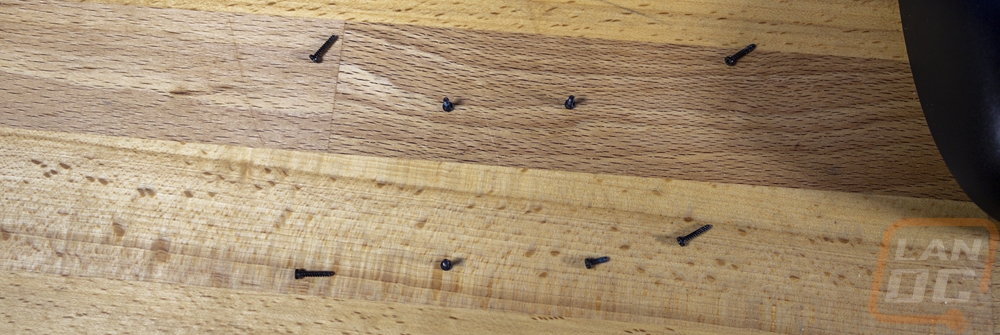
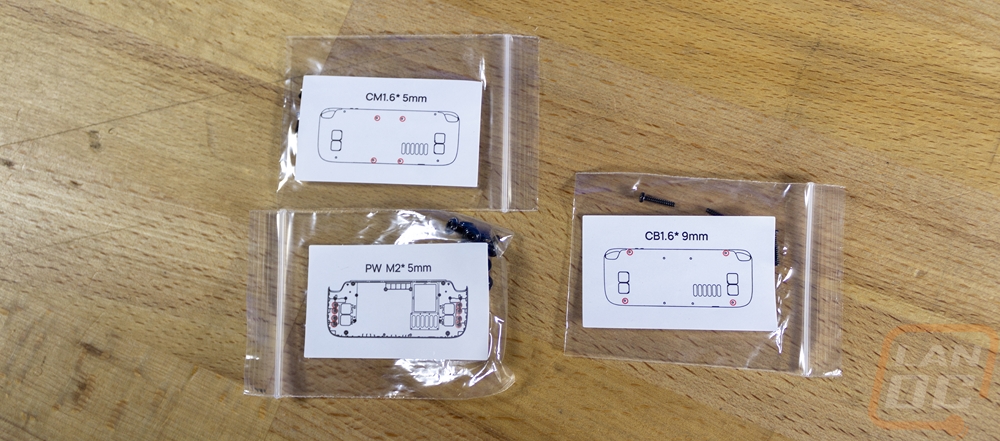
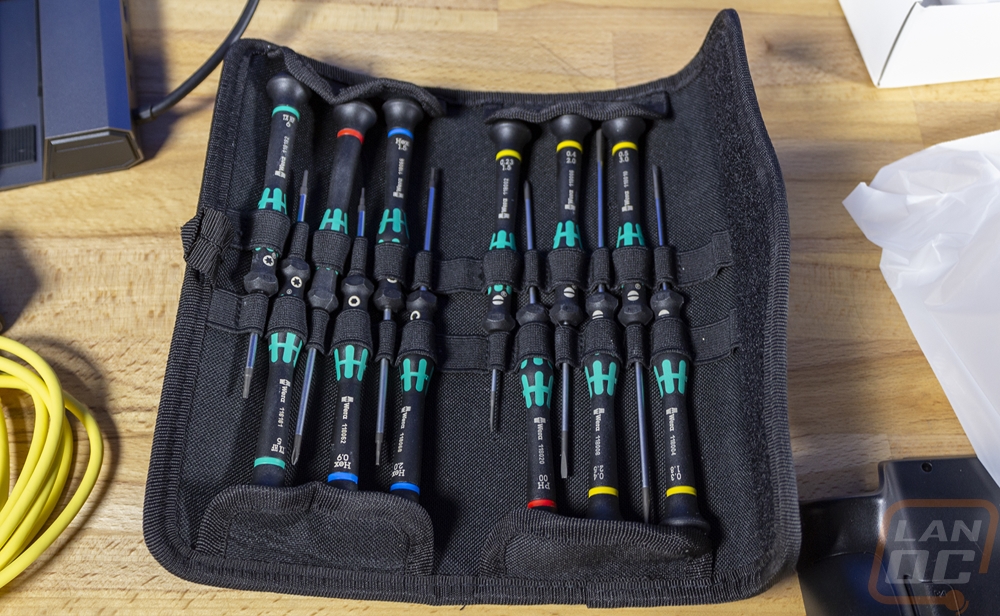
The MicroSD card can’t be installed until everything is done and the dock and charger don’t require installation at all. So we just have the Micron 2400 SSD and the JSAUX backplate. Getting to the SSD requires the backplate to be removed, so I started with the SSD first and then installed the backplate when I put everything back together. Removing the backplate was surprisingly easy though. There are eight screws on the backplate, four shorter screws which are in the middle, and then four longer screws on the outer corners. When removing these I kept them organized but it was nice to know that because the backplate comes with a completely new set of screws if I lost any I wouldn’t have to worry about it. JSAUX also did a great job by putting pictures on each bag of screws showing where each screw goes. The backplate does come with a small screwdriver as well as the clip tool to remove the backplate after you get the screws out. I found that the screwdriver might get the job done, but it was a little loose and had the potential to strip out the screws so I switched to my own screwdrivers just to be safe.
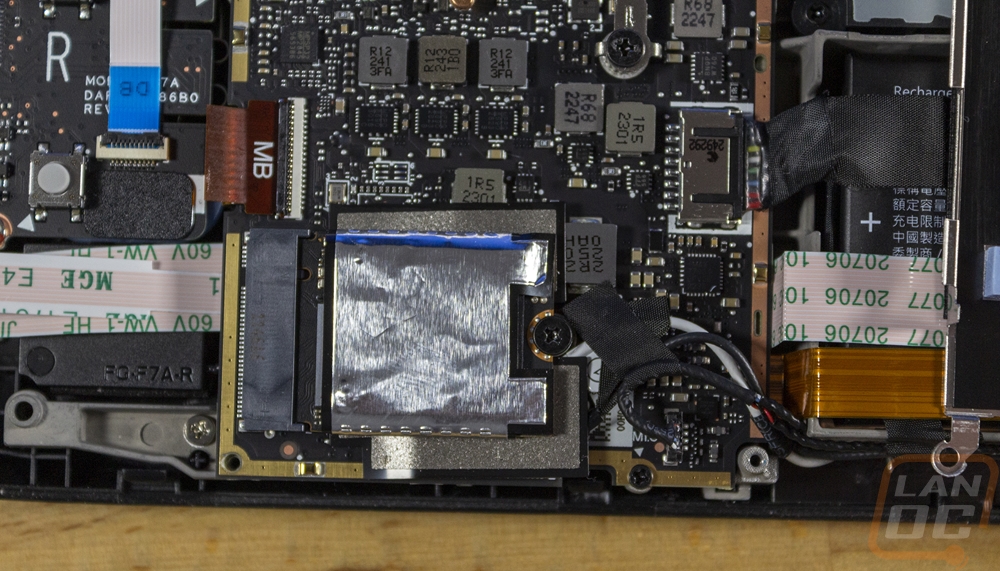
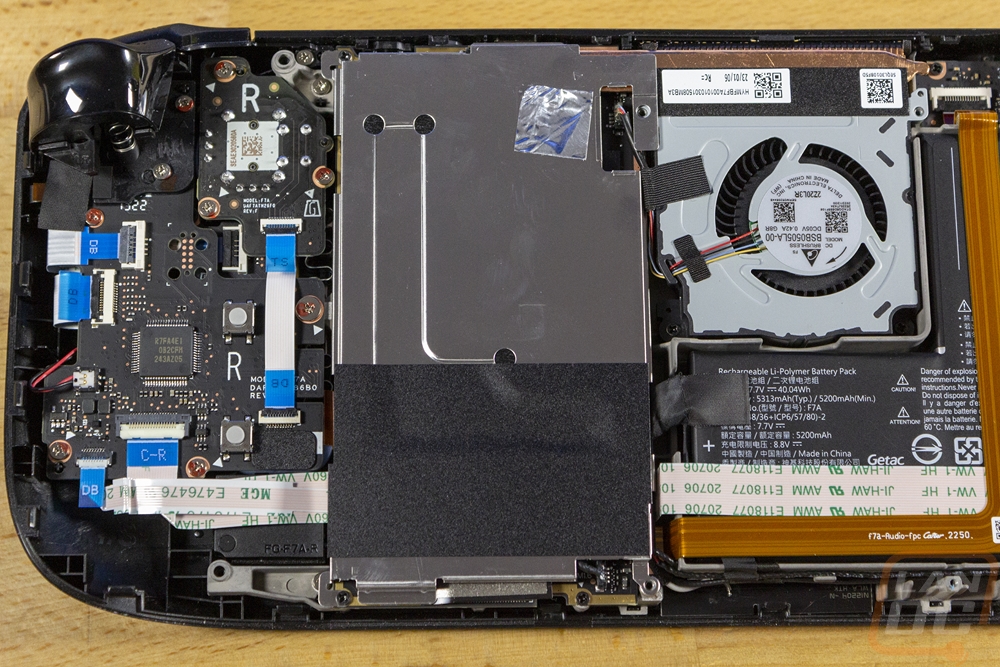
While I would still highly recommend anyone looking to swap out the Steam Decks SSD to follow one of the guides online. I will run through the steps as well. With the backplate off you have access to the main battery which is good to see, just in case that needs to be replaced in the future. To the left of that is a metal shield and heatsink next to the cooling fan. This has one screw under the metal tape that needs removed, then the bottom left and top left corners have small screws also holding it in place. With those out the cover will come off and below it, you have the main board which has the large heatpipe going to the fan/heatsink. Down at the bottom is the SSD which has a metal wrap on it. Like any M.2, this has one screw holding it in place. Once that is removed the SSD will pull out and you need to remove that cover wrapped around it which slid right off for me.
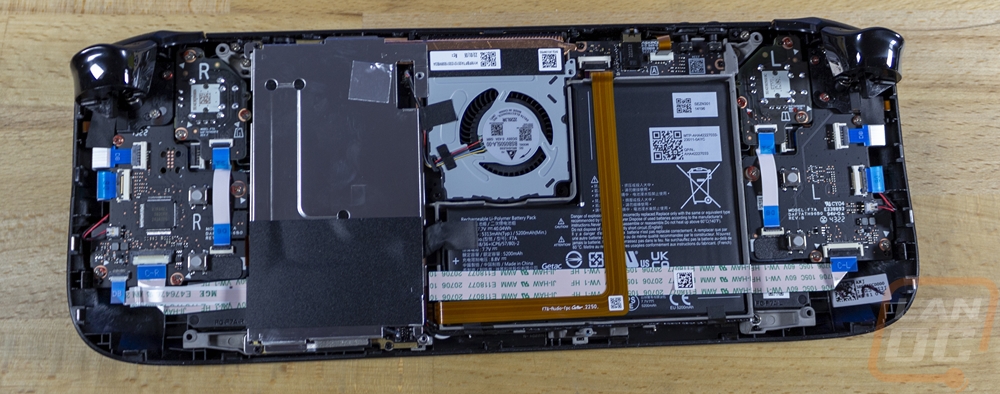
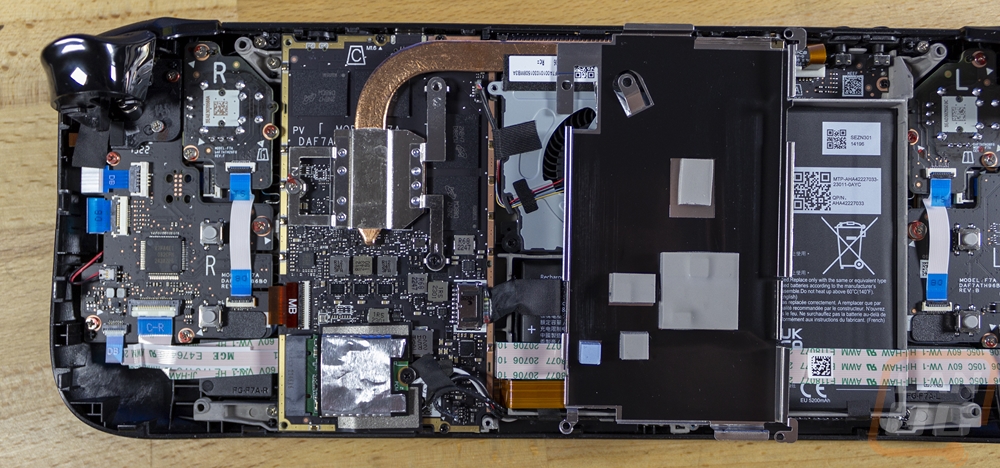
You should put the metal wrap on the new SSD which slid right on for me other hand having to work it around the sticker edges. Then you slide the drive in and replace the screw. The large metal cover goes back in place as well with its three screws and we are back to the backplate installation
Before installing the JSAUX backplate you do need to decide if one of the larger back button designs is better for you and you do have the option of mixing them up if you prefer that. I do think they would be a little easier to reach than the stock back buttons. But because my wife and I both share this, I didn’t swap them out for now. I can always get back in and change them out later. The backplate snaps back in place and then you have to reinstall the eight screws. Neither the SSD nor the backplate were hard to do at all, especially with the guides available online to let you know what you will see when you get inside. The translucent backplate looks amazing. I do wish they had an orange model as that is what I would have preferred or other bright options like the N64 came in like ice blue. These not only give you a look inside of the Steam Deck, but they also give you a way to set yours apart which would be great if you have more than one Steam Deck in the house. As for their performance, the plastic doesn’t feel any different from the stock backplate. You do have the metal over the motherboard that was hidden before but is now exposed, so when the Steam Deck is running for a while you will feel more heat on the exposed metal. But I’m also curious if that won't also help with cooling. The only other issue I noticed was that in the corners near the triggers, there is a slightly pointy edge on both sides. It isn’t in a location that you would normally touch, but you can feel it when you touch there. I may file them down in the future.
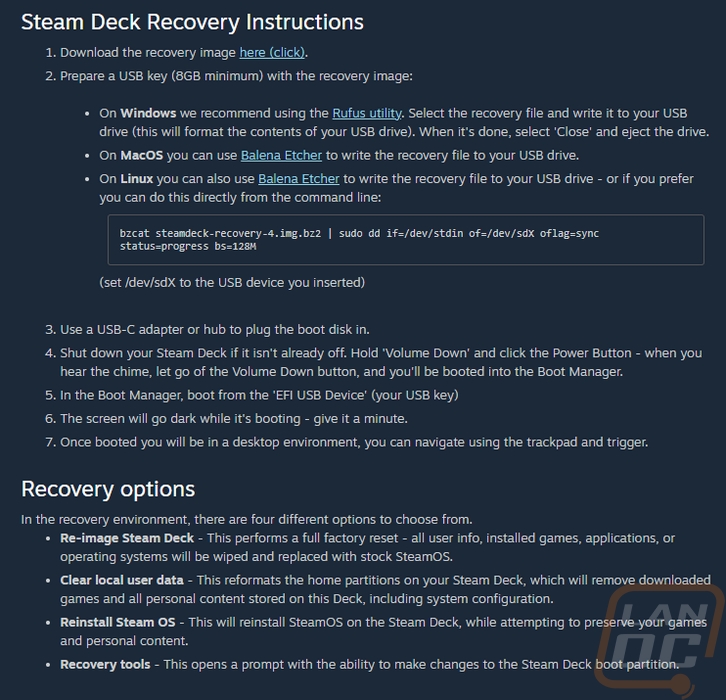
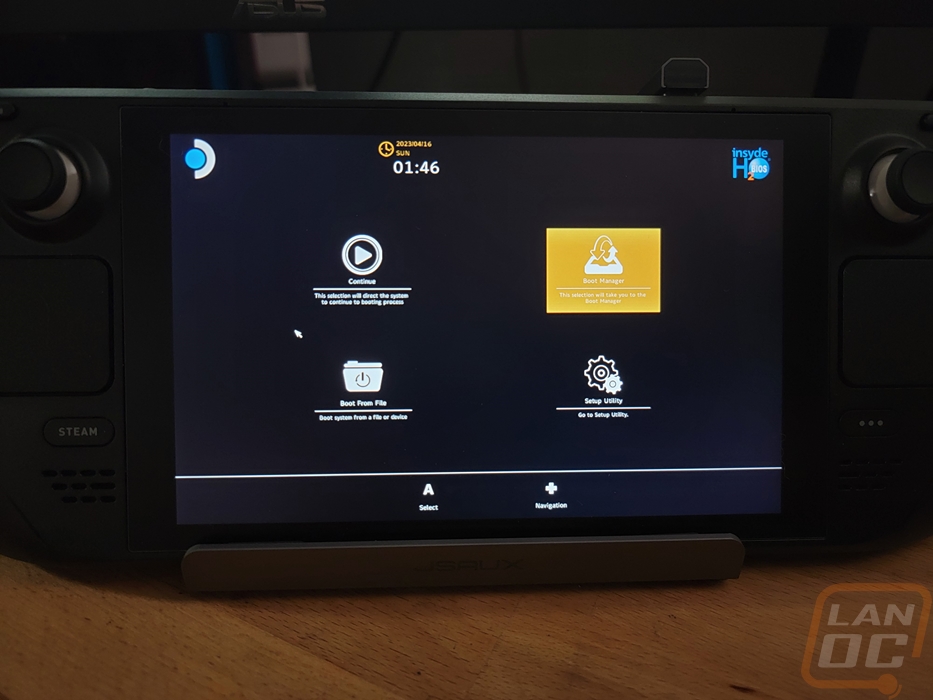
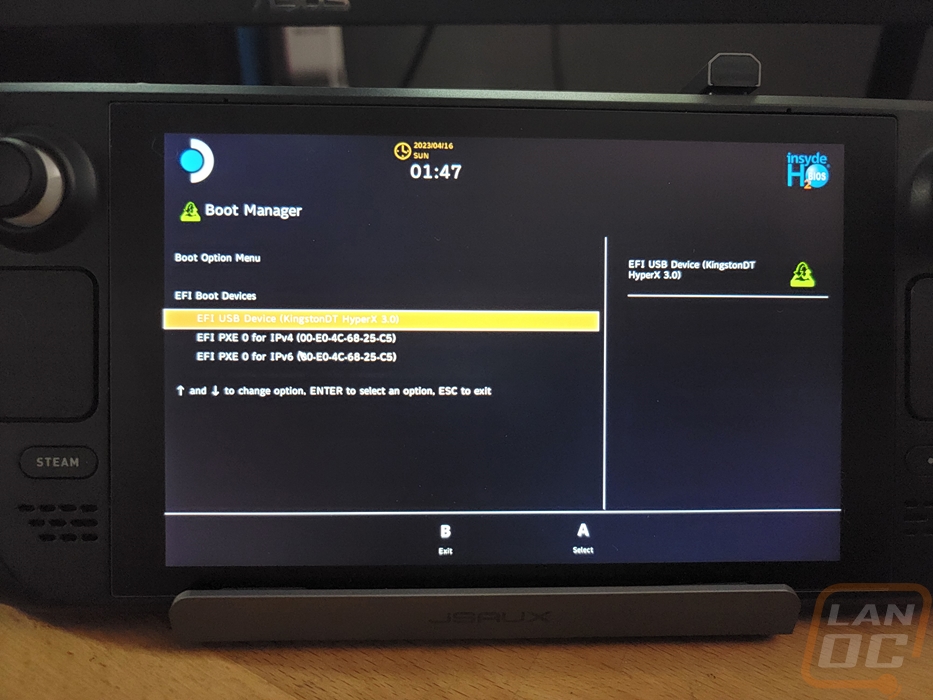
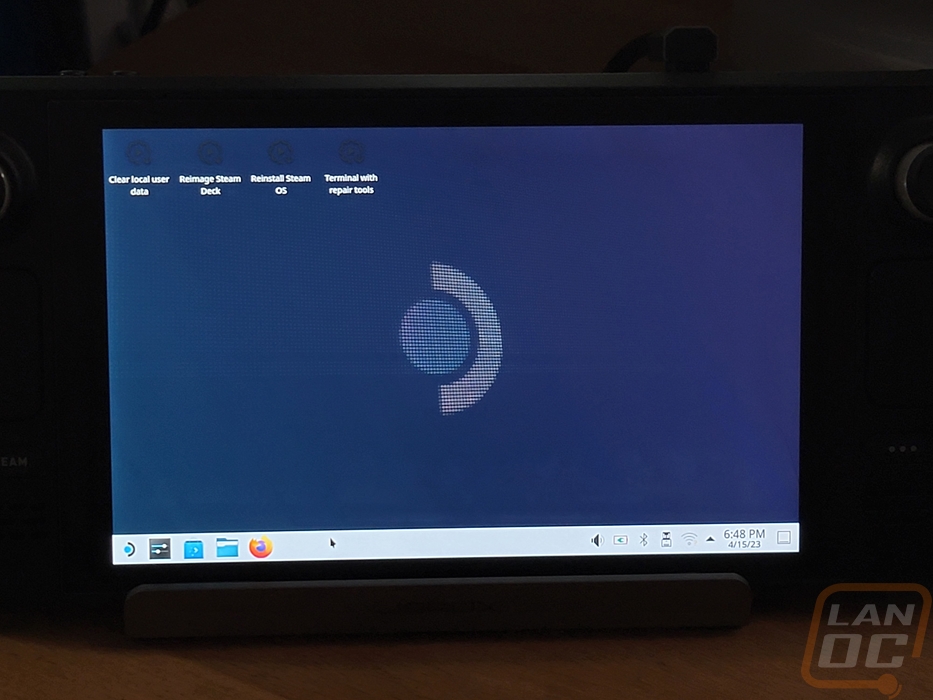
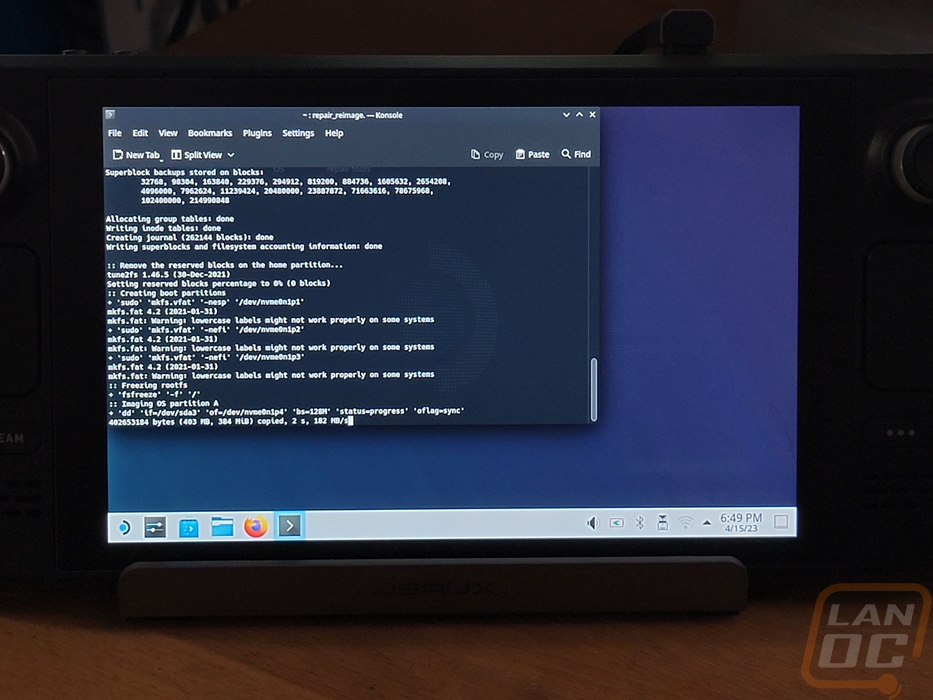
With the SSD installed, you do still need to reimage everything to get your steam deck up and running. Valve offers a step-by-step guide and to do it you will need an 8GB or larger flash drive. Without a dock like we have here, you will also need to make sure you have a Type-A to Type-C adapter for your flash drive. The Valve instructions give you repair, reinstall, or reimage instructions. I did a full reimage as we had a fresh SSD. The reimage takes a little while and runs inside the desktop OS. But once it is done it will boot up and you will now have a fresh install and a lot more room for games. You also need to make sure you install your MicroSD card and in the settings menu format it as well. I can’t stress enough just how big of a difference the two things made. With the stock 64 GB SSD, you basically can only install one or two small games. A lot of the most popular games are 70-100 GB and that can fill up space quickly. Even the 256 GB and 512 GB models won’t have room for too much but with 2TB on the SSD and a 1TB MicroSD card, our Steam Deck is ready to be loaded up with games for both my wife and myself.
I mentioned earlier that I wasn’t sure when I decided to get the JSAUX 6 in 1 dock if it would end up being useful or not. Valve not having a way for the Deck to charge on the dock without being plugged in was a big reason why I wasn’t sure. But even just doing the SSD reimaging the dock came in handy and again later when copying over files for emulators as well. It remains to be seen if my wife and I will end up using the dock with it paired up with a TV like a Switch or using it as a PC. But having the dock as a way to get a better internet connection for faster downloads has already helped. Especially now that Steam has streaming of game files from other PCs in your house. Basically, it is nice to have around, but at minimum, you should at least have a Type-C to Type-A adapter cable around. The dock does have a lot better construction than I expected with its metal housing and the heavy-duty cable with the right-angled connection and metal housing for that as well is nice.

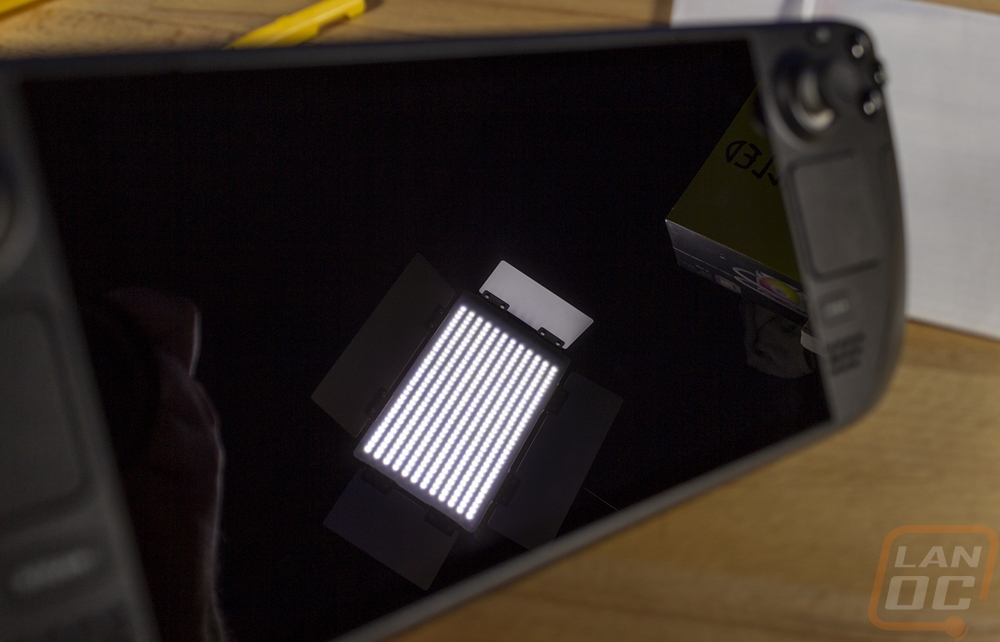
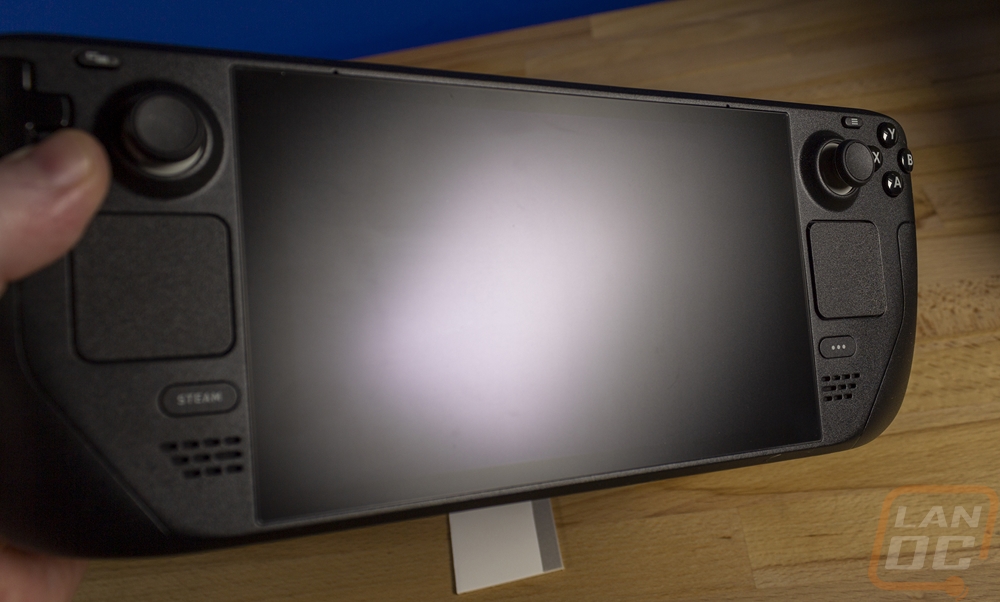
As for the JSAUX tempered glass screen protector. I hope I never have to find out how much it helps protect the factory screen. But the matt finish surprised me with how much it helped. I put the stock glossy screen up with one of our LEDs photo lights as a reflection and the difference between the two is night and day!
Last up we have the Anker charging cable and Nano II 45-watt AC adapter. As I mentioned before, the stock charger is more than good enough to get the job done. I went with this charger because it is a little more compact and I could use a brighter cable so it would be easy to spot. But I ended up being surprised with how much I liked the Anker 643 cable with its silicone finish. The bright yellow was nice and I like a few of the other color options that they have but I do wish they had more truly bright color options as well because I could see myself using the 643 cables as a replacement for a lot of the Type-C cables around the house.
Overall
Well, we are just now getting started with our overall Steam Deck experience now that a few of these upgrades have been done. But I can still comment on where each of these components would be on my list of accessories to buy for your new Steam Deck. The biggest one would have to be a large capacity MicroSD card or multiple if needed. This is going to be the cheapest way to expand the storage of your Steam Deck and for anyone who isn’t sold on opening it up to replace the SSD, it is the only way to add to your storage. But I wouldn’t bother with getting a smaller-capacity MicroSD card unless you have a really good idea of the games you plan on installing. I do still think however that an SSD upgrade is worth the time and money as well. Especially now that 2TB is an option with the Micron 2400. But even if you want something smaller like the 1TB and smaller drives are all cheaper than the cost difference between the base 64 GB Steam Deck and the 512 GB top of the line model.
The JSAUX matt finish tempered glass screen protector would also be on my must-buy list. Even if protecting your screen isn’t a big concern, the matt finish looks great and does a good job of cutting down on glare.
As far as middle-of-the-road accessories that you might not need but are a good addition. The JSAUX transparent back plate would fall into this category. For me, I love the way it looks but it isn’t something that you will need to have to get the full experience. It is just a unique way to customize your Steam Deck and if you have more than one in your house it would be an easy way to keep them separated. It was a surprisingly easy installation and JSAUX has a few nice color options, although I would love to see even more colors.
The Anker Nano II 45-watt charging adapter and the Anker 643 Silicone Type-C cable is in that same category as well. You can get away with the charger that comes with the Steam Deck. But the Nano and cable were slightly more compact and also add a little more color. Good options for another charger and cable but not a must-have, just a nice to have.
The JSAUX 6 to 1 HB0603 Steam Deck Dock ended up being useful. But this is one that is very dependent on how you plan on using the Steam Deck. This will get you a wired network connection for faster and more reliable speeds which are especially useful now that Steam allows you to Steam game files from other PCs on the network to speed up installations. If you keep your Steam Deck on your desk or even on a shelf this is a great way to display it and keep it charged. It is also good if you want to hook up a display or TV and a keyboard/mouse. But I know not everyone is going to need all of those features. You could get by with a small Type-C to Type-A USB adapter if you didn’t need the additional features. I should point out however that the JSAUX dock does get you the same features that Valve’s official dock but at almost half the price. Not to mention the aluminum construction.
In the end, I for sure found a few must-have upgrades, a few nice options, and one that is very dependent on how you plan on using your Steam Deck. But is there anything I would still love to add into the mix? I think the biggest one would have to be the Nreal Air AR Glasses. I haven’t tried them, but the possibility of being able to play my games on an even bigger screen while on the go could be very cool. Beyond that, I think we have covered everything we will need. If you don’t have a pair of Bluetooth earbuds or headphones that could be a good option as well if you plan on gaming around others. I’m planning on putting the Soundcore Space Q45s that I previously covered to use for those situations.
Live Pricing:
JSAUX Matt Glass Steam Deck Screen Protector
Micron 2400 NVMe PCIe Gen4 2230 SSD
Anker 643 USB-C to USB-C Cable Daffodil Yellow


