Software
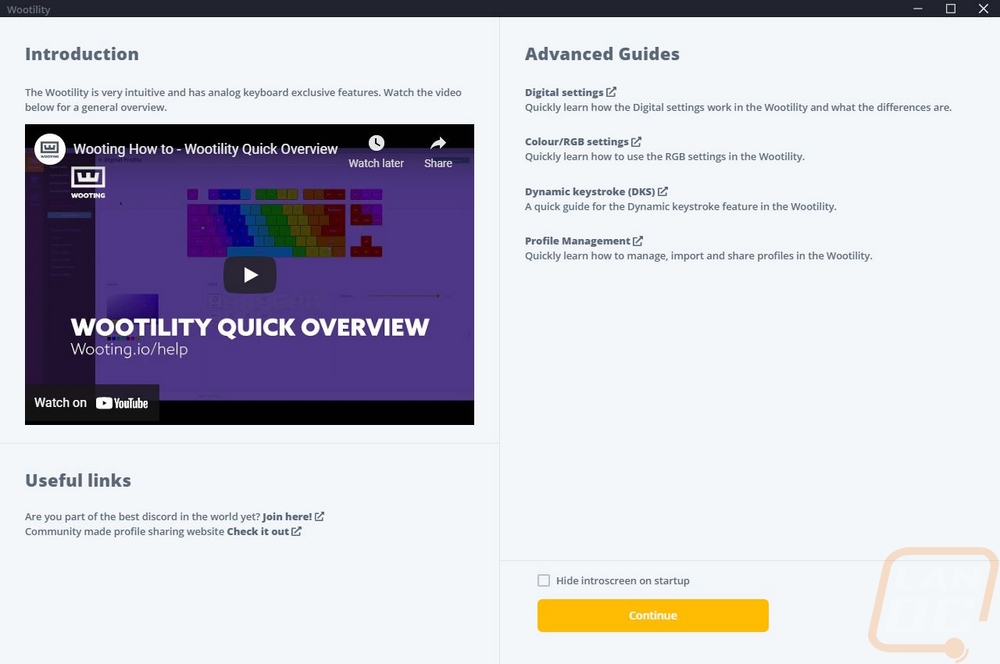
In more than any other area, Wooting really goes their own way when it comes to the software side of things. With most peripherals, everything is just about the exact same from company to company. But even when getting the Wootility software installed they are trying very hard to give information on how to get the most out of your keyboard and make no mistake with the analog capabilities of the 60HE their help does come in handy. The first page from the installation has an overview video and links to guides. You also have a discord link and a link to a profile sharing website as well.
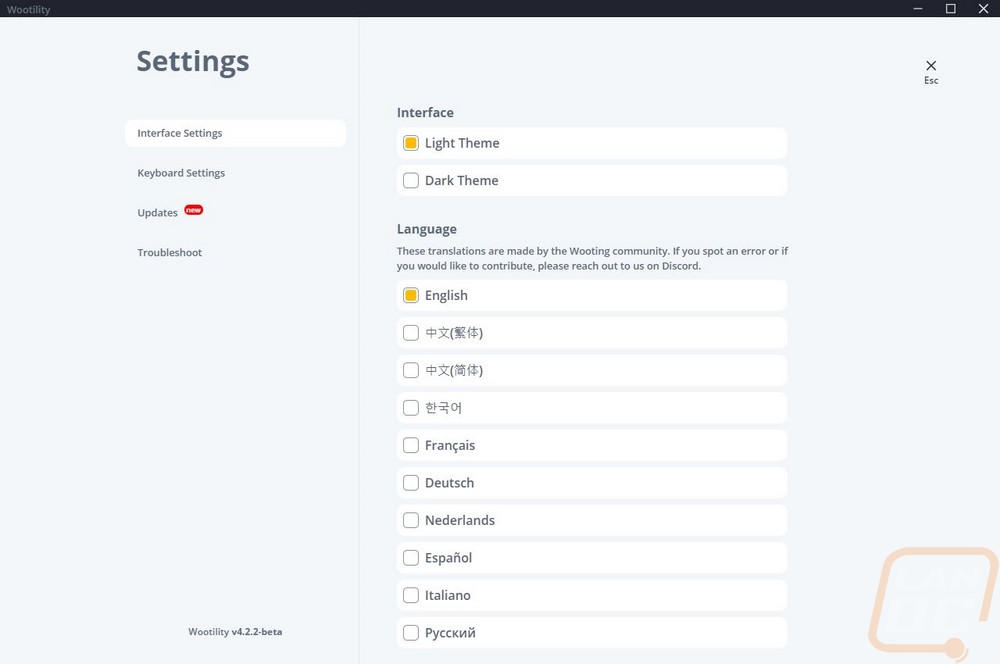
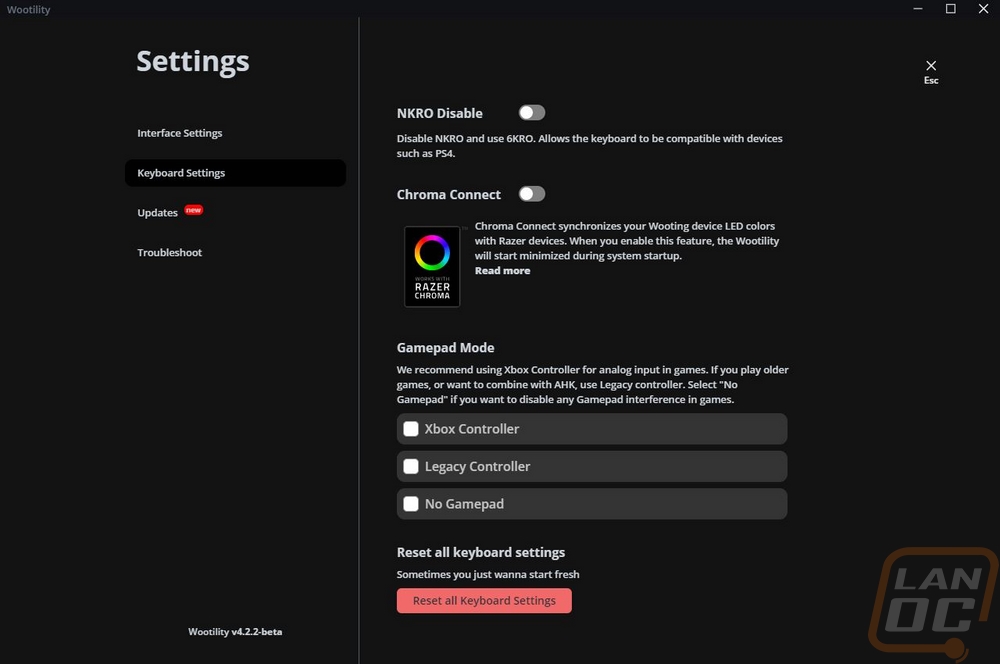
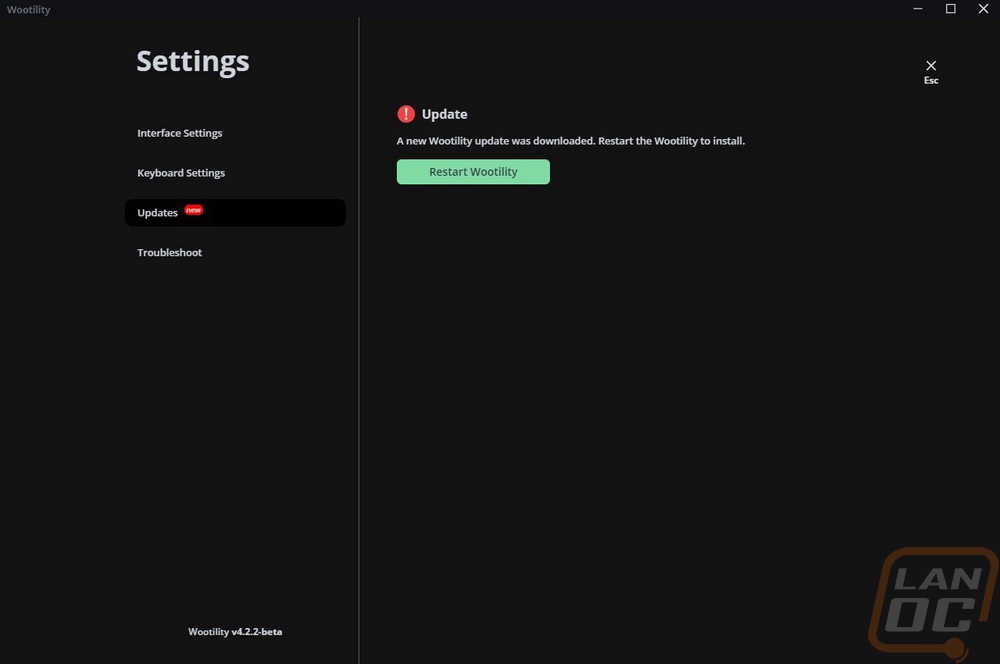
The main landing page once you get everything installed has your keyboard profiles listed on the left, settings on the bottom, and then a drawing of the keyboard on the right half with three pages down at the bottom of keyboard settings. The settings menu gives you light or dark mode options as well as language. On the keyboard settings page, you can turn NKRO on or off to help with compatibility, turn on Razer chroma connect support or put the keyboard into gamepad mode. There is also a page for checking for updates.
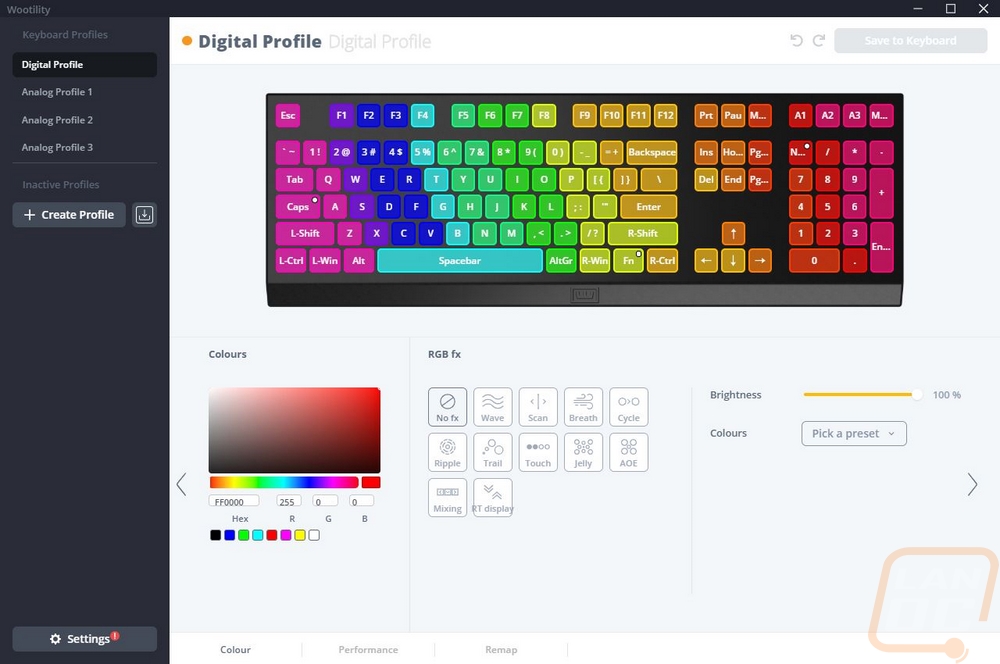
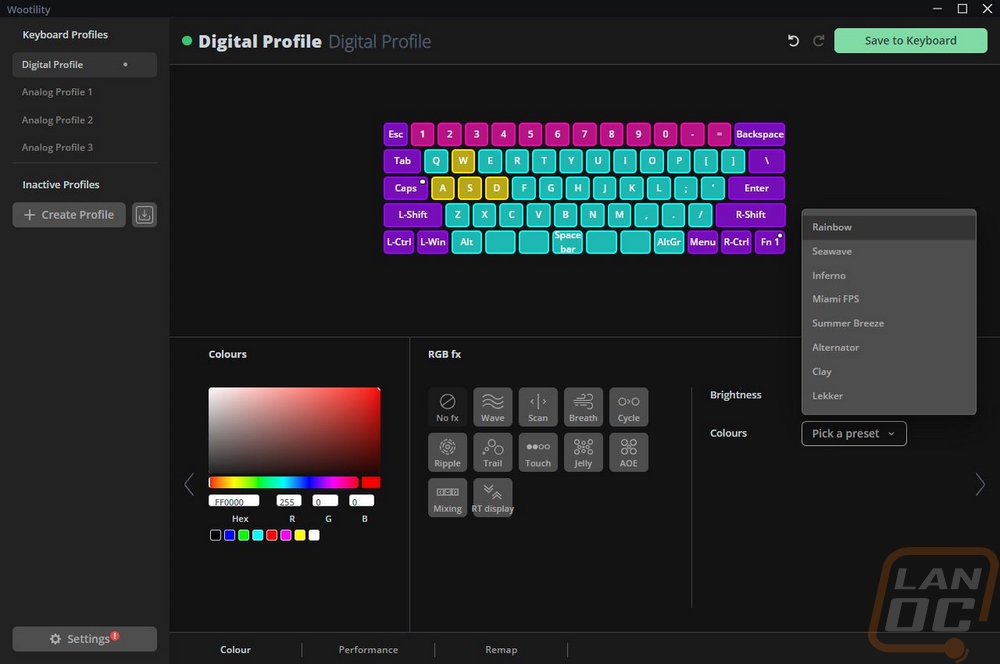
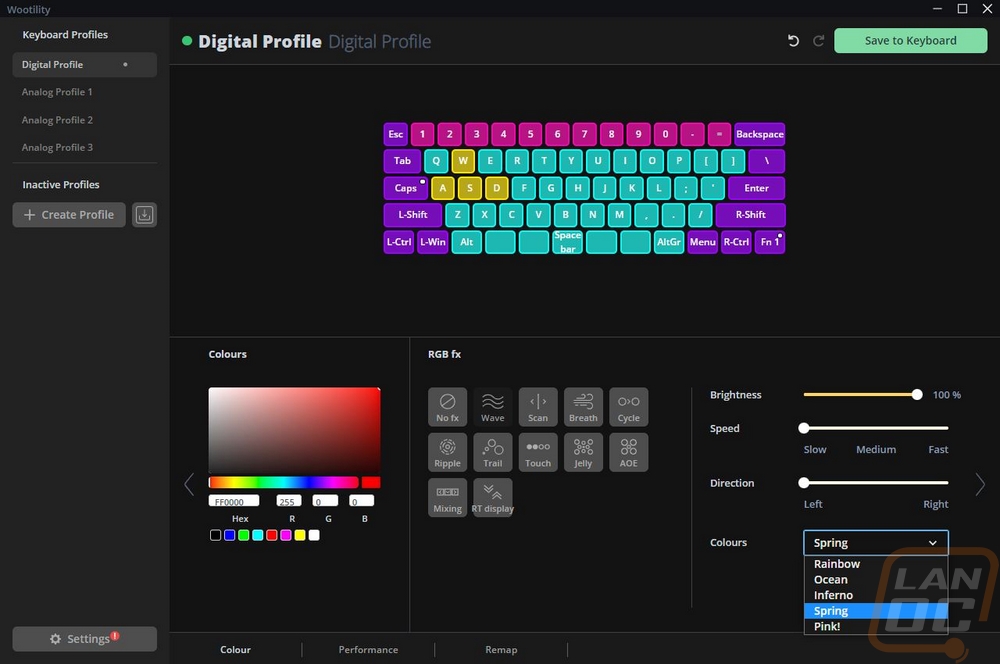
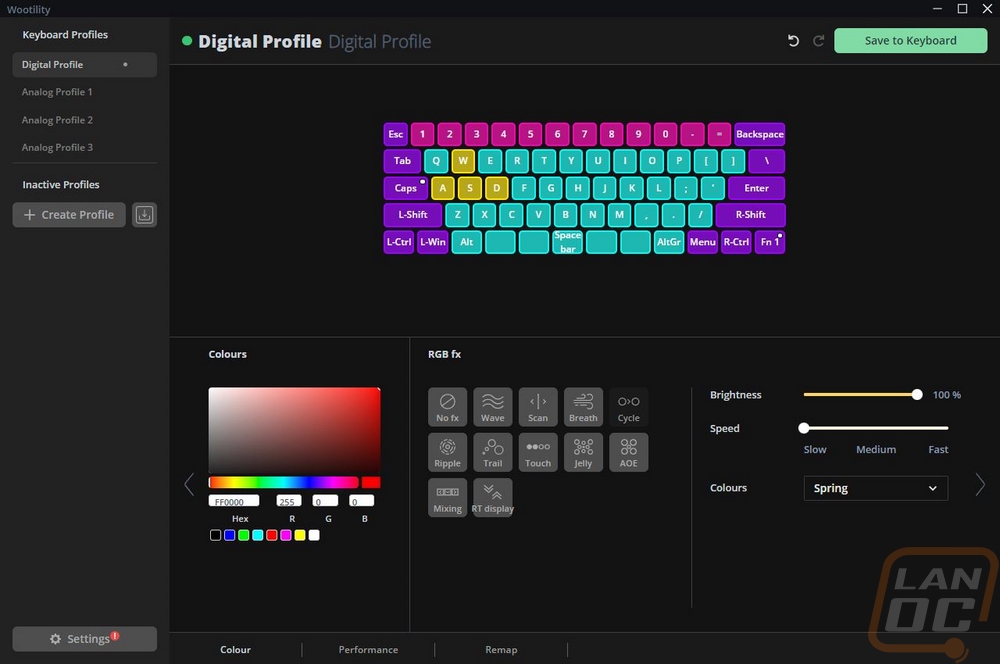
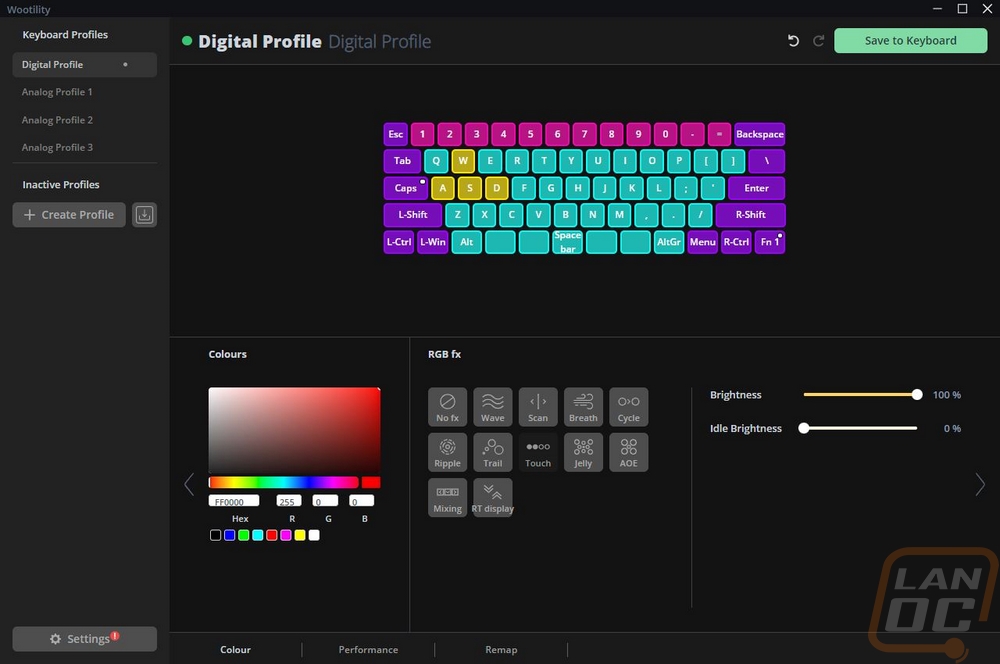
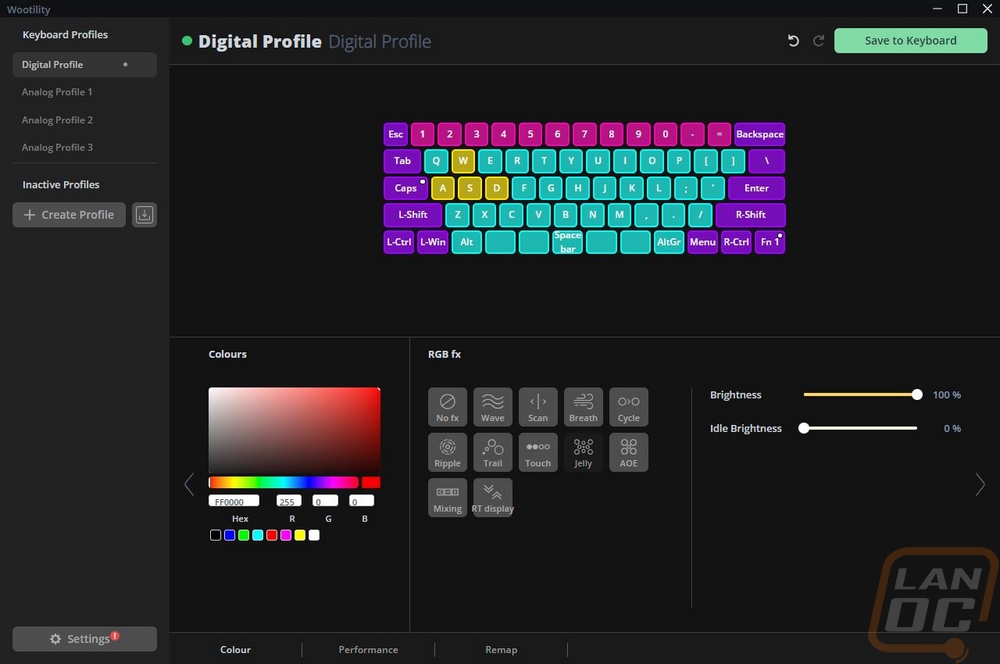
The first page for the 60HE is the lighting page or the “Colour” page as the guys from the Netherlands would call it. This has each of the keys for the 60HE outlines and then lit up in whatever the LED color is. You can select one or more of the keys and manually set the color using the tool on the left. In the middle you can pick from a list of effects in this example it is set to no effect at all. Then each of these options has settings that let you adjust the effect in the far right section. Some of them like the no effect mode have color options or presets. The one in the photo is the Miami FPS layout which takes some from the old school Miami Nights keycap sets which use pink for modifiers and the turquoise. But they have added yellow for the FPS keys and purple into the mix as well which goes with the whole theme. All of the effects have a brightness option and most have a speed setting as well. I’ve got all of the effect options shown below.


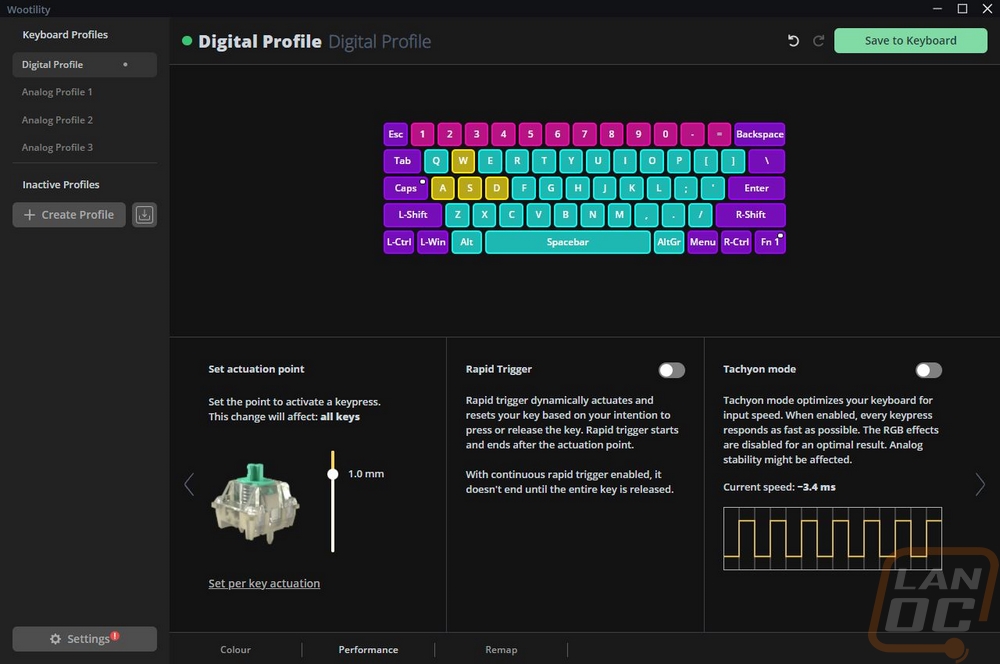
The next tab is the performance tab and there are just the three options here. You can set the actuation point which also has the option to do this per key if you would like. This is a big benefit of the analog design even if you aren’t using the full analog setup all of the time. You can tweak and adjust your actuation point to what is most comfortable for you. Most likely this may also be different depending on if you are writing or gaming. I know for me I prefer a more traditional actuation point when writing, when running a short one which I like for gaming I get a lot of miss clicks and typos. You can turn on a rapid-fire trigger which can have the key spam when you hold it down or you can adjust the sensitivity to how high you need to lift the key for it to consider it ready to activate again. The last mode is tachyon mode which is focused on a higher input speed but does turn off the RGB lighting. The tachyon in the name is a nice Star Trek throwback and a reference to tachyon being a theorized faster than light particle.
The last page is the remap page and I would bet you can guess what happens here. This is an area in the software that I feel like Wooting is doing differently than anyone else. For starters, right on the left, you can remap your keys to a whole list of different popular keyboard layouts like Dvorak and Colemak. You can also find any function using the character map on the right or the filter/search and drag it to the key you want it to work on. You can pick from the main layout or your two function layers to the right of the keyboard up top. This also gives us a peek at an easy egg where the second function layer by default has the middle keys laid out to say “Epic Gamer Move”. The character list has just about anything you might think of including your mouse clicks and opening some of the basic programs. There isn’t a macro mode which some may not like, it isn’t something that I use at all but that is the one area where there is some functionality lost compared to other keyboards. Then when you are all done you can click save to keyboard in the top right corner to save it to the 60HE. Once saved you don’t have to have the wootility software installed to use that profile. Speaking of profiles there are multiple on the left that you can flip between and you can also have saved inactive profiles as well. On the Wooting 60HE order page there are two microcontroller options and I assume this is the AVR which is the only option unless you want to wait until past September 2022 to get the upgraded ARM option. The ARM model will have more configuration slots and better future compatibility.


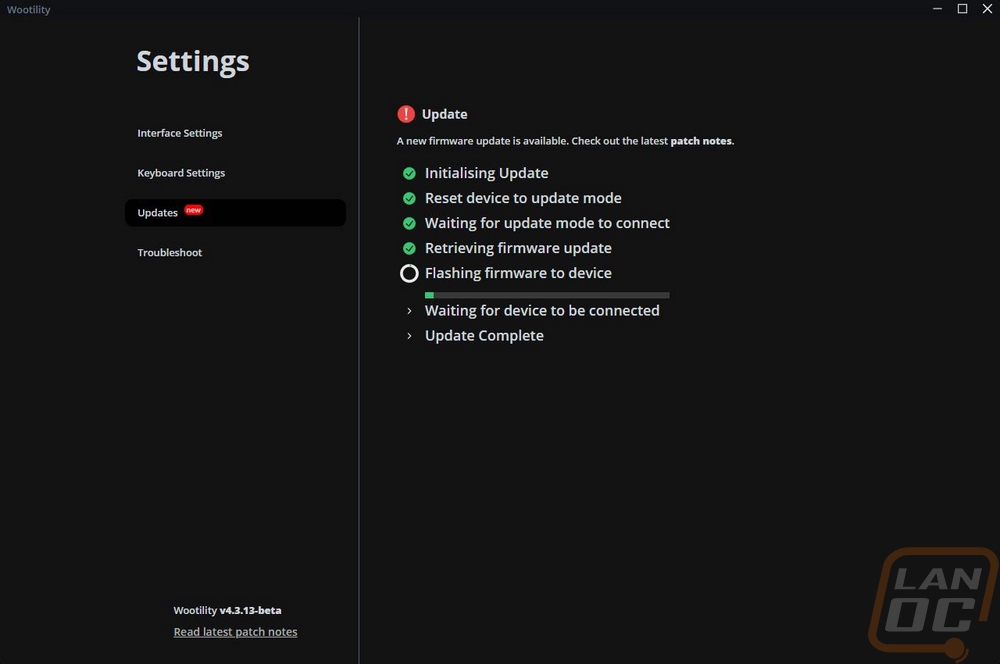
It’s a small touch, but like I said earlier that Wooting seems to have an openness that other companies don’t have. This even shows with how they have their firmware updates shown. Most would just have one progress bar but I like that they let you know exactly where in the process you are as you do it.