One of my favorite things about the keyboard community is that people haven’t been afraid to come up with their own designs and even often bring their designs to life. This has created innovation and over the years a few of these have grown into full businesses. A great example of this would be Wooting which back in 2015 came up with their design for an analog keyboard which they later did a Kickstarter on and later released. Wooting has always been especially interesting to me because there aren’t many companies in the industry that are as open with their timelines and issues. Part of this comes from their Kickstarter roots, but they have always continued to update even on the software side. I’ve been looking forward to their latest keyboard the Wooting 60HE because I love 60% keyboards and today's the day after many issues that we can check out the Wooting 60HE so let’s dig in and see what it’s all about.
Product Name: Wooting 60HE
Review Sample Provided by: Wooting
Written by: Wes Compton
Amazon Affiliate Link: HERE
|
Specifications |
|
|
Keyboard Layout |
60% |
|
Dimensions |
302mm x 116mm x 38mm |
|
Weight |
605g |
|
Polling rate |
1000Hz |
|
Scan Matrix |
1000Hz (< 1ms) |
|
Onboard memory |
8MB |
|
Connection |
Detachable USB-A to USB-C |
|
Switch Type |
Gateron x Lekker* Linear60 switch |
|
Switch Specifications |
Key start force: 40cN Key end force: 60cN Perk: Linear Analog: Yes, full range Lifespan: 100,000,000 presses Debounce: Nope Audible feedback: None Tactile feedback: None Total travel: 4.0mm Actuation: 0.1 - 4.0mm Reset: 0.1 - 4.0mm Keycap stem: MX (cross) Mount: Plate mounted Keychatter: Never Hot swappable: Yes, only Lekker switches Manufacturer: Gateron |
|
NKRO |
Yes, All keys |
|
Lighting |
aRGB for each key |
|
Warranty |
4 Year warranty |
Packaging and accessories
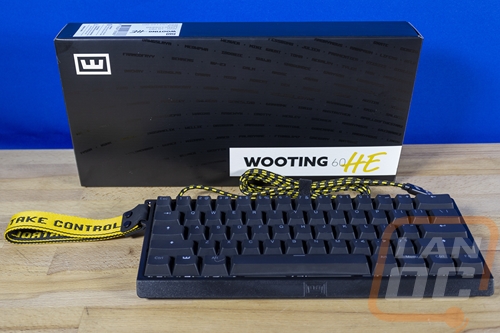
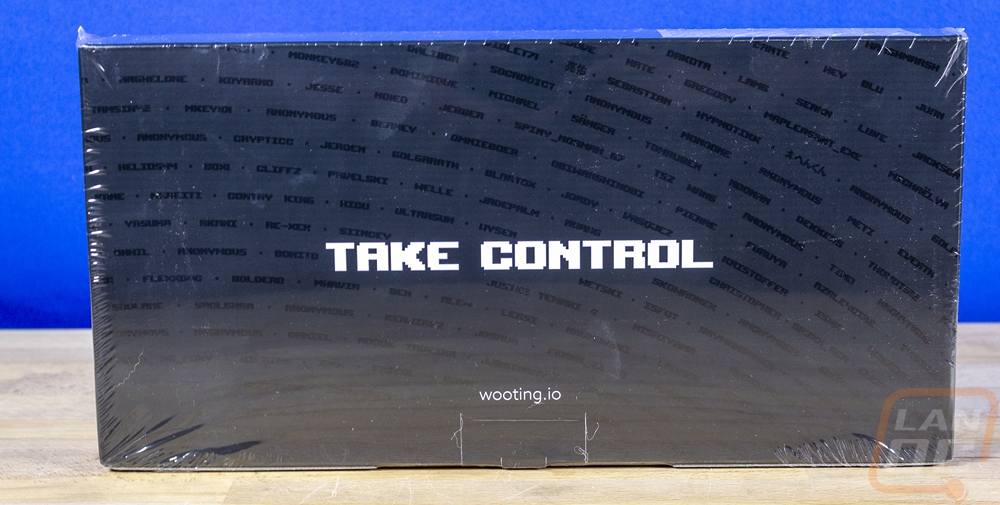
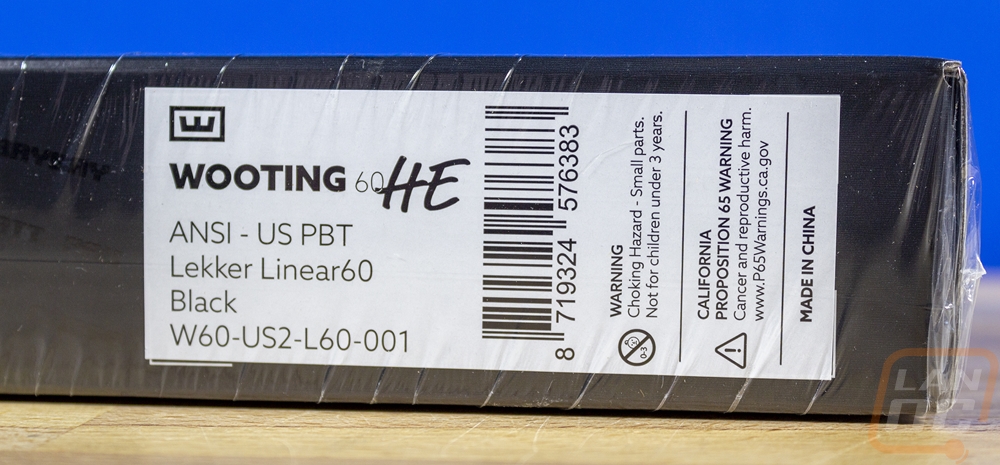
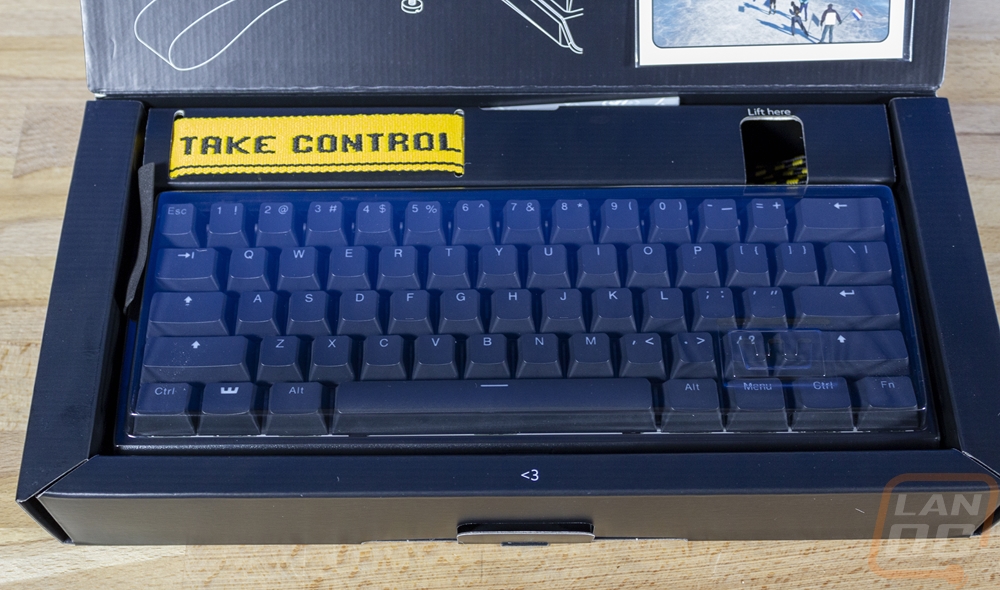
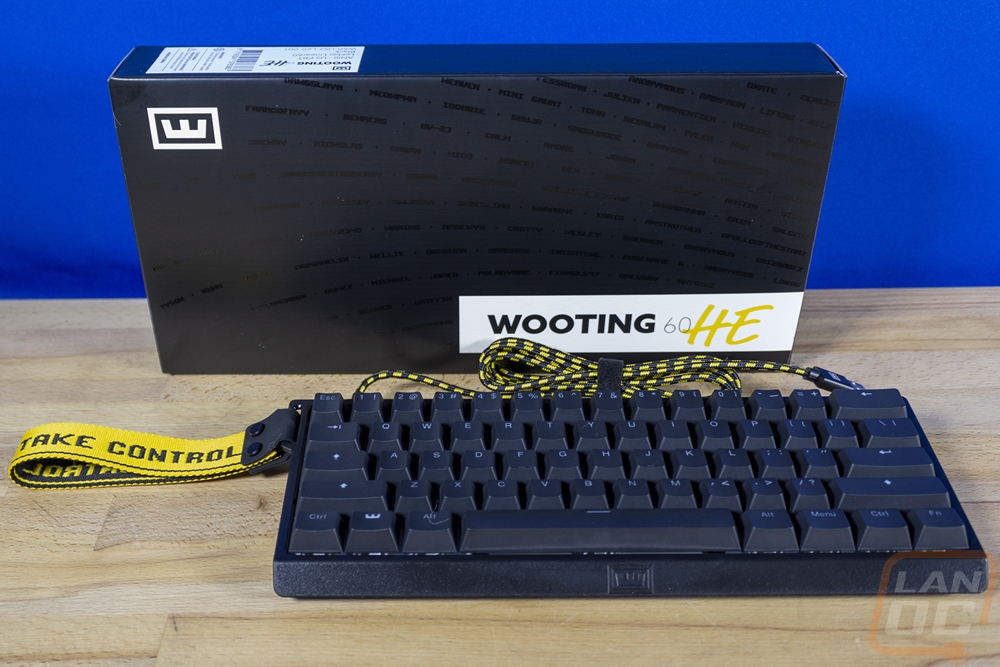
The Wooting 60HE shares a similar packaging to the previous Wooting keyboards I’ve reviewed. That is a black box that has the Wooting W logo up in the top left corner. Then in the bottom right it has the Wooting 60HE branding on a white strip. Simple and to the point. I don’t think the Wooting 60HE will be sold in retail so not having a picture of the keyboard itself on the front isn’t a big deal at all. The black background does have words printed on it in a glossy black as well which look to be usernames and names of people who purchased the Founders Edition and Signature editions. I see a Wesley on there so I’m just going to pretend that is me lol. The names and black background continue on to the back of the box. Beyond that, the back has TAKE CONTROL in the center in bright white and then the wooting.io website address at the bottom. Then on the end of the box, they do have a sticker that has the barcode and model information. They don’t have too many versions but there are versions depending on where it will be sold. In Europe for example they have a model without keycaps, an ISO version with ABS keycaps, and an ISO with blank PBT keycaps in addition to the ANSI version like we have here which has double shot PBT keycaps.

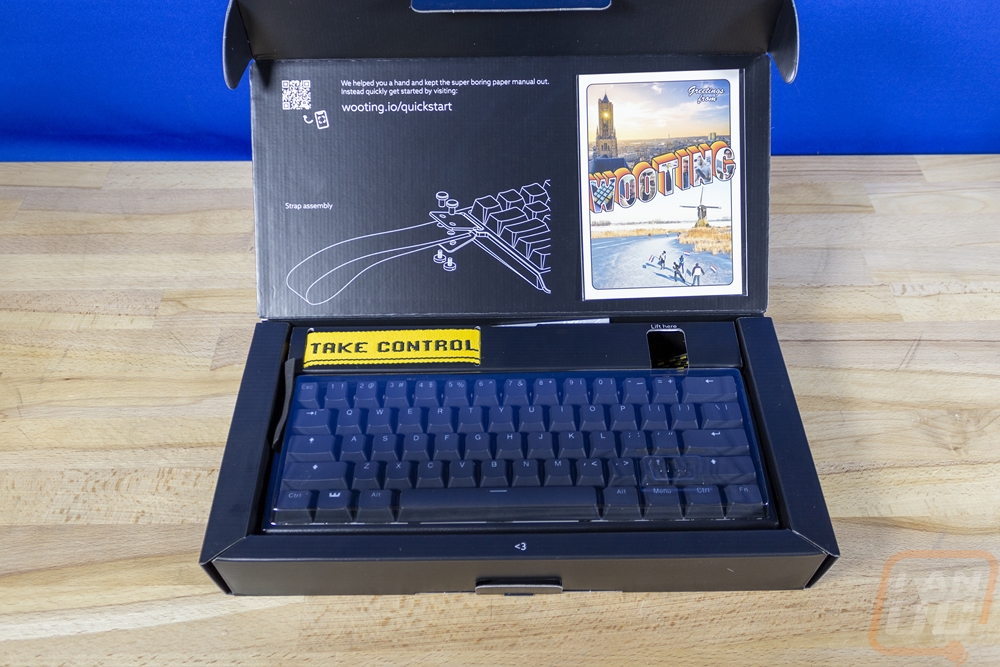
When you open the 60HE box up the keyboard itself is sitting in its cardboard tray and has a plastic cover over top and there is a compartment at the top which has the yellow “take control” carrying strap and the accessories. The top of the box has a line drawing of the strap installation as well as a link and QR code to the link for setup instructions. The top also has a plastic pouch that holds a Wooting postcard, something that they included with past Wooting keyboards as well. It is an actual usable postcard with room to write on it on the back.
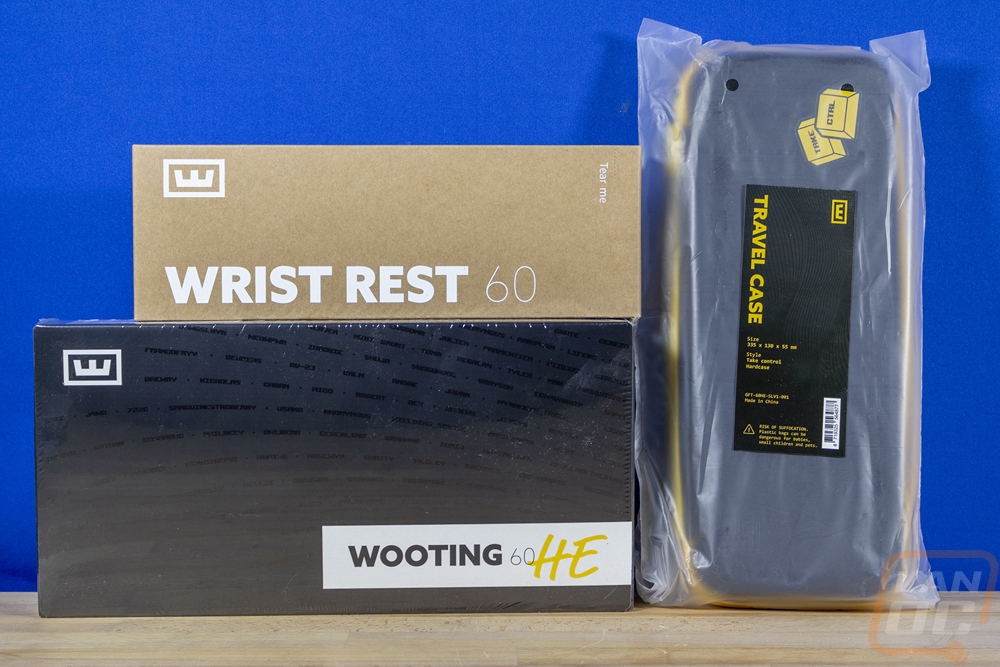
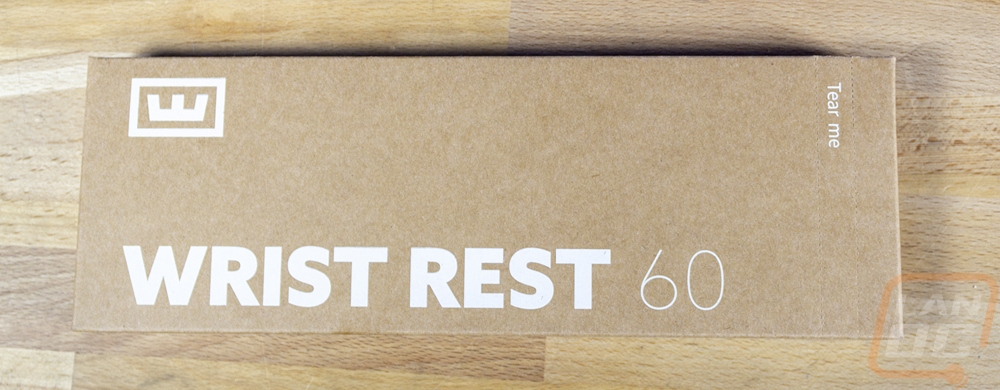
Beyond the Wooting 60HE, when you order one you do have the option to add a few other things. They have a keycap set, a travel case specific to the 60HE, and a wrist rest. I reviewed the Wooting Wrist Rest previously and the 60% version isn’t new but it is designed to work well with the 60HE. Like with our full-sized review the Wrist Rest 60 comes in a cardboard box with the white Wooting logo and model name on the front. You can rip the box open with a pull tab and then the rest will come out in its clear plastic bag.
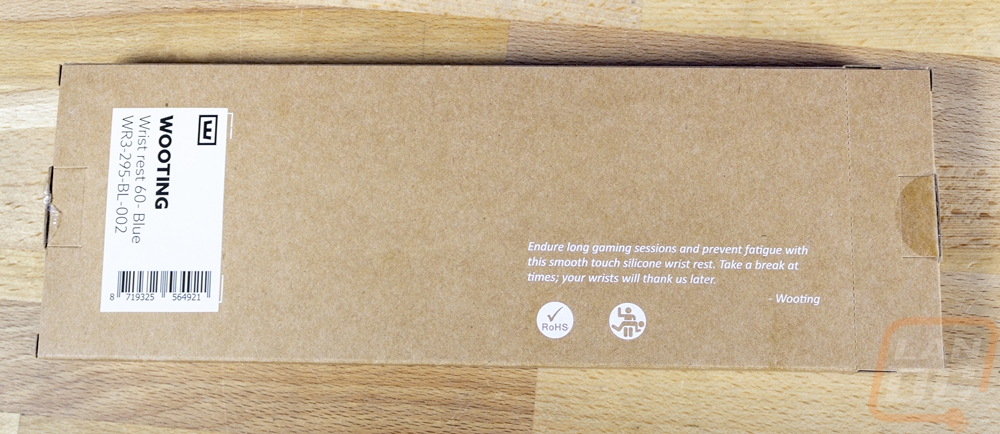

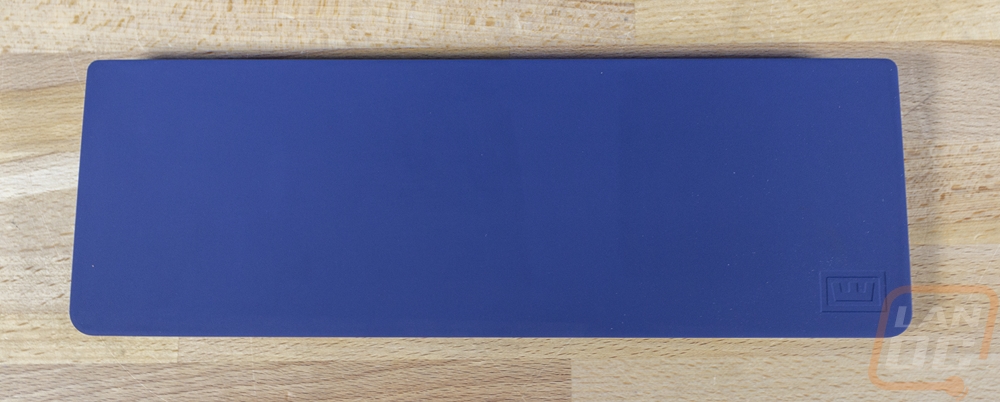
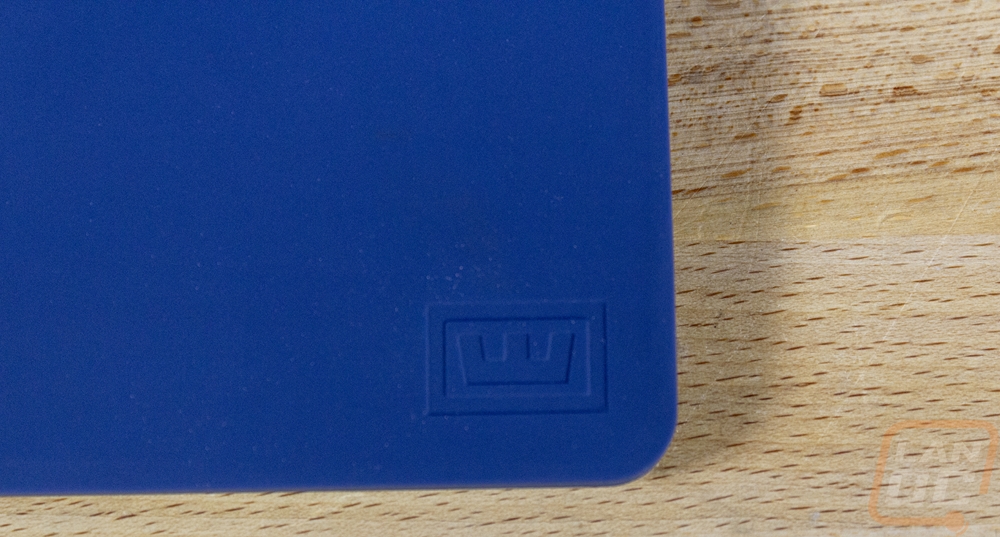
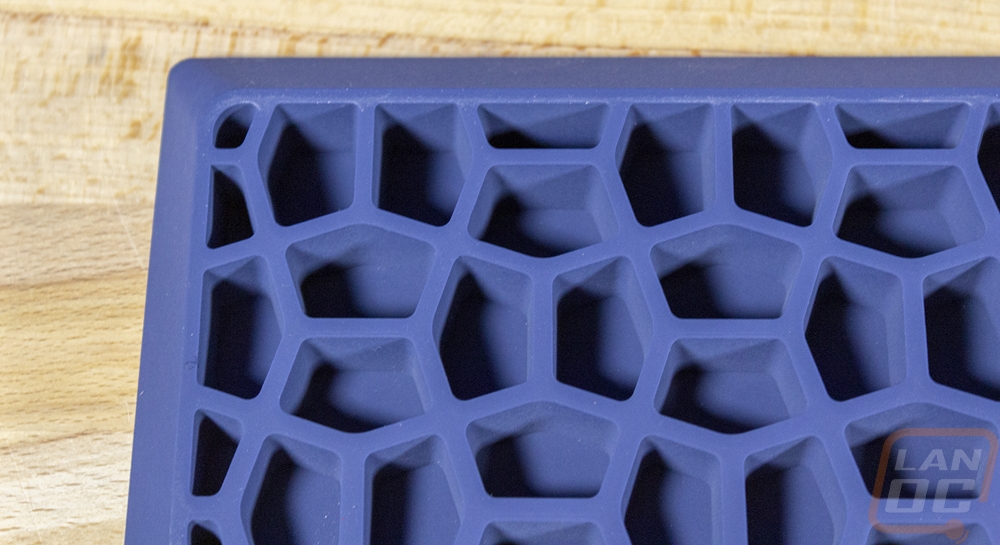
It is available in black or blue and they sent over a blue model. It is sized to match the width of the 60HE or any other 60% keyboard. The wrist rest is silicone and the top has a smooth finish with just the Wooting logo embossed in the corner. The underside has a really cool honeycomb-like shape that conserves material and gives the rest additional squishiness. The only note I have from our previous review was that the material does like the pull the moisture up out of our unfinished wood desk. But other than that I loved the wrist rest and this wouldn’t be any different other than its size. The Wrist Rest 60 is normally listed for $29.99 but Wooting does offer a discount when you buy it alongside the 60HE which ends up being $26.99.

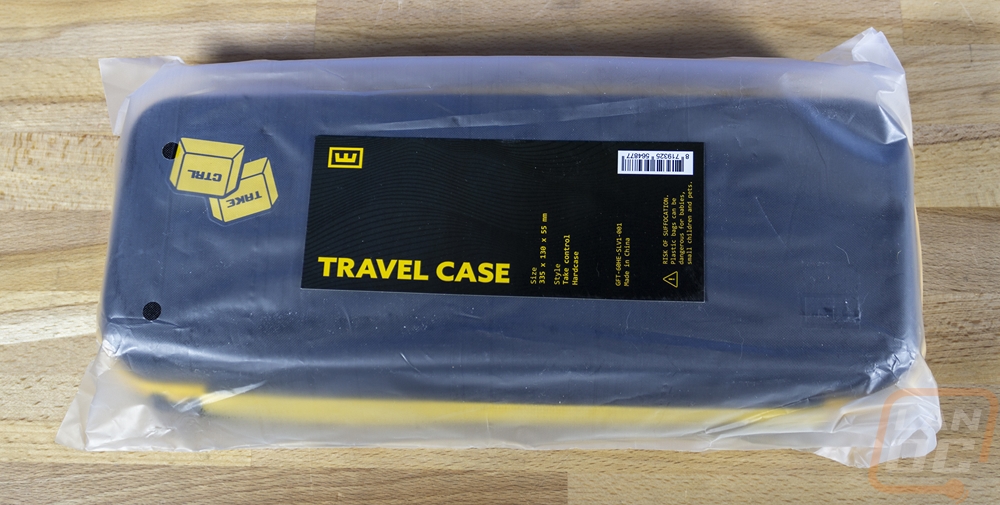
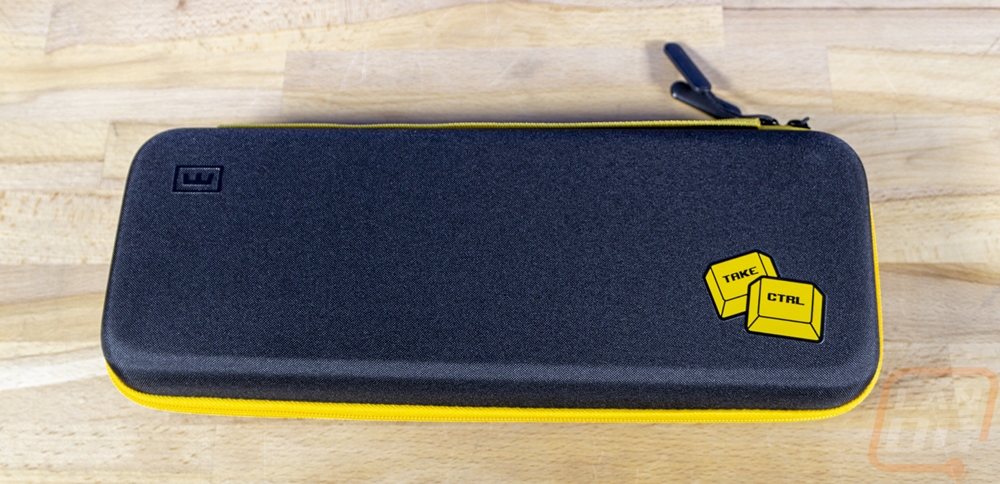
So the wrist rest 60 wasn’t new, but I was surprised to see that they brought out a carrying case to go along with the 60HE. They call it the Travel Case and it isn’t available for purchase on their website independently at least right now but you can add it to your 60HE order. The travel case comes in a semi-transparent bag with a black sticker on it that has the Wooting branding, a UPC, and the case dimensions.
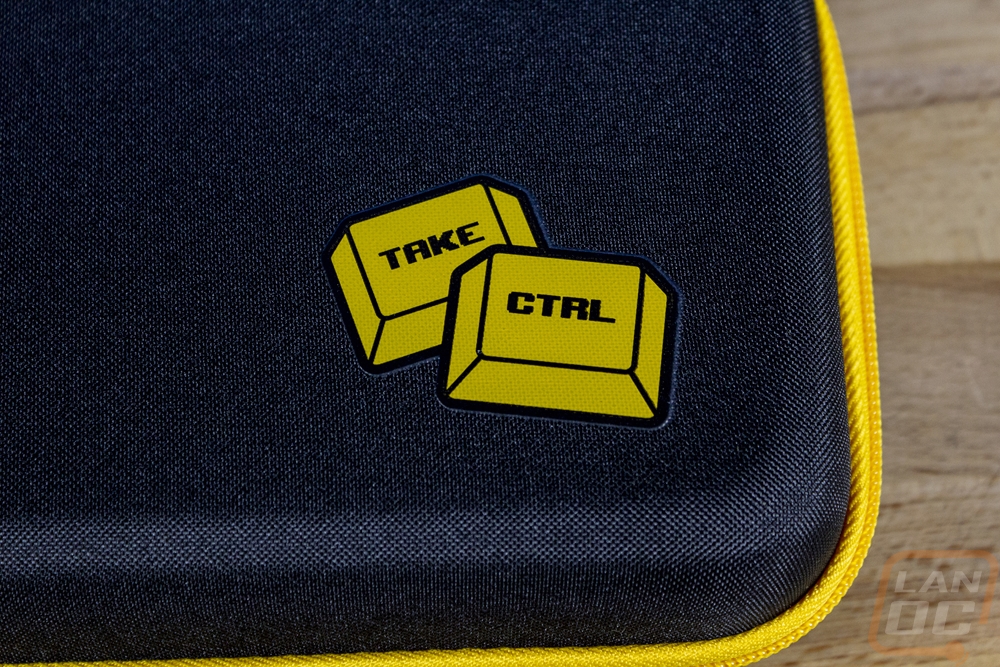
The case itself is a hard case similar to what you would get for headphones which is firm with a fabric finish. It is black with a zipper that goes around it in a bright yellow. Then up on top, it has the Take CTRL logo in bright yellow and the Wooting logo in a gloss black.

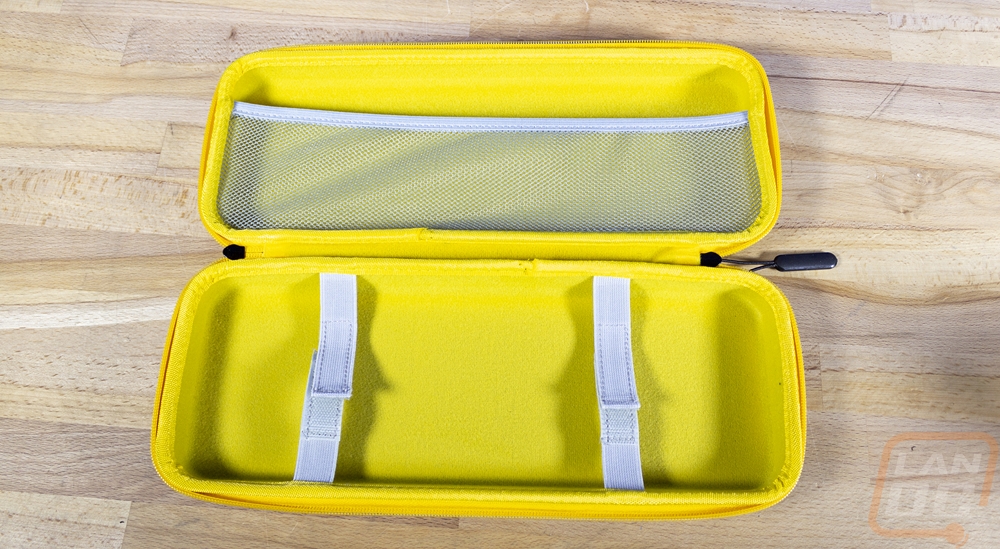
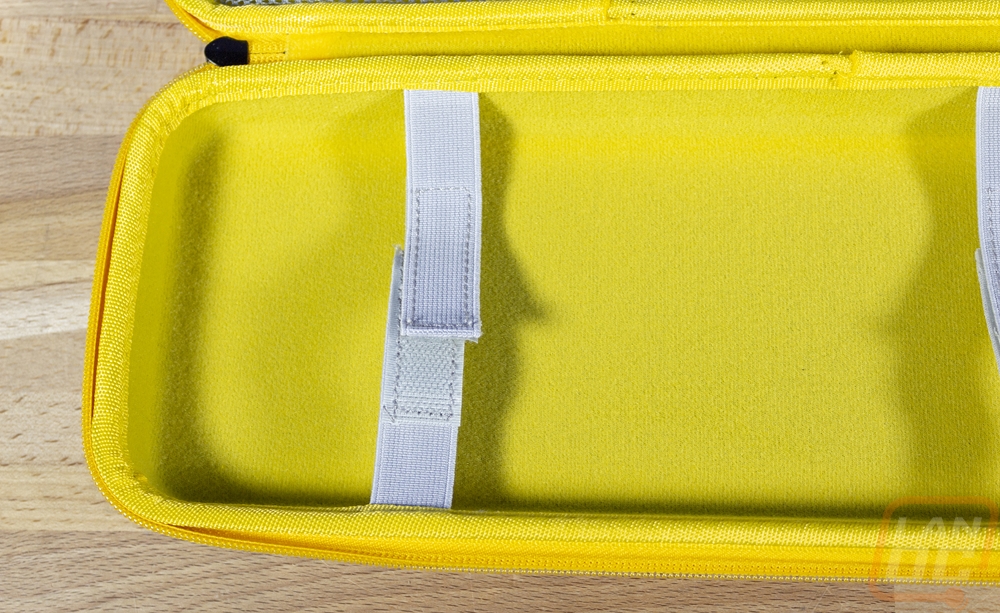
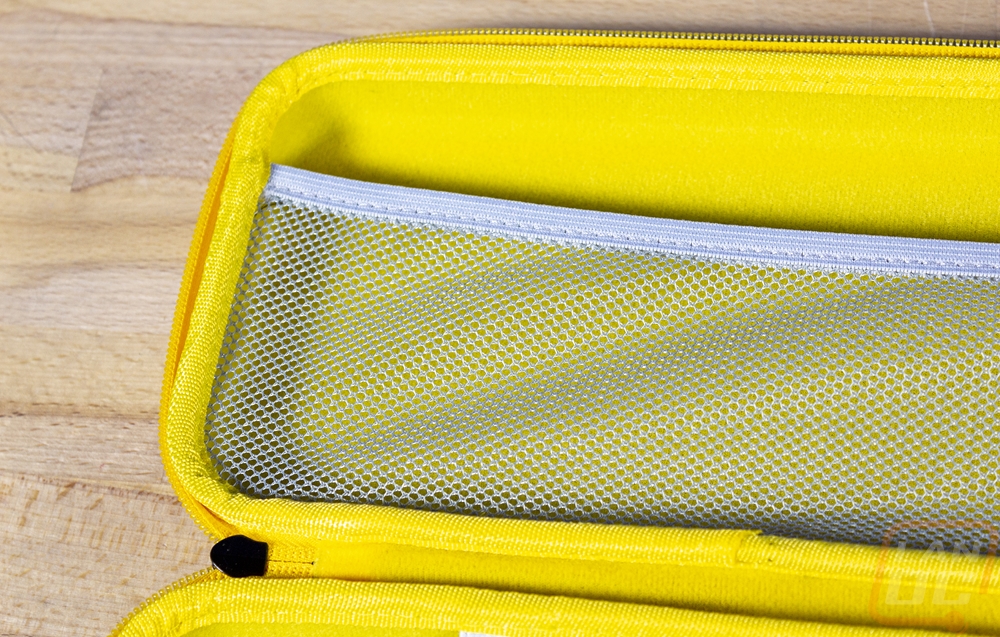
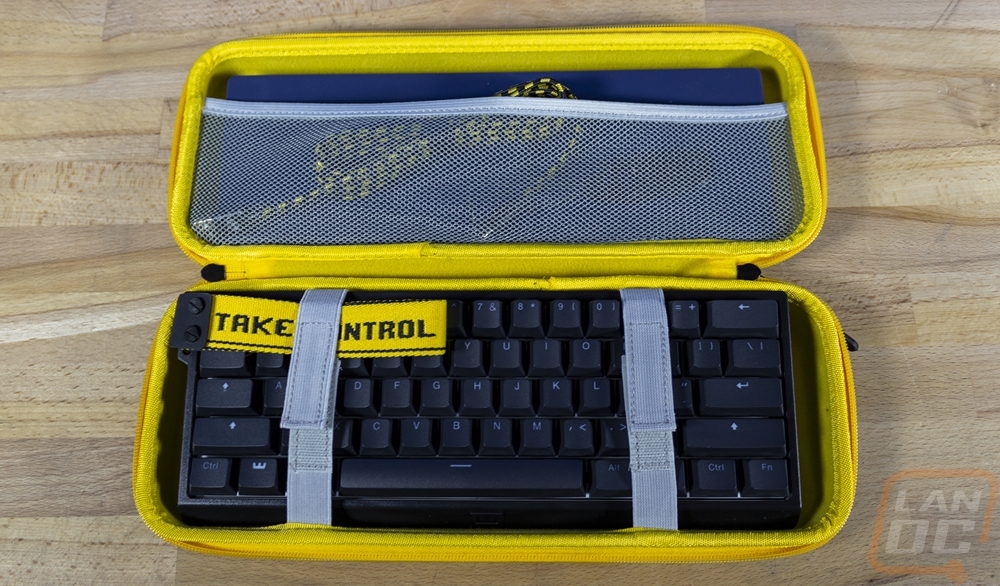
When you open the travel case up the interior has that same bright yellow finish. This side has a soft finish. One half of the case has two white Velcro straps for holding the 60HE in place and then the top has a white mesh that allows the top half to be storage. The storage section can be used for your cable or even a wrist rest assuming it is made for a 60% keyboard. The travel case adds an additional $28.99 to your order which isn’t bad. This is in line with similar cases like the Glorious branded one. If you travel with your keyboard often it isn’t a bad idea. For LANs, my 60% keyboard has used a padded loth case which has helped prevent damage but this being a hard case would do a much better job.
Photos and Features
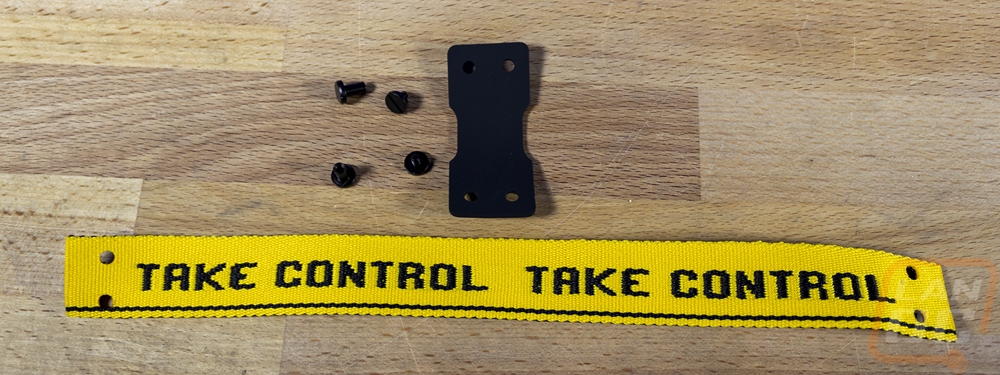
Before diving into the Wooting 60HE I did want to get the carrying strap installed. It is optional and in theory, you could even replace it with a strap of a different color if you can find one of a similar width. You get the strap, a rubber mounting strap, and two screws along with two sleeve nuts. The fasteners are all black and the screws use a flat head. You run the rubber part through the hook on the side of the 60HE and fold it. Then you fold the strap and make sure the Take Control text is readable not upside down (I almost did this) and you run the sleeve nuts up through the holes and tighten the screws down.
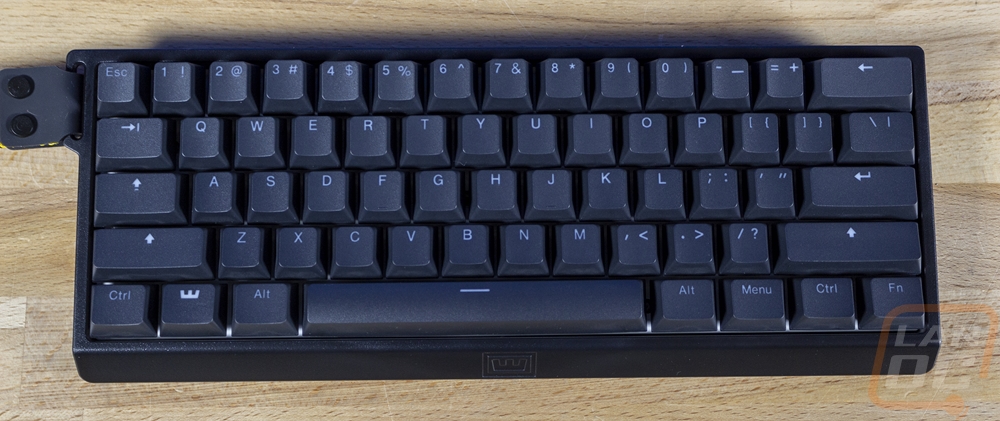
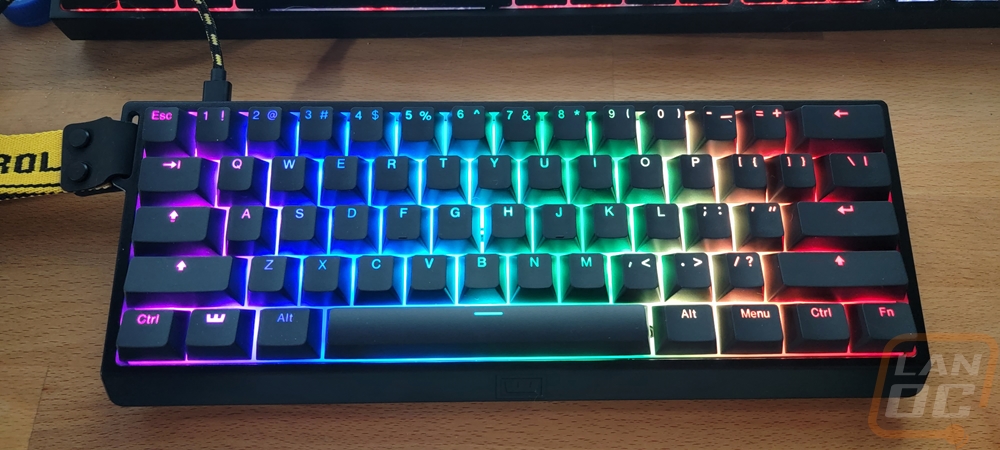
With that installed we can now take an overall look at the 60HE. If you haven’t seen a 60% keyboard before you will be surprised that this keyboard doesn’t have dedicated keys for the number pad, the F keys, or even the direction pad and home keys above that. All of that is dropped into the function layer here. The layout itself is completely standard which means that you can use any custom keycaps that you might like. The 60HE does come with (in this version) PBT doubleshot keycaps though so I wouldn’t be jumping at the chance. The legends have an easy-to-read font and avoid any of the “gamer” fonts. The legends are also up towards the top of the keys which is where the lighting is going to be the brightest, putting them in the center would mean fighting for light through the stem on the switch which isn’t translucent. Wooting has kept the case for the H60 relatively compact even with the strap mount on the left. All of the bezels are thin except the bottom which is still thin compared to most. The housing is plastic with a textured black finish and down at the bottom edge it does have the Wooting W logo but that’s the only branding beyond the bright yellow strap on the left. The 60HE is 302mm wide, 116mm tall, and 38mm thick which the thickness includes the keycaps. Down on the bottom edge below the caps, it is just 18mm thick.
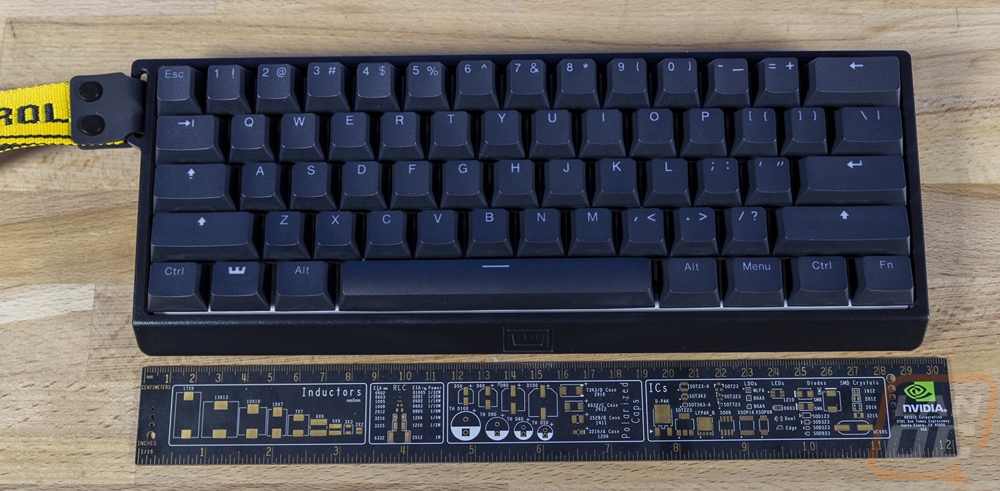
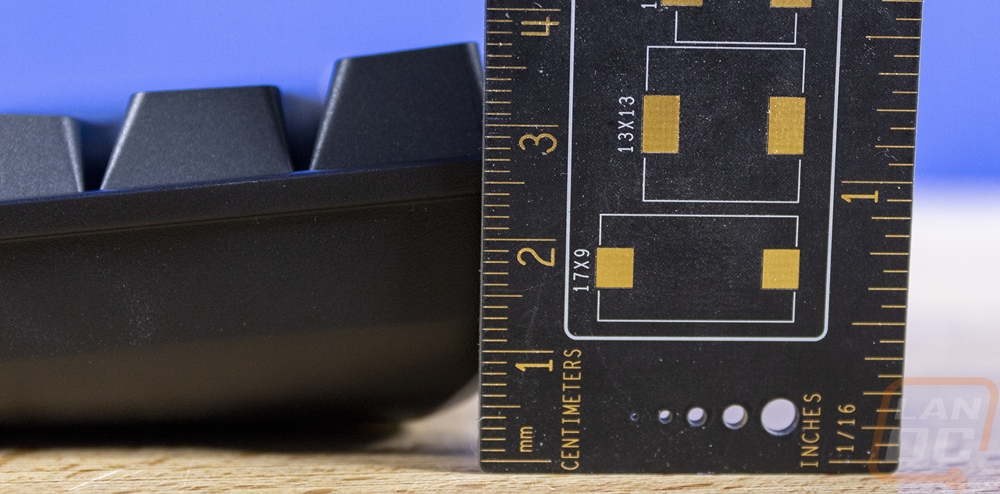
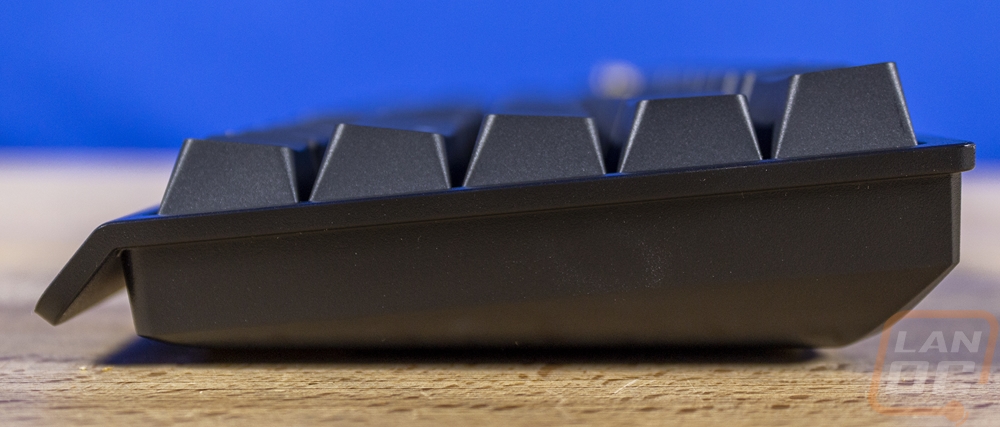
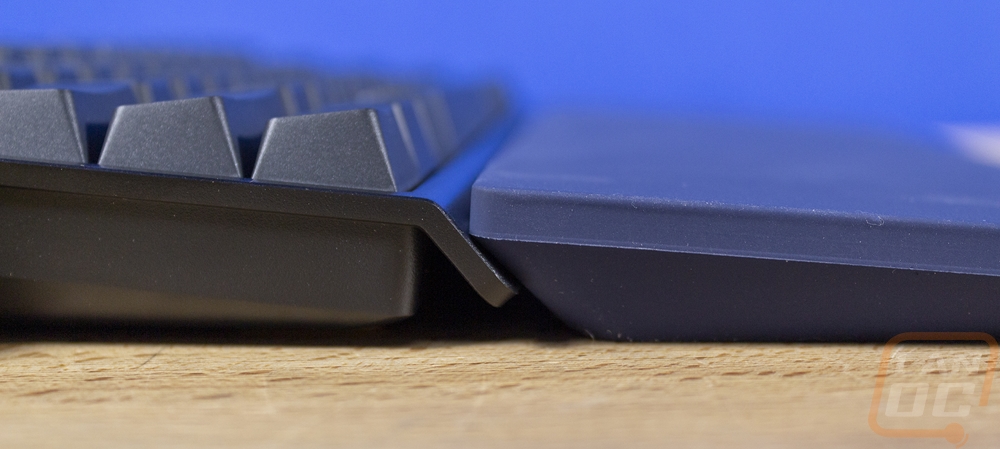
Its keycaps are an OEM profile which from the side you can see the bottom two rows angle up to the middle which is flat and the top two angle down slightly. That top row is also taller as well. The side view also lets us see that there is an overhang on the sides and the back and that the bottom edge by your wrist is an overhang as well.
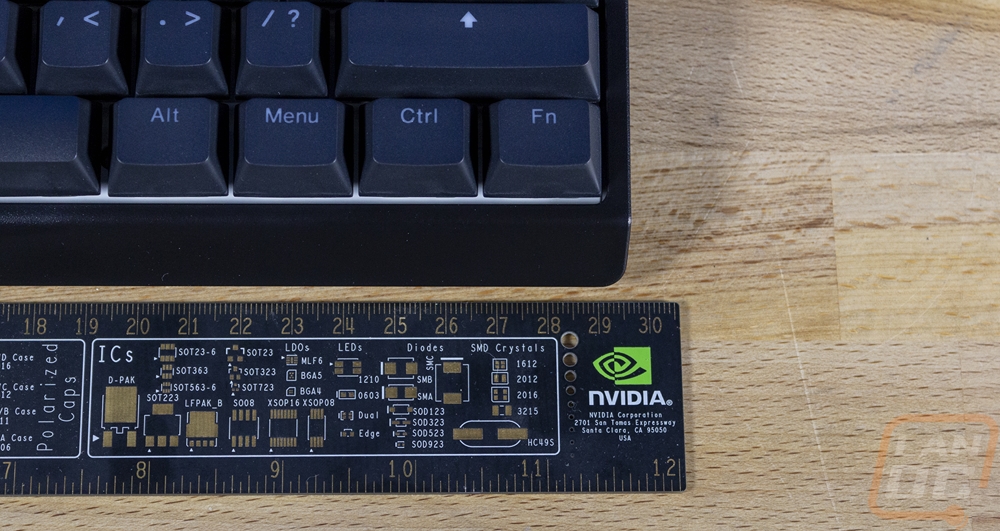
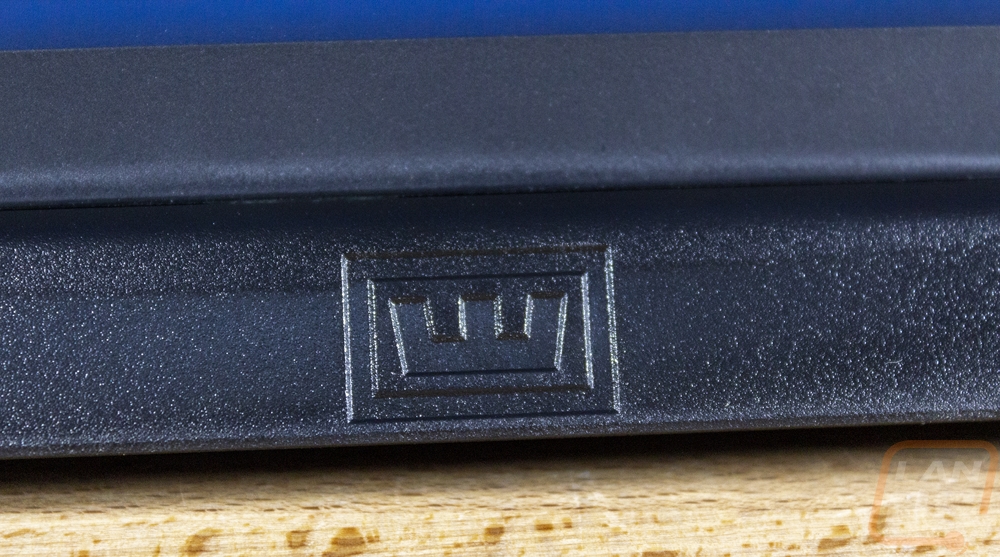
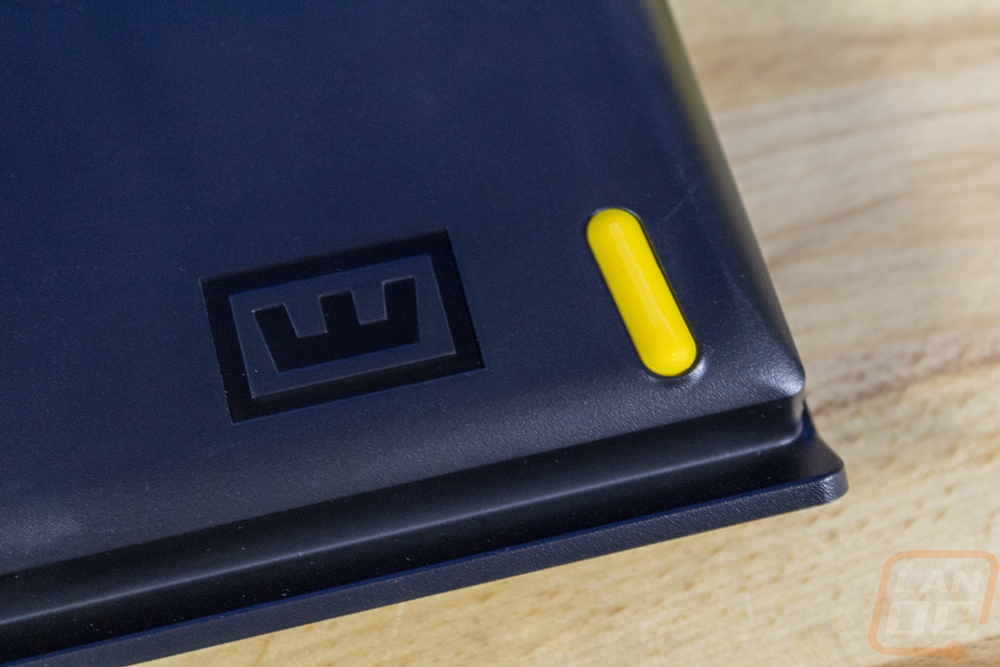
Speaking of that bottom edge here is a better look at the textured black finish and of that Wooting logo which is stamped into the case.
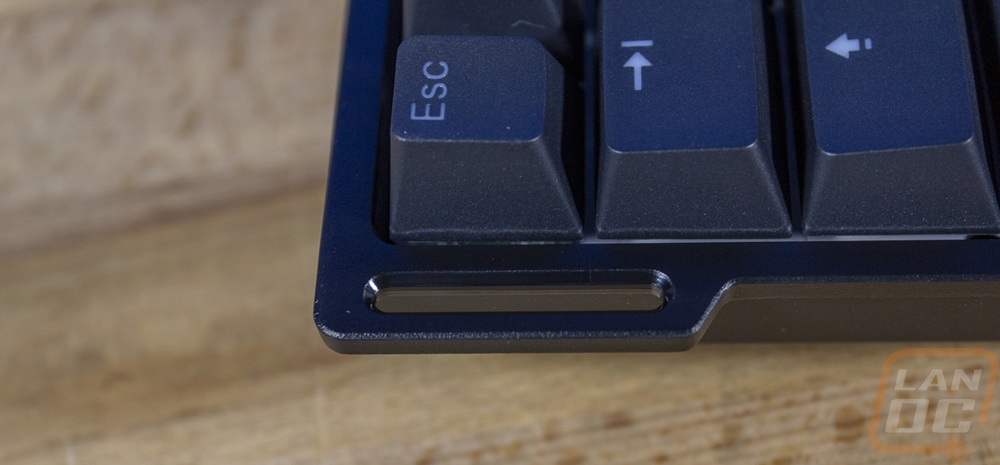
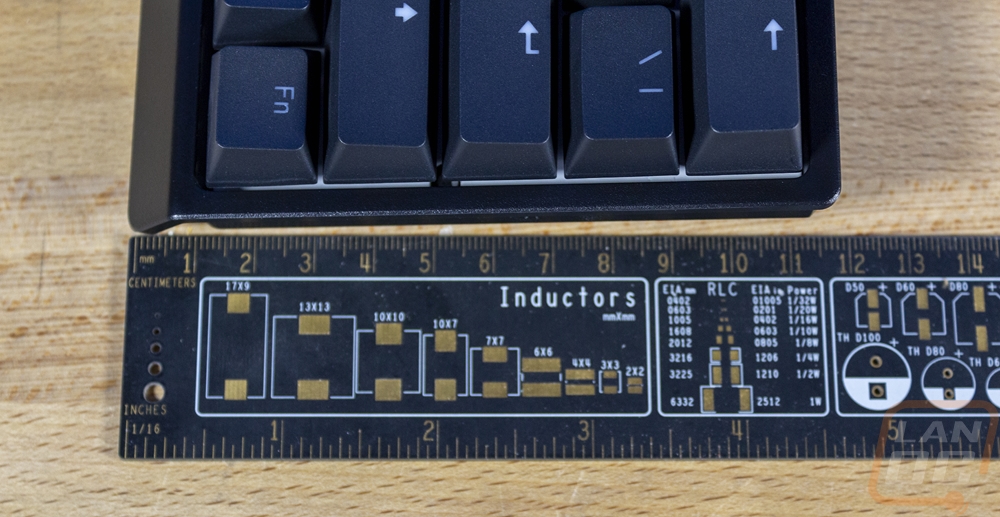
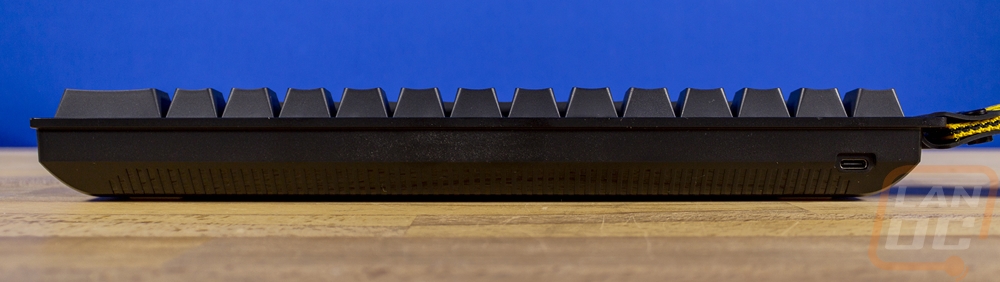
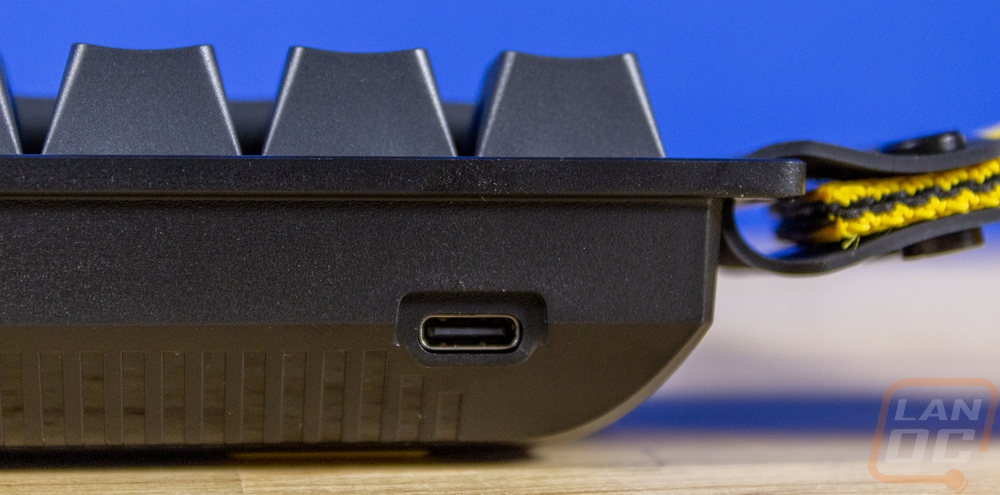
The back edge of the case has groves in it and on the far end, you have the one plug. This is the Type-C plug for the included detachable cord. This case is a universal 60% layout so you can switch the 60HE into other 60% cases or other keyboards into this one. The keyboard all together with the case comes in at 605 grams which I dig. I’ve had multiple 60% keyboards and while they are nice like that for traveling they will move all over the place because they get no traction.
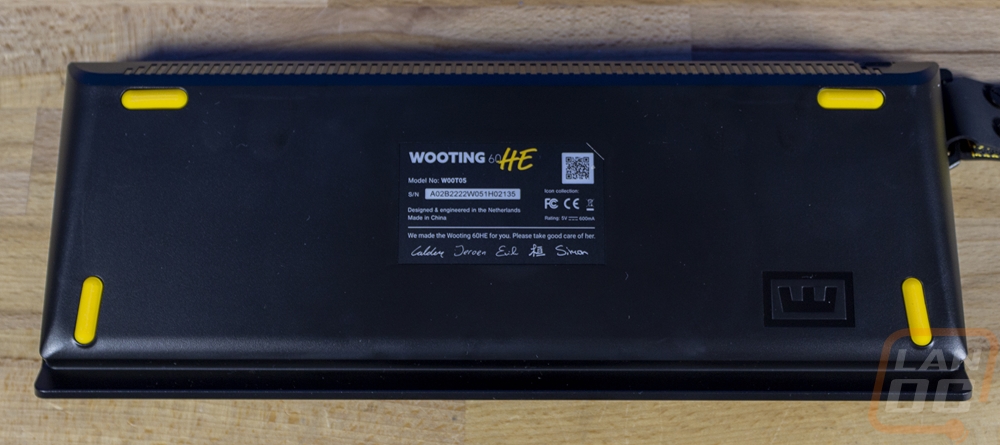
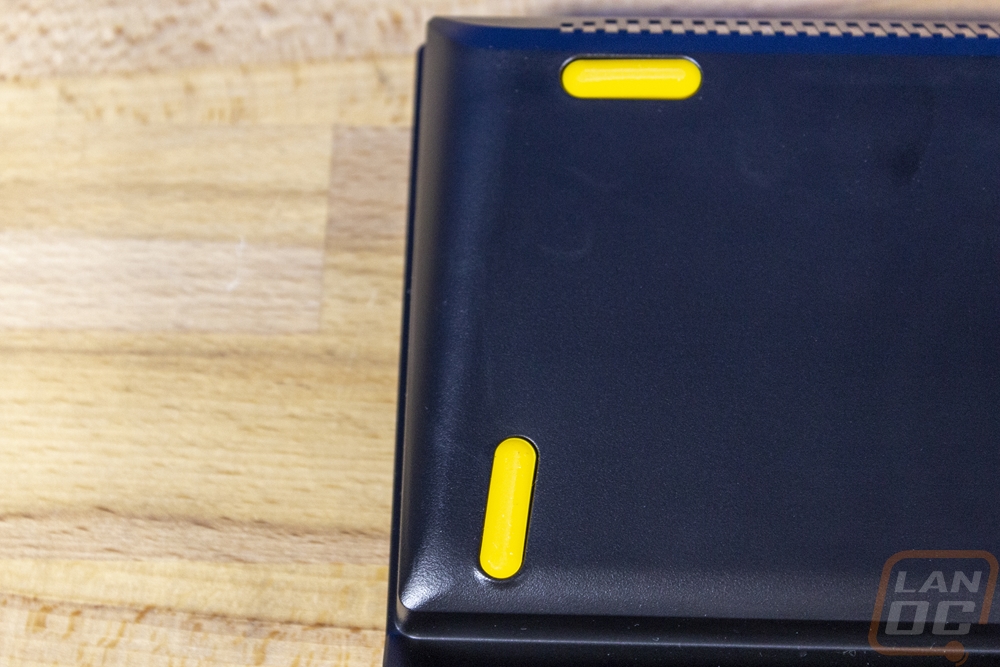
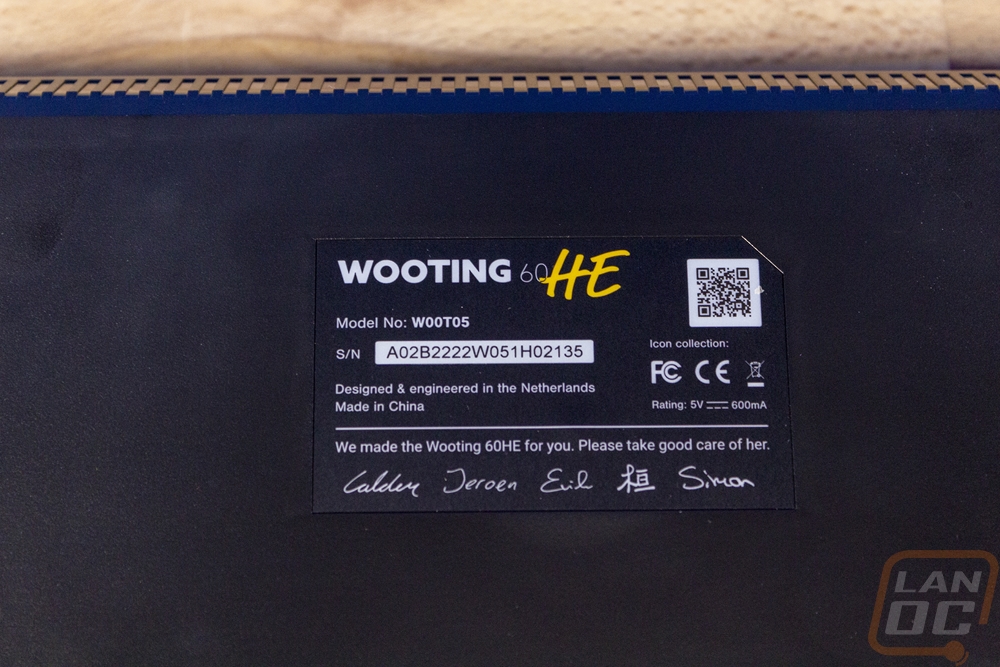
Speaking of traction, the bottom of the 60HE has four bright yellow feet which are about an inch long each. One for each corner with the bottom feet flipped vertically for more grip when pushing away from you which is what happens when you type. The bottom has a sticker in the center. This has the Wooting 60HE branding and your model and serial number. It is also signed by the Wooting team. The Wooting logo is also in the bottom of the case in the corner as well.
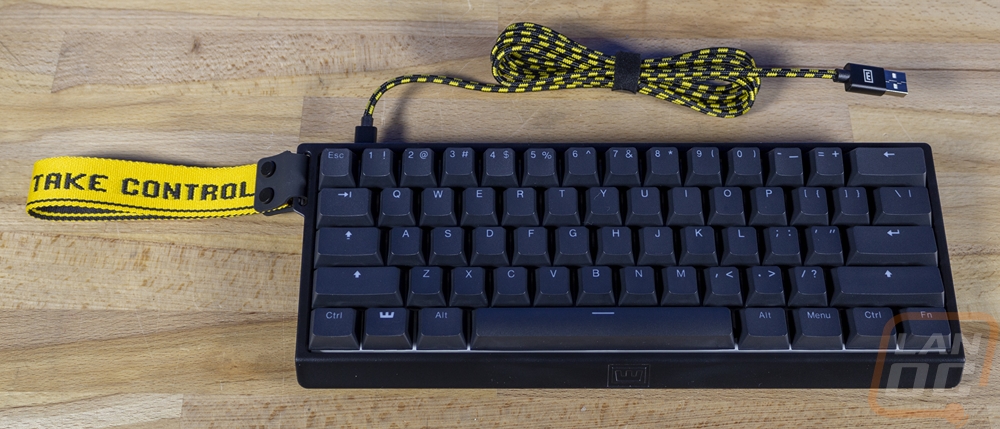
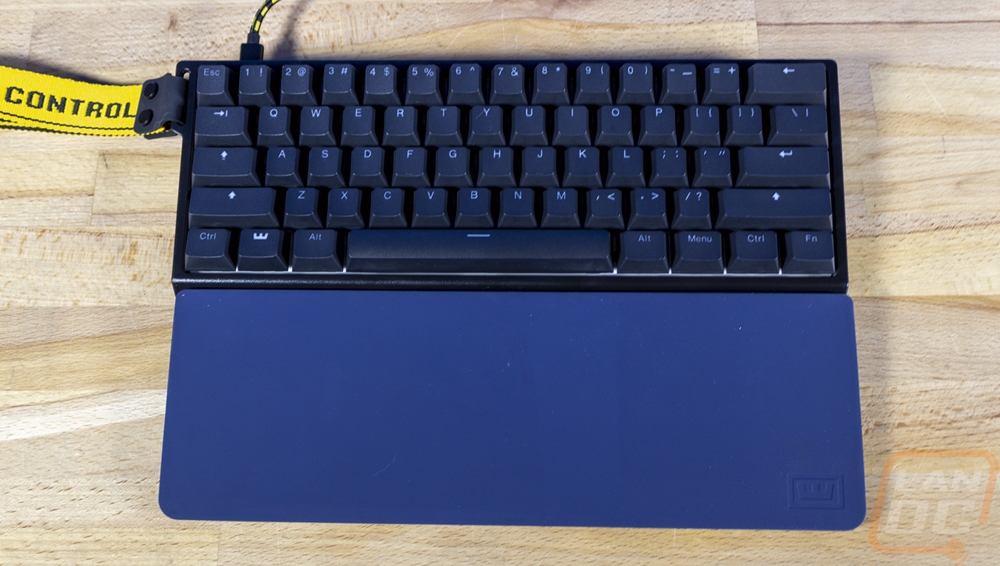
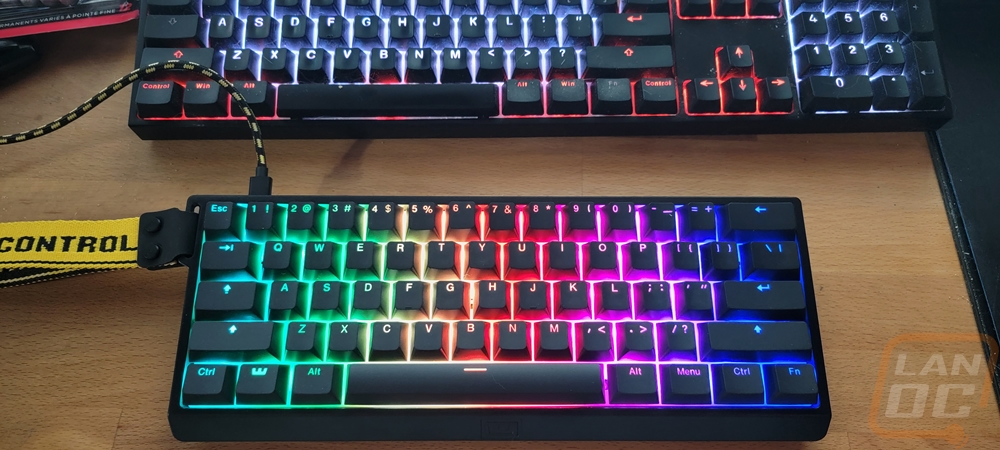
Here is a look at the full Wooting 60HE with its bright yellow take control strap and the yellow accented detachable cord. The strap and cord really do help bring the yellow theme in, they both can also be swapped out if you want another color.
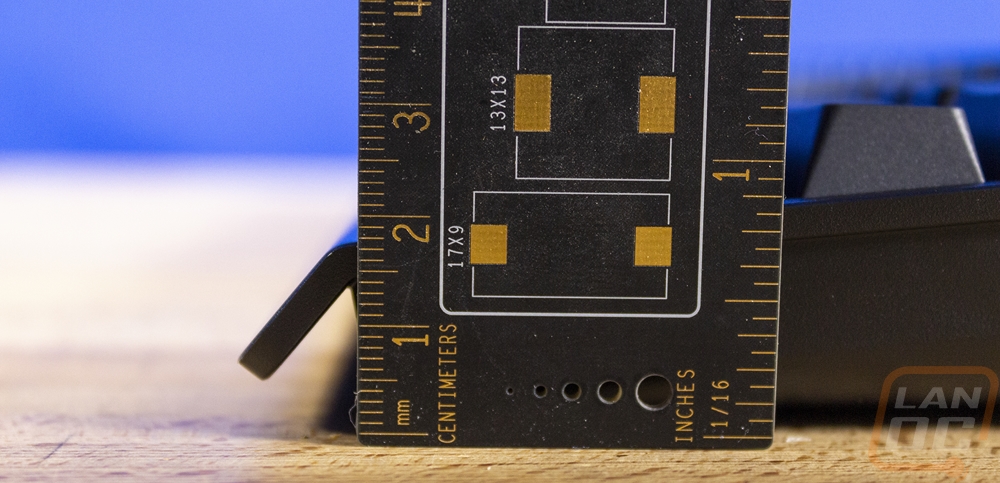
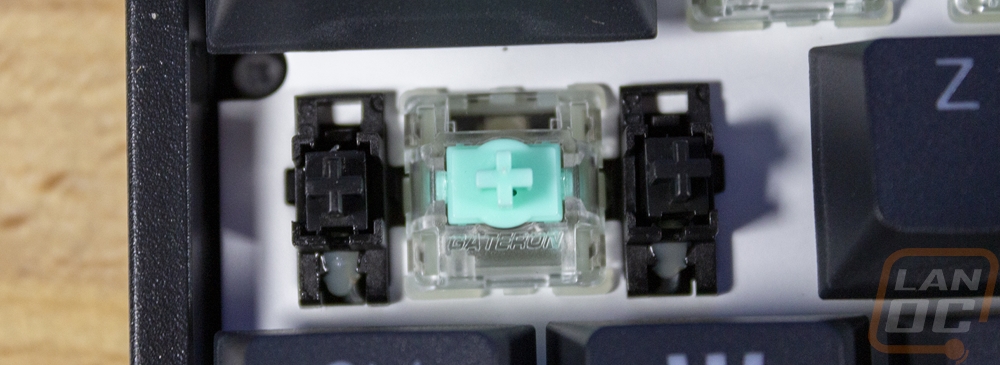
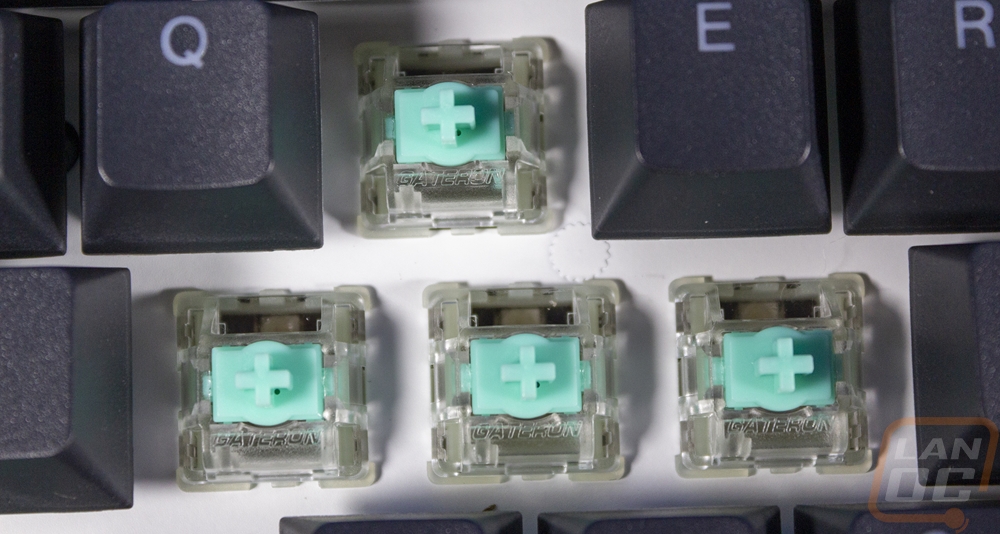
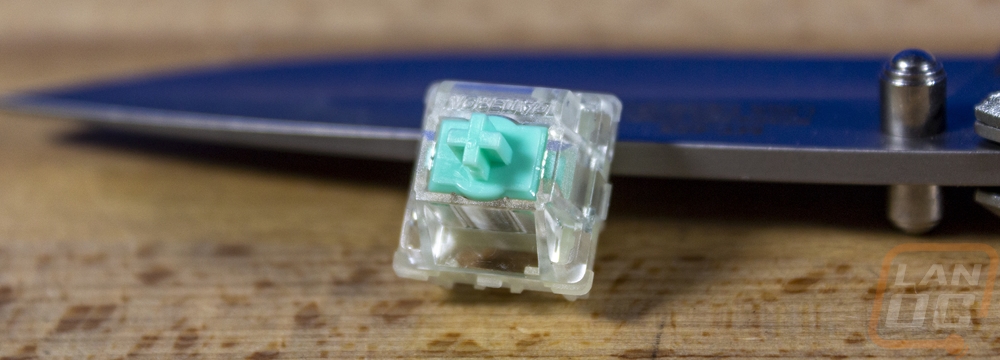
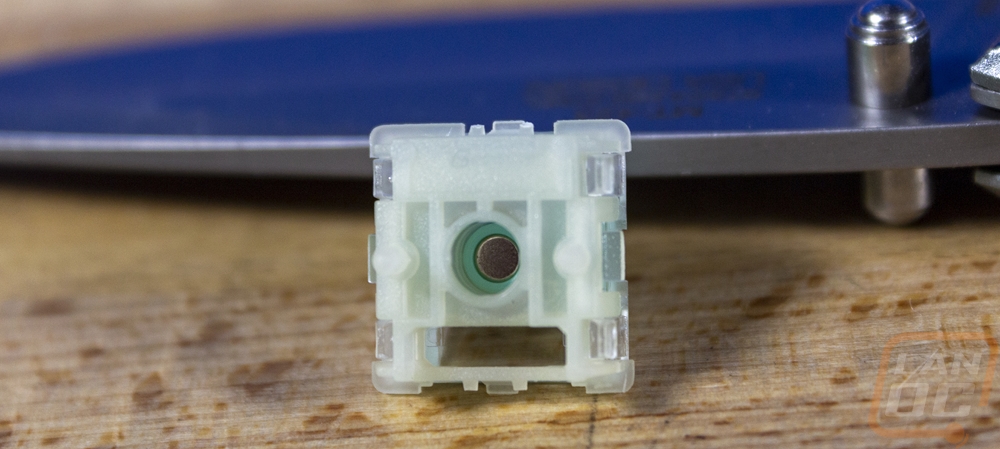
I haven’t had a chance to talk about the switches in the Wooting 60HE and the switch setup is the biggest feature that all Wooting keyboards have to offer. Wooting brought their first keyboard out to showcase what analog switches can do and of course, they would have them on the 60HE. They introduced their own switch type a while back called the Lekker which is indicated by the bright blue/green stems here. They have a standard Cherry stem so standard keycaps are supported and for the stabilizers, they use an internal cherry style stabilizer as well. The switches are made by Gateron which have a smooth action and these specifically are their Linear60 switches which start with 40cN of force and end at 60cN. They are rated for 100,000,000 presses and have a total travel of 4mm. Being analog they don’t have a single actuation distance, they have a range that starts at 0.1mm and goes to the 4mm end of the travel. The clear housing lets the PCB-mounted addressable RGB lighting go through and if you haven’t seen one of these before from the bottom it is especially interesting because as you can see in the picture below, the bottom has a big hole in it. These are contactless and use a magnet with a hall effect sensor. Basically, they just have the top and bottom housing, the stem, and the spring. This simple design is what lets them have a 100 million press rating. I would still prefer a switch with some feedback as browns or clears are still my preferred switch, but liner is popular and for an analog setup like this it makes sense.
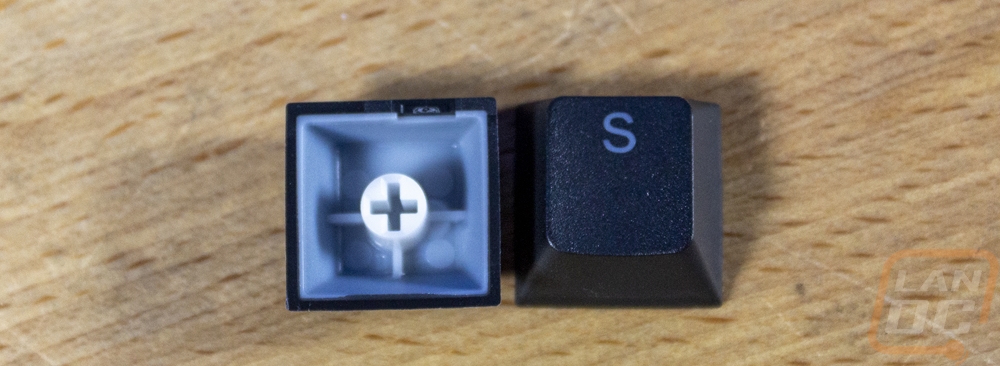
The keycaps that come with the ANSI version of the Wooting 60HE are made of PBT and doubleshot with the translucent white for the legends. Most keycaps are ABS and often painted and then the legends are etched off. ABS wears faster than PBT so over time even if they are doubleshot you will get smooth tops. PBT resists that a lot more, it can still happen but it takes a lot longer. Then for the doubleshot, that is important because the legends are molded into the keycap, unlike paint. Paint will wear and with a doubleshot cap even if it does wear you will still have a legend even if you wear it smooth. They are nice and thick as well which should quiet typing down slightly and give a solid feel when typing.
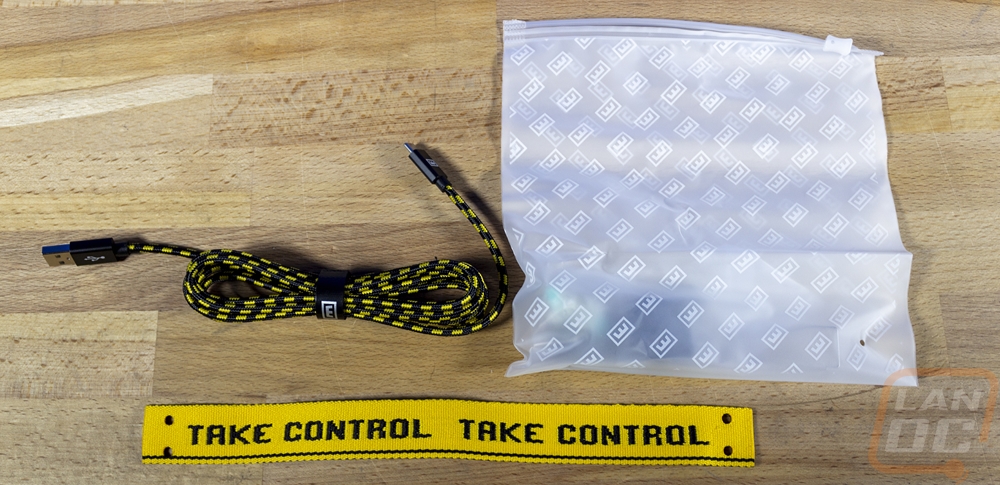
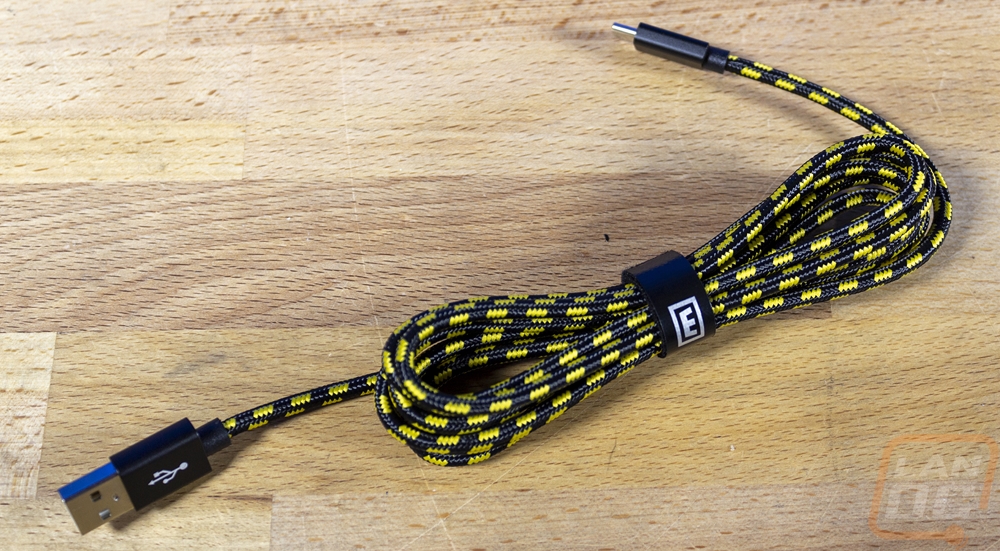
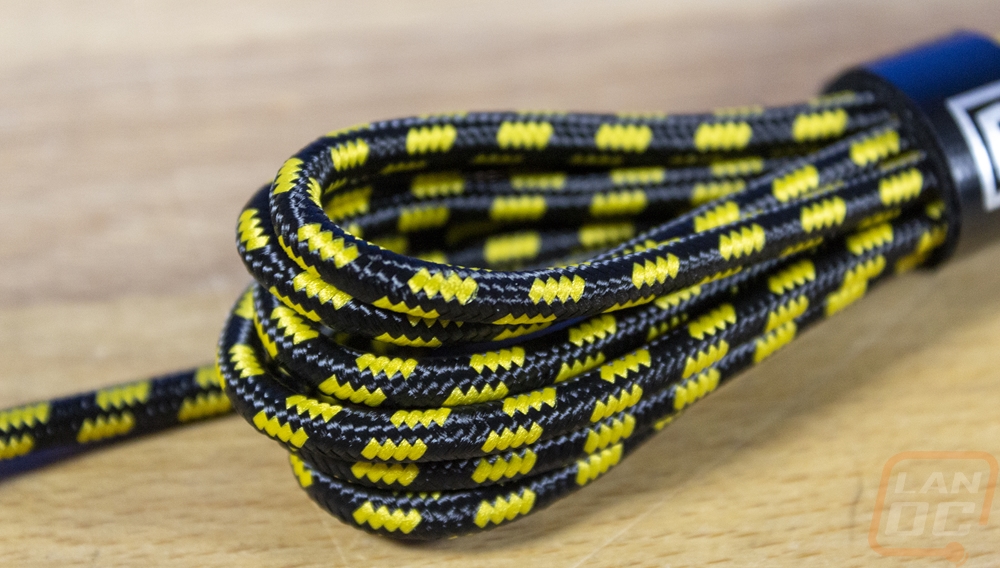
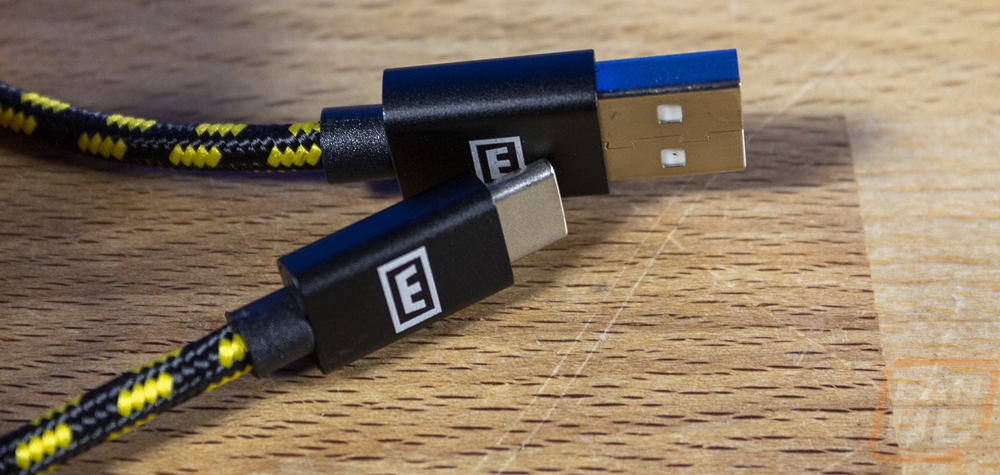
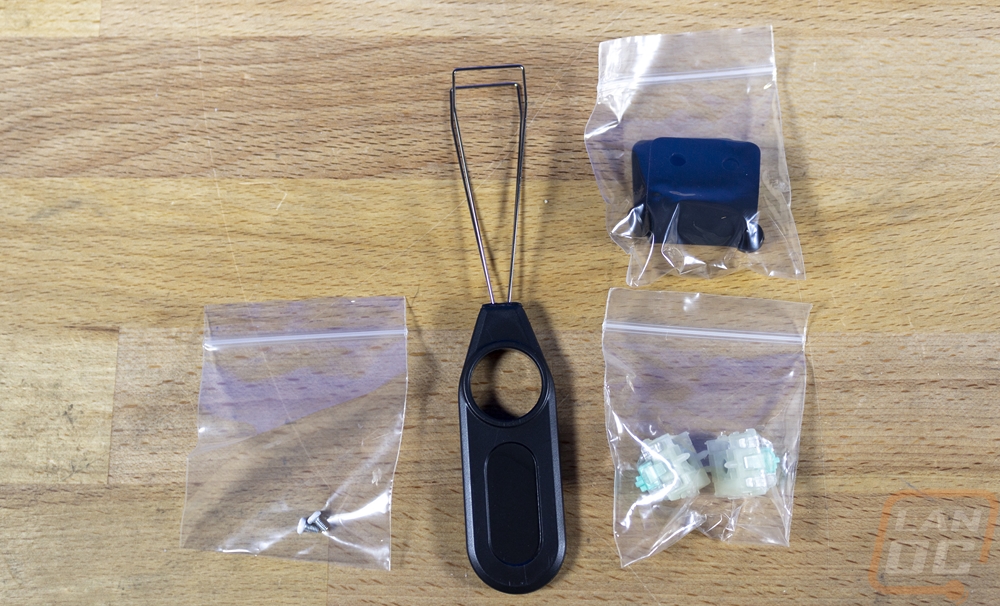
In addition to the 60HE itself, the keyboard does come with a few accessories. You get a Wooting branded reclosable bag, the cord, and the take control strap. The cord is one of the 60HE stretch goals which they were able to upgrade the sleeving from black to a black and yellow checkered which looks amazing. It has the Wooting W logo on both plugs as well as the reusable Velcro cable tie that comes attached. It has a Type-A end on one end and a Type-C on the other to plug into the keyboard. Inside of the big bag you get a half-sized keycap remover which is the wire style that I love and two smaller baggies. One has a few extra case screws in case you pull things apart and lose one of the tiny screws. You get two extra Lekker keyswitches, and then the rubber strap and mounting screws for the take control carrying strap.
Speaking of accessories, I did get the 60HE into the travel case and it fits great. The top pouch has a lot of extra room if you are just bringing the cord along with you. But with the Wrist Rest, 60 things were tight. You can’t close the case if you have the cord stacked on top of the rest like in the picture below. But there is just enough room to snug it in above the wrist rest at the top.
I also wanted to show how well the wrist rest 60 fits the 60HE. Like I said the wrist rest came out a while back but the bottom edge of the 60HE with its angled edge fits nicely with it. Almost like they planned it ?.
Software
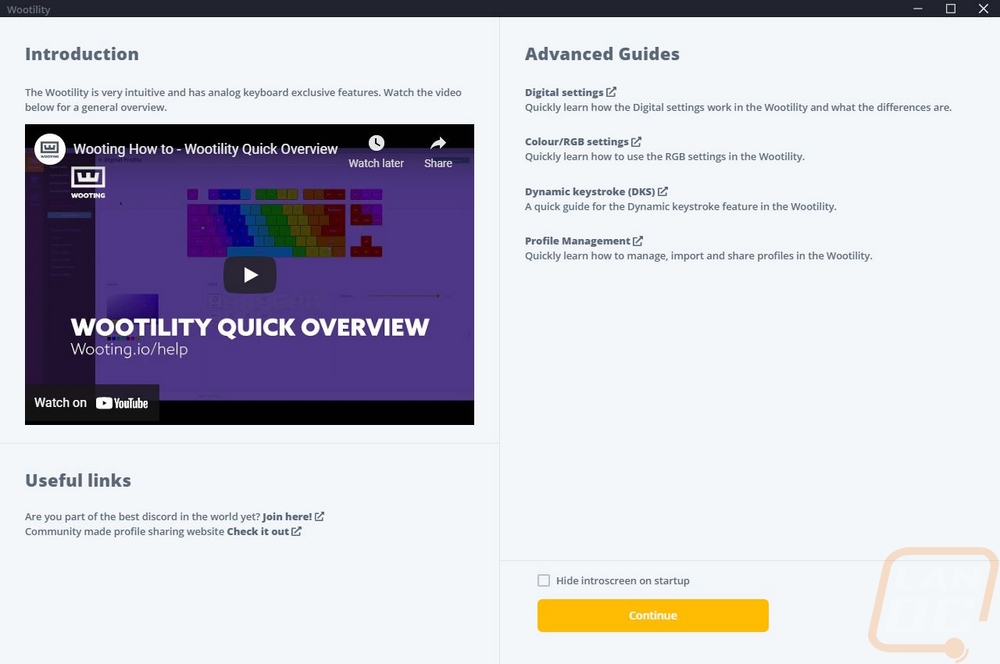
In more than any other area, Wooting really goes their own way when it comes to the software side of things. With most peripherals, everything is just about the exact same from company to company. But even when getting the Wootility software installed they are trying very hard to give information on how to get the most out of your keyboard and make no mistake with the analog capabilities of the 60HE their help does come in handy. The first page from the installation has an overview video and links to guides. You also have a discord link and a link to a profile sharing website as well.
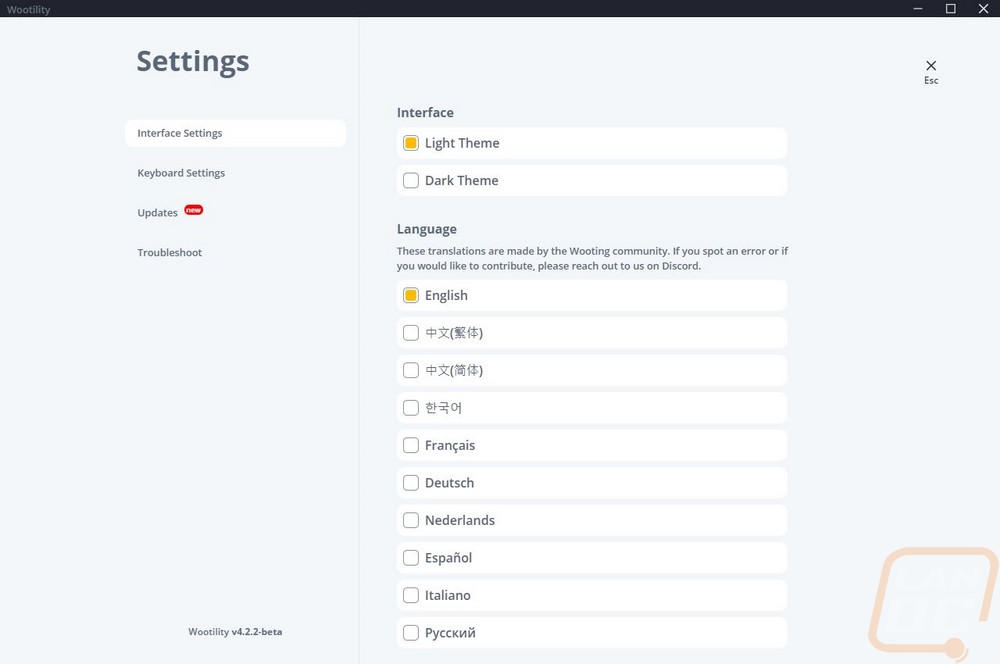
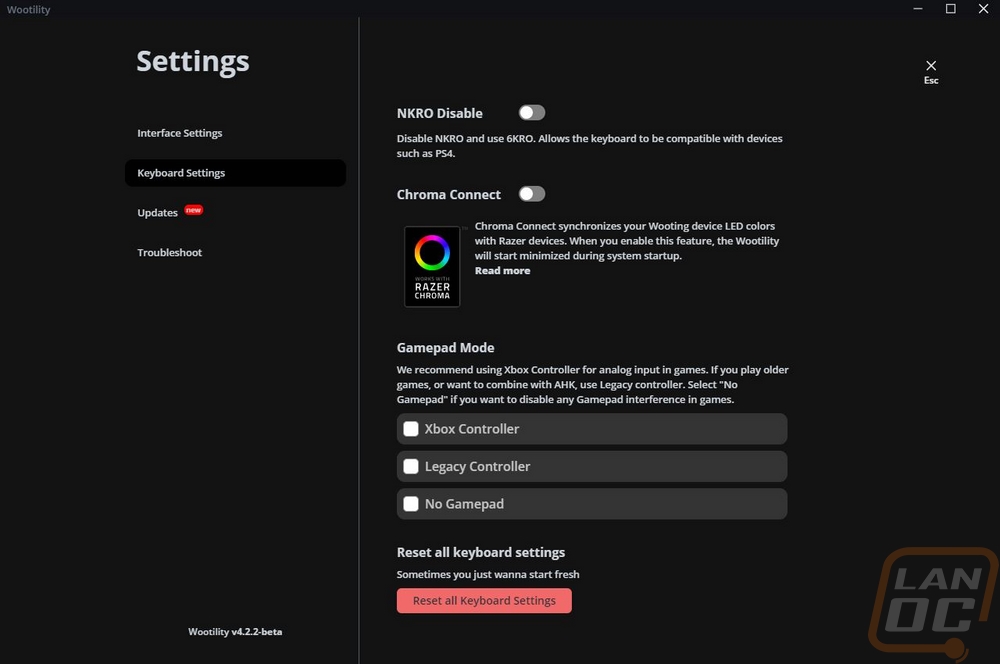
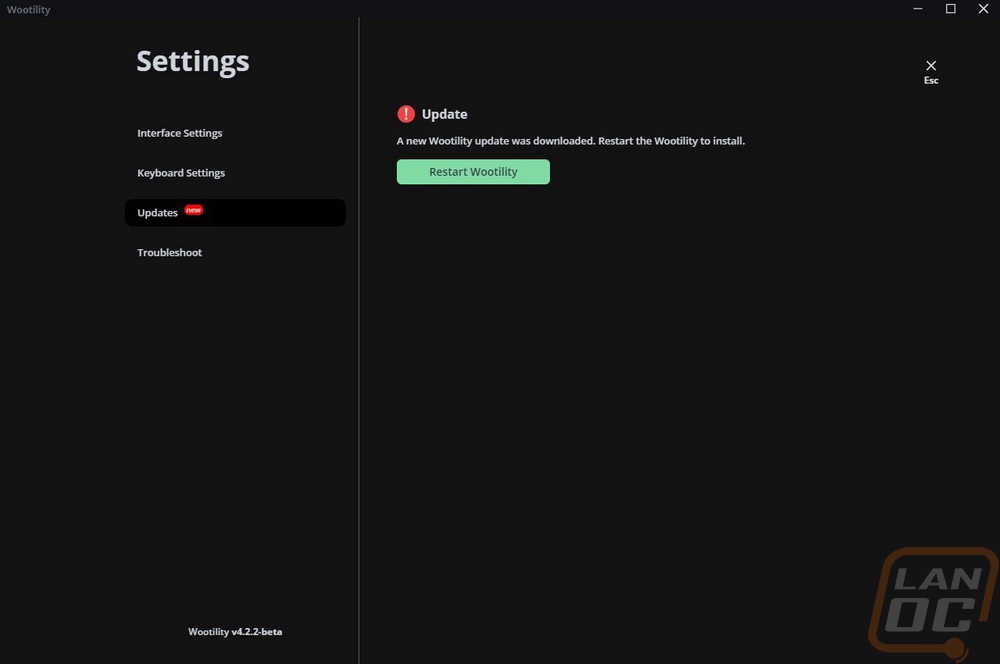
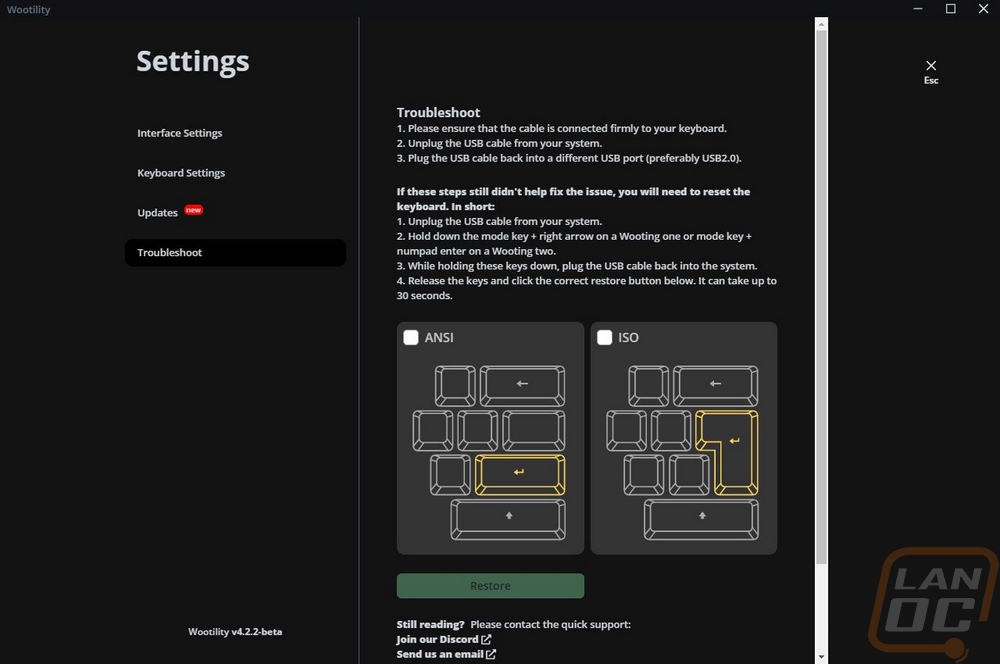
The main landing page once you get everything installed has your keyboard profiles listed on the left, settings on the bottom, and then a drawing of the keyboard on the right half with three pages down at the bottom of keyboard settings. The settings menu gives you light or dark mode options as well as language. On the keyboard settings page, you can turn NKRO on or off to help with compatibility, turn on Razer chroma connect support or put the keyboard into gamepad mode. There is also a page for checking for updates.
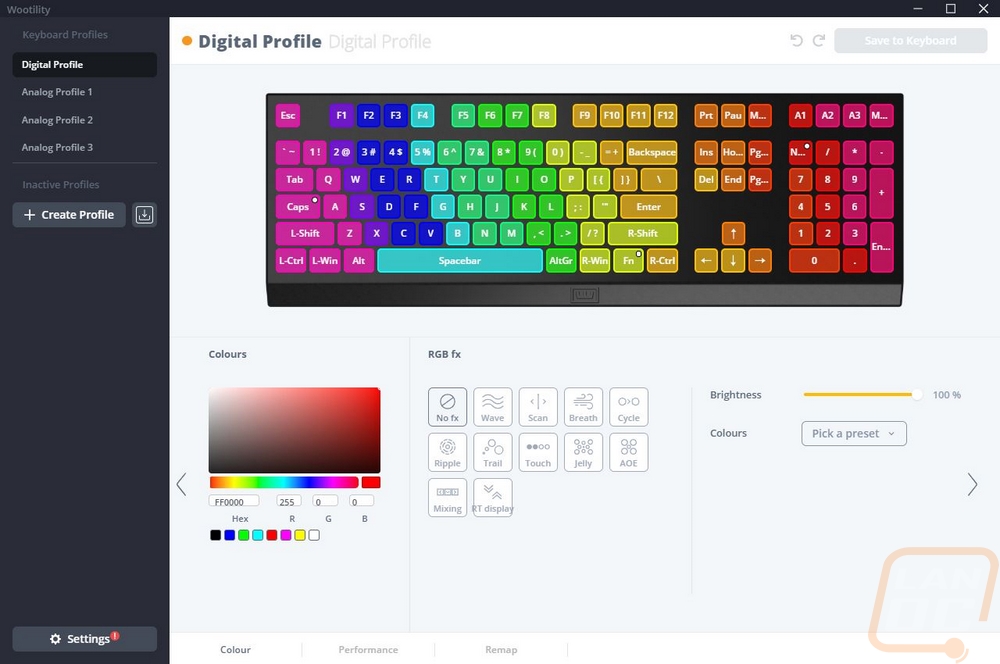
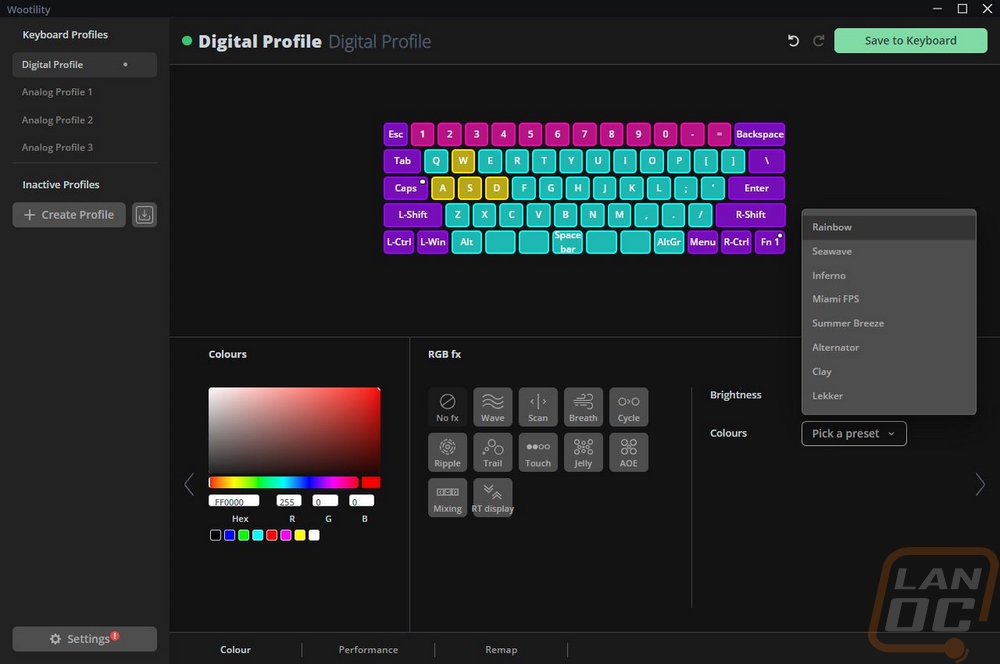
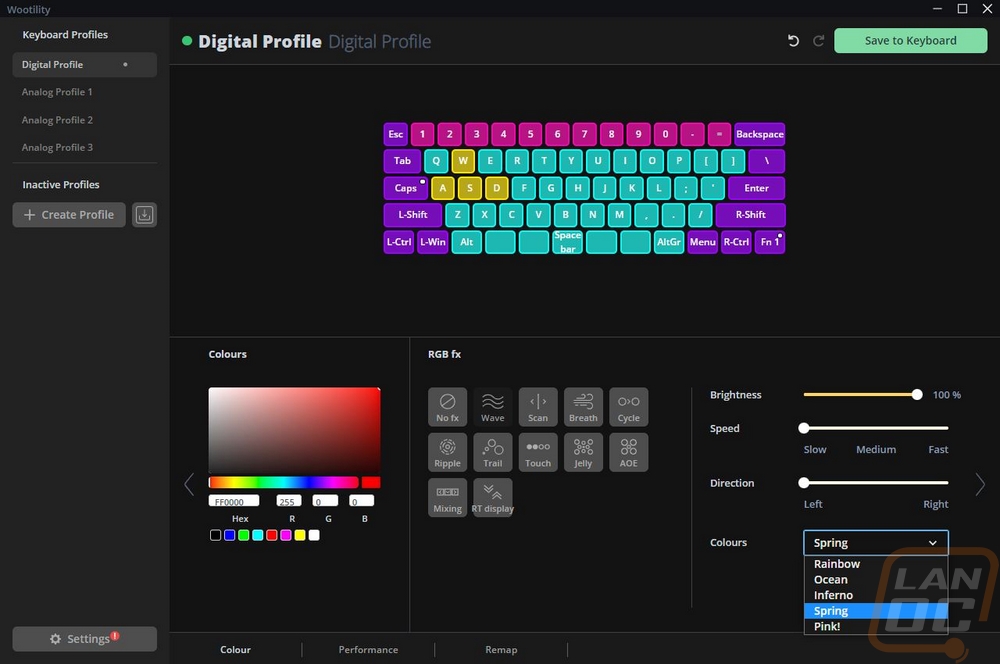
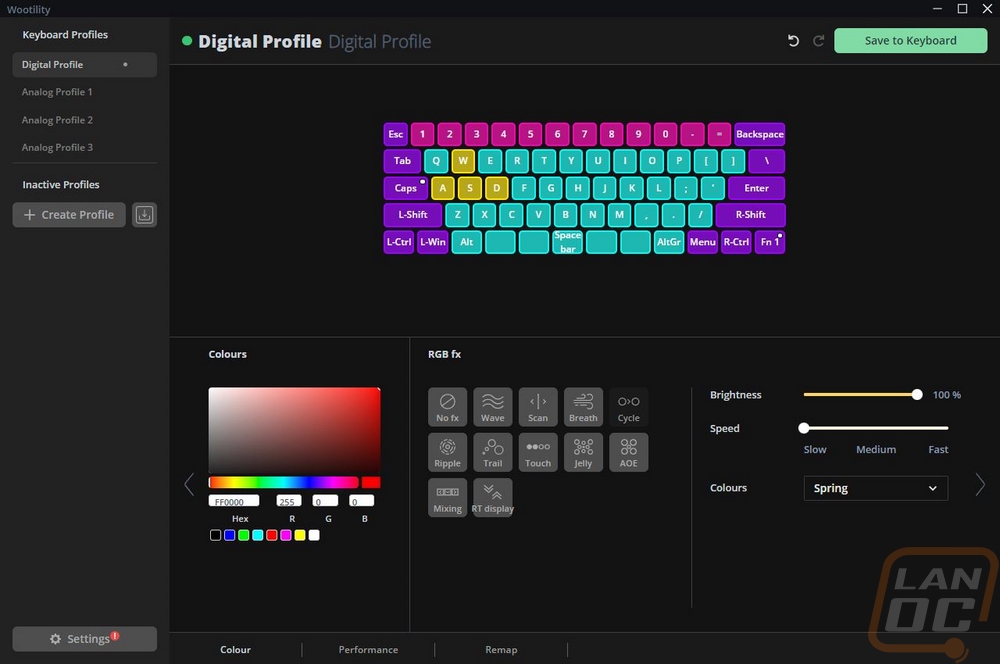
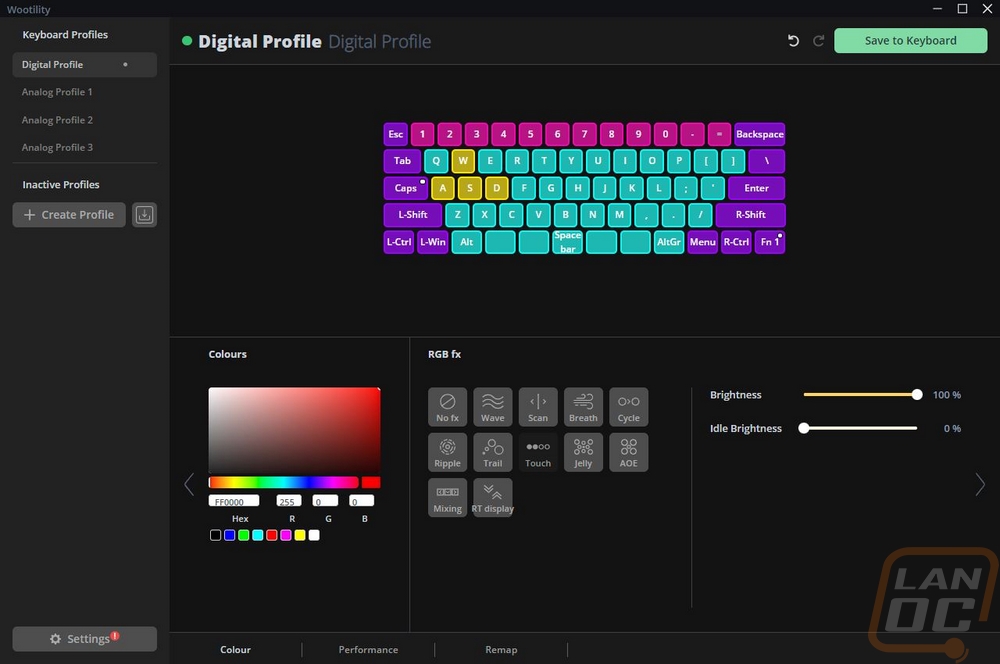
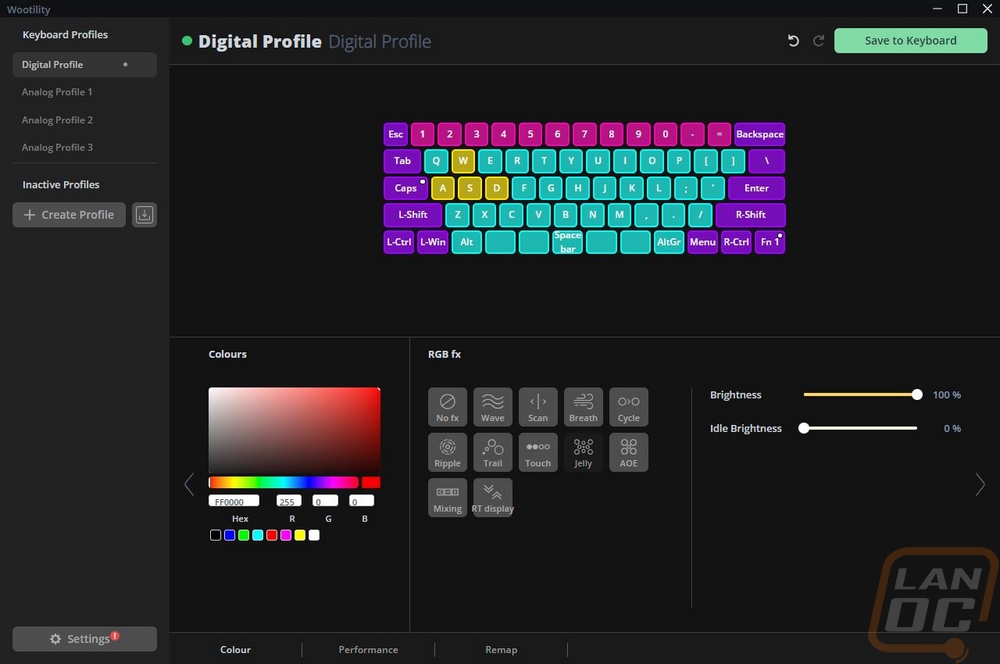
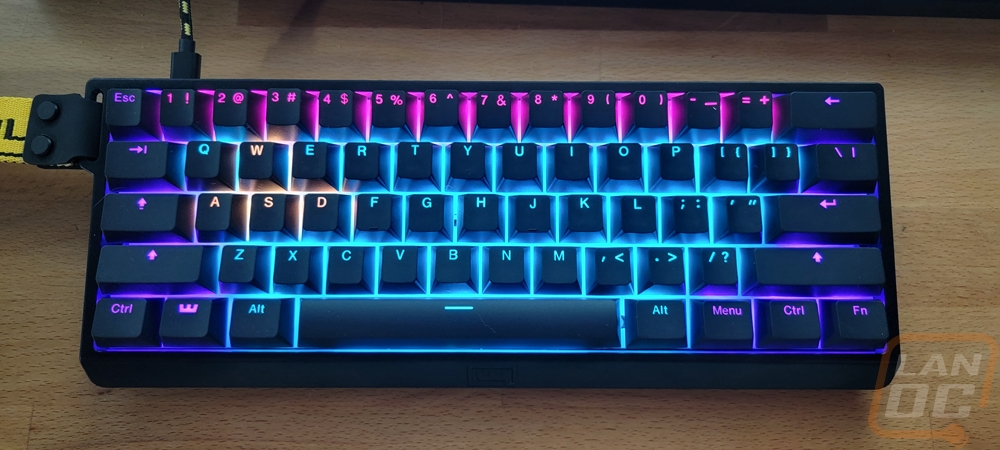
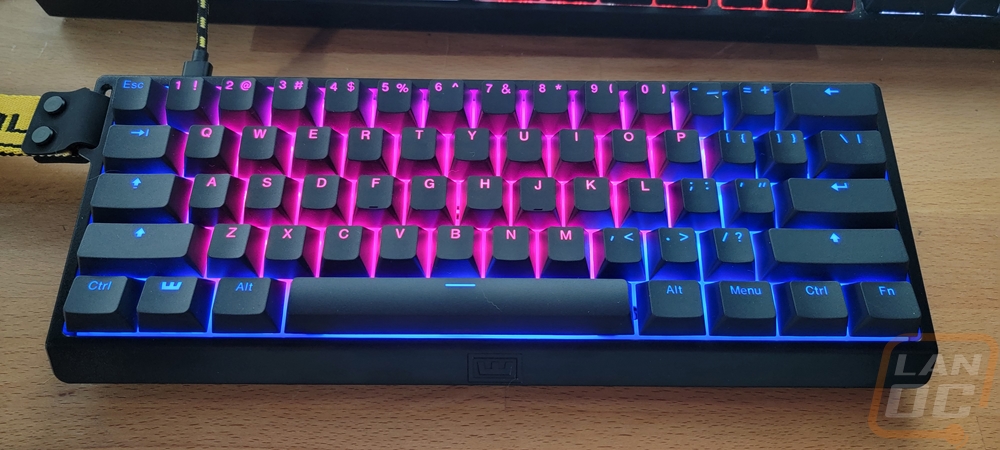
The first page for the 60HE is the lighting page or the “Colour” page as the guys from the Netherlands would call it. This has each of the keys for the 60HE outlines and then lit up in whatever the LED color is. You can select one or more of the keys and manually set the color using the tool on the left. In the middle you can pick from a list of effects in this example it is set to no effect at all. Then each of these options has settings that let you adjust the effect in the far right section. Some of them like the no effect mode have color options or presets. The one in the photo is the Miami FPS layout which takes some from the old school Miami Nights keycap sets which use pink for modifiers and the turquoise. But they have added yellow for the FPS keys and purple into the mix as well which goes with the whole theme. All of the effects have a brightness option and most have a speed setting as well. I’ve got all of the effect options shown below.


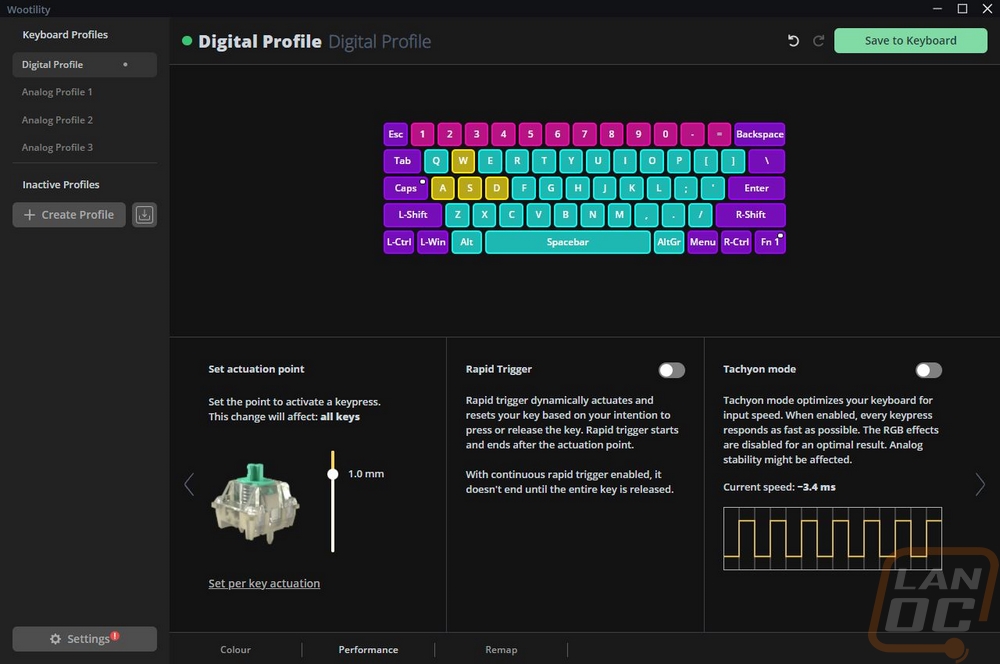
The next tab is the performance tab and there are just the three options here. You can set the actuation point which also has the option to do this per key if you would like. This is a big benefit of the analog design even if you aren’t using the full analog setup all of the time. You can tweak and adjust your actuation point to what is most comfortable for you. Most likely this may also be different depending on if you are writing or gaming. I know for me I prefer a more traditional actuation point when writing, when running a short one which I like for gaming I get a lot of miss clicks and typos. You can turn on a rapid-fire trigger which can have the key spam when you hold it down or you can adjust the sensitivity to how high you need to lift the key for it to consider it ready to activate again. The last mode is tachyon mode which is focused on a higher input speed but does turn off the RGB lighting. The tachyon in the name is a nice Star Trek throwback and a reference to tachyon being a theorized faster than light particle.
The last page is the remap page and I would bet you can guess what happens here. This is an area in the software that I feel like Wooting is doing differently than anyone else. For starters, right on the left, you can remap your keys to a whole list of different popular keyboard layouts like Dvorak and Colemak. You can also find any function using the character map on the right or the filter/search and drag it to the key you want it to work on. You can pick from the main layout or your two function layers to the right of the keyboard up top. This also gives us a peek at an easy egg where the second function layer by default has the middle keys laid out to say “Epic Gamer Move”. The character list has just about anything you might think of including your mouse clicks and opening some of the basic programs. There isn’t a macro mode which some may not like, it isn’t something that I use at all but that is the one area where there is some functionality lost compared to other keyboards. Then when you are all done you can click save to keyboard in the top right corner to save it to the 60HE. Once saved you don’t have to have the wootility software installed to use that profile. Speaking of profiles there are multiple on the left that you can flip between and you can also have saved inactive profiles as well. On the Wooting 60HE order page there are two microcontroller options and I assume this is the AVR which is the only option unless you want to wait until past September 2022 to get the upgraded ARM option. The ARM model will have more configuration slots and better future compatibility.


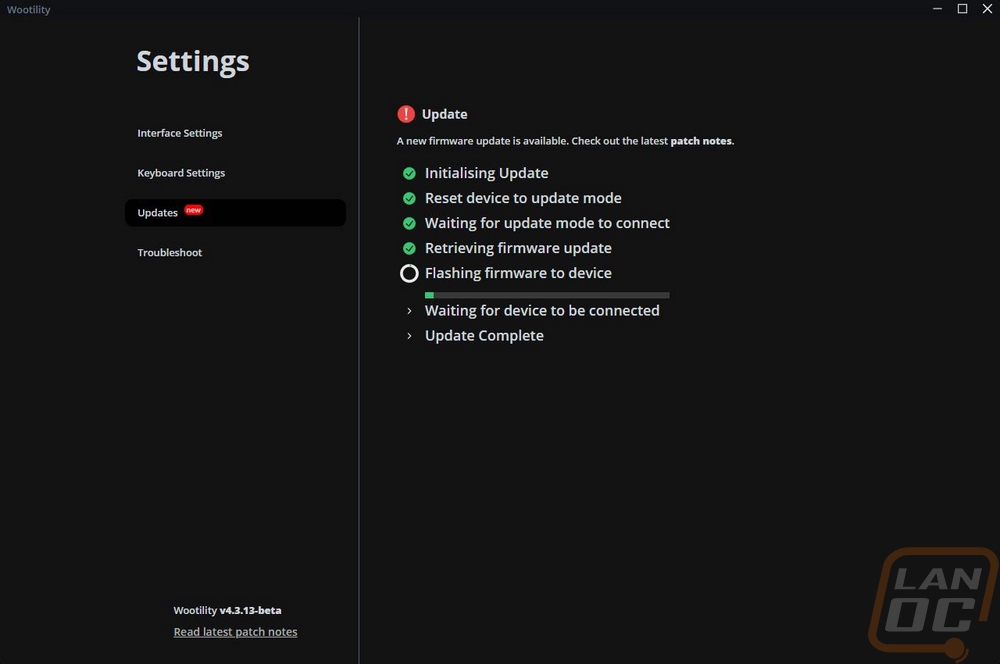
It’s a small touch, but like I said earlier that Wooting seems to have an openness that other companies don’t have. This even shows with how they have their firmware updates shown. Most would just have one progress bar but I like that they let you know exactly where in the process you are as you do it.
Performance
For performance testing my time with the Wooting 60HE has been a little bit limited. I wanted to make today's embargo date and I’ve only had the for five days but I have had experience with past Wooting keyboards as well and the 60HE shares a lot of the same functionality with them. I’ve mentioned it a few times but the biggest feature of the 60HE is of course going to be its analog functionality. You can set up profiles for your specific games and depending on your games there are different ways you can go about that. The most obvious uses for this would be racing games where even if you don’t have a controller or a wheel you have analog movement for things like throttle, brakes, and steering. But going through some of the profiles available I saw that they have figured out other interesting ways to use it. For example in League of Legends, a game that has no analog input you can use actuation points to let light touching the key shows the distance of your abilities and then full pressing to activate that ability. Any game with Xinput or Directinput support can work of course because you can just have the 60HE run as a controller. In a lot of cases, this takes a lot of setup, thankfully they do have the community run profiles.
As a standard keyboard, the compact size of the 60HE is a big feature for me. I fall into this weird area where for my main PC I feel like I need a full keyboard because I often use the number pad. But for my LAN rig or test benches, I love the extra space that a compact keyboard gets me. I also like that it allows me to run my mouse and keyboard closer together with a full-sized keyboard I run into the side of my keyboard wishing I had more mousepad space. The 60HE has its small bezels which help and I like that the bottom bezel has that angled design, it is more comfortable if your wrist ends up in that area. I will say however that as much as I like the look of the carrying strap when using the 60HE I bump into it a lot more than I thought I might, it's something I may end up taking off. Thankfully that is an option.
The Lekker switches with their 40cN to 60cN actuation force feel great. They are extremely smooth and quiet when typing. This is helped of course by the thick doubleshot PBT keycaps as well. I was also impressed with how smooth and quiet the stabilizers are as well, normally a cherry-style hidden stabilizer will still have some rattle when you tap your spacebar near the ends but there was none of that. In typing this I did have to adjust the actuation point slightly, the default actuation is 1mm which is in line with the “gaming” focused cherry switches but for writing, I am still used to the older longer 2mm actuation point. This has been an issue in the past for me with the gaming-focused switches, but with the hall effect sensor, I can just make a small adjustment in the software and continue on. I can also go back to the shorter throw later when gaming because it is helpful here.
While it doesn’t affect your gaming or typing, lighting is a big part of the 60HE and I wanted to check out how the different lighting effects looked. I put together a basic video below that runs through the different modes.
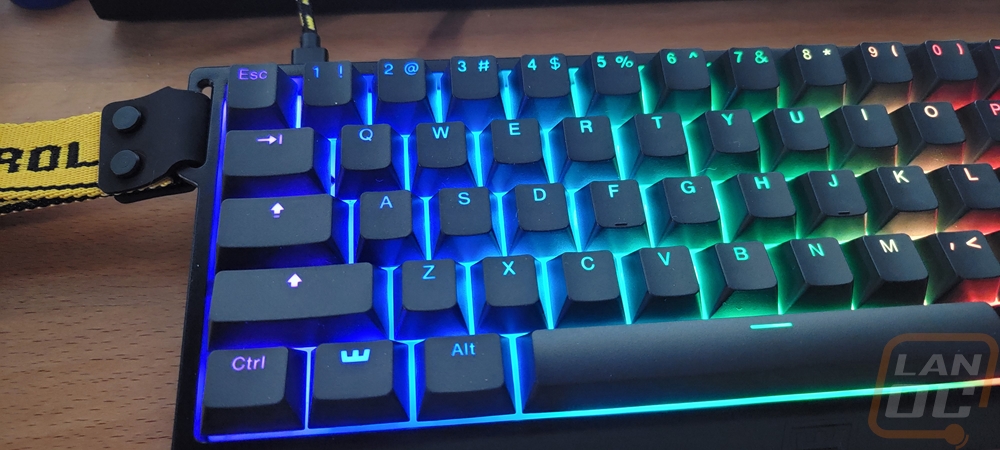
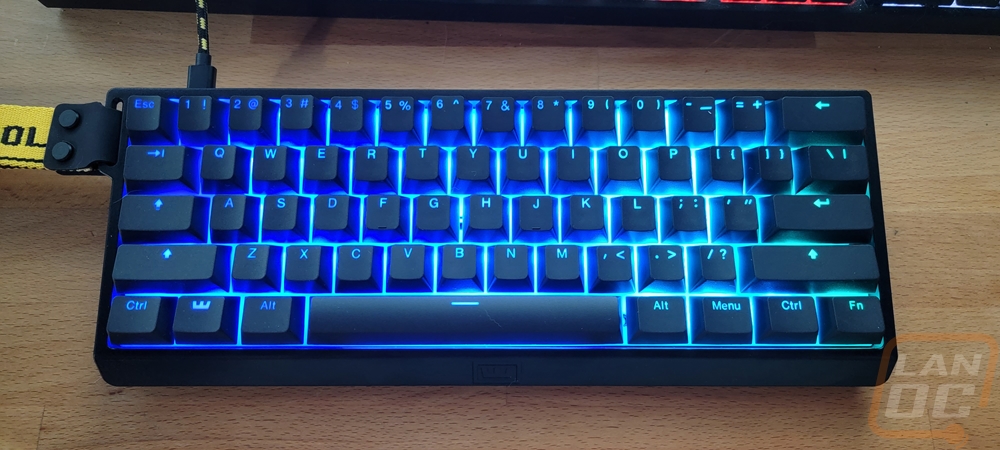
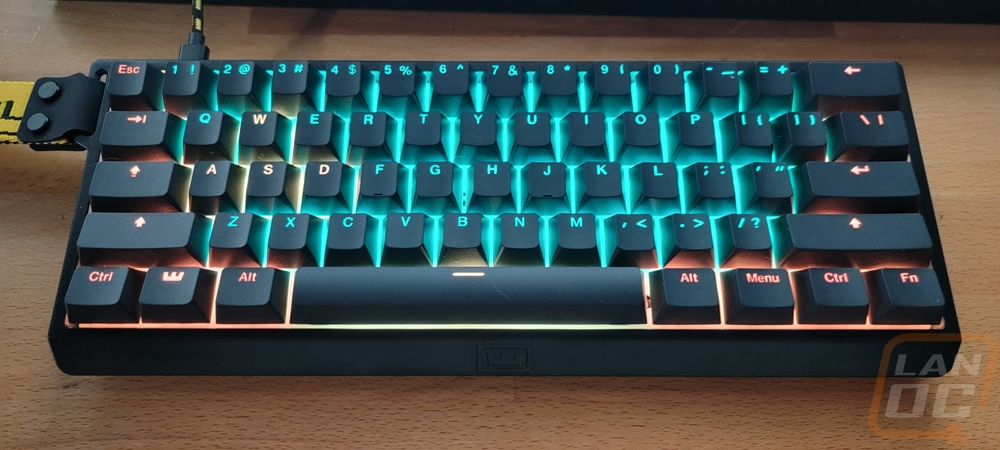
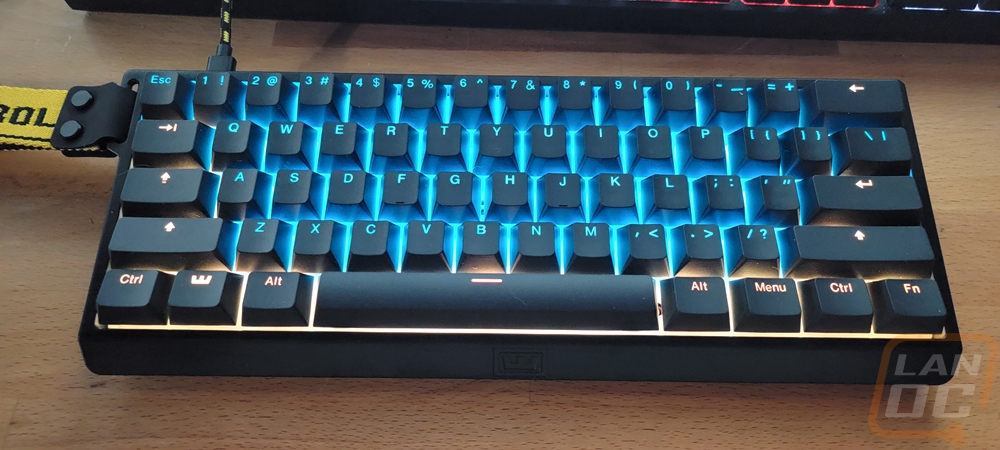
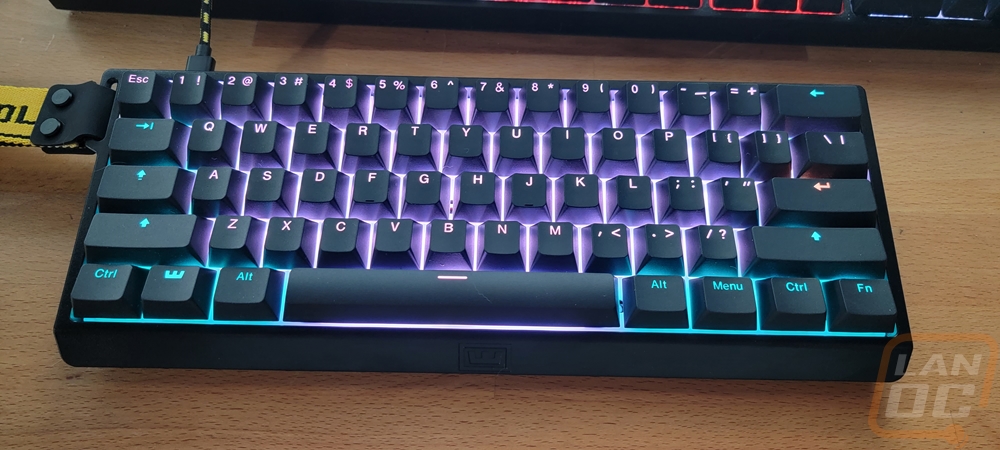
In addition to the effects, I also have pictures of all of the default no-fx presets. Like I said before I like the MiamiFPS design but almost all of them look good. This is helped a lot by surprisingly bright lighting which lights up the legends well and puts a big glow between each keycap as well.

Overall and Final Verdict
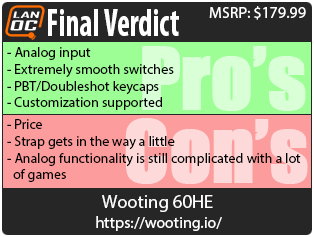
With the 60HE you can tell that Wooting has taken what they have learned from each of their previous keyboards and continued to improve on the process. The Lekker switches are a big improvement over the original design and have an ultra-smooth feel and don’t have the key wobble that I experienced back on the Wooting One. Because of how simple the design is to work with the hall effect sensor the switches also have a crazy high 100 million key press lifespan. Combine that with the travel case that you can also pick up and the 60HE should hold up well in the future. The doubleshot PBT keycaps that the ANSI version comes with will help with that as well. If you have sandpaper fingers and you do end up wearing out the keycaps the 60HE does have a standard layout and cherry stems so aftermarket keycaps will work with it as well. The same goes for the case which uses the standard Geekhack 60% layout, you can use the 60HE case with a different PCB or use one of the many custom cases with the 60HE if you want to change things up.
Wooting has improved on their Wootility software which was easy to use and especially when it comes to lighting has a lot of effects and presets available. Speaking of the lighting, I would bet a translucent case would work well with the 60HE given how bright the lighting is. Of course, I have to mention the analog control which is the 60HE’s biggest feature. Being able to use the 60HE like a controller opens up a lot of options when it comes to analog control. This is a lot easier for short gaming sessions or at LANs than getting a controller out or for driving games hooking up your wheel. Not to say that it replaces the experience that either of those offers, but it’s nice to not have to get them out sometimes. That said setting up analog control while a lot easier than in the past is always going to be tough when there isn’t an easy integration into games. You can run the 60HE like a controller of course to get around that but then you don’t have your keyboard. My only other nitpick would be with the strap which at least for me ended up getting in the way a little bit. Thankfully it is optional so that isn’t a big deal at all and frankly I like the styling of the 60HE with it so I’m a little torn on that one.
As far as pricing goes, the Wooting 60HE has an MSRP of $174.99 which does hit the pocketbook hard. There are lots of 60% keyboard options out at this point at a $100 less but with analog switches there is just one other keyboard in this space which is the Razer Huntsman 60% Analog and it is priced at $149 which puts the 60HE a touch high but not completely overpriced. That extra cost might be worth the openness that Wooting offers honestly, check out how they handled the chip shortages.

Live Pricing: HERE
