
Although PC maintenance is always important, especially with the higher end PCs that we run to play today’s games, it is especially important come summer time. Not only are we in the middle of the LAN season but also most importantly with temperatures getting warmer outside the possibility of you overheating your PC becomes more likely. Because of that, I wanted to post up a reminder to everyone to take a little time and do a little PC maintenance. To go with that I decided to put together a small write-up on a few things you should work on when doing your maintenance.
Written by: Wes
Pictures by: Wes
Amazon Affiliate Link: HERE
Air Cooling
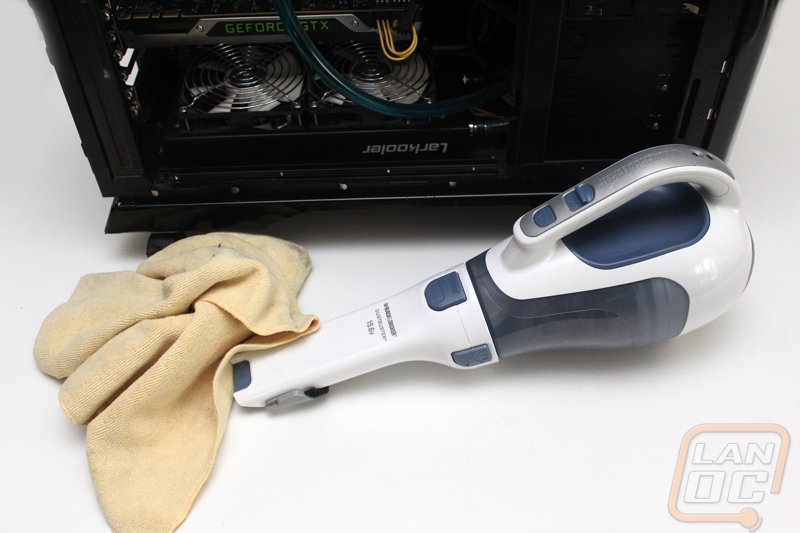
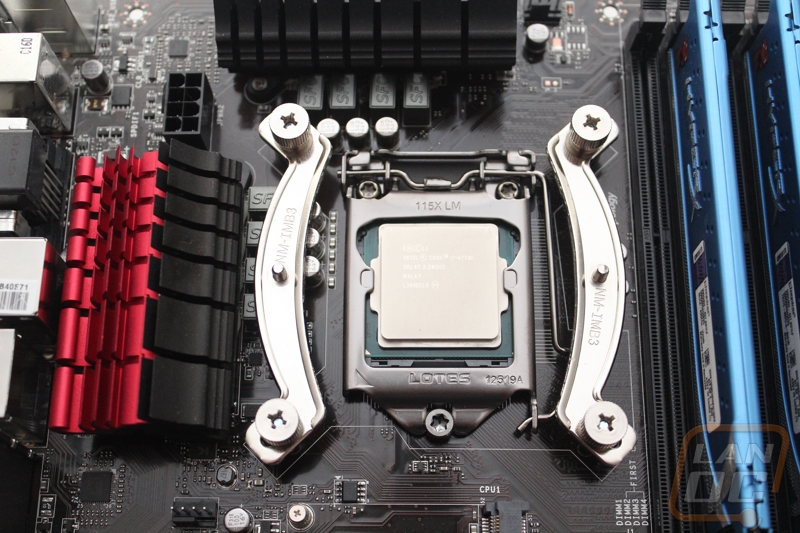
Just about every PC, even PCs with water-cooling still do a little air cooling. So if you have water cooled your PC don’t skip out on reading about what you should work on in this section. The most obvious thing with air-cooling would be a little heatsink maintenance. Most thermal compounds will only be effective until they dry up. Because of that every year I like to pull my heatsinks off and clean off your old thermal paste and reapply fresh thermal paste. There are a few compounds that are made to help you clean up your thermal paste but I will be honest in my experience a dry cloth is actually really good at cleaning off the main portion off your CPU and heatsink, I then follow up with a dab of rubbing alcohol to make sure it is perfectly clean.
Before you go to apply your thermal paste and reinstall you should take a little time and blow the dust out of your heatsink and clean the heatsink fan/fans. Depending on the fin density and how long it’s been you might only have a light dusting or in a lot of cases if you have cats or smoke near your PC you could have a wall of dust and dirt between the fan and heatsink. This is one of the most important things you can do to keep your PC from overheating.
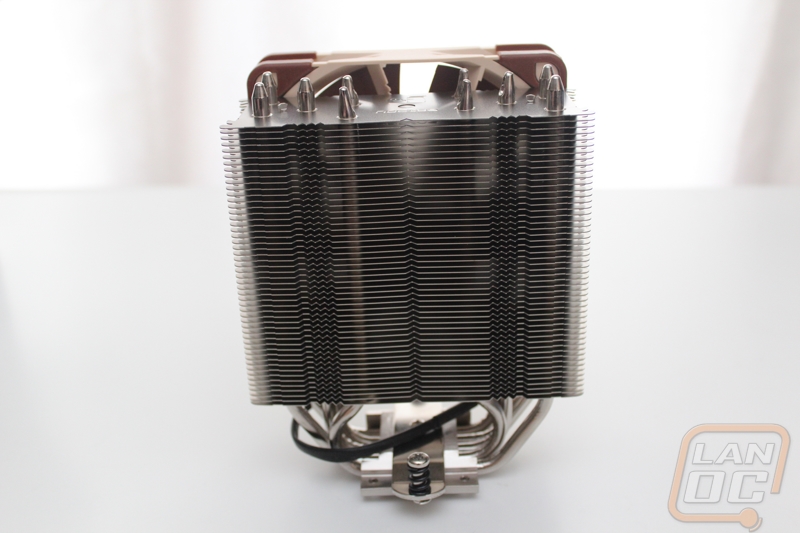
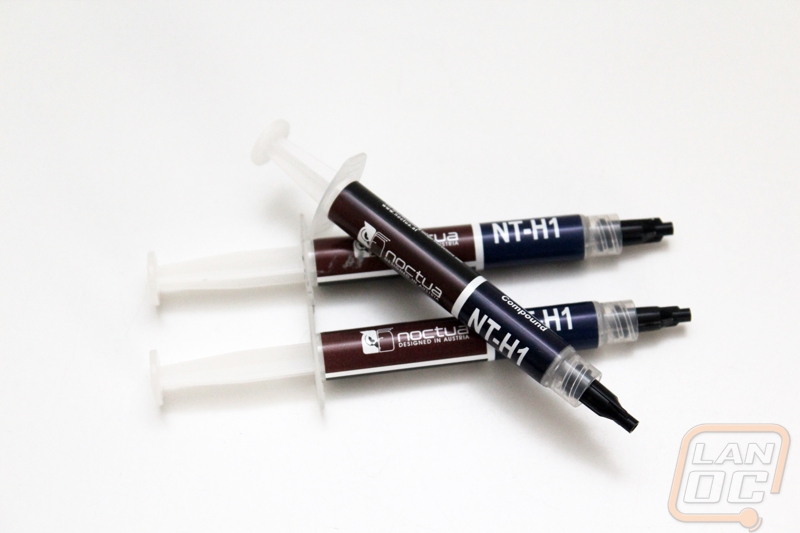
With your heatsink all cleaned up you just need to reapply thermal paste and reinstall it onto your CPU. Follow your heatsink instructions for the installation and for how much thermal paste I would recommend checking out the following articles for a little information HERE and HERE. If you need to pick up thermal paste for this project I would highly recommend Noctua’s NT-H1 thermal paste. A lot of people won’t use anything but Artic Silver but my experience with Noctua’s thermal paste has been great over the years. Not only does it not require setup or burn in time, it is also not electrically conductive. I don’t think I need to explain why that can be important.
Your heatsink isn’t the only are of your PC that you need to worry about of course. You should check the condition of your case fans to make sure they are still working. It is easy for a fan to stop working and because it might not make any noise you would never notice other than lowered cooling performance. While you are checking them, you should clean them off. I’m a big proponent of fans that have removable fan blades to make cleaning easier. Gelid Solutions, Enermax, Cooler Master, and a few other companies make fans that do this but each of them has a different name for the functionality so it is a little hard to search for.
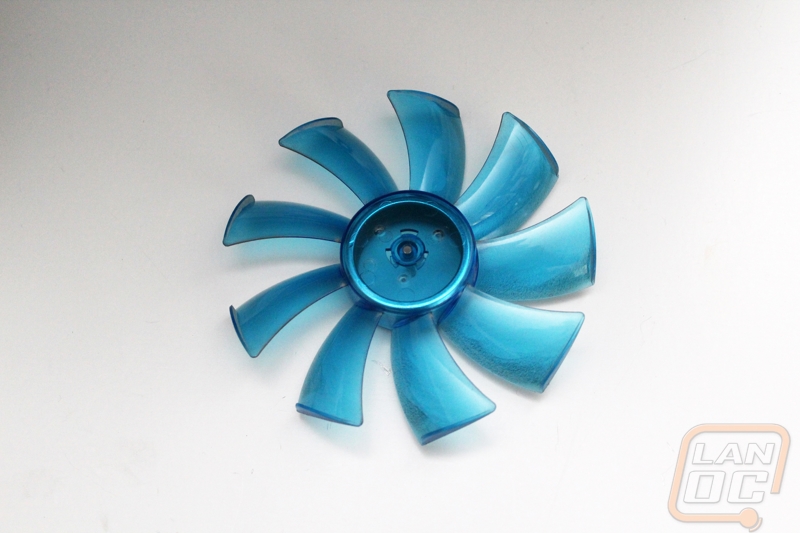
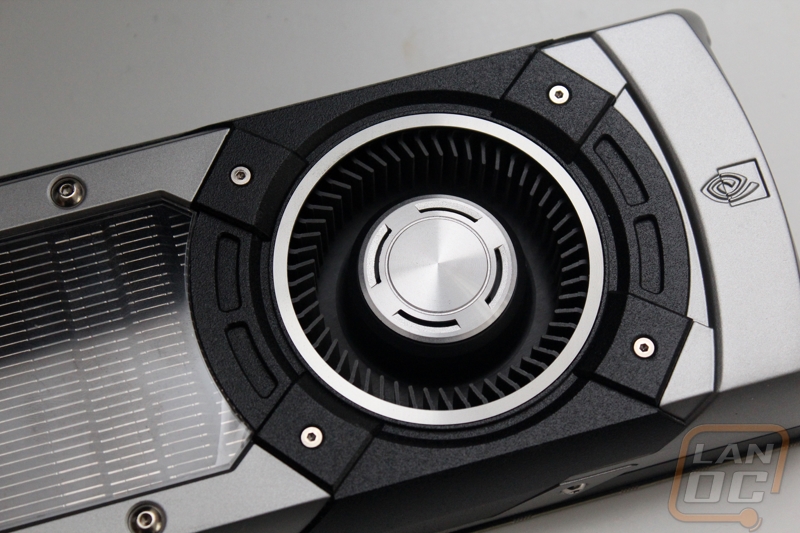
Cleaning our your video cards is also very important. If you have a video card with a reference cooler you have to worry about this even more because the blower style of fans they use tend to really collect dust. The only good way to clean them out is with compressed air. With reference coolers, you should blow both through the fan and also through the end of the card to try to knock everything loose. Aftermarket designs you can typically see how dirty things are and handle it a little easier.
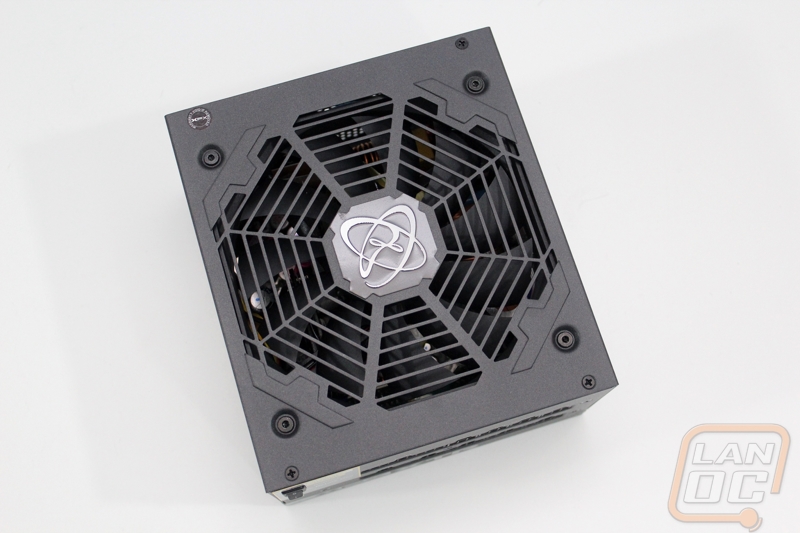
Before you put your PC back together, you should also be sure to clean out your power supply. With their own fan, they tend to suck in dust without it being noticeable. The easiest way to do this is to vacuum on the rear and fan grills then use compressed air to blow the rest of the dust out.
By now, you have most likely made a mess in your case even if it wasn’t too dirty before. In open areas, I use a microfiber cloth to clean up the big portion of the dust rather than kicking it up into the air. To get in the corners and on your motherboard you will still need a little compressed air to clean up the rest.
Water Cooling
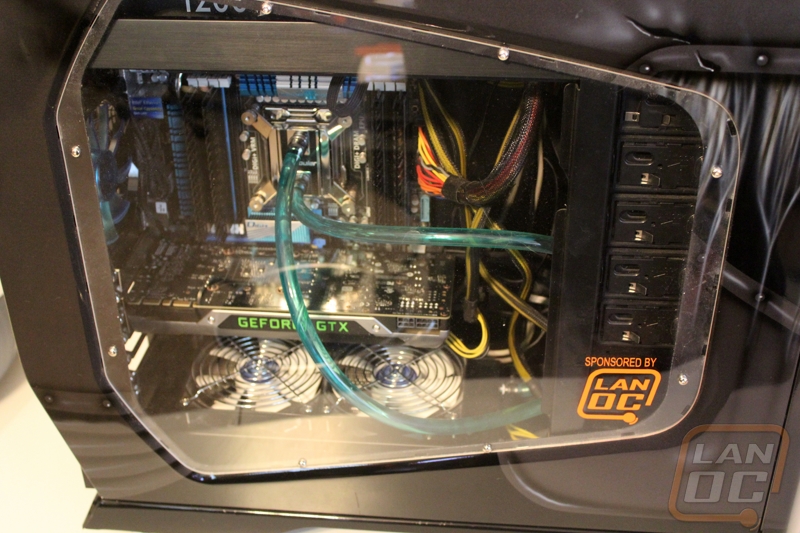
A good portion of the air cooling cleaning still applies to you if you have water cooling, but there are still a few things you will have to take care to keep your water cooling running optimally. For starters, you need to recognize if you have a custom water cooling loop or an all in one system. An all in one system would be like an H50 or any other water cooler that you buy completely assembled from the manufacture. If you didn’t have to cut custom length hoses or fill it with water it is an all in one.

With both types of water cooling, you should remove the water block and clean off your old thermal paste and reapply fresh thermal paste. There are a few compounds that are made to help you clean up your thermal paste but I will be honest in my experience a dry cloth is actually really good at cleaning off the main portion off your CPU and heatsink, I then follow up with a dab of rubbing alcohol to make sure it is perfectly clean.
With your CPU and water block all cleaned up you just need to reapply thermal paste and reinstall it back onto your CPU. Follow your water block’s/water cooling’s instructions for the installation and for how much thermal paste I would recommend checking out the following articles for a little information HERE and HERE. If you need to pick up thermal paste for this project I would highly recommend Noctua’s NT-H1 thermal paste. A lot of people won’t use anything but Artic Silver but my experience with Noctua’s thermal paste has been great over the years. Not only does it not require setup or burn in time, it is also not electrically conductive. I don’t think I need to explain why that can be important.
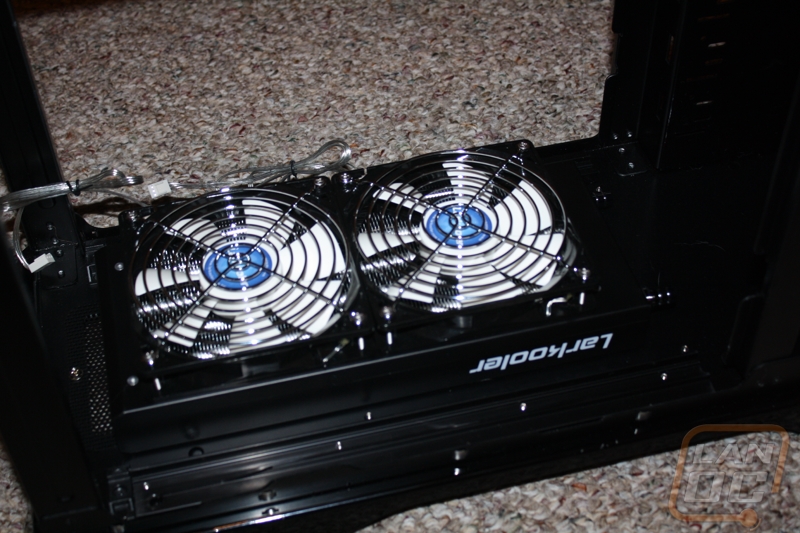
With both custom and all in one water cooling kits you should pull your radiator fans off and clean out the radiator. With my wife’s PC for example, the cats love to play on top of it and their hair builds up on/in the radiator blocking the airflow if I don’t stay on top of it. Cleaning is just like cleaning your heatsink. You can wipe up anything on top and blow everything else out. While you are doing this be sure to clean the fans from both sides as well.
If you have an all in one kit, you should be all set. People with custom water cooling have one more step to take care of. With custom water cooling you should flush out your coolant around twice a year if possible, but worse case hitting it before every summer is a good idea. Every system install is completely different, so I’m not going to go into specifics on how to drain your system. For me, I drain everything I can and refill the system with distilled water and run it for a little while to clean everything out. A few coolant manufactures are now selling cleaning kits for this as well. I normally flush it a few times to make sure all of the old coolant is gone then I refill with new coolant of my preference. You can use distilled water by itself or with additives or go with a full coolant if you would like. It is important to never use tap or drinking water in your system, even when flushing because it can cause corrosion.
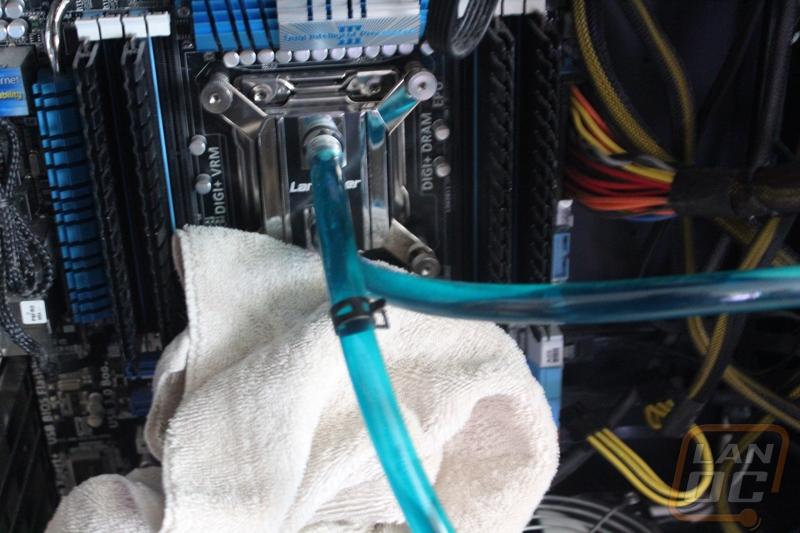
The reason we have to flush everything out is because even with additives you will eventually start to get bacteria growth inside of your coolant system. If left unchecked it will block the cooling passages in your water block and radiator, lowering the cooling performance. So don’t put it off, trust me cleaning that out of your system is much harder than a flush. With everything back together be sure to recheck for leaks and air bubbles in the lines. Last but not least, be sure to recheck the coolant level after running the system for a few days to top things off.
Peripherals
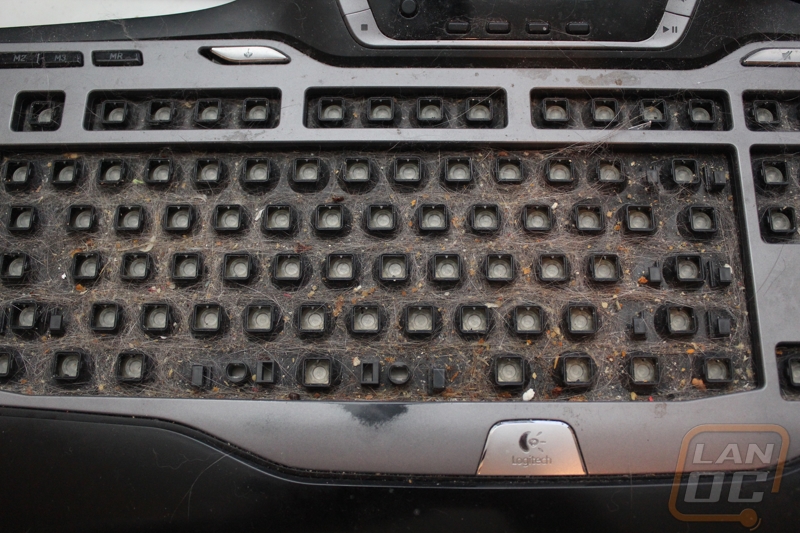
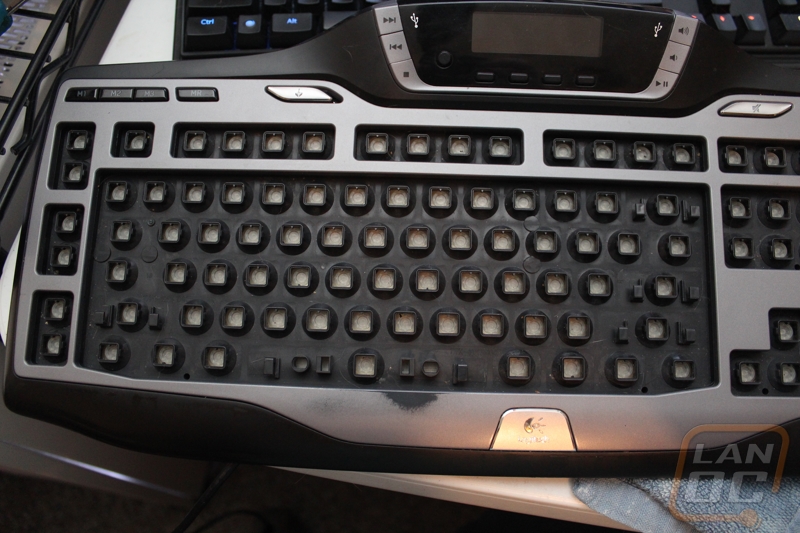
When going through all of this cleaning you might as well take a look at your mouse and keyboard as well right? Given the amount of food crumbs we clean up around the tables after our LAN events I know most of you are eating in between some of your gaming. Over time, you are going to get crumbs in your keyboard. Even if you don’t the other dust, dirt, and animal hair is going to end up under your keys. Dirt also builds up on the keys itself. To clean up your keyboard you will need a bucket, dish soap, Q-tips, and compressed air.
This applies to both mechanical and non-mechanical keyboards. Of course, scissor switch keyboards (aka low profile keyboards) won’t allow you to remove the key caps in this way without doing damage, so be sure you make sure you can remove your keys before starting this project.
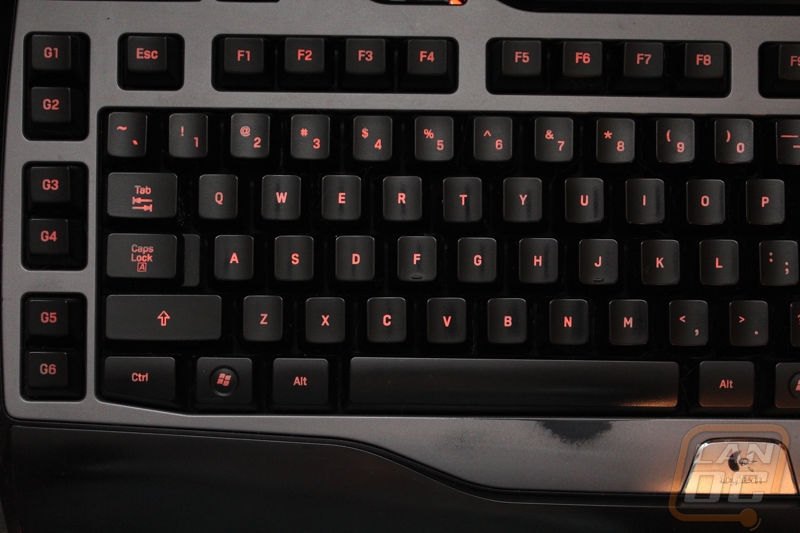
Before you start be sure to unhook your keyboard and set aside a few hours to get the job done. You want to start by pulling all of your keyboard keys off. A key removal tool makes this the easiest, but you can pry the first few up using a butter knife if you need to. By the time you get most of the way into pulling them off, you are going to start to wonder if you will ever be able to put them all back together, don’t worry you will. When you get to wider keys like your spacebar, enter, etc they will sometimes use a metal clip to keep them from wobbling. If you aren’t comfortable putting them back on, just work around those keys.
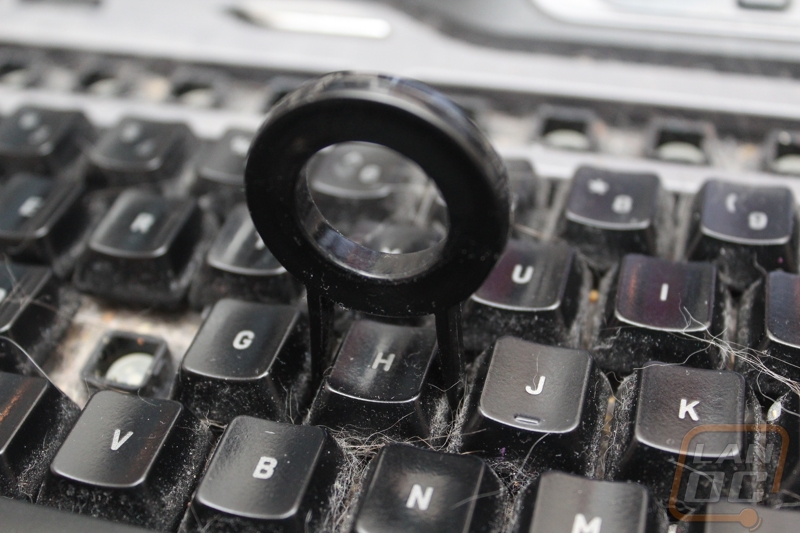
Once you have pulled all of the keys off you can fill up your bucket with water and dish soap and drop the key caps into the bucket and let them soak. While the key caps are soaking you can blow the biggest portion of dust and dirt out of your keyboard. From there you can use the Q-tips to clean up the rest of the loose dirt. If you have dripped any soda or anything else into your keyboard you can lightly dip the Q-tip into the soapy water and clean that up as well.
Once everything is cleaned up you can turn your focus back onto the key caps. One at a time you can pull them out and use a rag to wipe them down. This is going to remove most of the dirt and oil that didn’t come off in the soak. Once wiped down put each key on a towel with the letters up to let it finish drying. By the time you finish wiping them all down the first keys you wiped should be dry and you can start popping them back onto the keyboard. If you have a second keyboard nearby it might help you find the location of keys you don’t use as often.
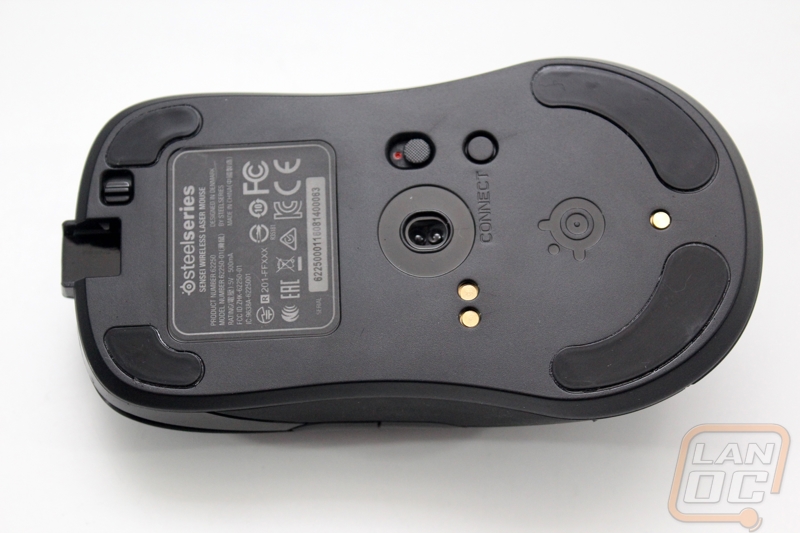
Moving on to your mouse, the maintenance is MUCH easier than the keyboard. Wipe down the mouse with a slightly damp towel to remove the dirt and oil. On the underside, you want to clean up any dust and dirt in the sensor and around the mice feet. In my household, I get a lot of cat hair stuck to the adhesive around the mouse feet on most mice, so this helps clean that up. While looking at the bottom of the mouse you should check the condition of the mouse feet as well. If they are getting a lot of wear (this happens more with hard mouse pads) you should order a new set. Replacing the mouse gliders will bring it back to it's out of the box performance and help it glide easier. Most manufactures sell new gliders for 1 or 2 bucks plus shipping, if you can’t find them through the manufacturer you can find aftermarket gliders on Amazon and eBay.
Digital cleaning up
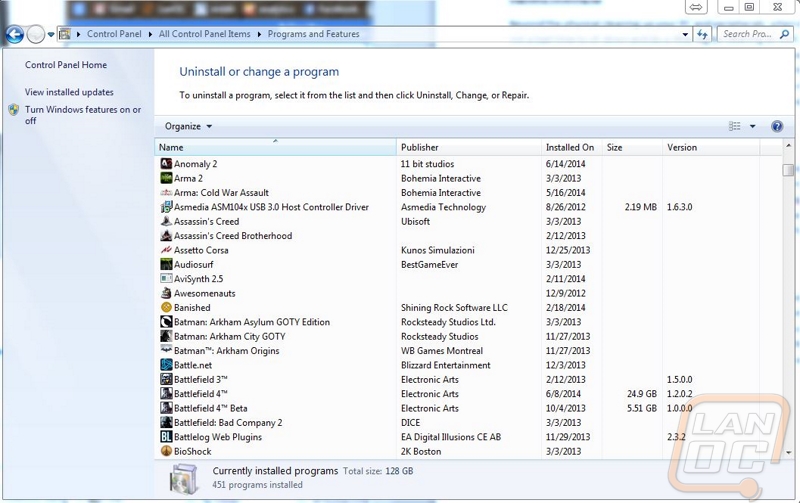
Beyond the physical cleaning up your PC and peripherals, when doing your spring/summer cleaning it's not a bad time to sit down and do a little digital cleaning as well. The first thing you want to do is open up your programs listing and uninstall anything you just don’t use anymore along with programs that may have installed along side of other programs. Over a years’ time, you are bound to change how you use your computer and collect a few one-off programs that you needed just for one project. If you are running an SSD uninstalling programs might even speed things up, the more room it has for TRIM the better.
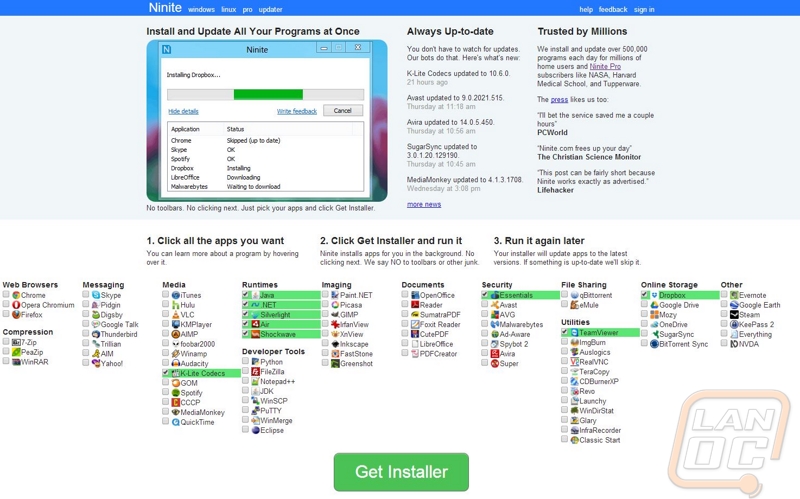
Next, you want to update the programs you do use. Take a trip over to https://ninite.com/ and install all of the runtimes that you use. While you are there you can make sure you have an antivirus and also if you use Dropbox install that as well. For whatever reason Dropbox doesn’t update itself, you are most likely extremely out of date. Ninite is simple to use, creating one download to run and letting you avoid clicking through 15 different installations. It has the side benefit of avoiding side installing programs as well.
Now that things are cleaned up a little you just need to install and run CCleaner and run and cleanup all of your old temp files that you don’t use anymore. With that done If you have a hard drive in your PC, you should run it through a defrag. With that all finished up you can finally sit back and enjoy your refreshed PC that is ready to go for the summer! It’s not as exciting as building a new PC, but a little maintenance goes a long way. Not to mention you know things are going to look good and run well for a while to come!


