Peripherals
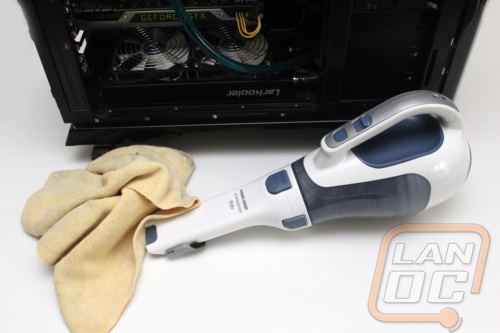
When going through all of this cleaning you might as well take a look at your mouse and keyboard as well right? Given the amount of food crumbs we clean up around the tables after our LAN events I know most of you are eating in between some of your gaming. Over time, you are going to get crumbs in your keyboard. Even if you don’t the other dust, dirt, and animal hair is going to end up under your keys. Dirt also builds up on the keys itself. To clean up your keyboard you will need a bucket, dish soap, Q-tips, and compressed air.
This applies to both mechanical and non-mechanical keyboards. Of course, scissor switch keyboards (aka low profile keyboards) won’t allow you to remove the key caps in this way without doing damage, so be sure you make sure you can remove your keys before starting this project.
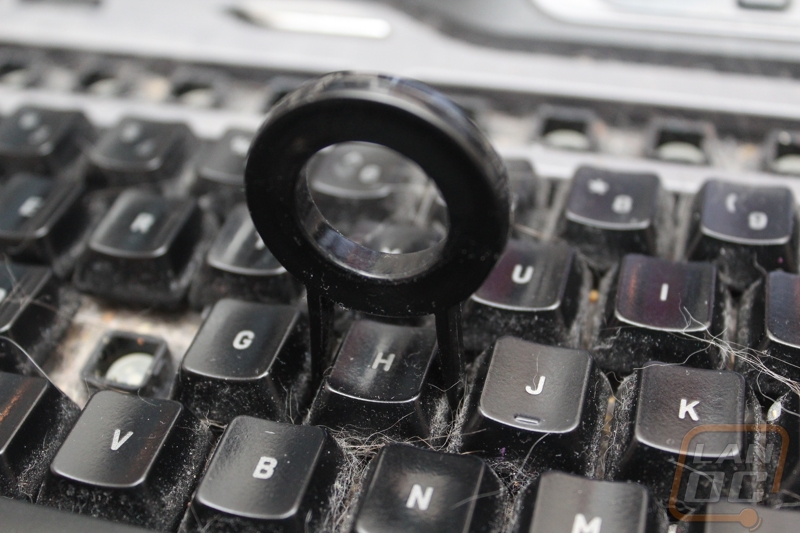
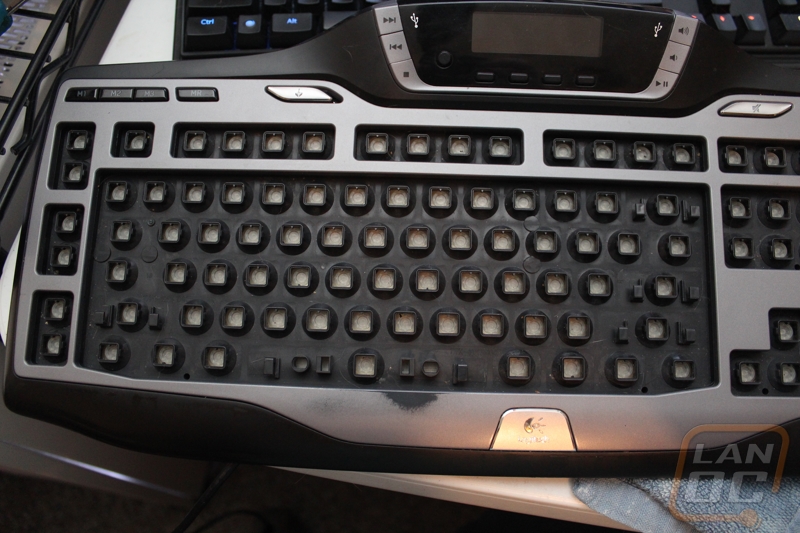
Before you start be sure to unhook your keyboard and set aside a few hours to get the job done. You want to start by pulling all of your keyboard keys off. A key removal tool makes this the easiest, but you can pry the first few up using a butter knife if you need to. By the time you get most of the way into pulling them off, you are going to start to wonder if you will ever be able to put them all back together, don’t worry you will. When you get to wider keys like your spacebar, enter, etc they will sometimes use a metal clip to keep them from wobbling. If you aren’t comfortable putting them back on, just work around those keys.
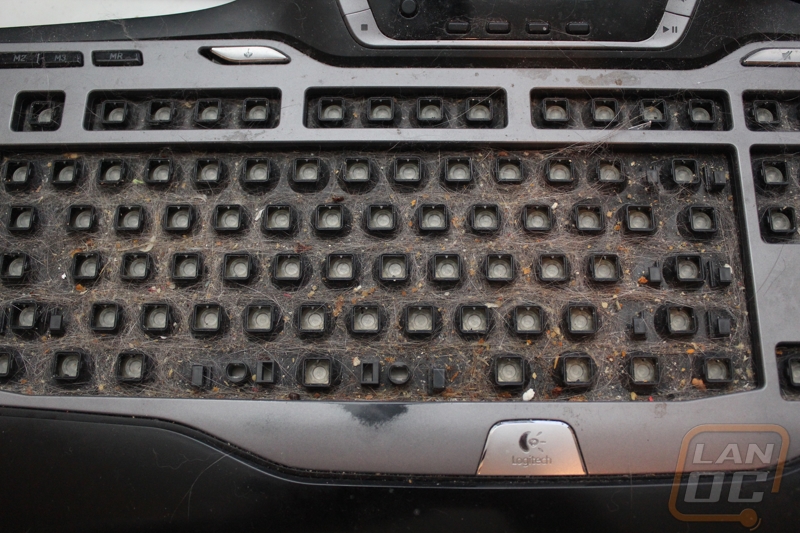
Once you have pulled all of the keys off you can fill up your bucket with water and dish soap and drop the key caps into the bucket and let them soak. While the key caps are soaking you can blow the biggest portion of dust and dirt out of your keyboard. From there you can use the Q-tips to clean up the rest of the loose dirt. If you have dripped any soda or anything else into your keyboard you can lightly dip the Q-tip into the soapy water and clean that up as well.
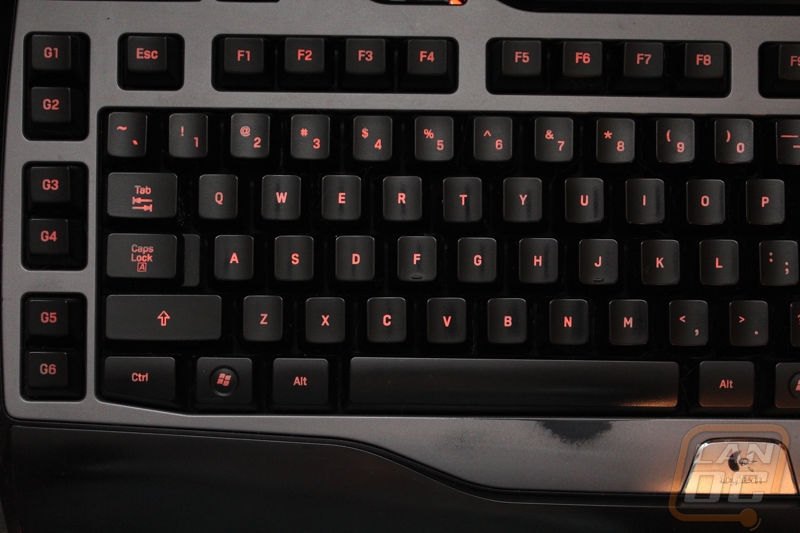
Once everything is cleaned up you can turn your focus back onto the key caps. One at a time you can pull them out and use a rag to wipe them down. This is going to remove most of the dirt and oil that didn’t come off in the soak. Once wiped down put each key on a towel with the letters up to let it finish drying. By the time you finish wiping them all down the first keys you wiped should be dry and you can start popping them back onto the keyboard. If you have a second keyboard nearby it might help you find the location of keys you don’t use as often.
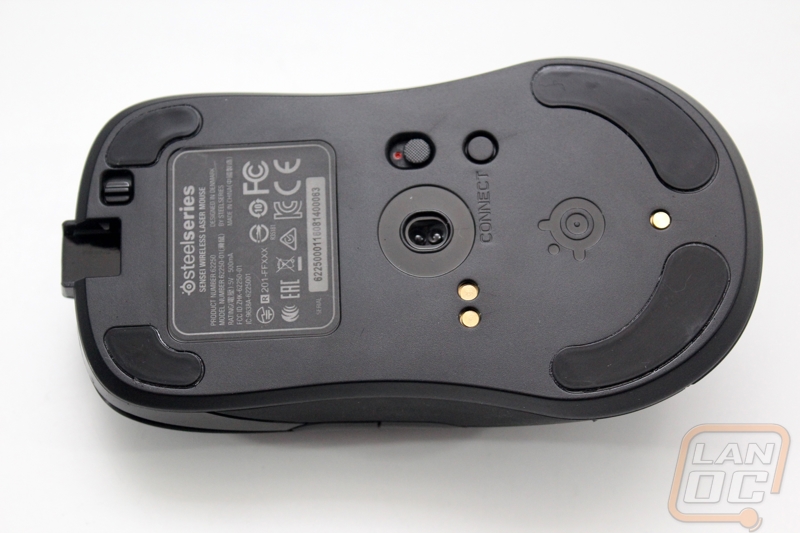
Moving on to your mouse, the maintenance is MUCH easier than the keyboard. Wipe down the mouse with a slightly damp towel to remove the dirt and oil. On the underside, you want to clean up any dust and dirt in the sensor and around the mice feet. In my household, I get a lot of cat hair stuck to the adhesive around the mouse feet on most mice, so this helps clean that up. While looking at the bottom of the mouse you should check the condition of the mouse feet as well. If they are getting a lot of wear (this happens more with hard mouse pads) you should order a new set. Replacing the mouse gliders will bring it back to it's out of the box performance and help it glide easier. Most manufactures sell new gliders for 1 or 2 bucks plus shipping, if you can’t find them through the manufacturer you can find aftermarket gliders on Amazon and eBay.