Exterior Design
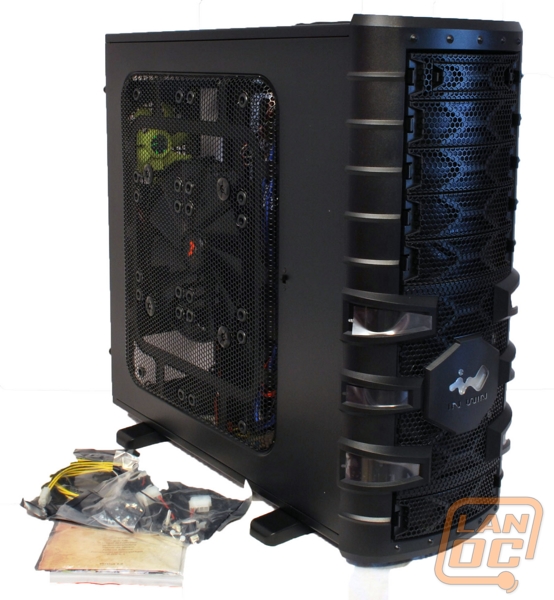
My first thought on unwrapping it was “wow – it is attention getting.” I had feared this would be in a bad way with the stark likes and “busy” front, but one element seems to draw your attention to the next. Over the past couple of years the mesh motif has become more and more common and it has grown on me. Let’s take a look at each side to gain a better understanding of the outside of this case.
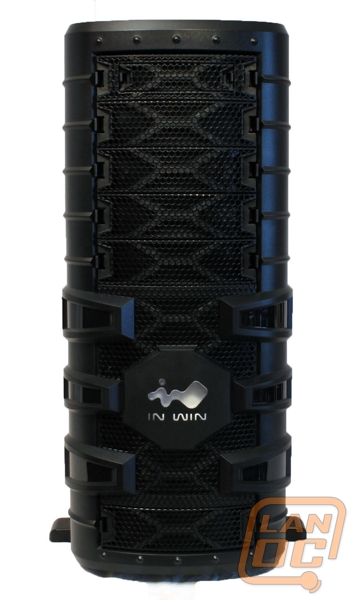
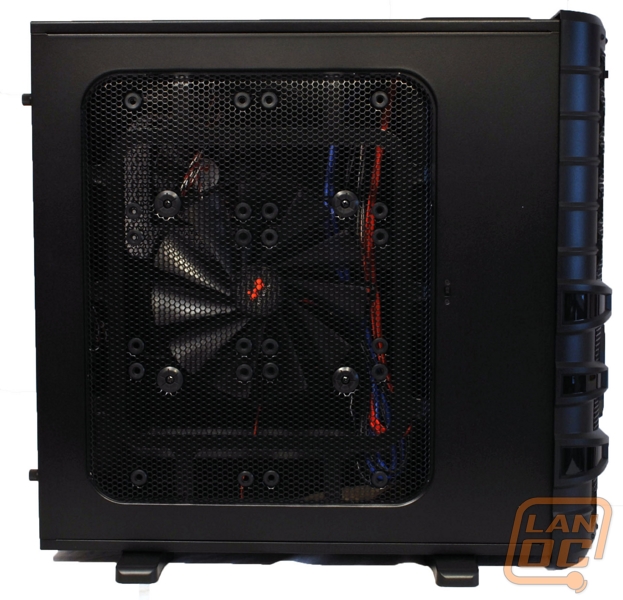
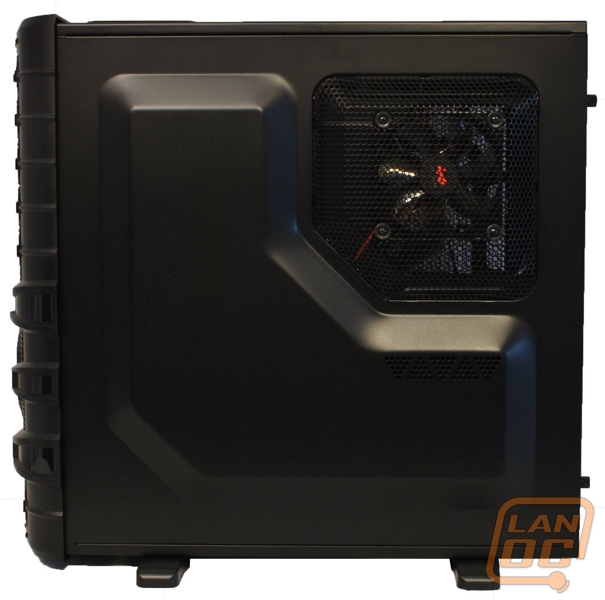
First and foremost you see is the In Win logo on the front of the case. It looks to be a safe bet that this will light up once the case is powered up. You can clearly see the plethora of external bays. Turning to the side you can see the primary cooling fan. This 220mm left side fan will move plenty of air, though it can be swapped out for up to six 120mm fans. I don’t think I would take this option myself as six 120mm fans would likely increase the noise level. However, if you were trying to highly focus the incoming airflow, the option is there.
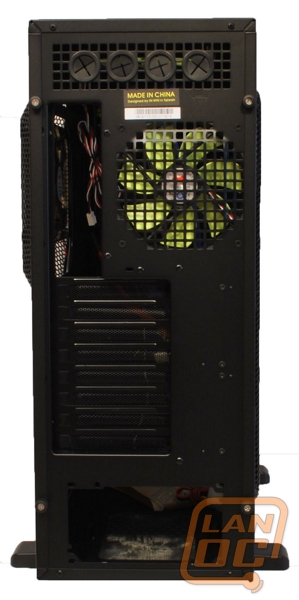
Spinning around to the back we see this is a bottom mount PSU case, which fortunately has pretty much become the standard. Above that we have eight expansion slots, the I/O panel, and a 120mm rear exhaust fan. Above that we have four openings for water cooling support.
The right side panel got me to pause. There is an L shaped raised portion, one would assume to facilitate cable routing. Also included is a meshed area that encloses a 120mm fan positioned right behind the CPU backplate. Well that’s new… haven’t seen that one before. I have seen other cases include extra room behind the mainboard tray, as this one clearly is, but not adding a fan right behind the CPU backplate. The closest I have seen is an additional fan in the drive bay area. I like it.
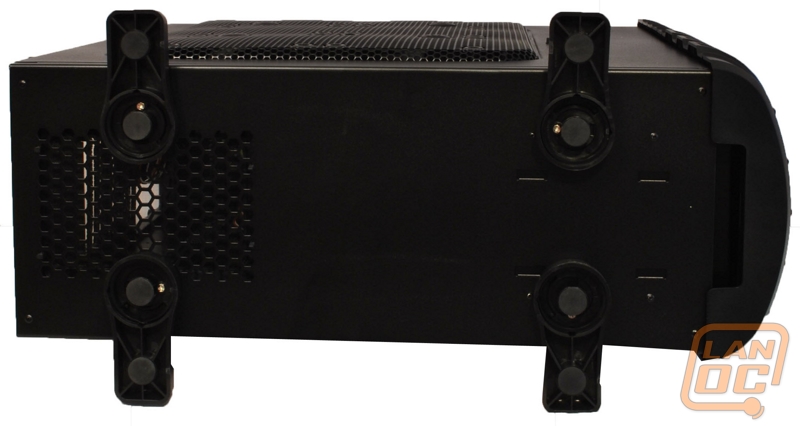
The bottom of the case is pretty typical of larger cases with fold out feet and an opening for the PSU fan. The folded out feet provide extra stability, though really the stance is wide enough that it isn’t strictly needed.
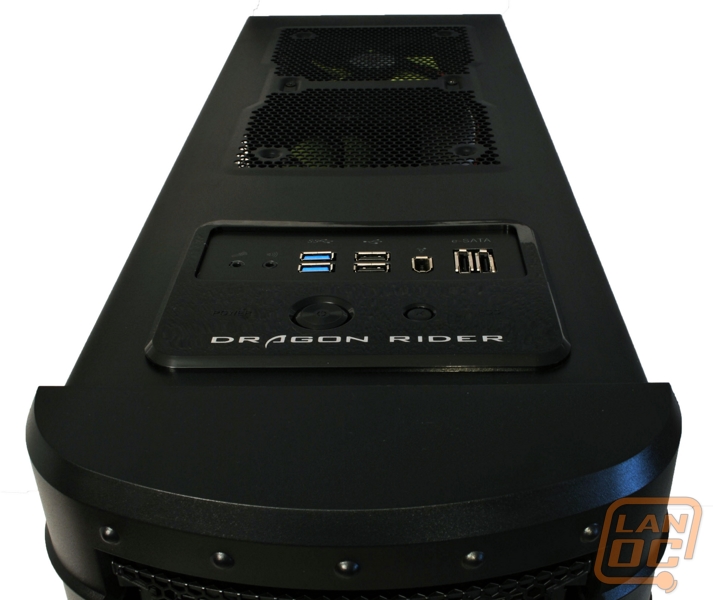
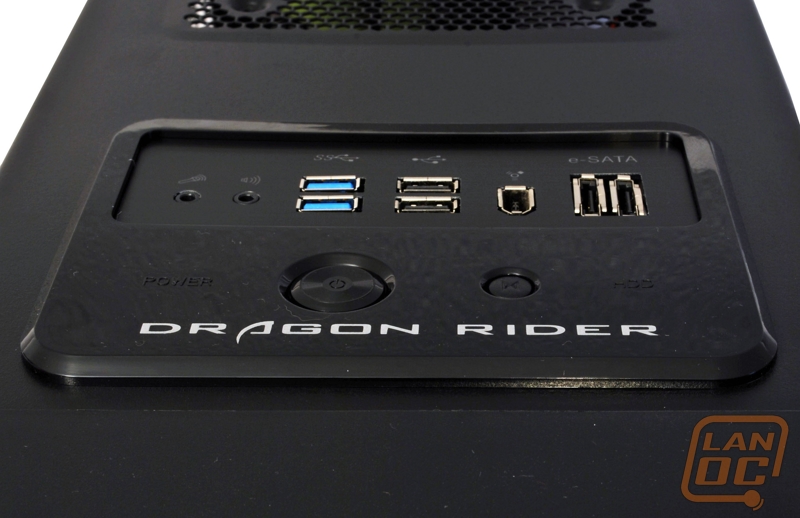
The top of the case has one 120mm fan, though there are openings for two. There is certainly enough room to allow for water cooling support. The front control panel is pretty basic. We have our audio jacks, two USB 3.0 ports, two USB 2.0 ports, Firewire, and two eSATA ports. Below these ports the power and reset buttons can be found along with the name “Dragon Rider.”
Now we will crack open the case and take a look at the inside.
