Installation
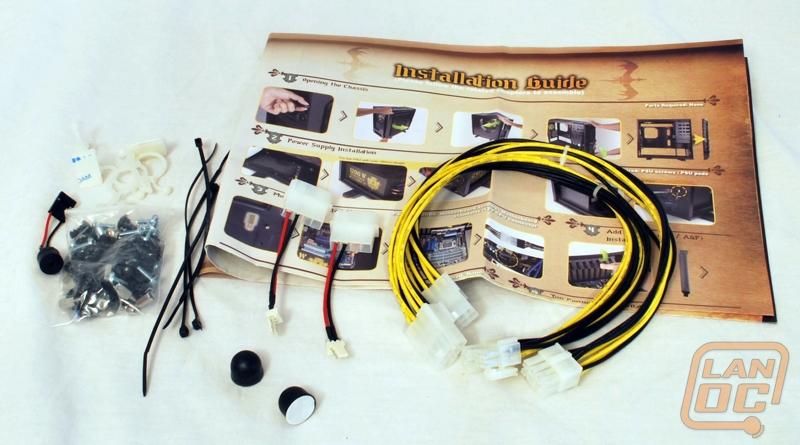
The case of course came with the usual bag of hardware, but also included an extension cable for the CPU power plug. There are also a few power adapters and plenty of additions to help clean up the cable routing.
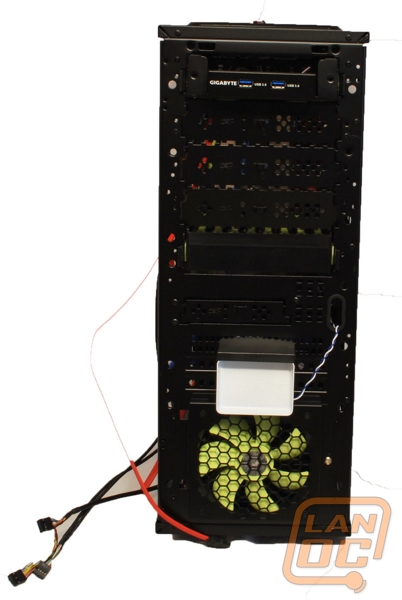
Popping the front of the case off we can see the LED light plate for the front of the case and the front 120mm intake fan. We needed to take the front off to add in the 3.5” USB 3.0 bay adapter. The mainboard we are installing in this case came with two internal USB 3.0 headers, so we went ahead and installed this here. The 3.5” trays clip right in, and also have screw holes to support 2.5” drives. DVD drives might look a bit odd here due to the curved nature of the front.

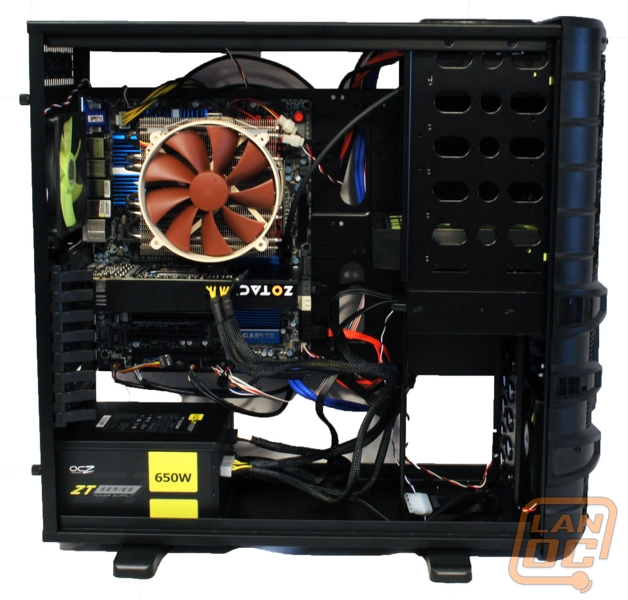
The mainboard and all of the parts installed in smoothly. The retention clips actually seem to work and held the card in firmly. Due to the large CPU cooler used in this instance, the extra room above the board just made things easier during the install. The large openings provided plenty of flexibility in how and where cables were routed. A bit more time could have been spent cleaning this up, but we just didn’t have the time available to do so.
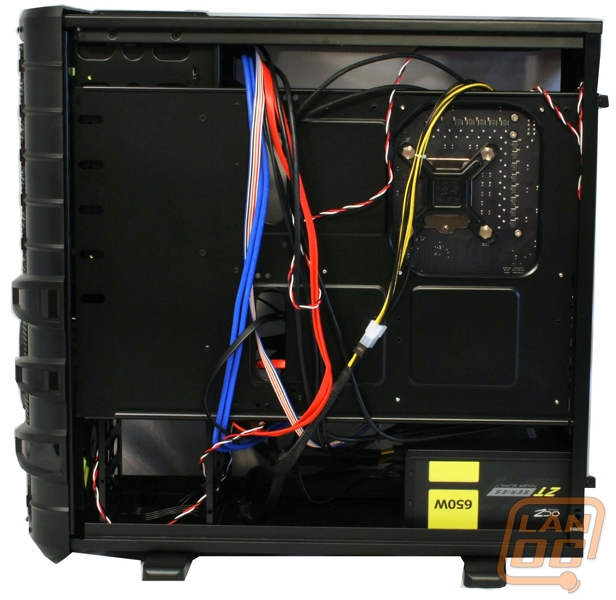
Taking a quick look behind the mainboard tray, we can see that extension cable came in handy. It is cleaner to run the power cable behind the mainboard, but almost always never will reach in a full tower case if routed behind the board. A little effort could be spent with the cable ties to make sure the cables sit perfectly into that L shaped cavity on the side panel. The large CPU cutout should be sufficient to allow for most backplate options on aftermarket CPU coolers.
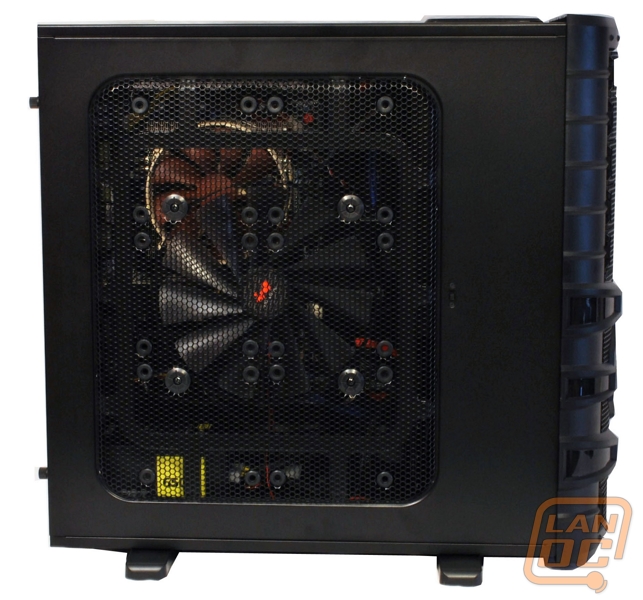
Putting the front and sides back on, it’s a good time to review how your fans are positioned and give yourself a moment to re-check the airflow direction and make sure it will work. In the picture of the side where you can see the 220mm side fan and the large CPU cooler fan, it would make the most sense to have both blowing air towards the mainboard. Then make sure both the rear and top fan are venting air out of the case. (In fact most occasions I prefer that configuration.)

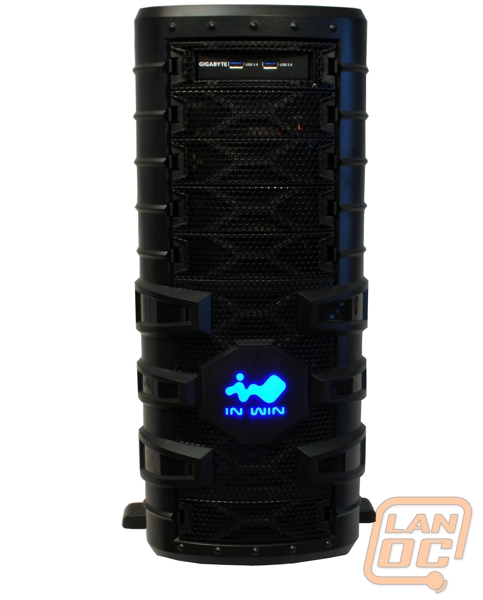
Powering the case on we can see the lighting is present, particularly with the large lit front logo, but not to the point of distraction. I missed it until this point, but the switch on the side was to turn on the LED that is part of the 220mm side fan, so unfortunately I wasn’t able to include a picture of that. However, since I leave my case on my desk, I would likely leave that off in usual day to day use anyways. Now let us roll all of this together and conclude this review.
