 There's only one thing worse than having to pack up a 70-pound gaming rig to go to a LAN party: Packing two. Being married to a gaming girl is wonderful but it does have the downside that I have to pack up and transport two rigs for every LAN we travel to. After building a Shuttle for myself it was only a matter of time before I miniaturized her rig also. Looking for any excuse to upgrade her I contacted Lian Li about a Mini ITX case that they carried and went on with selecting the rest of her parts list. That case is the Lian Li Mini-Q PC-Q08, with Lian Li’s style and quality I have high hopes!
Product Name: Lian Li Mini-Q PC-Q08
Review Sample Provided by: Lian Li
Review by: Wes
Pictures by: Wes
Specifications
|
Model |
PC-Q08 |
|
Case Type |
Mini Tower |
|
Dimensions |
(W) 227mm x (H) 272mm x (D) 345mm |
|
Front bezel Material |
Aluminum |
|
Color |
Black / Silver / Red |
|
Side Panel |
Aluminum |
|
Body Material |
Aluminum |
|
Net Weight |
2.73KG |
|
5.25" drive bay (External) |
1 |
|
3.5" drive bay (External) |
none |
|
3.5" drive bay (Internal) |
6 |
|
Expansion Slot |
2 |
|
Motherboard |
Mini-ITX / Mini-DTX |
|
System Fan (Front) |
Black, Silver / 140mm Blue LED Fan x 1 |
|
System Fan (Top) |
Black, Silver / 120mm Fan x 1 |
|
System Fan (Rear) |
none |
|
I/O Ports |
USB3.0 x 2 / HD Audio |
|
2.5” drive bay |
1 |
|
VGA Clearance |
300mm |
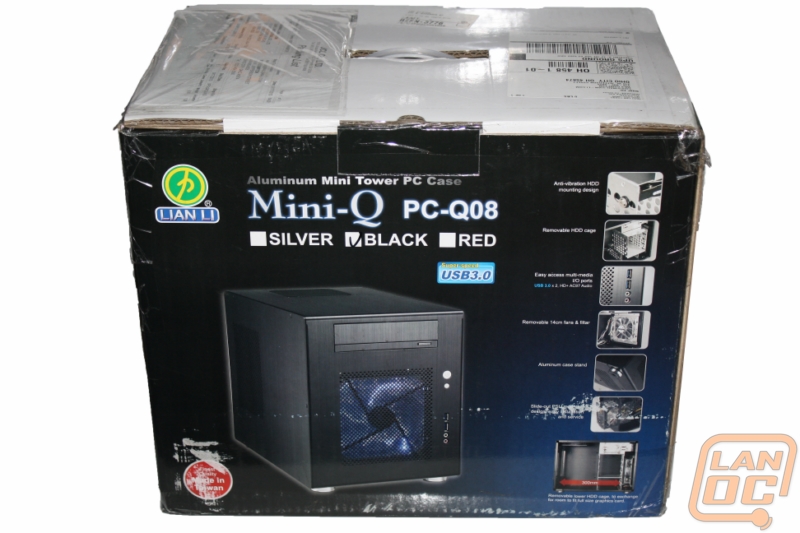
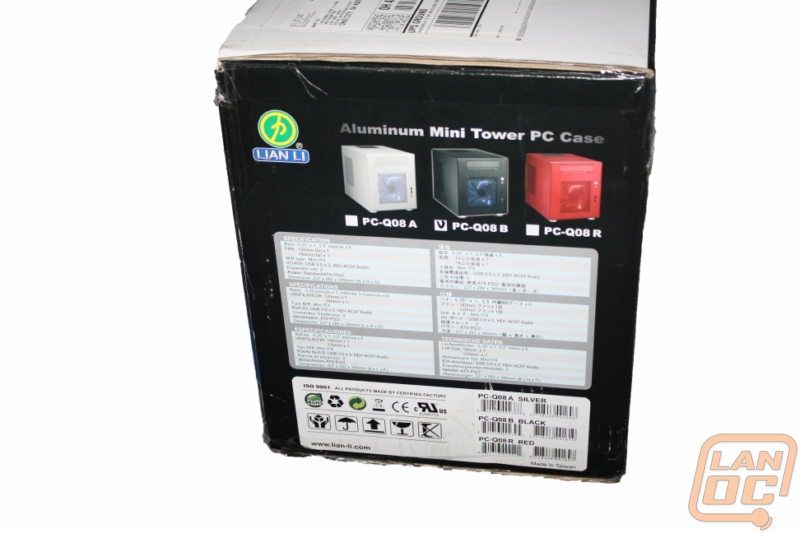
Packaging
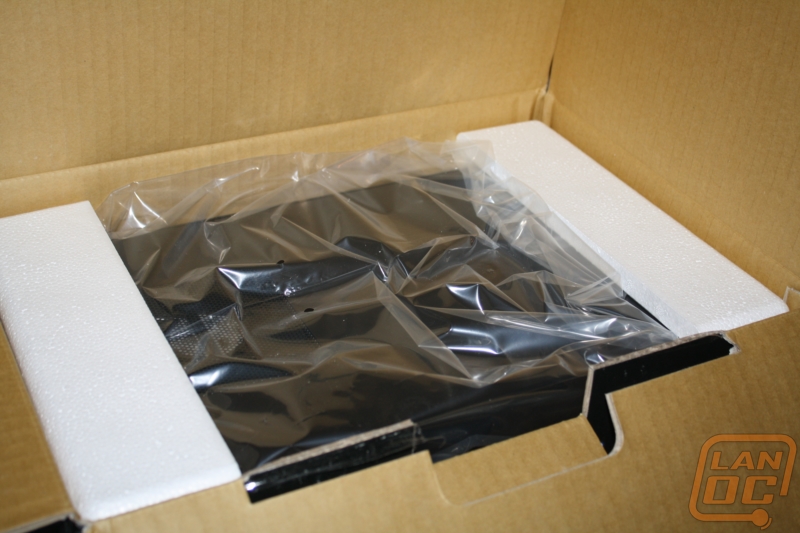
The Mini-Q was packaged in a typical Lian Li black and blue box. On the front you have a large photo of the case itself, showing off the blue LED fan along with seven other photo amidst the right side pin-pointing different features of the case. The case itself is available in three colors, you can differentiate between them by which is check marked on the front under the name. All of the cases specifications are located on the side in six different languages, the specifications themselves are not as detailed as what is available on the Lian Li website, but they do give you an idea of what you are dealing with. Inside, the case is wrapped up in a plastic bag and then secured with Styrofoam on each end. We normally see our packages from Lian Li come in looking like someone kicked them off of the truck at speed yet we have never had a case come in damaged. Their packaging obviously does a good job keeping everything safe.
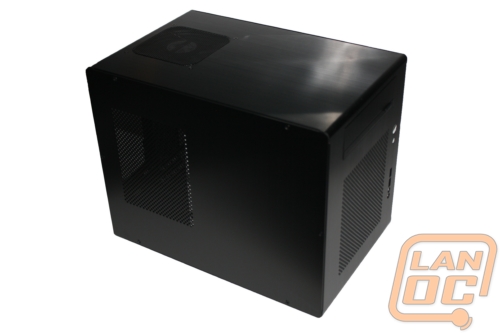
Outside
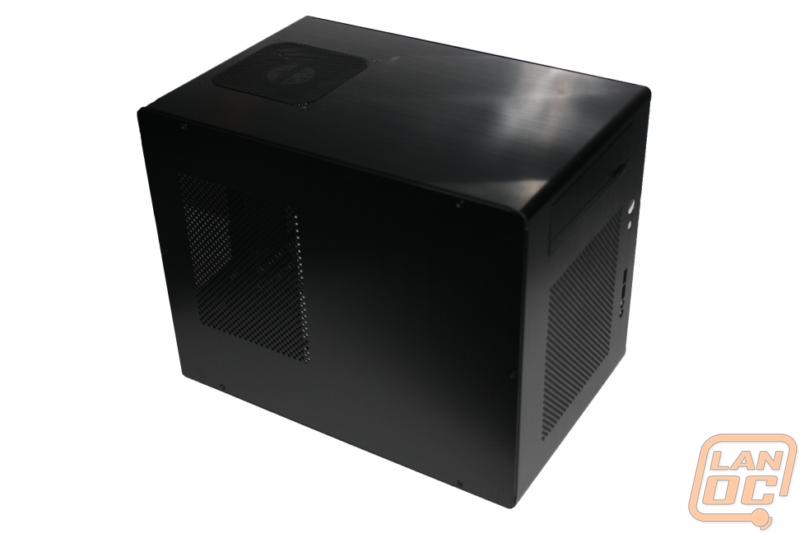
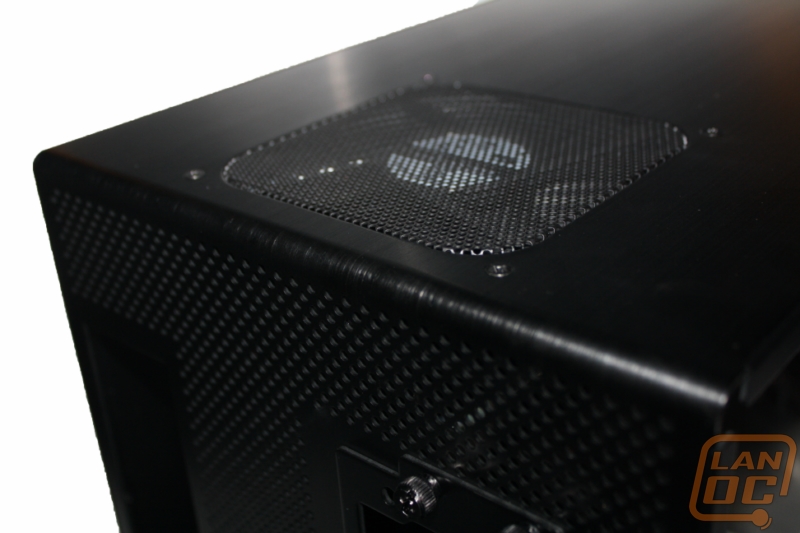
Lian Li is known for their simple, all aluminum designs and the Mini-Q PC-Q08 is no different. At less than 11 inches tall the Mini-Q is a little larger than the Shuttles that we have covered before, but with fan openings on the top and front (120mm up top and 140mm on the front) there is reason for the extra size. The entire case other than the side panels looks like it is one piece, in fact it almost is, other than a short section on the bottom. Around front the fan mesh is cut directly out of the case, no mesh insert or plastic here. Along with the 140mm fan around front, the disc drive bay is designed to function normally while sticking with the clean look of the PC-Q08. The power and reset buttons are small and out of the way along with the two USB 3.0 ports and headphone and microphone jacks.
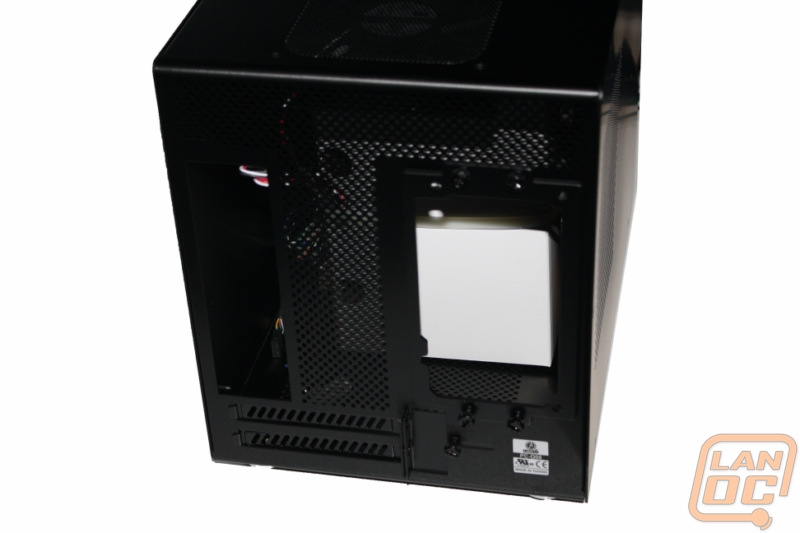
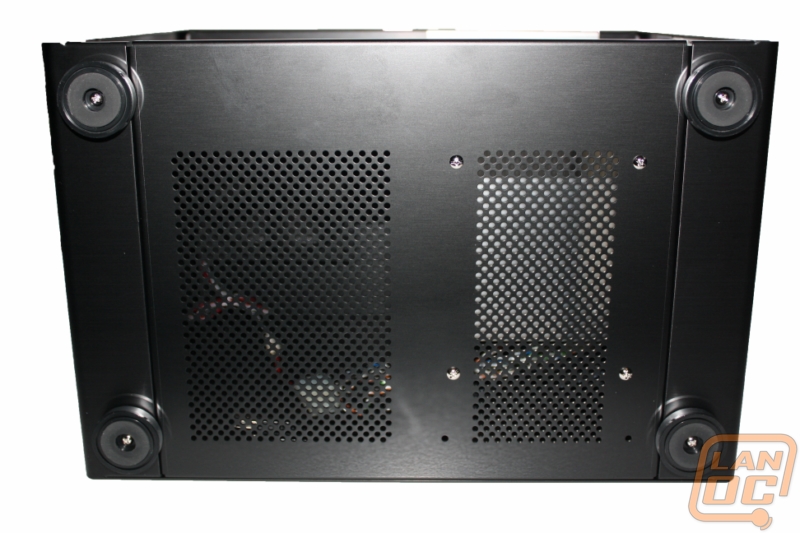
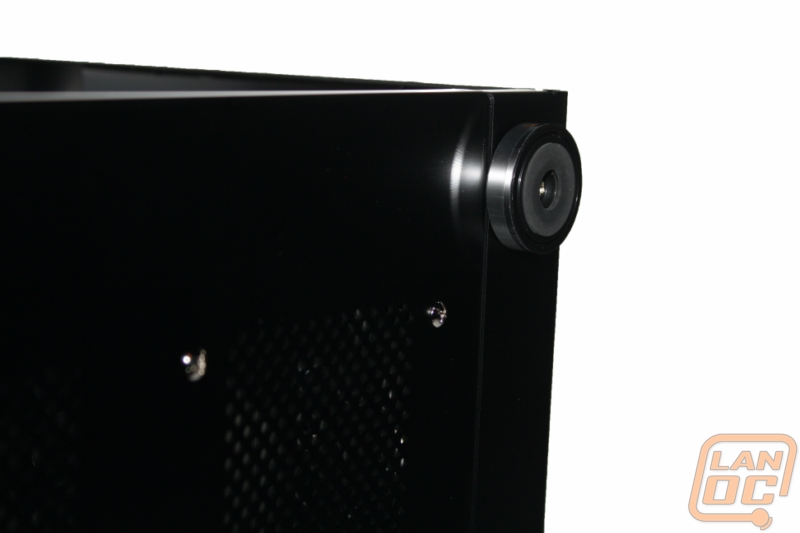
Both of the side panels are secured with six black colored recessed screws to keep with the clean look. On the left side panel there is a large air vent, like the front vent it is also cut out of the aluminum. Around back you will find the two PCI slots on the bottom, a removable power supply bracket, and the I/O panel hole. Most of the rest of the back panel is vented also to give this small case the best ventilation. On the bottom of the case there are two more vents. While down there I got a good look at the aluminum and rubber feet Lian Li used to keep the case from moving around along with looking good.
Inside
With the Mini Q coming in at 8.94 inches wide, 10.71 inches tall, and 13.58 inches deep, we are not exactly talking about a large case here. With an internal volume of 21 Liters it does come in larger than most other Mini ITX cases, but with the capacity to hold six 3.5 inch hard drives, one 5 ¼ disc drive, and one 2.5 inch hard drive, Lian Li has filled that space with nearly the same amount of features that you would find in a full ATX case.
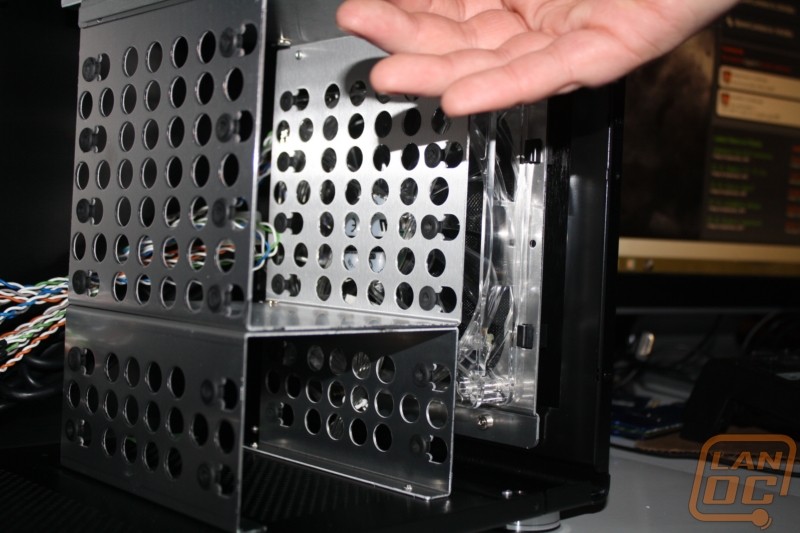
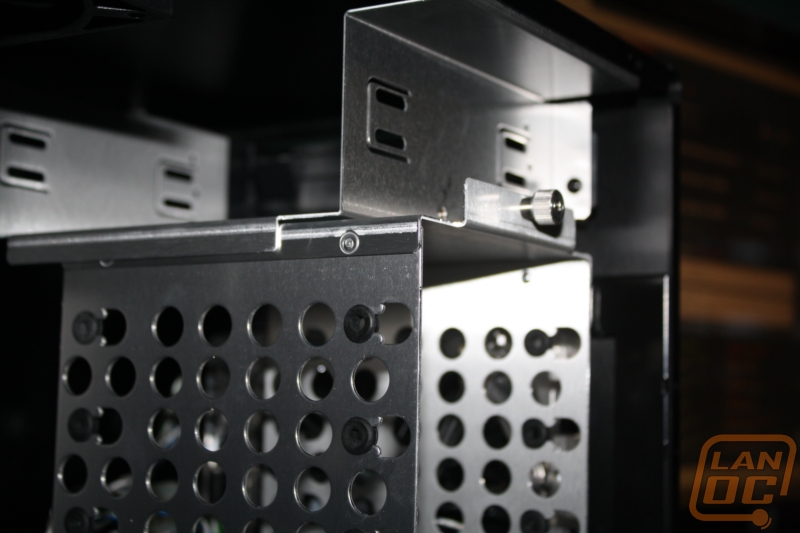
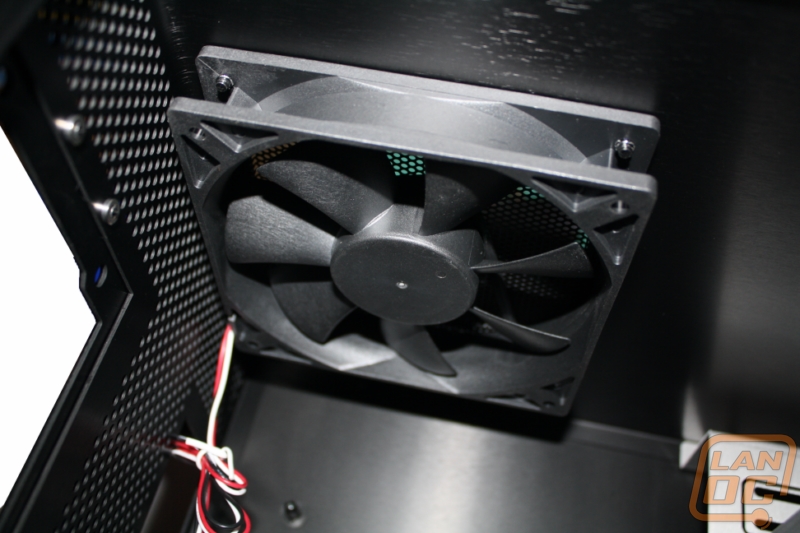
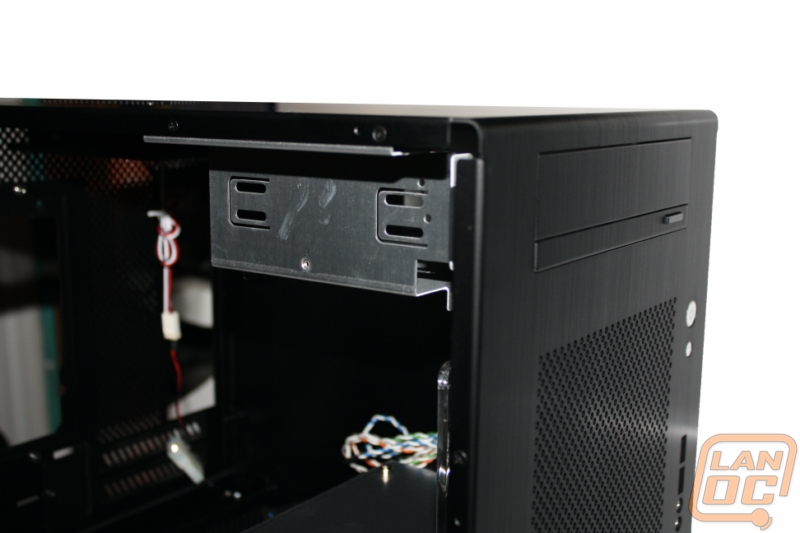
Up top the disc drive cage doubles as a spot to hide your 2.5 inch hard drive or SSD by giving you just enough room to tuck it in under your DVD drive. The six other hard drives mount in two different drive cages, the base holds two and the other two hold the last four. The reason for the split cages is to give you the ability to remove the bottom two to fit up to a 300mm video card, something we will be taking advantage of later during installation. Other than the hard drive cages the rest of the case is anodized black to match the exterior of the case, a nice detail but odd to see considering the lack of any windows in the PC-Q08. The front fan is a clear LED fan while the top fan is just a standard black fan.
Our Test Setup
Intel i5-750S
Crucial Balistix DDR3 Dual Channel 1600Mhz Ram
Intel Stock Heatsink
Plextor PX-B320SA Blu-ray Disc Drive
Seagate 2Tb hard drive
320Gb OS drive
Seasonic M12 700 Watt Power Supply
Installation
After pulling all of her components out of her old case, cleaning them up, and then laying them out on the table I was ready to go. I started by installing the Gigabyte Mini ITX motherboard along with the CPU, RAM, and stock Intel heatsink that I had already installed onto the board. I was surprised to see that when you remove the right side panel you can secure the motherboard directly to it without worrying about fighting with the tight space.
Next I prepped the drive cages by removing both and installing the replacement panel for when you can’t use the bottom cage. The replacement panel keeps the middle drive cage secure while allowing room for your video card. Next I installed both of the hard drives into the cage using the rubber floating mounts. After securing the hard drives, and before I reinstalled their cage I unscrewed the disc drive cage and installed the Blu-Ray drive. Installing your disc drive inside of the case is impossible, considering this you would think the drive cage would have been easier to remove like the others. This cage is secured by four small screws, be sure not to lose any.
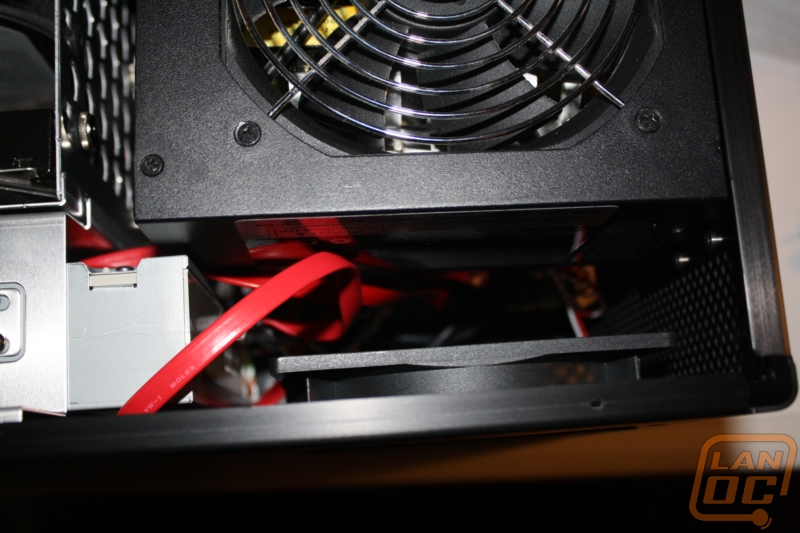
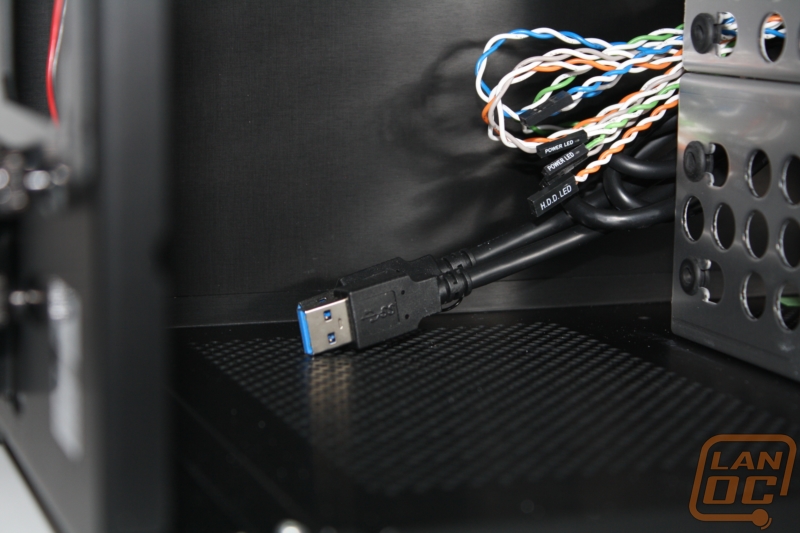
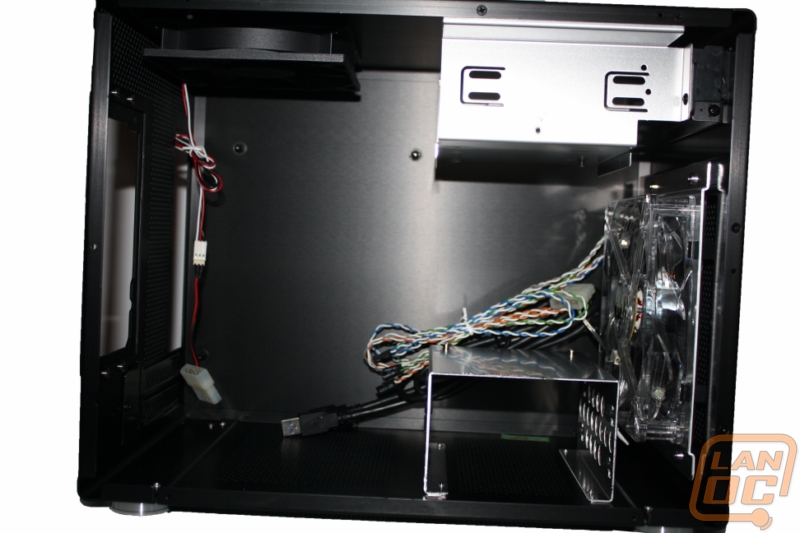
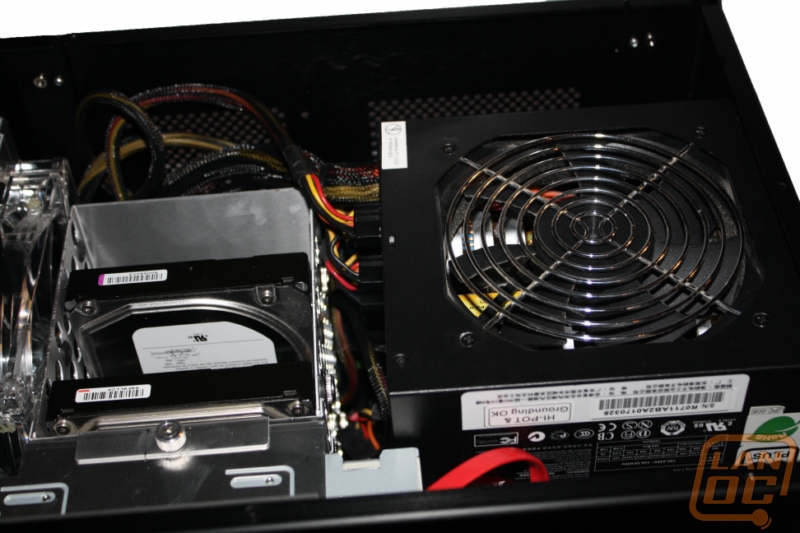
With the main components installed all that is left is to install the power supply, video card, and wire this baby up. This may be easier said than done. With the side panel holding the motherboard and the PSU having a removable mount on the back wiring everything up ended up being easier than I thought. Hooking up the front panel connections went smoothly, at the time of production Lian Li didn't have a standard to go by for an internal USB 3.0 connection. To hook up the two front panel USB 3.0 connections you have to run the wires out of the back and then plug them in on the back I/O panel. In our case this is what I did, the gigabyte motherboard is known for its USB 3. If you don't have any or you would like to keep everything cleaner they also provided cables to hook up to a USB 2.0 internal port, you will be limited to USB 2.0 speeds though. I secured the PSU to the mount then pulled it part of the way out of the case to give more room. As it turns out, the hard part was packing everything in after it was all installed. Unless you have extra short cables you will be fighting this issue. Our modular power supply is much easier than a non-modular PSU but still gave me a few headaches packing it all in, without pushing cables into the heatsink that is. After a little wire management I did get everything in, leaving the video card as the last part to install.
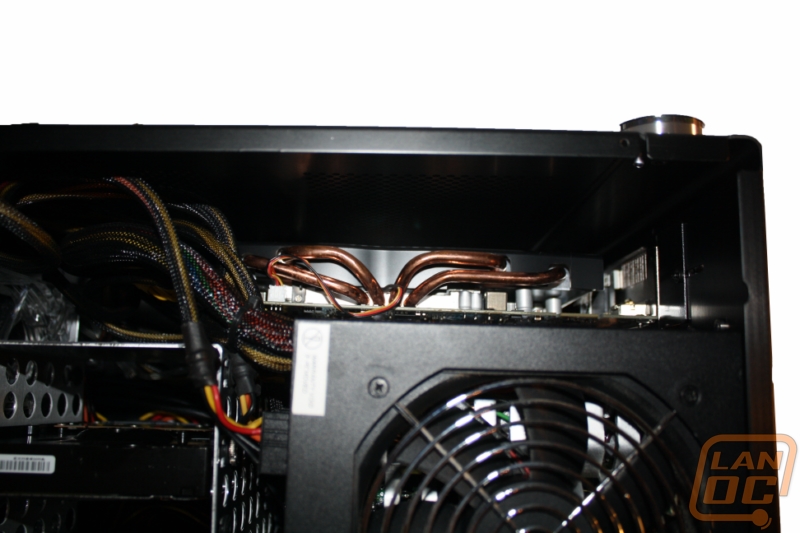
With the drive cage removed dropping the HD5770 in was cake, seeing all of the extra room just reminds me that I will have to give her an upgrade in the future. I guess I can’t use the excuse that her case can’t fit a larger card.
Performance
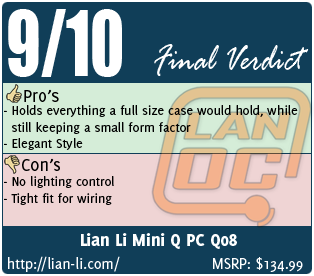
With everything packed in so tightly I was expecting case temperatures to be high along with fan’s running at full speed to keep everything cool. I should have known better, the two fans along with the PSU fan do an amazing job keeping everything cool without having to run full force making for a quiet PC. The only complaint that I have is that the LED front fan is extremely bright. The entire room glows when the lights are shut off. Of course to some this may be a good thing, but I wouldn’t mind seeing a LED control switch or button.
Overall
So we know it has great, Lian Li style. The two cooling fans keep the quad-core gaming rig nice and cool while still kbeing quiet. But the real question is what did my wife thing of it, right? After spending time with the case she was impressed with its overall style and she didn’t experience any “issues” with it, meaning no overheating problems . I did find that our cats love sitting on top of it due to its easy to reach size and the warmth of the PC. Even more impressive to me was our next LAN party trip. Not only was the Lian Li Mini-Q PC-Q08 much smaller than my wife’s last build, before I could help her with it she already had it tore down and loaded into the car! I think I’m going to love this case.