Installation
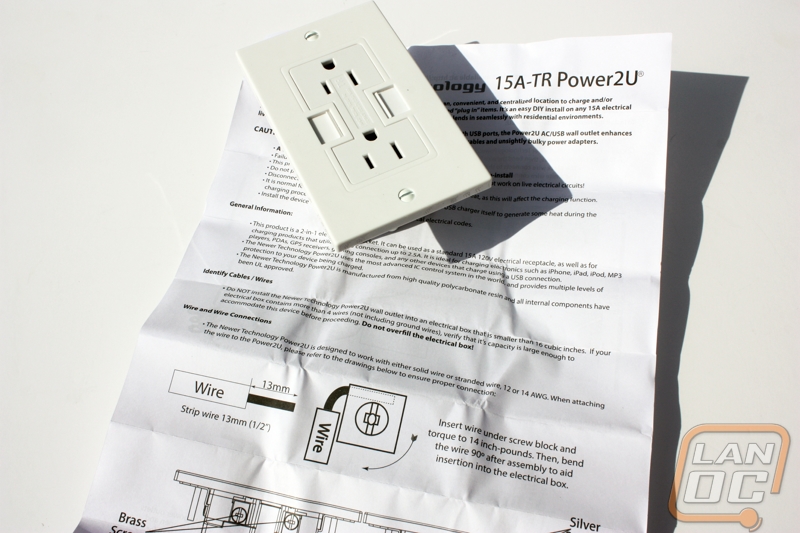
As a word of warning, never work on electrical circuits live. Find out which circuit in your house the device you want to replace is on and turn the breaker off or pull the fuse out before touching anything. That being said, installing the Power2U outlet is quite simple and Newer Technologies provides an installation guide with the product as well as links to their website where you can download a video installation guide and FAQ video if that is more your style.
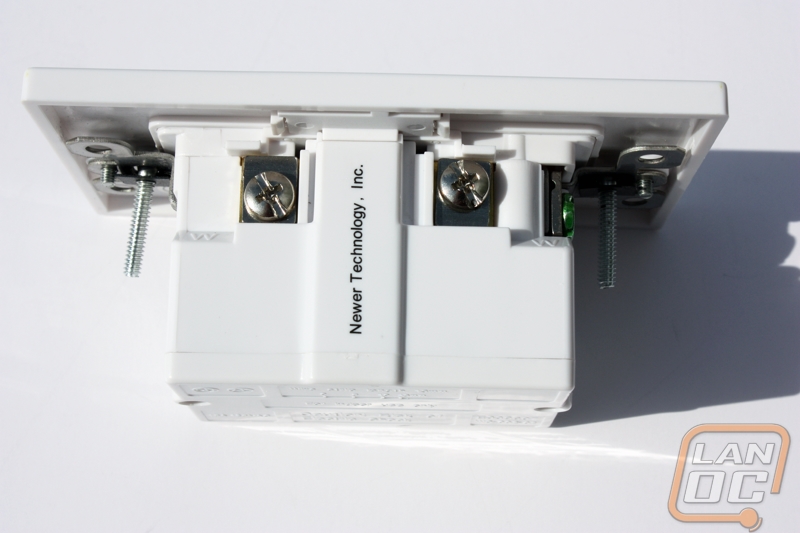
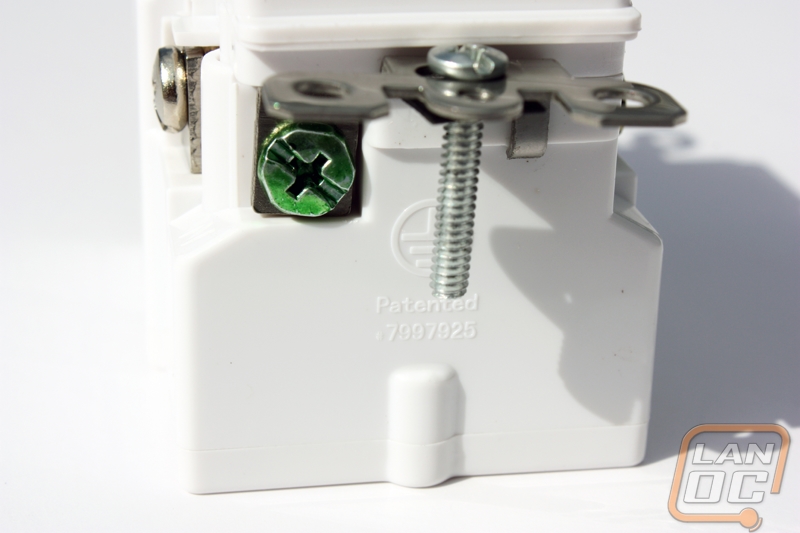
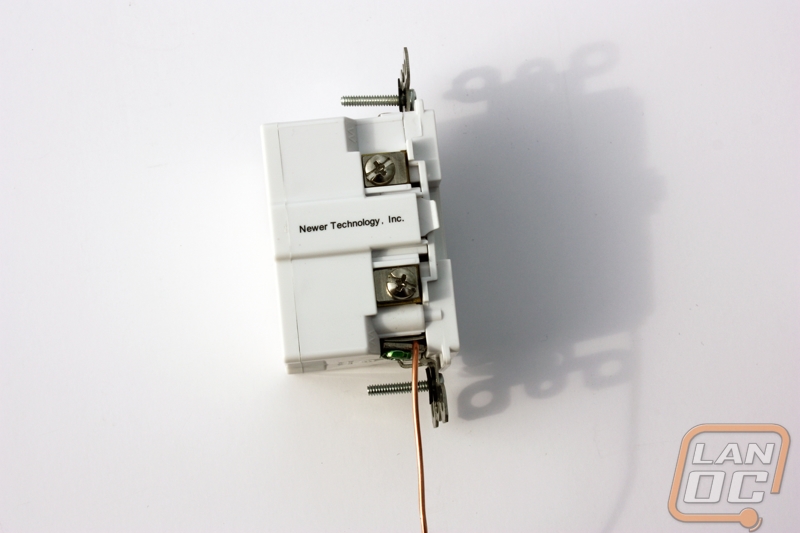
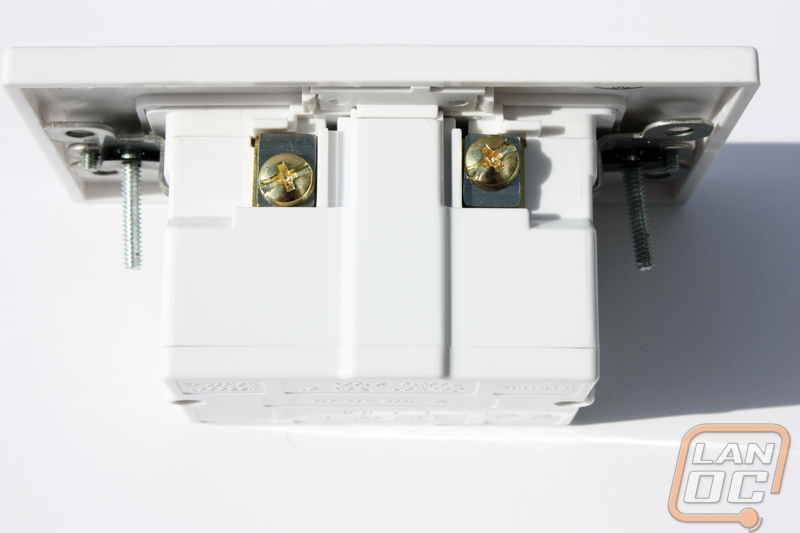
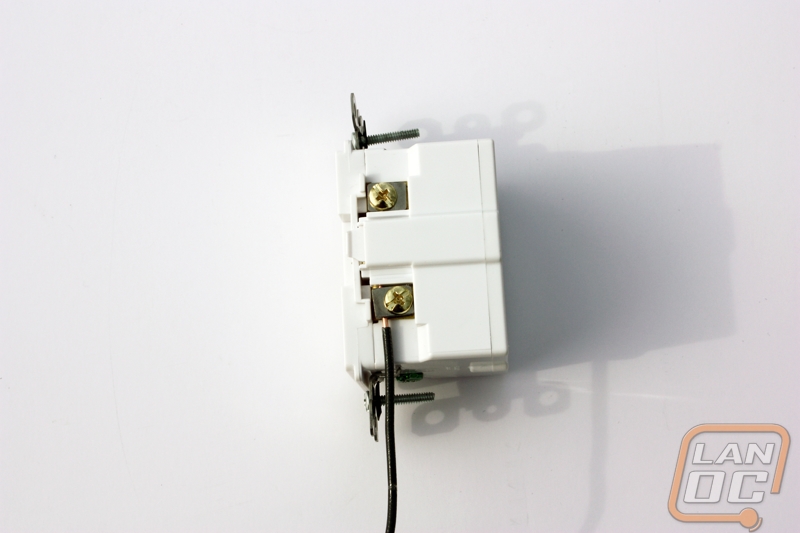
Regardless of your choice the outcome will be the same. Make sure your wire is stripped back at least one half inch and slide them under the correct terminal plate. Your white (neutral) wire will attach to the side with the silvered screws, your bare/green (ground) wire will attach to the terminal under the green hexagon screw and your black (hot) wire attaches to the side with the brass screws.
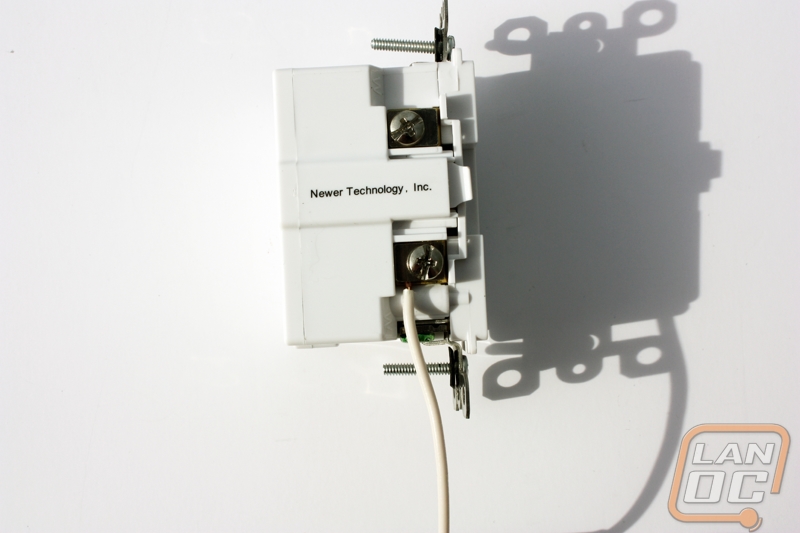
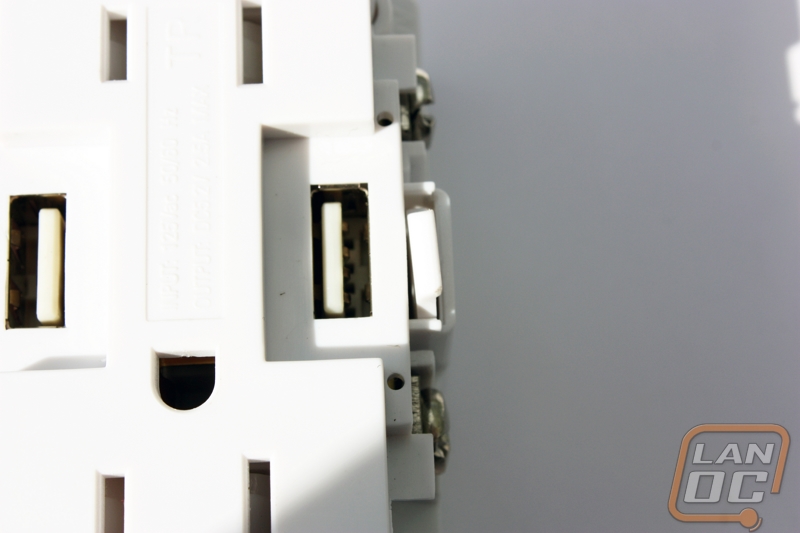
After that you are essentially done. Secure the Power2U outlet back into the box on your wall and attach the face plate. When attaching the faceplate be mindful of the “Smart Power” latches on the sides of the USB ports so that they line up and snap into place, these switches are designed to only provide power to the USB port when the sliding door is open to be more energy efficient. You are now ready to enjoy both regular power and USB power from this outlet at any time.