When it comes to enthusiasts we put a lot of thought into the parts we put in our PC, but don’t often think about what connects us to the internet. Most people will grab any old router from a brick and mortar store that suits their needs. I feel that more information should be acquired, especially for something that is only purchased once in a blue moon. Will the router suit my needs? Will it suit my needs long term? Will it continue to hold up as the technology improves? All of these questions and more will be considered while looking at the Western Digital My Net AC 1300.
Product Name: My Net AC 1300
Review Sample Provided By: Western Digital
Written By: Brennon
Pictures By: Brennon
Specifications
|
Interface |
Gigabit Ethernet |
|
Technology |
IEEE 802.11 ac/n/g/b/a |
|
Wireless Speeds |
Dual-Band 450 + 1300 |
Packaging
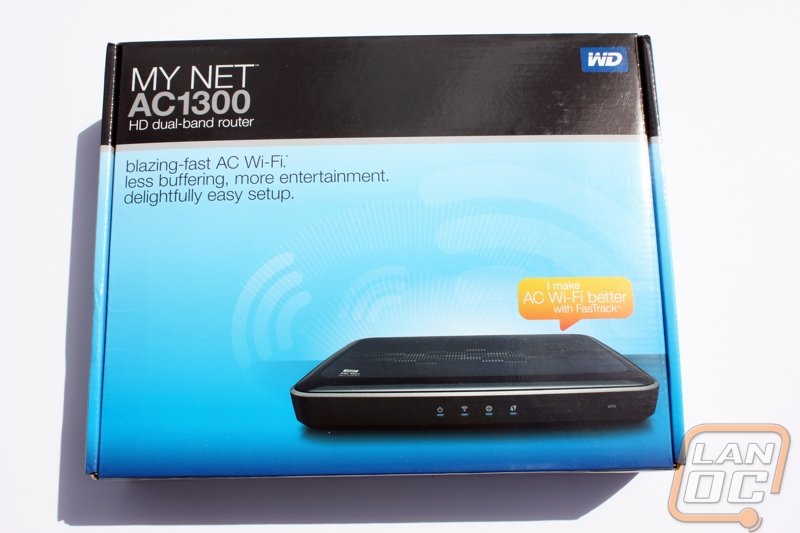
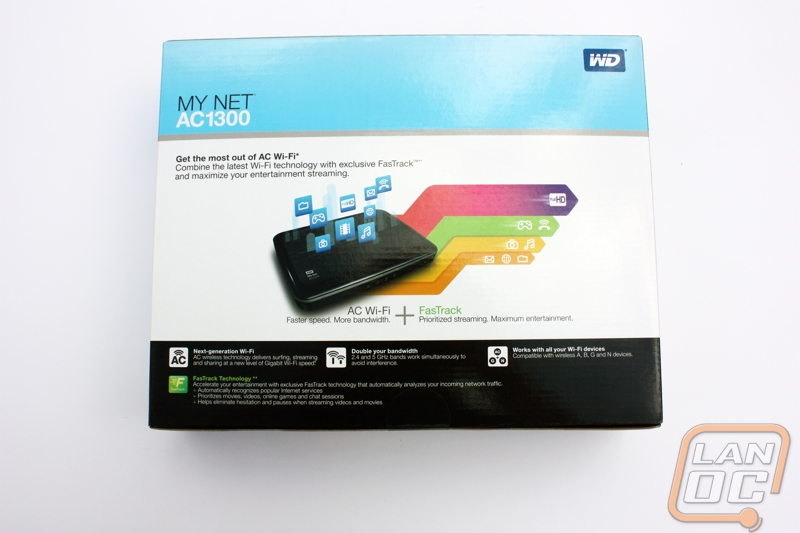
The My Net AC 1300 has a very simple and professional looking package. On the front of the black and blue color schemed box is a picture of the device contained within. The AC 1300 is trying to communicate with us, letting us know that it makes Wi-Fi better with something called FasTrack that I will look into later. As well as a picture of the product we get to see the name and a brief overview of what it is the product does.
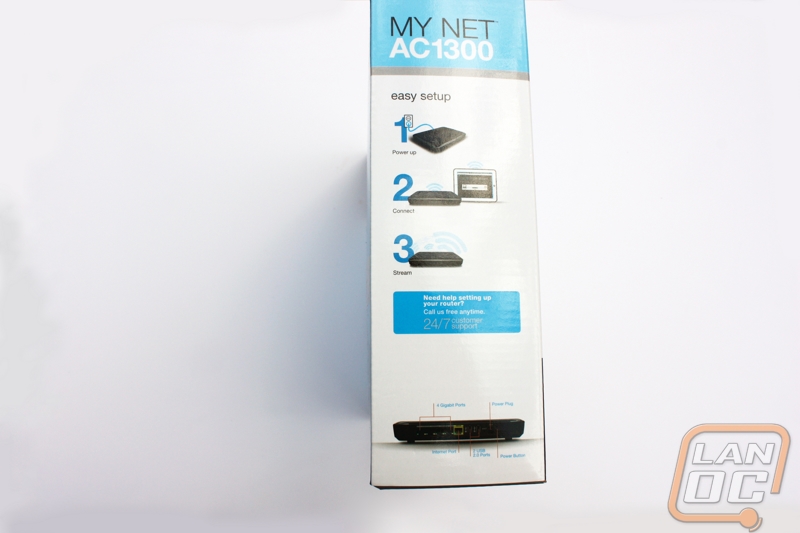
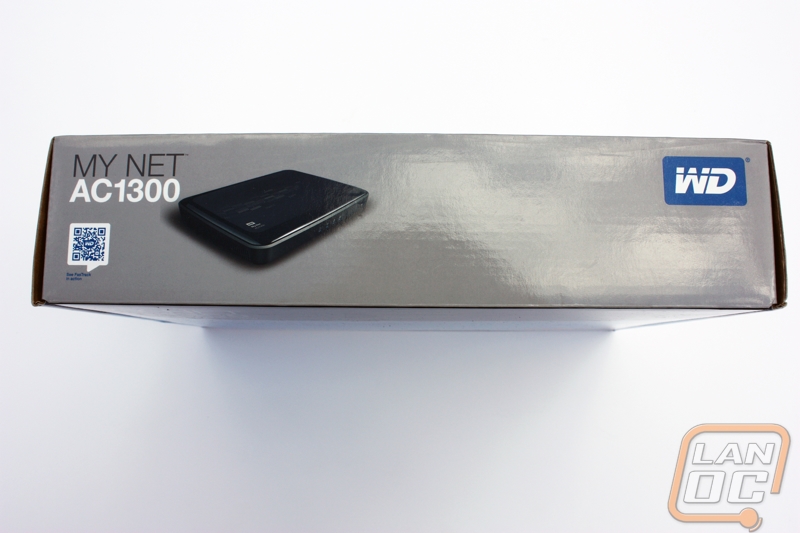
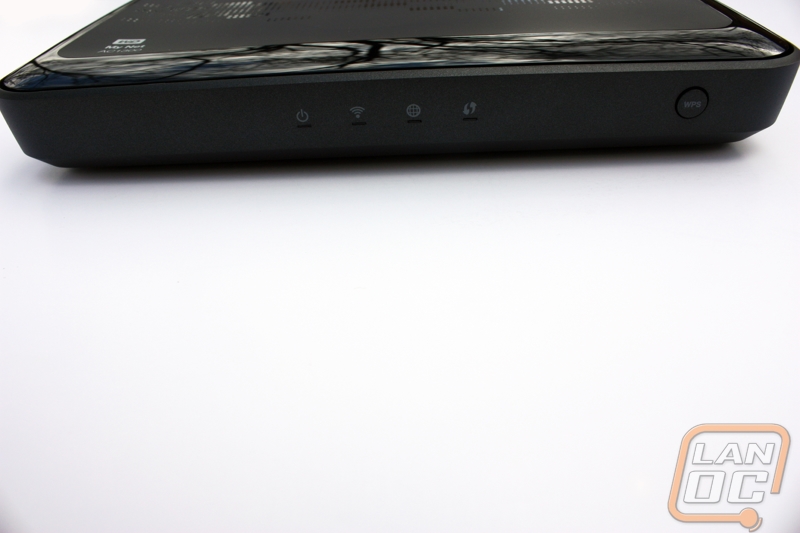
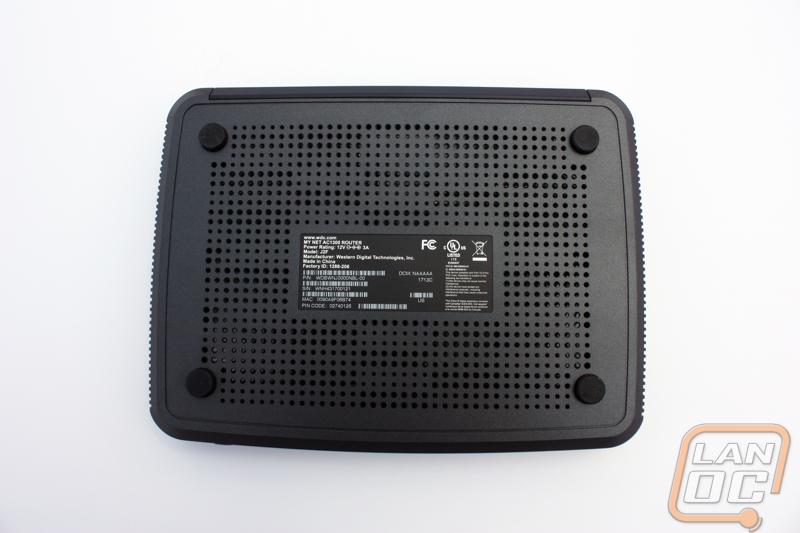
On one side of the packaging we get a quick look at how simple the setup is with the My Net AC 1300. The three step installation process is explained simply through three different pictures. If for some reason we are unable to get the router set up, then we can call Western Digital’s free 24/7 customer support team. Though the number is not labeled on the side of the box, I am sure it is not all that difficult to find. Lastly we get a look at the back of the router, which is nicely labeled to make the already simple looking installation that much easier.
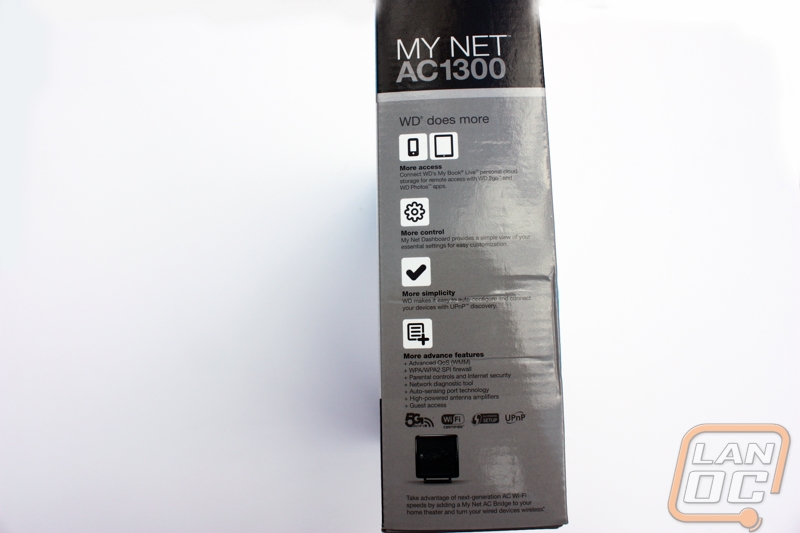
On the other side of the box we get a peek at what makes this router different than others on the market. First is the ability to use My Book Live with the router, which is a personally cloud so that you can remotely access data. Also on the side it boasts more control and simplicity giving us more options and easier to use interface and options to access and change settings on the router. Finally are some of the more technically advanced features that the My Net AC 1300 supports, including Quality of Service control, WPA/WPA2 firewall, network diagnostic tool, and the ability to set up guest access.
Finally, on the back of the box we get even more information. We can see from the diagram that the router is great for different things like Full HD streaming, Gaming, VOIP calling, and picture and music access. At the bottom, the packaging boasts things like next generation Wi-Fi, doubling your bandwidth, and the ability to work with all different Wi-Fi devices. Lastly we get to see what the FasTrack technology that we heard about on the front of the box is all about. Apparently the technology will recognize popular internet services, prioritize movies, videos, online games and chat sessions, and finally it will help eliminate hesitation and pauses when streaming videos and movies all to make our browsing experience a bit more enjoyable.
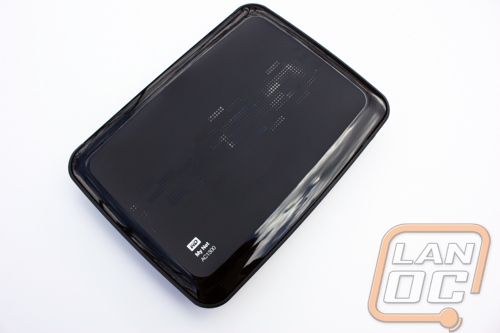
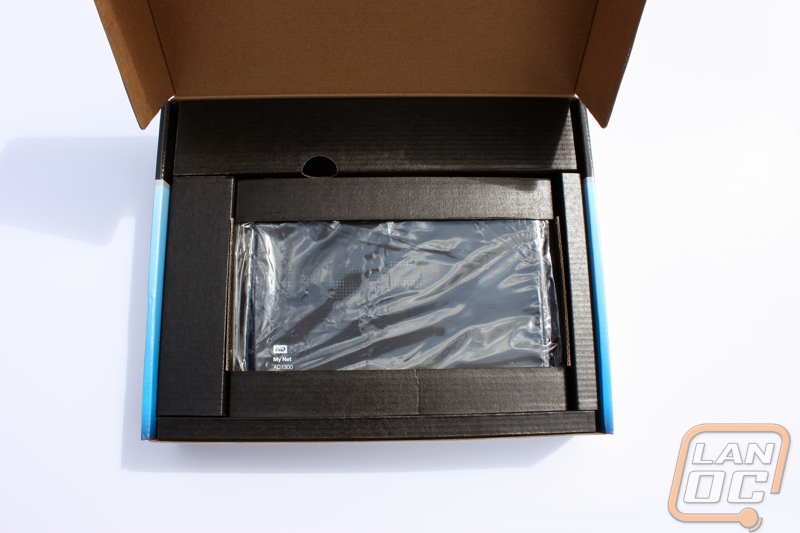
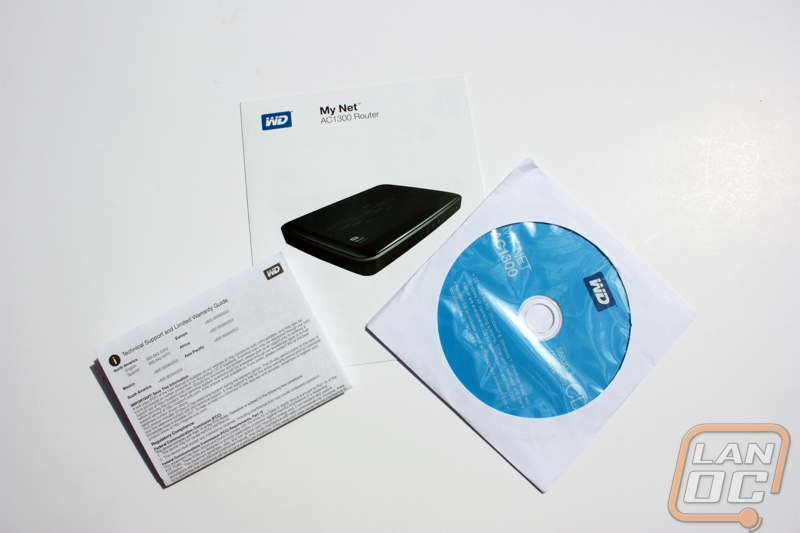
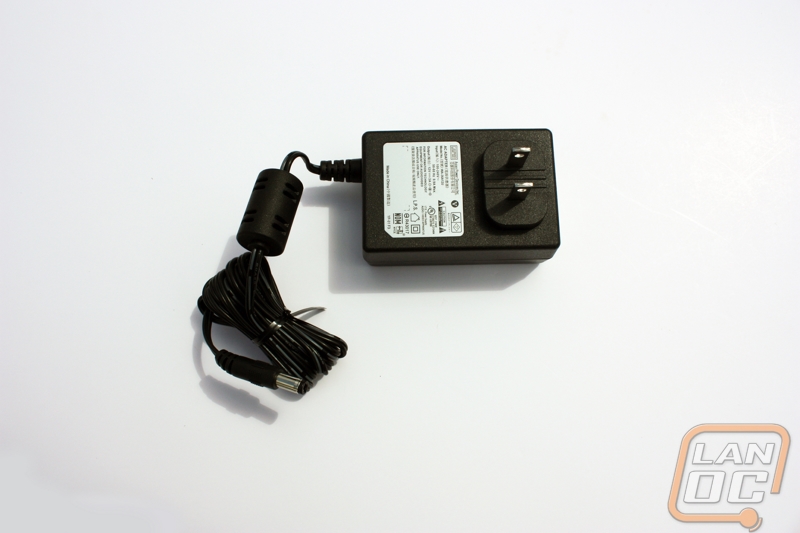
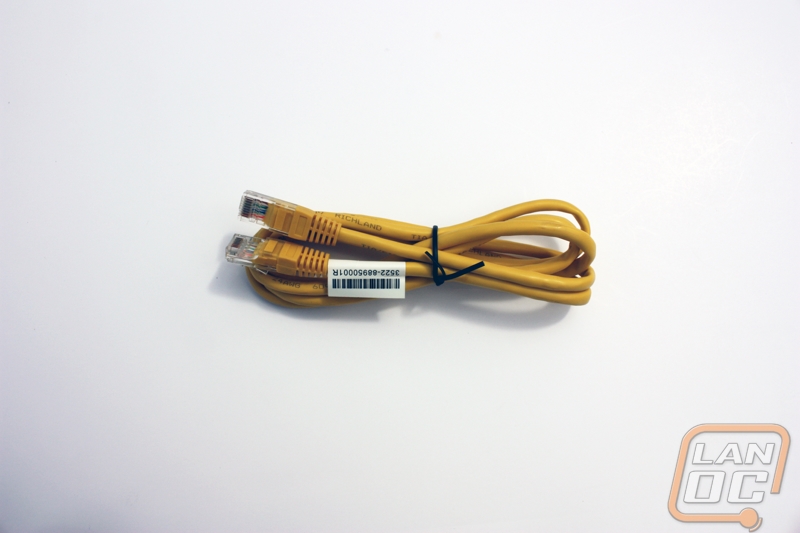
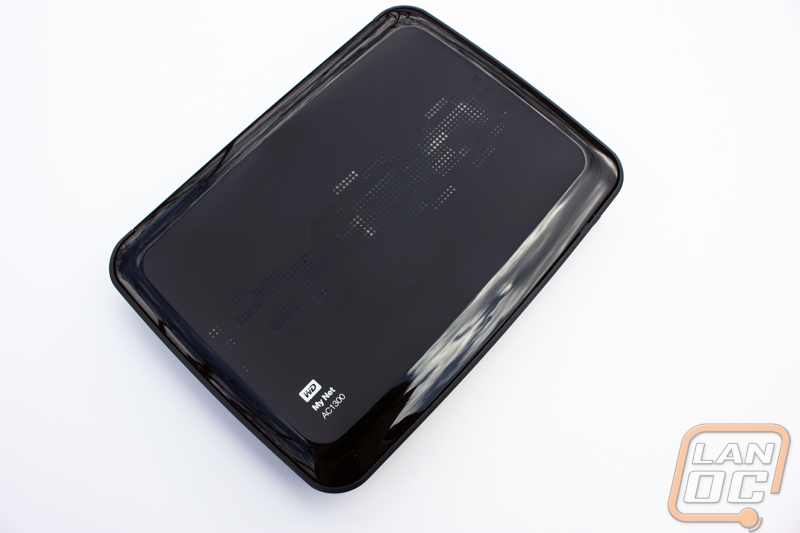
Inside the packaging we find possibly the most snug and clean internal packaging I have ever seen. Right away we see the top of the router, sheathed in plastic, through the middle of the cardboard packaging. After moving a couple of cardboard pieces we are able to access the router itself. Also tucked away in the packaging, hidden from sight are the included Ethernet cable and the expected power cable. The last pieces that we find are two pieces of literature and a disc. The disc is the setup and resource disc for both Windows and Mac operating systems. The two pieces of literature included are a warranty information packet and a small installation guide for the router.
Installation
Once we got everything unpacked it was time to get everything set up. We did the obvious, in sending power to the router, and then hooked up our computer via an Ethernet cable. We did not set the router up with a connection to the internet for the purpose of our testing so setup was rather simple. Once the router was connected to the computer the rest of setup went relatively smoothly. We opened our browser and directed it to https://wdrouter, if that url doesn’t work, you also have the option of directing it to the more commonly used 192.168.1.1 address, either one will bring you to the same place.
Once inside of the routers GUI it is time to start customizing settings to suit individual needs. For our personal needs we just set up a wireless network and placed a password on it to keep any unwanted intruders off of the network, especially for testing purposes. The router also came with a CD that I can only assume helps with the set up process, but is certainly unneeded as I did not use it for anything.


Testing Procedures
In order to thoroughly test the router we actually used two completely different programs and testing methods to test. The two programs that we used were Lan Speed Test by Tutosoft and Performance Test by passmark. With each program we tested three different ways. The first was wired to wired, we simply hooked two PCs together via Ethernet wires and let the tests run. The second way was a wired connection to a wireless G connection. Finally we connected a wired computer to a Wireless AC connection to see what the router was capable of under its most ideal situation.
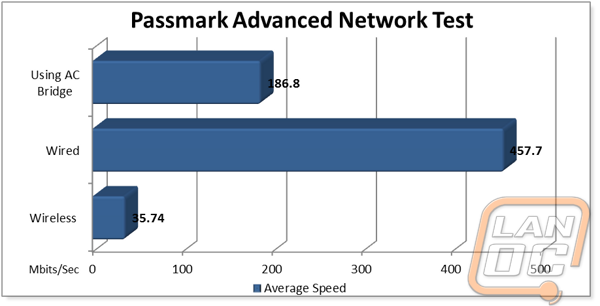
The actual testing procedures for the two different programs were relatively simple. We tried to make the testing that we did as easy as possible to replicate so that readers could do their own testing at home if they like. First up was Performance Test 8.0, generously provided to us by Passmark for this and future testing. Once the program is loaded we selected the “Advanced” tab at the top and went to networking. Inside the networking tab we left every setting to default besides one. Under the Test duration we set it to 300 seconds to have a solid five minute test to get some good results. We always used the desktop (The computer we were testing with that had an SSD) as the server. This assured that if any writing was taking place, it was being done as quickly as possible. On the other computer we repeated the same process but selected client, and entered the local IP of the desktop in the field that read “Host” and clicked Go. Once it was off and running we went to make a sandwich or otherwise entertain ourselves for five minutes while testing took place. We repeated this setup and process for the other two methods of connecting.
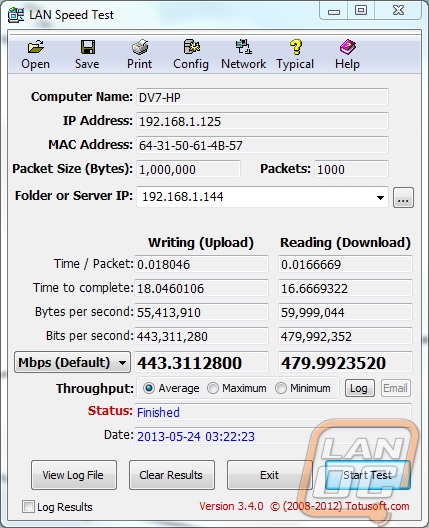
Setting up Lan Speed Test was a little bit more complicated, but I think it is only because the program that Tutosoft gave us is designed from the group up to test networks and therefore has more tweakable and customizable options. We actually chose to go with a slightly different setup for this program; we used the Lan Speed Test as well as the Lan Speed Test Server. This allowed for us to get readings of how fast the router would be if hard drives were removed from the equation. We started the server again on our desktop, even though it wouldn’t matter as hard drives weren’t coming into the equation, we still did it for consistency sake. On the other computer we booted another instance of the program, entered the server IP in the appropriate field and set up one settings change. The only setting we changed under “config” was the number of packets to test. We slid the slider all the way over to the maximum of 1,000 packets so that we could again some accurate long term readings. After it was all set up, we clicked Start Test and let it run its course. Again we did this three times for the three different methods of testing and collected our data.
Results
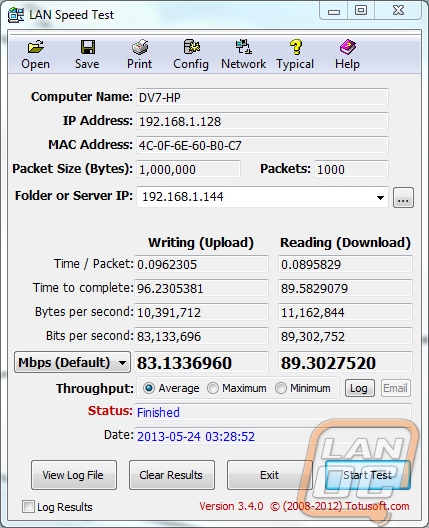
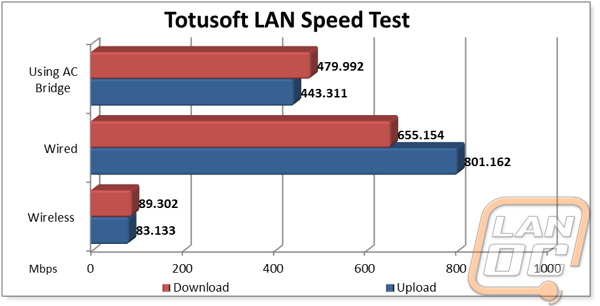
The results were for the most part what was to be expected. From a wireless G card to the router we received an average speed of 35.74 Mbits/Sec. In ideal situations this same device could hope to obtain speeds of 54 Mbits/Sec. Taking into different forms of packet loss, 35 Mbits/Sec isn’t too shabby at all. In fact, when switched to the other form of testing in which hard drive write speed is removed from the equation; the average transfer speed went up to 83 Mbits/Sec.

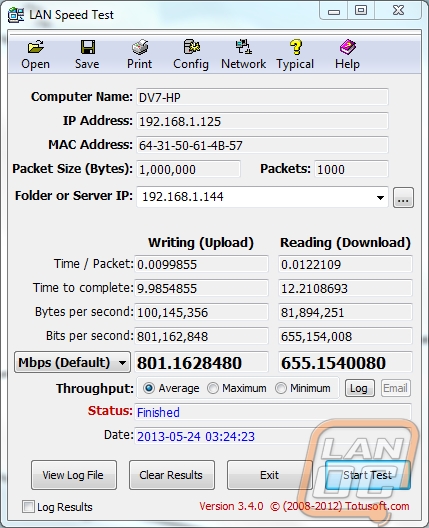
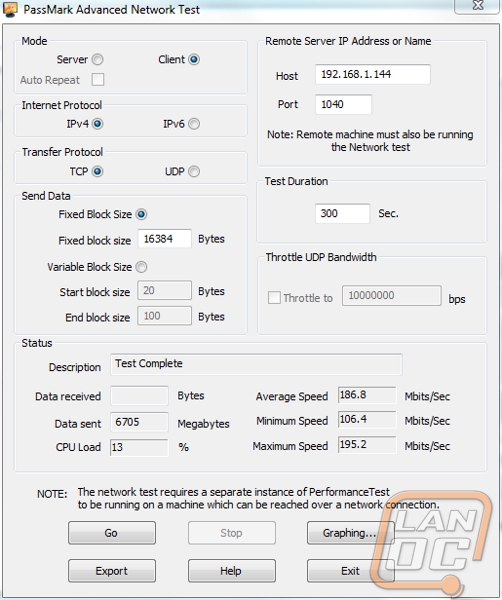
For wire to wire testing the speeds were much more impressive, but that is too be expected with Ethernet instead of wireless transfer. With a wired connection we experienced an average speed of 457.7 Mbits/Sec when writing to a drive and an average of 801.2 Mbits/Sec when writing was removed from the equation. These are much better speeds, and when looking at the fact that the Ethernet card used was Gigabit, the 801.2 Mbits/Sec is not too shabby at all, it is amazing how much hard drives can limit transfer speeds.
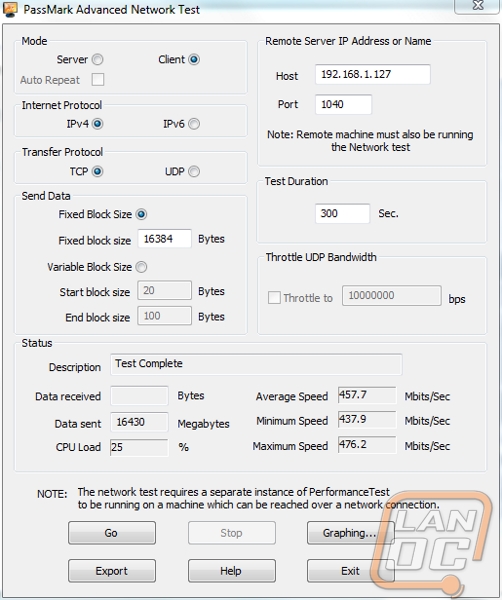
Finally we get around to testing the thing that everyone has been waiting for, the new AC routing protocol speeds! In order to do this we had to have an AC capable device obviously, so we chose to use the Western Digital My Net AC Bridge. Using the bridge we obtained an average speed of 186.8 Mbits/Sec with the hard drive in the equation and a whopping 443.3 Mbits/Sec without it. The difference here between the two different types of tests was the largest of any of our testing, but we don’t know a reason as to why.
Overall and Final Verdict
All in all I think the Western Digital My Net AC 1300 is a great product. The installation could not have been more simple and hassle free. Once we had the testing procedures all set up and ready to go, the numbers that the router showed were very nice. The speeds shown, especially when the bottleneck of the hard drive was removed were really quite nice. Sadly we don’t have any other AC devices to compare the router to, but the router stands well on its own. At a cost of $159.99 it is certainly in the same range as other AC routers. It might be a little more costly, but it is the high end router of what Western Digital has to offer. If you are in the market for a new AC router, I would certainly suggest the Western Digital My Net 1300. Even if you don’t currently have any AC devices, it might be worth it to snag one to have the added benefits if you ever do pick up a device in the future that has AC wireless.