Outside
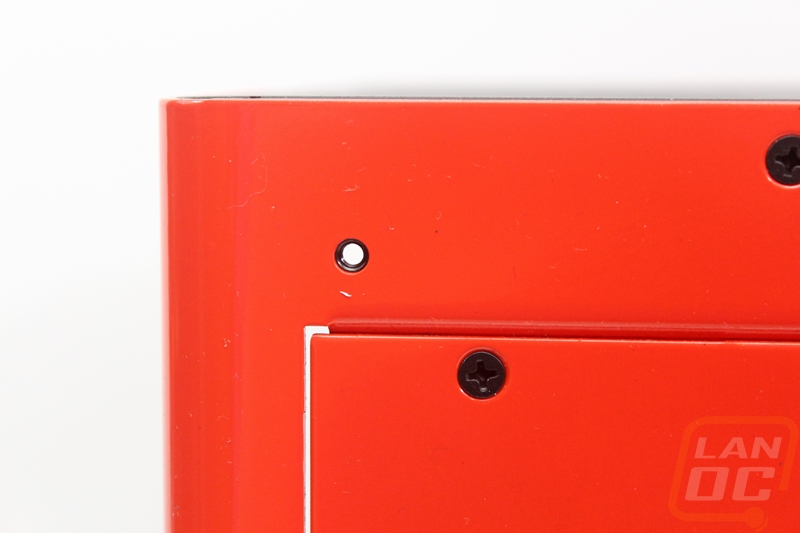
Starting off on the exterior of the Bullet BH7 the most obvious thing is the bright orange color. Well the BH7 is actually available in a few different colors. You can get it in a standard black, white, gunmetal, tangerine, lime, and berry. The tangerine (this color), lime, and berry all cost a little more and typically take a little longer to get.

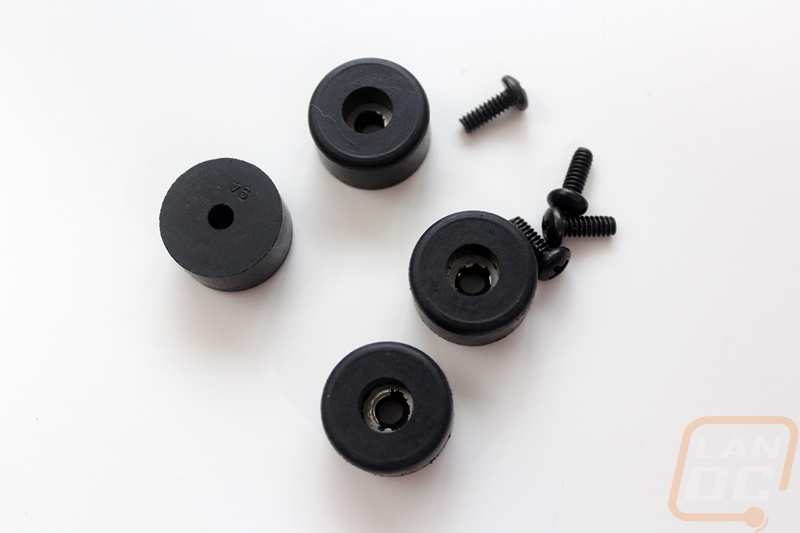
Before diving into the details we do need to install the included feet. They are rubber with a metal washer molded in and they attach with a screw up the middle. The case is pre-threaded for the feet. Because they are removable you can actually upgrade to other feet as well.
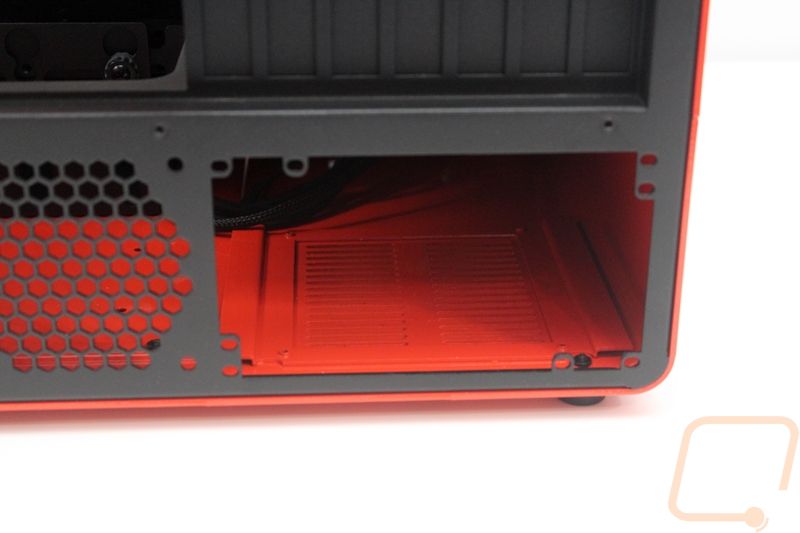
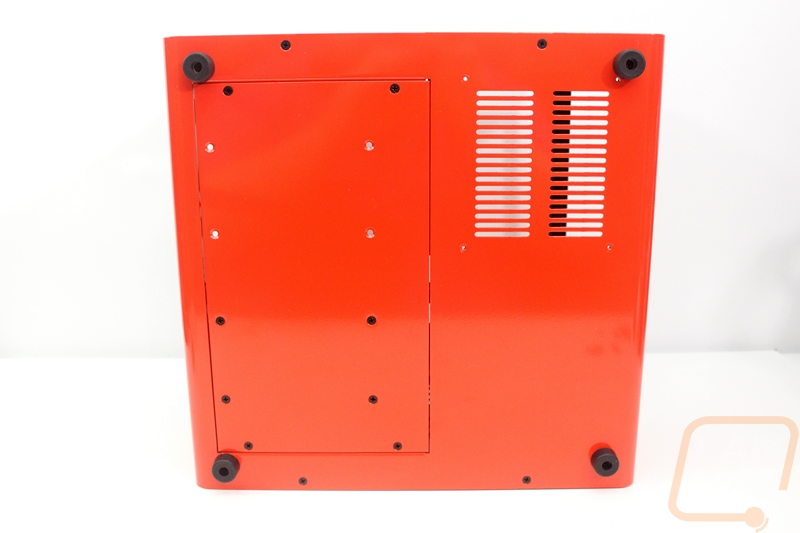
While we are on the bottom of the case we might as well check it all out, right? The Bullet BH7 has two main things going on beyond the rubber feet. On one side there are slot vents for the bottom mounted power supply to pull air in. There isn’t a filter or anything similar on the intake. Then on the left is a panel that takes up a good portion of the bottom of the case. This panel gives you access to the bottom half of the case when you have everything built. It is also what the hard drive rack is attached to.
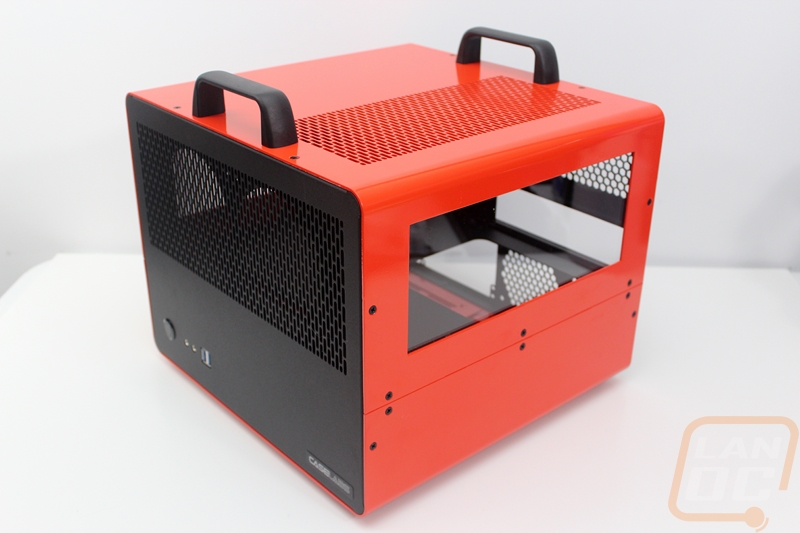
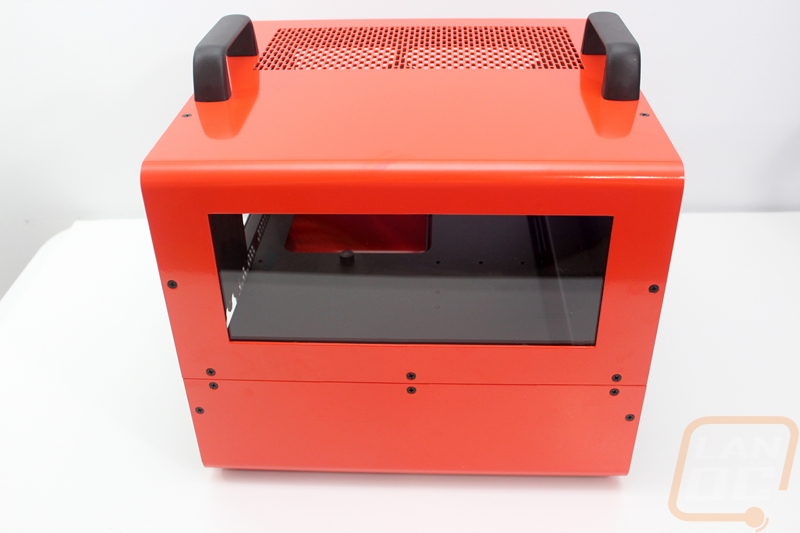
Up on top of the case, we have the two optional black handles that I installed earlier and then one portion of the top has an offset slot vent the size of two 120m fans for running a little cooling up on top, above the CPU. The whole top of the case is attached with black screws going around to both sides so the handles have a lot of support. The top of the case can also be flipped around depending on your window configuration.
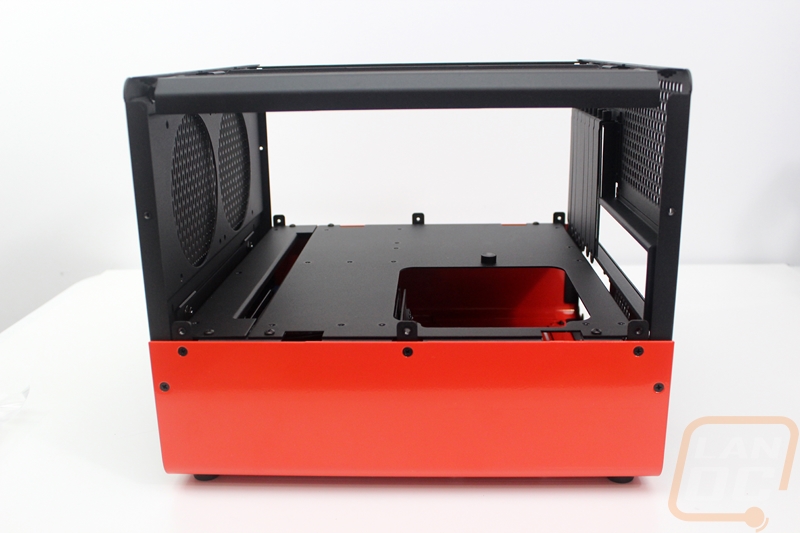
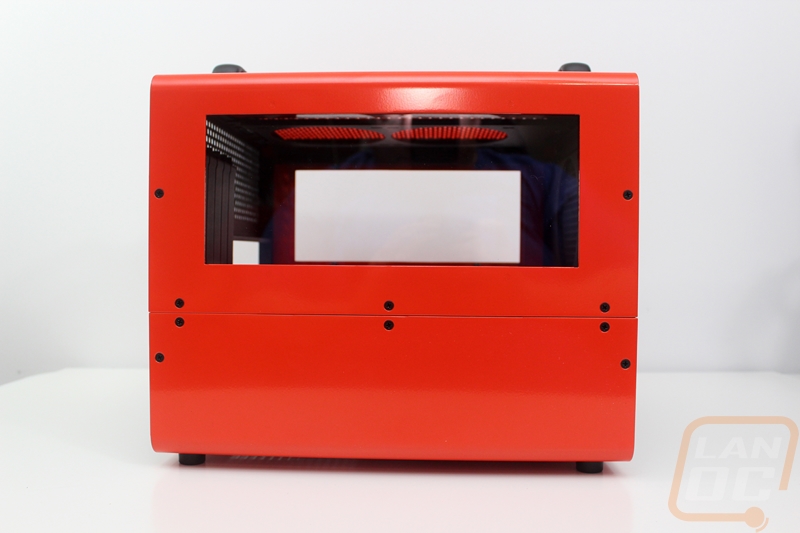
The sides of the BH7 have the rounded corners that roll around from the top to the side panels. There aren’t side panels at all, instead the case is basically a clamshell with the top portion being a little bigger. The BH7 base model comes with one acrylic side window and it would be on the CPU side of the PC. For $10 more you can get dual side windows and that is what our case has to give us a peek at the video card side as well. Beyond the side windows, the only thing on the sides are the 10 black screws that help hold everything together. In the darker color configurations they don’t stand out, but on the orange, they are a lot more noticeable.
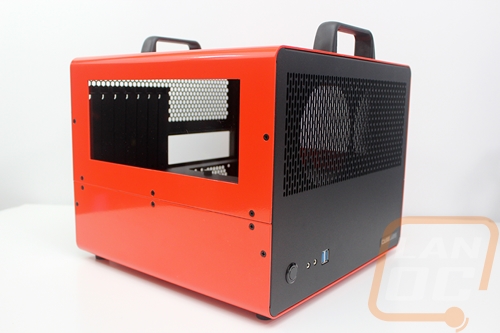
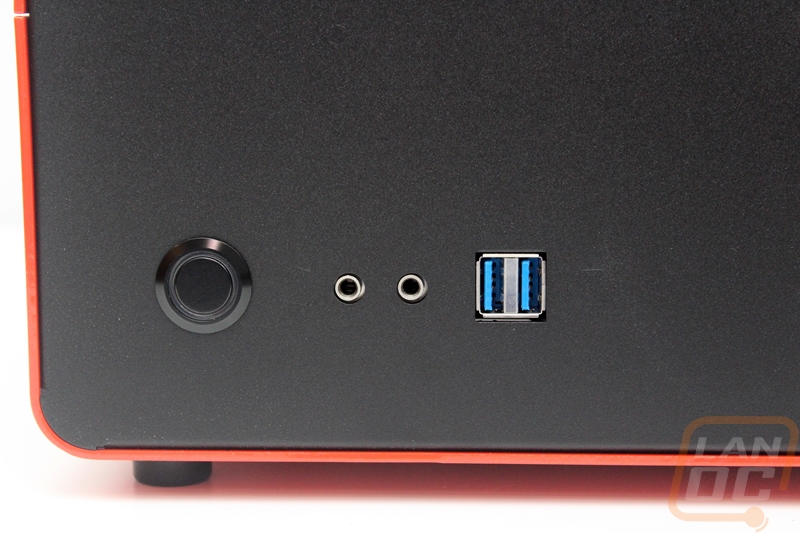
Moving up to the front of the case we finally have a little more going on. For starters, the front of the case has a flat black finish where the side panels have the glossy orange. All of the finishes are done in a heavy-duty powder coating, not paint that can chip or get damaged. So the front of the case has another offset slot vent across the top half for two 120mm fans. Then down along the bottom on the right, there is a Caselabs sticker, the only branding on the entire case. For the front I/O panel you get microphone and headphone connections along with two USB 3.0 plugs. Then they use a nice Anti-Vandal switch for the power button. The switch has a ring light around it that glows blue, this is a complete contrast to the orange finish. It would be nice if the light was orange or at least white.
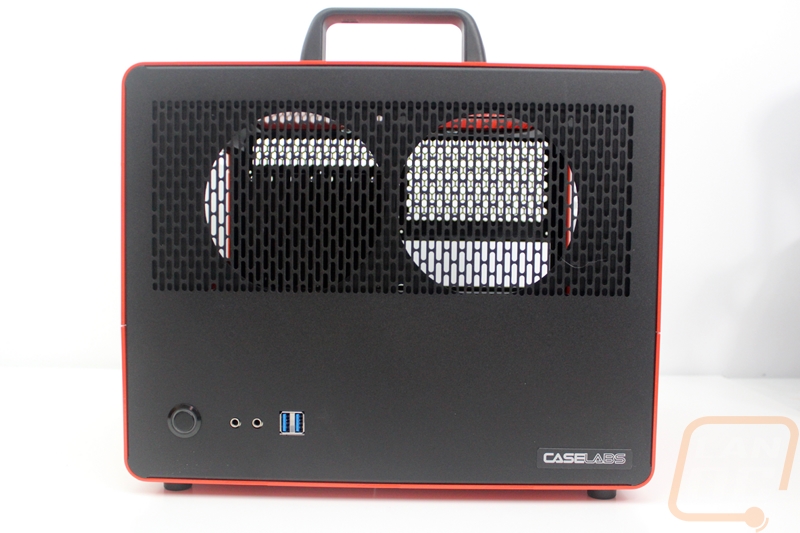
The contrast between the flat black on the front of the case and the bright orange looks great. You get the same effect with the lime finish and the white as well. The berry is a little more muted, like the black and gunmetal models.

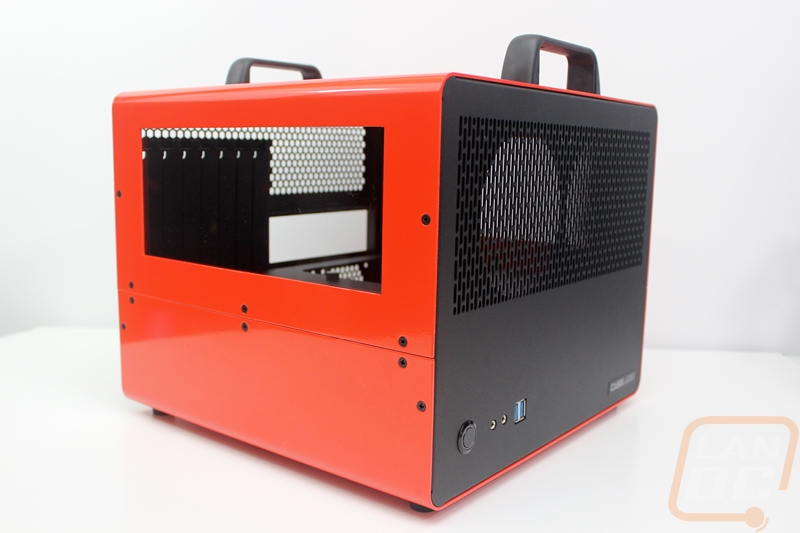
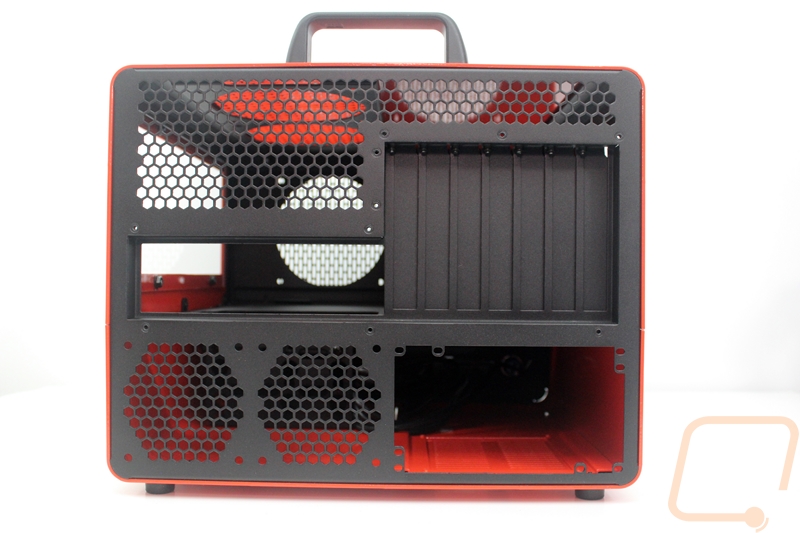
Last but not least we have the rear of the case. We can finally see some of the configuration as well. The case is split up into two halves about 1/3 of the way up. The bottom has the power supply and then right above it is the motherboard tray and all of the components. The bottom half has two 80mm fan mounts next to the power supply mount. Then up top, there are 7 PCI slots and an I/O panel for full ATX support and then the rest of the top is vented in a honeycomb pattern for extra airflow.