Photos and Features
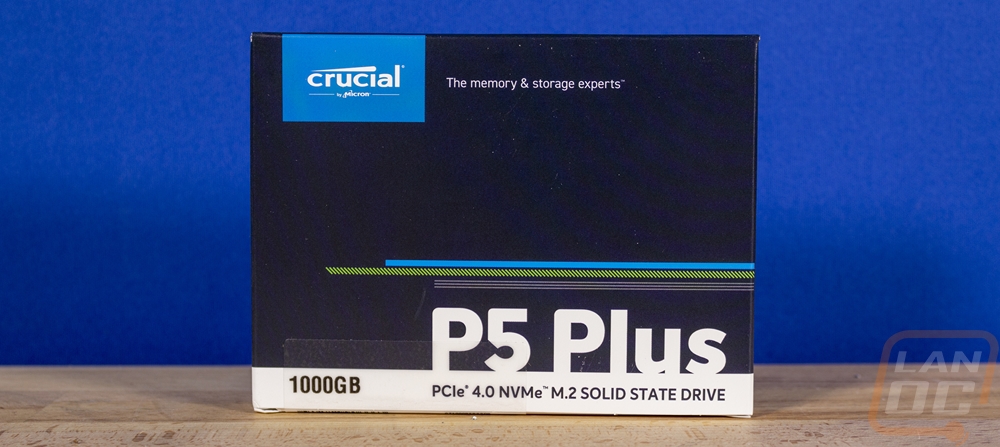
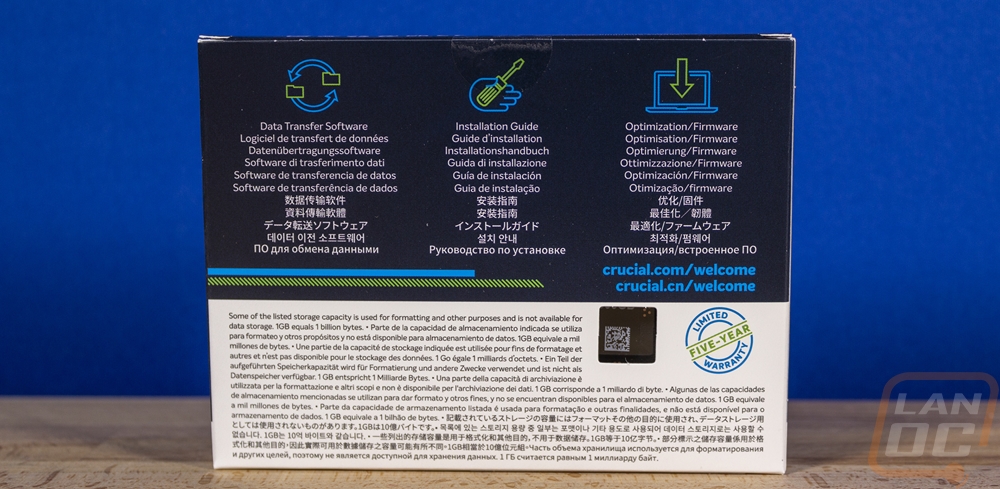
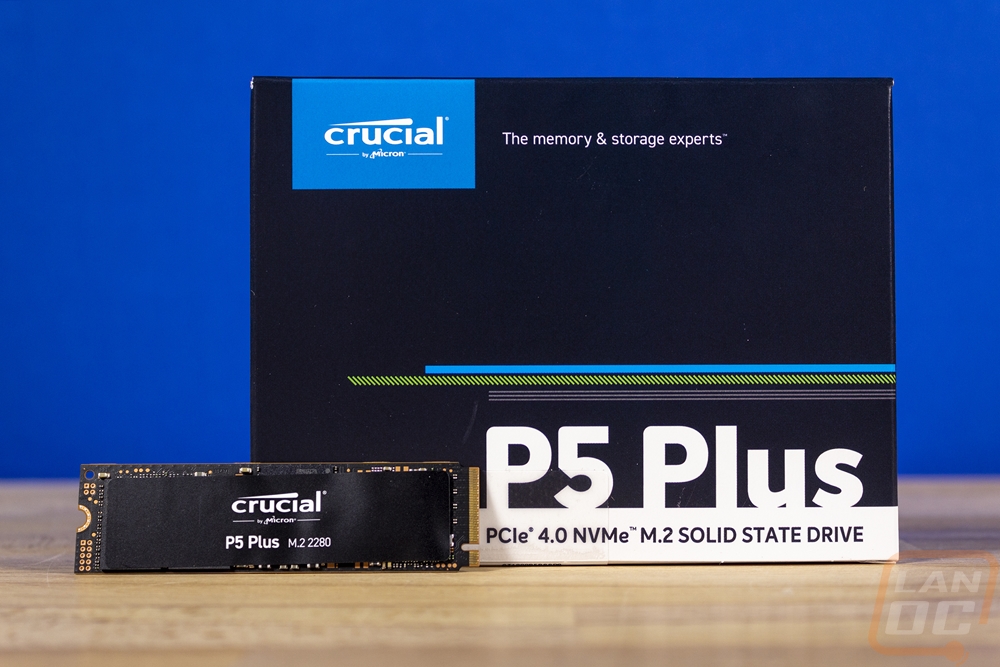
The packaging for the Crucial P5 Plus sticks with the same look as the P5 and the P2 and P1 that came before that so there weren’t any surprises here. It has a dark blue background with light blue used for the background on the Crucial ogo in the top corner. The P5 Plus name is in white and is the biggest and easiest to read font on the box. Below that they fill you in on exactly what this drive is telling you it is a PCIe 4.0 NVMe and M.2. That is also where they have the drive capacity with a clear sticker. Ours is the 1TB model but they also have 500 GB and 2TB models as well. Around on the back of the bot, they let you know where to get data transfer software, the installation guide, and firmware updates. The back also has a small window that lets the QR code on the drive be scanned, I do wish this would also let you confirm the drive capacity to make sure it hasn’t been swapped out. Next to that, they highlight the drive's 5-year warranty as well.
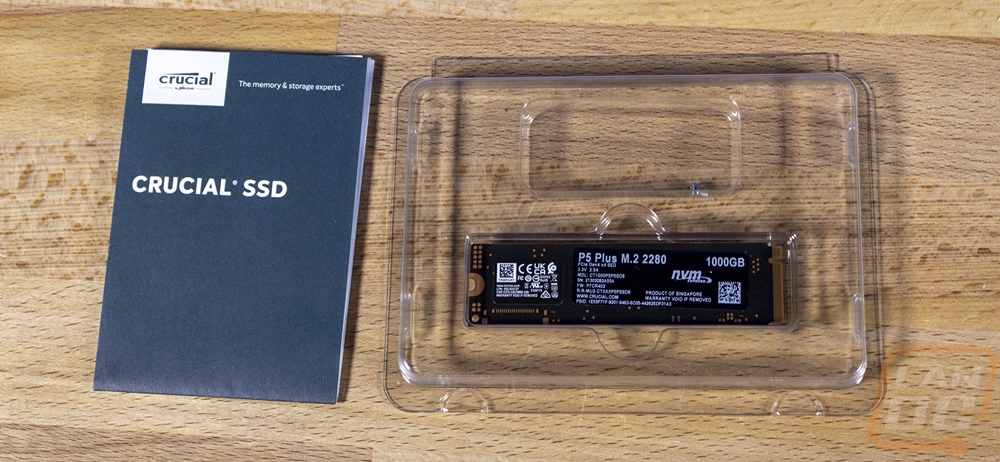
Inside the box, you get a clear clamshell plastic tray that has the drive held in place safely in a small section. Above that, the tray also has a second spot where Crucial has slipped in an M.2 screw. This might seem like a small addition, but this can be very helpful when you lose that tiny screw or you have to dig out your motherboard box to get the one included with it. The drive also comes with a folded up installation guide.
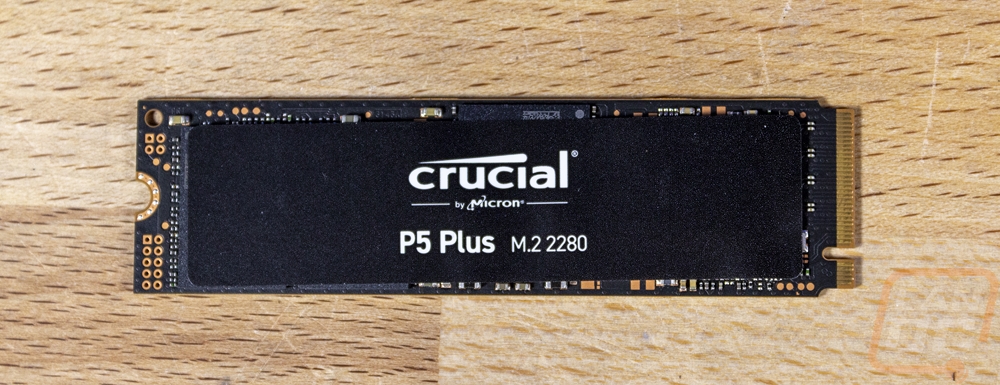
Just like with the packaging, Crucial didn’t change too much up on the overall look of the P5 Plus as well. It is a standard length M.2 drive with a black PCB and then they used a full-length black sticker on the top for branding. The sticker has the Crucial logo first and foremost but then below that, it says P5 Plus with the M.2 size of 2280 as well. The all-black look isn’t too bad but is standard at this point. Most M.2 drives anymore will be hidden below your motherboard or under a heatsink but if the P5 Plus is exposed it isn’t going to stand out or look bad.
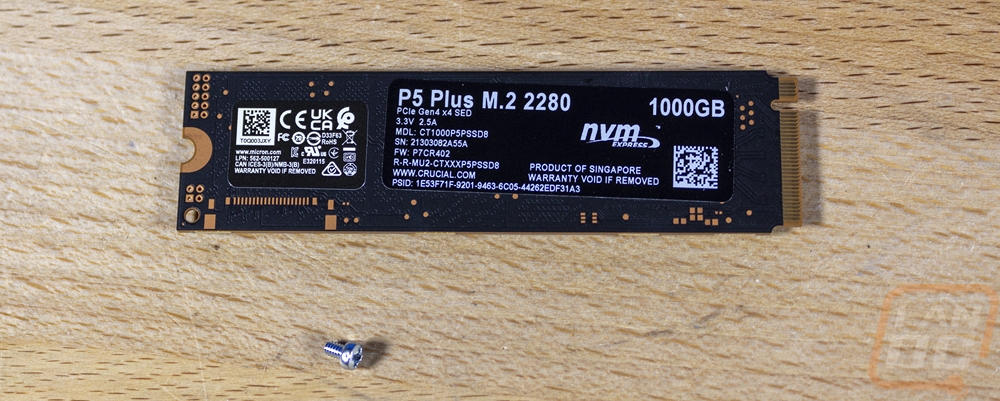
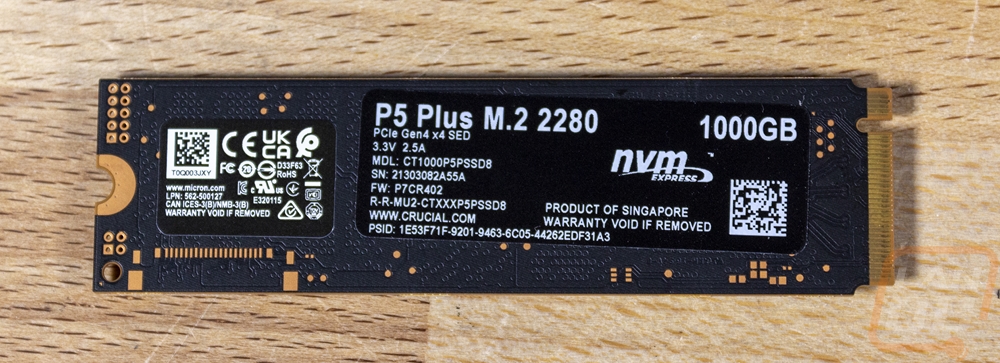
The back of the drive shows a little more of the black PCB but you can also see that they don’t have any components on this side of the drive. Here they have a smaller sticker with all of the certification logos on it. Then a second larger sticker that covers the rest of the back that is also black. This one has the drive model name and the capacity on it up top. Then they run through things like the serial number and even the firmware revision at the time of manufacturing and the QR code of your serial number that I mentioned seeing through the window in the back of the packaging.
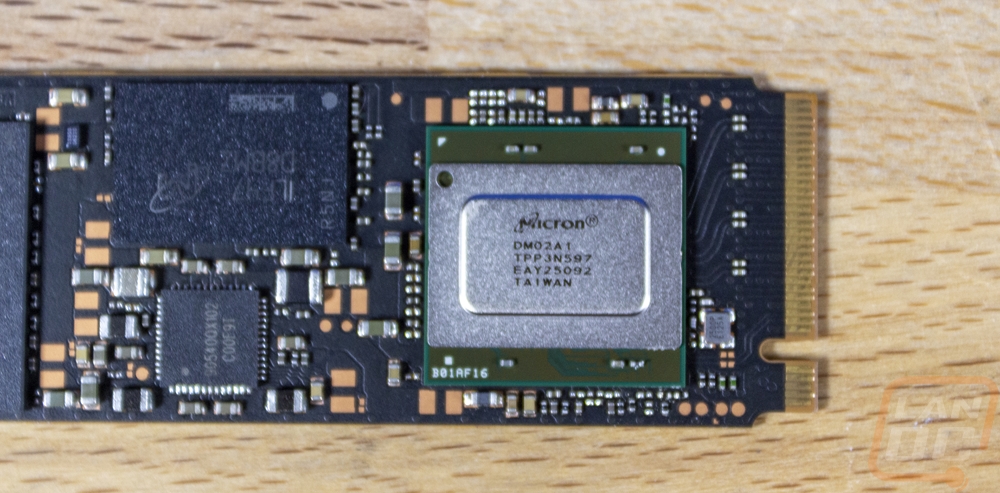
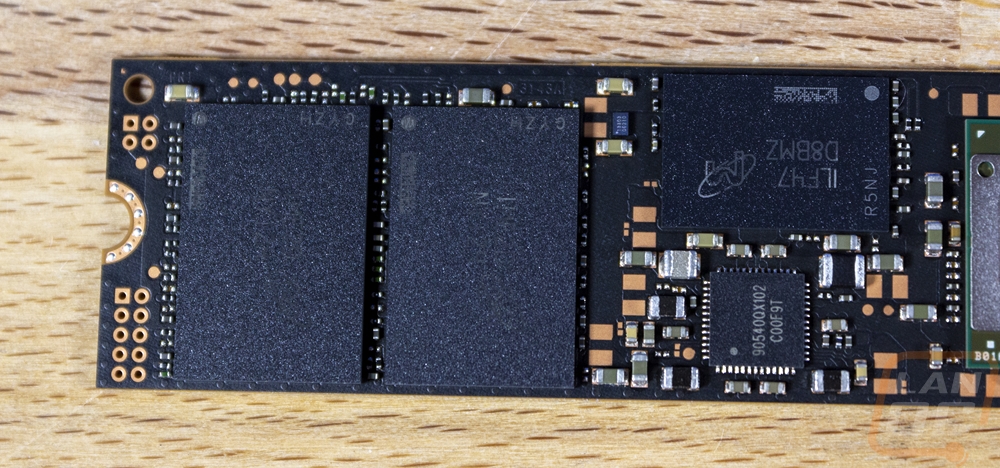
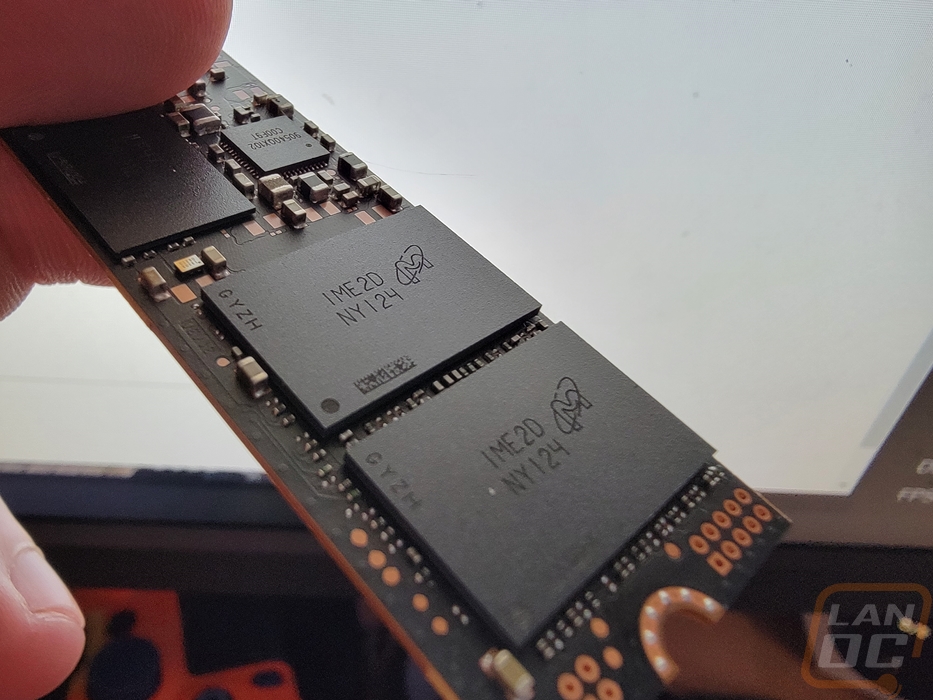
Then up on top, I took the main sticker off of the P5 Plus so we could get a better look at what Crucial was using on the drive. On the left, we have two Micron NAND which have the FBGA code of NY124. These are MT29F4T08EQLEEG8-QB 512 GB 8-bit TLC 3D NAND which is using 176 layers. Two of those are what get us the 1TB total along with buffer. The controller is on the other end of the SDD with the silver heatspreader on top. This is also Micron made, which isn’t a surprise at all given that Crucial is a Micron brand meaning everything is made in house. This is their DM02A1 controller which is 8 channels and is where they have now added PCIe gen 4 support to open up speeds beyond what the original P5 or PCIe 3.0 were capable of. Then in the middle is Micron LPDDR4 ram with D8BMZ etched on top. The 1TB model tested here has 1GB of DRAM and the smaller 500GB model has the same amount then for the 1TB model they bump that up to 2GB of cache.