While I am in the process of building a FreeNAS server to get some experience with it, I wasn’t planning on switching all three of our NAS over to the one system. I’ve been running two Qnap NAS for a while now and I love the flexibility they offer on the software side. So with the move to getting our data storage tucked away better in our rack, it was a perfect time to check out a rack-mounted NAS from Qnap. Specifically, their TS-453DU which has a matching non-rack mounted option in the TS-453D with that version also having 6 and 2 disk models and the rack-mounted version having 8 and 12 disk capacity options as well as a second 4 disk model with a redundant power supply. These are Celeron J4125 quad-core based and feature dual 2.5G network ports. This means we can do some testing to see how the 2.5G network that is coming with a lot of net motherboards can offer in real-world performance. So let’s dive in and see what the Qnpa TS-453DU has to offer for hardware, software, and performance!
Product Name: Qnap TS-453DU
Review Sample Provided by: Qnap
Written by: Wes Compton
Amazon Affiliate Link: HERE
|
Specifications |
|
|
CPU |
Intel® Celeron® J4125 quad-core 2.0 GHz processor (burst up to 2.7 GHz) |
|
CPU Architecture |
64-bit x86 |
|
Graphic Processors |
Intel® HD Graphics 600 |
|
Floating Point Unit |
Yes |
|
Encryption Engine |
(AES-NI) |
|
Hardware-accelerated Transcoding |
Yes |
|
System Memory |
4 GB SO-DIMM DDR4 (1 x 4 GB) |
|
Maximum Memory |
8 GB (2 x 4GB) |
|
Memory Slot |
2 x SO-DIMM DDR4 When installing two memory modules, please ensure that they are the same size and ideally use the same type of RAM for both memory slots. |
|
Flash Memory |
4GB (Dual boot OS protection) |
|
Drive Bay |
4 x 3.5-inch SATA 6Gb/s, 3Gb/s The system is shipped without HDD. |
|
Drive Compatibility |
3.5-inch bays: |
|
Hot-swappable |
Yes |
|
M.2 SSD Slot |
Optional via a PCIe adapter |
|
SSD Cache Acceleration Support |
Yes |
|
2.5 Gigabit Ethernet Port (2.5G/1G/100M) |
2 (also support 10M) |
|
Wake on LAN (WOL) |
Yes, Only the 2.5GbE port |
|
Jumbo Frame |
Yes |
|
PCIe Slot |
1 PCIe bandwidth limitations will restrict the NAS 10GbE performance. |
|
USB 2.0 port |
2 |
|
USB 3.2 Gen 1 port |
2 |
|
USB 3.2 Gen 2 (10Gbps) Port |
Optional via a PCIe adapter |
|
HDMI Output |
1, HDMI 1.4b |
|
Form Factor |
1U Rackmount |
|
LED Indicators |
HDD 1-4, Status, LAN, Expansion, Power |
|
Buttons |
Power, Reset |
|
Dimensions (HxWxD) |
1.7 × 19 × 19.05 inch |
|
Weight (Net) |
14.55 lbs |
|
Operating temperature |
0 - 40 °C (32°F - 104°F) |
|
Relative Humidity |
5-95% RH non-condensing, wet bulb: 27˚C (80.6˚F) |
|
Power Supply Unit |
250W (x1), 100-240V |
|
Power Consumption: HDD Sleep Mode |
17.209 W |
|
Power Consumption: Operating Mode, Typical |
32.038 W Tested with drives fully populated. |
|
Fan |
2 x 40mm, 12VDC |
|
Sound Level |
38 db(A) |
|
System Warning |
Buzzer |
|
Max. Number of Concurrent Connections (CIFS) |
1500 |
|
Package Contains |
1x TS-453DU |
|
Warranty |
3 Years |
Packaging
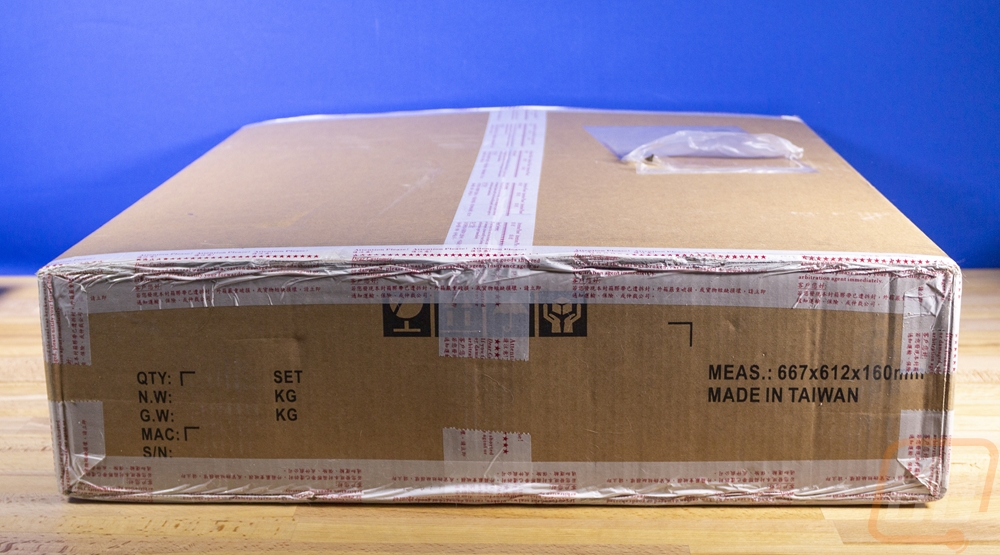
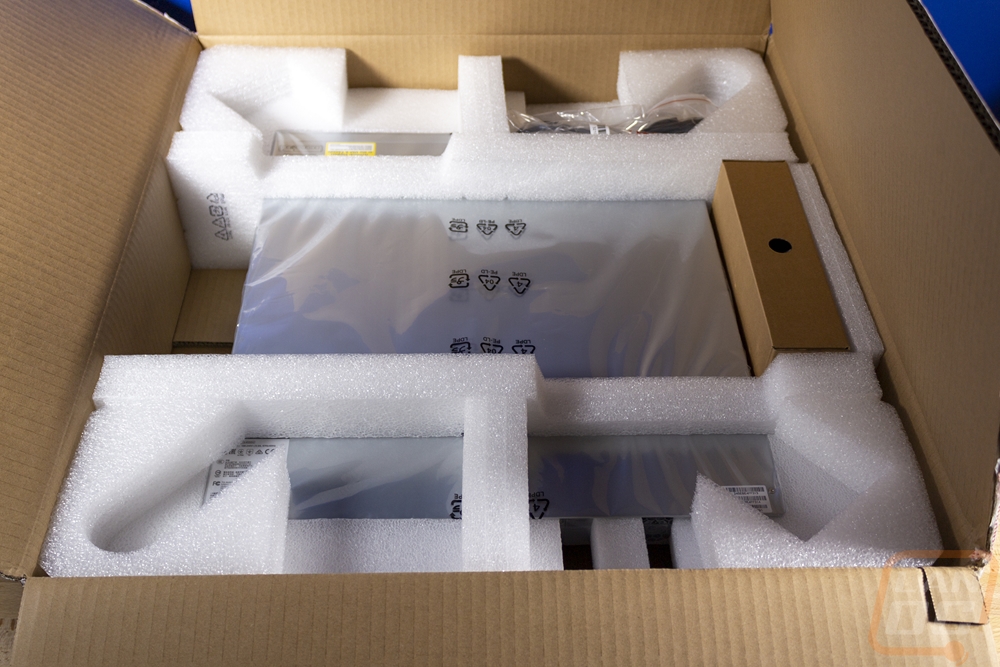
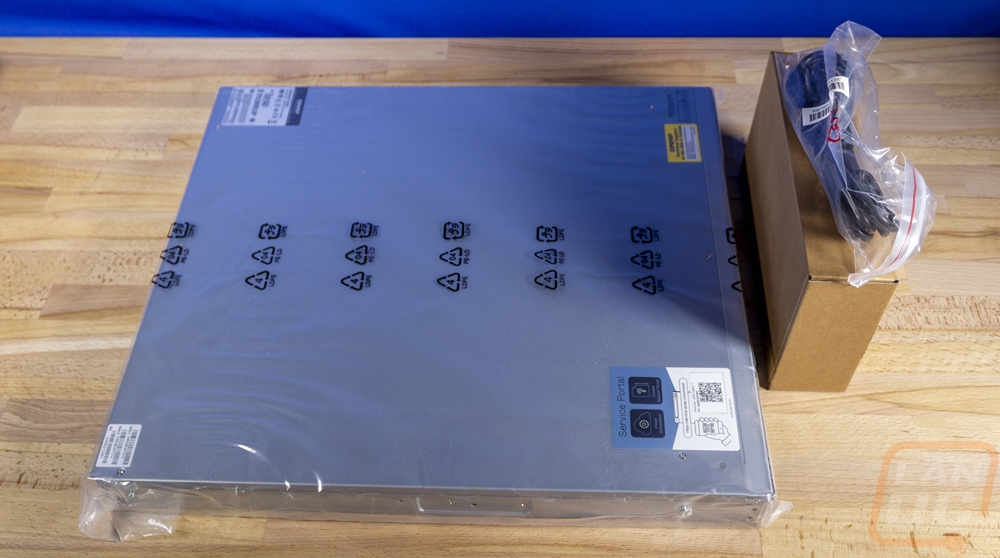
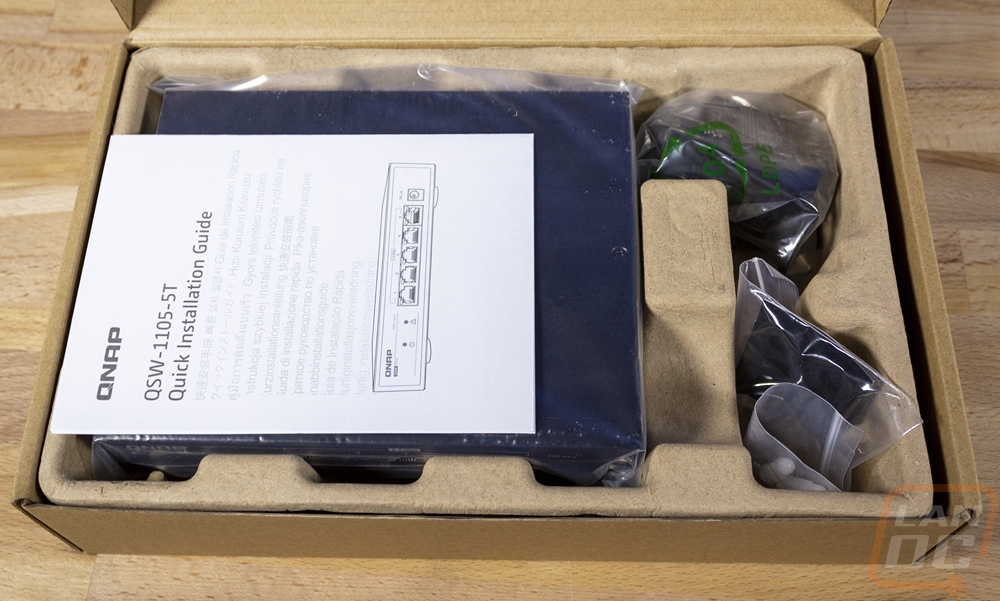
The packaging for the TS-453DU isn’t like one of their tower NAS which you might find in retail. Being a rackmount NAS. So its packaging is your standard brown cardboard box. It has fragile warnings, but no other branding visible. When you get it opened up, inside you will find the TS-453DU wrapped up in a thick plastic bag and then sitting in two foam pieces to keep it safe in shipping. The foam has small trays cut out of the top for extra accessories, in this case, it is just the power cable which is location dependent and not put in the full accessory box. The accessory box is then tucked in a gap next to the NAS with its own foam panel on the outside.
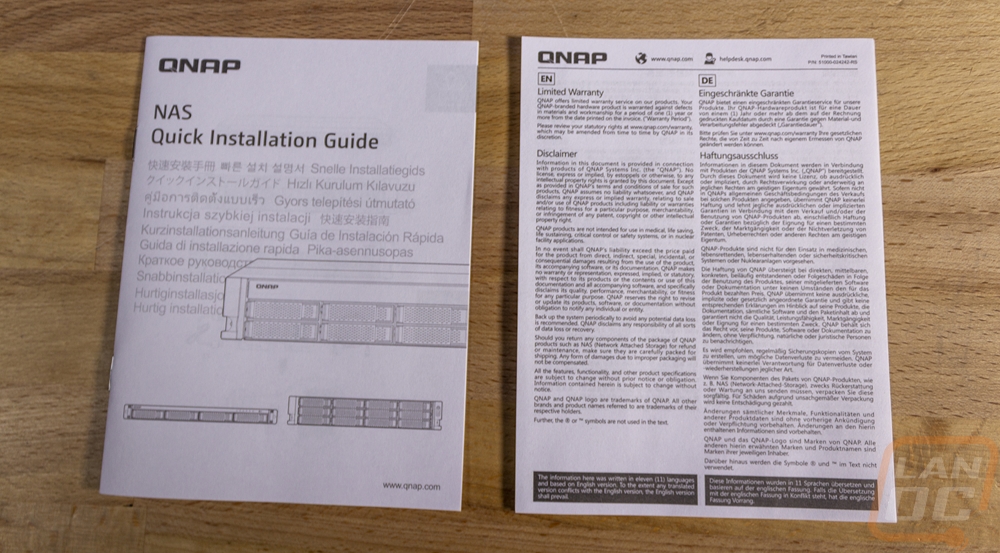
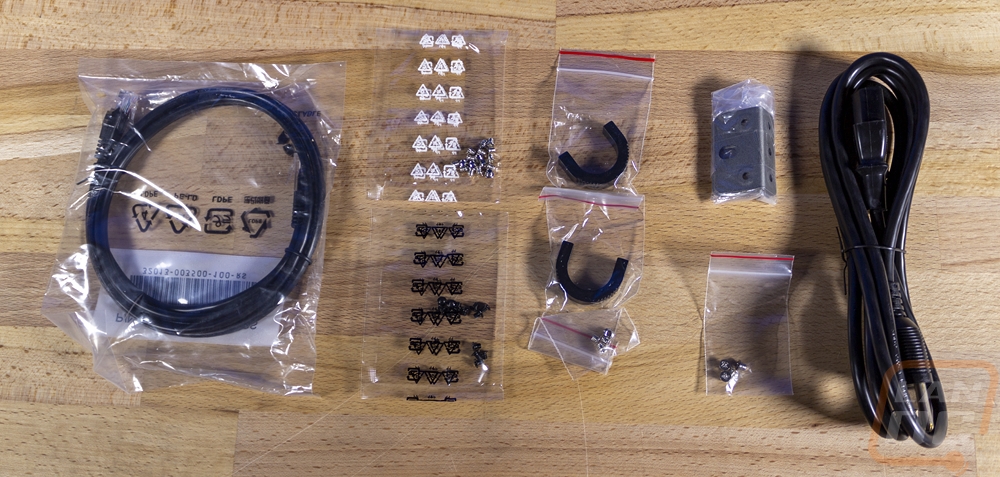
For documentation, the TS-453DU comes with a quick installation guide and a paper with information about the warranty in multiple languages. Then the accessories box is filled with a few different things. The NAS comes with a typical PC power cord as well as a 5-foot long ethernet cable. There are two thick steel mounting tabs as well as a small baggy of screws to install them. Then there are two more small baggies with black U shaped hooks that can be installed on to the mounting tabs if you use a pull out rail system to be able to grab the NAS. The two bags with warning labels are the screws for both hard drive and SSD installation. Sadly with so many other things coming in reclosable bags, I’m surprised the one thing that you might not need all of but would want to keep doesn’t. So don’t throw out the baggies from the mounting tab/screws.
Photos and Features
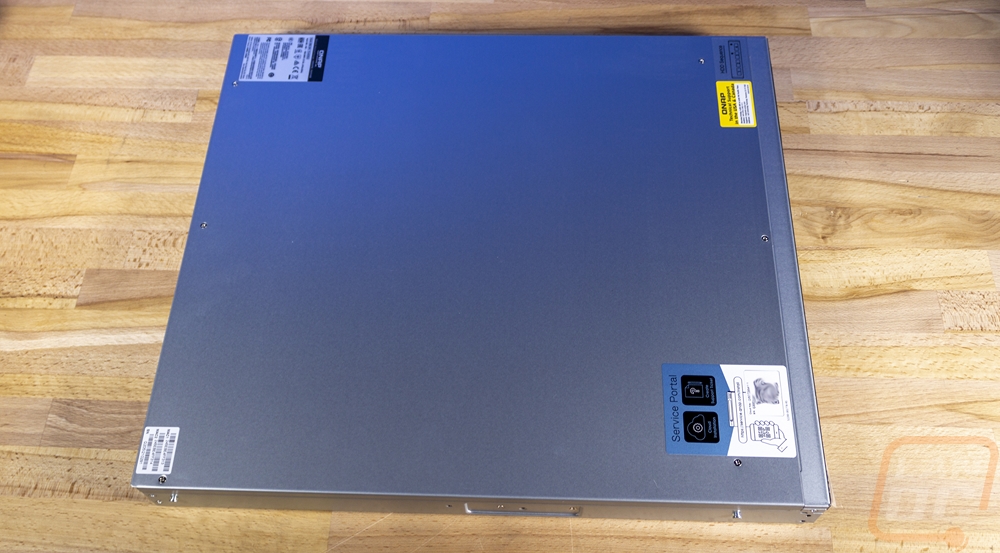
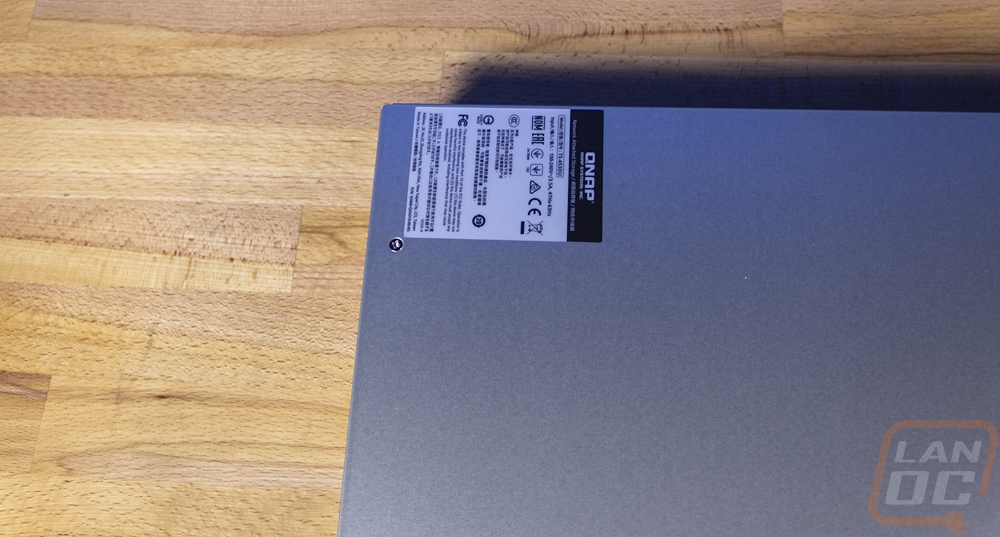
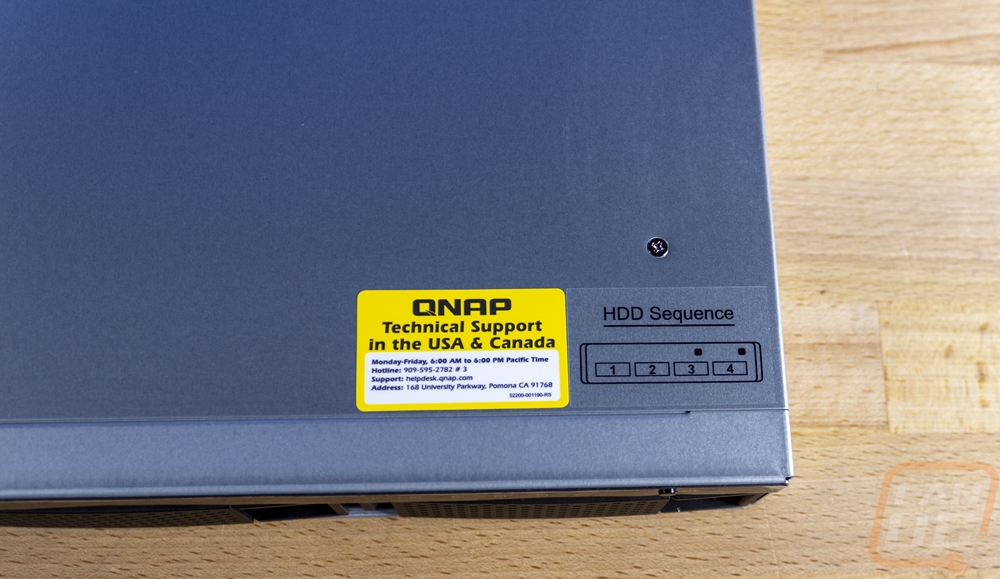
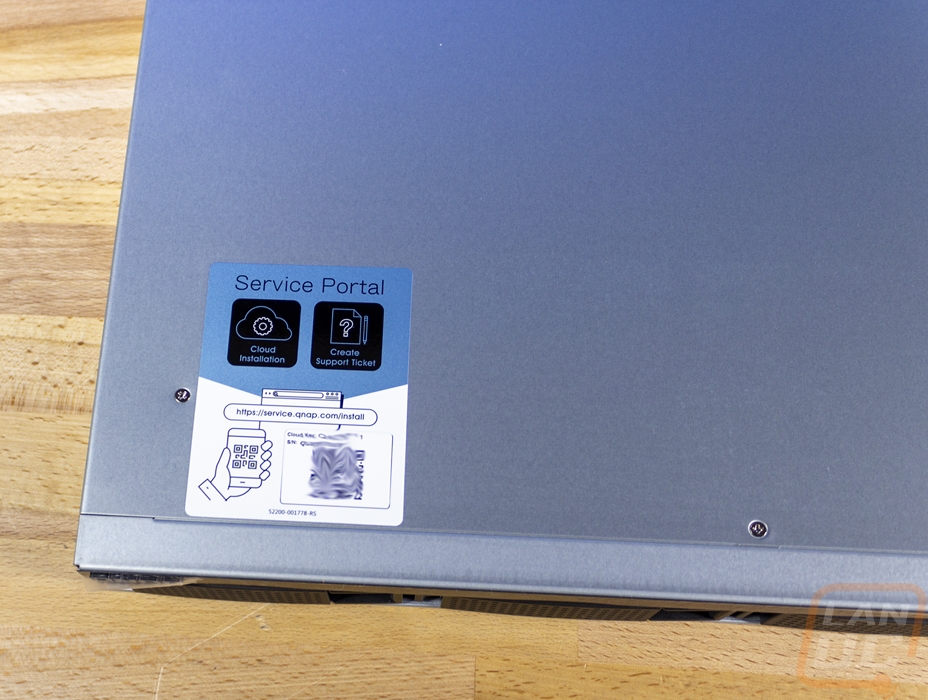
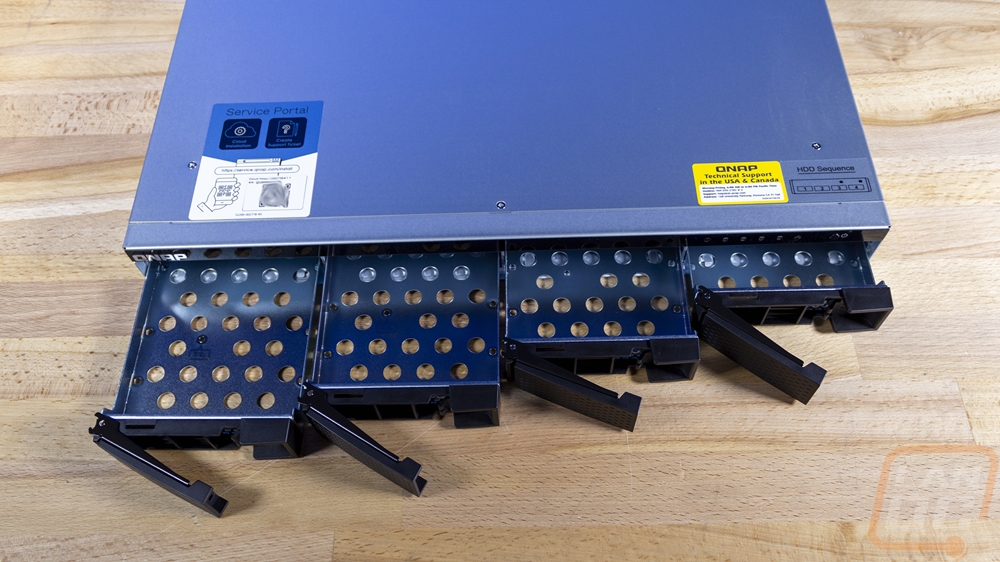
Well normally with a NAS there is a little more to talk about, but with the TS-453DU being rack-mounted a majority of the exterior is exactly what you would expect, a 1U server. So the exterior may be a little short before we get into the inside. But the TS-453DU has a standard rack width of 19 inches and being 1U means it is just 1.7 inches tall but for the depth it is shorter than a lot of full-sized servers at 19.05 inches, nearly matching the overall width. It comes in at 15.55 pounds before any drives are installed due to its all steel housing. The case doesn’t have too much going on except a few stickers. One has model information and all of the certification logos that are required. They have a sticker near the front that shows the hard drive sequence to match the hard drive numbers in the software and with that, there is a support sticker with the support hours, phone number, website, and even address. Then there is another sticker that links where to get your cloud install app and has a QR code to use with the app for a quick setup as well as your serial number.
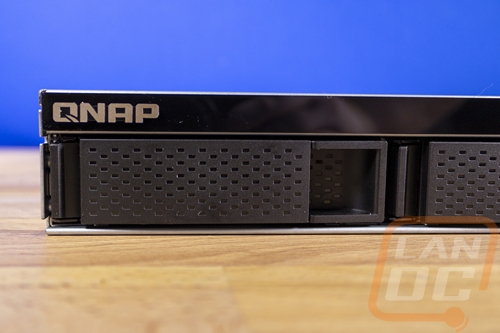
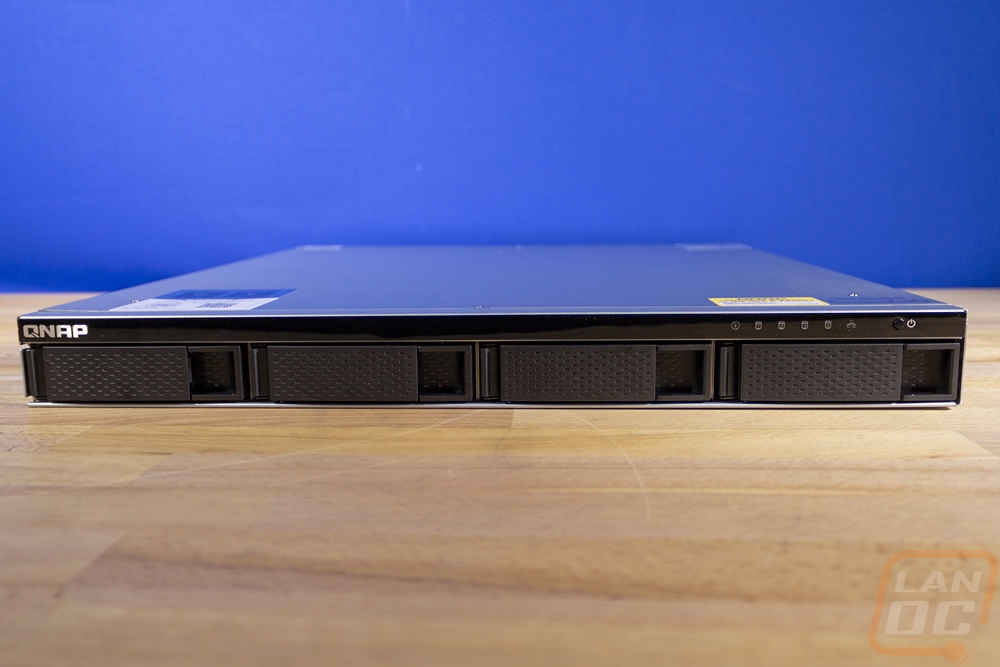
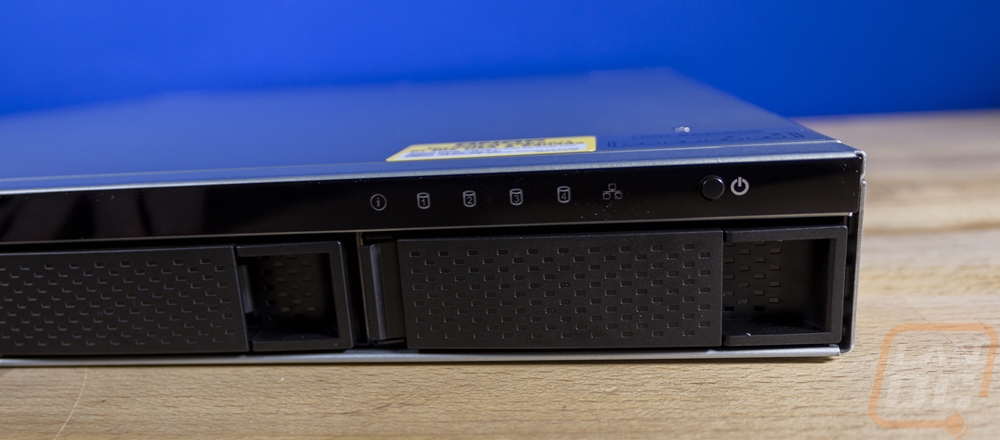
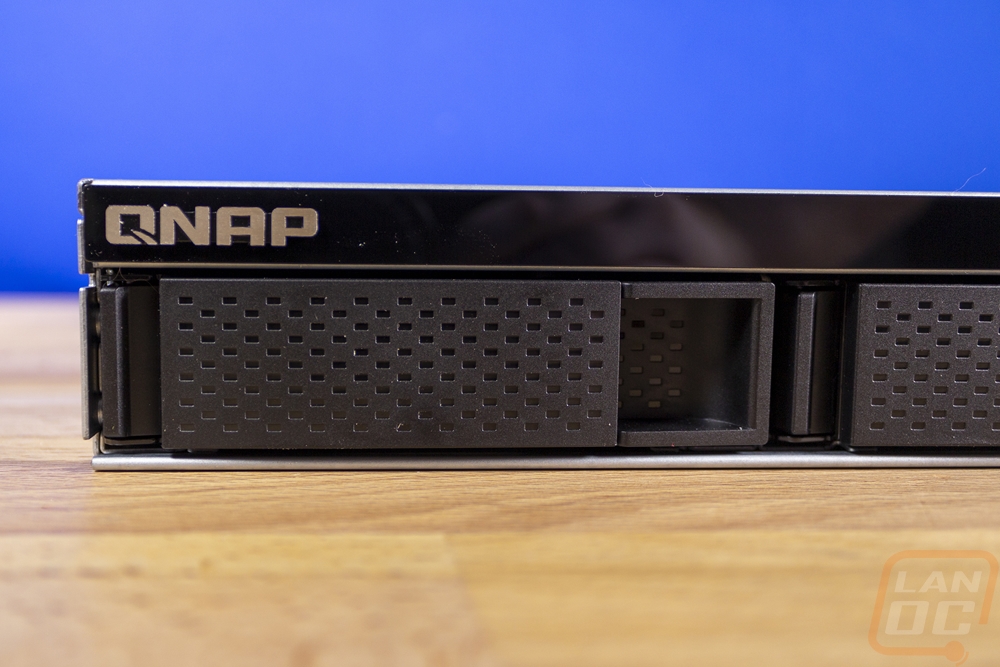
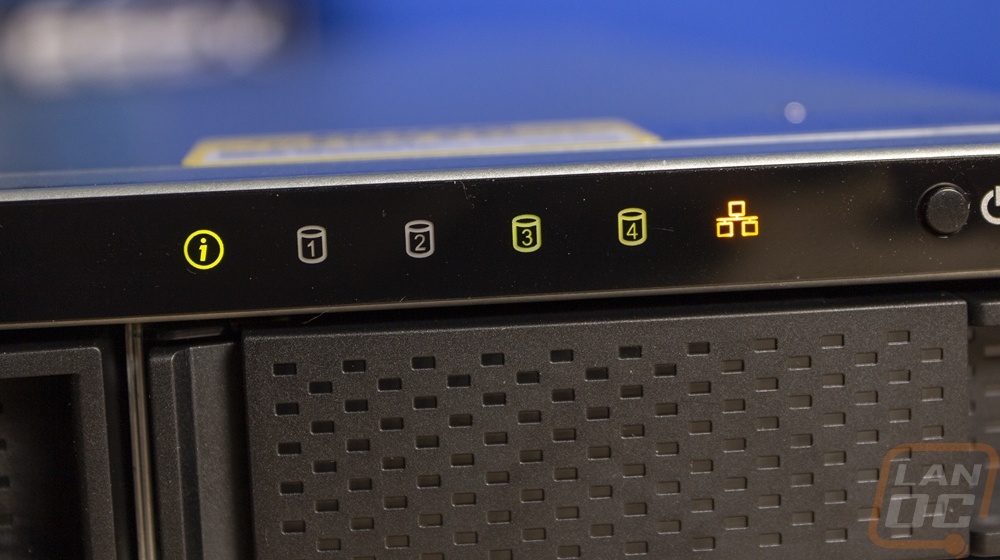
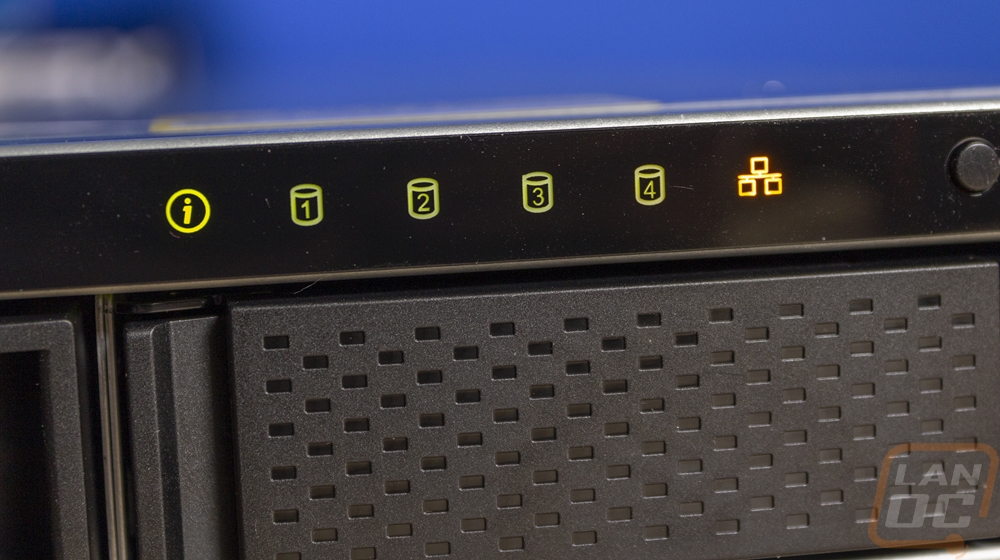
Once the TS-453DU is installed you are only going to see the front edge and this is the only part of the NAS that isn’t sheet metal. It has a glossy strip along the top edge with the QNAP branding on the left and on the far right a power button. Next to the power button are status LEDs to show the status of each of the four hard drive bays, your network, and a power indicator. Then the rest of the front is filled with the four 3.5 inch hard drive bays. Each tray has an area you can put your finger in to pull the large latch. Unlike most of the tower-style NAS, the TS-453DU doesn’t have a key lock but with the latches, you can’t accidentally release a drive and cause problems.
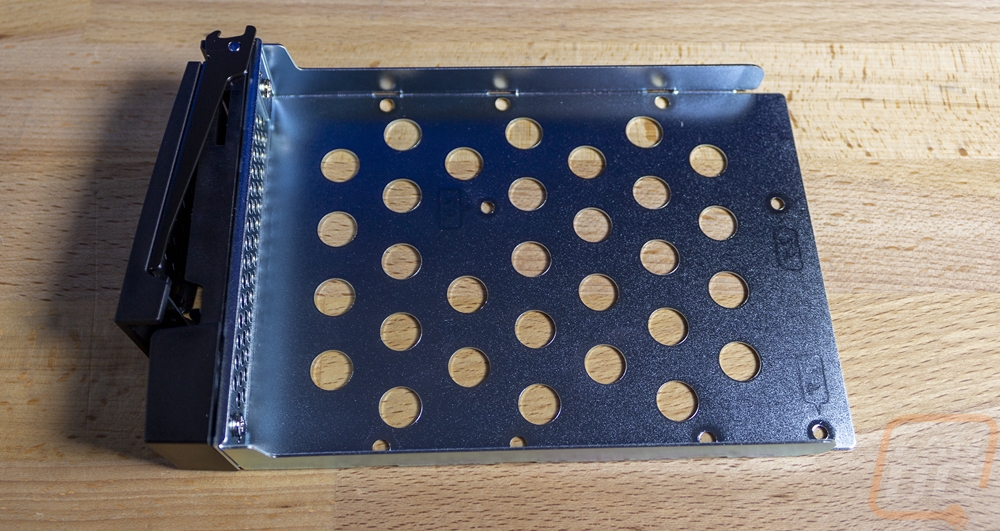
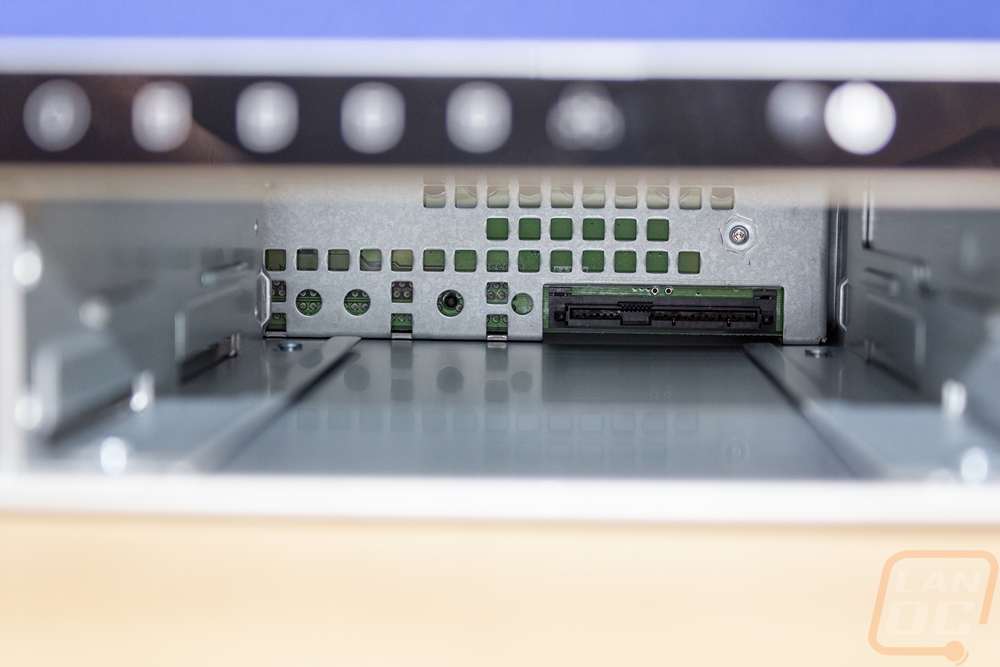
Each of the four drive trays has its black plastic front but is all metal behind that. They have holes all through the bottom to help with ventilation and cooling. Then on the bottom of the tray, they have 9 mounting holes which cover both 3.5 and 2.5 inch hard drives and SSDs. The front of the metal tray also has ventilation holes cut into it which go with the slot vents built behind the front latches. Qnap uses these along with the exhaust fan on the back to pull cool air in and across the hard drives to keep them cool. Inside of the hard drive drawer, you can see the PCB at the back with the SATA plug as well as rails on the bottom and bumpers on the sides to keep the tray in tight.
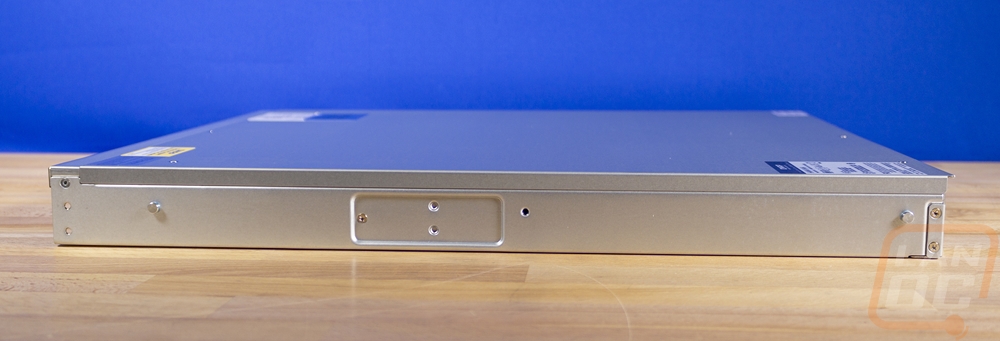
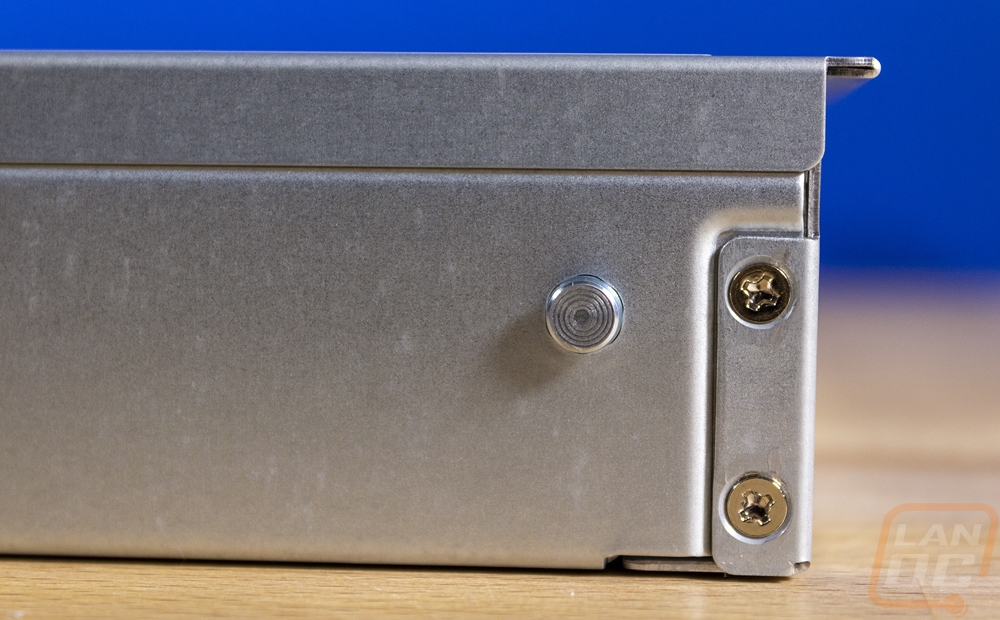
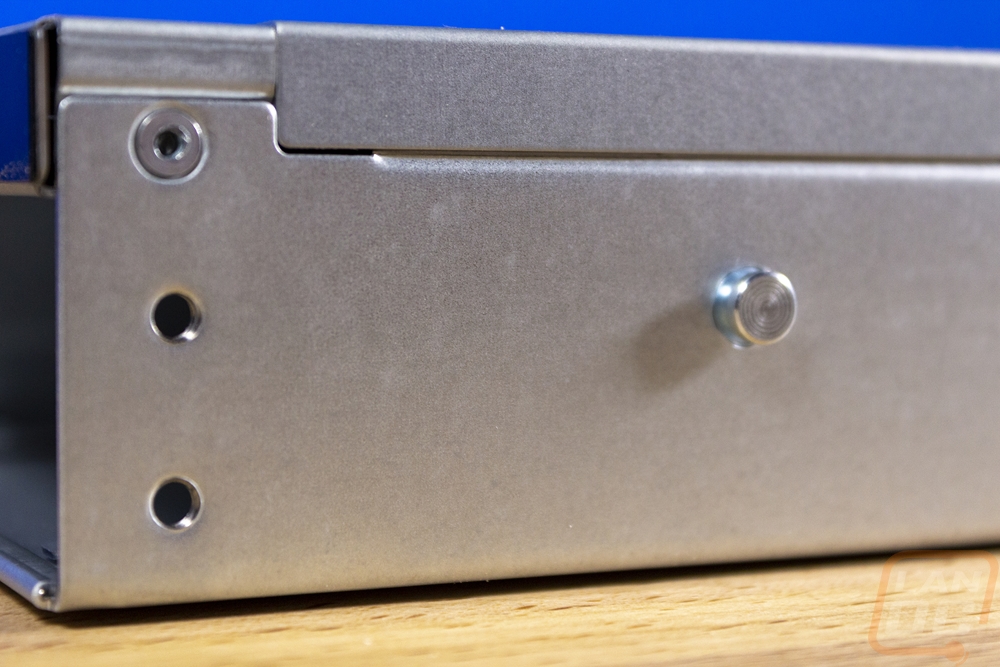
The sides of the TS-453DU have mounting holes near the front for the included “mounting tabs” which are only for securing the NAS not hanging the entire NAS from. You need to use mounting rails and for those, there are a few more mounting holes on the sides and two hooks sticking out on each side to latch into QNAPs rails. If not theirs you will want to look at universal options or a rack shelf that mounts to all four poles.
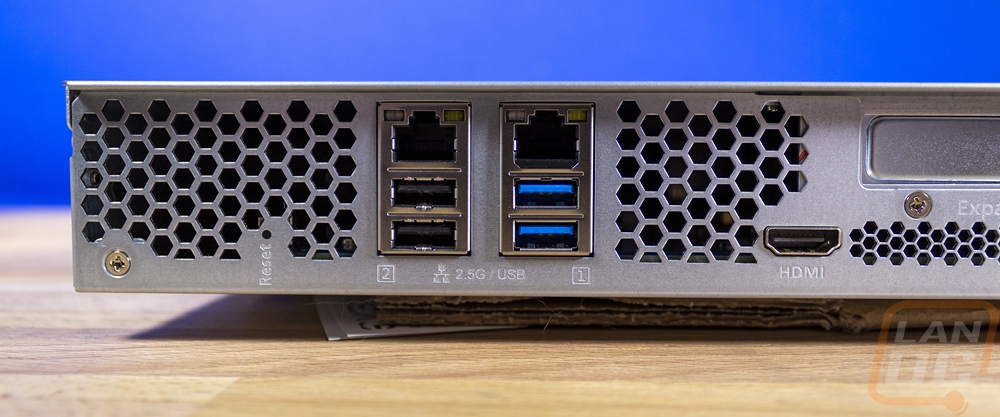
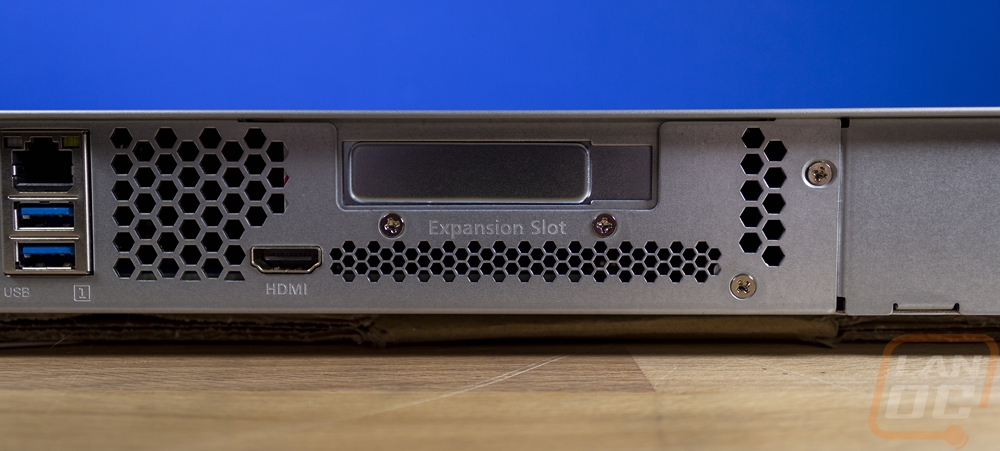
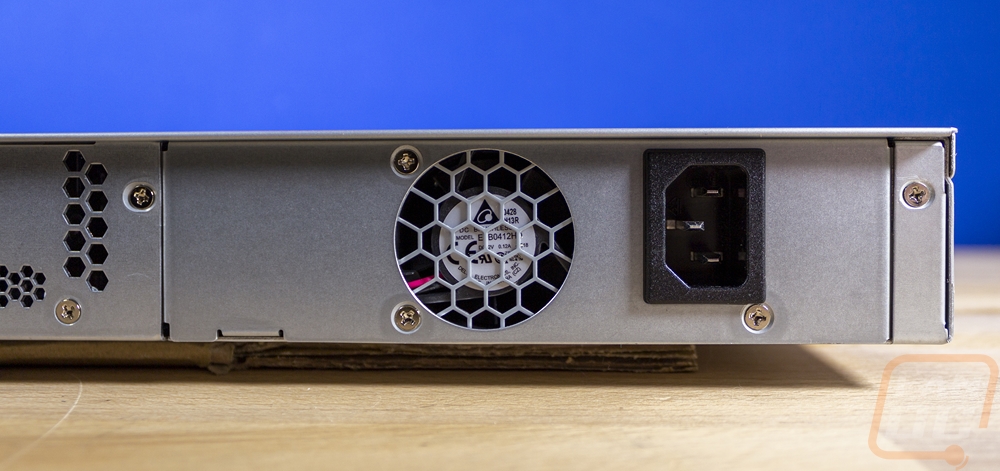
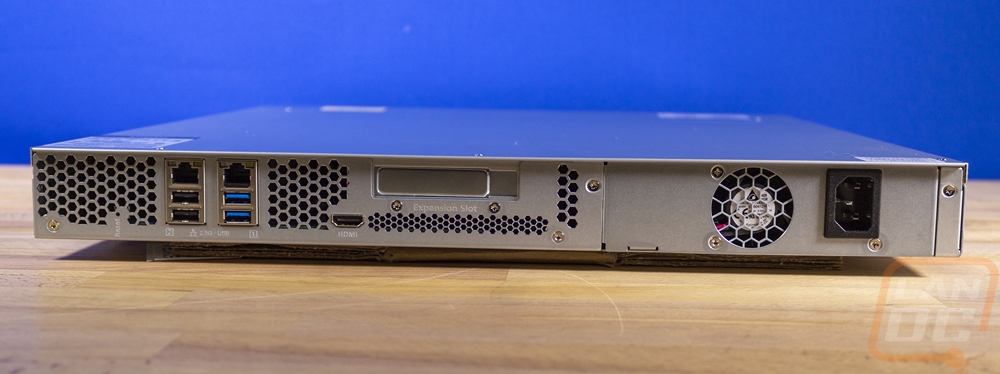
The back of the TS-453DU has a lot going on. This is where the full I/O is. On the left side, there is ventilation with two stacks of USB connections, one has two USB 2.0 and the other has two USB 3.0 ports. Above both are the ethernet plugs which the TS-453DU has dual 2.5G NICs which is a big upgrade over the 1Gb NICs in our past NAS. Qnap does have the NICs labeled which is helpful and if you look closely there is also a small pinhole for the reset button under the vent holes on the left. Then in the middle, there is an HDMI port which may seem weird for a NAS but works with a variety of apps that Qnap has that I will go into later. The expansion slot is half-height and Qnap has a long list of products to use there these days which range from M.2 add-in cards, network cards including going up to 10G, and even wireless adapters. Then down at the end, there is one exhaust fan and the power plug for the power supply.
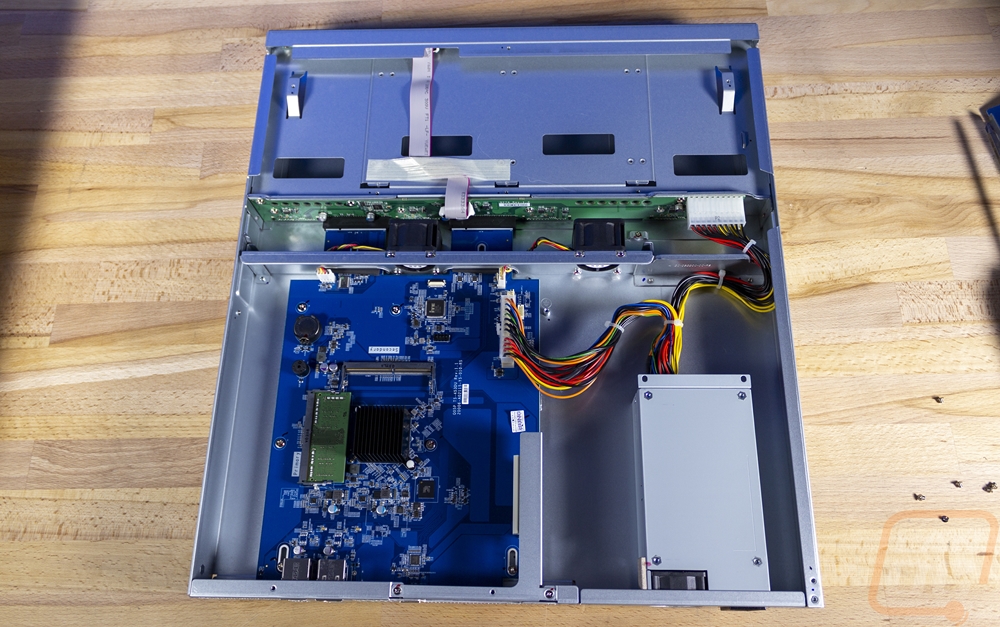
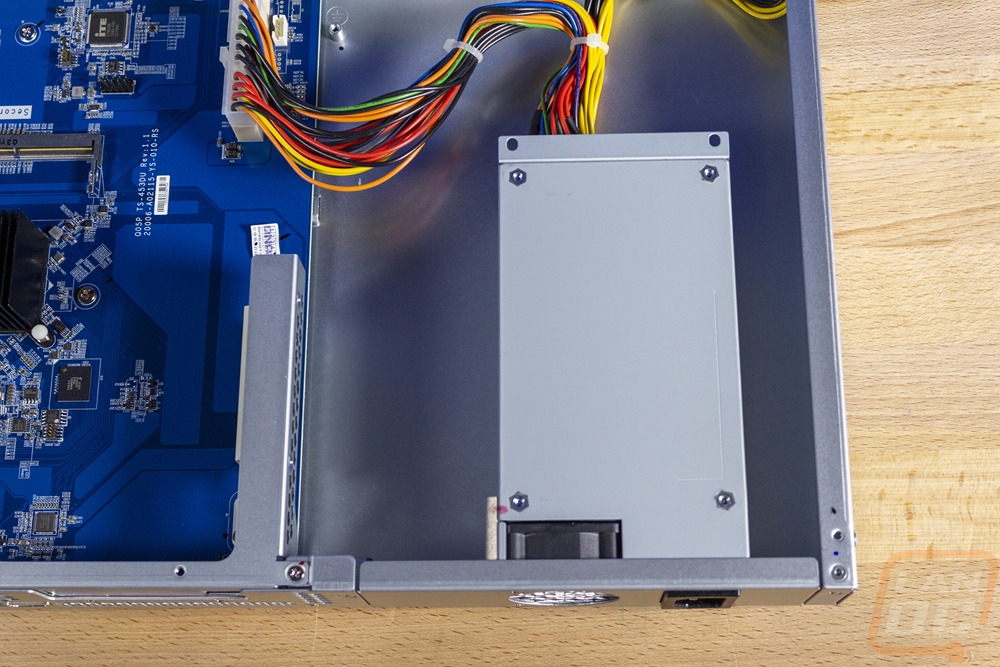
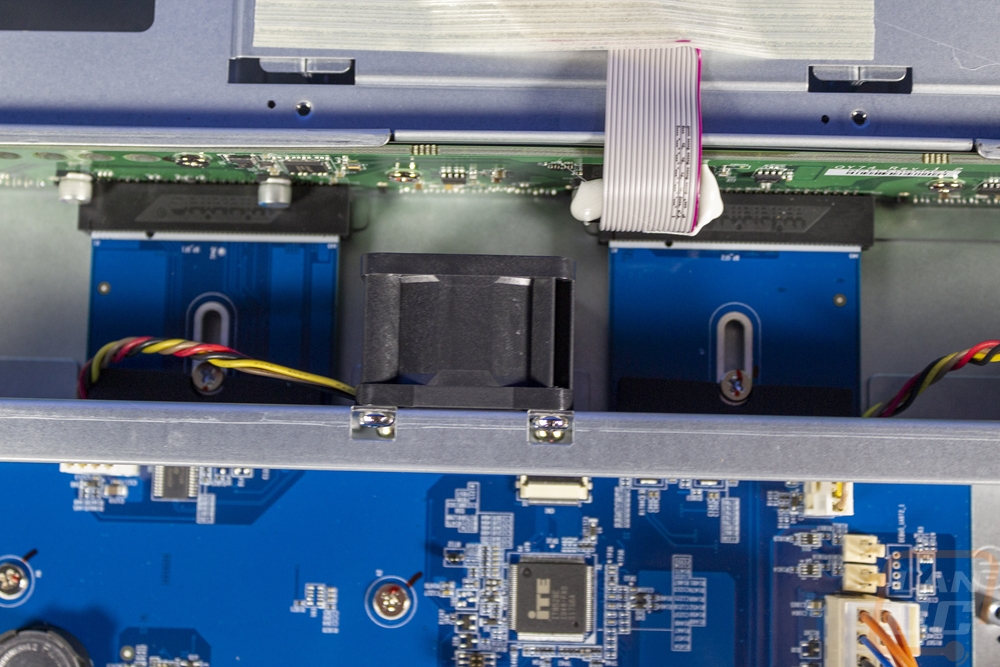
Taking the top panel off required removing six screws from the top of the NAS and then it lifted right up. Inside was surprisingly simple looking. The hard drive bays are up front of course with the PCB right at the back of them. Just behind that is a plate that splits the front and back up and has fans mounted to help pull air across the hard drives into the back section. The back has the motherboard on the left and the PSU on the right. This is the TS-453DU, not the upgraded TS-453DU RP which stands for redundant power supply. That means our model has just one power supply. But you can see that there is room enough for two next to each other if the back panel was configured for it. This is a 240-watt power supply and it has just two bundles of cables. One goes to the motherboard with a proprietary connection and the other to the hard drive backplane with another proprietary plug. This is also an area where the TS-453DU stands out compared to the tower-style TS-453D and some other tower Qnap models (but not all, some do have internal PSUs.
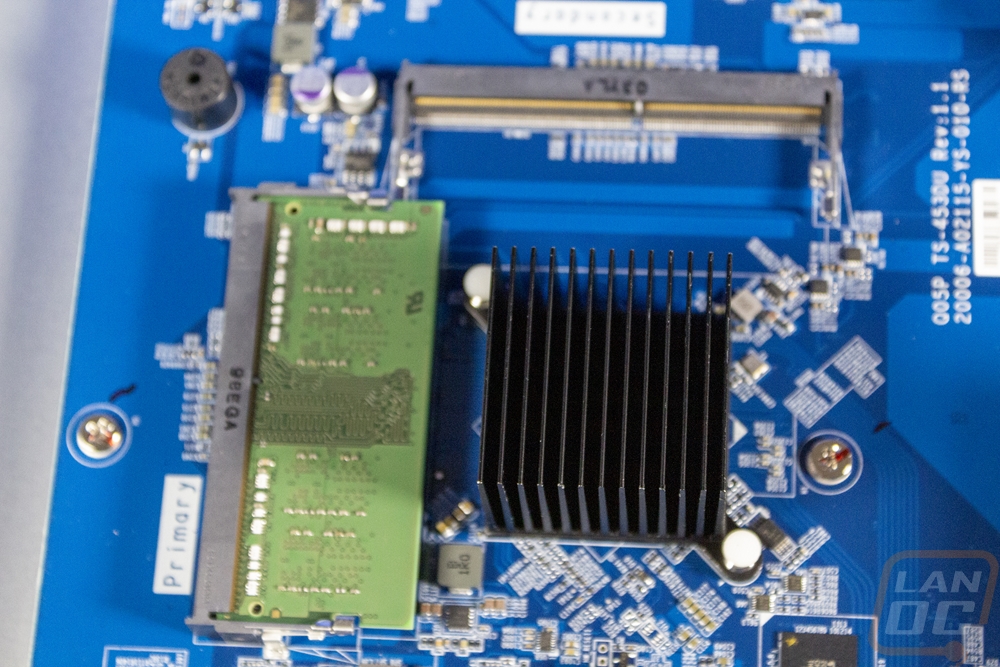
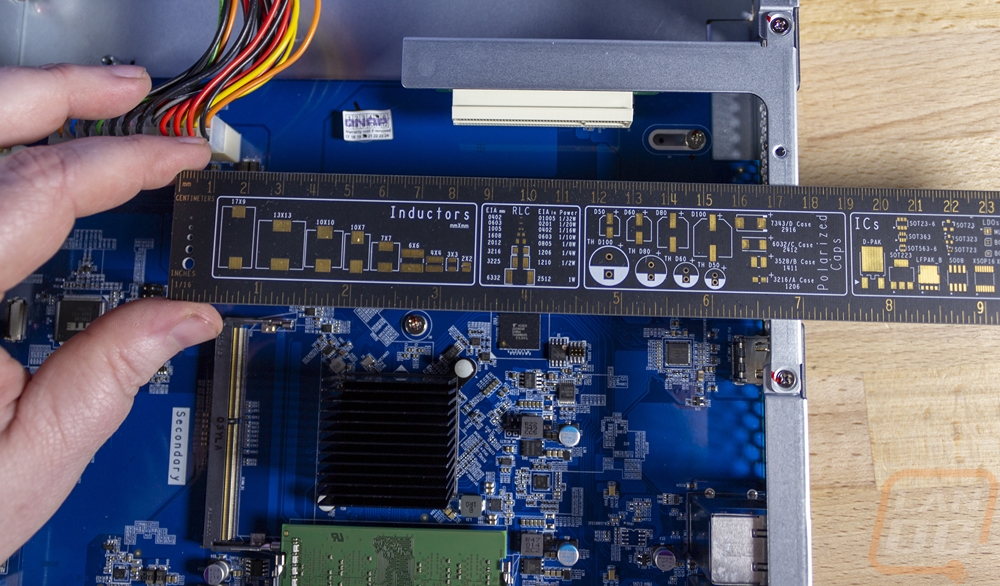
Considering the motherboard is where the “action” happens, I was surprised at how little was going on with it. The PCB is relatively sparse and looks like if it didn’t need to be in this form factor it could be much smaller. This is especially true on the right side where the PCIe expansion slot is and towards the front of the NAS near the fans. It doesn’t help that the CPU cooler is small and not what I’m used to seeing in a server. But the Intel Celeron J4125 isn’t a hot CPU, it only has a TDP of 10 watts. It has four cores with a base frequency of 2.0 GHz and a burst frequency of up to 2.7 GHz. For graphics, it does have Intel HD Graphics 600 which is Intel’s mobile graphics from a few years ago (launched in 2017). They have kept the memory extremely close to the CPU which is good for latency with two slots around the small black passive heatsink. These are DDR4 SO-DIMMs aka laptop memory and the TS-453DU comes with one dim filled with one 4GB stick of memory. The TS-453DU supports up to 8GB of memory when using both slots.
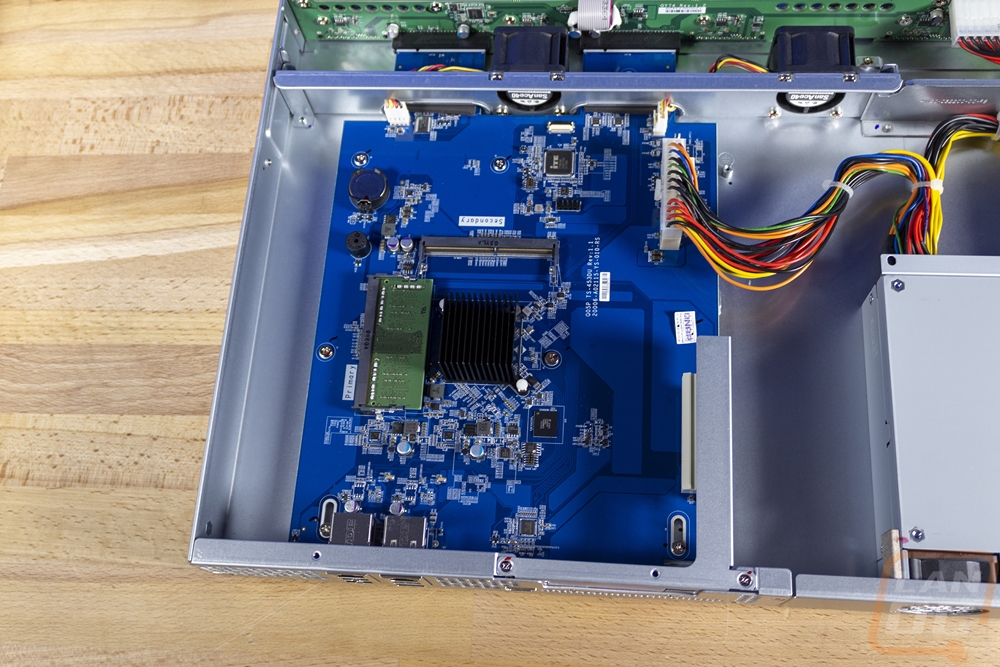
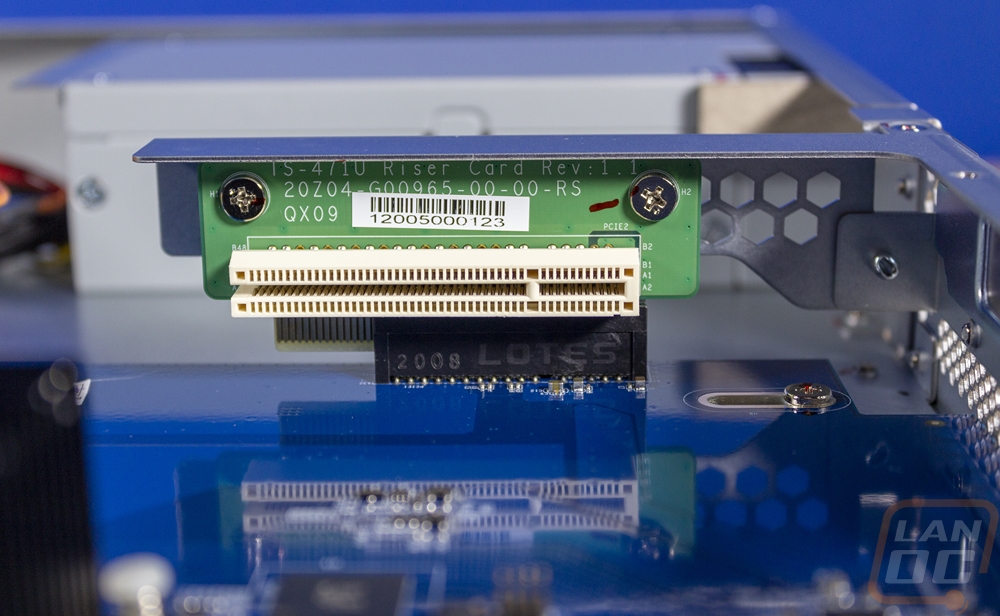
The motherboard does have one raised break out board which is for a PCIe x4 slot on the far right side. The case has a metal support bracket that the right-angled adapter mounts to. Officially the PCIe slot is x4 but it is open ended and could support a longer PCIe x8/x16 card assuming it will fit in the NAS and is supported by the software. The back PCI slot is half-height and you are limited in length by the power plug for the motherboard which is around 170mm away.
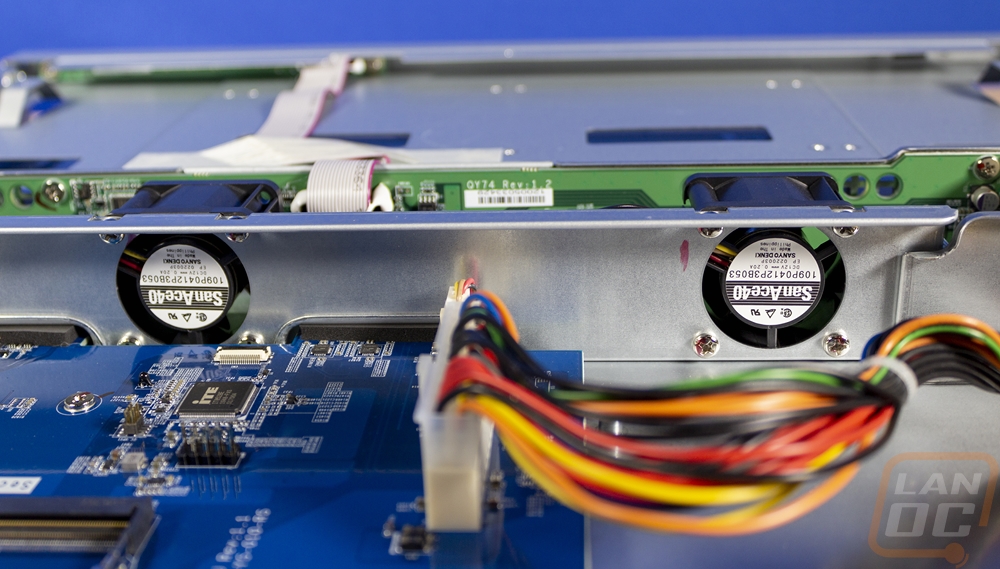
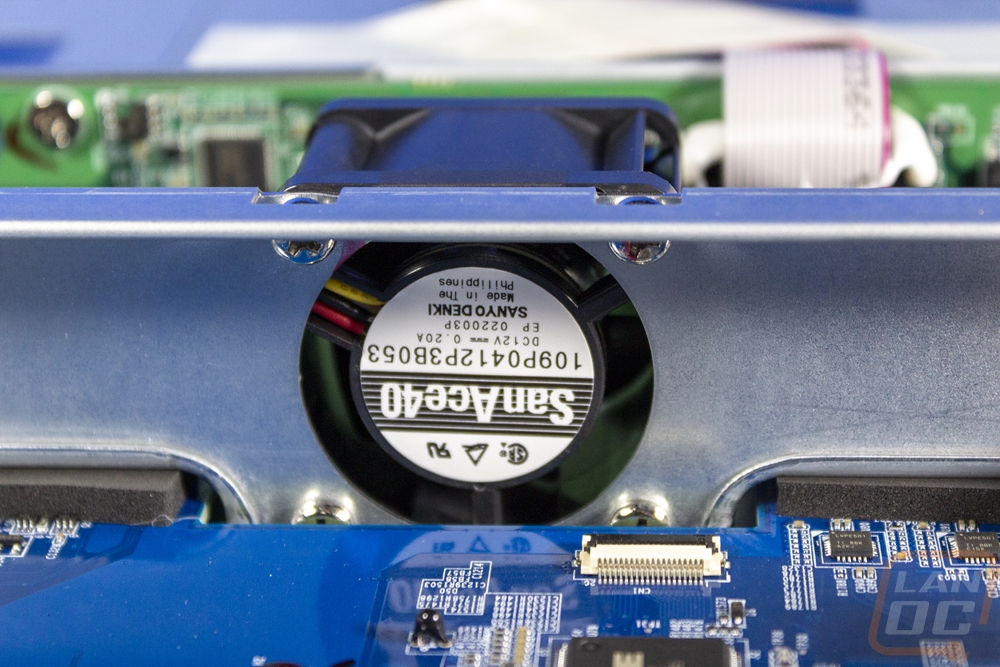
The split design between the front and back half of the NAS is interesting. But it does function as a place to mount the two fans. There are FanAce40 40mm fans with the model number 109P0412P3B053. The motherboard has two unique extensions that run under the divider and plug into the hard drive backplane for the four SATA ports. The front panel LEDs and power button also have small cables running off the backplane PCB to the front. All of the power is then pulled from that proprietary power plug on the far right. The PCB does have holes in it at each of the hard drive bays to control the airflow intakes for the two 40mm fans.
Software
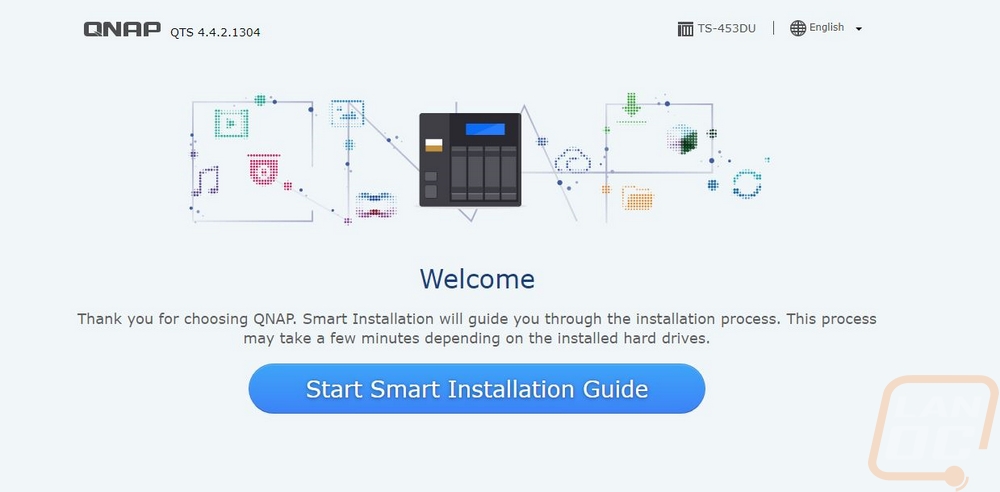
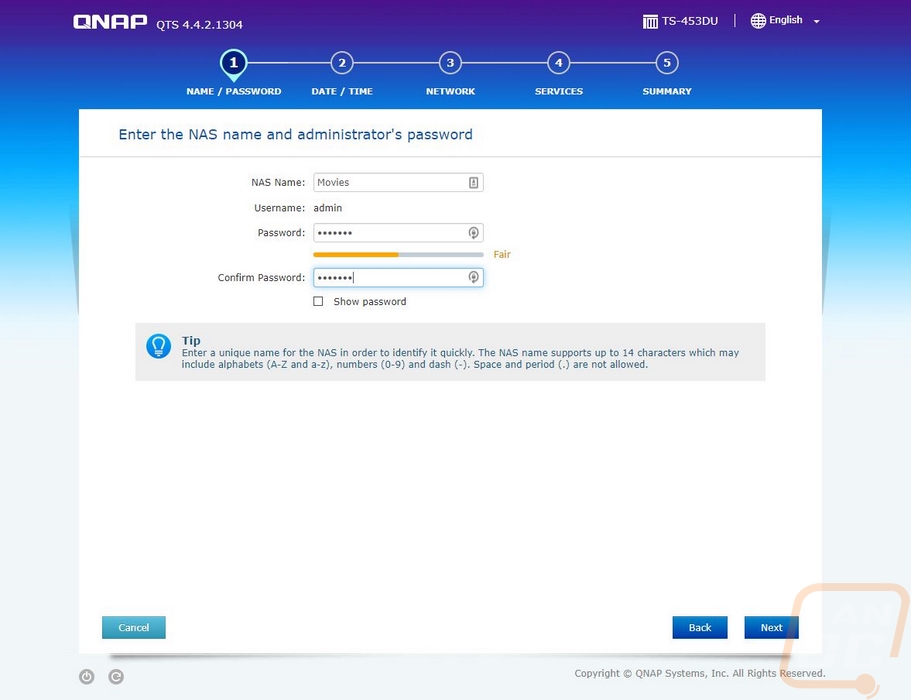
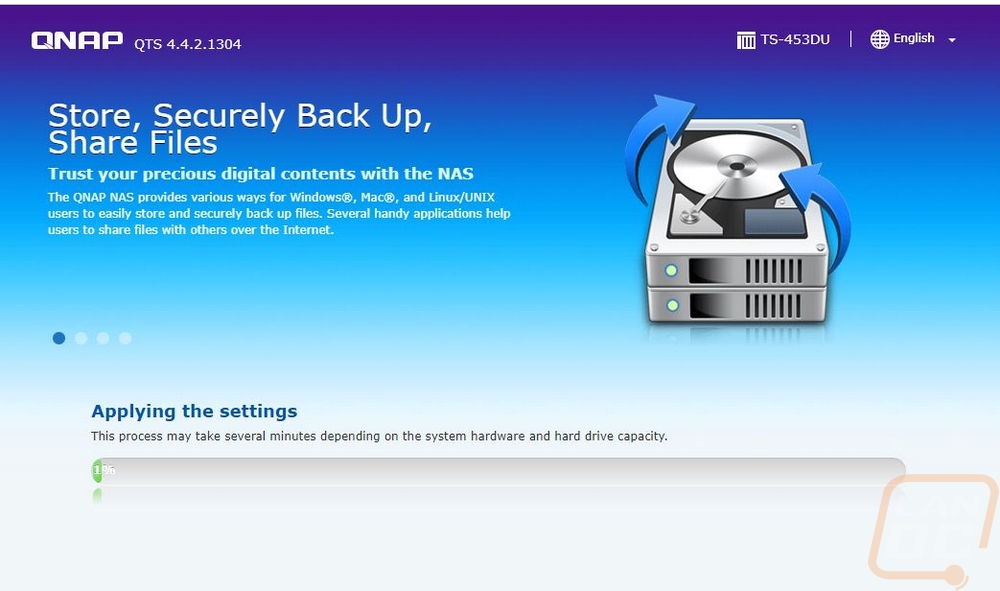
You can throw a few hard drives into an old PC and setup a simple windows file share and you will get at least okay performance with that. For a NAS like the TS-453DU, a lot of its value comes in the software that Qnap has developed (as well as much lower power usage compared to that old system). The software benefits start right when you jump in with how Qnap has simplified their initial setup. You can of course use their app along with the QR code on top of the NAS to find the NAS or look for it listed in your router. Once you are there you start with a one click start button. From there they run you through a few basic steps to get things configured. This includes naming the NAS and setting up your admin password. Then they have you set your time zone, configure your network settings, and turn on any of the basic services that you might need. A good example of this is making sure apple filing protocol is turned on if you have a mac on your network or widows file services if you have Windows PCs. From there they set everything up for you and give you a nice status bar to let you know when it gets close.
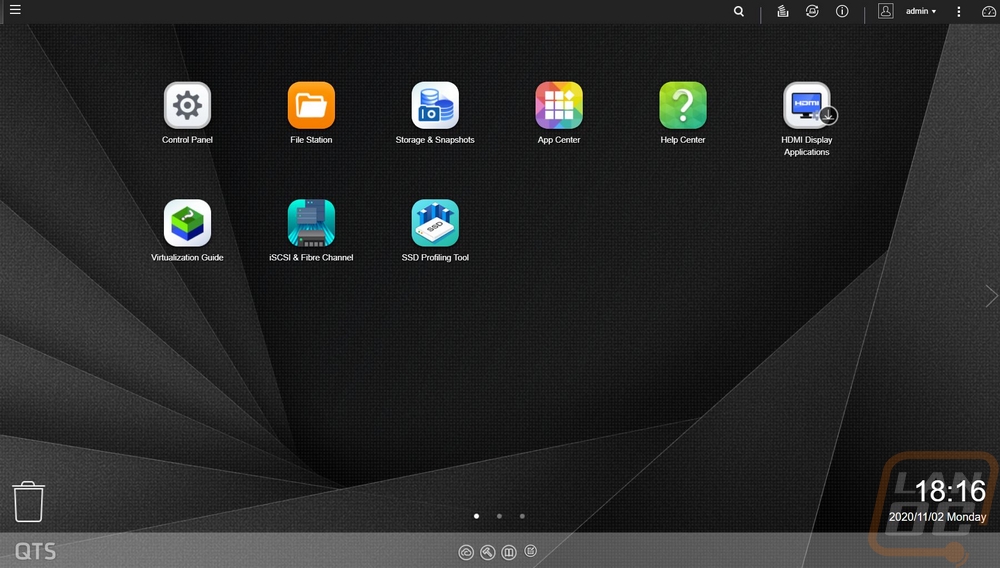
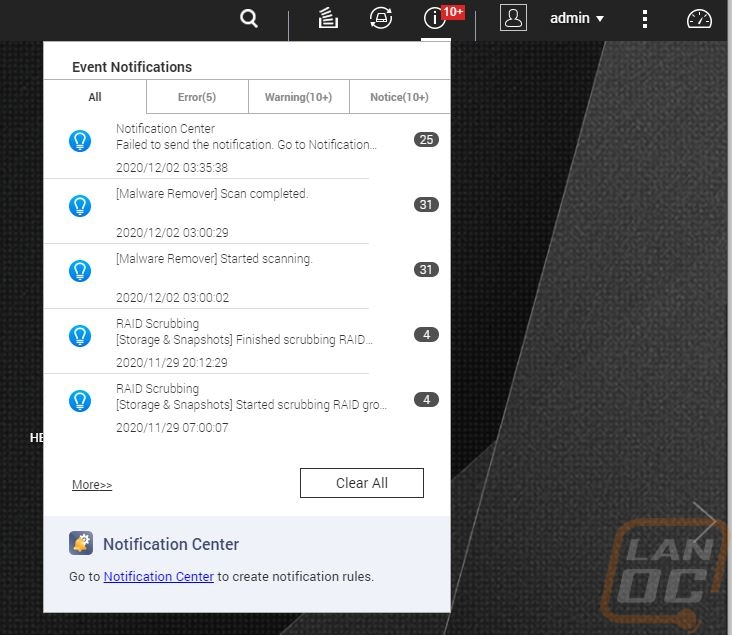
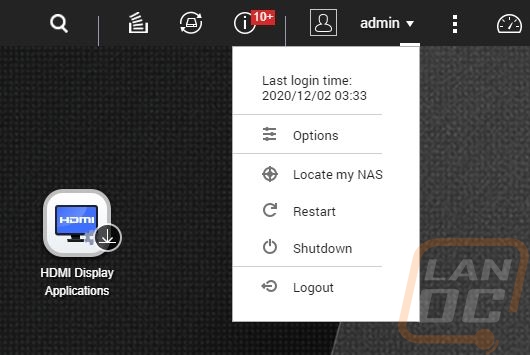
Once loaded up you are greeted with the home page which QTS (Qnaps OS name) has laid out like a combination of a mobile OS and a PC. The desktop has installed apps and a few important links like the app store, storage& snapshots, and the control panel. Down at the bottom, there are dots that show what page you are on like a mobile OS. There are a few links at the far bottom that will take you to their myQNAPcloud website and their utilities. The bottom right has the date and time. Then up top on the right, you have status buttons to show if anything is active like a scan (the tower of papers icon), any logged warnings from the last time you logged in (the I with a circle around it), and any external devices. You can open up the resource center with the gauge like icon and the admin dropdown gets you quick access to logout, restart, and shutdown buttons as well as a locate my NAS button which might seem crazy but if you have multiple NAS or have a data center the beep and light on the front will help find it.
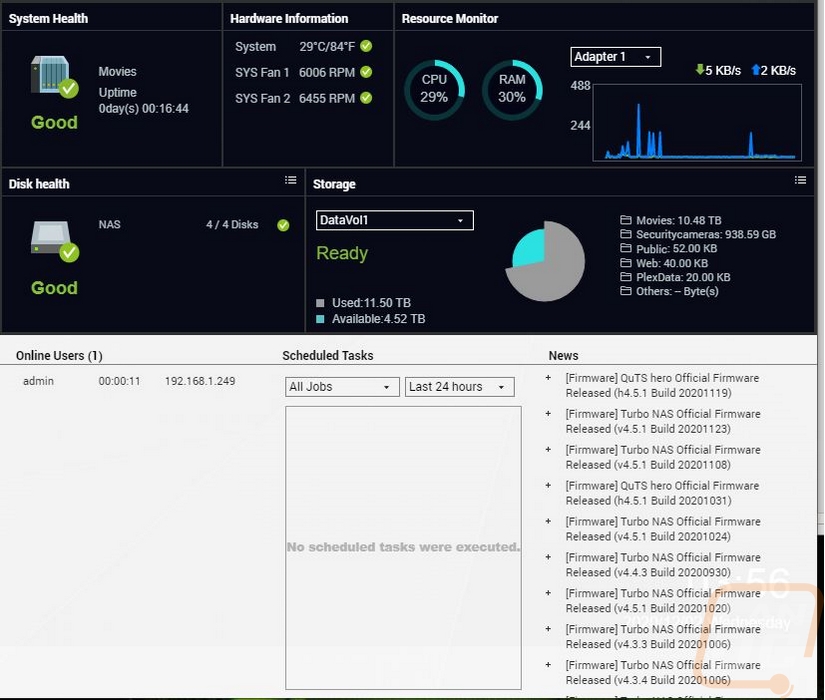
Here is a look at the resource center that the top right button opens up. It’s a quick way to see the status of your disks, your raid, uptime, fan speeds, temperatures, CPU and ram usage, and network traffic all in the top half. The bottom shows any tasks you have scheduled as well as anyone logged in currently. Then they have Qnap news which is listing off all of the firmware updates for all of their lineup.
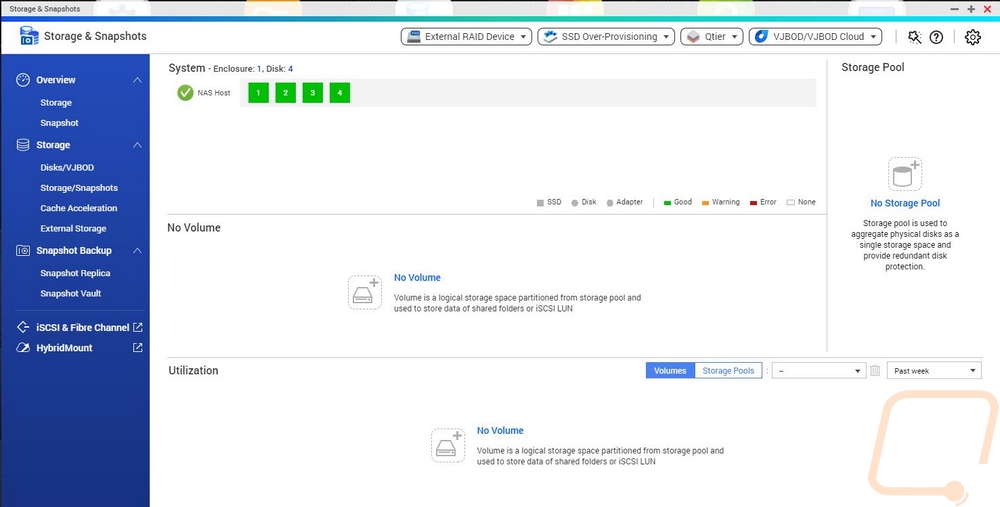
Before getting into the software more I did need to setup our SSDs, which means diving into the Storage and Snapshots section. Qnap makes this easy as when you get in you will see all four of your drives and you have the option on the right there to create a storage pool. You can also setup external raid devices, configure SSD overprovisioning, setup virtual JBOD, and my favorite Qtier all up on the top row. Qtier is interesting because this is Qnaps version of tiering your data which will categorize it in hot, warm, and cold sections and move the data between fast and slow storage options. With a 4 bay NAS, this isn’t the best option, but Qnap has multiple options that include M.2 drives or even dedicated 2.5 inch SSD slots in addition to normal hard drive bays. With the TS-453DU you could take advantage of this by using an add-in card to add an M.2 drive. This will keep frequently accessed files on the fast storage and move untouched files to slower hard drives.
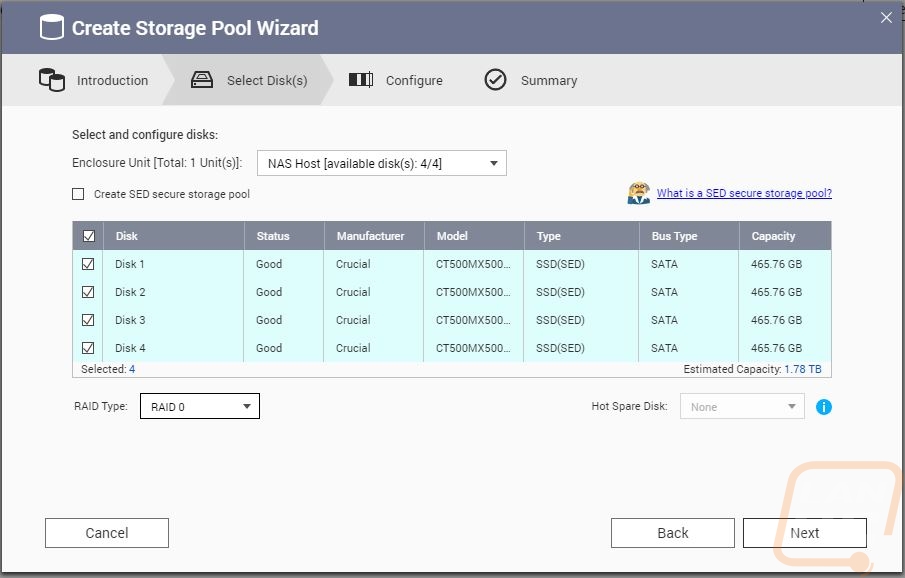
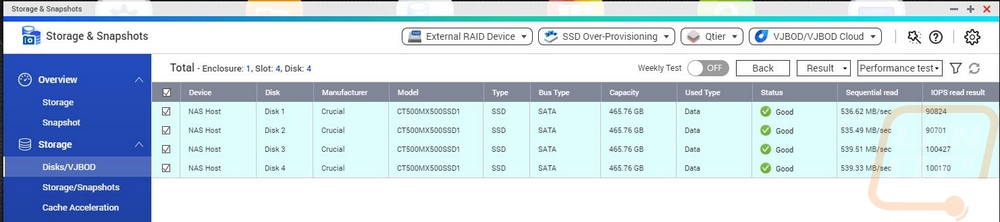
Once you click the create storage pool option they walk you through a wizard to set one up. This lets you pick which drives you want to use and setup the raid type. For my testing I played around with RAID0 but (spoiler) only needed a simple single disk to saturate the 2.5GbE network connection. So I wouldn’t recommend RAID0 here if you don’t need redundancy I would avoid the striping that could cause you to lose everything if a drive fails. But then again, why the hell aren’t you setting up redundancy. For my actual use of the TS-453DU, I have a RAID5 setup which means I can lose one of the four drives without any data loss. At least some insurance. Once setup you can also look at the individual drives and they even run a speed test per drive. You can see our Crucial MX500 SSDs were all around 536 MB/s each and in the 90K to 100K range for IOPS.

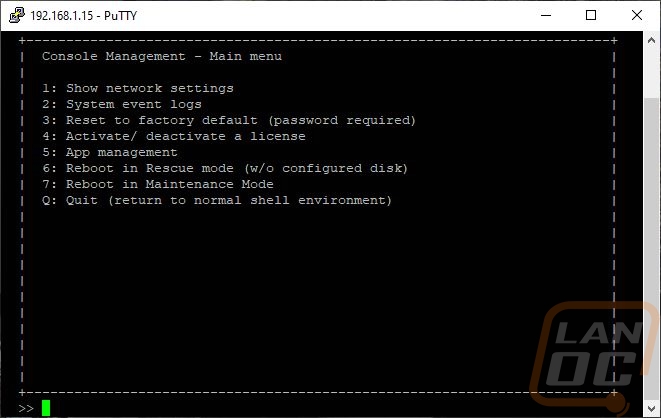
If you were curious the TS-453DU does support telnet/ssh. You get a basic list of actions when logged in including rebooting or even resetting the NAS back to factory. You can also look at your network settings and make changes to fix issues when you can't access the normal web GUI.
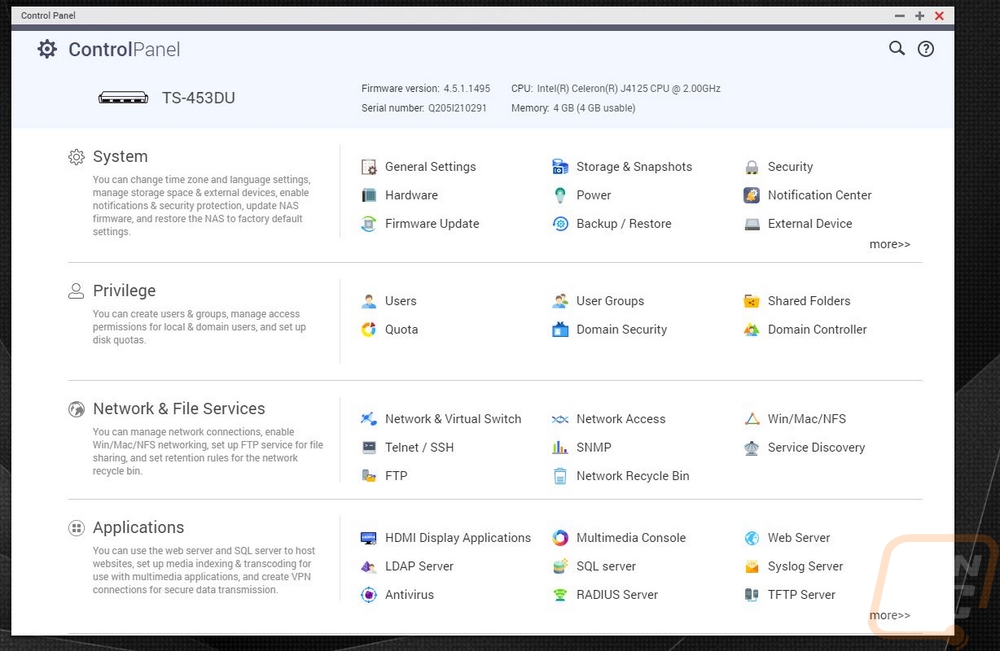
So back in QTS, there are two main options for going through the rest of the menu options. There is the control panel which is on the home screen or there is a drop-down menu on the top left. They both get you the same thing, which is access to pages of settings which I just don’t have room to fit here. This includes your normal network settings and file-sharing settings to application settings like the antivirus where you can configure when and what is scanned.
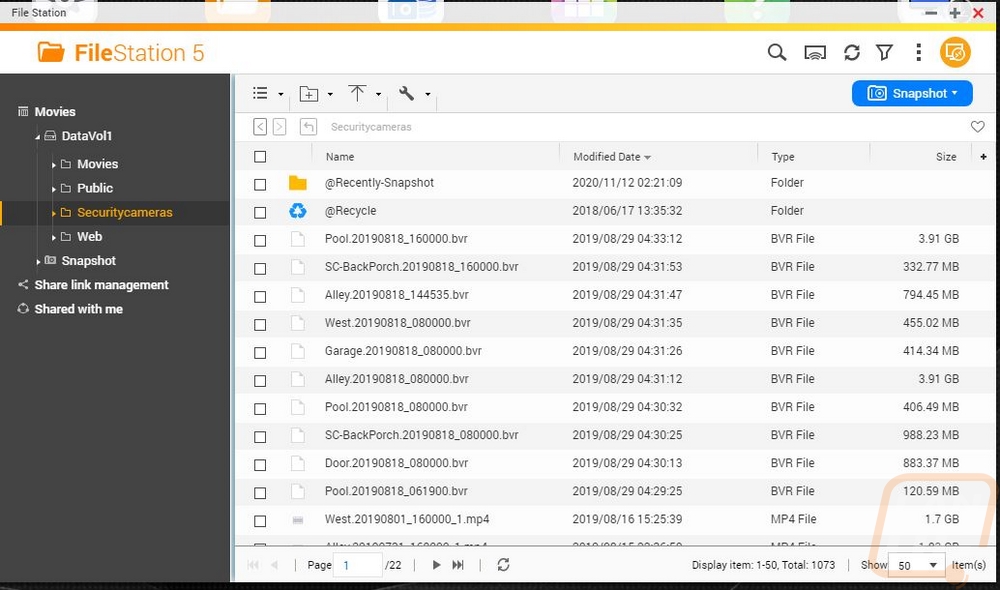
Also on the homepage, you do have the FileStation which allows you to look through all of the files and folders on the NAS without doing it over the network. This is the best way to handle deleting large amounts of files. You can also create new folders, transfer files between different file shares, and also create snapshots. This is an option in the storage settings that allows for on-NAS backups that can save file changes. This keeps storage capacity lower than doing traditional backup because it doesn’t create clones. The most interesting thing here for me though is that small Chromecast-like icon up at the top. This works with another Qnap app called the media streaming app, the short version is that you can look through files and cast them directly to your Chromecast or Airplay device right from inside of the NAS.
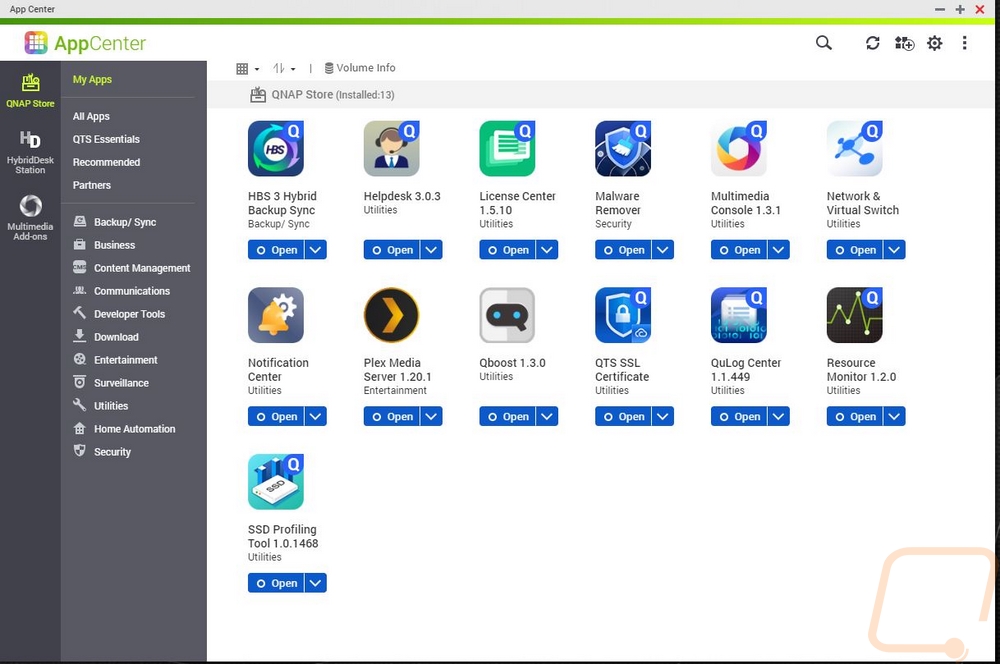
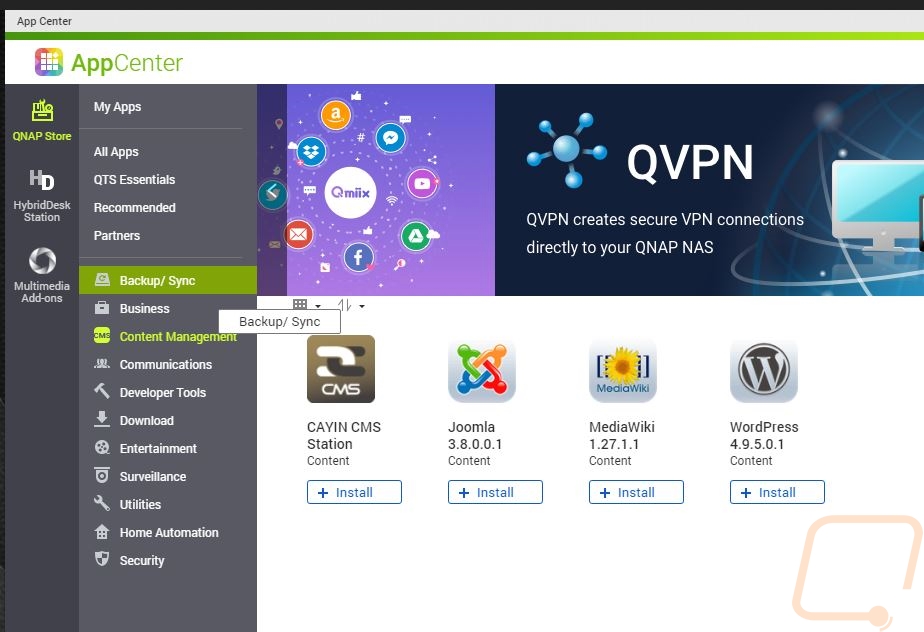
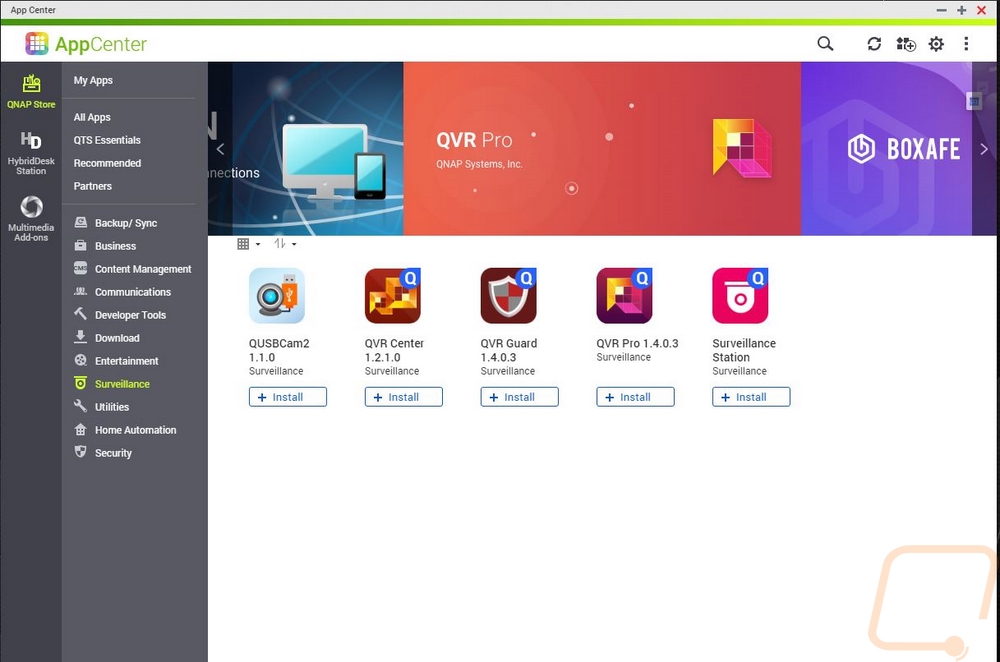
Speaking of apps, it’s the app store in QTS that brings everything to life. Over the years the number of apps available has grown. Qnap themselves has done a majority of them, sometimes in partnership with other apps or software. They have the app store sorted first by what you already have installed. This is where you can check for updates and update everything. Below that, though you have options to look at all of the apps, look at QTS Essentials, recommended, or even partner apps. Then they break things down by category. You will see everything from content management options like Joomla to security camera software. In fact, for camera software, there are multiple options, even from Qnap themselves. They have free and paid options and given how perfect a NAS is as a QVR it's not a surprise. I would love to see BlueIris eventually make it as an option, that is what I currently run for our camera setup.


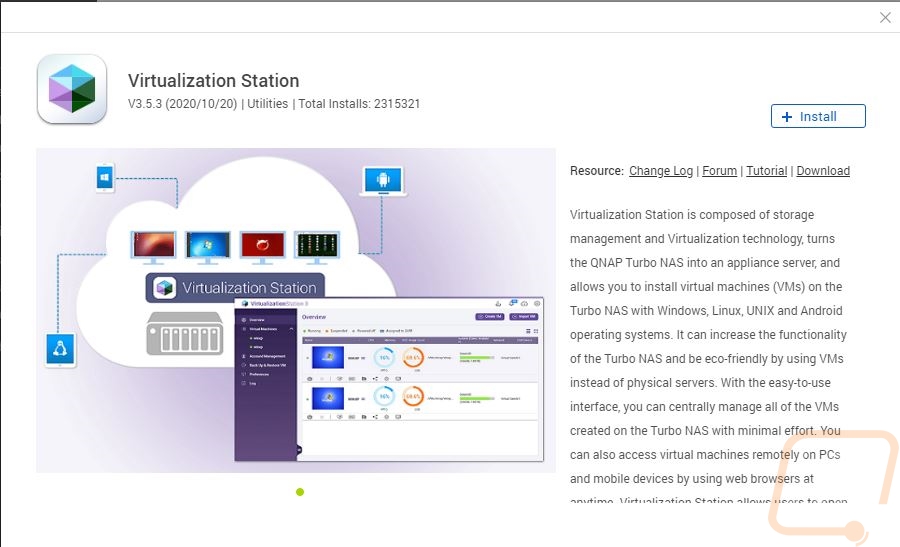
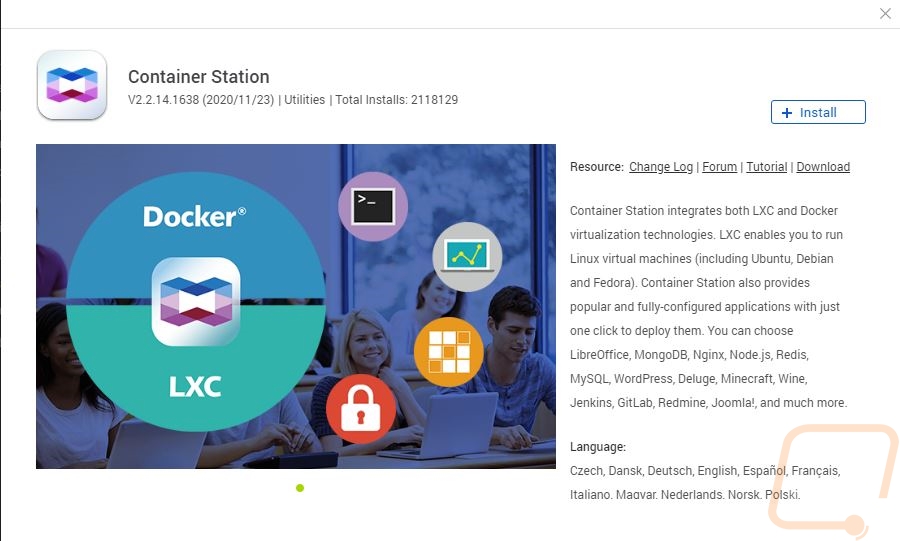
Its apps like Virtualization and Container Station that open things up, however. All of those apps cover most things you might want to do. But being able to create virialized servers inside of QTS means you can setup your own basic servers. The quad-core CPU in the TS-453DU isn’t exactly the CPU you need or want for any heavy VM applications. But the option is there. This comes to life in Qnaps higher-end NAS that have a lot more processing power. The container app is similar but even simpler. Dockers have become very popular ways to share and install server setups this is even how SteamCache servers are mostly setup these days because they can push out updates. Basically, Dockers are like apps, only not exclusive to QTS.
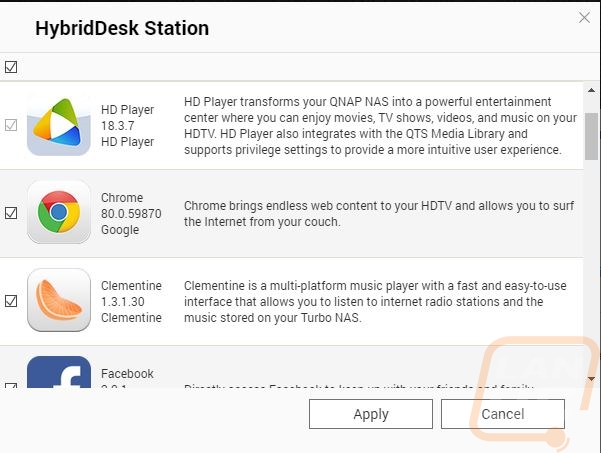
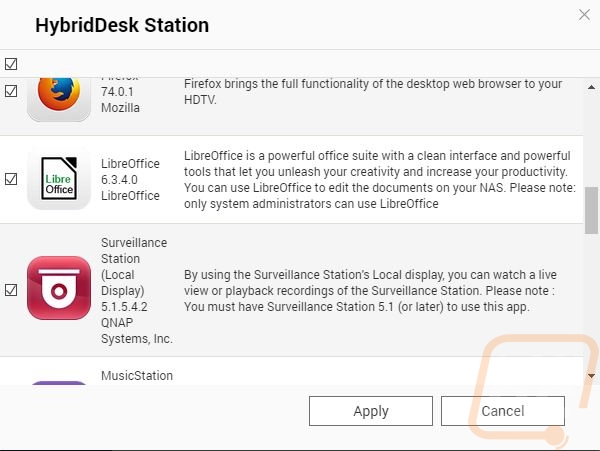
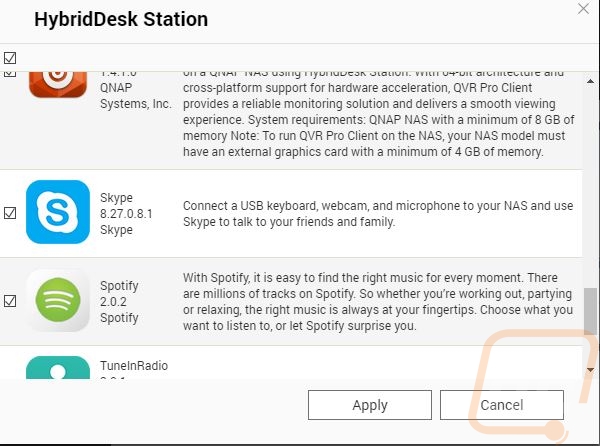
There is also a whole list of apps available for the HybridDesk Station. This is the name of the software that runs when you plug the TS-453DU or any Qnap NAS into a monitor with the included HDMI output. You can use an app to control things like a remote or plug in a mouse and keyboard and I only touched on some of the apps in the pictures below. But you will notice that you can use this setup as a media player or even access social media like Facebook or just use Chrome to access everything. They have LibreOffice which means you can use the TS-453DU as a basic work desktop, especially with Skype which is also on the app list. But the one that stands out the most to me is the Surveillance Station which means if you are using the TS-453DU as your camera server, you could use the HDMI output to output to a TV. If you wired your office up this could even be setup away from the server rack.
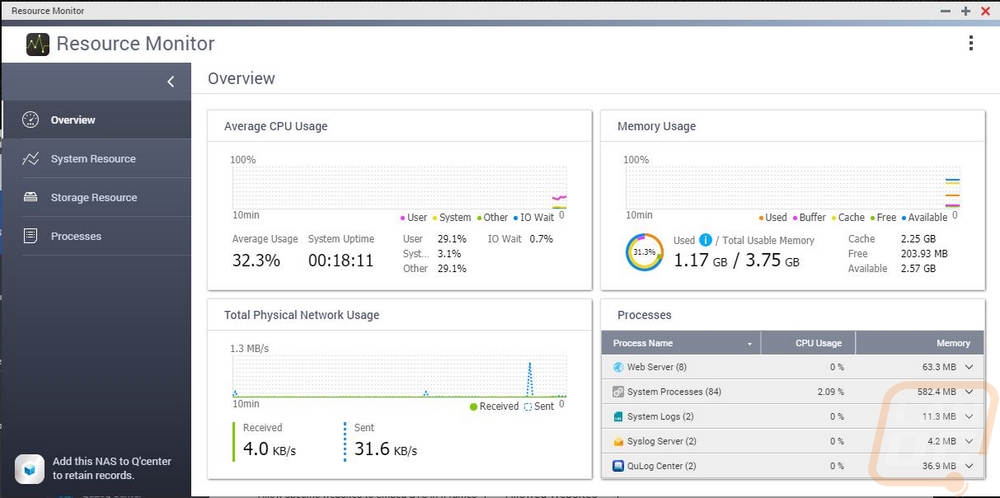
The QTS desktop also has a resource monitor option and I was surprised to find out this isn’t the same as the one in the top right corner of the OS. This is a lot more detailed with options to list out all of the processes that are running and how much memory and CPU usage they have. Breaking down storage that is used. As well as graphs for network, CPU, and memory usage.
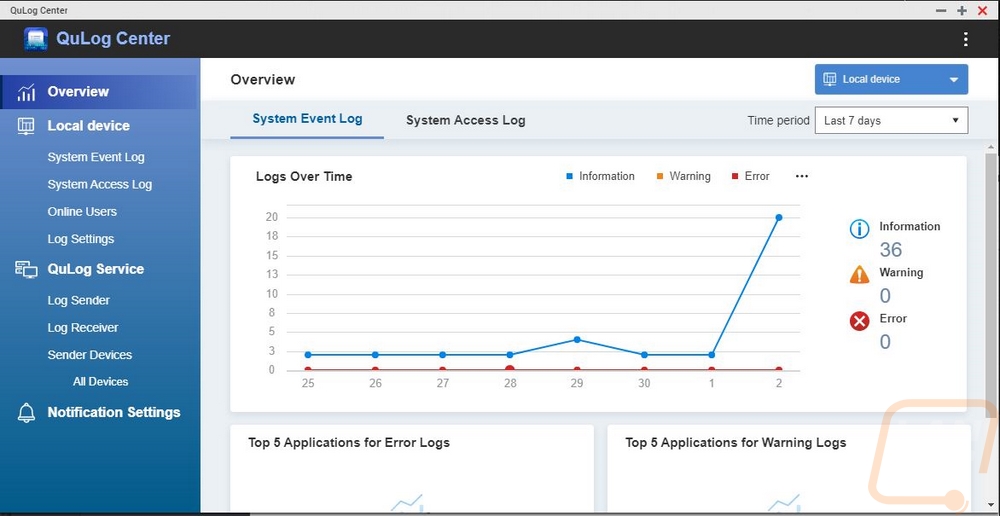
The QuLog app is also really useful if you have been having issues with the NAS. They graph out when all of your errors and warnings have happened to help pinpoint when things started, list out the applications that cause errors or warnings. And let you look through full system logs.
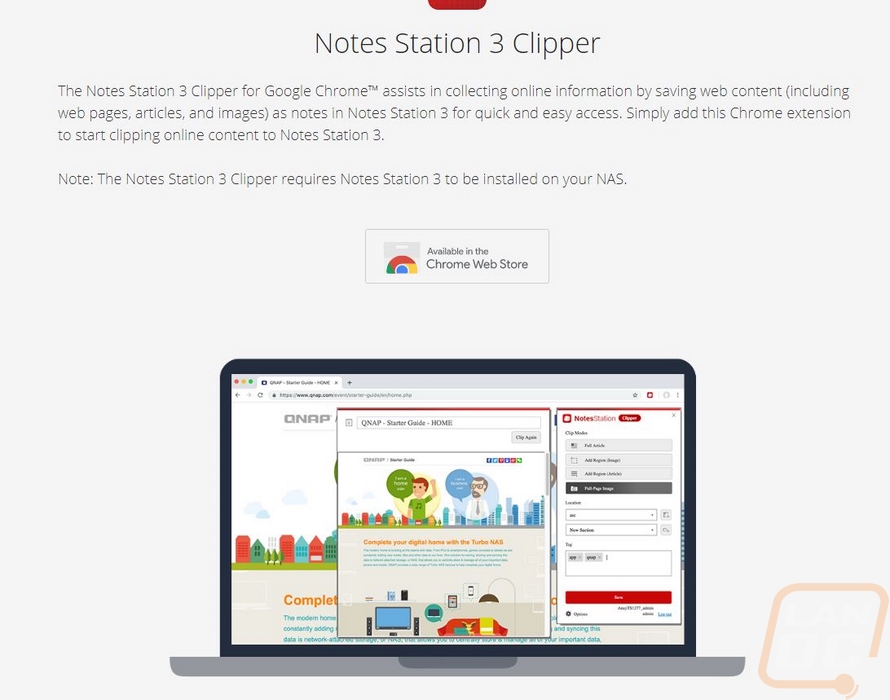
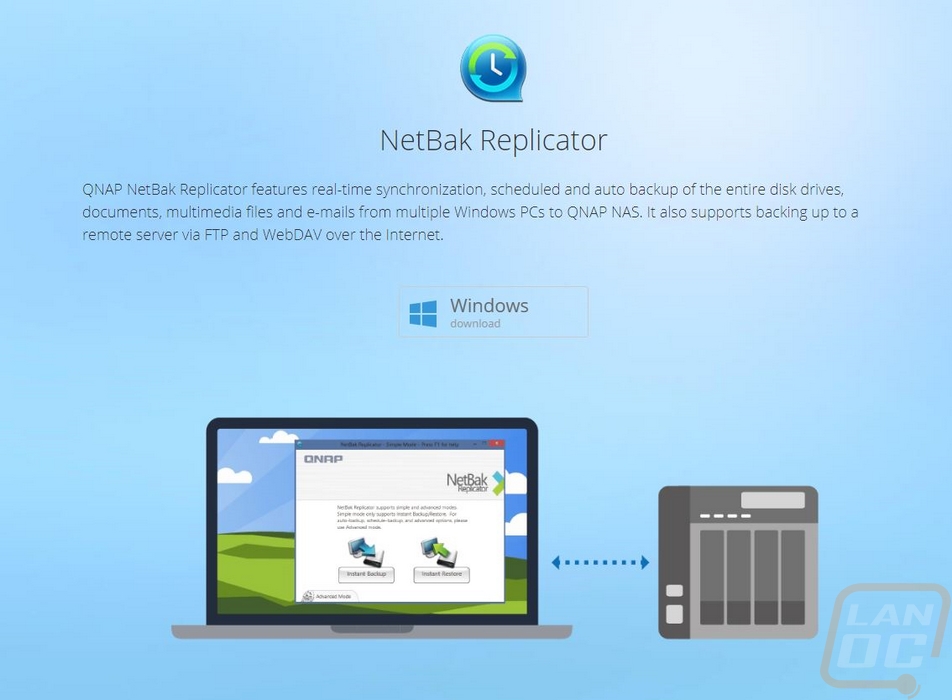
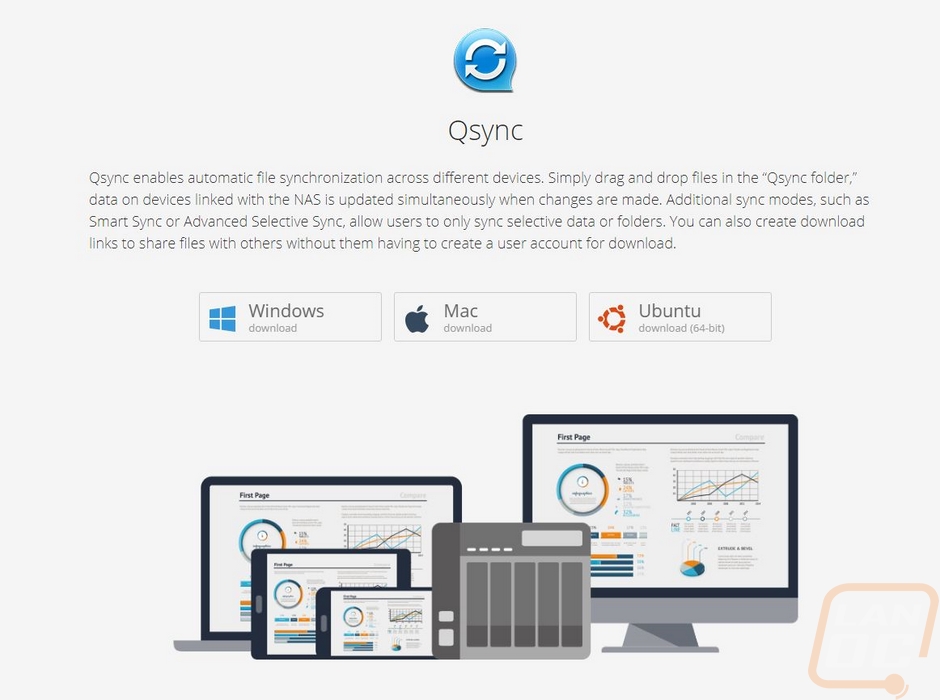
Beyond the apps available inside of QTS. Qnap also has a few different utilities and apps that work outside of the NAS to help expand its functionality too and I wanted to quickly touch on those as well. These pair up with QTS apps and sometimes allow you to create your own cloud. Which I think is one of the best uses for a home or business NAS. Being able to avoid uploading all of your data for Microsoft, Google, Amazon, and everyone else to control is a huge bonus. For example, the Notes Station 3 Clipper is a Chrome Extension that lets you clip screenshots and upload them directly to your NAS. There are multiple options out there that do the same thing but upload them online, sometimes requiring you to pay for a service if you do it a lot. This is a great option to keep things in-house. The NetBak Replicator is a windows app that lets you backup your windows installation on the fly to your Qnap NAS. I normally just save most of my data right to the network. But some people feel more comfortable using your PC the way you always have, this allows that. Or can allow you to even help friends or Family setup a backup to backup remotely to your server even. Qsync is another file-sharing program, this one works with Windows, Mac, and Ubuntu which is great. This works similar to OneDrive and Dropbox where it sets one specific folder to sync files. It also lets you click and create download links for files just like both of them as well.
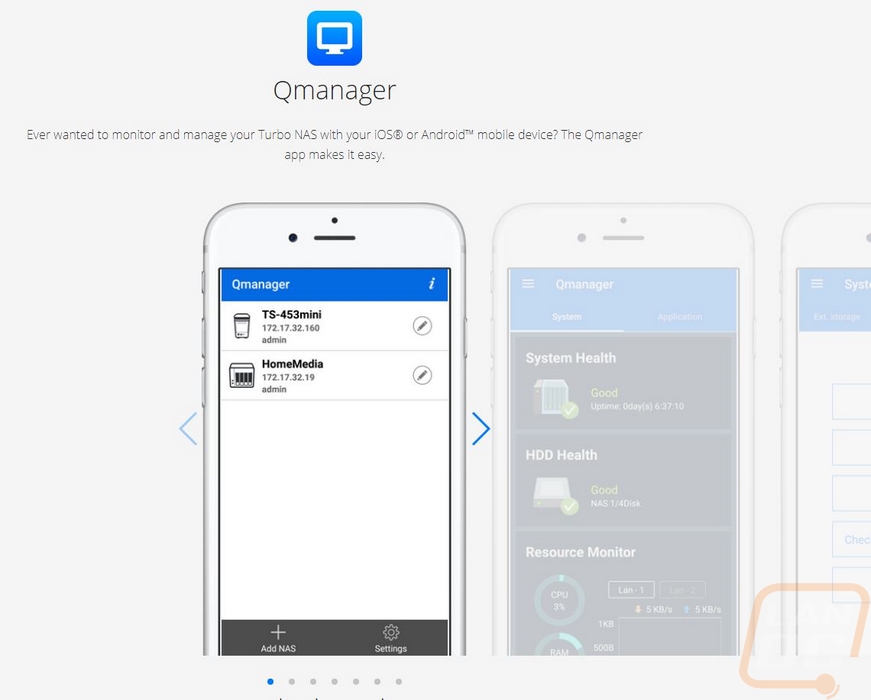
There are of course a LOT of phone apps available and below I only touch on a few that stood out to me. The Qmanager app is one that I use, especially when running more than one Qnap server. You can use it to check the status of your server but for me, I mostly use it to update or restart apps. Like Plex which loves to not work after a power outage.
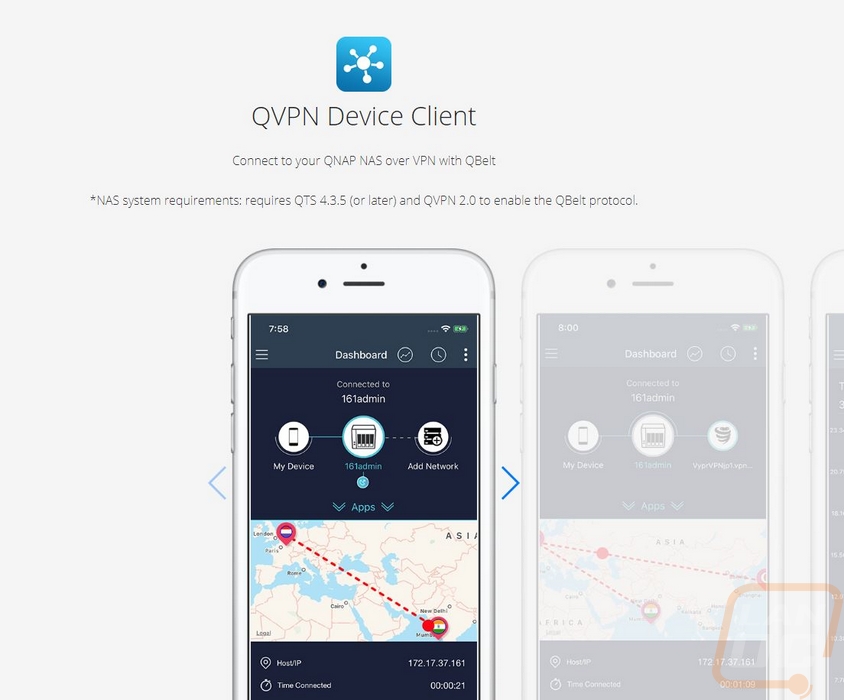
QVPN lets you use your NAS as a VPN. This lists QBelt but they also support PPTP, L2TP, and OpenVPN as well.
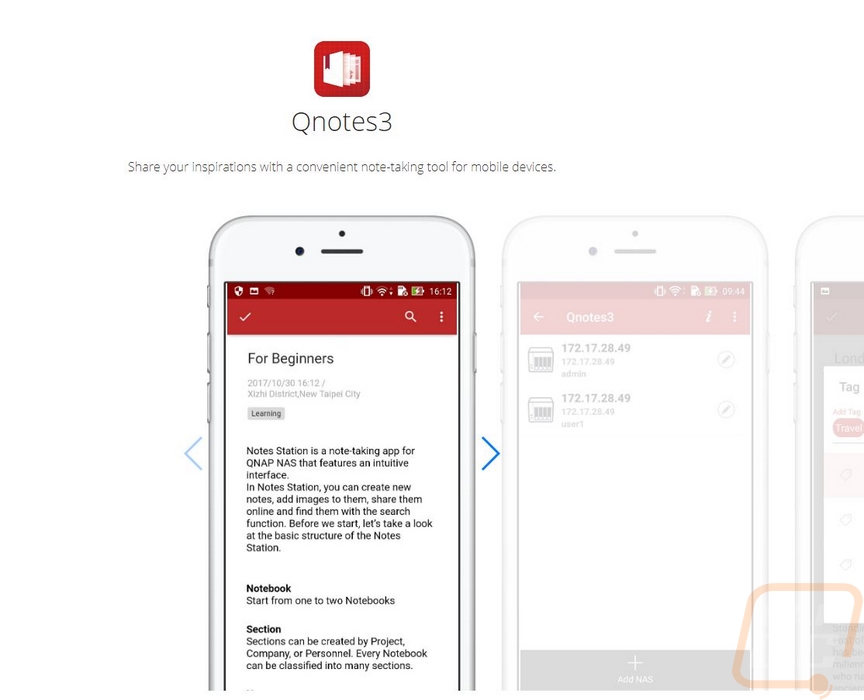
Qnotes3 is another cloud-like app that acts similar to Evernote or google documents where you can take down notes and it saves everything on to your NAS, not the cloud.
QuMagie Mobile is similar to Google Photos, allowing you to access all of your pictures remotely all of the time. It includes AI image recognition like google photos and you can backup from your phone to your NAS.

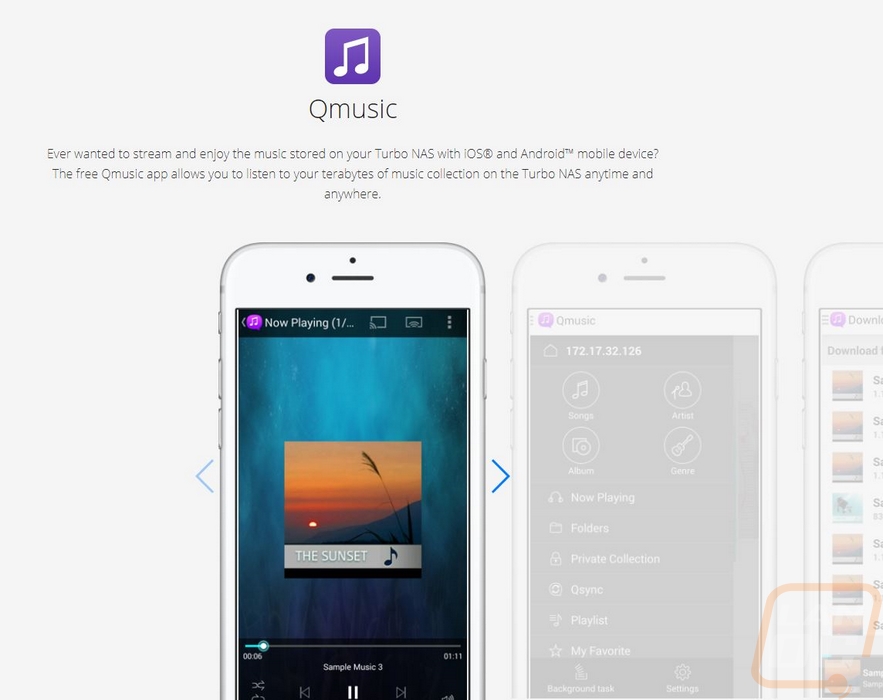
Have a big music connection on your network? Well, Qmusic lets you access it remotely. This means your backed up CDs can be used as your own private music network.
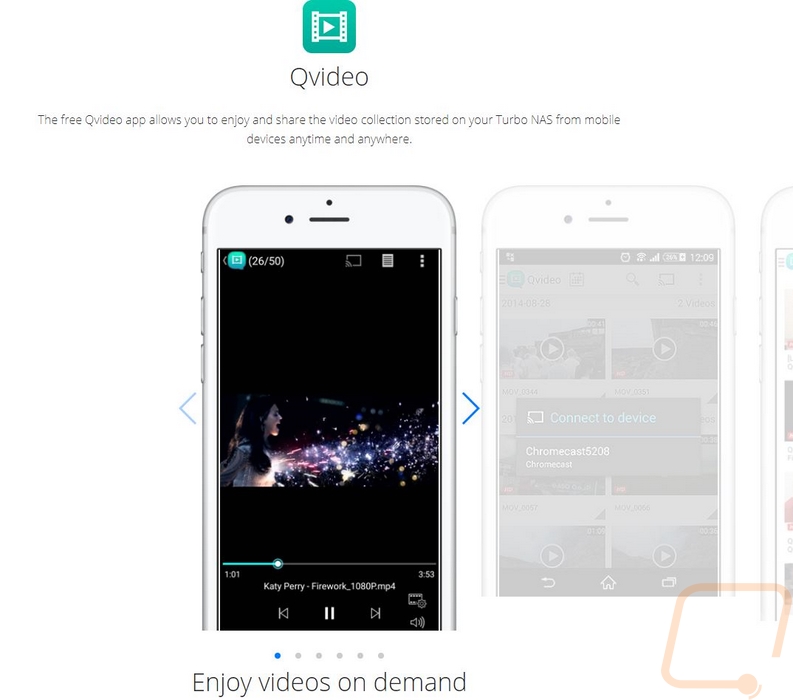
Qvideo is just like Qmusic, only with access to any video file stored on your NAS.
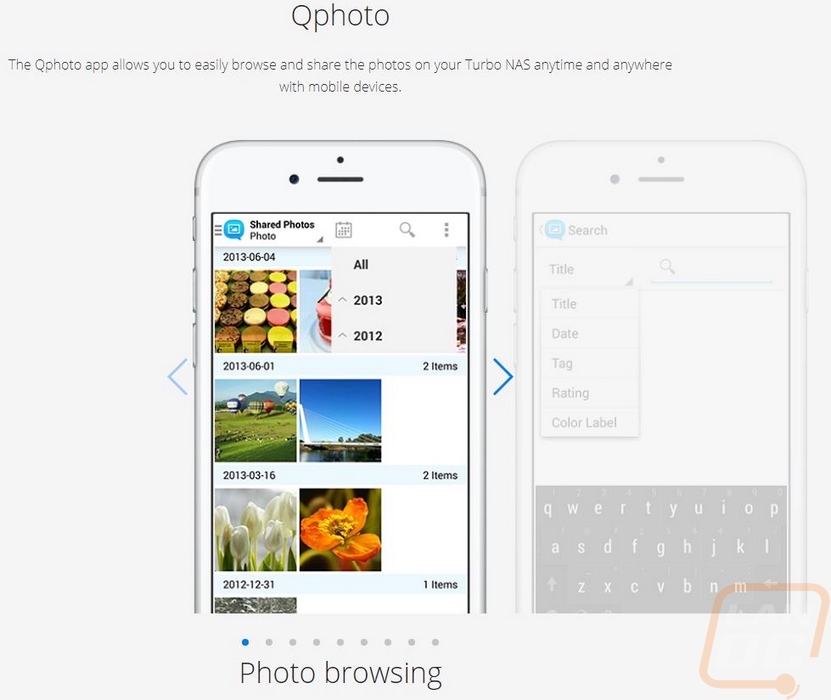
Qphoto is Qnaps personal cloud app for your photos, backing them up from your mobile device and accessing and sorting past pictures.
Then there are of course other options where you can integrate mobile apps with services running on your NAS that aren’t made or supported by Qnap. A big example of this is Plex which you can run on the NAS and then remotely watch your movies, tv shows, and listen to your music altogether in one place. I’ve been using Plex for a long time because it allows you to run more than one server and they make it all seamless, even downloading cover art, captions, and having information on the tv shows and movies including lists of the actors with pictures.
Performance
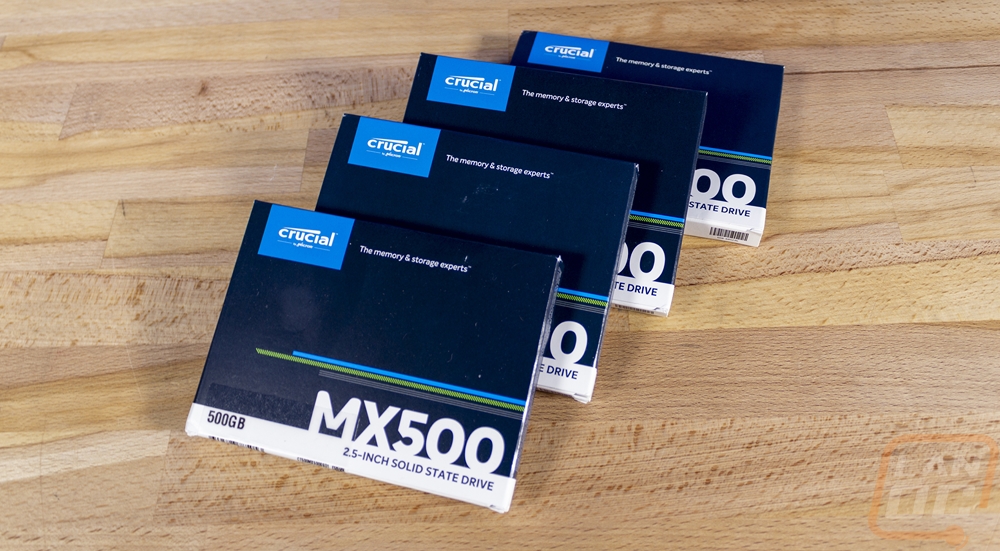
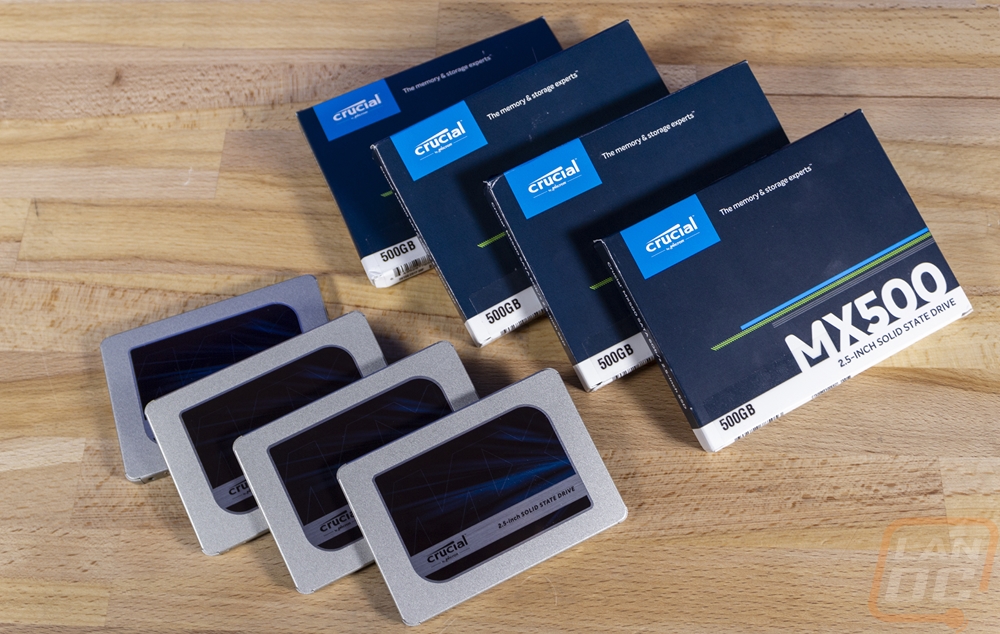
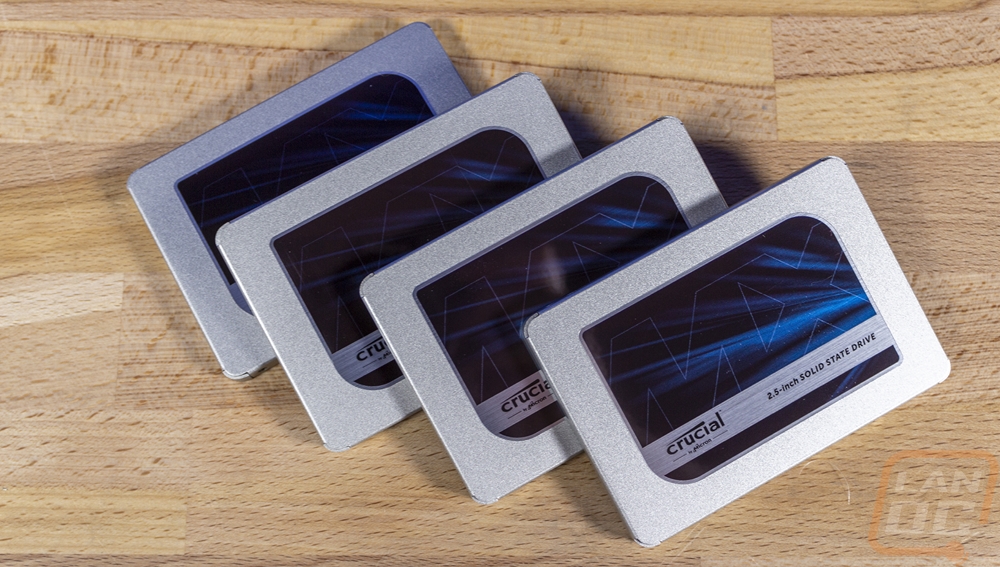
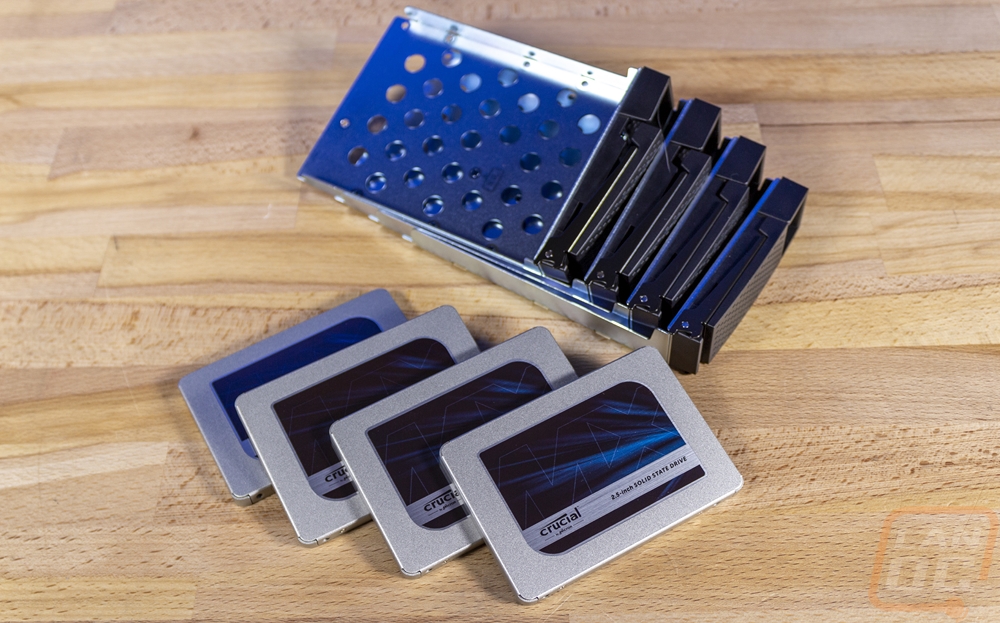
Before getting into testing we do have to install drives and for testing, I am using four SSDs which Crucial sent over, so a big thank you to them. The four MX500 drives will allow me to fully test 2.5G and 10G NAS like the TS-453DU I’m checking out today. The plan for the TS-453DU is to use hard drives eventually, these are just for consistent testing.
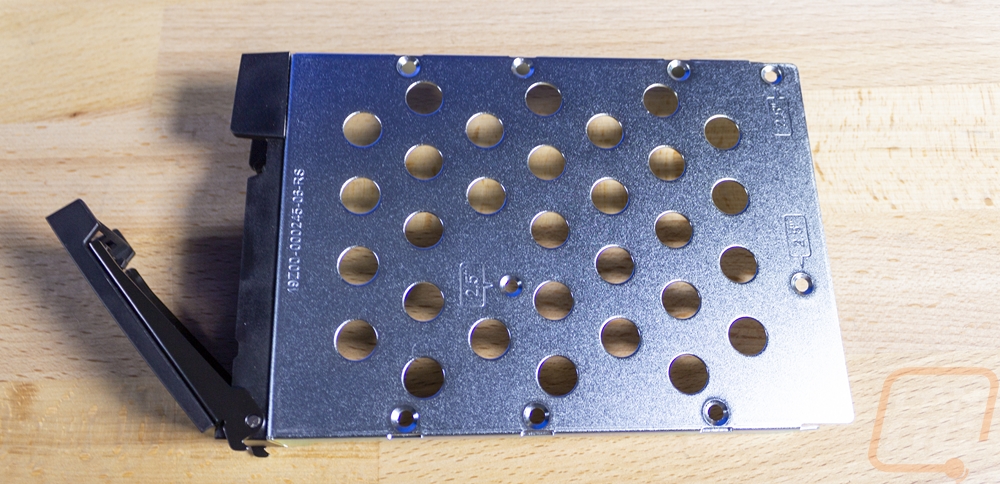
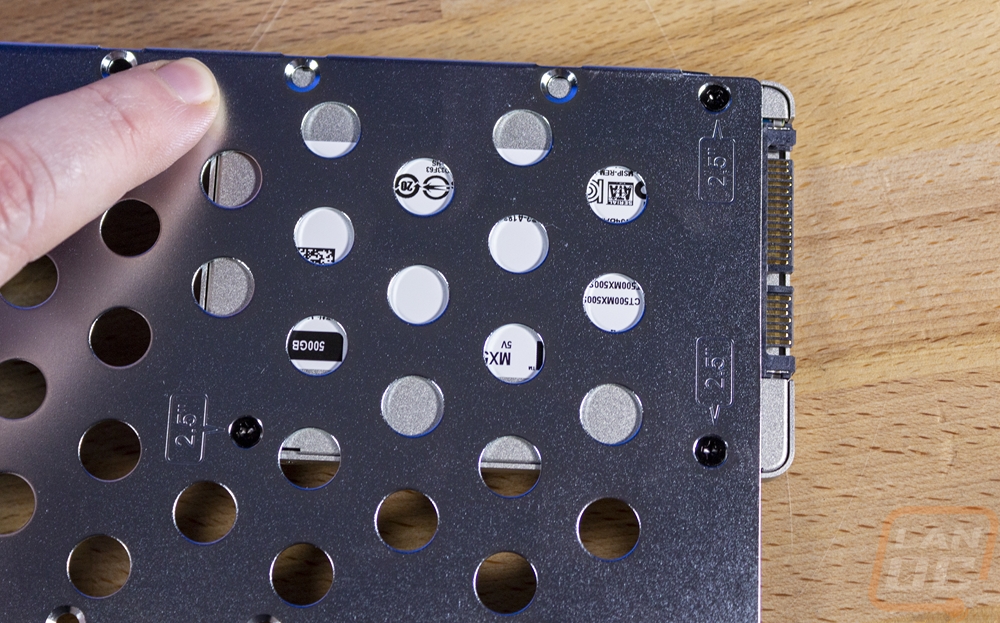
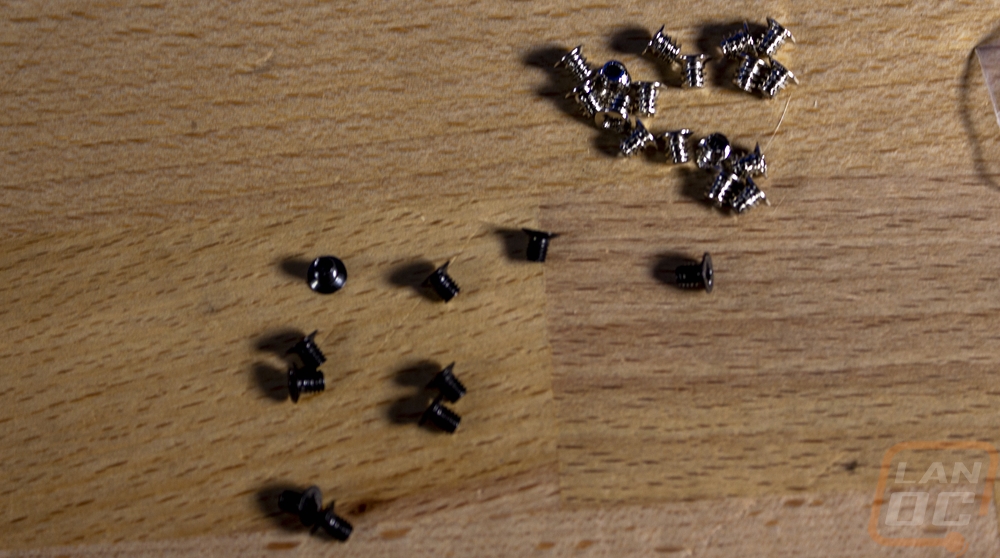
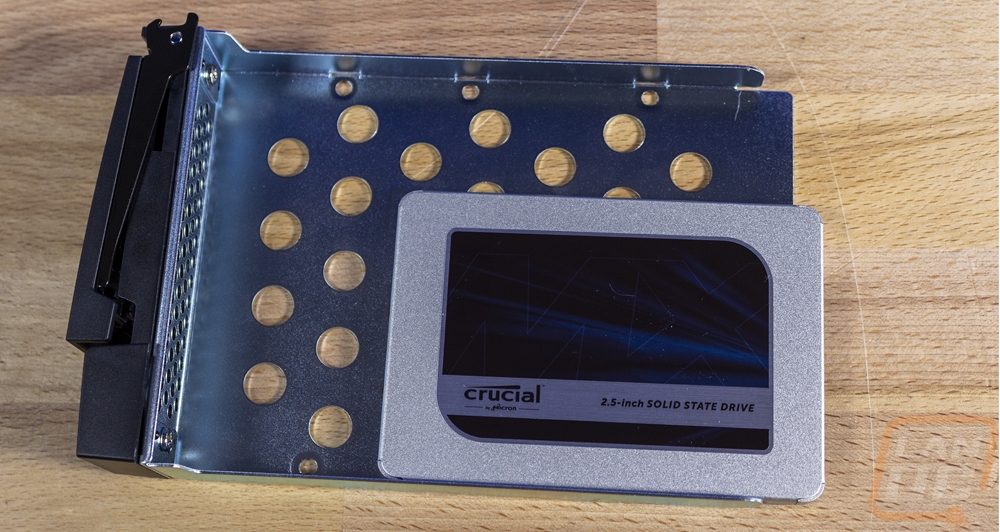
Mounting the SSDs into the metal drive trays is extremely simple. There is only one way the mounting holes line up, so you don’t have to worry about the SATA plug being in the wrong location and not reaching the backplane. The three 2.5 inch drive mounting holes are all labeled. But keep in mind it is just three, the fourth screw hole in the drive will be covered up. You also need to remember that the TS-453DU does come with two sets of screws, one set is for SSDs and the others are for hard drives. The SSD screws are black and the hard drive screws are silver.
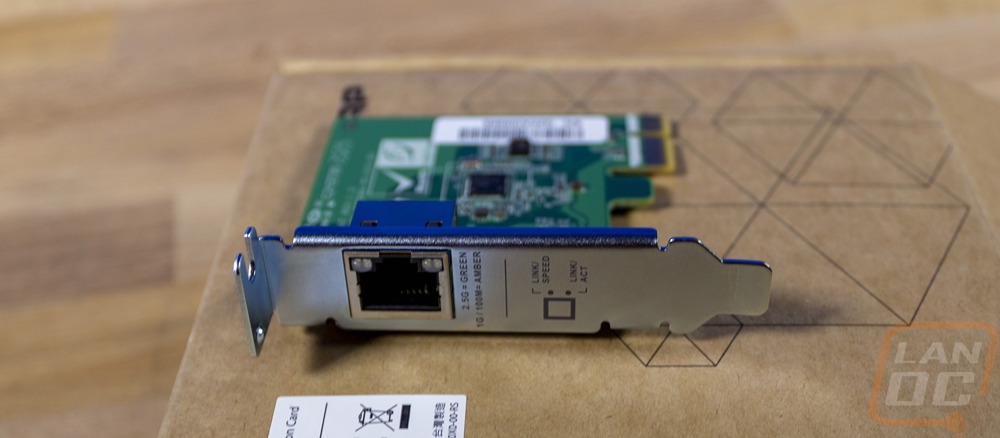
I also took a picture of the LED status indicators while they were powered up as well. You can see that the far right is the network status indicator and it changes color depending on if you are connected at 2.5G or 1G. The four drive bays all have their own numbered LED that will show activity or light up red if you have an error to make it easy to spot. Then on the left is the system indicator which powers on with the NAS.
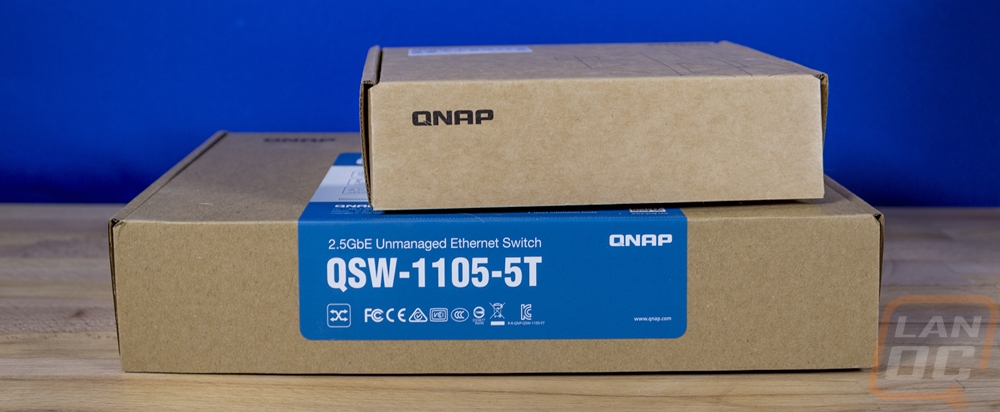
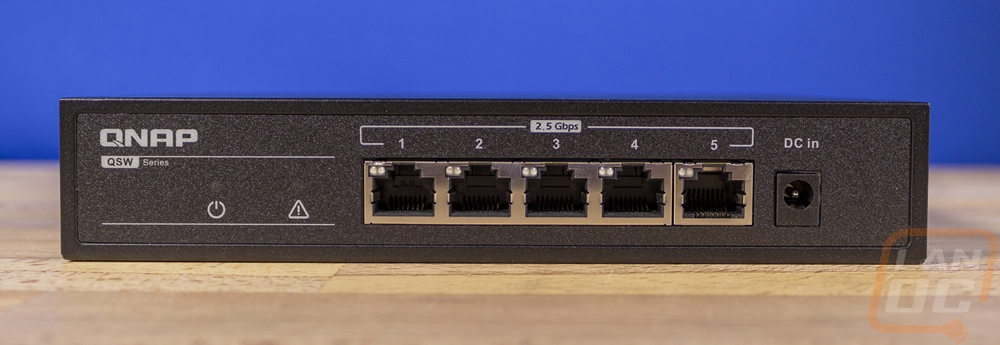
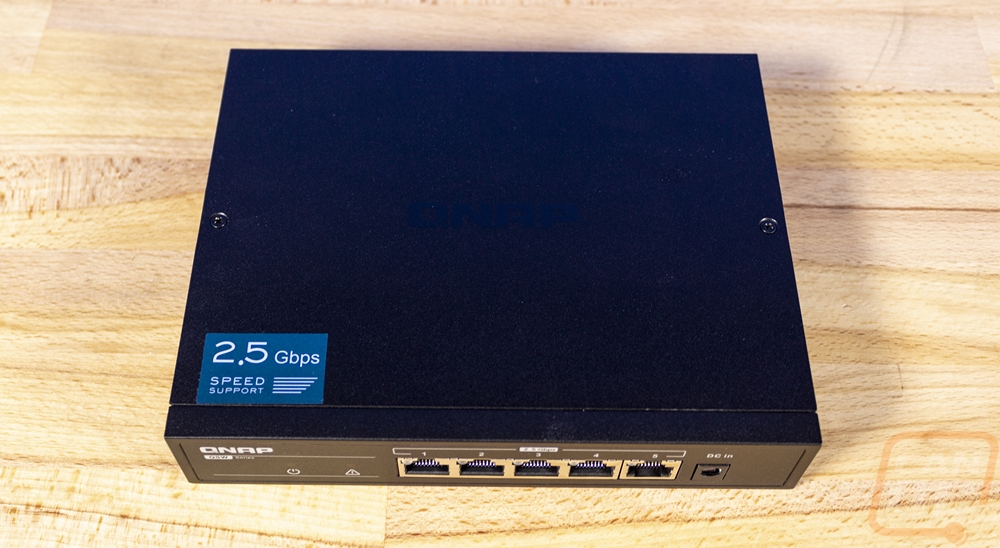
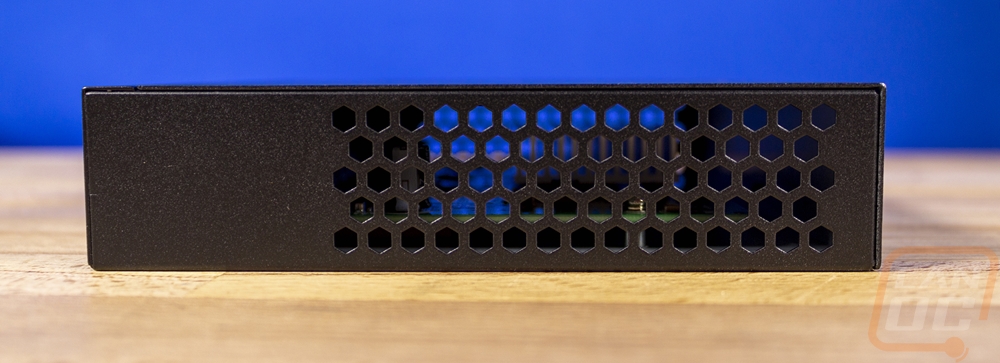
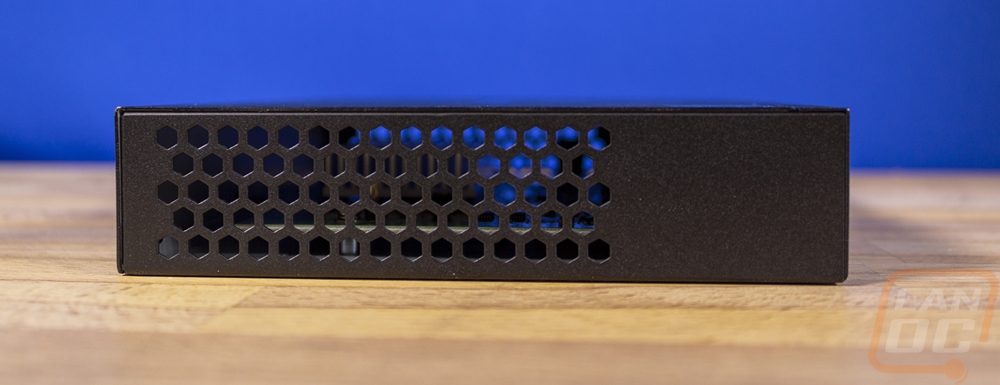
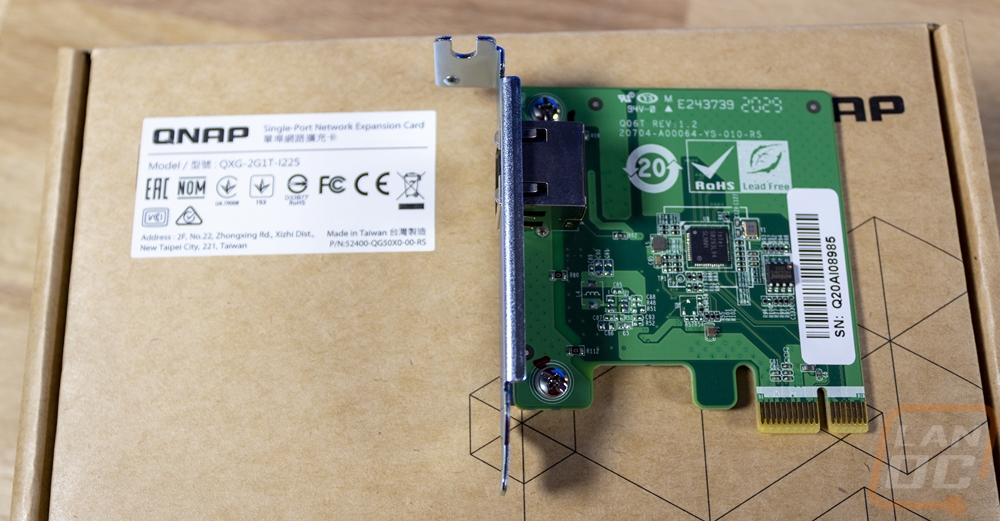
For testing Qnap also sent over their QSW-1105-5T 2.5GbE unmanaged switch and their QXG-2G1T-I225 NIC. Some of you may be surprised to find out that Qnap has expanded out into the rest of the network market. Starting with their expansion cards for their NAS. But recently, they have pushed into the 2.5G and 10G switches. This is great news given that those switch options have mostly been limited to enterprise only options which are extremely expensive. The QXG-2G1T-I225 NIC is $39 on Amazon which is in line with the competitors that have names you would know. The I225 at the end of the model name also tells me that this is an Intel NIC, similar to what comes with most of the mid to high-end motherboards now which is great. The QSW-1105-5T is a compact 5 port switch with all five ports supporting 2.5G. Switches like this are hard to come by, like I said before most options with 2.5G or 10G options are enterprise switches which are over a thousand dollars or only have one or two uplink ports. The QSW-1105-5T is as simple as they come with ventilation on the sides and no built-in fan for cooling and just power and warning LEDs on the front with the exception f the single status LED per port on the port itself. Even the power plug is on the front. It does have hanging holes on the bottom and they ship the switch with rubber feet you can install or two mounting screws if you want to wall hang it along with the small power brick for power. But all of that keeps the cost down with the QSW-1105-5T selling for $176+$26 in shipping on Amazon right now. Now that isn’t cheap compared to any standard switch, an equivalent 1GbE switch would be around $40. But it's the only cheap option on the market right now that can let you set up a small 2.5GbE network.

For all of my testing, I wanted to compare the difference between a standard 1GB network connection and the 2.5G that is included with the TS-453DU. So to start things off I ran CrystalDiskMark and the difference both in read and write speeds is night and day. The 1G connection maxes out at 118.5 MB/s for the read speed and 118 MB/s for the write speed on the sequential tests. Even the 4K 8 queue depth 8 thread test shows its limitations reaching 106 on the 1G connection but 153 MB/s on the 2.5G. But the sequential results on the 2.5G are the most impressive reaching just under 300 MB/s. This is a good reminder that speeds you may be used to seeing with internal drives are much faster than most networks allow for transfer speeds.
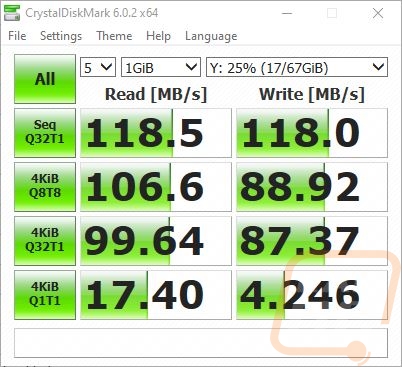
1G Network
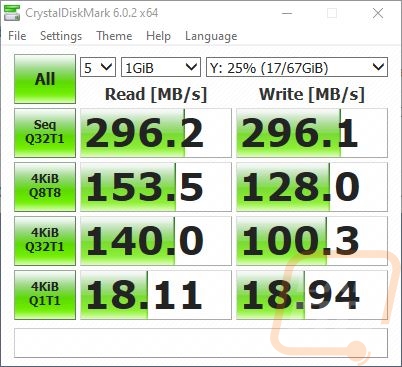
2.5G Network
I then moved on to my favorite testing, real-world testing. This is the same real-world testing that I do on external hard drives, so if you are curious how it compares you can go back to any of our external drive reviews. Anyhow for this, I wanted to see how different file types would perform with standard windows 10 file transfers. I tested using Movies which are large single files that are closest to the sequential drive tests, then folders filled with RAW and JPG pictures which are still large but much smaller than the movies, then I test using extremely small word documents. The three file types show just how different your transfer speed expectations should be depending on what you are moving around. I also tested all of these tests both on a 1G network and on the 2.5G network. The difference between 1G and 2.5G is noticeable in nearly all of the tests, even in the document transfers which are slow no matter what you are using.
|
|
To NAS 1G |
To NAS 2.5G |
From NAS 1G |
From NAS 2.5G |
|
Movies |
113 MB/s |
283 MB/s |
111.6 MB/s |
281 MB/s |
|
Pictures |
88.4 MB/s |
185 MB/s |
88.3 MB/s |
189 MB/s |
|
Documents |
1.23 MB/s |
2.6 MB/s |
2.36 MB/s |
2.54 MB/s |
Looking at things beyond file transfer speeds I was curious what thermals would look like for the Celeron J4125. It only has a TDP of 10 watts, but without active cooling does it ever warm up? In short, not really. I played around with putting different loads on it, including reencoding large movies and the CPU temperatures were very consistent. I saw 20c all of the time when I had the SSDs installed. But when I switched to hard drives which block airflow more and generate a lot of heat on their own it stayed at 26c. Then with the hard drives and also mounting in our rack that moved up to 29c. Even at that one, it is only 84 degrees Fahrenheit so thermals aren’t going to be an issue.
With the CPU temperatures being so consistent, it's no surprise that the fans are also consistent. One of the two fans (system fan 1) runs at 5956 RPM and the other(system fan 2) at 6286 RPM. While the plan all along has been to use the TS-453DU in our server rack which is loud itself. I did still want to check out the noise levels of the TS-453DU because some people may want to run the NAS and a switch in a closet. At 18 inches away, it came in at 46.9 decibels which isn’t quiet, but a lot better than what you will see from most full servers.
Because my main plan for the TS-453DU is to host a Plex server for our movies, I was curious how the quad-core Celeron J4125 would handle a large movie. I loaded up a 19GB movie file which was encoded at 4k and 10-bit and streamed it across the network while watching overall CPU usage. This is a much larger file than I would normally have on hand, but the TS-453DU did handle it. While playing the RAM usage went up to 43% of the 4GB available and the CPU did well peaking at 16% sometimes and dropping down to 8% and even 3% during playback. Overall the NAS can handle multiple high-resolution streams that require on the fly reencoding, especially if I expand the TS-453DU memory out to the 8GB max.
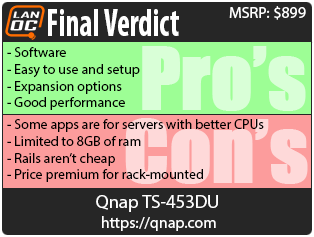
Overall and Final Verdict
So the TS-453DU isn’t a monster all in one server like some of Qnaps higher-end SMB and enterprise NAS are. But not everyone needs all of that if you don’t need the processing power systems like that just mean more heat, more power usage, and more noise. The TS-453DU comes in with its Celeron J4125 which is a quad-core CPU running at 2.0 GHz with a burst speed of 2.7 GHz and it does exactly what it needs to do right. The J4125 has a TDP of just 10 watts which means it doesn’t need active cooling at all and the entire TS-453DU is expected to pull around 32 watts with hard drives spooled up or 17 watts when they are sleeping. That is comparable to running two 60 watt equivalent CFL light bulbs, remember when we all switches to those because of the power they saved! The kicker though is that the system can still handle all of the storage duties you can throw at it and run countless programs like Plex and all of the other programs that Qnap and others have developed. Seriously, once you start digging into some of the apps you have everything you need to take everything back off of the cloud for your privacy.
It’s all of those software options which include options for your PCs and on mobile phones as well that make the Qnap ecosystem so impressive. Most you could do on your own with a full server if you had the time and the knowledge. But they have made it all much simpler and in some cases plug and play. Bringing some of your storage back into your home network (especially if you follow proper redundancy and have an off-site backup solution) means you also aren’t limited by your internet speed to access the files and in most cases, you can store a lot more as well. I mean 18TB NAS focused hard drives are available, that is 72TB of storage or 54 if you are running redundancy. Even as a huge data hoarder, those are crazy numbers! Besides, you can even expand the TS-453DU If you want. Qnap has multiple rackmount and tower expansion options. The things I would do to add the TL-R1200S-RP into the mix! You could break a 1/4 Petabyte with those 18TB drives. The best part though is the dual 2.53GbE NICs that allow you to finally see improvements in file transfers after home/SMB networks seemingly being stuck at 1GbE for far too long.
Now the TS-453DU isn’t perfect, namely like I said you do end up with a lot of cool functionality like Dockers and VMs that aren’t going to be possible on the Celeron CPU. I also would love to see the memory options be a little larger. You get 4GB of RAM and you can double that to 8GB which is more than enough for typical NAS duty and running some of the apps like Plex. But I would love to at least have the option to overdo it, if for no other reason than to make me feel better or to have options later on when that ram is cheap(er). Speaking of pricing, with this being rack-mounted, you are going to want to mount it properly and to do that but their rail kit will run you $149 and that is only if you have a square hole rack. I was left unsure of what to use on our older round hole rack and ended up using a universal slider shelf. If anyone knows of a real sliding rail kit that works with the TS-453DU that is cheap please let me know.
As for the price of the NAS itself. All of the rack-mounted NAS options aren’t going to be cheap. The TS-453DU has an MSRP of $899 and is sometimes even more than that. Which it is its twin brother the TS-453D that makes the TS-453DU look so expensive. With the same drive capacity, same software, same CPU and memory, and even the same dual 2.5 GbE NICs it runs $400 less at $499. Now I can expect a premium, but that is a big jump in price to change the form factor. Which leads me to recommend the TS-453D unless you appositely need a rack-mounted NAS like I did. You can get all of the same features and performance at less than half the price once you add in buying rails. Though if Qnap included the rails with the TS-453DU, it would help swing that price down to a more reasonable amount.
Live Pricing: HERE
