Packaging and Overview
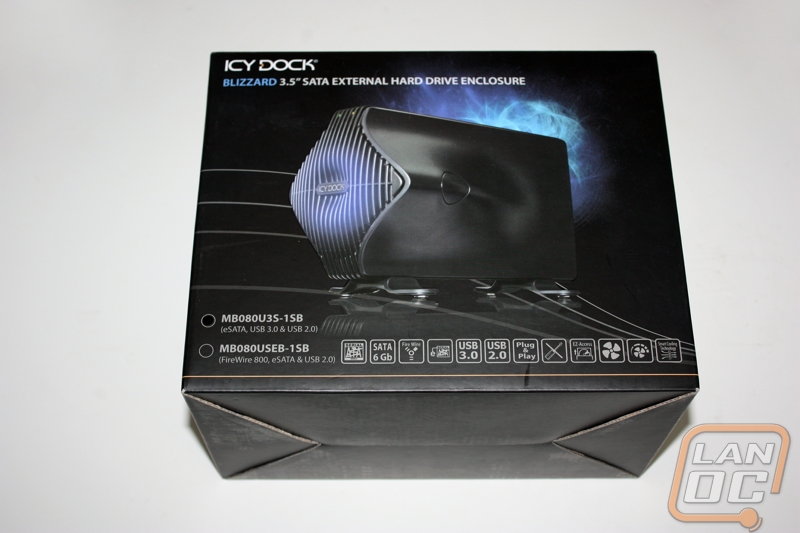
The Blizzard enclosure’s design is on full display on the front of the box. We are given a taste of the blue LED glow the enclosure will emit while in operation as well as all the features the Blizzard has. As there are two versions of this enclosure the box also denotes which version is contained within. In the case of our review, we will be reviewing the USB 3.0 version but there is also a Firewire 800 type available as well.
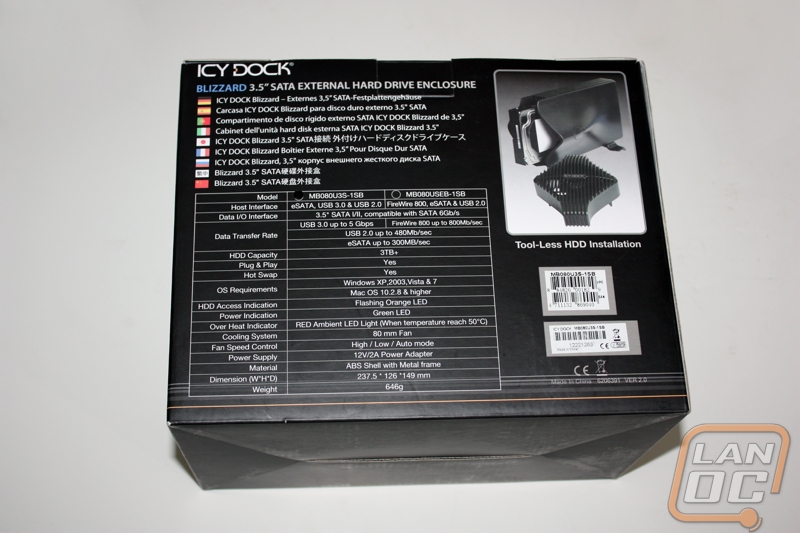
The rear of the packaging shows off the Blizzard’s tool-less installation method as well as the specifications for both versions available.
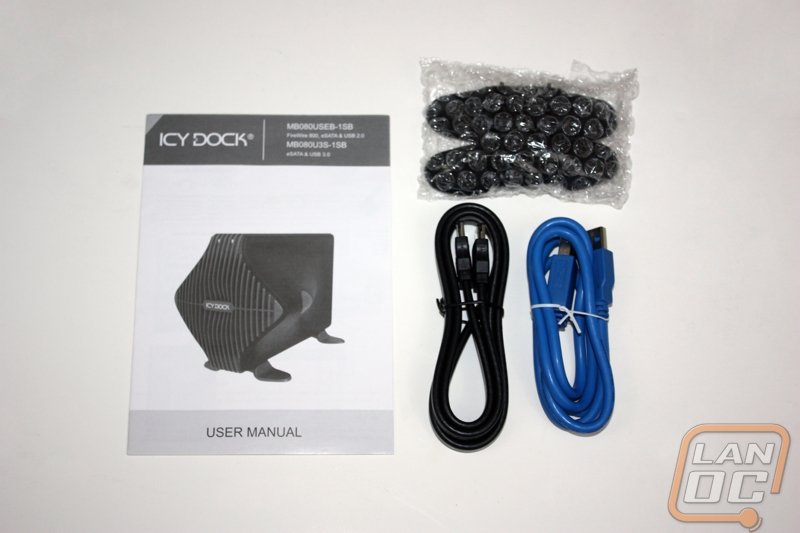
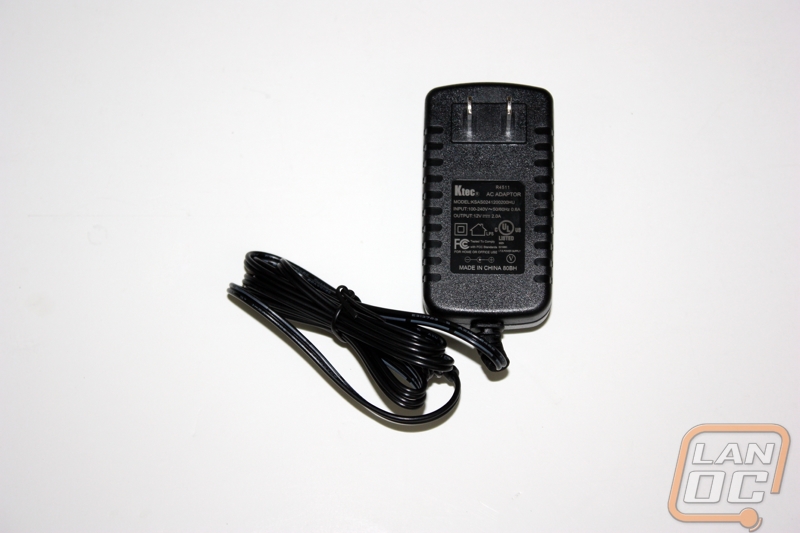
Inside the box, we first find our packaged accessories. Bundled with the Blizzard is a quick User Manual, eSATA and USB 3.0 cords as well as a pair of attachable feet that serve as the enclosure’s base. With a little more digging, we also find the 12V power adapter required to power the installed HDD.
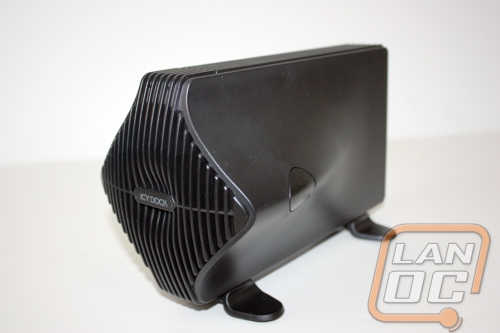
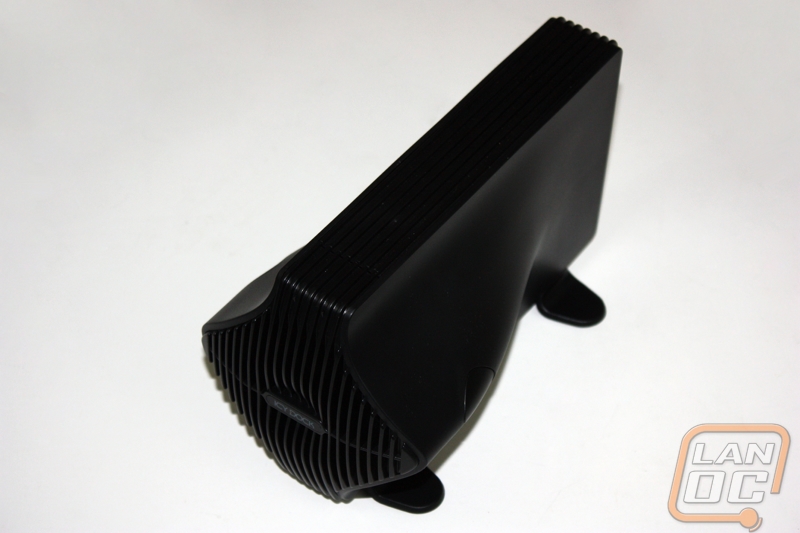
Finally, we get a look at the full Blizzard enclosure with its almost jet engine-like design. As far as external enclosures go, it certainly has a unique look to it.
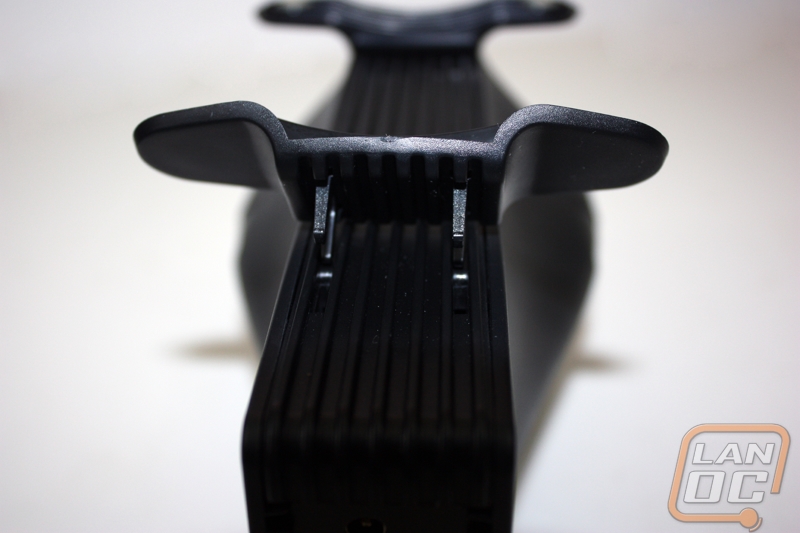
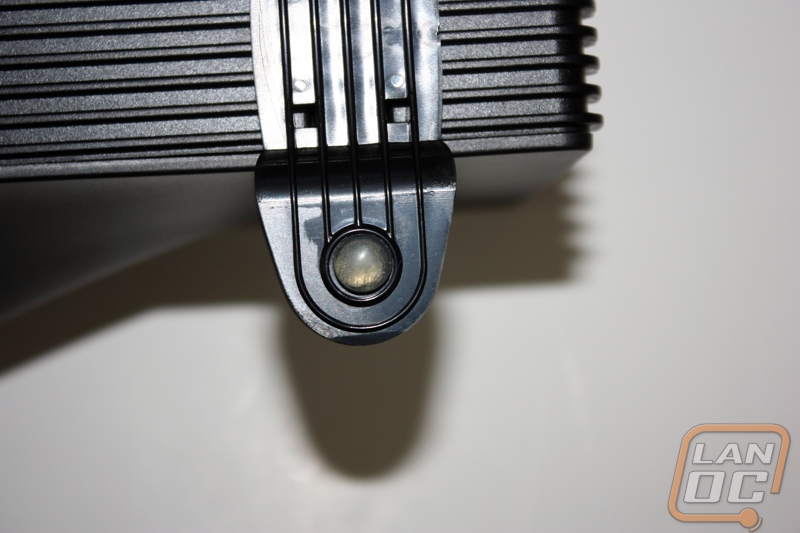
The feet that serve as the base for the Blizzard are a simple install, snapping to the bottom of the enclosure and securing there without much fanfare. These feet provide the enclosure with four no-slip rubber pads with which to sit on to keep the whole unit from moving around.
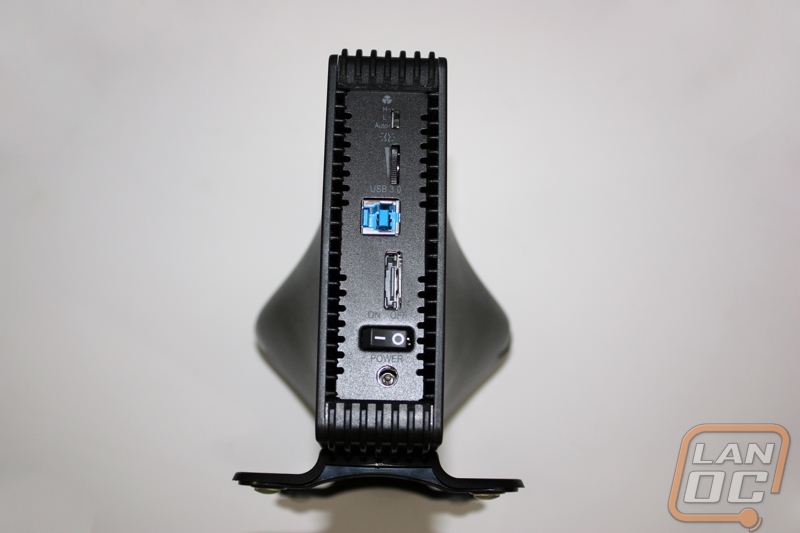
Looking at the rear of the Blizzard, we find all the connections and functionality of the enclosure. From top to bottom we have the front fan speed control with three settings for Hi, Low, and Auto operation. The next dial is the LED control which controls how bright the enclosures lighting effects are during operation. Lastly, we come to the USB 3.0, eSATA and power connections as well as the master power switch. The only thing of note here is that the SUB connection on the enclosure is a Type-B 3.0Super Speed connection so keep that in mind if you require a cable longer than the one provided with the enclosure.
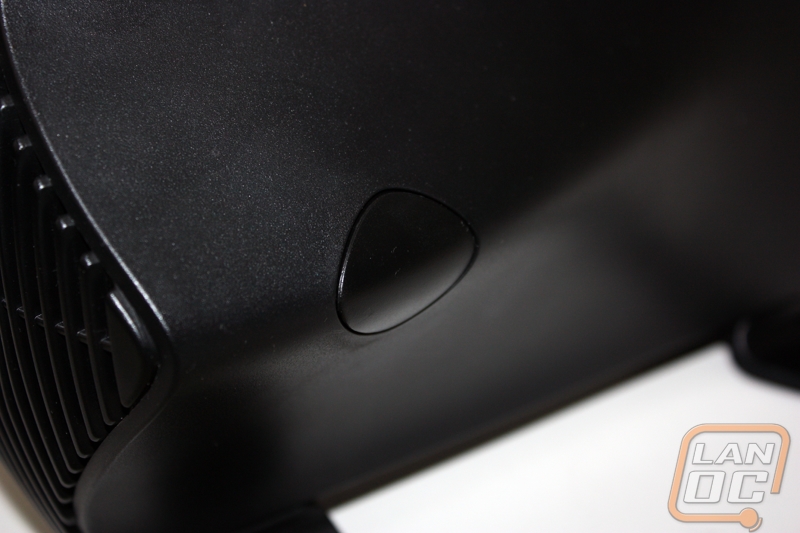
The last thing of note on the outside is the buttons required to remove the cooling fan and open the enclosure and install the all-important HDD. These buttons are located on the sides of the Blizzard and with a simple press of both the fan releases and is easily removed.
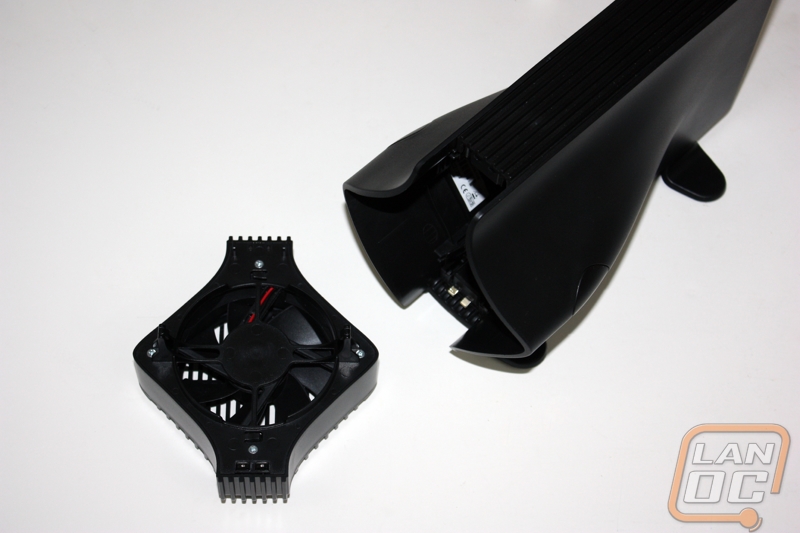
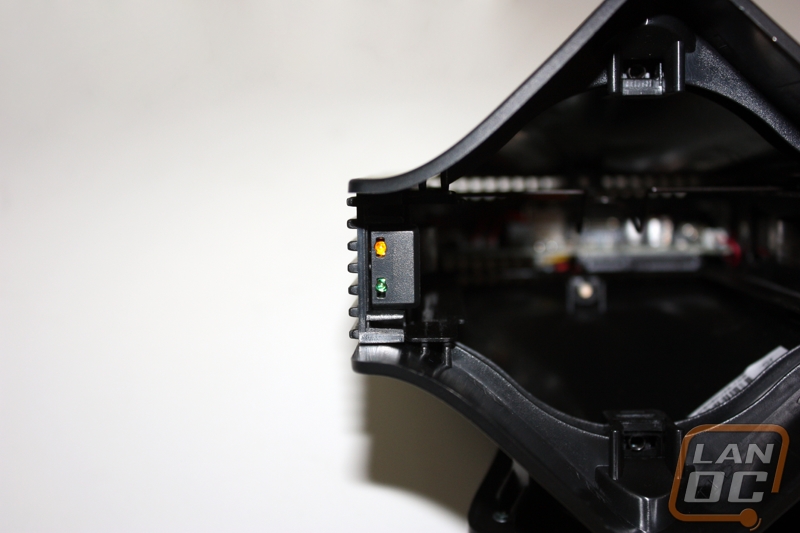
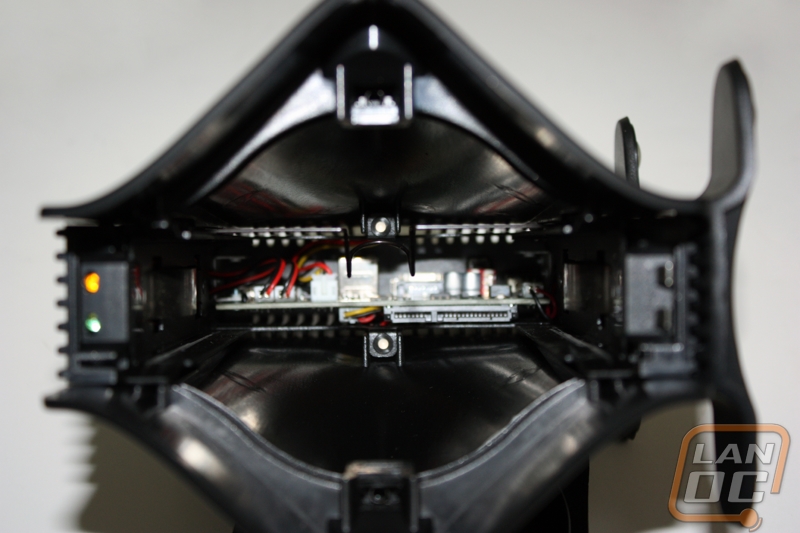
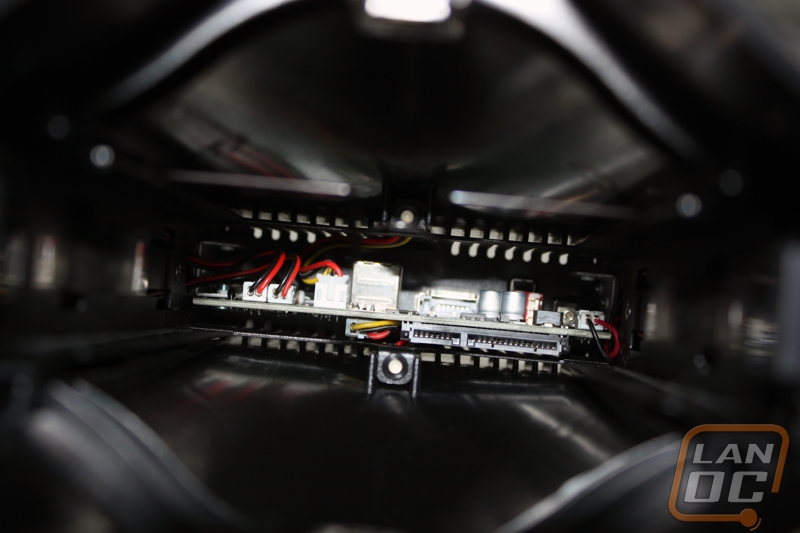
With the fan removed, we can get a look inside the Blizzard. First, we find the power and operation LEDs which are found at the top of the enclosure. Looking deeper, we are able to see everything else. There is a tension bar to prevent the HDD from moving once installed as well as the hot swap connection for the SATA HDD. We can also see the blue LEDs which give the Blizzard its blue glow. These are actually smart LEDs and when the internal temperature of the enclosure surpasses 50oC they will turn red to alert you.