Installing Everything
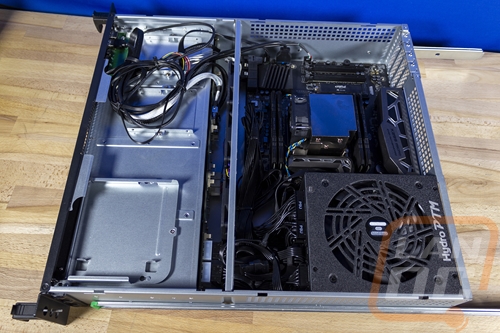
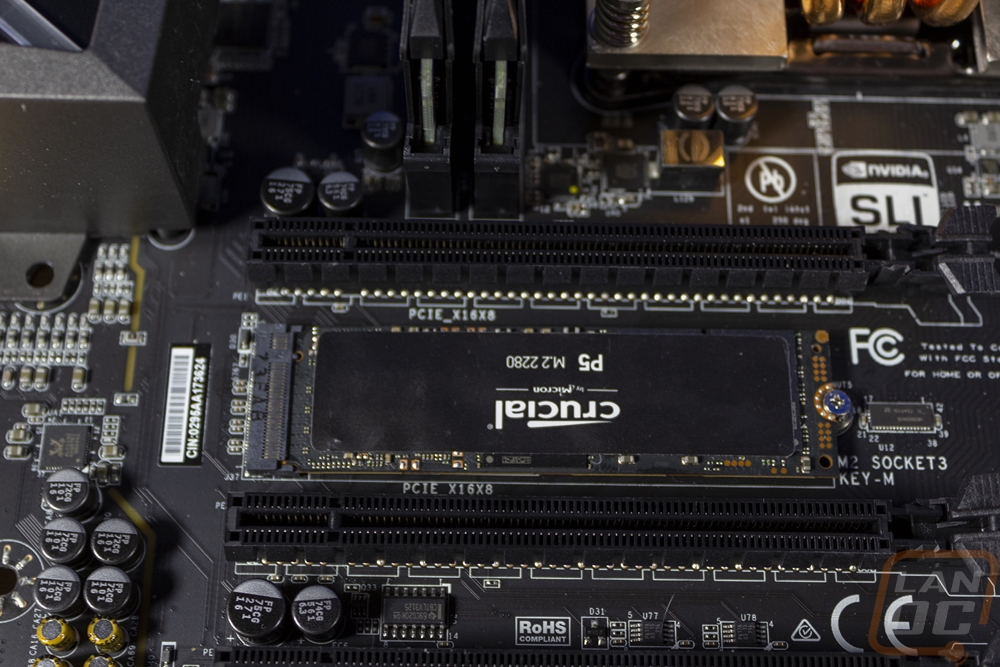
Other than be going into the future with the rail installation, up until now we have mostly just been going over the hardware going into the build. Before I could get things up and running, however, I would need to get everything installed into the Silverstone RM21-308. The RM21-308 is a bit of a hybrid case where it is rack-mountable but they offer support for traditional PC hardware as well. Which is why we went with an ATX power supply and are reusing an old Micro ATX motherboard. I did switch things up for the cooling for the CPU to work better in the 2U case, but beyond that, the motherboard, CPU, ram, SSD, and PSU are all the same that you would use in a gaming PC. I did speed things up by installing the CPU, memory, and cooler when I spoke about those. But I did need to get our P5 M.2 SSD from Crucial installed before getting everything put into the case. That of course just needed a small M.2 screw to mount it in our EVGA X299 Micro motherboard. This board had just one slot available that would fit a drive. The other is used for the onboard WiFi which we won’t be using.
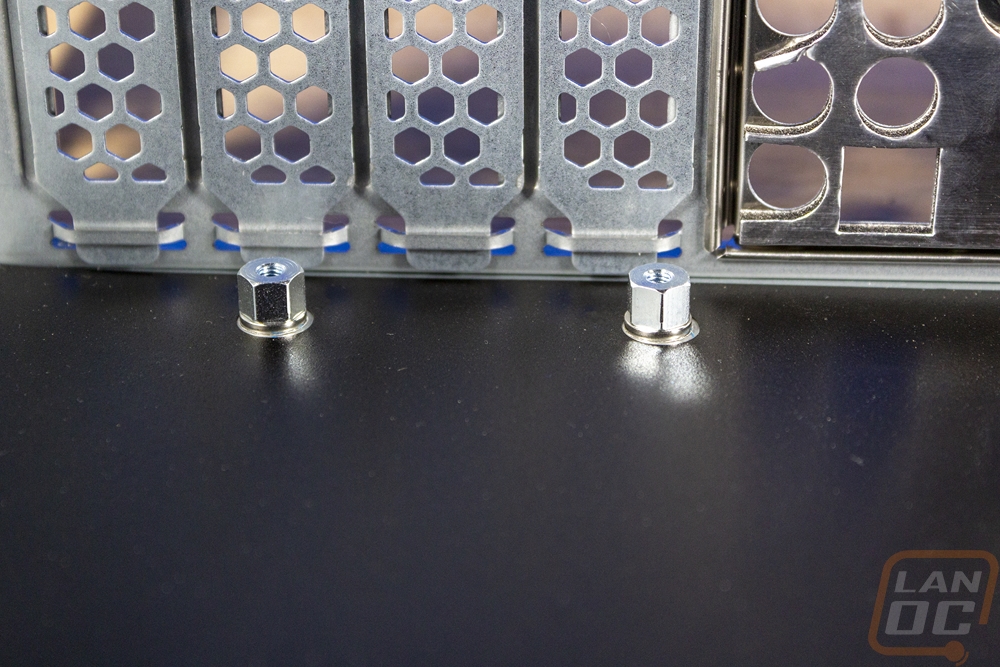
From there, with the motherboard all ready to go. You want to get the included motherboard standoffs out and line them up with all of the mounting holes. They give you the installation tool to install them but they can’t come preinstalled because the case supports multiple form factors. You also want to install the rear I/O panel. Then you can drop the motherboard down in and install the screws. I did this but did run into issues where I needed to pull it back out. So you may want to just use one or two screws until you have everything buttoned up then come back and install the rest.
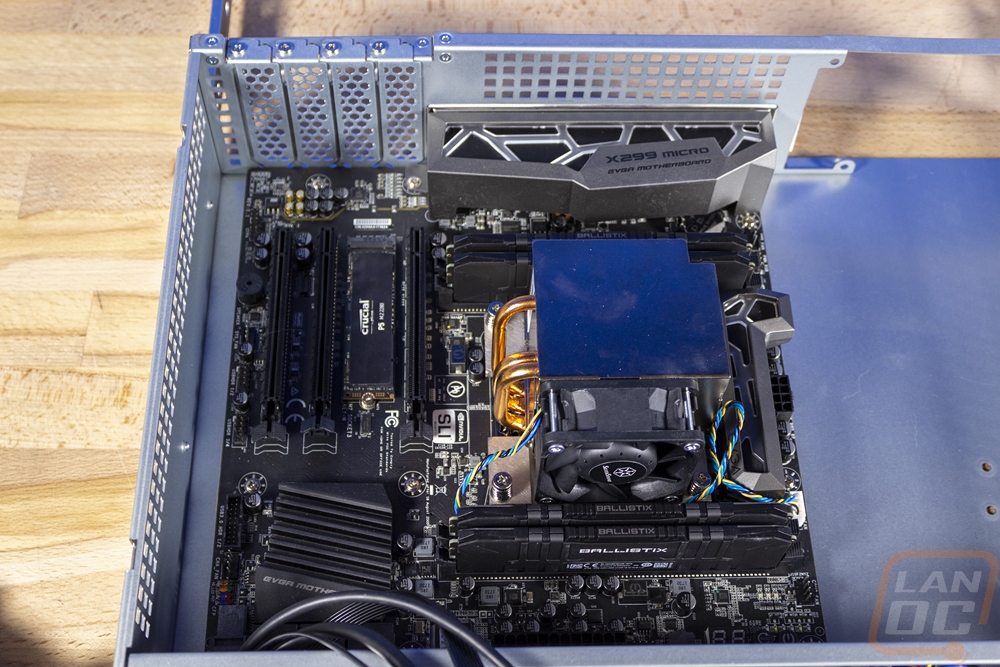
Next, you want to get all of the case wiring hooked up to the motherboard. This includes things like the front power button and the front USB ports. It is also a good time to hook up your SATA ports if you plan on using any of those but I do want to give a warning. Depending on your motherboard things could get tight. As you can see in the picture below, the nice right-angled SATA ports that EVGA provided which are amazing for a normal PC make things tight in this case. Hopefully, your board doesn’t have them or you might have to look into other options or even cut the case. I was able to get these four plugged in just barely and I wasn’t all that comfortable with it. That was all I had planned on using. I spoke about my plans for hooking up the hard drives in our motherboard selection article, but let's just say things got interesting. So I will be talking more about that next week rather than even talking about the cables I went with which was the original plan here.

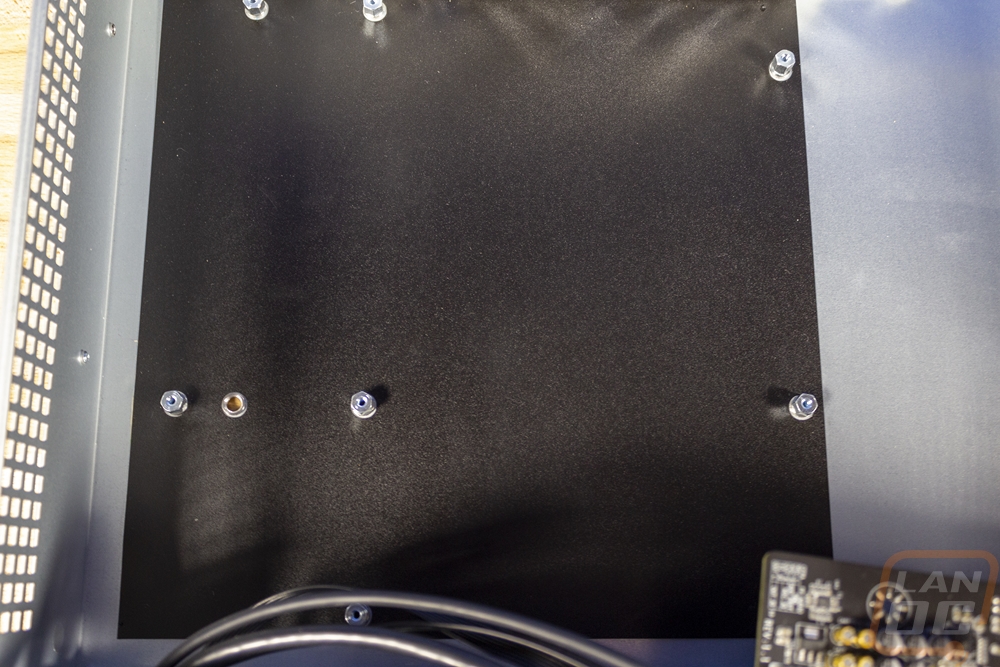
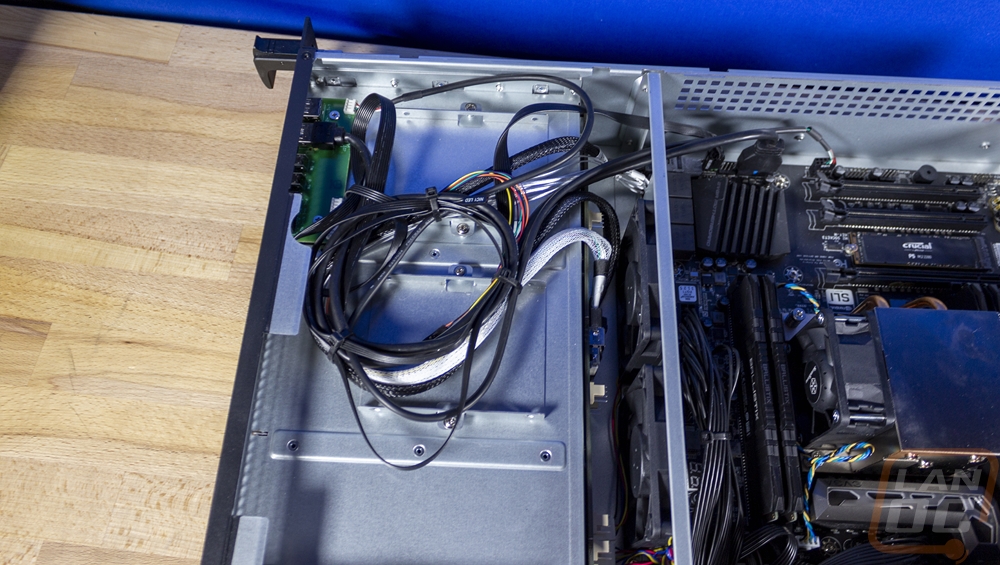
You will want to tie up any extra cables. For me there were a few extra front panel connections I didn’t need and some of my data cables all were too long as well so I went with a loop here where the 2.5-inch drives could mount. I just wanted to keep things away from the fans to not chew up any cables and also so we could have good airflow.
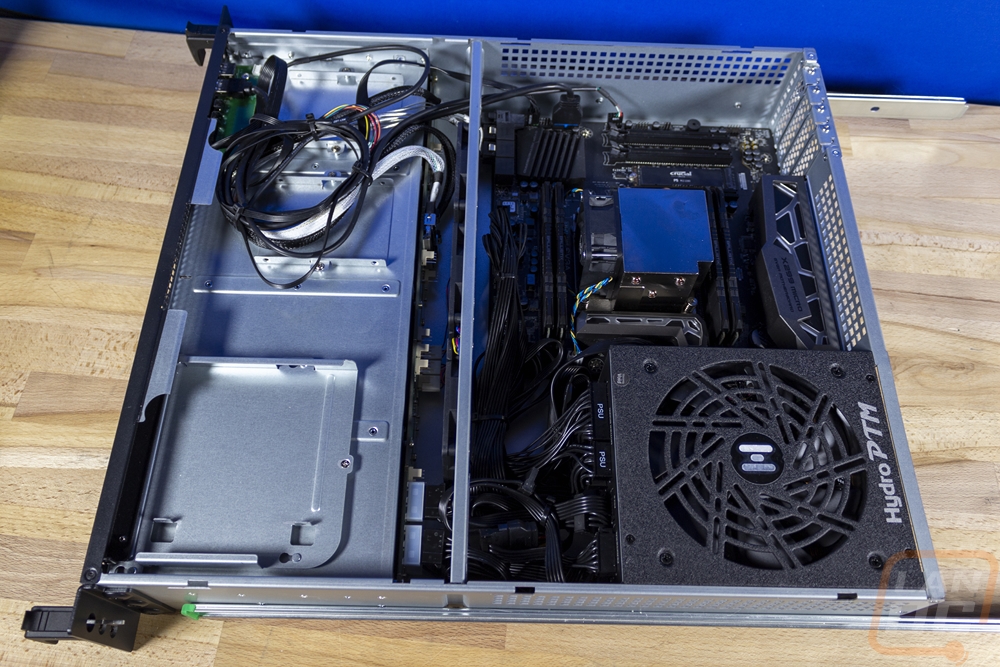
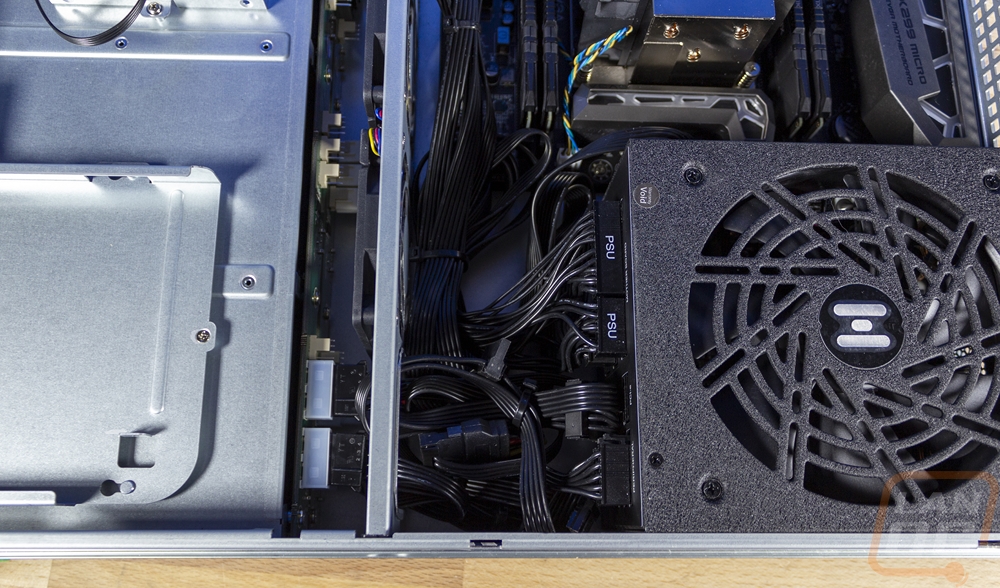
Once you have all of the other wiring done, then you can install the power supply. This just helps give you room to work on things. The PSU cables fill things up quickly. Especially given how close the PSU is to the motherboard, there are a lot of cables that are a lot longer than they need to be when using a traditional ATX PSU here. One big point to remember though is that your PSU fan. The case has vents only on the top so you will need to mount the fan pointing up. Also, make sure to leave a gap between this and the next device in your rack as well for airflow to the PSU.

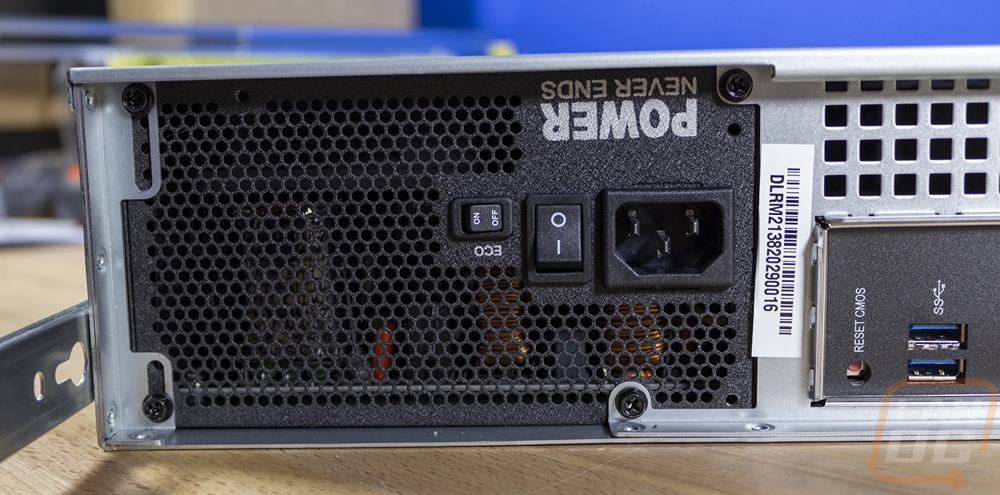
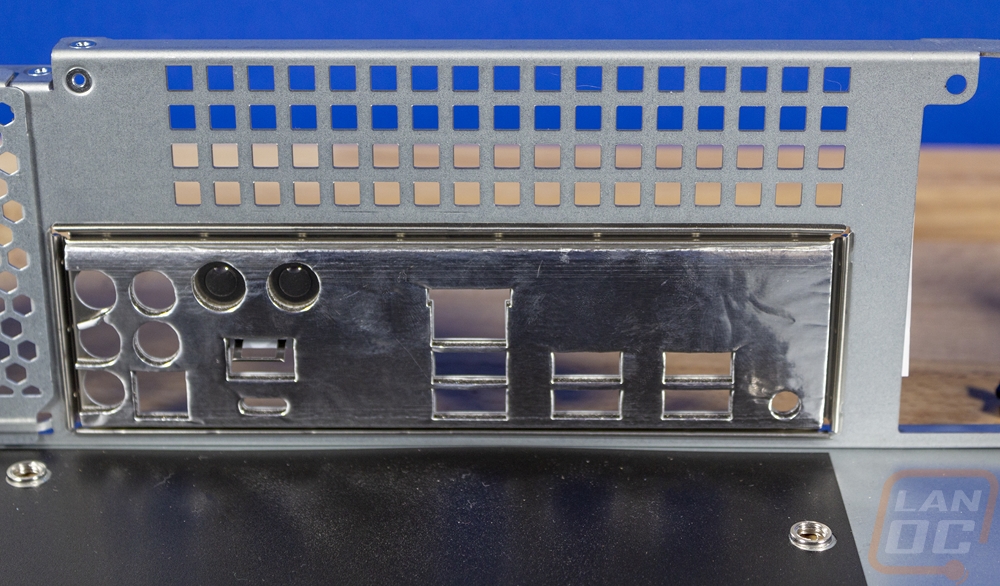
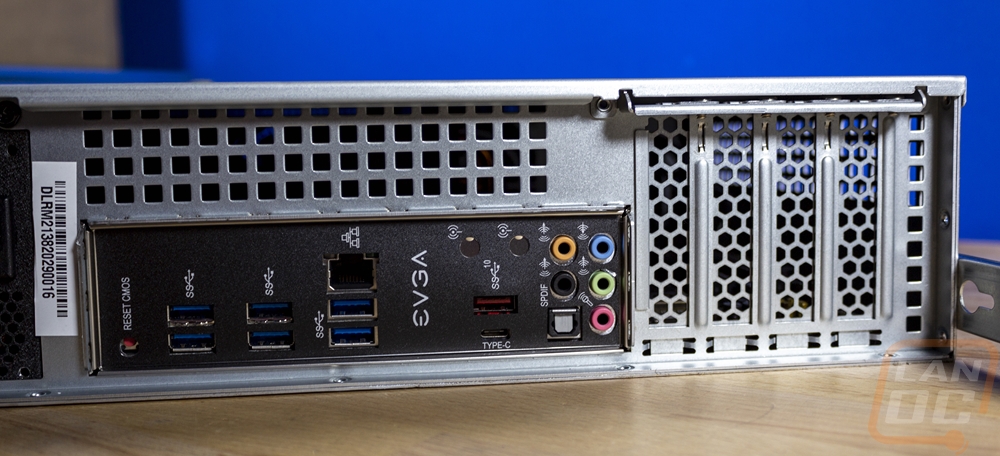
Here is our rear I/O all installed.
Once everything is installed and you have the top of the case back on. The last thing to do is install your hard drives. Our 8TB WD Red Pro drives installed easily into the Silverstone trays. You will need to remove a plastic 2.5-inch adapter that comes installed in the tray. Then from there, you need the four screws on the bottom then they can slide right in and latch.
