Software
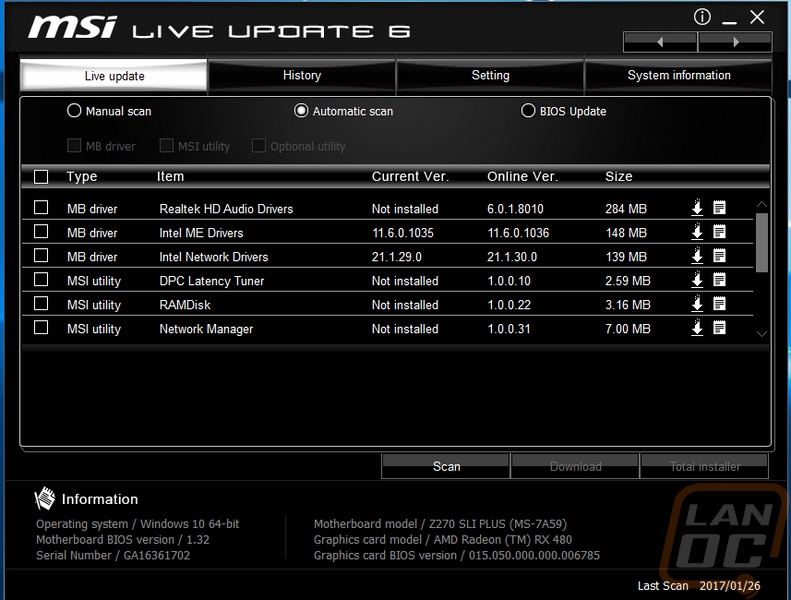
Software these days plays just as much of a role in the overall user experience as the board itself. So let's run through some of MSIs software for the SLI Plus as well as the boards BIOS. To start things off, I want to mention that unlike the Gigabyte board from last week, MSI doesn’t have one program that is required for all of the other programs to work. They have a list of programs, though personally, I would like it all to be integrated together. Anyhow, the program that I find the most useful from MSI is actually their Live Update program, it is currently in the 6th variation. This program lets you do a quick scan and see all of the drivers, utilities, and anything else that might need to be downloaded or updated. You can also check and do BIOS updates using the same software and it all works well.
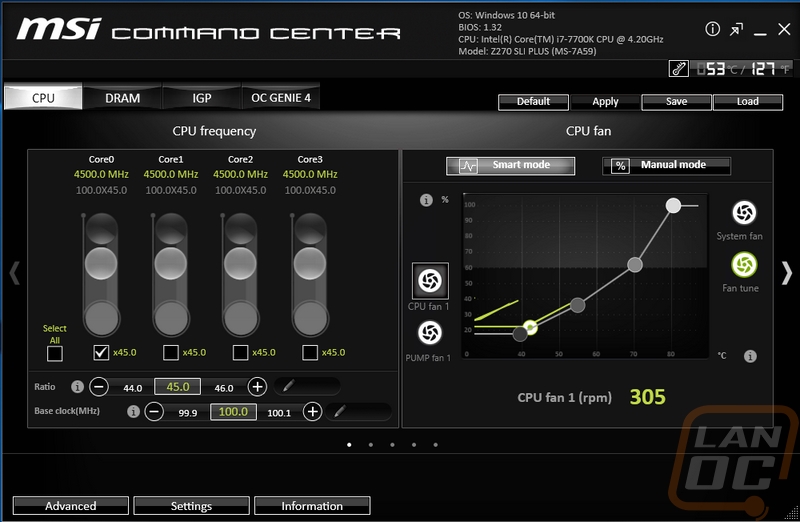
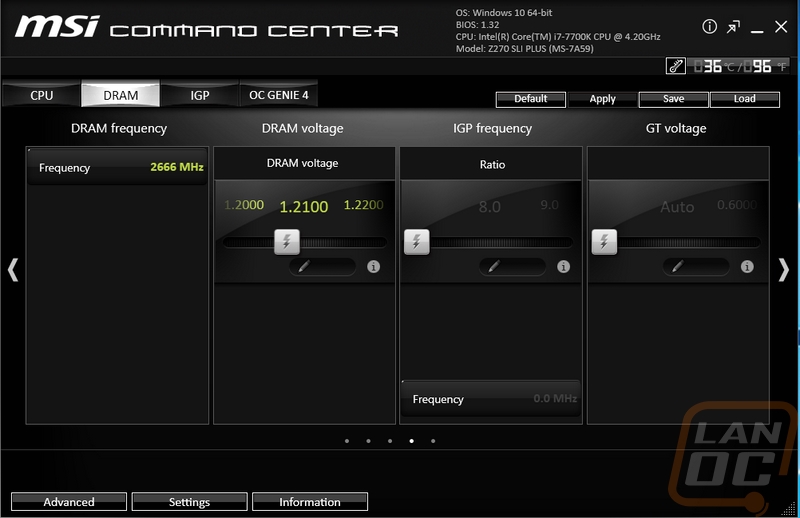
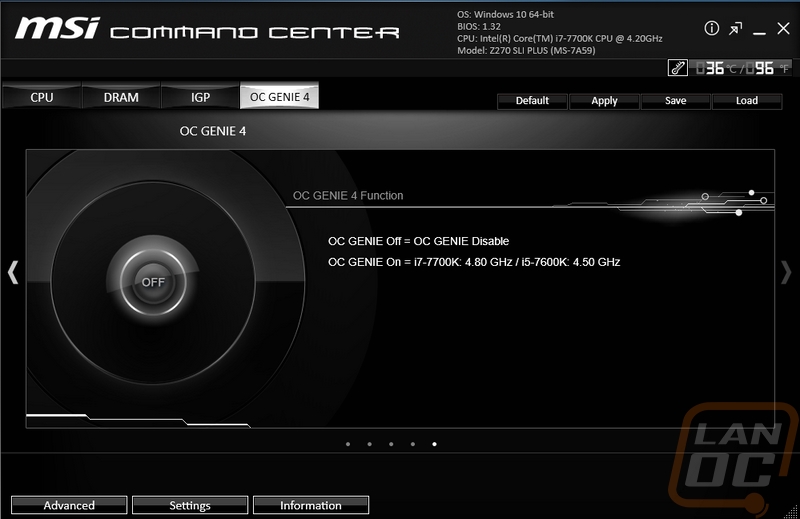
The next most important program is the MSI Command Center. This one has the potential to be that one central program if they tried to integrate everything together. Basically, you can scroll through a whole list of overclocking settings for your CPU and RAM. Each is easy to adjust with sliders and for the CPU fan, you can adjust the speed profile. The last page is just a page for the OC Genie 4, here you can turn on a one click overclock. For our i7-7700K this jumps us up to 4.8GHz and for an i5-7600K you will see 4.5GHz. There is more room if you do it yourself, but for a one click that knows nothing about your PC this isn’t bad.
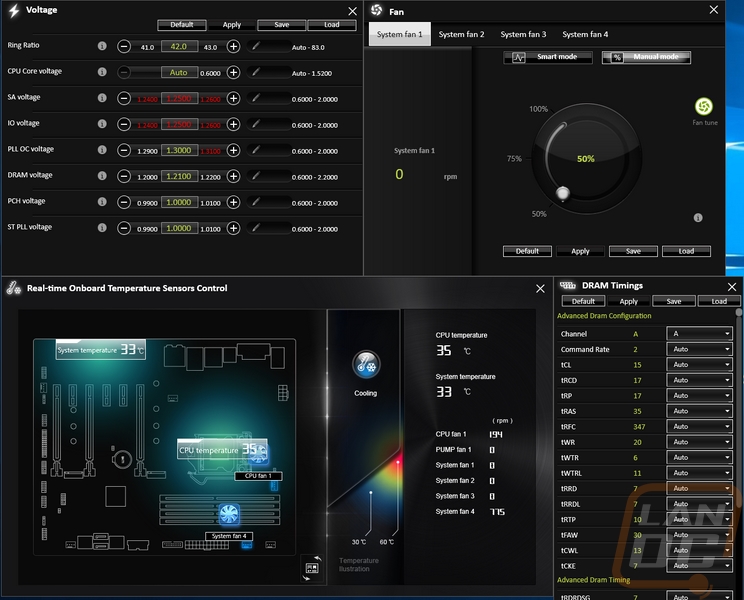
There are also a few advanced options that you can open up down along the bottom of the software. I’ve opened them all up for the photo below but you normally open them up one at a time. Here you can get into a few more details from the BIOS like more fan adjustments for the case fans, voltage controls, DRAM timings, and even a real-time map of your motherboard that shows things like fans and temperatures.
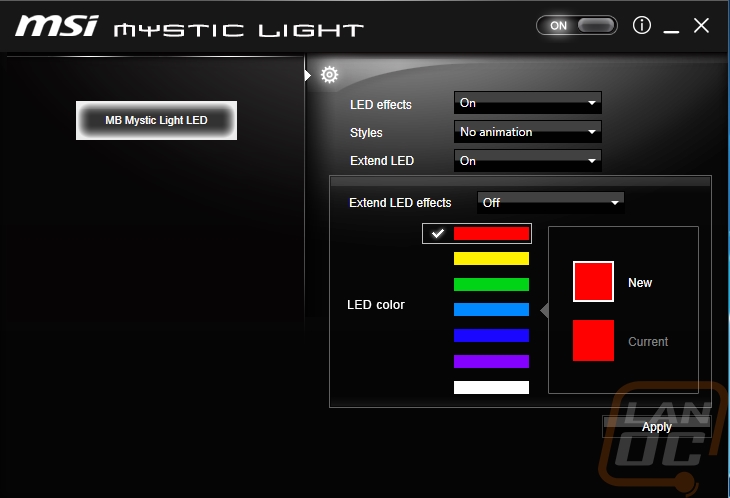
The last program that I installed (there are more you can download, but this was all I was interested in actually using) was MSI Mystic Light. This applies a lot more to some of the other MSI boards that have RGB lighting but the SLI Plus does have its white lighting and you can turn them on and off here. There are a few animation settings and then you can also control RGB lighting that are hooked up to the single LED controller plug on the board. Now the lighting controls are a little basic in my opinion, you only have 7 different colors and no color wheel to pick your own custom colors, but the option is at least there.
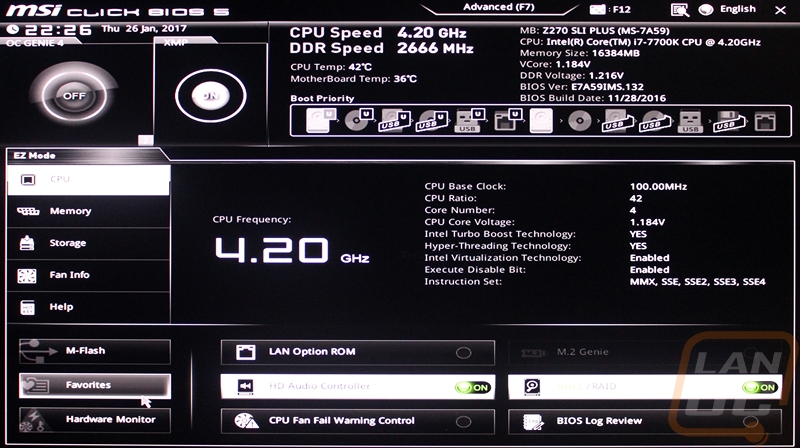
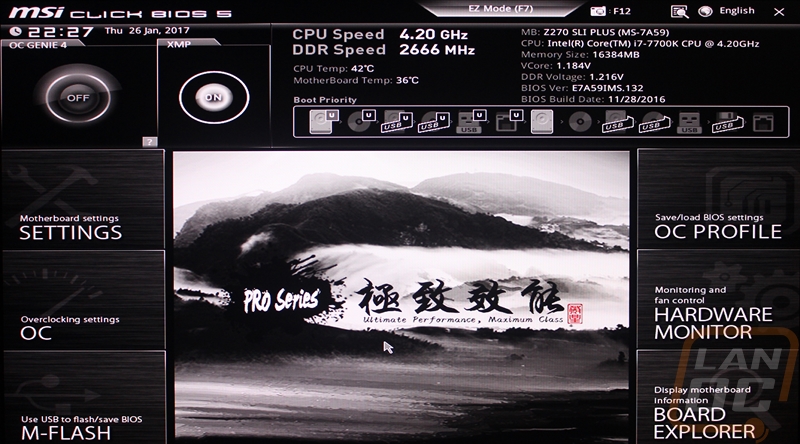
For the BIOS, the SLI Plus actually boots up into the EasyMode, this is one of my complaints on a lot of boards, what's the point of an easy mode if inexperienced users who end up in the BIOS have to hunt down the easier mode. So when you get into the BIOS the EasyMode page has all of the things someone might be looking for, all on one page. Up top, you can turn on XMP or OC Genie with a button pressed. Info on the board is next to it and the boot priority is all listed out and each can be dragged and moved to put them in a different order. Beyond that, over on the left are quick options for the CPU, memory, storage, and fan info.
Flipping over to the advanced mode you still have all of the easy to use options up top, only now there is a picture in the middle of the PRO Series board with options around it to get to more advanced options.
The settings button opens up a short list of pages that you might need. Here you have boot options, BIOS security options, system status, and an advanced page. These are basically all of the non-overclocking options all sorted together in one easy to get at place.

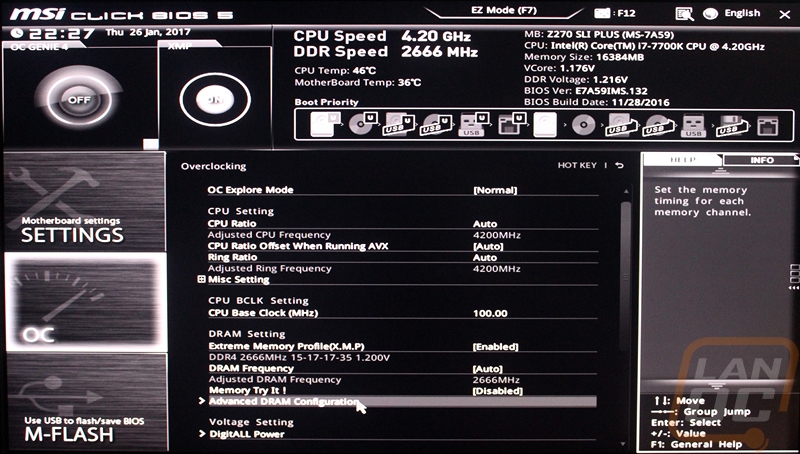
The OC page is exactly that the name implies. Here you have the CPU settings, Memory settings, and access to voltage adjustments. Each option is in the middle and if you click on anything over on the right there will be more details on what it does. So even though this is the advanced mode, MSI does give you a little help.
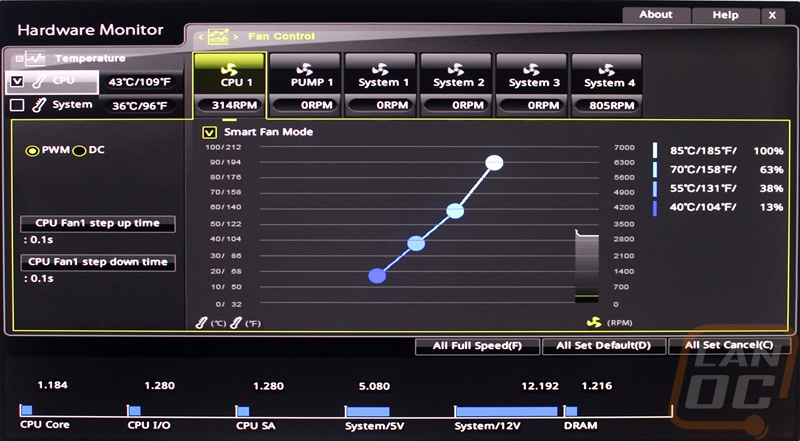
The hardware monitor option over on the right opens up a window with that is basically a windows program. This lets you see the current temperatures and voltages along the bottom and top left. From there you can select each of the 6 fan headers and adjust the smart fan profiles or set them to a single speed. There is also an option to flip each header from PWM mode to a standard DC mode as well.
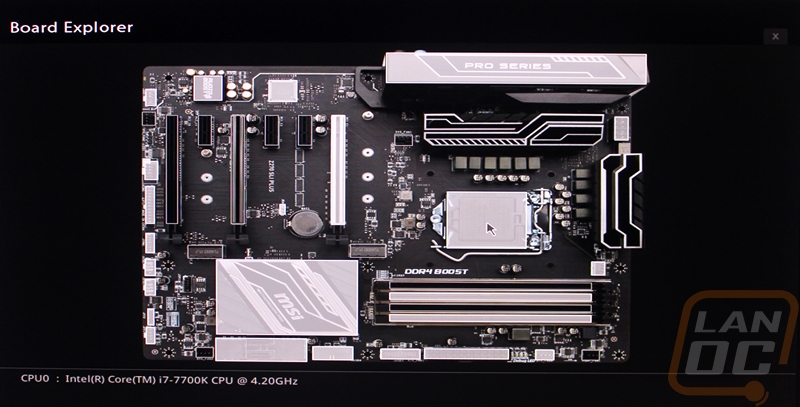
The board explorer option also opens up into a smaller window inside of the BIOS. This one shows a photo of the motherboard and as you mouse over things it ill list what it is down on the bottom. With most things it has more details like for our CPU, it also mentions its clock speed as well. Mousing over the top of the rear I/O panel opens up a window that shows all of the I/O connections and you can mouse over individual ports to see what is hooked up to them as well.
When you are all finished up, if you made any changes the BIOS does give a warning to show a full list of anything changed. This lets you make sure you didn’t change anything accidently before confirming it.

