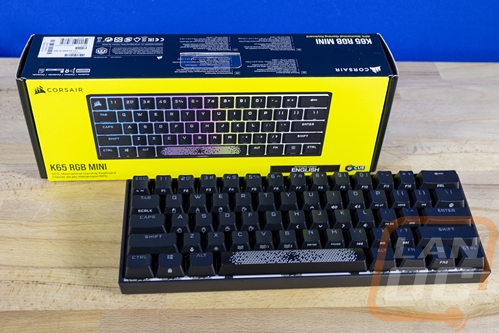
Photos and Features
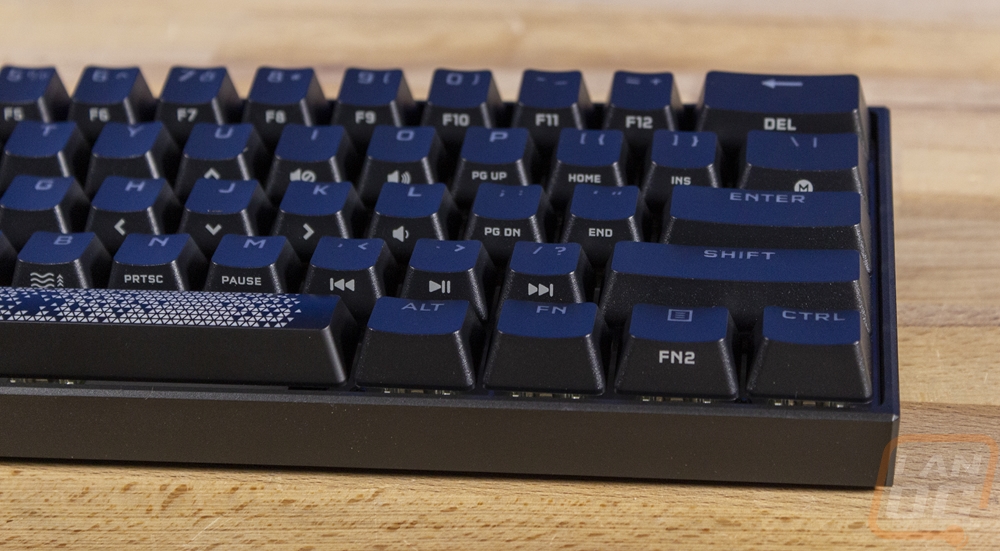
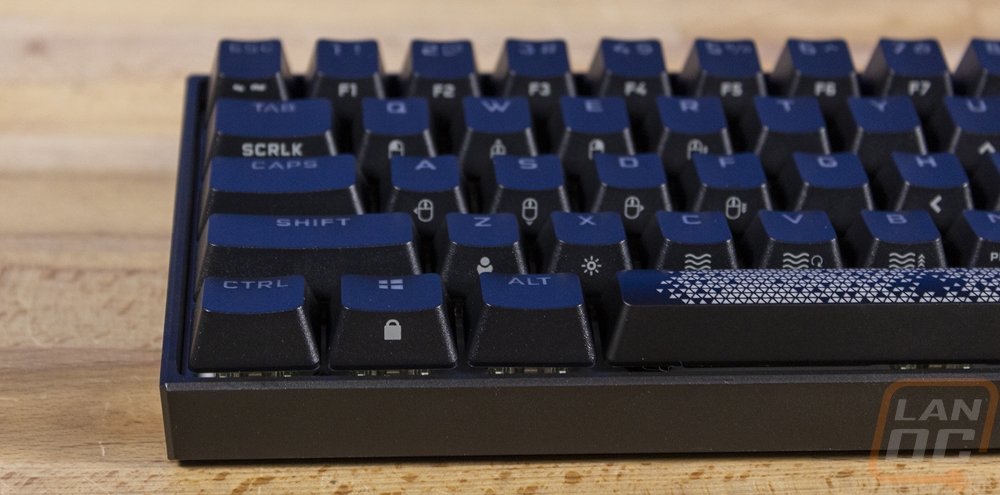
With the K65 RGB MINI 60% out of the box, those of you who haven’t worked with a 60% keyboard can take in the smallness of it. Corsair has done a great job of accenting that fact with the case as well which has very small bezels around on all of the sides. The K65 RGB MINI 60% is available in a black model like we have here or a white version. Like most Corsair products they do leverage RGB lighting with the backlighting but unlike other Corsair keyboards, they haven’t added any volume controls or extra programable keys. Speaking of keys the layout on the K65 RGB MINI 60% is completely traditional, they haven’t messed with the bottom row at all so if you want to change the keycaps out a standard set will work. The legends for the K65 RGB MINI 60% do have a slightly “gamer” feel with the font that they went with and some people may find them to be a little harder to read. The number row has the number and shift layer all together at the top which will help them be better lit with the RGB lighting as well.
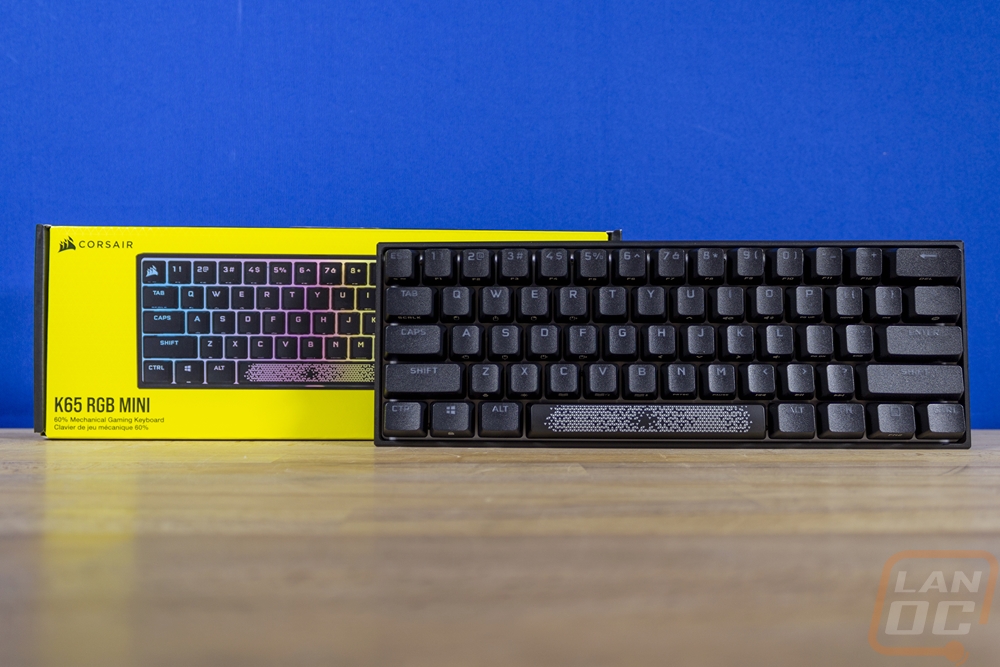
With the thin bezels and nothing fancy being added around the sides, it has kept the size of the K65 RGB MINI 60% down to only what you need. It is right at 295mm in total width and around 101/102mm for depth. For reference, the Wooting 60HE that I reviewed just a few weeks ago which had the strap on the side was 302mm wide and 116 mm deep which shows you how the thinner bezels help keep the size down. The case is plastic and the total weight of the K65 RGB MINI 60% is 570 grams which is a lot lighter than the Wooting 60HE which was 605 grams. Both have plastic cases so I have to imagine that the backplate on the Wooting is a little heavier. I myself like a heavy keyboard because they won’t move around as much and it normally helps keep the noise down as well.
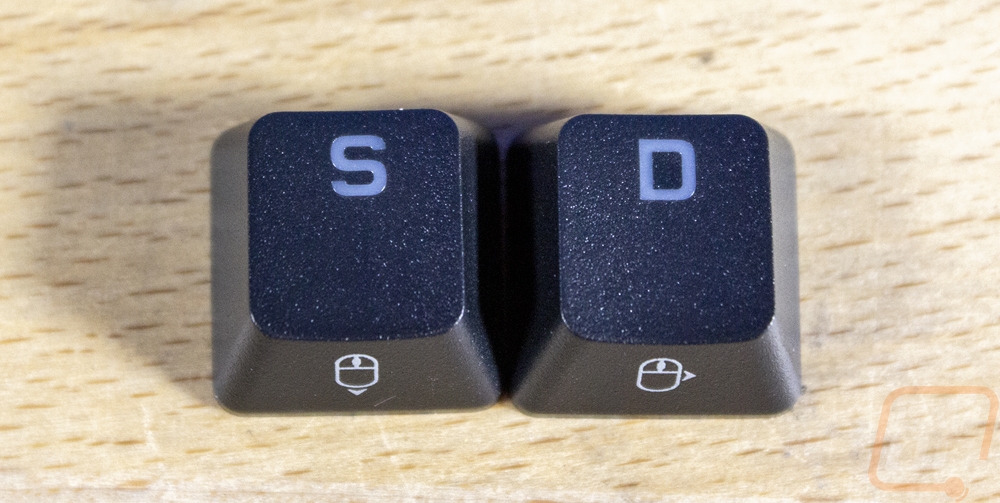
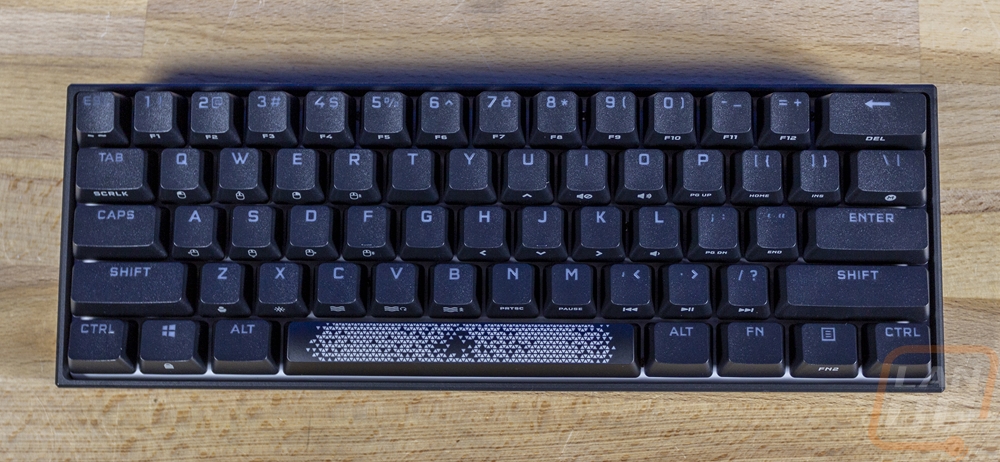
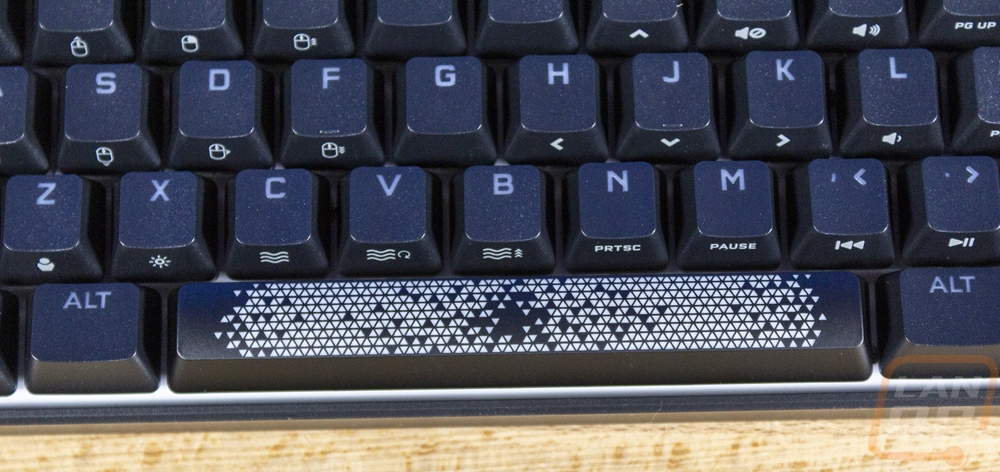
Because Corsair knows that a lot of people aren’t going to be used to the function layer on a 60% keyboard needing to be used for things like delete, the direction keys, and your F keys they have helped by printing the labels on the underside of the keycaps. These aren’t part of the doubleshot, so they won’t light up with the backlighting. But it does help you find those keys. A lot of the function layer is a standard 60% setup like having delete be Fn+backspace and the F keys being Fn+number keys. They have the media keys also right in the middle of things so you will have to be careful when using the direction keys for example. On the left side, they also have mouse functions on the function layer where you can move the mouse cursor around and left and right-click with it.

The fancy spacebar that comes preinstalled on the K65 RGB MINI 60% with the triangle design looks amazing, but do have to point out that this is not a PBT keycap like the rest of the keycaps. So while it comes preinstalled it is going to wear faster than the other keys and ironically at least for me, the spacebar is the key that sees the most wear.
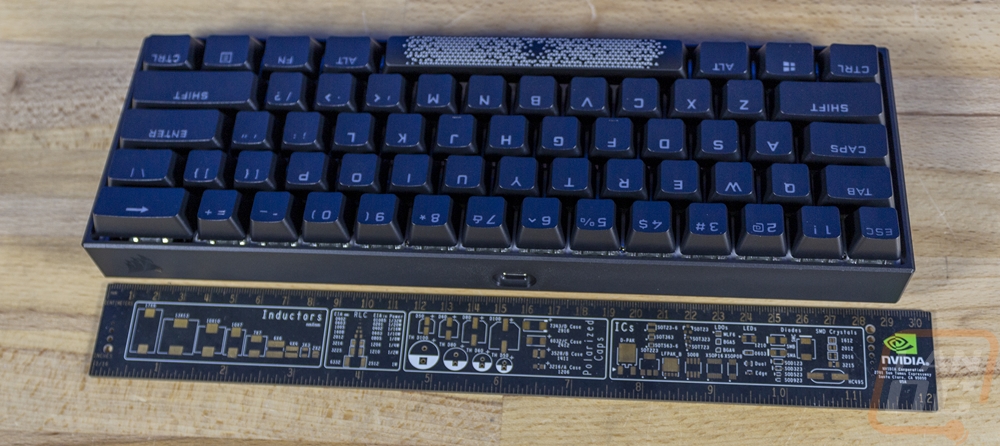
It’s a very small touch but I love that they have the K65 printed on the edge when you look at the ends. The K65 RGB MINI 60% doesn’t have flip out feet but it does have a surprisingly aggressive angle built into the case. Then for the keycaps, it has an OEM layout which adds a little more to that angle with the top row being the tallest.
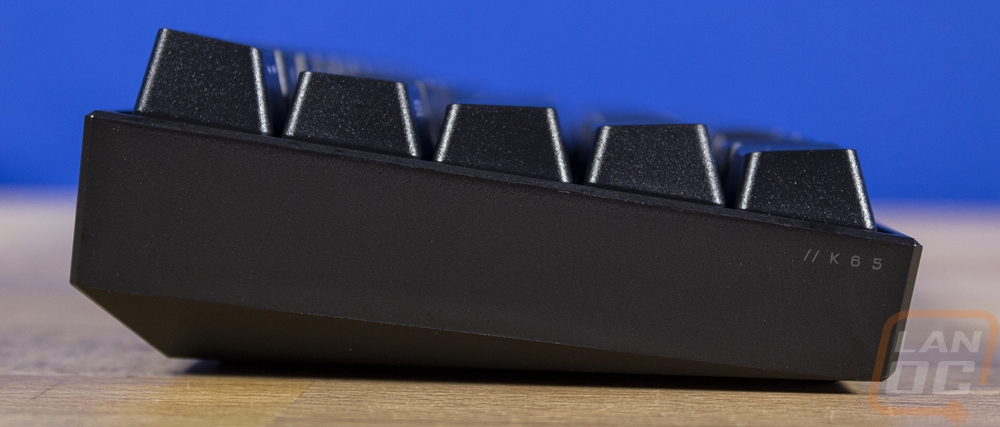
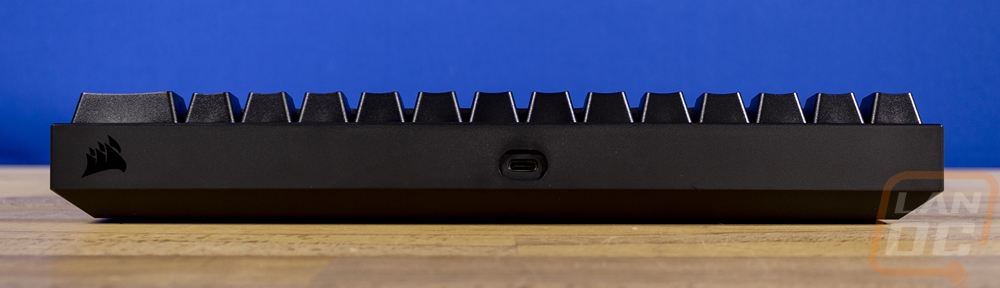
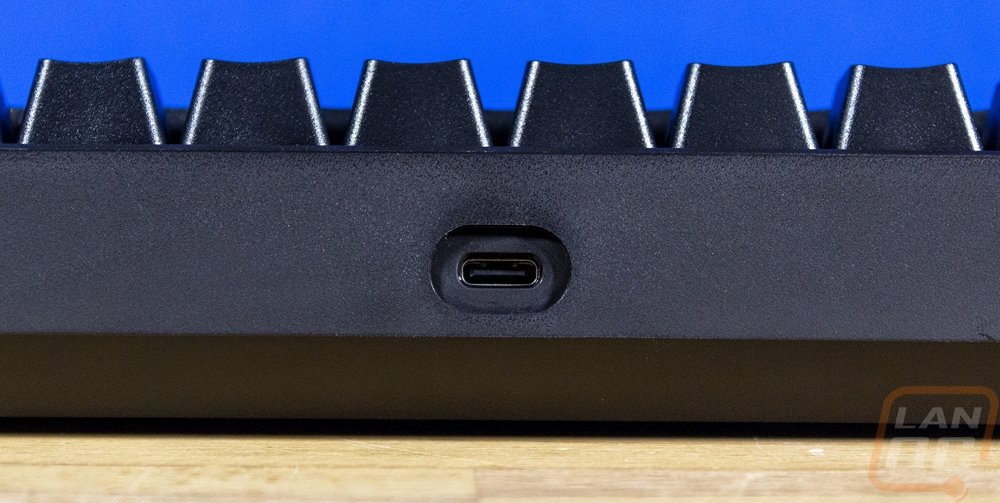
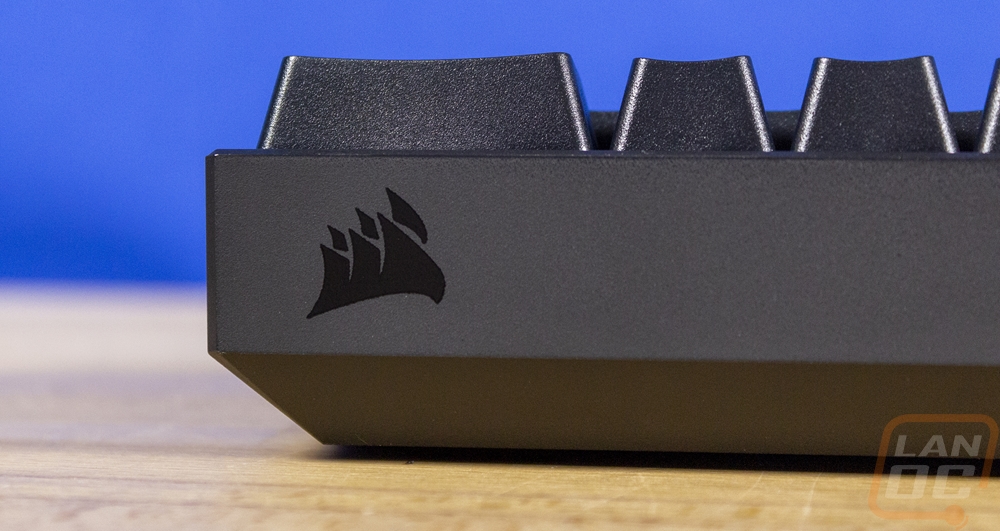
The built-in tilt does mean that the back edge of the K65 RGB MINI 60% is by far the tallest part of the keyboard. Corsair used this space to sneak in their sail logo on the left side printed with a gloss black. Then in the center, they have the detachable cord plug which is Type-C. The plug is angled up and a little higher up than I would prefer so when the cord is plugged in it does stick up a little bit. This doesn’t look bad, but I am concerned that it might make it an easier target for damage.
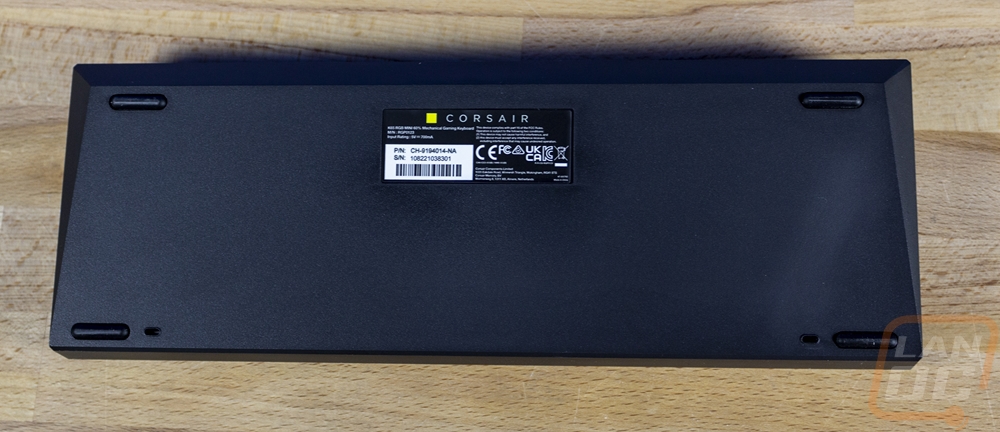
The back of the K65 RGB MINI 60% has rubber feet in each corner that are an inch wide. The plastic case on ours had a little bit of discoloration, but thankfully that is all hidden back here. Then in the center, they have a sticker that has the certification logos and information as well as the new style Corsair logo up at the top. The sticker also has your part number and serial number printed should you need to do any warranty work it is easy to find. The K65 RGB MINI 60% has a 2-year warranty which isn’t too bad but half the length of the Wooting 60HE for comparison but in line with the Razer Huntsman 60% which is the real competition for the K65 RGB MINI 60%.
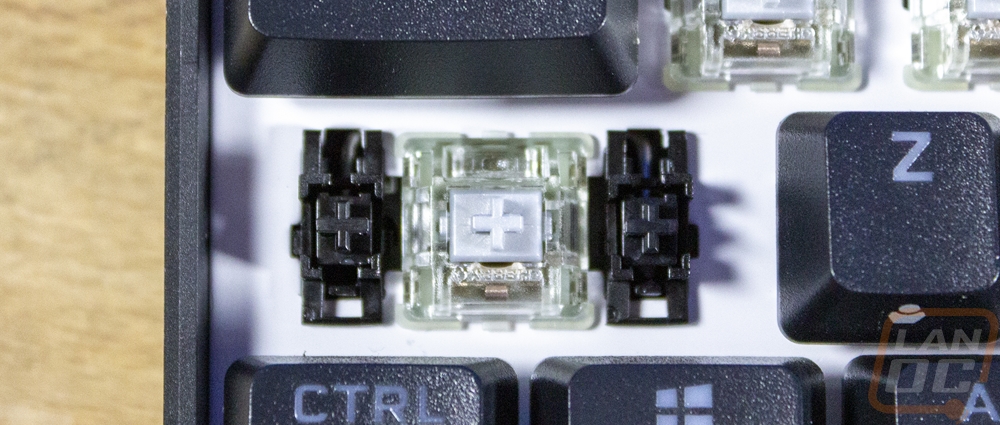
So the K65 RGB MINI 60% has two different switch options available and both are Cherry switches. You can get Cherry MX Reds or Cherry MX Speeds. Both are a linear feel so there isn’t a clicky or tactile option available sadly because I do love browns. Both will be smooth and have the same 45g actuation force needed. The only difference is in where the actuation point is. Reds have a standard actuation point of 2 mm and the Speed switches actuate at 1.2 mm which is higher up and is designed to help you get a faster reaction. For me what I have found is they do help with quicker in game actions but because I am so used to a normal switch when writing I have more typos. Over time that would clear up, however. Both have clear housing with the RGB on the PCB to shine up and through. The K65 RGB MINI 60% also has Cherry stabilizers which have the stabilizer bar hidden under the backplate and make removing and reinstalling keycaps a lot easier. Cherry stabilizers sometimes end up with more rattling so that is something I will have to check during testing.
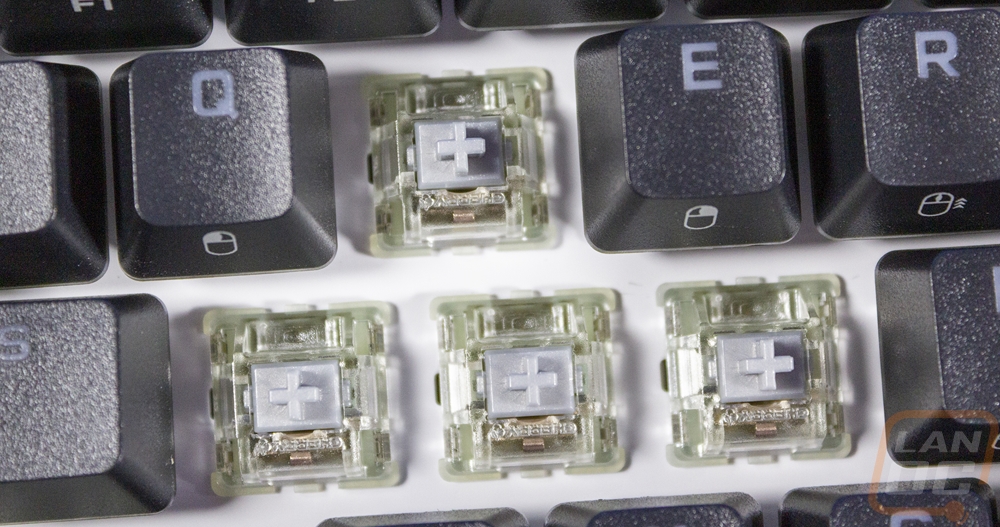
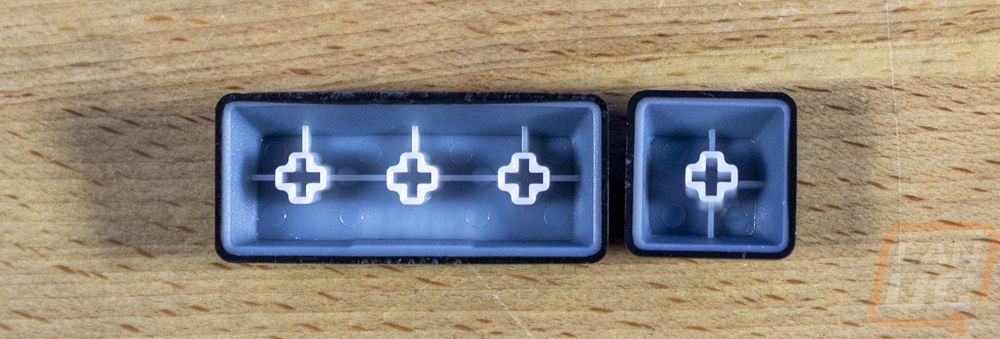
The K65 RGB MINI 60% does come with doubleshot keycaps made out of PBT which used to be a premium option you could only really get with aftermarket keycaps. PBT wears slower than ABS which is nice for longevity. Then being doubleshot means that the legends are molded in as well where a normal setup would be painted over top of the keycap and laser etching the legend. You can spot doubleshot keycaps by looking under them where you will see the black outline and then the translucent. This means that as the key wears you can’t wear the legend off at all. These also are normally thicker which you can see below which gives a more solid feel when you type and can be quieter.