Cooler Master isn’t new to the all in one cooler game, they were there right at the beginning when they were just starting to come out and they have continued to change things up over the years. RGB has been a thing for a while now and companies have been looking at how to change things up and we have already seen companies putting their lighting behind mirrors for a different look and Cooler Master is no different. They showed them off at CES this year and even though it has been a crazy year they did just recently introduce them officially with their MasterLiquid Mirror coolers. Well, I had the MasterLiquid ML280 Mirror come in and sticking with the cooling theme I have put it through our test suite and today I’m going to take a look at it and see how it performed, what it has to offer, and where it fits in the market price-wise.
Product Name: Cooler Master MasterLiquid ML280 Mirror
Review Sample Provided by: Cooler Master
Written by: Wes Compton
Amazon Affiliate Link: HERE
|
Specifications |
|
|
Product Number |
MLX-D28M-A14PK-R1 |
|
Radiator Size |
280 |
|
Exterior Color |
Black |
|
CPU Socket |
LGA2066, LGA2011-v3, LGA2011, LGA1200, LGA1151, LGA1150, LGA1155, LGA1156, AM4, AM3+, AM3, AM2+, AM2, FM2+, FM2, FM1 |
|
Radiator Material |
Aluminum |
|
Radiator Dimensions |
318 x 140 x 27.2 mm / 10.9 x 4.7 x 1.1 inch |
|
Pump Dimensions |
81.2 x 76 x 57.8 mm / 3.19 x 3 x 2.3 inch |
|
Pump MTTF |
70,000 Hours |
|
Pump Noise Level |
< 10 dBA |
|
Power Connector |
3-Pin |
|
Pump Rated Voltage |
12 VDC |
|
Pump Power Consumption |
2.36 W |
|
Fan Dimensions (L x W x H) |
140 x 140 x 25 mm / 5.5 x 5.5 x 1 inch |
|
Fan Quantity |
2 PCS |
|
Fan LED Type |
Non-LED |
|
Fan Speed |
650-1400 RPM ± 5% |
|
Fan Airflow |
67 CFM (Max) |
|
Fan Noise Level |
10 - 27 dBA |
|
Fan Pressure |
2.25 mmH₂O (Max) |
|
Fan Life Expectancy |
160,000 Hours |
|
Fan Power Connector |
4-Pin (PWM) |
|
Fan Rated Voltage |
12VDC |
|
Fan Rated Current |
0.15A |
|
TDP |
230 W |
|
Ram Clearance |
N/A |
|
Warranty |
2 years |
Photos and Features
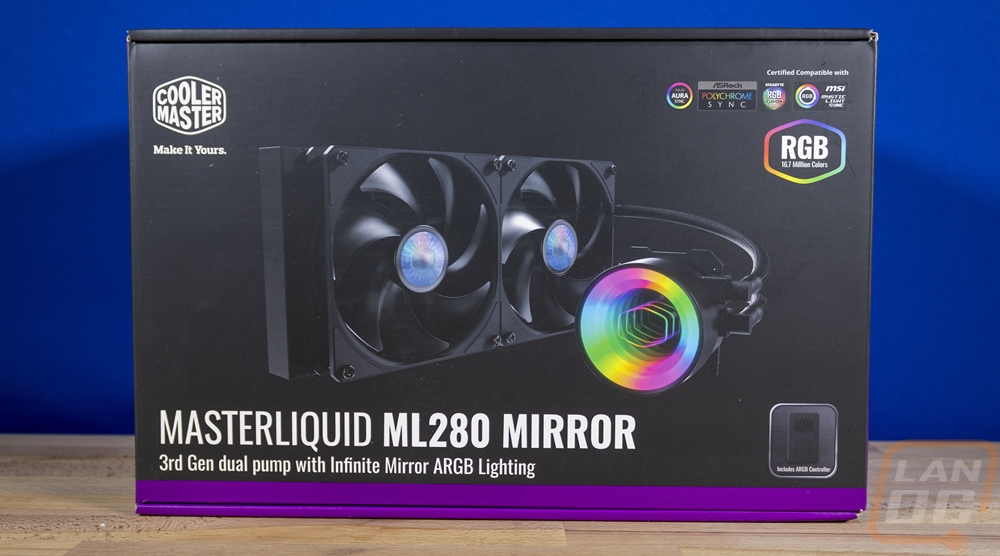
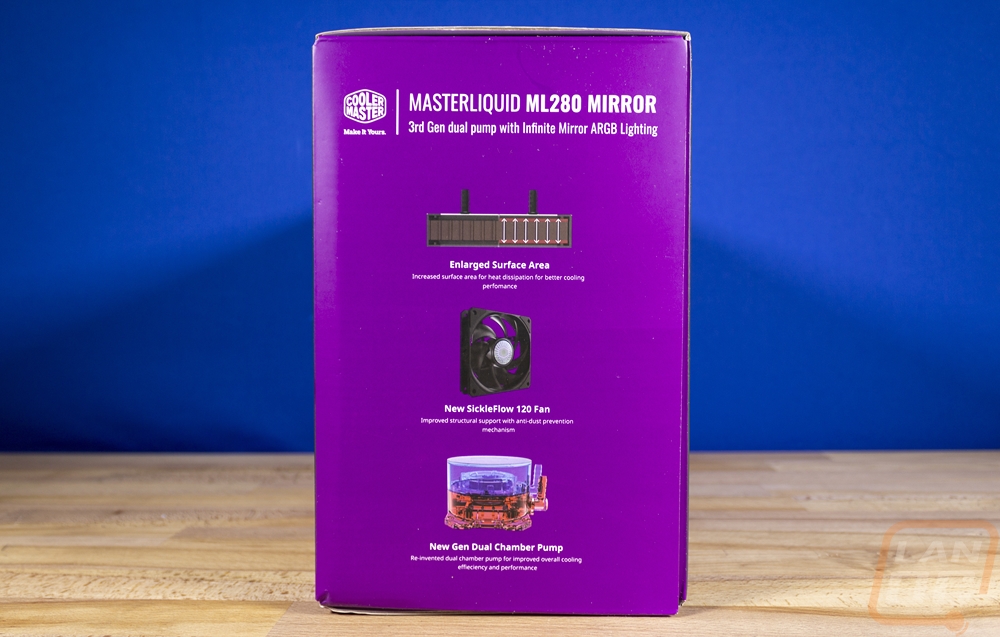
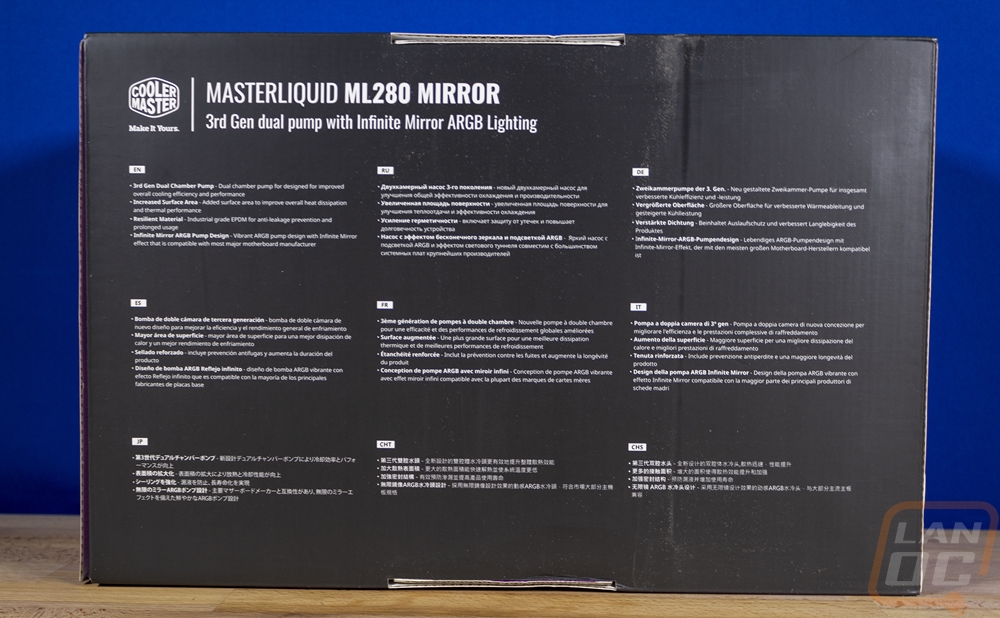
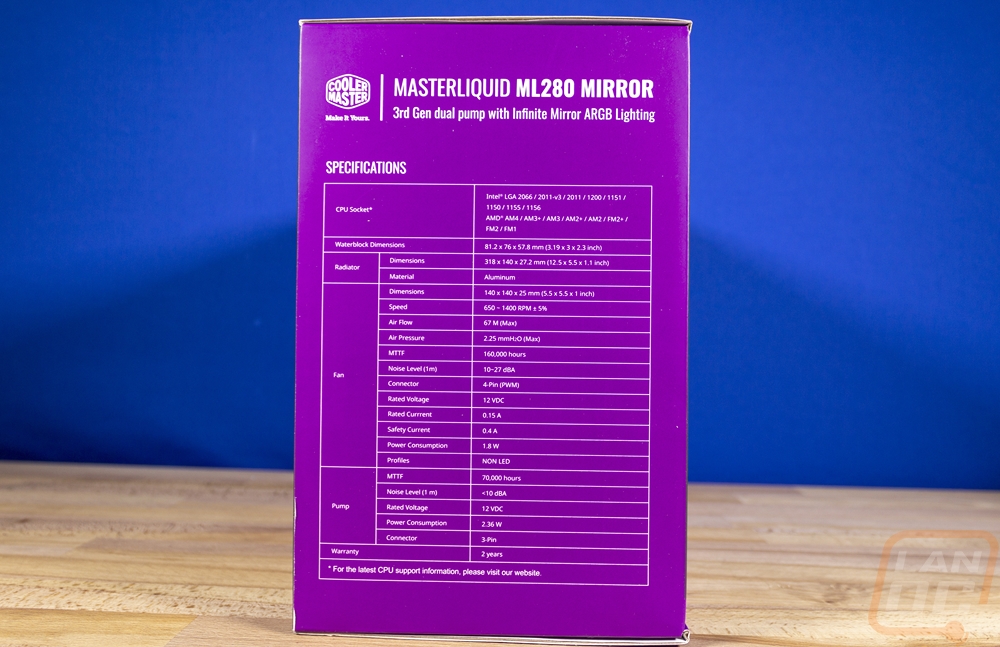
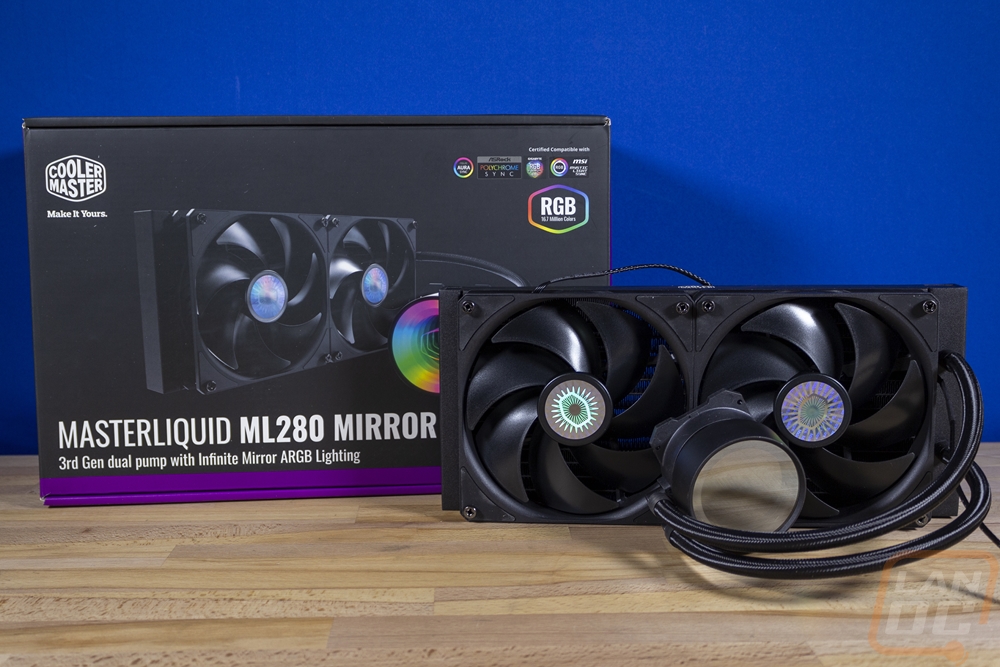
Almost everyone does a black background on their packaging anymore and Cooler Master was no different here. But purple? Not a lot of companies go with purple and Cooler Master has stuck with it for years now so it is easy to spot their hardware on a shelf. The box for the ML280 Mirror has a large picture of the cooler across the front with the lighting lit up as well. They have the model name in the larges font but just below it, they do talk about this being their third generation dual-pump design and the mirror is their infinite mirror addressable RGB lighting. The Cooler Master logo is there up in the corner but not in your face then they show logos indicating support for basically every motherboard’s lighting software in the top right as well as a picture of a small controller of their own in the bottom right. The sides of the box have a full specification listing on one side and on the other they kind of highlight a few features with a transparent drawing of the pump, the fan, and their surface area on the radiator. The back has a list of features on it as well but no pictures and that list is just repeated over and over in other languages to make a wall of text.
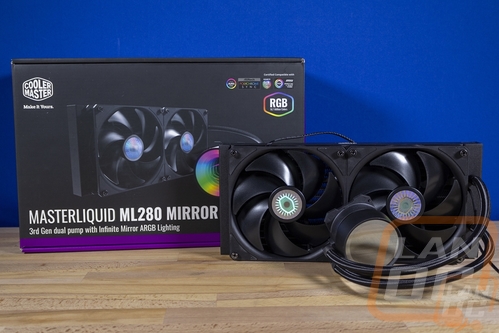
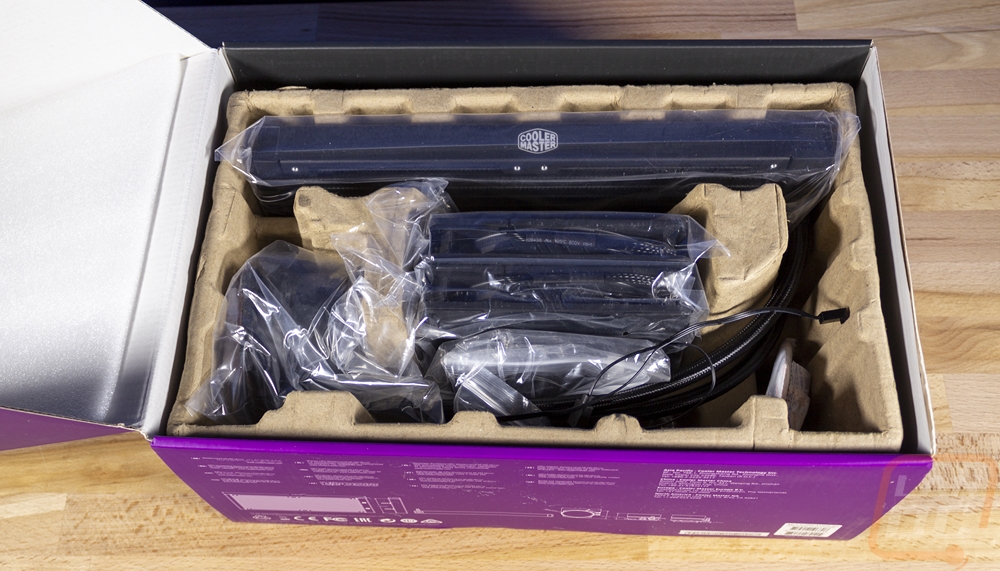
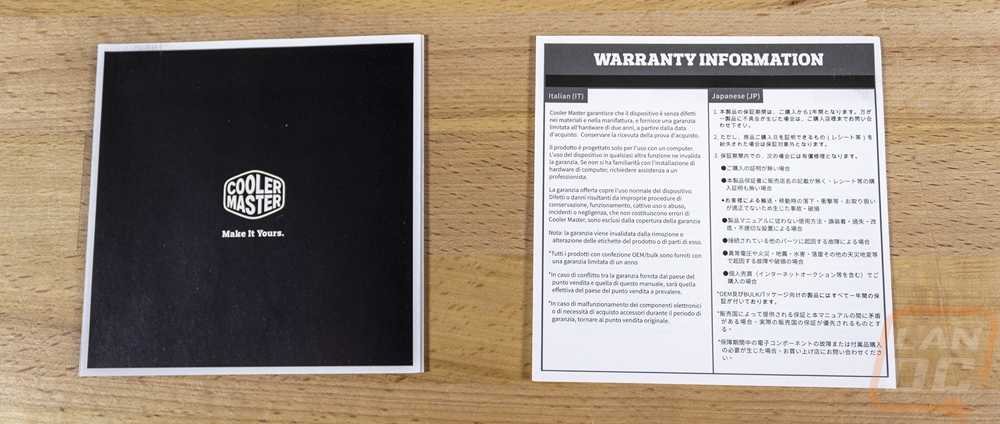
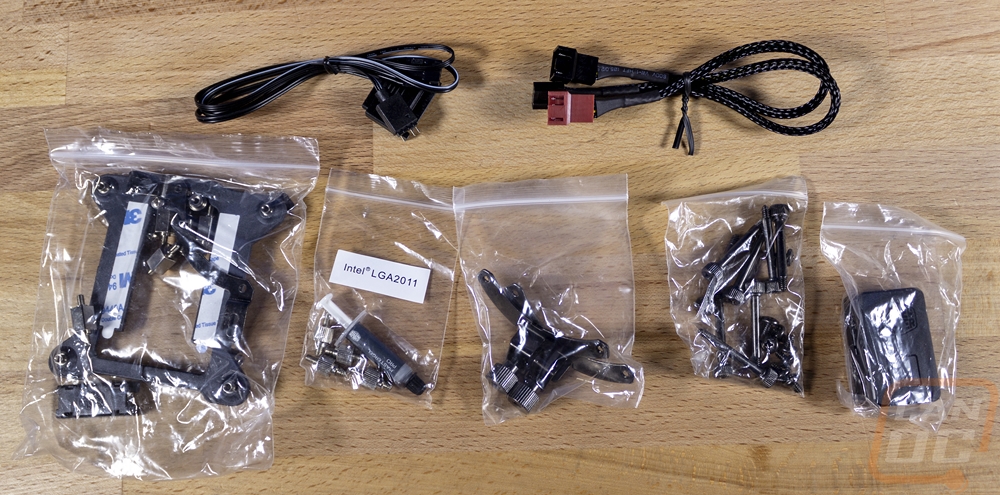
When you open the box up you will find each component wrapped up in its own plastic bag and sitting in a formed recycled cardboard tray that keeps everything in place. When you pull it out you get the pump/radiator, two fans, documentation, then a bag filled with all of the accessories and hardware. For documentation, you get a warranty information paper and then a small folded up installation guide with information on installing the ML280 Mirror on all of the supported socket types.
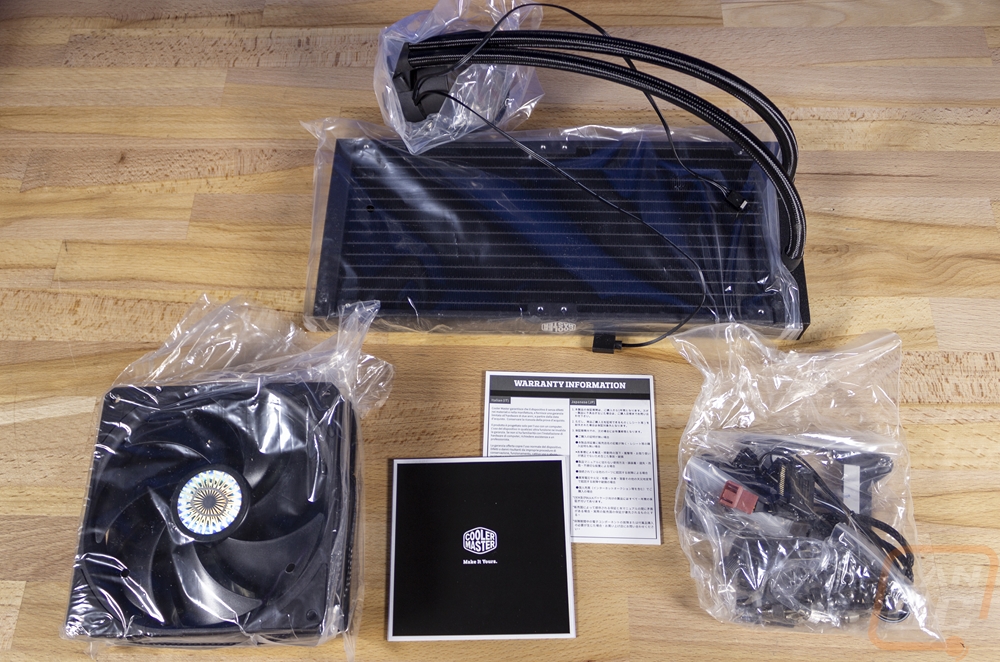
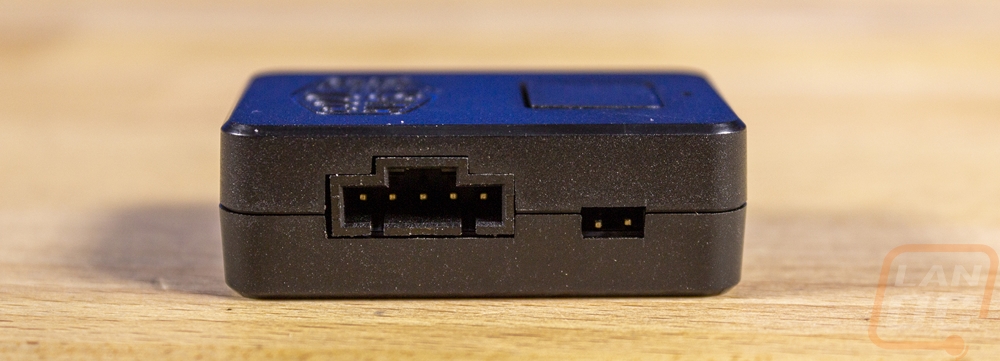
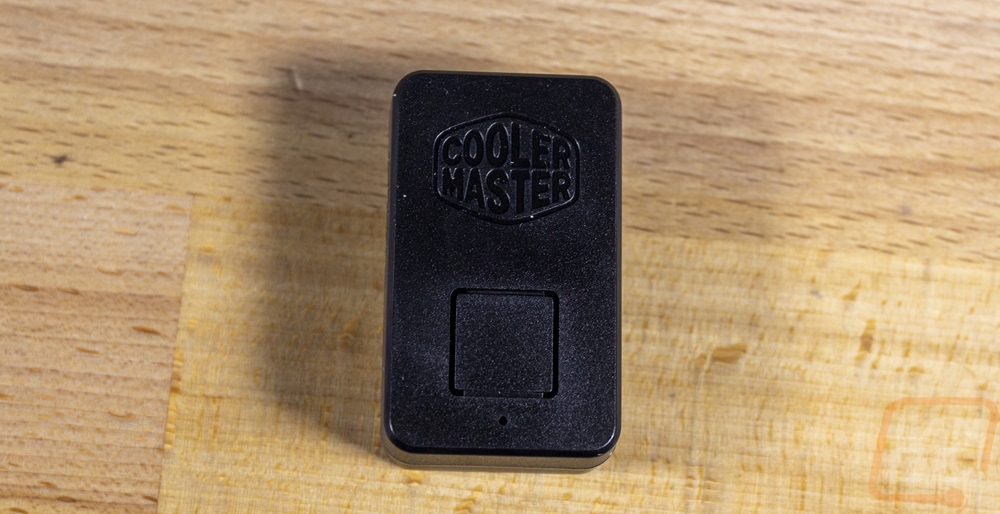
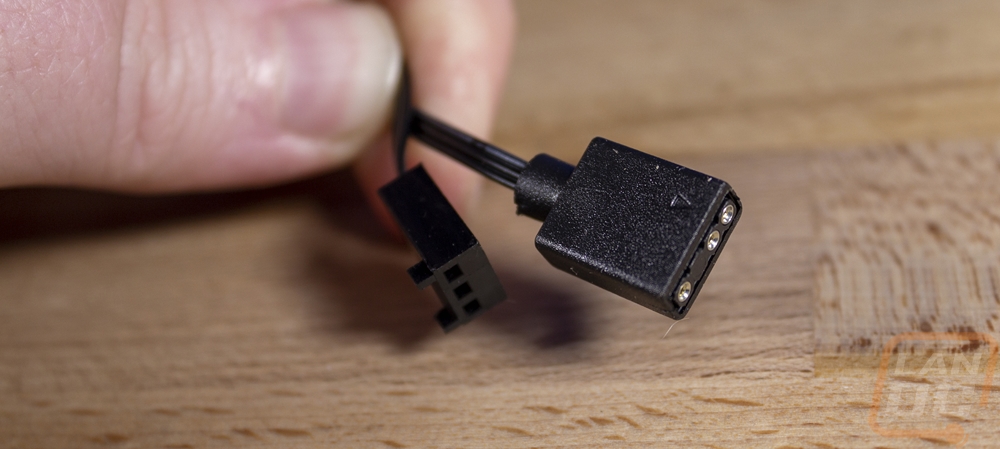
That big bag does have a lot of other bags inside. Only one is labeled which is a bummer, I like when they make it simple. But the AMD bracket was easy to spot because it is completely different than the Intel brackets. They then have the 2011 socket stuff labeled so you can tell it apart from the rest of the Intel hardware, but they also slipped the thermal paste in that bag. It is a tiny tube, but it is more than was include with the Pure Loop I just took a look at. There is a bag with the backplate and another with a small RGB controller. That has the Cooler Master logo on the front and just one button then it has two plugs. The big one uses the power cable and outputs to the three-pin addressable plug for the pump, the other you can wire up to change the lighting outside of your case with a button. There is also a PWM fan splitter cable as well.
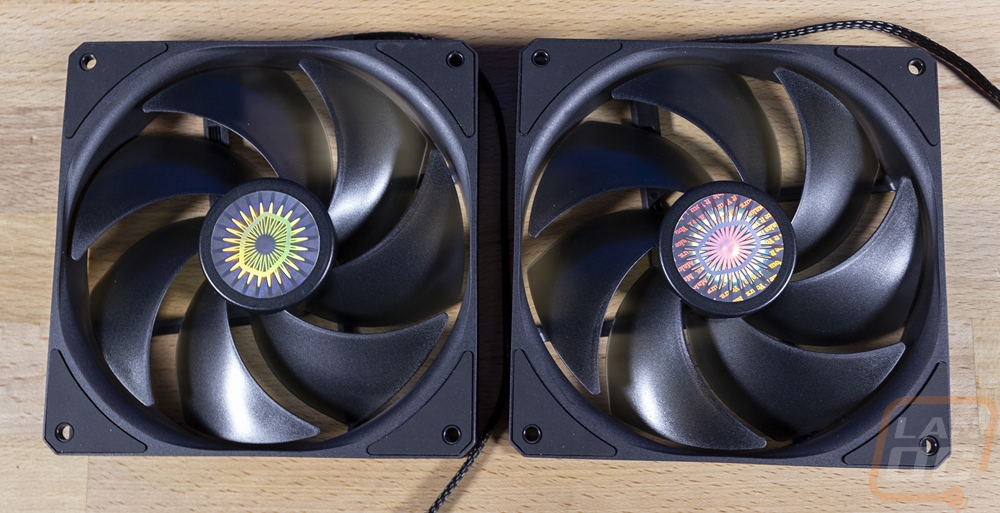
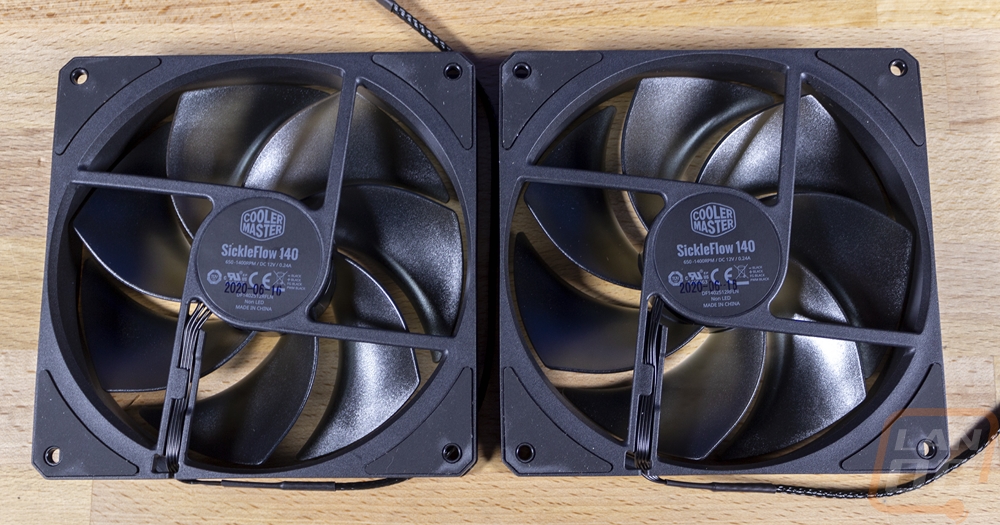
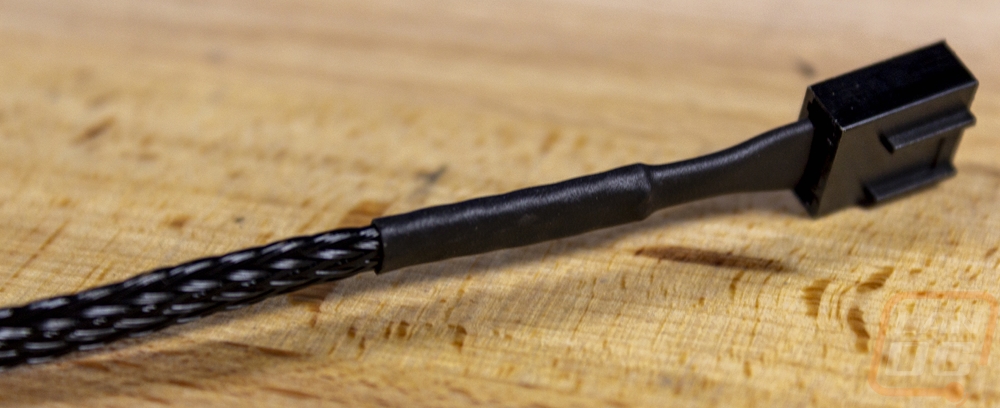
For fans, Cooler Master went with their SickleFlow 140mm fans for our 280mm dual 140mm setup. I’m surprised this kit doesn’t also get RGB fans as well to go with the mirror lighting. These fans run up to 140mm RPM with 67 CFM. 2.25 mmH₂O at full fan speed is solid for a water cooling fan and they have them listed with a 160,000 Hours lifetime which is crazy using a rifle bearing. The fans have rubber vibration pads which are nice but otherwise aren’t all that exciting looking with their mostly basic black fan look. They do use a semi-transparent black which does help. Then in the center of both, they have a holographic Cooler Master sticker which I would personally prefer something simpler given the fan itself has a clean black look. They both have black sleeved cables with a thick weave, but they do look like they have flat cables inside as well so they should be easy to hide.
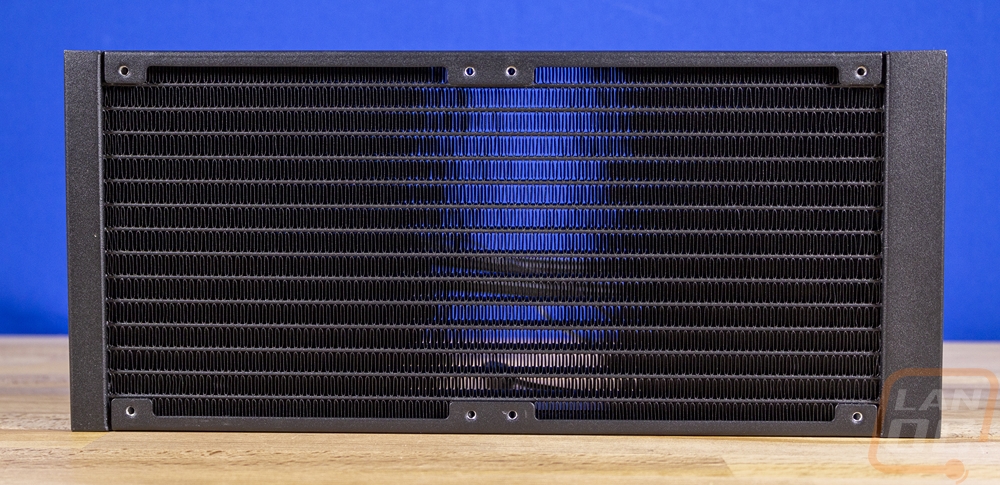
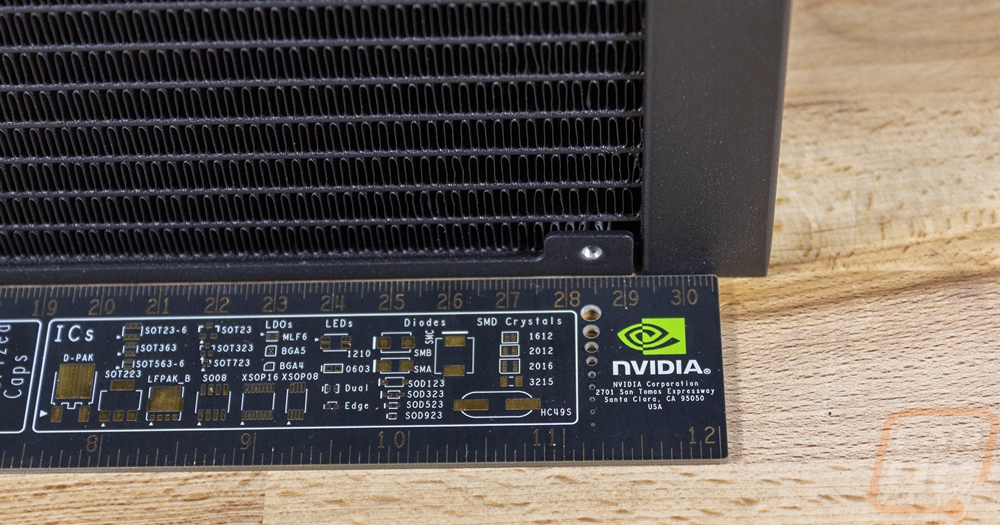
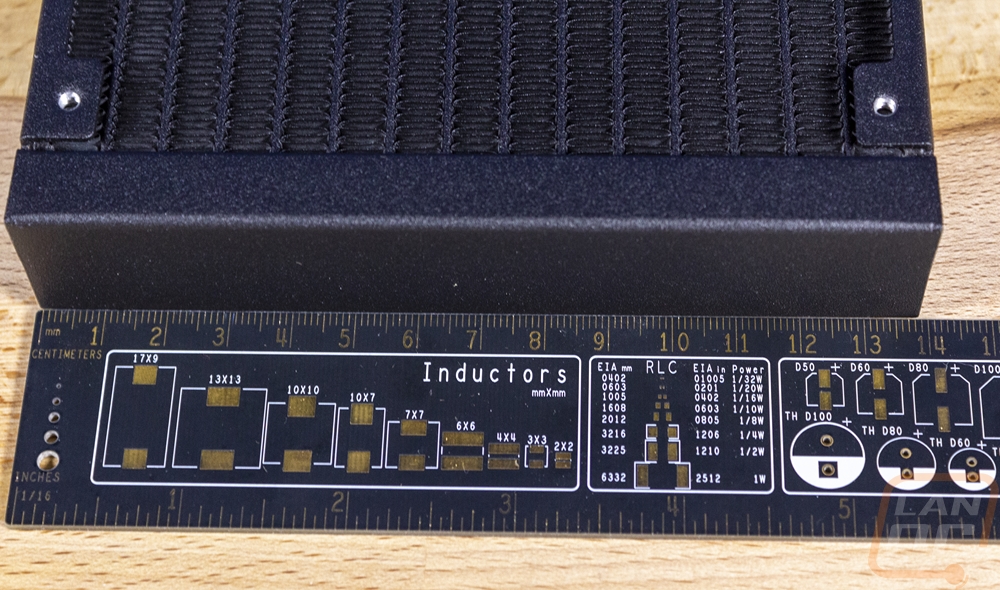
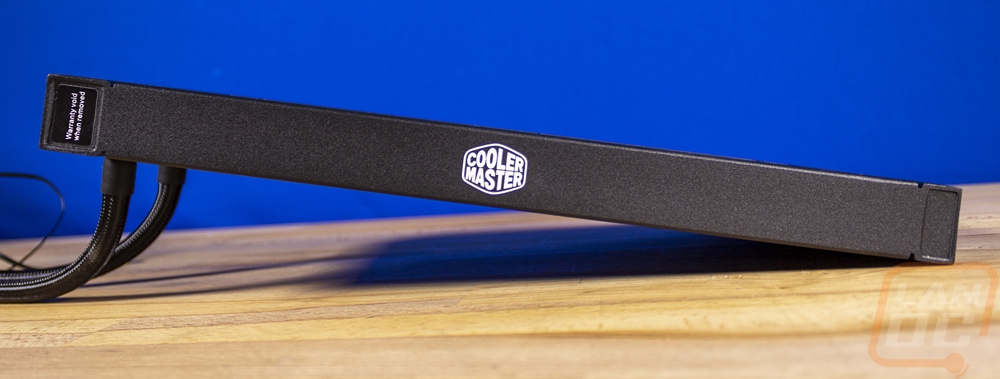
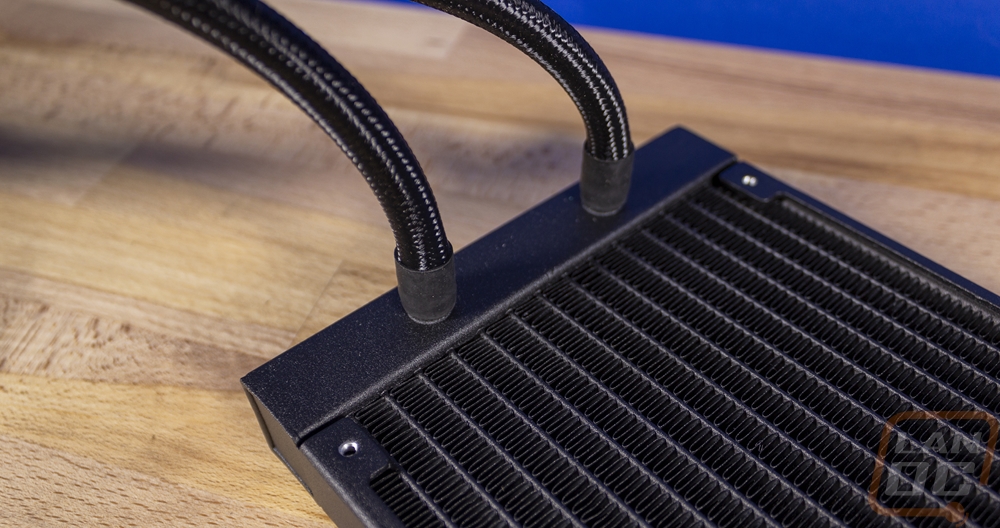
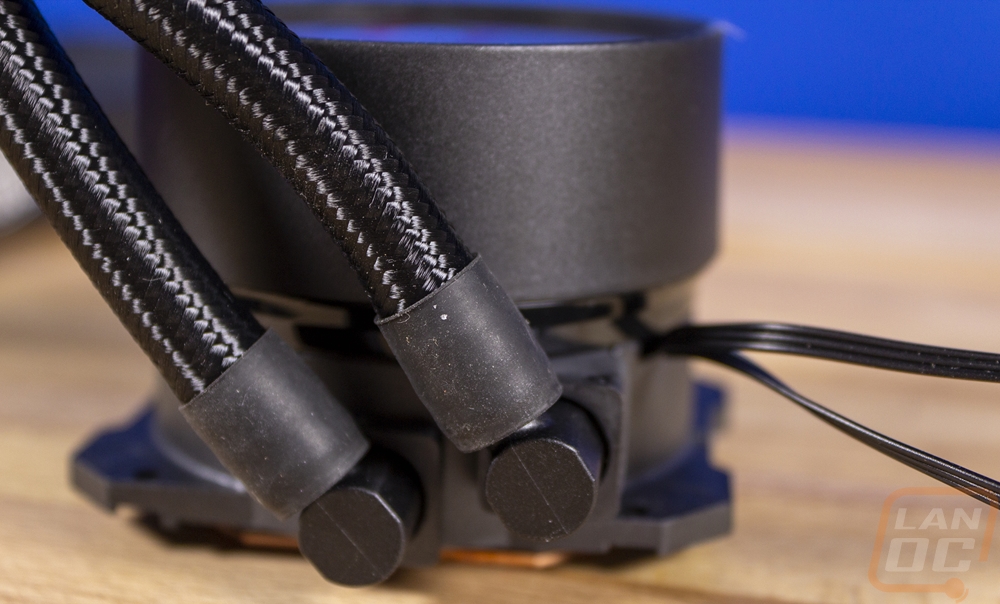
For the radiator it comes in at 318 x 140 x 27.2 mm and they went with the more boxy style that we have been seeing more of lately. I like the textured black finish they went with as well. The edge is 27.2mm thick which is .2 thicker than normal and that edge also has the white Cooler Master logo on it and a sticker over the fill port meaning they don’t want you to refill your kit. Cooler Master mentioned a thicker radiator on the packaging but this is the same thickness that I have been seeing on other coolers lately, so I don’t know if maybe they are comparing with their old designs. The fin spacing looks standard as well letting us still look through when looking straight on. The radiator is aluminum, which is the standard for these AIO kits. The two tubes have plastic fittings covering the connection at the pump then the tubes have been sleeved in black sleeving for styling.
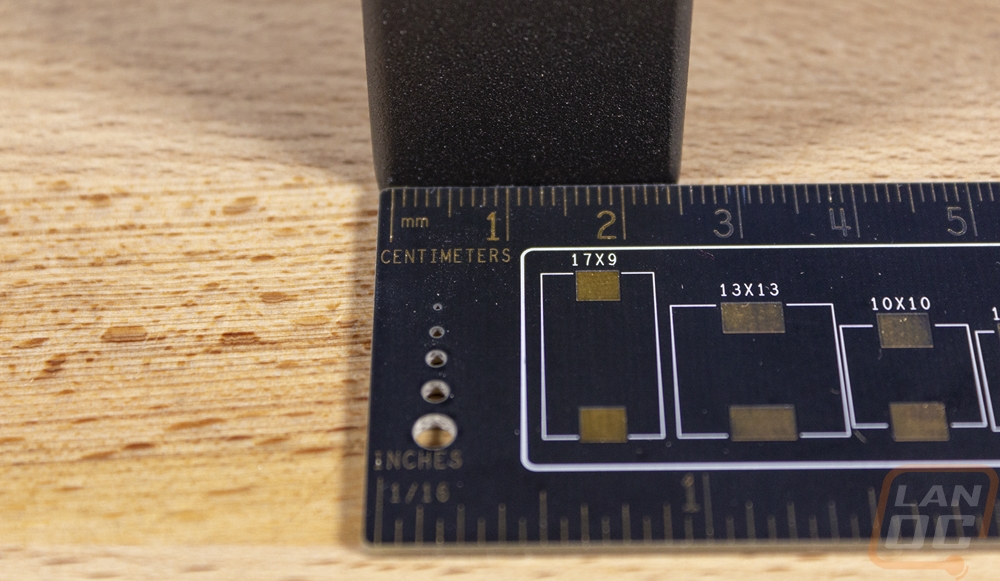
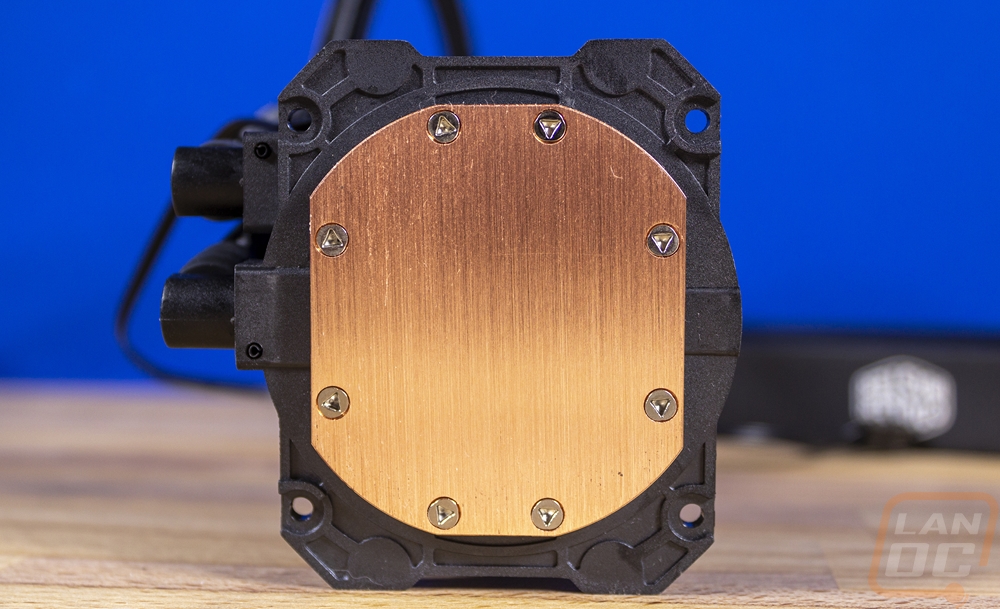
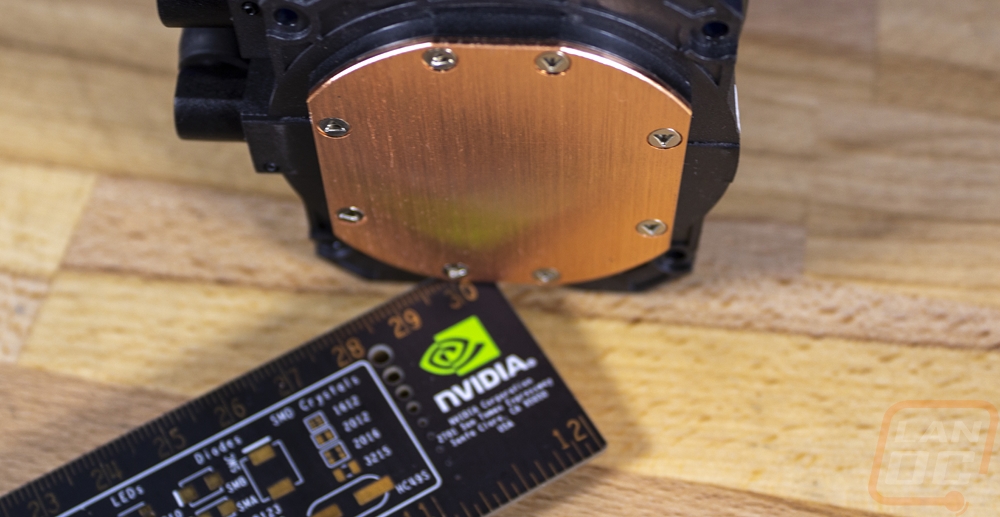
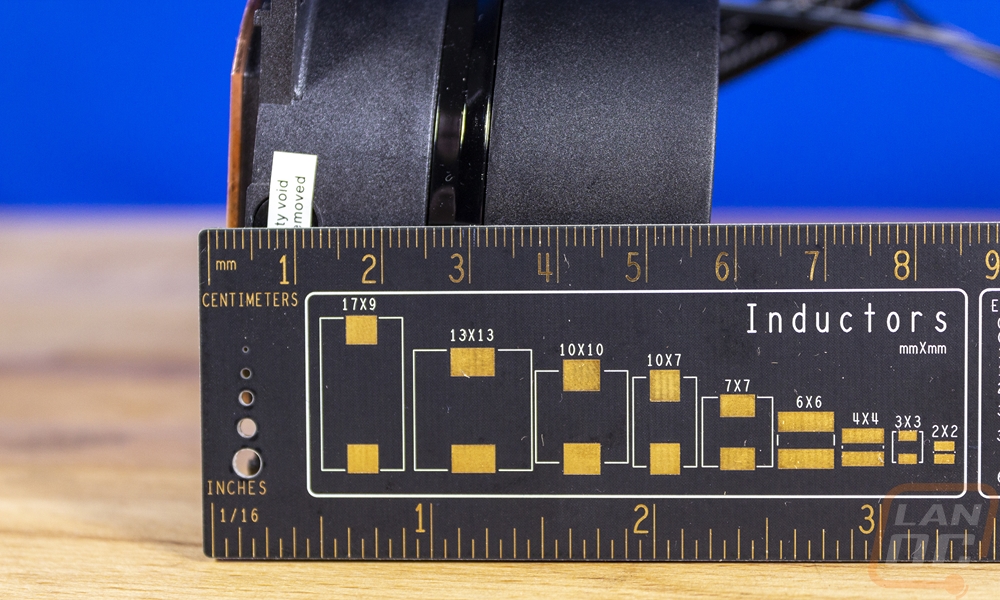
The ML280 Mirror is a little closer to a traditional AIO design when compared with the Pure Loop that I just took a look at. They still have the pump combined with the CPU water block. This uses Cooler Masters 3rd generation of dual-chamber pump which pumps into a top chamber then spirals down at the center to get the coolest water right on the die then spirals out. This design avoids patent issues with some of the AIO OEMs and allows Cooler Master to create their own design completely to help keep costs down. It also means this isn’t a cookie-cutter cooler and the mounting is completely different as well. A look at the bottom of the pump in the pictures below you can see the tabs on the side where you mount the included brackets. The contact surface isn’t what I would call a mirror finish. It has a heavy machined finish that has almost no reflection at all so good thermal paste usage is going to be important. The dual-chamber design also means that the pump is taller than most, coming in at 57mm tall. This is still shorter than the Castle EX280 that I previously took a look at. For connections, the pump has one fan header which powers the pump and then a three-pin addressable RGB cable for the lighting on the top.
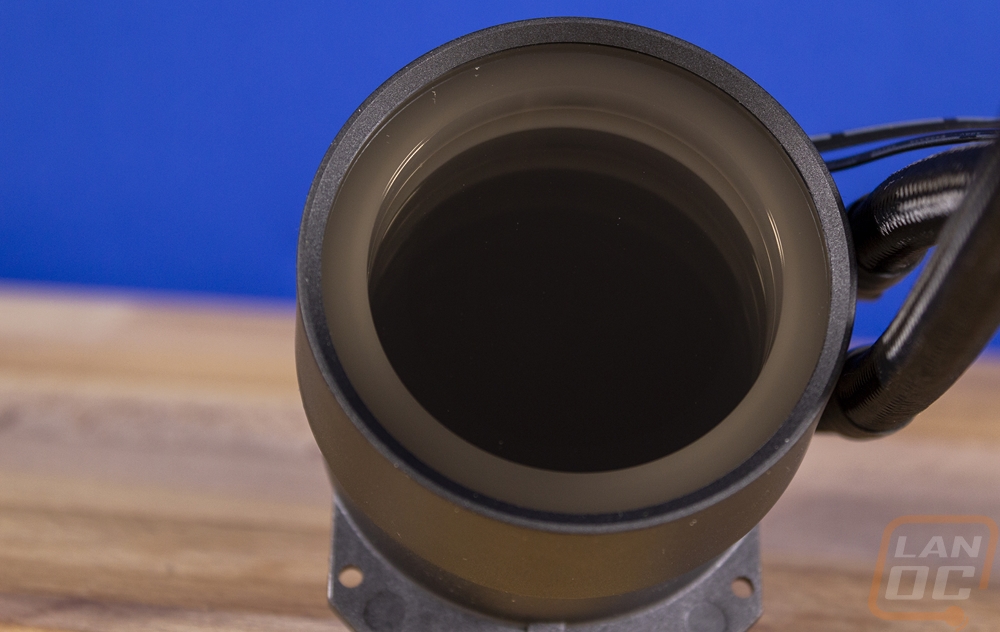
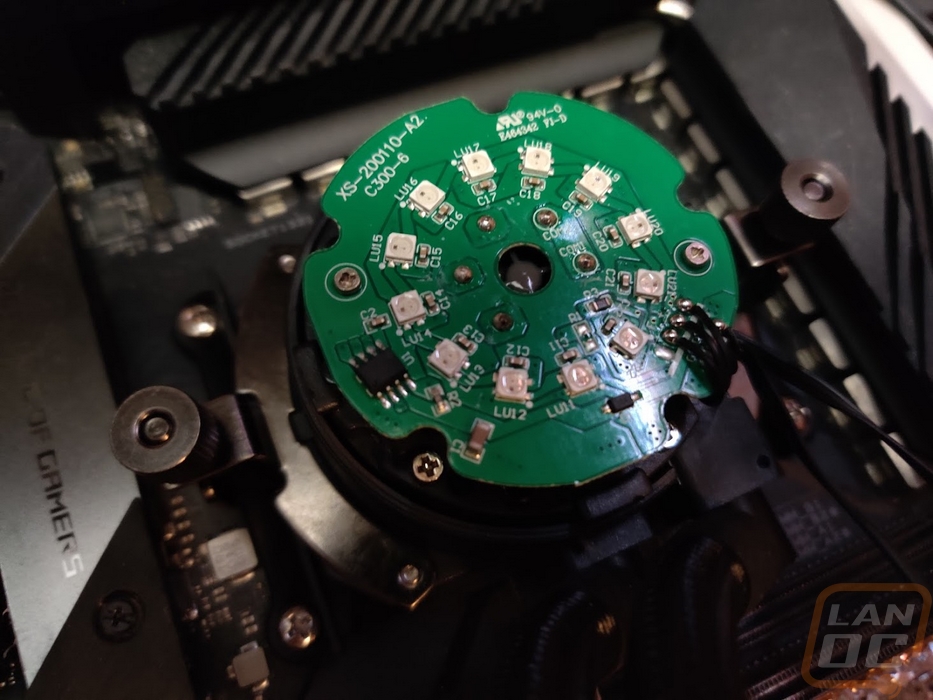
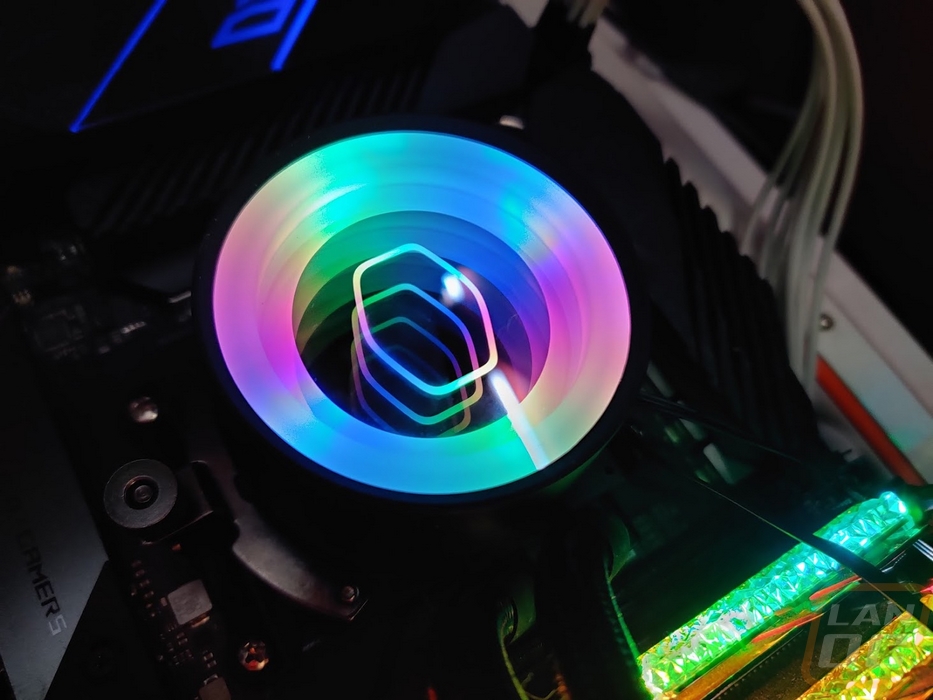
Speaking of the top, this is the main area that the ML280 Mirror stands out from some of Cooler Masters's other designs. The pump housing has a cap installed on top that can be popped off to expose the twelve addressable RGB LEDs. These light up the top of the pump. Then the cap itself has a two-way mirror finish that hides the PCB but lets the lighting through for a cool effect. You can control this with the included controller or by plugging into your motherboard if it supports addressable RGBs to control it using your board's lighting software.

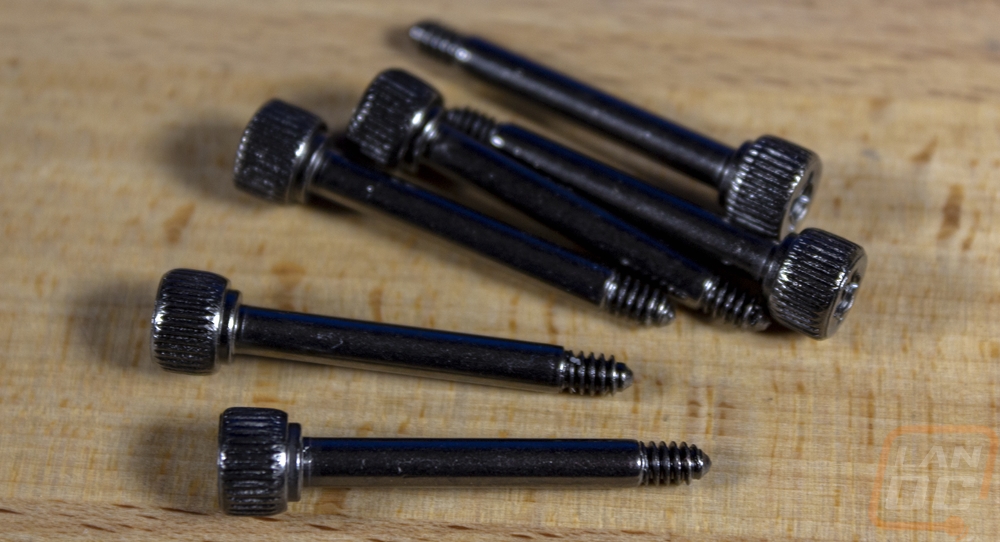
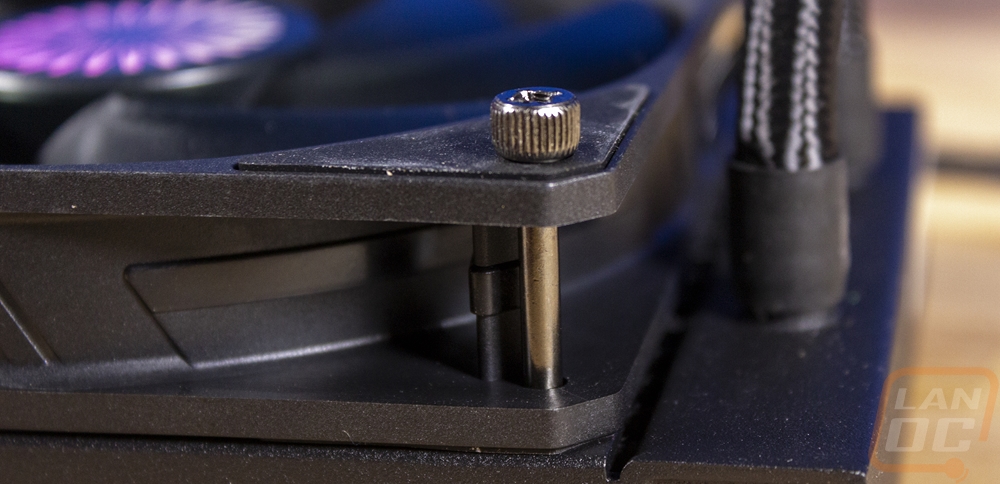
For mounting hardware, the screws for installing the radiator as well as the screws for installing the fans to the radiator are both black. I do like the fan mounting screw design which uses short thumb screw ends. This makes installation easier because you can hand start them. But it does also mean that they stick out making the radiator and fan assembly thicker.
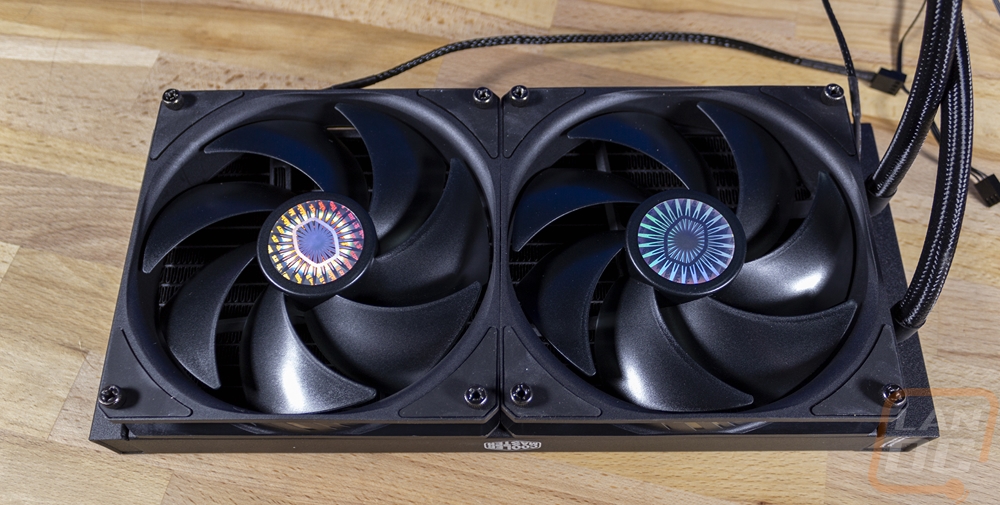
Here is a look at the ML280 Mirror with the fans installed. The holographic stickers on the fans that I didn’t like much do sort of go with the mirror finish on the pump and the design overall does look clean. Especially when it isn’t lit with just the one Cooler Master logo visible on the side of the radiator
Test Configuration and Procedures
|
Testing Hardware |
Affiliate Link/ |
|
|
Current Pricing |
||
|
Case |
Primochill Wetbench |
|
|
Motherboard |
Asus Crosshair VIII HERO WiFi |
|
|
CPUs |
AMD Ryzen 9 3900X |
|
|
|
AMD Ryzen 5 3600X |
|
|
|
AMD Ryzen 5 3400G |
|
|
Ram |
G.Skill Trident Z Royal 3600MHz 16-16-16-36 |
|
|
Power Supply |
Corsair AX1200w |
|
|
Thermal Paste |
Noctua NT-H2 |
|
|
SSD |
Corsair MP600 2TB |
|
|
OS |
Windows 10 Pro |
|
|
Testing Procedures |
|
|
Noise Testing |
The noise testing is done with the fan manually set to 50% and 100% fan speeds. The meter is 18 inches away from the fan when testing. This is done using a Protmex PT02 Sound Meter that is rated IEC651 type 2 and ANSI S1.4 type 2. Tests are done set weighted to A and set to a slow response using the max function. The ambient noise level in the testing area is 33.3 decibels using the test settings. The under load testing is done the same, but during thermal testing using the AIDA64 Stress Test CPU setting. |
|
Cooling Testing |
Most of the temperature testing is all done using the stress test in AIDA64 set to FPU only for the maximum heat then again with CPU Stress for a more real world test. Onboard temperature results are typically not the most accurate, but in this case, I am comparing results directly from the exact same CPU and motherboard for each cooler. Each cooler was tested with three different CPUs (see the hardware listing). I also did every test twice, once at stock fan settings and another with the fan at 100%. Each test requiring at least 15 minutes of full load unless it gets dangerously hot. If the results are still climbing at 15 minutes the test will be extended out until an equilibrium is reached. It is also important to know that because I will be swapping CPUs out often I can’t use the stock thermal compound that is included with the coolers. For consistency, I am using Noctua NT-H2, simply because that is what I have an ample amount on hand of. All results are from the tDie sensor |
|
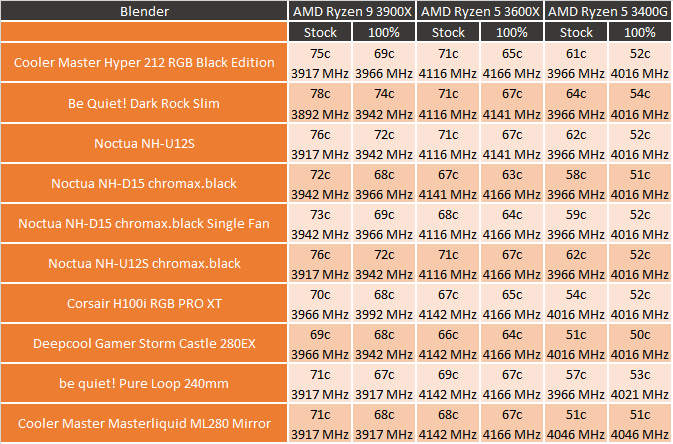
Blender Testing |
Blender testing is done similar to all of the AIDA64 Stress Tests only using the default Blender Benchmark to put load on the CPU. This is done using the full benchmark until temperatures level off and are consistent. |
Noise Testing and Fitment
Before diving into testing I did need to get the ML280 Mirror installed on to our test system. This ends up being easy if you are doing this on a new build because Cooler Master decided to go with the stock AMD mounting strap design. Corsair has also been doing the same on their coolers as well. So there aren’t any brackets to install on the motherboard. If you are installing on AMD like I was, you just need to mount the two brackets to the pump, put thermal paste on the CPU, then strap things down. From there you install your radiator and fan assembly with the 8 included screws and you are good to go. In the picture below you can see the C shaped hold-down bracket. This has a hook with a thumbscrew on the end, this is what hooks on to the stock AMD bracket.
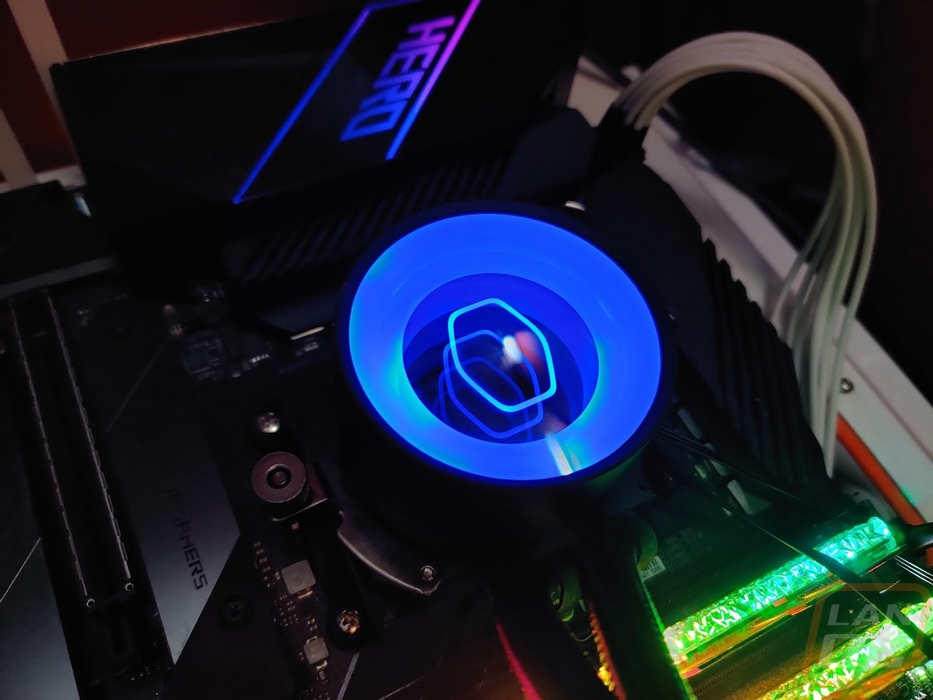
While we are here, we can also take a look at the mirror design as well as the addressable RGB lighting. The design has dual mirrors to give an infinity mirror look, so when looking down on it you can see everything repeated forever. They did put a Cooler Master logo in the center, but it is the simpler design with just the outside ring in the CM shape with no words which I like. Then the outside has the rest of the lighting. The included controller lets you pick from a few basic colors or this one full RGB effect. Hooking into your motherboards software is your best bet. That will get you a lot more control and more effects if you want them.
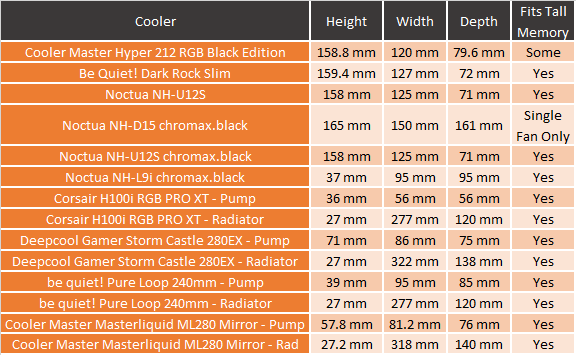
As for fitment, which I look at with all heatsinks and coolers. The ML280 of course doesn’t have any trouble with tall memory because the only thing nearby is the pump. The pump is taller, but not tall enough to be an issue. For comparison, the Gamer Storm 280EX was 71mm tall compared to the 57.8mm of the ML280. Cooler Master has multiple radiator size options available when it comes to the Master Liquid Mirror as well. I am testing with the 280mm which is a dual 140mm fan design, but they do also have a 240mm with two 120mm fans and a 360mm with three 120mm fans.
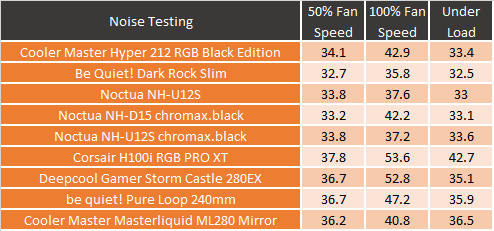
To start my performance testing off I did take a look at the overall noise performance of the all in one cooler. To do this I set our decibel meter up 18 inches away and ran three different tests. I tested with the fans and pump running at 50% and 100% fan speeds to get an idea of the noise range. Then I warmed things up using AIDA64’s CPU Stress Test for a half hour and measured the noise levels. At 50% fan and pump speed, it did better than I expected, coming in a touch below the Pure Loop, Gamer Storm Castle, and H100i RGB Pro XT. The same goes for at 100% fan speed, this was due in part because of the 140mm fans not needing to spin as fast. The SickleFlow fans only max out at 1400 RPM. But interesting enough, the last test and the most important were the under load results and the ML280 Mirror was louder than the Pure Loop and the Castle at 36.5 decibels which was still quieter than the Corsair H100i RGB Pro XT.
Cooling Performance
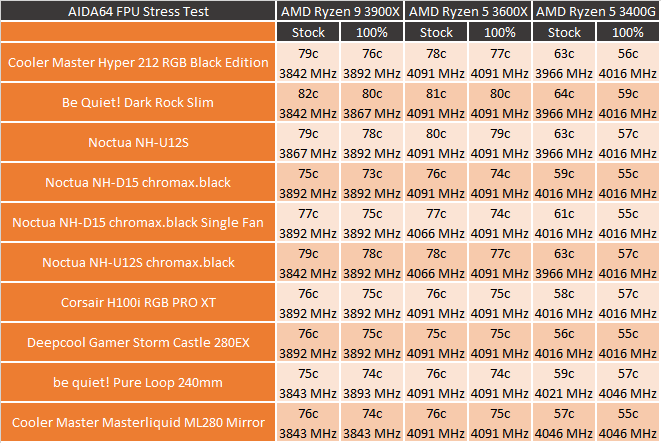
When it comes to cooling performance, I don’t just test on one CPU. I run three different load types both at 100% fan speed and with the stock fan profile our motherboard provides. I do this across three different CPUs to get an idea of what to expect depending on what you are using the Pure Loop on. This includes the 3900X, 3600X, and then the 3400G. I start with the AIDA64 Stress Test using the FPU load which is the most demanding. Because Ryzen CPUs like to cap at a specific temperature and downclock for these extra demanding workloads I also keep track of the clock speeds. For the ML280 Mirror, I was especially curious how it would compare with the Gamer Strom Castle 280EX which has the same size radiator and is a similar design overall. My first tests were in AIDA64 with its Stress Test using the FPU or floating-point unit workload which heats things up the most but is more of a worst-case situation not what you would see in a lot of PC activity unless you are rendering. With the stock fan profile, the ML280 matched the 280EX on the 3900X and came in one degree higher with the 3600X and 3400G. With the fans and pumps turned up to 100% helped the ML280 edge ahead on the 3900X and matched on the other two CPUs. As for clock speeds, the 3900X didn’t boost as high, which most likely accounts for the 1 degree of temperature difference. But on the 3600X the ML280 matched and with the 3400G it came out a high higher on clock speed.
For my next test, I wanted a more realistic, but still extremely demanding workload and Blender fits the bill perfectly. With the stock fan profile, the ML280 didn’t perform as well as the Castle 280EX except with the 3400G. Cranking the fans up helped and it matched the Castle with the 3900X but the 3600X still ran warmer as did the 3400G. Like with the FPU testing, with the 3900X it clocked a stop lower, matched on the 3600X, then had a better clock speed on the 3400G.
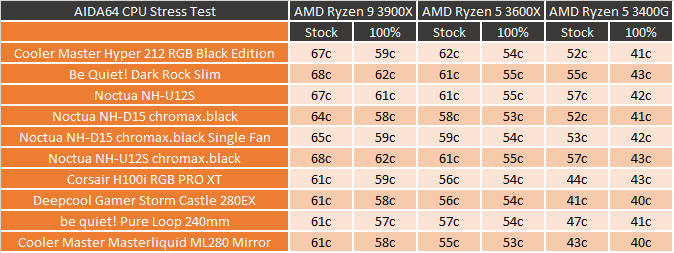
For my last round of testing, I wanted something a little more tame and more realistic to the actual in game or everyday use that most people will see. For this I used AIDA64’s Stress Test again, but with the CPU workload. This thankfully doesn’t need clock speeds tracked so it is a lot easier to read as well. So with stock fan speeds on the 3900X, all of the AIOs have came in at 61c. Turning the fans and pump up on that CPU ended up having the two 280mm coolers at 58c, the older 240mm at 59c, and the new Pure Loop edged out another degree over the larger coolers here. With the 3600X the ML280 performed best with the stock fan profile and even edged out a degree at 100% fan speed when the three others all matched. Then the 3400G the ML280 was two degrees higher than the Castle 280EX with the stock fan profile but matched it at 100% fan speed.
Overall and Final Verdict
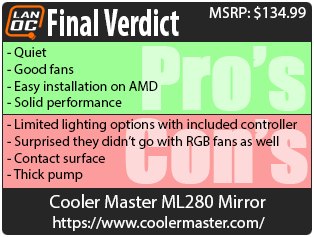
So going into this I was curious if Cooler Master, who has been in the AIO cooler game from the start, still had it. Their new Mirror series of coolers are cool, but they aren’t the only company going that direction. They weren’t even the first one I personally have taken a look at. So I was really curious if they were still above the competition when doing the same thing. I wanted to find out how the ML280 Mirror performed, see what Cooler Master did differently, and then here shortly I’m also going to see how its pricing fits in the market. For the performance, there were times where the ML280 outperformed, but in around the same number of times it also came in behind the 280EX as well, meaning for cooling performance it was a dead heat. That isn’t a huge shocker, with AIO coolers until you start seeing copper radiators a lot of the performance is going to be the same when it is size for size. Of course, fans make a difference there as well and Cooler Master ended up going with their SickleFlow 140mm fans which are lower on RPM than most of the competition but performed well. Especially when it came to noise performance where the lower RPM and Cooler Masters experience helped things stay surprisingly quiet. The fans have a very high expected life if their specifications are to be believed.
I thought their styling was a little plain even as someone who always likes a good blacked out look. The stickers in the center are too bright to go with their blacked out look, but the rest of the fan is too boring to be anything else. Given the great looking addressable RGB used in the infinity mirror top on the pump, I’m surprised they didn’t go with RGB fans to stick with that theme. Speaking of the RGB lighting, I love that you can hook it up to your choice of motherboard with the standard connection. I also like that they included a controller for those who can’t or don’t want to do that. But be warned, that controller will get you red, green, and blue along with one cool effect. You will need to use your motherboard if you need to get any more than that out of the lighting.
Installation was especially easy on our AMD testbed which is great considering how many times I have to swap it out. I also like that the brackets are tinted dark as well, Cooler Master has been known to skimp out and have chromed brackets that stand out like a sore thumb. My other issues were with the overall contact surface. It is as far from a mirror finish as you can get so quality thermal paste applied correctly will be very important there. I also have the pump thickness down as a con as well. It is thinner than the competition when it comes to the Castle 280EX, but because of the dual-chamber design as well as having the lighting and infinity mirror on top it is thicker than your “standard” AIO. It isn’t a huge deal, but keep it in mind if you are building in a compact system.
So what about the pricing? Well our 280mm Master Liquid ML280 Mirror has an MSRP of $134.99. For competition with a similar mirrored pump top, you have the NZXT Kraken X63 and X52 which the X63 sells for $150.99 and the X52 on Newegg is a crazy 214.40 right now. The Castle 280EX that I tested against the ML280 sells for $149.99 as well so the ML280 is priced below the competition. Though I do think the Kraken’s may come with a slightly higher quality fan which I think makes the ML280 priced right where it should be. Overall, if the addressable RGB inside of an infinity mirror is the look you want for your build I think this is a great choice. Though I do think a similar version but with RGB fans would be a great addition.

Live Pricing: HERE
